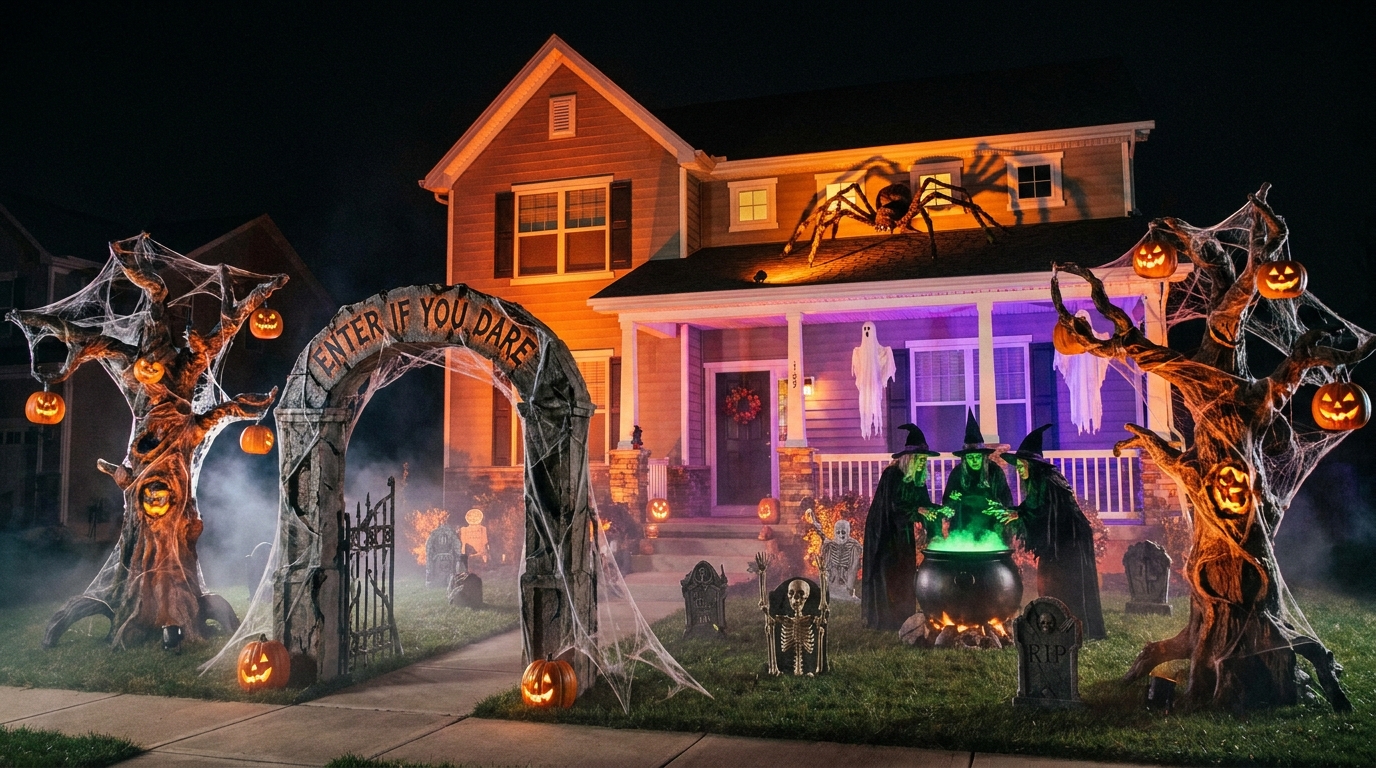
13 Spooky Outdoor Halloween Decorations For Your Home
Halloween is one of my favorite times to get creative with home décor, especially when I can turn an ordinary front porch or yard into something a little eerie. I like combining classic Halloween symbols with a few unexpected details to make the outside of my home feel festive without spending a fortune. Whether I want a creepy entrance, a playful skeleton scene, or a yard full of glowing pumpkins, I can create a memorable display with decorations that suit my space and budget.
In this guide, I’m sharing 13 spooky outdoor Halloween decoration ideas, along with practical tips for arranging them, choosing weather-resistant materials, and making each display look its best after dark.
Save this for later

Table of Contents
I can give my home’s exterior a Halloween makeover with grim reapers, floating witch hats, carved pumpkins, ghosts, flying witches, tombstones, oversized spiders, skeleton couples, and more. My favorite approach is to choose one main attraction, add a few supporting decorations, and use lighting to bring everything together. With thoughtful placement and secure outdoor installation, I can create a Halloween display that looks festive during the day and spooky at night.
Key Takeaways
- I choose one main decoration to establish the theme, then add smaller pieces around it.
- I use battery-powered candles or outdoor-rated lights to make pumpkins and figures stand out after dark.
- I check the weather rating and secure lightweight decorations against wind.
- I leave clear walking paths, steps, and access to the front door.
- I mix spooky decorations with funny details when I want a welcoming, family-friendly display.
- I reuse pumpkins, skeletons, and other durable decorations each year to keep costs down.
Related article: 31+ Easy DIY Cardboard Halloween Decorations For You To Recreate!
Scary Grim Reaper

When I want my Halloween display to look genuinely creepy, I consider making a grim reaper the main attraction. Its dark robe, hooded face, and long silhouette create a classic haunted-house effect without requiring dozens of decorations.
I would place mine near the front gate, beside the porch, or at the end of a garden path where visitors can see it from a distance. A small spotlight aimed upward can make the figure look more dramatic after sunset. If I have a larger yard, I can surround it with artificial cobwebs, bare branches, or a few dim lights to build a complete scene.
For a smaller entrance, I prefer a lightweight standing figure that does not block the walkway. I also check that its base is stable and that any fabric or accessories are suitable for outdoor use.
Pro Tip: I position the grim reaper where it is visible from the street but does not obstruct the door, steps, or path guests need to use.
Floating Witch Hats

Floating witch hats are a fun way to decorate a porch or covered entry without filling every available surface. I like how they create the impression that a group of witches has left their hats suspended in midair.
To recreate this look, I can hang lightweight hats from a porch ceiling or a sturdy overhead structure using clear fishing line. Varying the hanging heights makes the arrangement look more natural than placing every hat in a straight line. I can also add small battery-powered lights inside selected hats for a soft glow.
This idea works especially well above a doorway, along a covered porch, or over a sheltered seating area. If I plan to hang the hats outdoors, I use suitable hooks and secure the line carefully. Wind and rain can affect lightweight decorations, so I bring them inside during rough weather.
Pro Tip: I use an odd number of hats at different heights to create a balanced arrangement without making the porch feel crowded.
Scary Pumpkins

Pumpkins are one of the easiest ways for me to create a recognizable Halloween display. I can use traditional carved jack-o’-lanterns, painted pumpkins, or artificial versions depending on how much time I have and how long I want the decorations to last.
For a classic look, I arrange pumpkins in different sizes beside the front steps, around the doorway, or along the edge of a porch. A mixture of cheerful faces and more frightening expressions gives the display extra personality. I also like combining orange pumpkins with black accents, bare branches, or dark planters for a more dramatic effect.
If I carve real pumpkins, I make sure they are firm and free from soft spots. I keep them out of excessive heat and use battery-operated candles rather than open flames, particularly near dry leaves, fabric, or other decorations. Uncarved pumpkins generally last longer than carved ones, making them useful when I want to decorate well before Halloween.
Pro Tip: I group pumpkins in clusters of three or five, varying their height with sturdy crates or steps where appropriate. This creates more visual interest than spacing every pumpkin evenly.
Ghost And Pumpkins

When I want a Halloween display that feels spooky but still welcoming, I pair ghosts with pumpkins. The contrast between pale ghost figures and bright orange pumpkins creates a simple color scheme that stands out against a dark doorway or green lawn.
I can make a ghost using lightweight white fabric, a rounded frame, and a few carefully secured supports. Alternatively, I can use ready-made outdoor ghost decorations if I want something easier to assemble. I arrange the ghosts at different heights and place pumpkins near their bases to connect the individual pieces into one scene.
For a small porch, I might use a single ghost beside two pumpkins. In a larger yard, several ghosts can appear to float along a garden path. I keep fabric away from electrical connections and avoid placing decorations where they could catch on visitors’ clothing.
Pro Tip: I add a gentle, outdoor-rated light behind a ghost to make its outline visible after dark. I test the effect from the street before deciding on the final position.
Flying Witches

Flying witches bring movement and a little humor to outdoor Halloween decorating. Instead of relying only on stationary figures, I can create the impression that a witch is traveling across the front of my house on a broomstick.
One way to achieve this look is to attach a lightweight witch silhouette to a secure outdoor support. I can also use a ready-made hanging figure designed for exterior decoration. I position the witch near a porch roof, between sturdy supports, or against a plain wall helps the silhouette stand out.
I prefer keeping the design simple so the witch remains easy to recognize from a distance. A black figure against a light wall works well during the day, while a carefully placed spotlight can help it remain visible at night.
Because suspended decorations can swing in strong winds, I check the manufacturer’s installation instructions and use suitable outdoor fasteners. I avoid attaching heavy figures to gutters or other parts of the house that are not designed to support them.
Pro Tip: I pair one flying witch with a few floating witch hats to create a connected theme without buying a large collection of decorations.
Tombstones

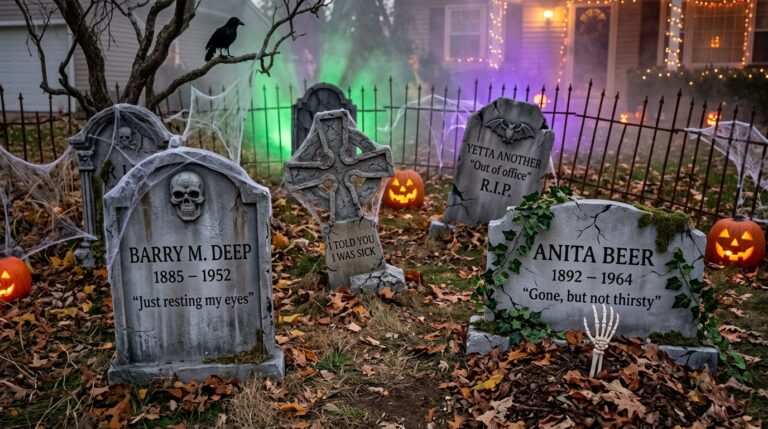
Tombstones are a useful starting point when I want to turn part of my lawn into a miniature haunted graveyard. Their shapes immediately suggest a spooky setting, and I can make the scene as simple or elaborate as my available space allows.
I usually begin with a few lightweight foam tombstones in different shapes and sizes. I arrange them in small groups rather than placing them in a perfectly straight row. Adding artificial moss, dark fabric, or a few skeleton hands can help complete the scene without making it too busy.
For a more convincing display, I position the tombstones at slightly different angles while keeping each one securely anchored. If I have a front lawn, I leave enough room for people to walk around the display without stepping on decorations. I also avoid placing sharp stakes or hard objects where children might trip over them.
The color and finish matter, too. Gray, weathered-looking surfaces work well for a traditional graveyard, while black tombstones create a more dramatic appearance against lighter grass or paving.
Pro Tip: I use a small amount of outdoor-rated lighting near the base of the tombstones to create shadows. I test the lights from different viewing angles so the display looks atmospheric rather than overly bright.
Also read: 27+ Spooky Backyard Halloween Party Ideas To Go With!
Giant Spiders

Giant spiders are a great choice when I want one decoration to make a strong impression. An oversized spider crawling across a garage door, exterior wall, or large porch gives the house an unmistakably spooky Halloween look.
I can use a ready-made giant spider or build a simple version with a lightweight body and flexible legs. Black is the most recognizable choice, but I can also use a dark purple or gray spider if I want a slightly different look. Artificial webbing around the figure helps connect it to the rest of the display.
When installing a spider on an exterior wall, I check the mounting instructions and make sure the attachment points can support its weight. I avoid damaging siding, gutters, or roofing materials just to achieve a particular position.
I also use webbing carefully. Excessive loose strands can blow into neighboring areas or become tangled with plants, and artificial webbing can pose risks to birds and other wildlife. I keep it contained, remove it after Halloween, and avoid placing it where animals are likely to become trapped.
Pro Tip: I place the spider where its legs can spread out clearly against a plain background. A little open space around the body helps the decoration look larger and more noticeable.
Skeleton Couple

A skeleton couple is one of my favorite ideas when I want Halloween decorations to be both funny and a little creepy. Rather than placing two skeletons in stiff, upright positions, I can arrange them as if they are enjoying a conversation on the front porch.
I might seat them beside each other on a sturdy outdoor bench, position them near a small table, or have one skeleton appear to greet visitors while the other holds a decorative prop. If I want a romantic twist, I can add a small sign or simple accessories that suggest a Halloween date night.
I keep the scene proportionate to the porch so the skeletons do not interfere with seating or block the entrance. If the figures are lightweight, I secure them against wind and check that their joints remain in place throughout the season.
This setup also works well with pumpkins, lanterns, or a small arrangement of artificial autumn leaves. I avoid adding too many extra pieces because the skeletons should remain the focus.
Pro Tip: I give each skeleton a different pose to make the scene feel more natural. One can sit upright while the other leans slightly toward it, creating a playful display without complicated equipment.
Pumpkin Blast

When I want a bold pumpkin display, I arrange pumpkins in a large cluster rather than limiting myself to a single row beside the door. This approach creates the impression of a pumpkin-filled corner or a burst of color across the porch.
I start by choosing pumpkins in several sizes and shades of orange. A few white pumpkins can break up the color, while painted black pumpkins add a more traditional Halloween feel. I place the largest pumpkins at the back or bottom of the arrangement and use smaller ones to fill gaps.
For a porch display, I can build the arrangement around a planter, a sturdy bench, or a low stack of weather-resistant crates. I make sure the supporting surfaces are stable and that heavier pumpkins sit securely. I also keep the arrangement away from door swings and steps.
If I want the pumpkins to glow, I add battery-operated lights to selected pieces instead of illuminating every pumpkin. This gives the display more depth and prevents the overall effect from becoming too bright.
Pro Tip: I take a quick photo of the arrangement from the street before adding the final decorations. Looking at the display from a distance helps me spot empty spaces and uneven groupings.
Flying Skeleton

A flying skeleton adds a playful twist to a traditional Halloween scene. I can make it appear to ride a broomstick or hover above the porch, creating a display that feels more animated than a skeleton standing on the ground.
For a simple version, I use a lightweight skeleton designed for outdoor display and attach it to a suitable support according to the product instructions. I position its arms and legs to suggest movement, then add a broomstick if the figure can safely support the extra weight.
The best location depends on the shape of my home. A covered porch or sheltered entry can provide a useful setting, while a plain wall makes the figure easier to see. I avoid hanging the skeleton over a walkway where it could swing into people or become a hazard.
A flying skeleton also works well with other decorations from this list. I can place tombstones below it to create a graveyard scene or combine it with pumpkins for a lighter, more humorous look.
Pro Tip: I check the display from several angles before finishing the setup. A small adjustment to the skeleton’s position can make the broomstick and body look more natural.
Climbing Skeletons

Climbing skeletons make it look as though a group of skeletons is trying to escape from the ground and reach the roof. I like this idea because it adds a sense of action to an otherwise still exterior display.
I can arrange several lightweight skeletons along a suitable exterior wall, fence, or sturdy porch support. Each figure can have a different pose, with one reaching upward and another appearing to pull itself higher. The staggered positions create a visual path that draws the eye up the house.
Before installing the figures, I check that the mounting method is appropriate for the surface. I avoid climbing onto a roof or placing decorations near power lines to create the effect. If the wall is difficult to reach safely, I use a fence or lower porch structure instead.
I also consider the overall scale. A couple of climbing skeletons can be enough for a small entrance, while a larger home may have room for a longer arrangement. I keep the figures away from windows, doors, and outdoor lights that need to remain accessible.
Pro Tip: I position the skeletons so they appear to be moving in the same general direction. This creates a more connected scene than scattering them randomly across the wall.
Mini Witches

Mini witches are a practical option when I want to decorate a small porch, balcony, or garden without using oversized figures. Their compact size makes them easy to arrange around pumpkins, planters, lanterns, and other seasonal accents.
I can place small witch figurines on a covered porch table, tuck them into a sheltered planter arrangement, or position them near the base of a larger decoration. If I am decorating a garden, I choose figures made for outdoor use and secure lightweight pieces so they do not blow away.
For a coordinated look, I stick to a limited color palette such as black, orange, and purple. I can also mix different witch poses to make the arrangement feel more interesting. A few small details, such as miniature broomsticks or pointed hats, are usually enough to communicate the theme.
I find that mini witches work particularly well when I want to add personality without filling every corner with large decorations. They are also easy to pack away and reuse in future years.
Pro Tip: I group mini witches in odd numbers and vary their heights using stable surfaces. I keep delicate figures under cover whenever possible to protect their paint and small accessories.
Frequently Asked Questions
1. What are the best outdoor Halloween decorations for a spooky front yard?
I like combining a few standout decorations, such as a grim reaper, giant spiders, tombstones, and glowing pumpkins. I also use outdoor lighting to make the display more noticeable after dark without overcrowding the yard.
2. How can I decorate my front porch for Halloween on a budget?
I reuse decorations from previous years and focus on affordable items like pumpkins, witch hats, homemade ghosts, and small skeletons. I can create an attractive display by grouping decorations together and using battery-operated lights for extra effect.
3. How do I keep outdoor Halloween decorations secure in windy weather?
I use sturdy bases, suitable outdoor fasteners, and weather-resistant materials to keep decorations in place. I also check hanging figures regularly and bring lightweight decorations indoors when strong winds or severe weather are expected.
4. When should I put up outdoor Halloween decorations?
I usually start decorating in late September or early October, depending on the weather and how elaborate I want my display to be. I put up durable decorations first and add carved pumpkins and other perishable items closer to Halloween so they stay fresh longer.
Read this next: 15 Easy Halloween Crafts for Preschoolers That Actually Work (2026 Guide)
Conclusion
I do not need an elaborate haunted house to make my home feel ready for Halloween. A few carefully chosen decorations, from a dramatic grim reaper and giant spider to glowing pumpkins and playful skeletons, can create a memorable display that suits my space and budget.
I start by deciding whether I want a frightening, funny, or family-friendly theme. Then I choose one main feature, add a few supporting decorations, and use lighting to bring the arrangement together after dark. I also make safety a priority by securing outdoor figures, keeping paths clear, and using weather-appropriate materials.
With a little planning, I can create an outdoor Halloween display that looks inviting from the street, feels fun for visitors, and is easy to take down and reuse next year.





5 Comments