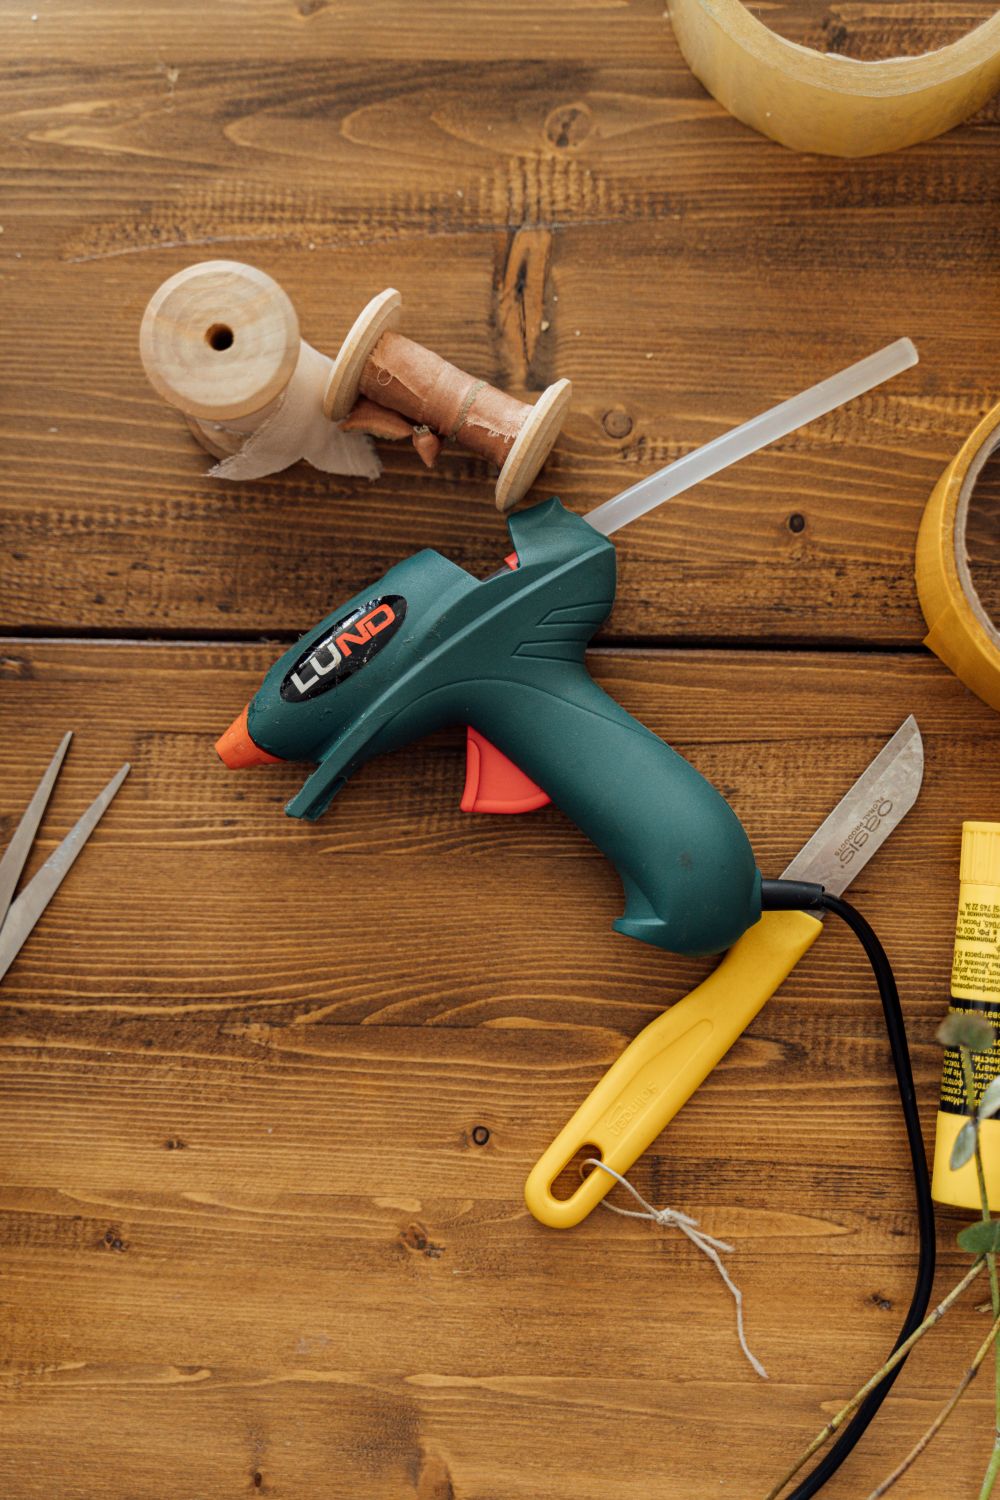
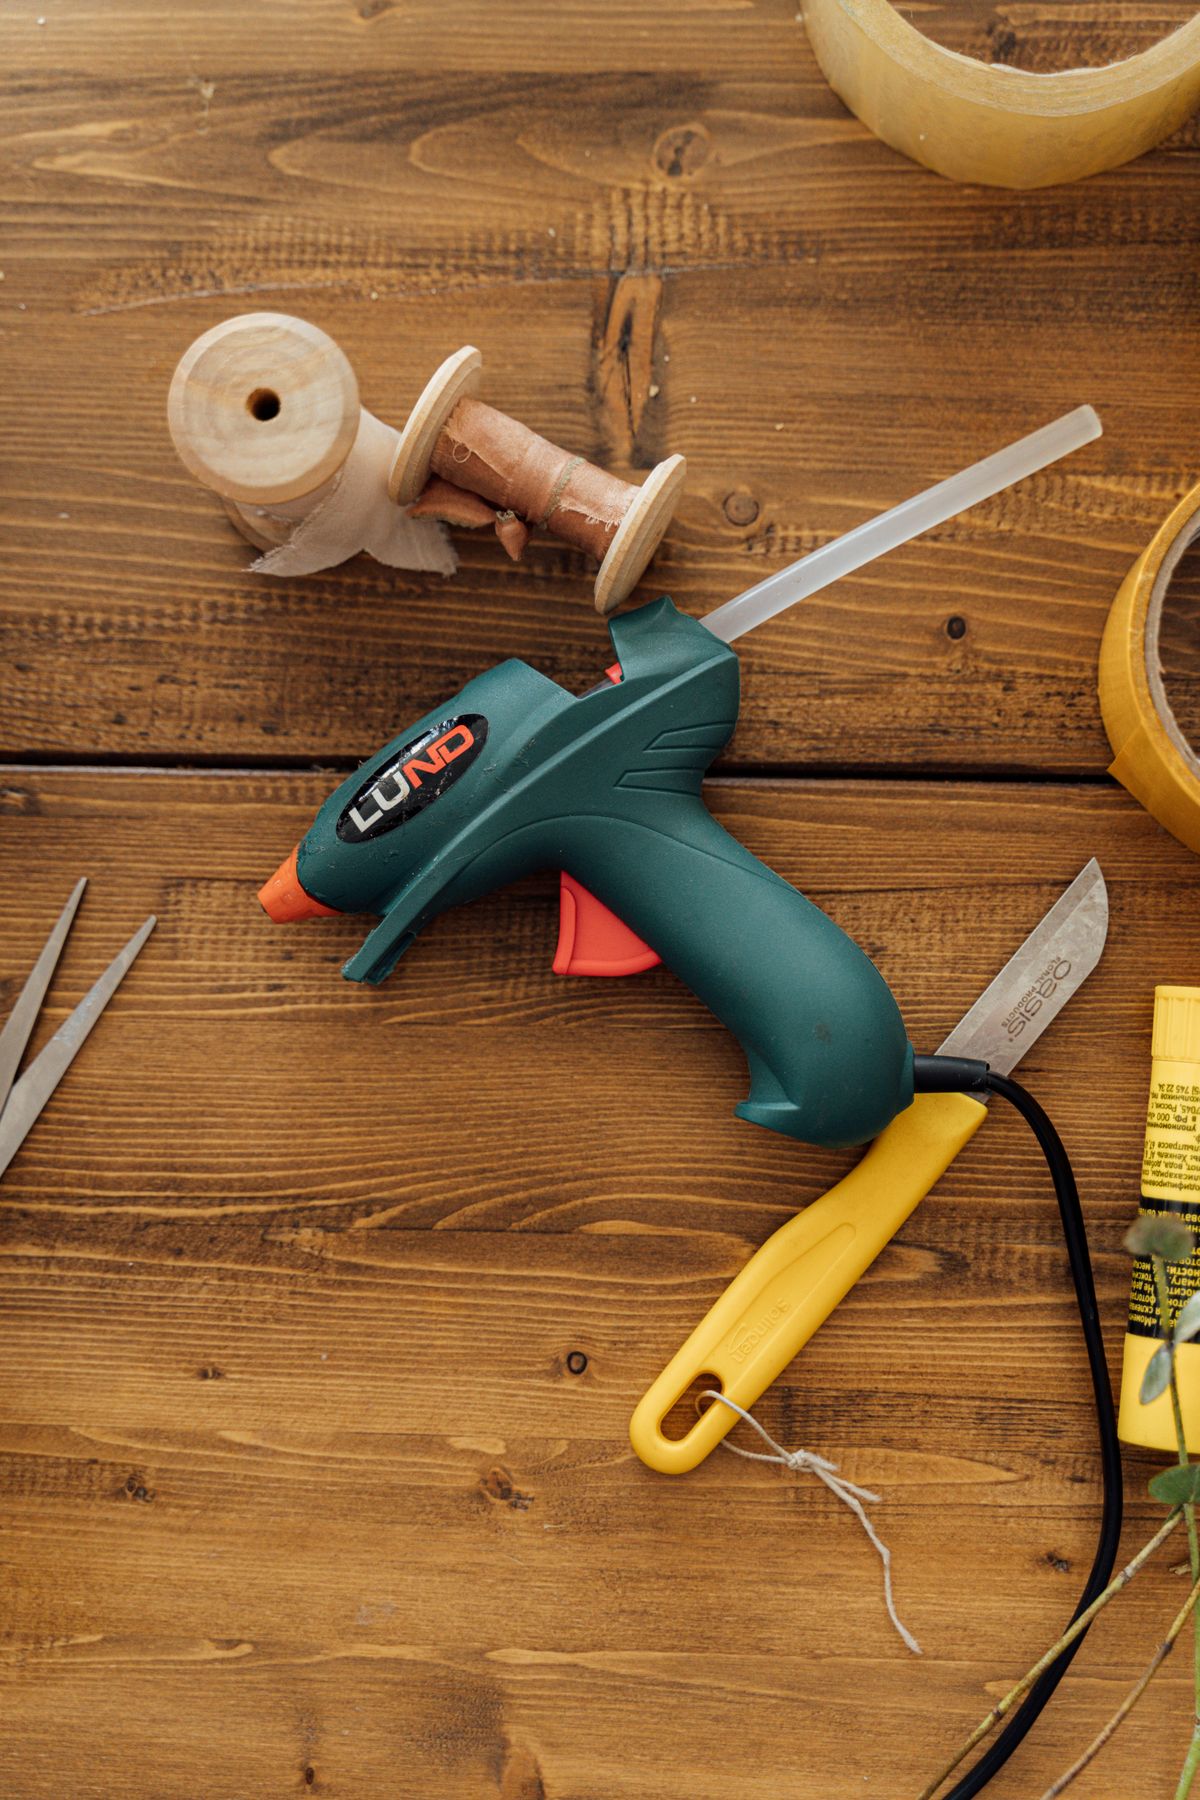
41 Easy Hot Glue Gun Crafts
My hot glue gun is the hardest-working tool in my craft room, and honestly it is not even close. If you have ever wondered what on earth to make with one beyond school projects, these hot glue gun crafts are my greatest hits — wreaths, baskets, ornaments, jewelry, and a dozen little fixes that look store-bought. Most take under an hour and use scraps I already had.
I have grouped nothing and ranked nothing here — every project is beginner-friendly, and I note the ones that sell well at craft fairs and the ones my kids request again and again. Keep a silicone mat under your work, park the gun on its stand between steps, and let us make something.
Key Takeaways
- A low-temp mini gun is best for paper and fabric; high-temp gives stronger bonds on wood and rope.
- Hot glue is practically instant — dry-fit every piece before the glue ever touches it.
- Parchment paper and silicone mats are your release surfaces for glue-only projects like snowflakes and lace.
- Scraps shine here: cardboard, rope, bottle caps, fabric offcuts, and old ornaments all become projects.
- A dab of glue plus a magnet, pin back, or hair clip turns almost any craft into a gift or a seller.
- Keep glue sticks stocked in three kinds: clear, glitter, and colored — you will use all of them.
Related article: if sticky crafting is your love language too, you will have a field day with my 27 Duct Tape Crafts for a Sticky Situation.
41 Easy Hot Glue Gun Crafts
1. No-Sew Rope Basket
This is my most-made project ever: coil cotton rope around a plain plastic tub, gluing every inch as you go. By the third row it already looks like a boutique basket. I use mine for yarn, remotes, and plant pots.
Pro Tip: Work in two-inch sections and press firmly — rushing leaves gaps that show.
2. Glitter-Dipped Christmas Ornaments
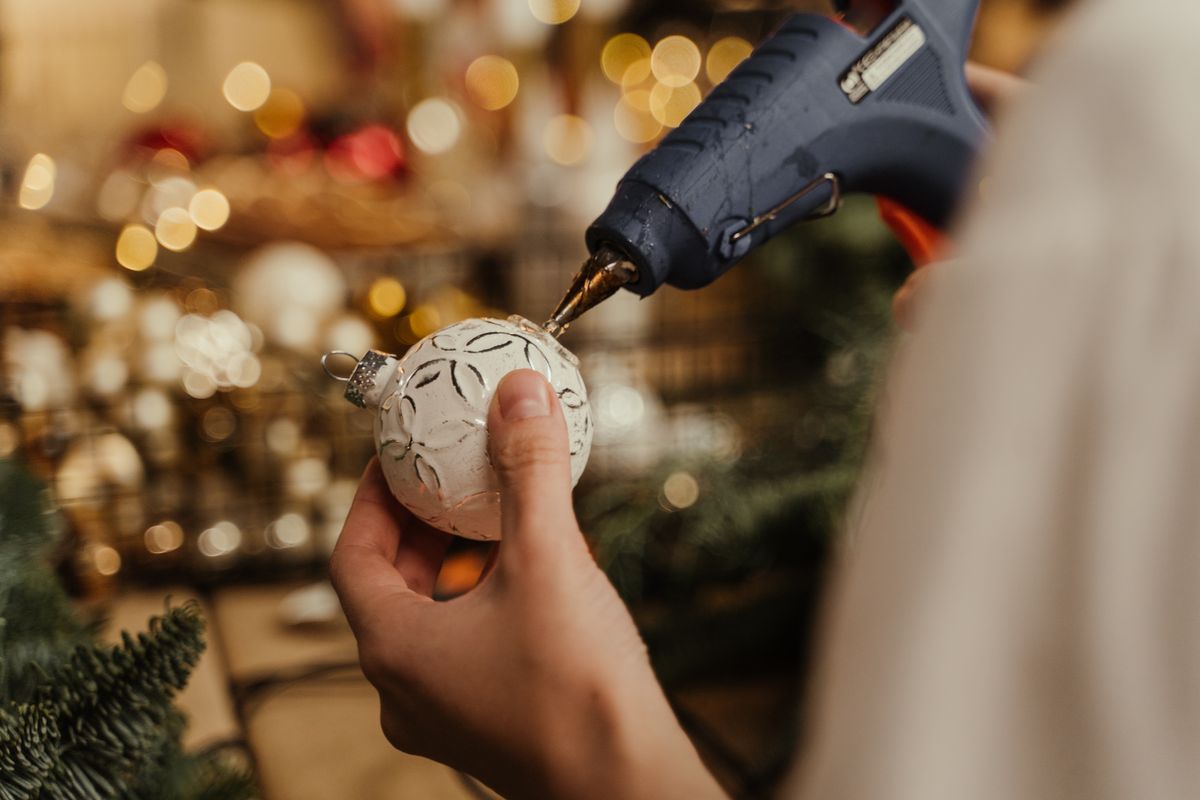
Plain glass ornaments become heirlooms with glue-gun swirls dusted in glitter. Draw your design in glue, shake on the sparkle, and let it set. My snowflake ones sell out at every December fair.
Pro Tip: Sketch the design on paper first and slip it inside the ornament as a guide.
3. Rolled Paper Tube Wreath
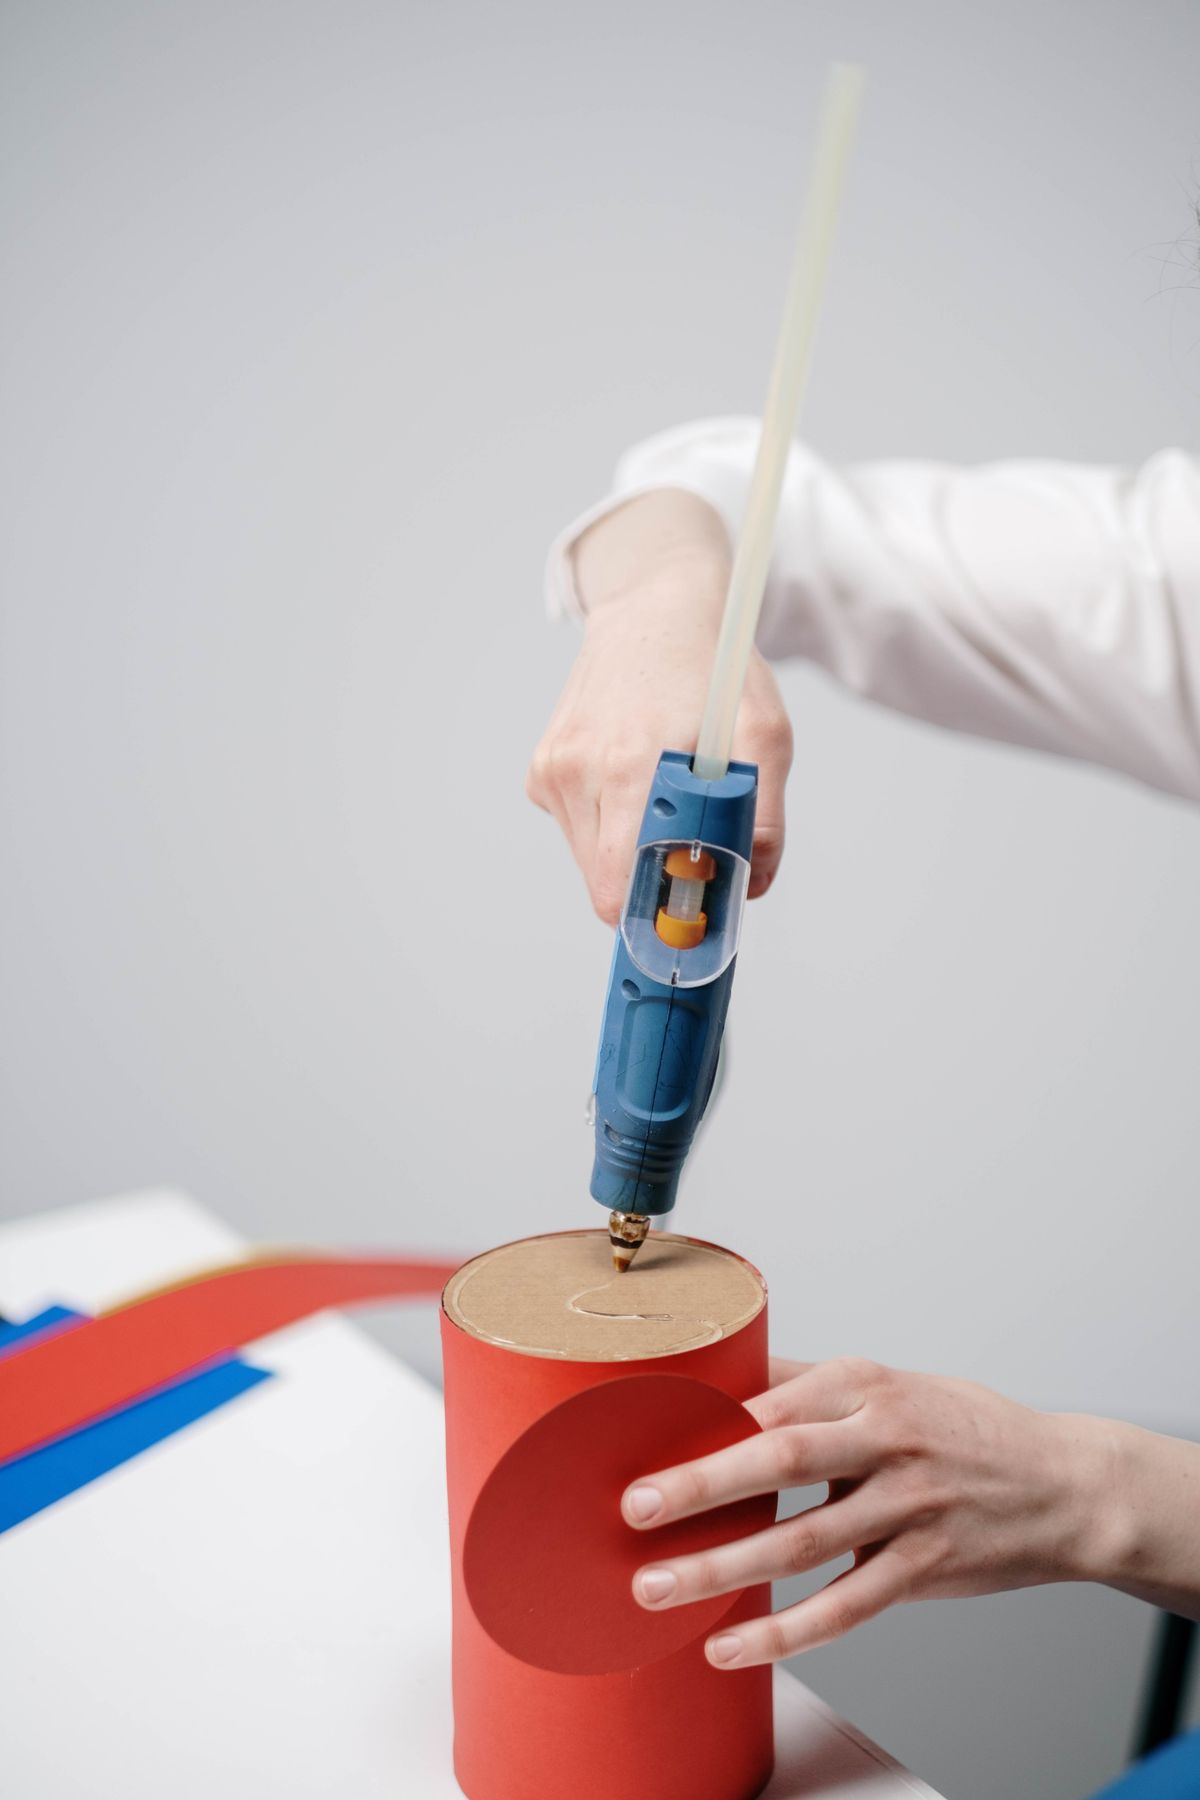
Roll magazine pages or red cardstock into tubes, then glue them in a sunburst around a cardboard ring. It sounds humble and looks astonishingly chic. Paint it or leave the prints showing for a colorful version.
Pro Tip: Glue tubes in pairs opposite each other so the sunburst stays balanced.
4. Striped Cardboard Gift Box
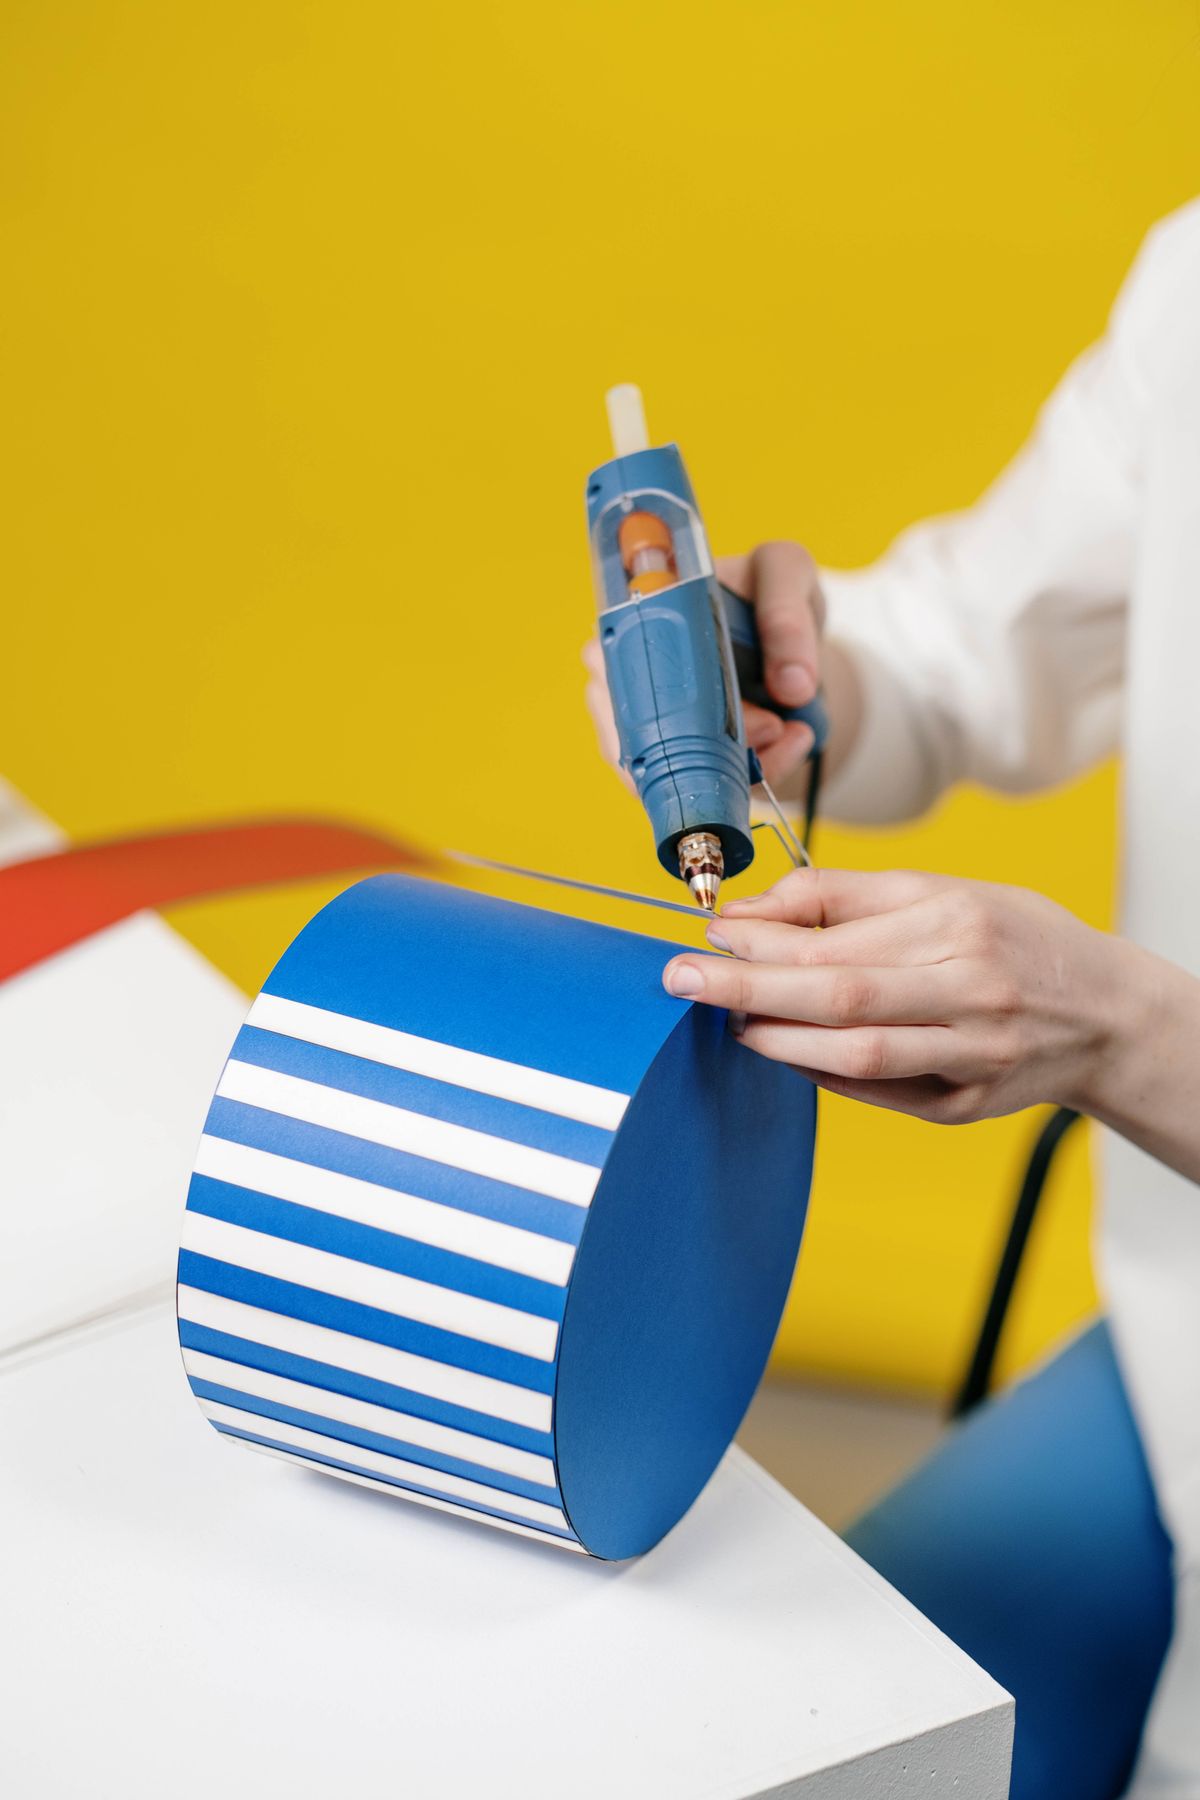
Cover a shoebox in striped paper strips, gluing each edge down for a crisp, wrapped look. Add a glued-on ribbon cross and it is ready to give. I make a batch every gift season.
Pro Tip: A thin glue line prevents paper bubbling; thick blobs telegraph through.
5. Wooden Toy Bird
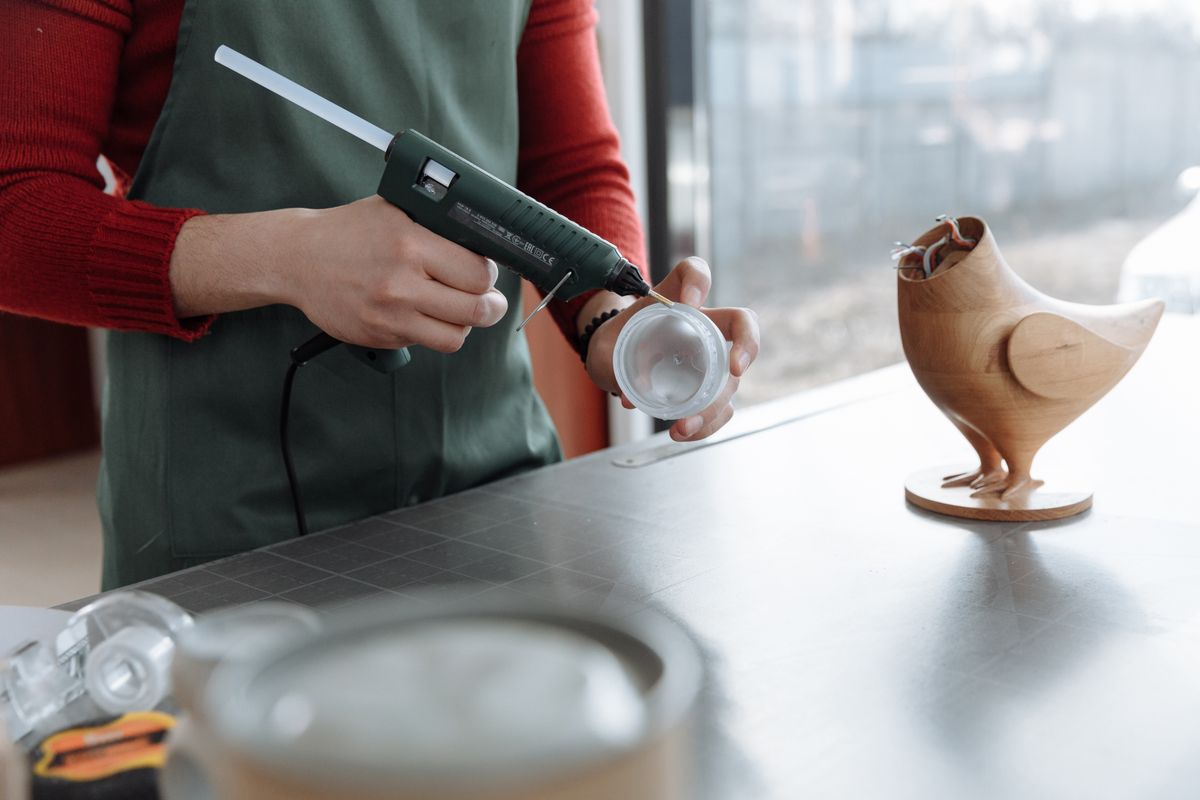
Craft-store wood pieces glue into the sweetest little bird with a bead eye and a tiny tail. High-temp glue makes the joints strong enough for real play. My grandkids’ flock keeps growing.
Pro Tip: Sand the joining faces lightly first — glue grips raw wood far better than varnish.
6. Cardboard Desk Organizer
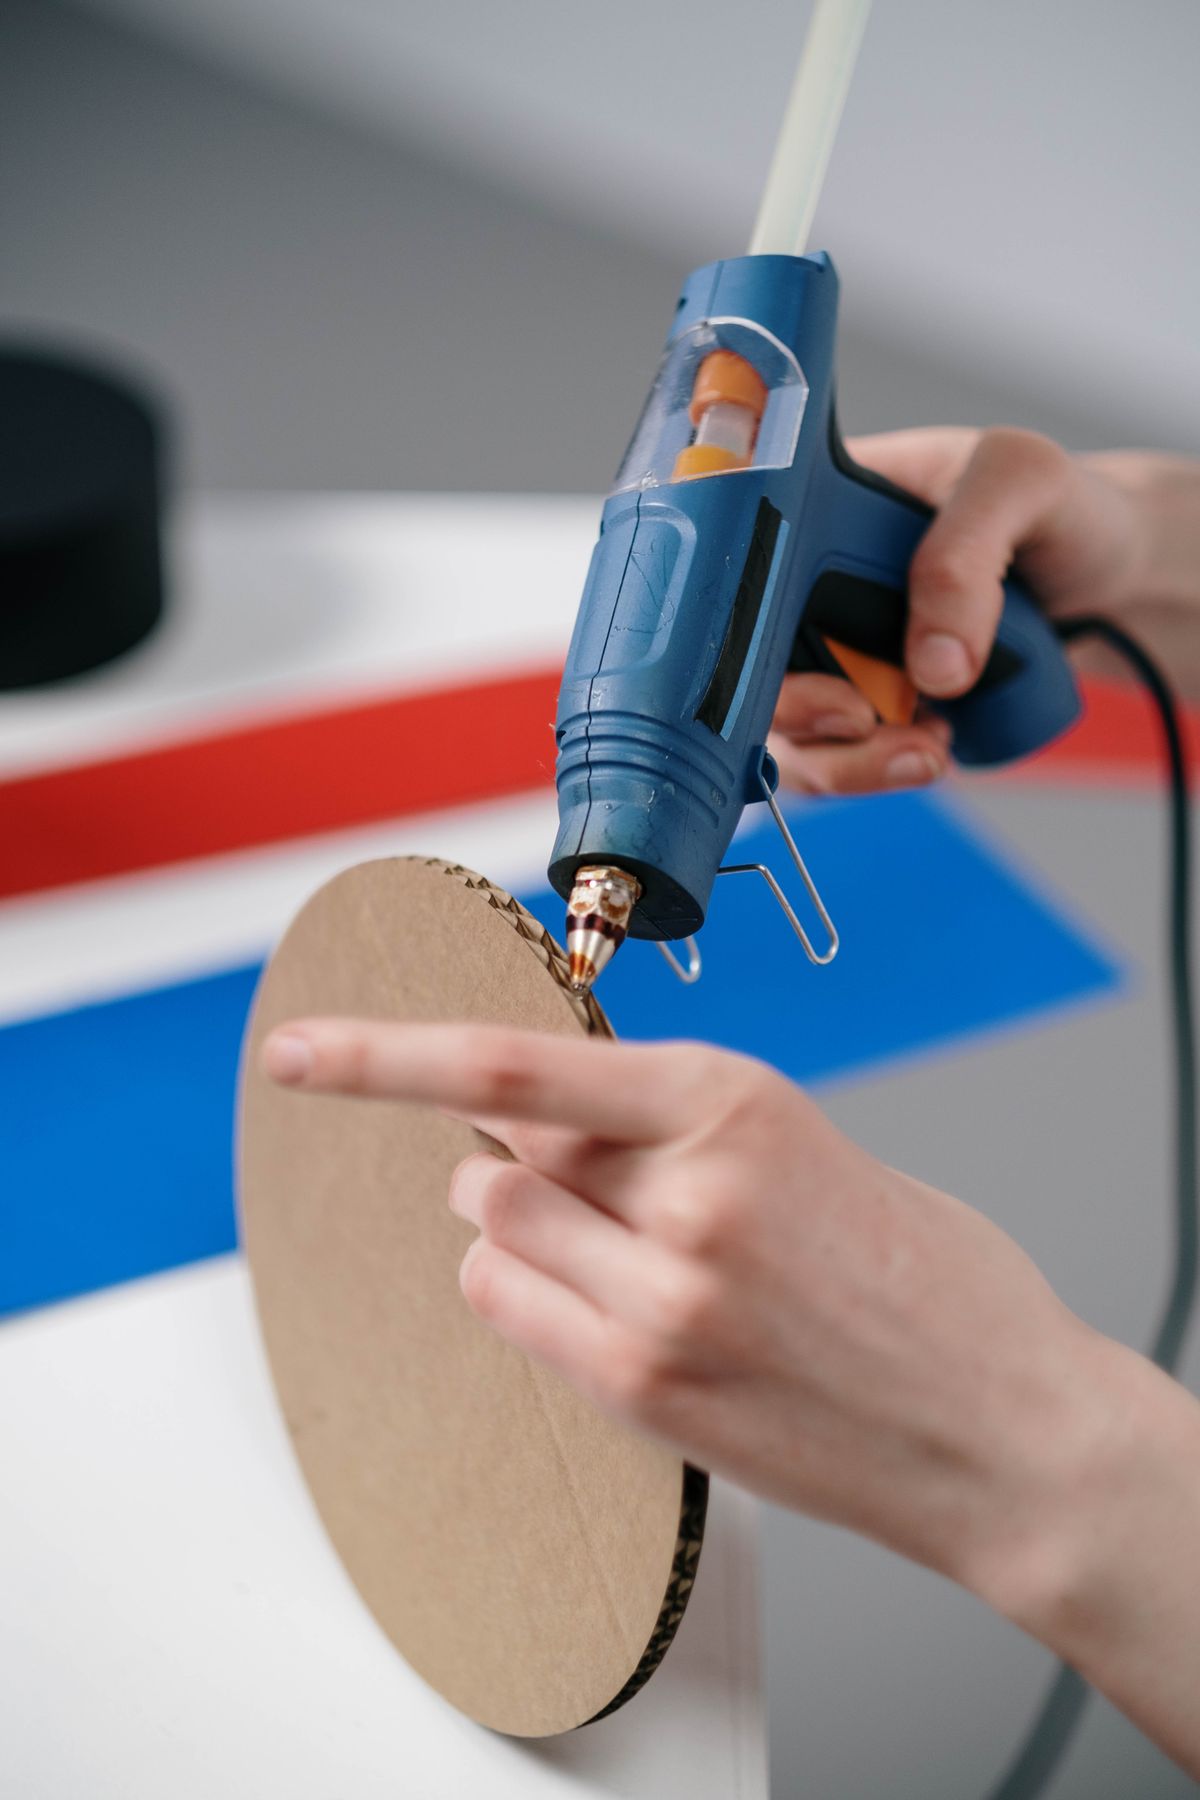
Cereal boxes and cardboard tubes glue into a desk organizer that fits your exact drawer chaos. Cover it in fabric or paper before assembling for a finished look. Mine holds every pen I own.
Pro Tip: Double-wall the base with two layers of cardboard so it never sags.
7. Dimensional Glue-Dot Canvas Art
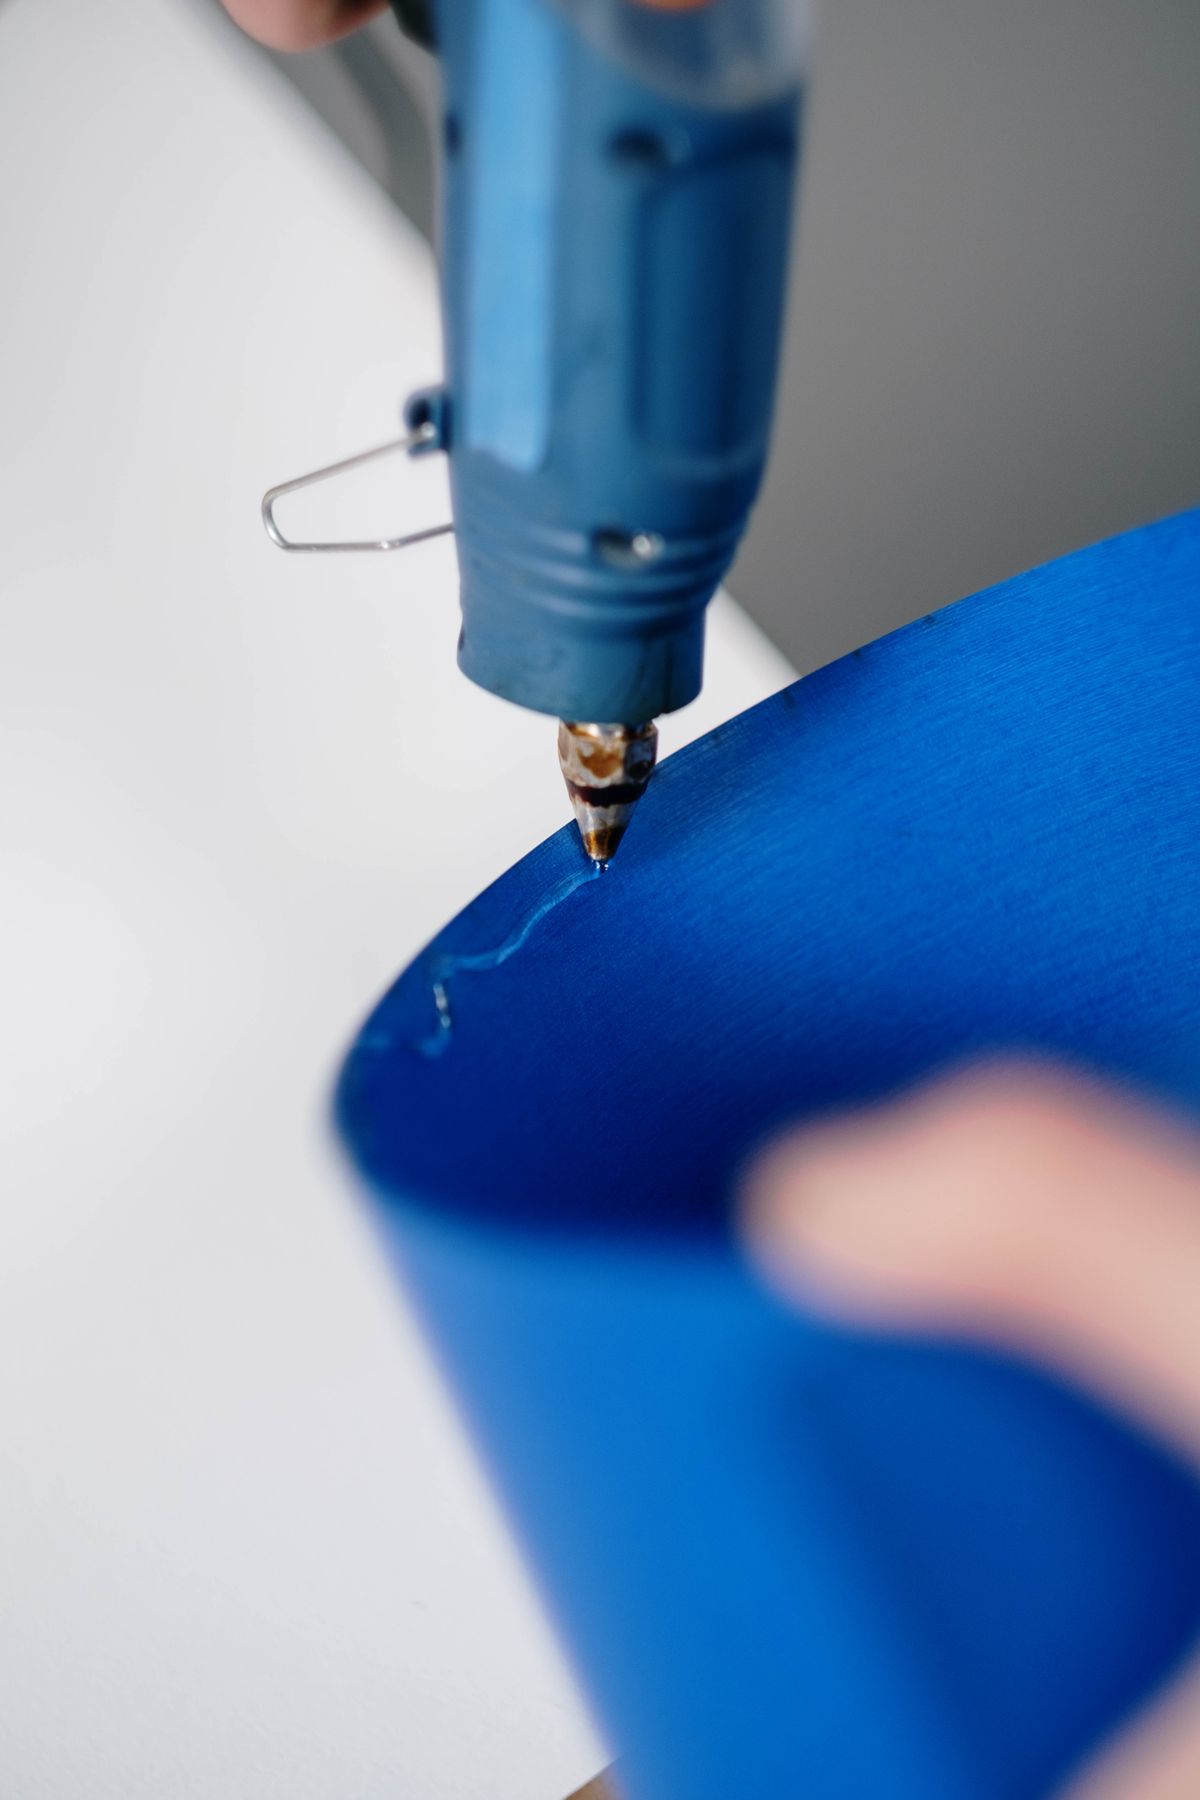
Draw a design in glue on canvas, let it dry raised and glossy, then paint over everything one color. The texture pops like embossed metal. Metallic paint makes this look genuinely expensive.
Pro Tip: Practice your design on parchment first — glue lines cannot be erased.
8. Colorful Keepsake Box
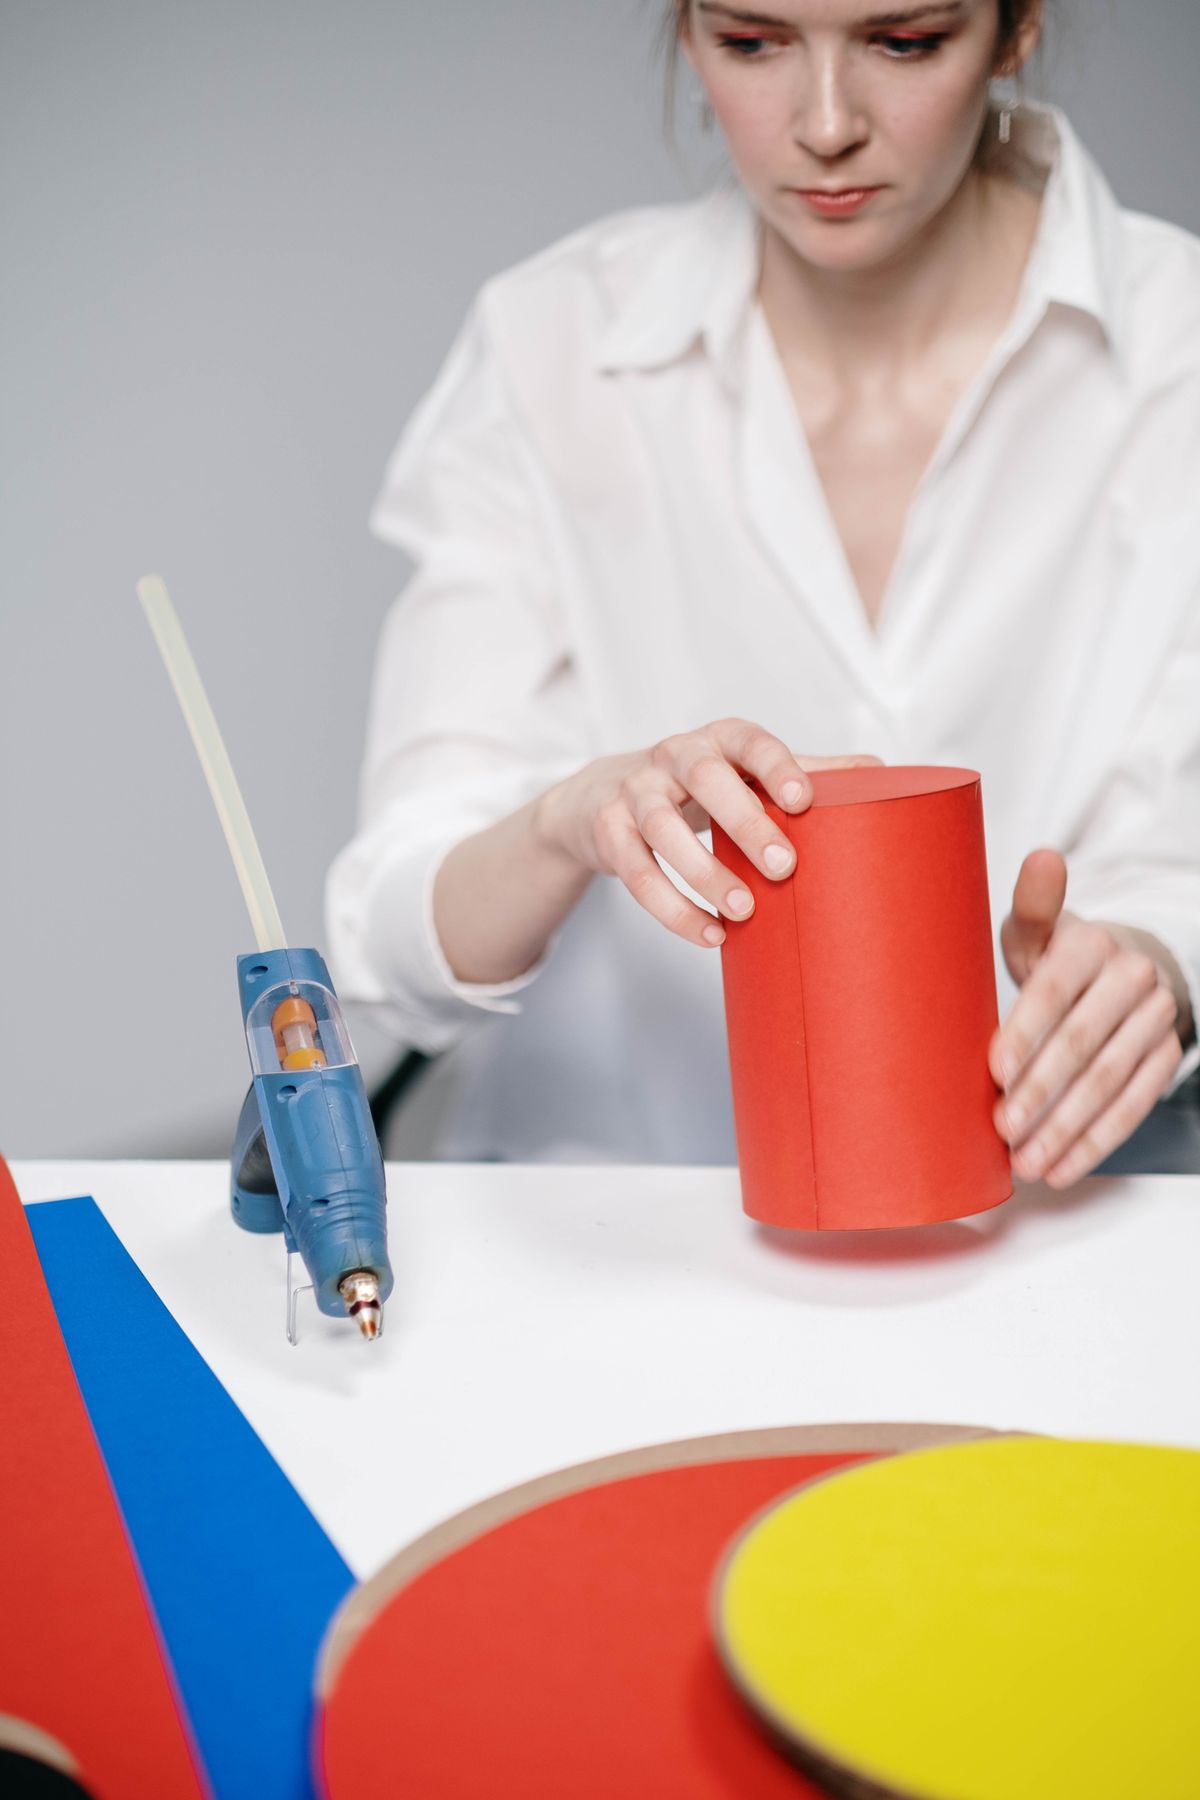
Glue fabric, trim, and buttons onto a plain wooden box and it becomes a keepsake worth keeping. I line the inside with felt for a soft finish. Teen crafters especially love personalizing these.
Pro Tip: Glue trim from the back hinge forward so seams hide behind the box.
9. Mini Cardboard Playhouse
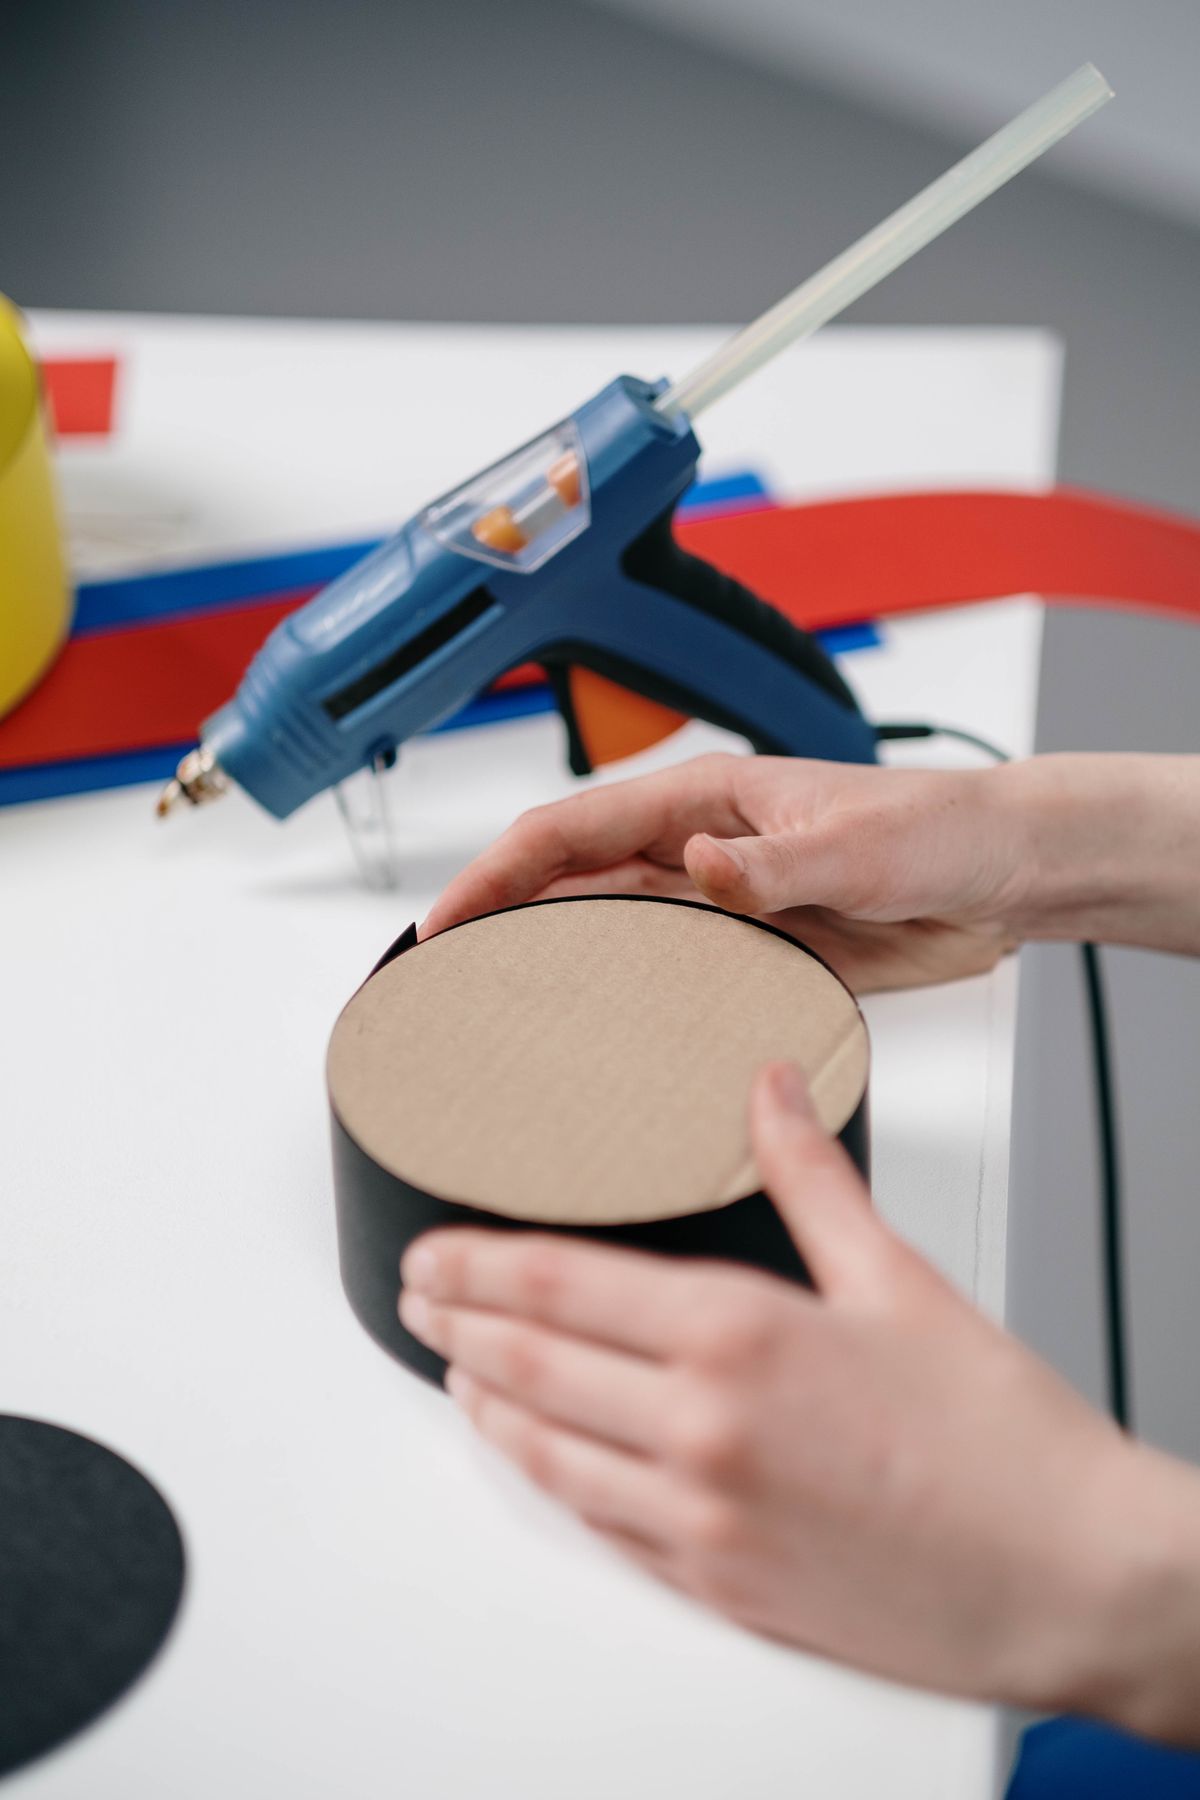
A big appliance box plus hot glue equals a weekend playhouse with a roof, door, and window boxes. Glue sets fast enough that kids can help build safely with the low-temp gun. Add paper shingles for charm.
Pro Tip: Reinforce every corner seam with a second glue bead inside the house.
10. Ornament and Cookie Wreath
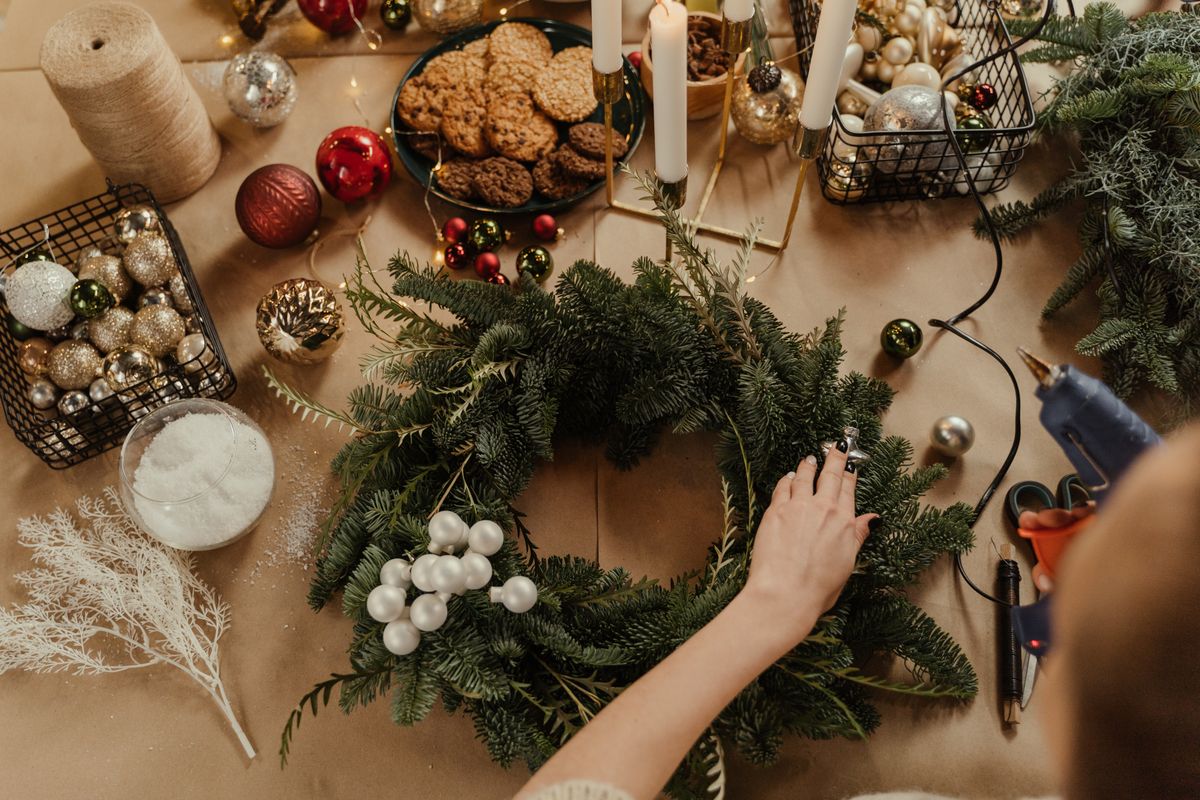
Glue ornaments, faux cookies, and greenery onto a foam wreath form for a front-door showpiece. The dense, layered look hides every glue point. Mine has survived four Christmases on the porch.
Pro Tip: Place the biggest ornaments first in a triangle pattern, then fill gaps with small ones.
11. Wooden Figurine Friends
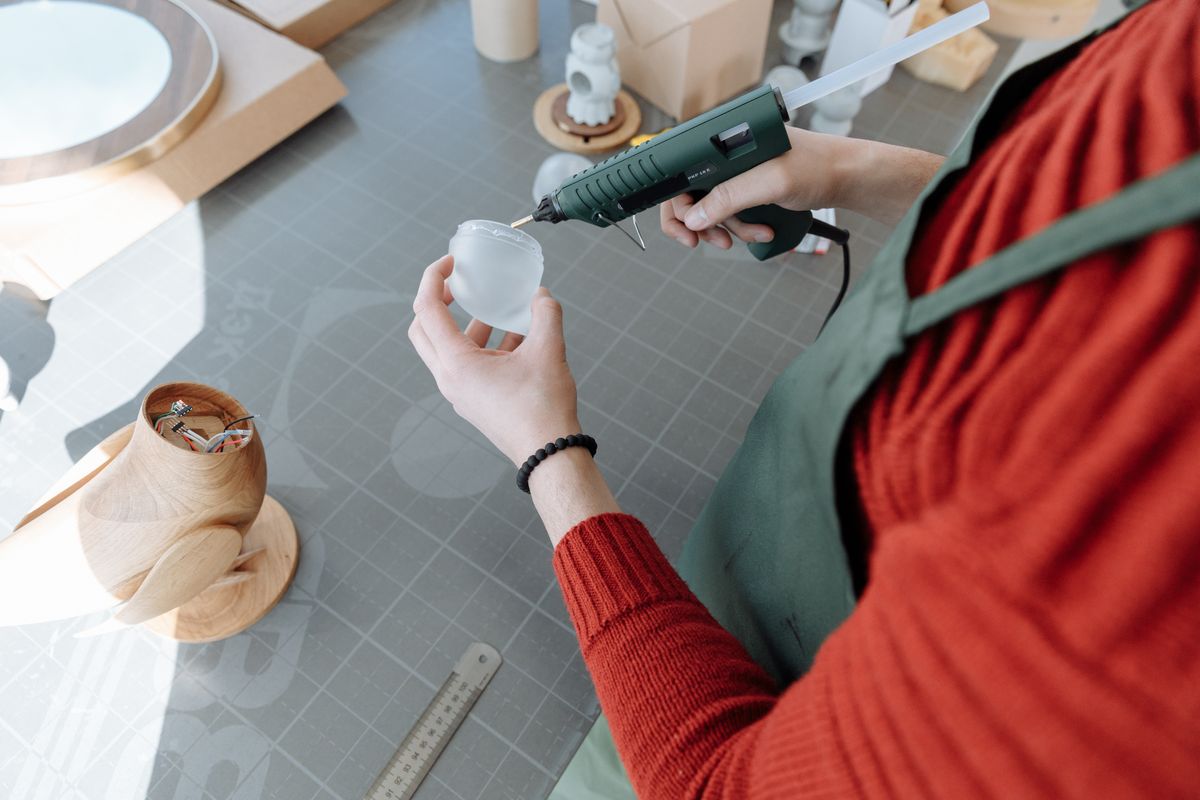
Wooden peg people get glued-on yarn hair, felt clothes, and tiny hats in minutes. Each one takes on a personality, which is exactly the fun. They make adorable place-card holders for parties.
Pro Tip: A toothpick is the perfect tool for placing tiny glue dots without strings.
12. Faux Flower Wreath
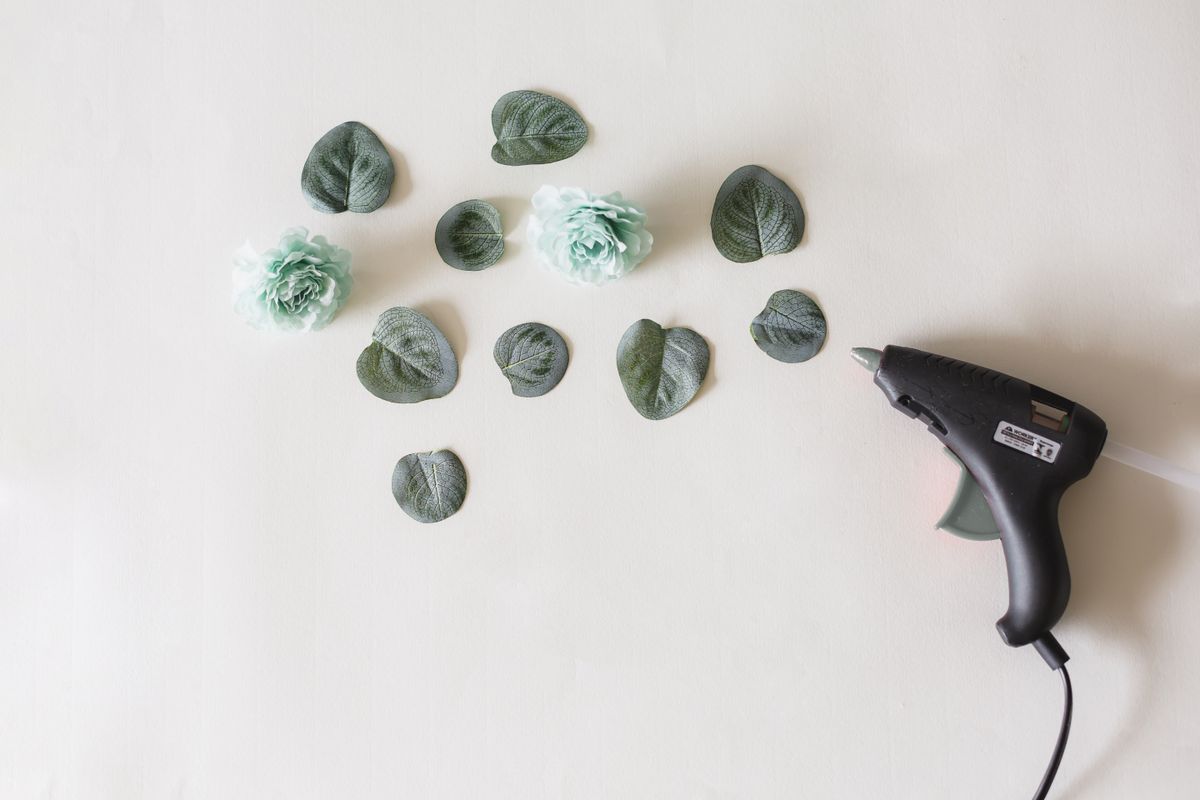
Silk flowers glued onto a grapevine wreath give you spring on the door in twenty minutes. I cluster blooms on one side for that modern asymmetric look. Change the bow and it works all year.
Pro Tip: Dip each stem end in the glue puddle rather than aiming the gun at the wreath.
13. Pinecone and Greenery Wreath
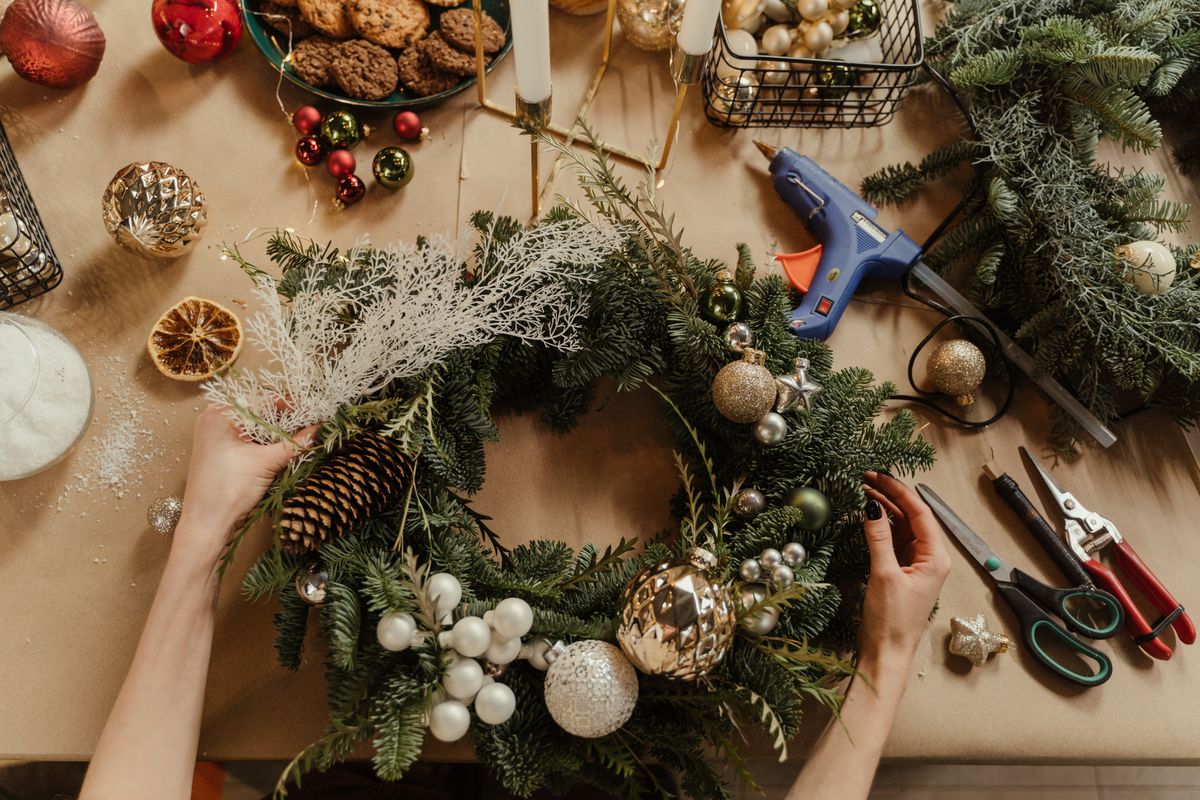
Foraged pinecones glued around a ring with sprigs of greenery cost me nothing and look woodland-luxe. A dusting of white paint on the cone tips fakes a frosty morning. Hang it with wide plaid ribbon.
Pro Tip: Bake found pinecones at 200°F for 30 minutes first to evict any tiny tenants.
14. Paper Chain Garland
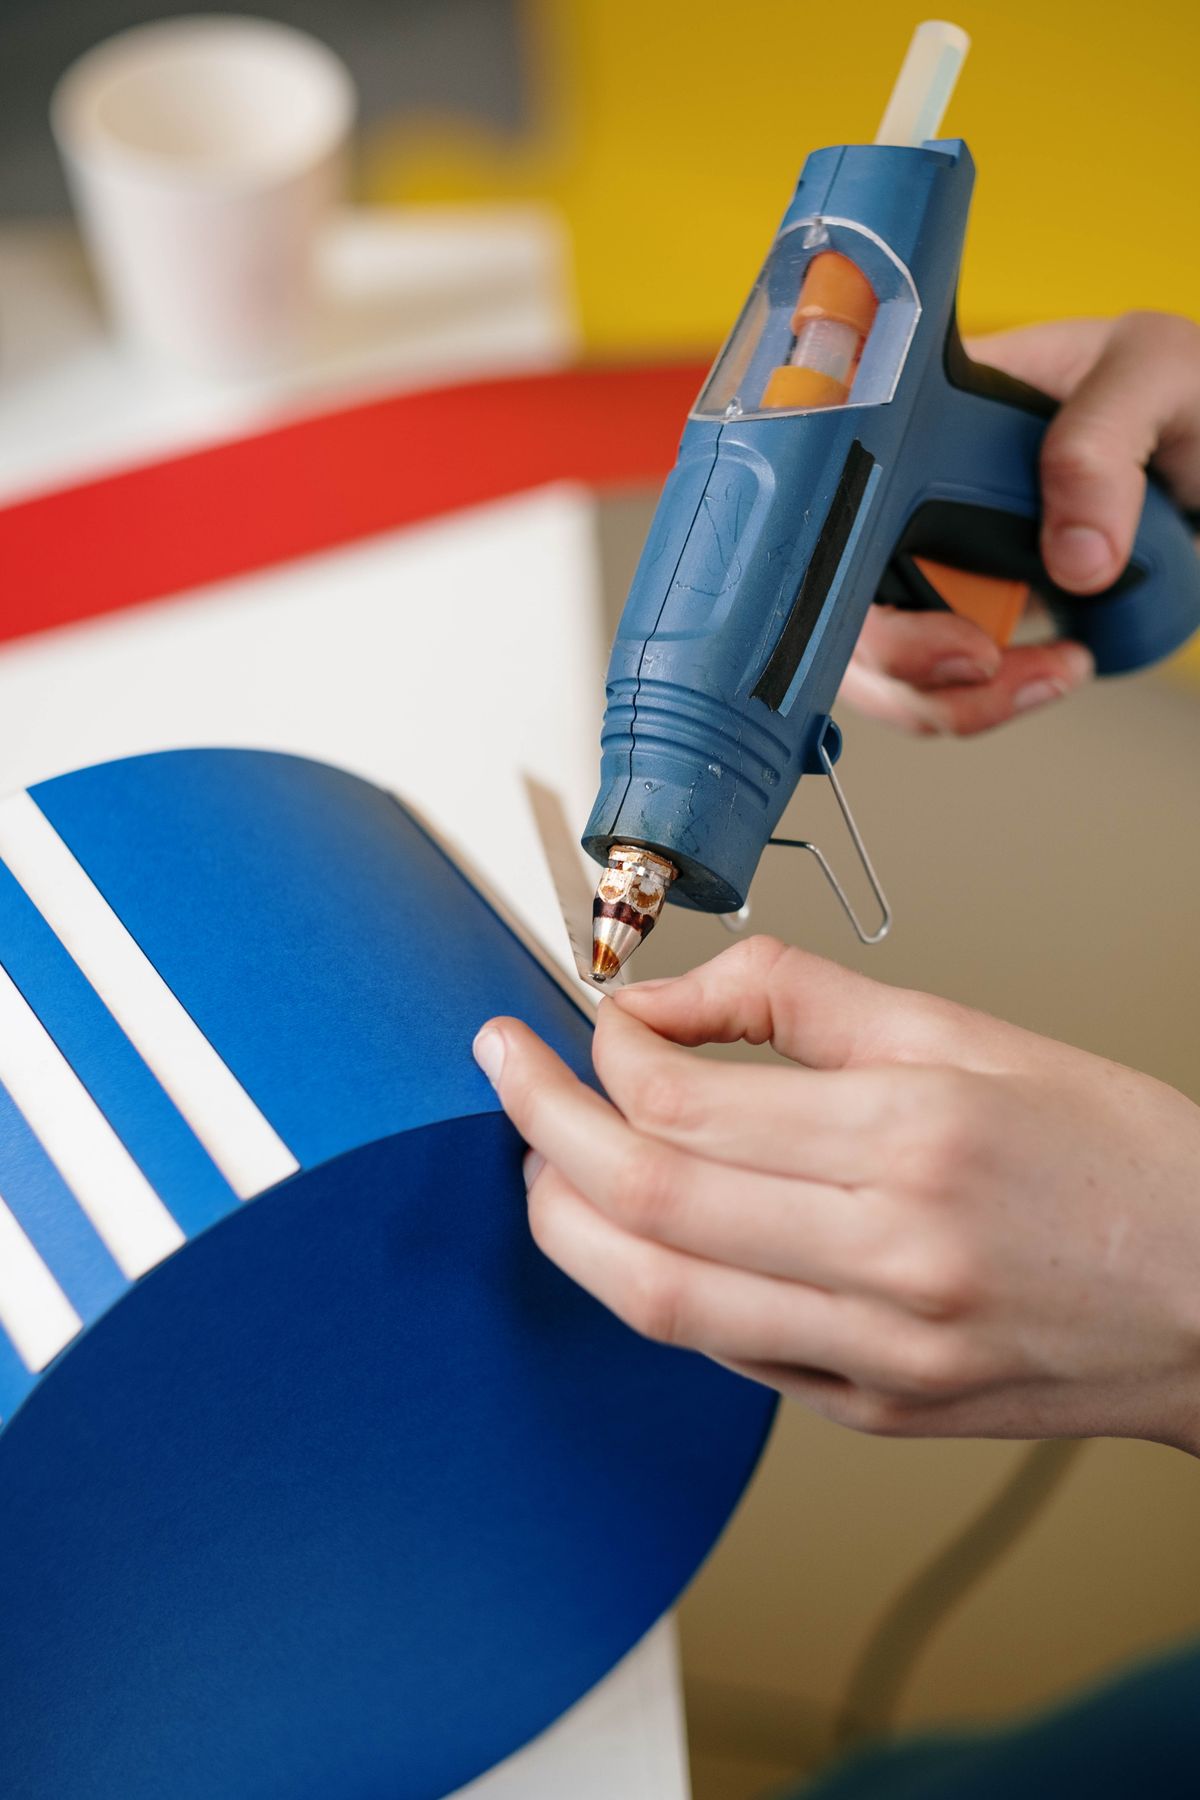
The school classic, upgraded: glue makes paper chains in a third of the stapler time and with no sharp edges. Use patterned scrapbook paper and they look boutique. My mantel gets a fresh color scheme every season.
Pro Tip: Low-temp glue only — high-temp can wrinkle thin paper.
15. Cardboard Castle for Toy Knights
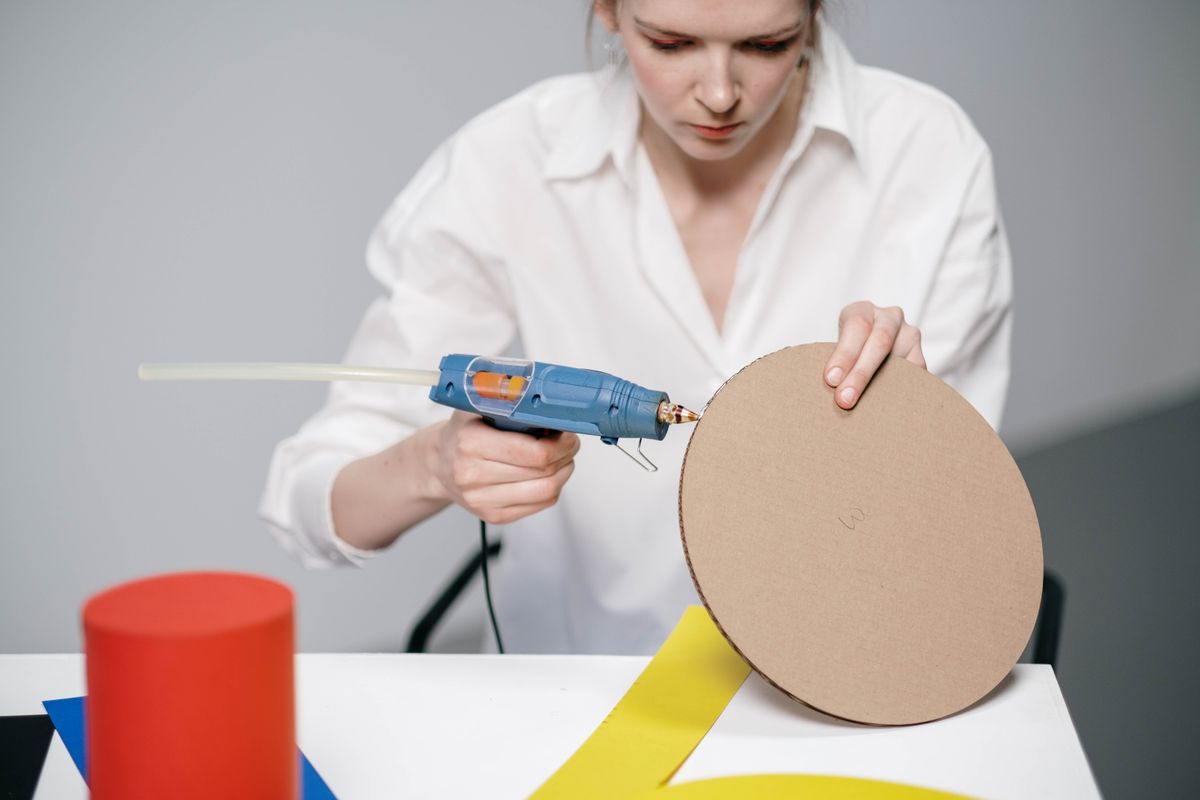
Cut crenellations into cardboard walls, glue on tube towers, and you have a castle worthy of every toy knight in the house. Gray paint and a drawn-on stone pattern finish it. This was a rainy-day legend in my home.
Pro Tip: Glue a paper-towel tube at each corner — towers add structure as well as looks.
16. Mini Wooden Workshop Figurine
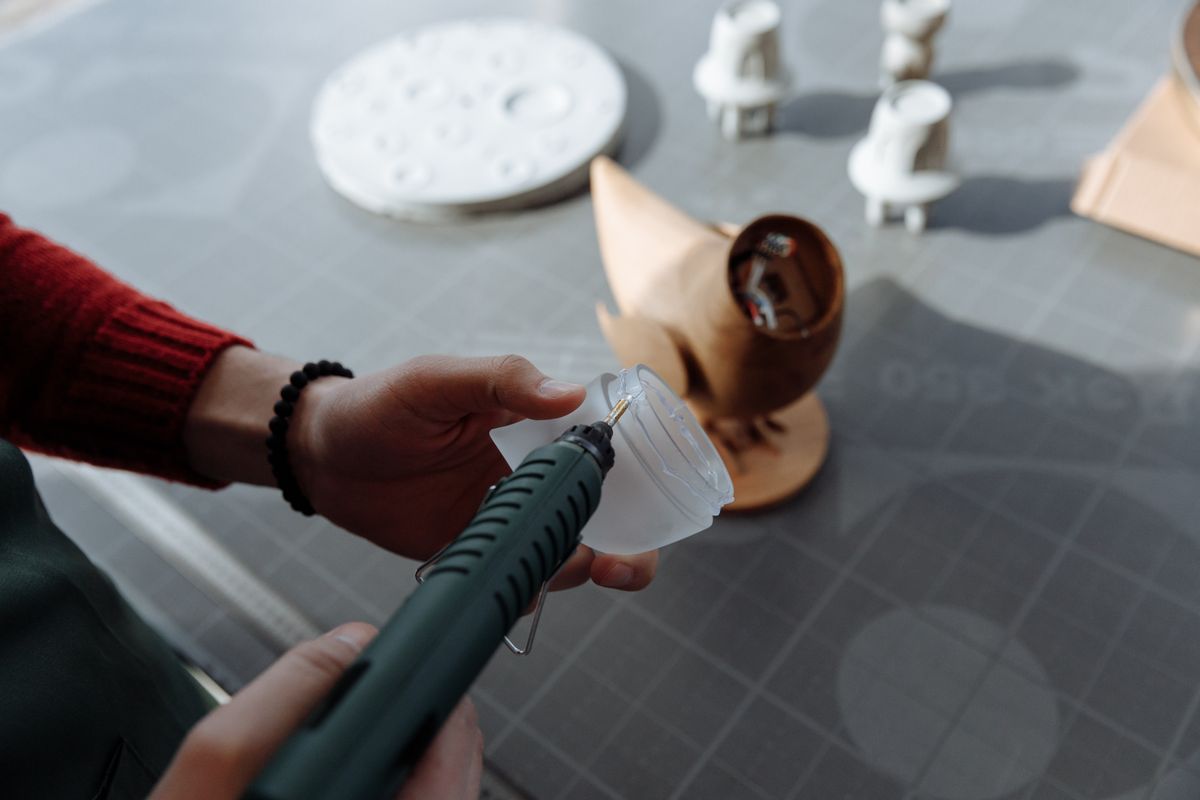
Offcuts and dowel bits become a tiny craftsman, complete with a glued-on apron and tool belt. I make these as desk gifts — everyone wants one holding their business cards. Scale up the pieces for a garden version.
Pro Tip: Clamp awkward joints with a clothespin for ten seconds while the glue grabs.
17. Geometric Wall Art Panels
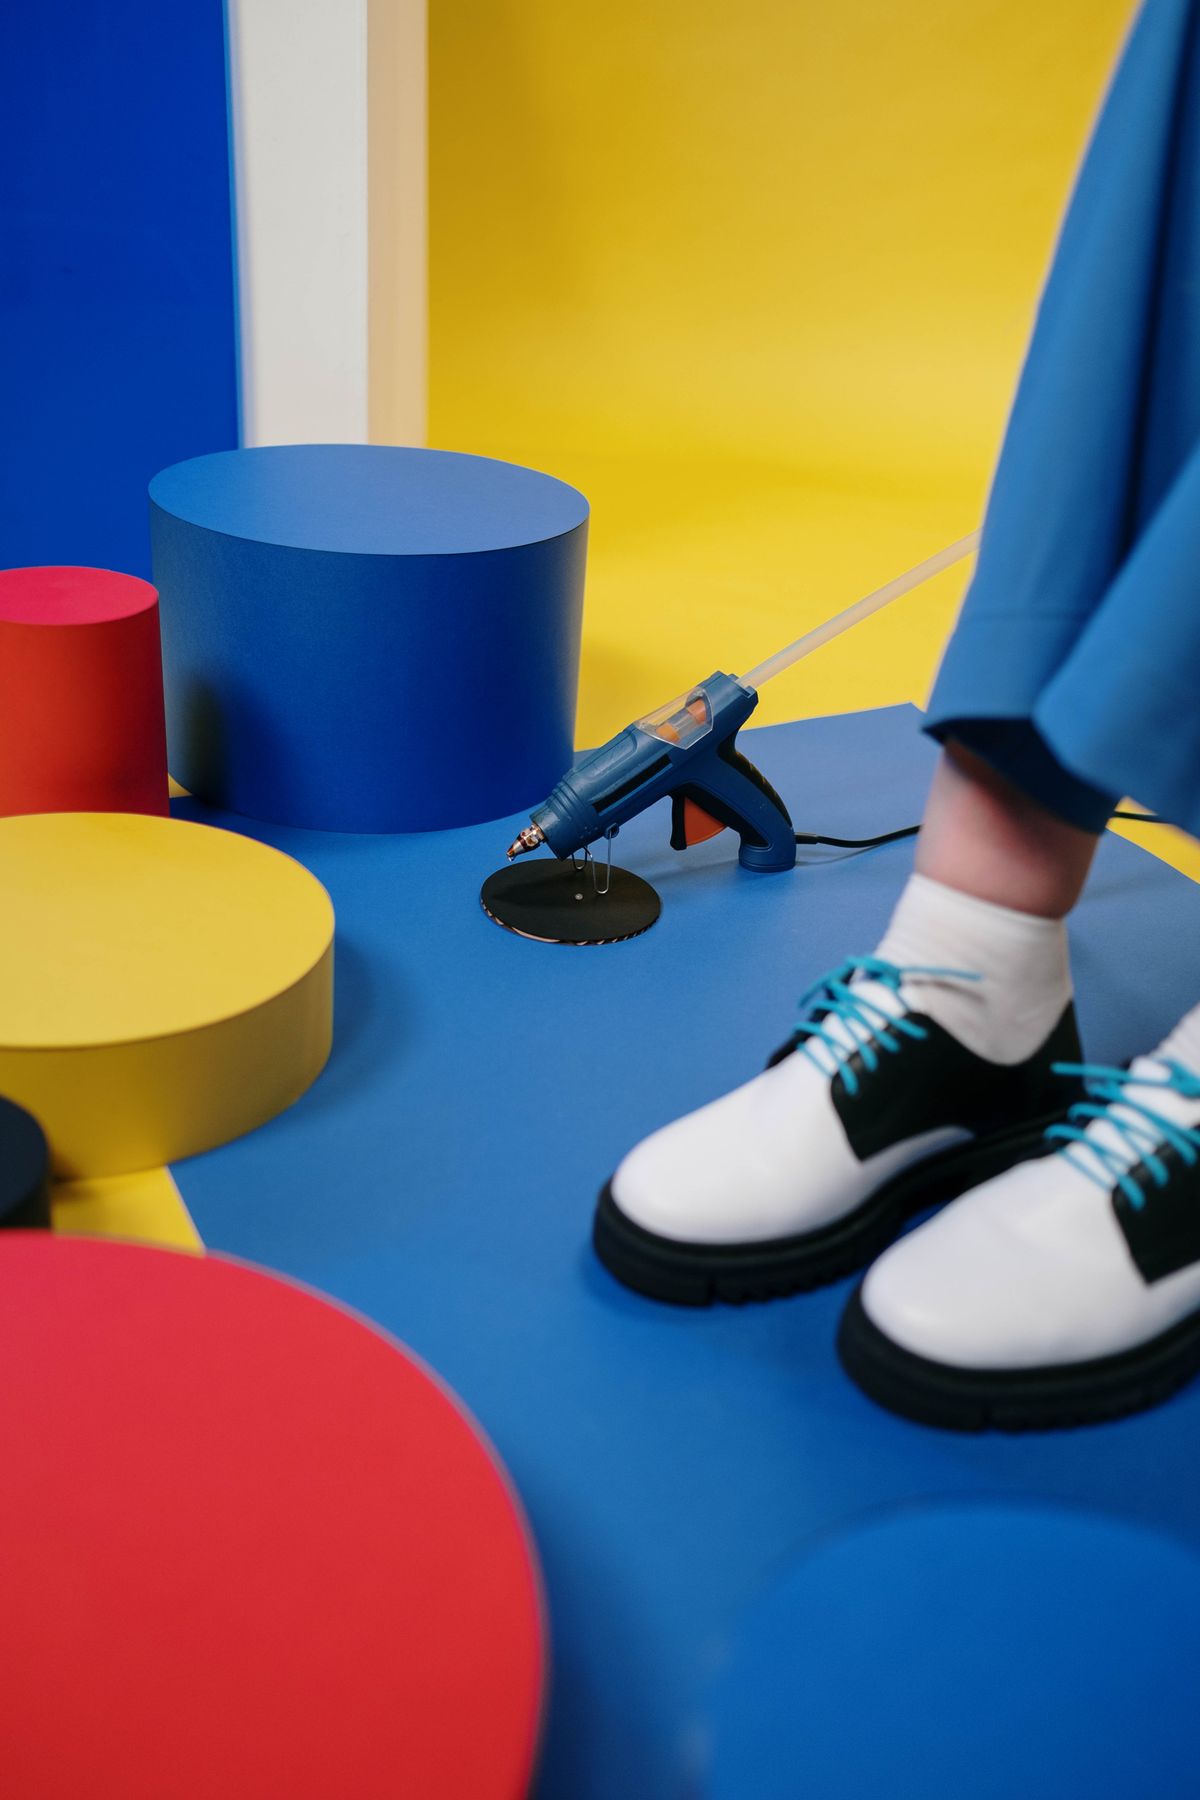
Glue painted cardboard triangles and hexagons into bold geometric panels. Lightweight, renter-friendly, and endlessly rearrangeable. I did a trio above my sofa for under five dollars total.
Pro Tip: Lay the full design out on the floor and photograph it before gluing anything.
18. Bauble Christmas Wreath
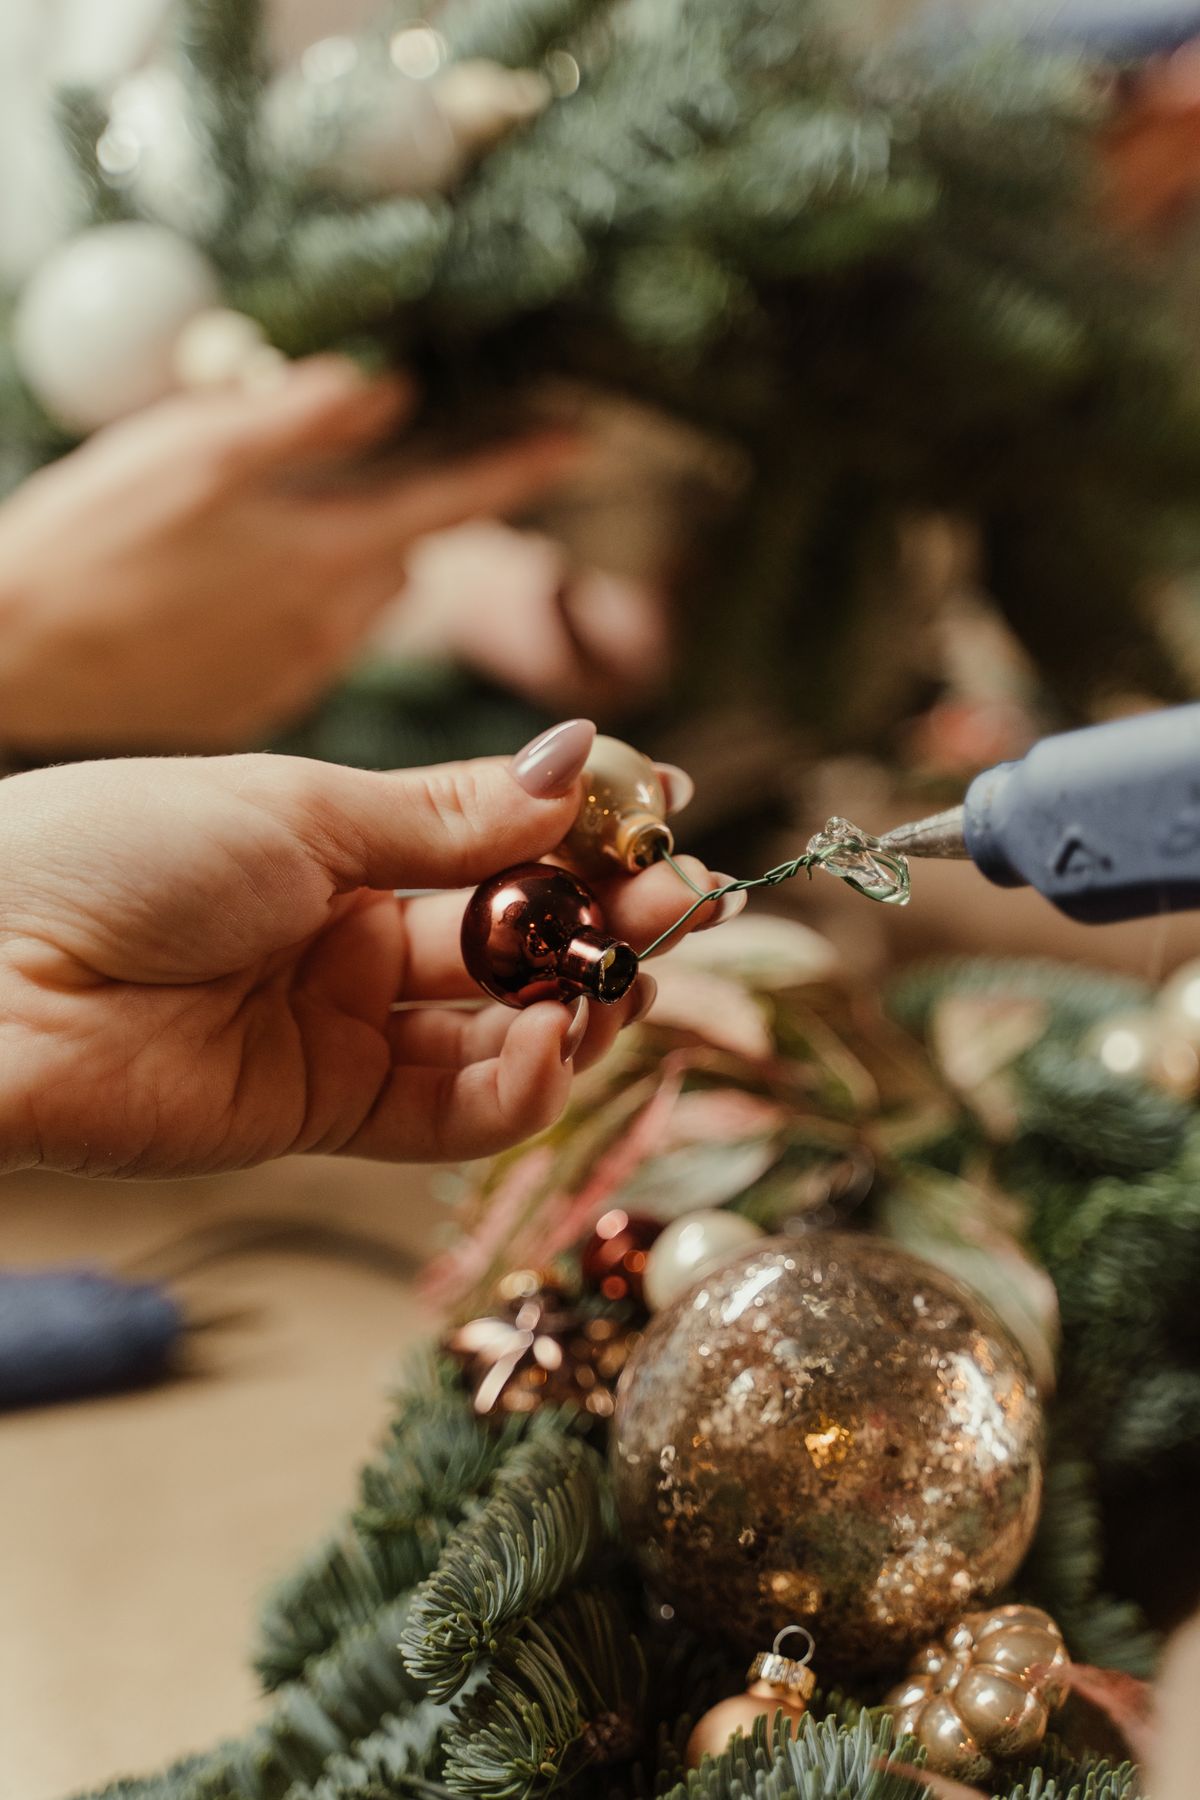
A wreath form buried under glued baubles in mixed sizes looks like pure holiday glamour. Use shatterproof balls and it will last for years. Silver and white is my classic; the rainbow one delights the grandkids.
Pro Tip: Remove the ornament caps first so each ball sits flat and glues securely.
19. Wooden Angel Figurines
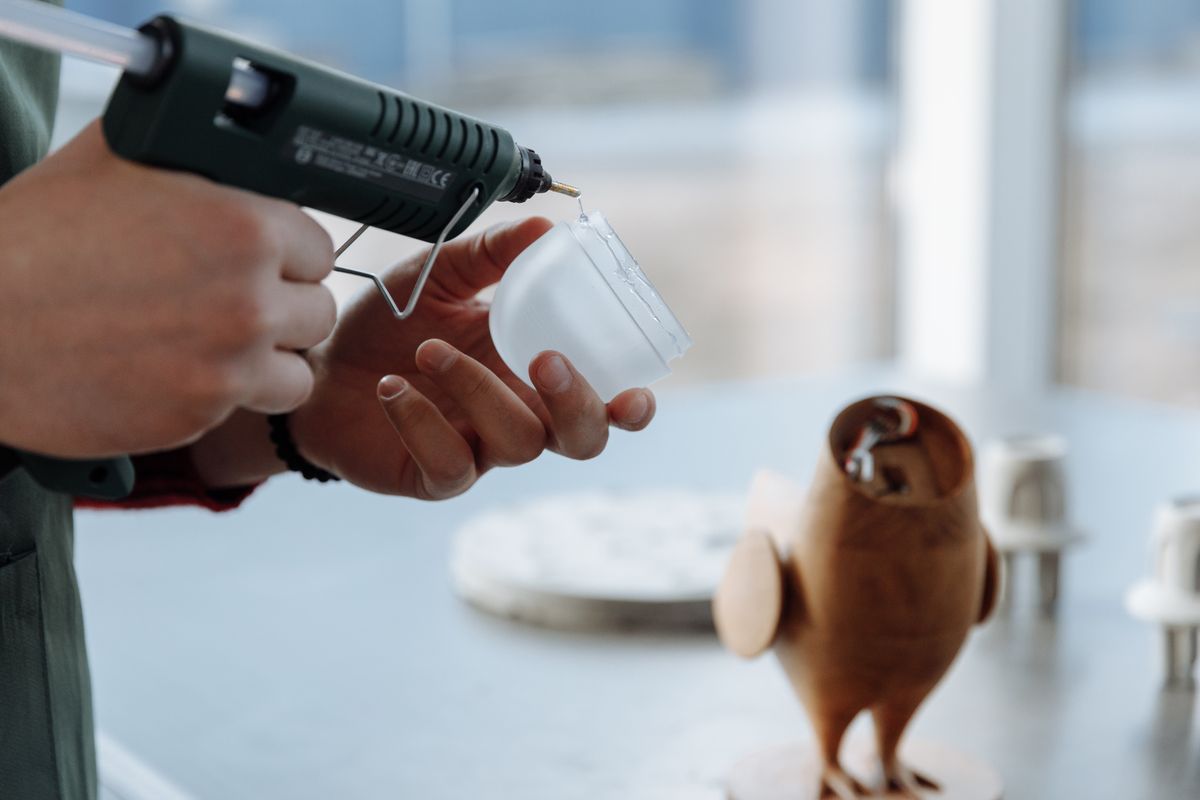
A clothespin body, glued lace wings, and a bead head make angels that grace my tree and my gift wrap. Add a loop of gold cord to hang them. They take four minutes each once you start an assembly line.
Pro Tip: Glitter glue sticks make the wings sparkle with zero extra steps.
20. Paper Sculpture Flowers
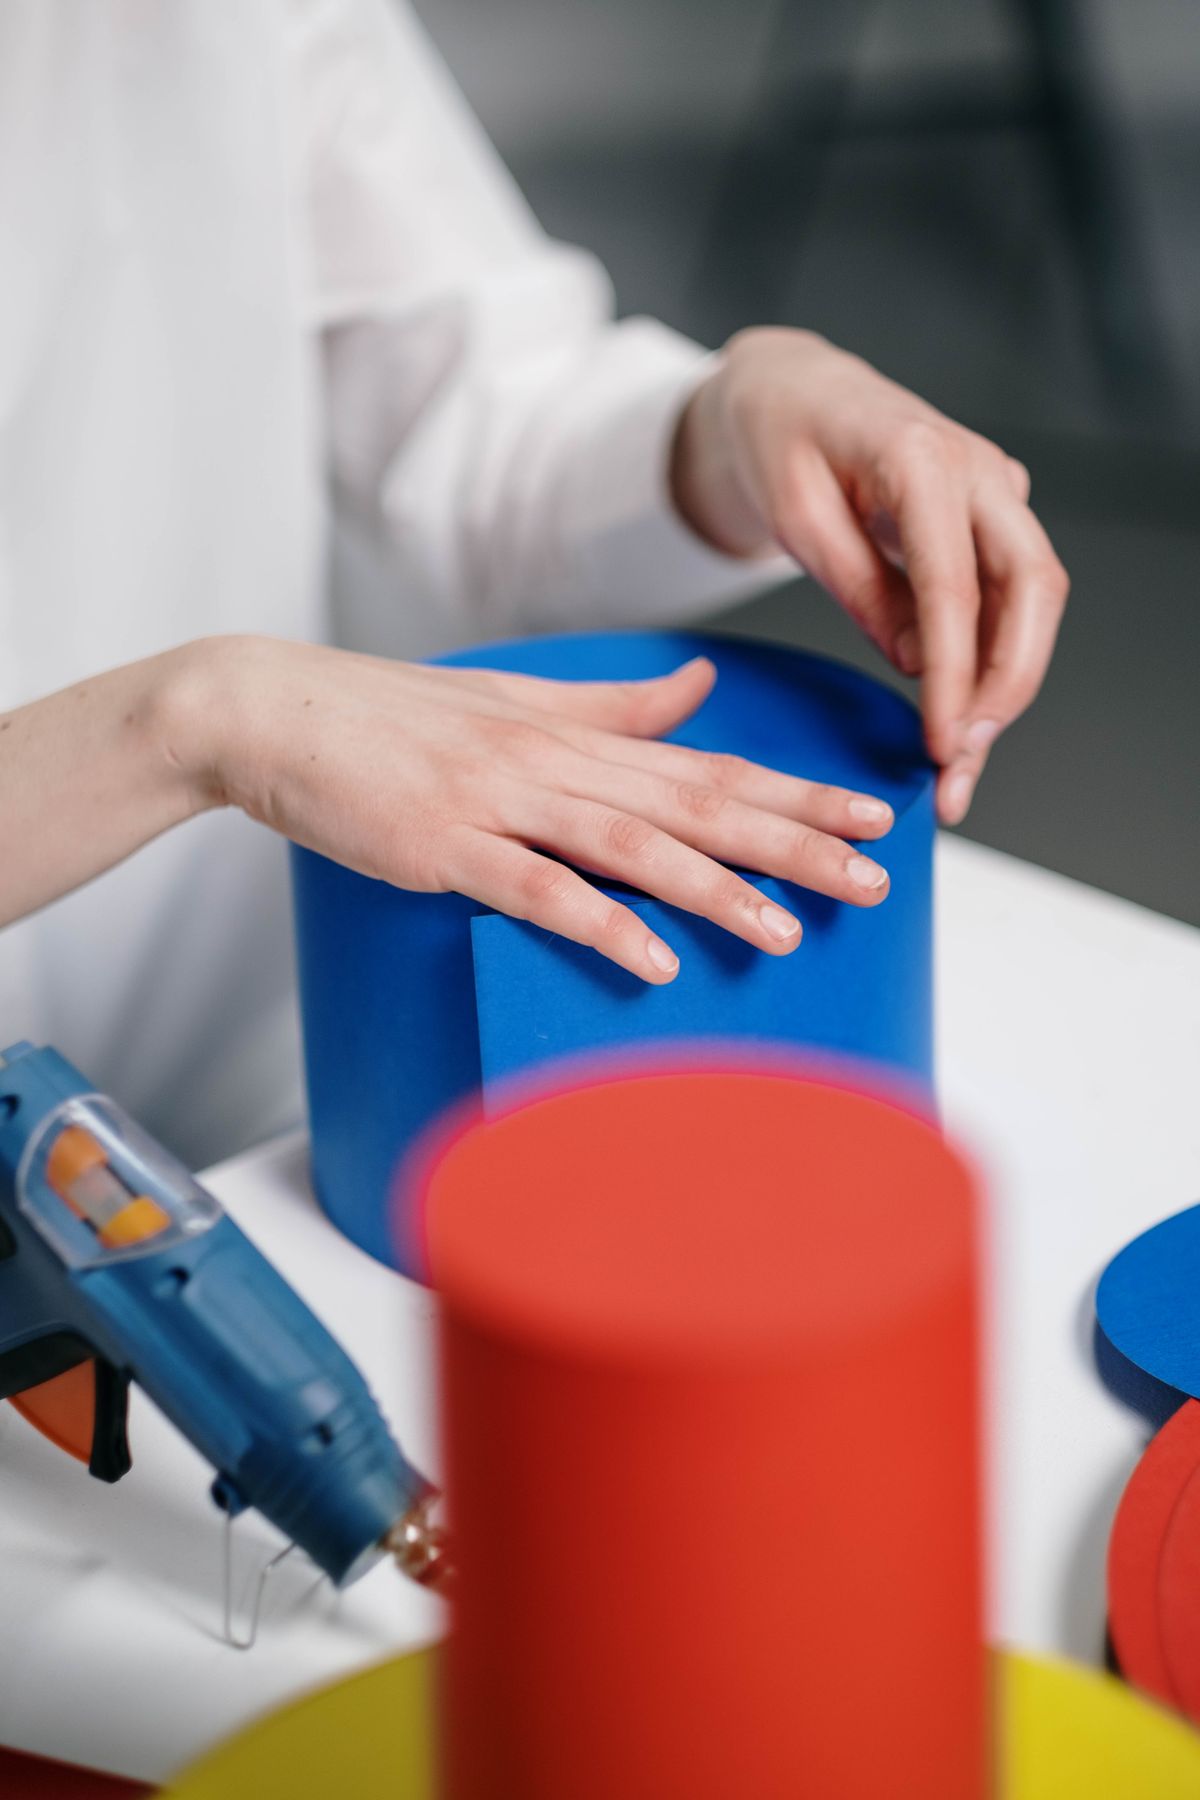
Curl paper petals with a pencil, then glue them layer by layer into lush, sculptural blooms. Big ones make stunning wall decor; small ones top gift boxes. They never wilt and never need watering.
Pro Tip: Glue petals to a small paper circle base — it keeps the flower’s shape perfect.
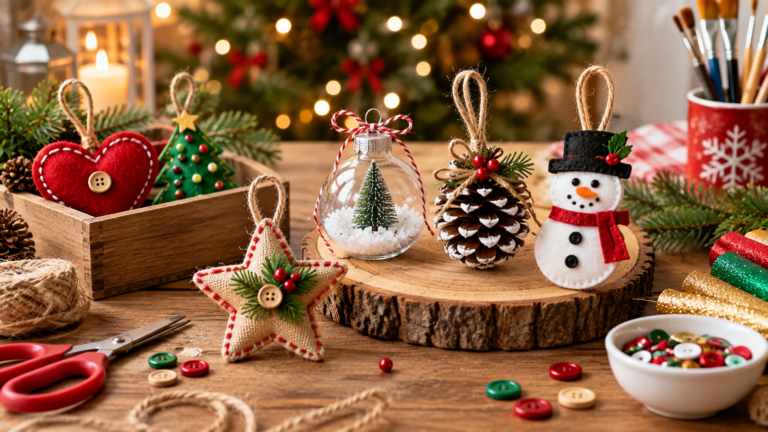
21. Beaded Pinecone Ornaments
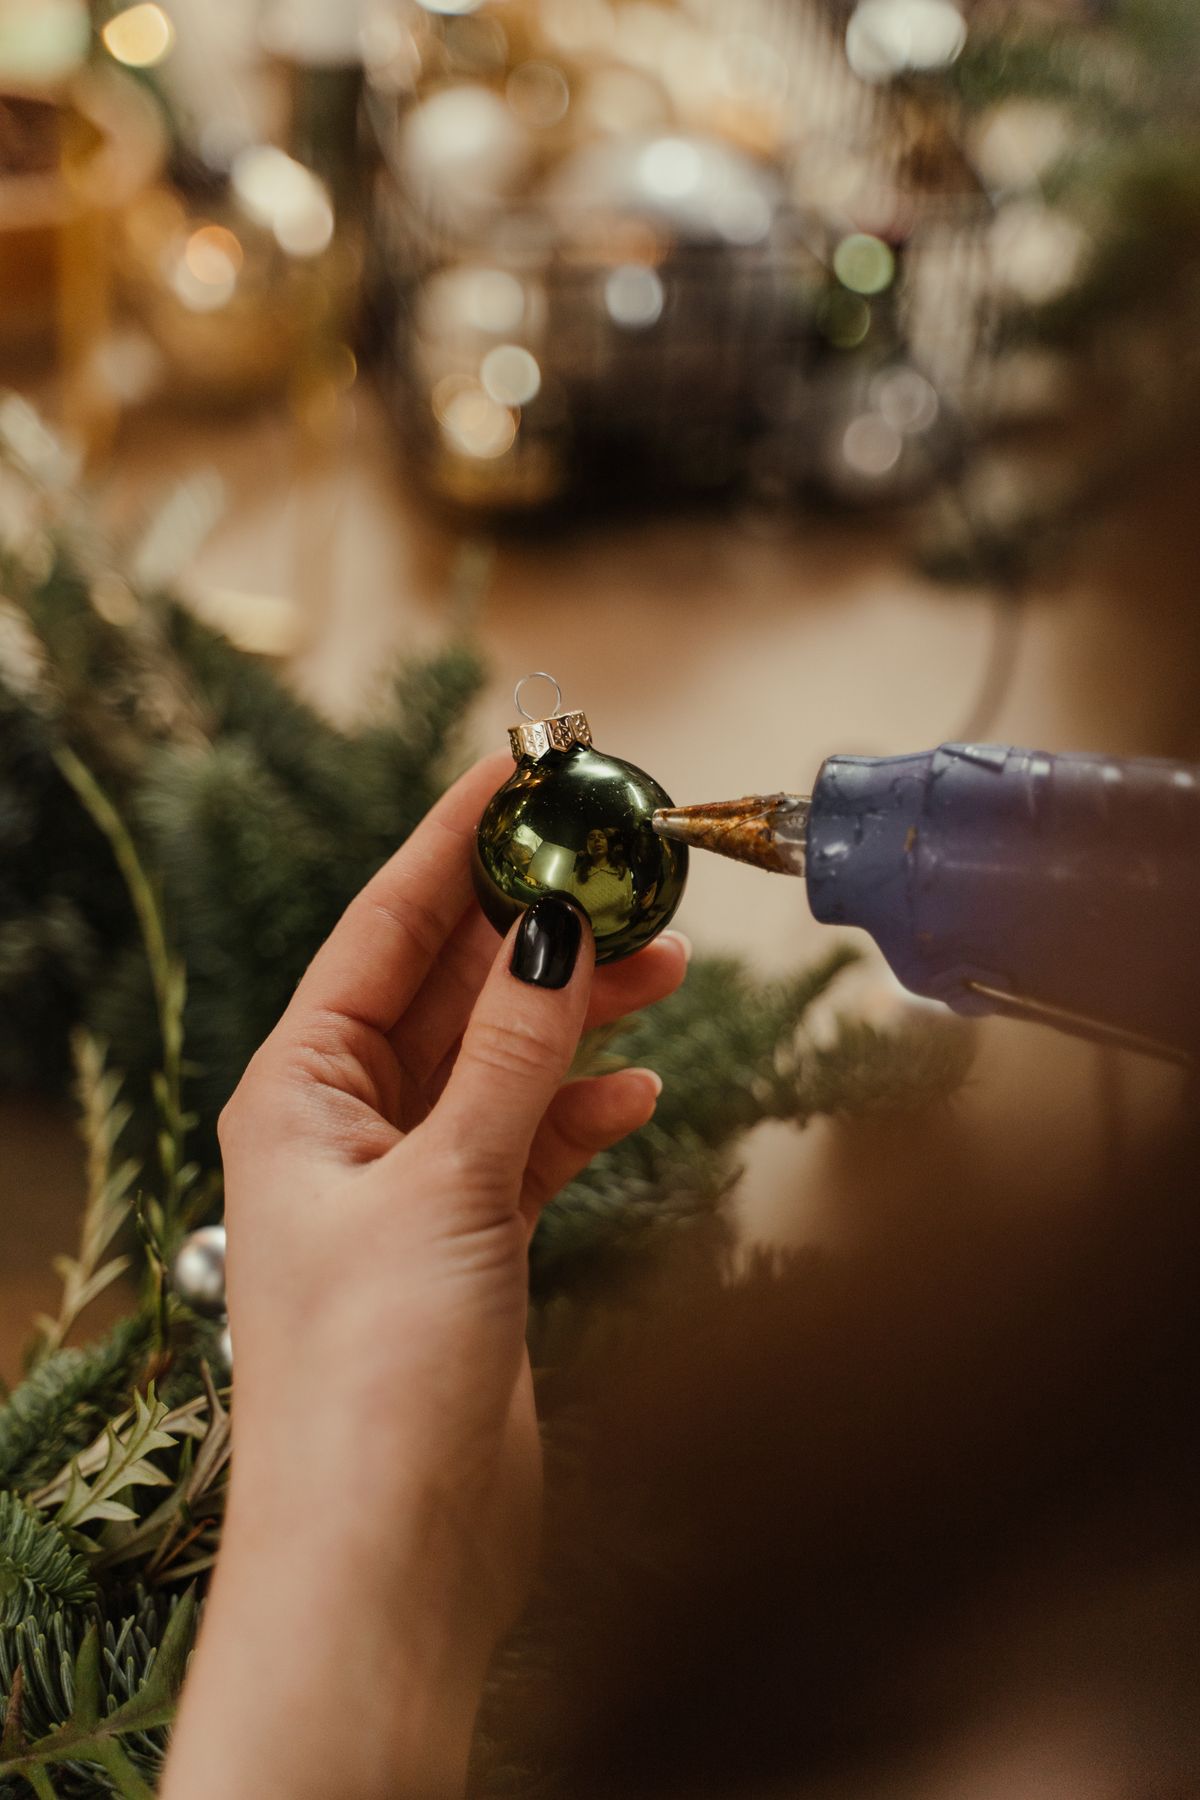
Dot glue between pinecone scales and press in tiny beads or gems for a jeweled woodland ornament. Add a glued ribbon loop and it hangs beautifully among real greenery. Nature plus sparkle is always my favorite mix.
Pro Tip: Work over a tray — runaway beads are the glitter of the pinecone world.
Also read: several of these projects pair beautifully with handmade gifts, and my list of Cheap Crafts to Make and Sell shows which ones buyers love most.
22. Layered Paper Greeting Cards
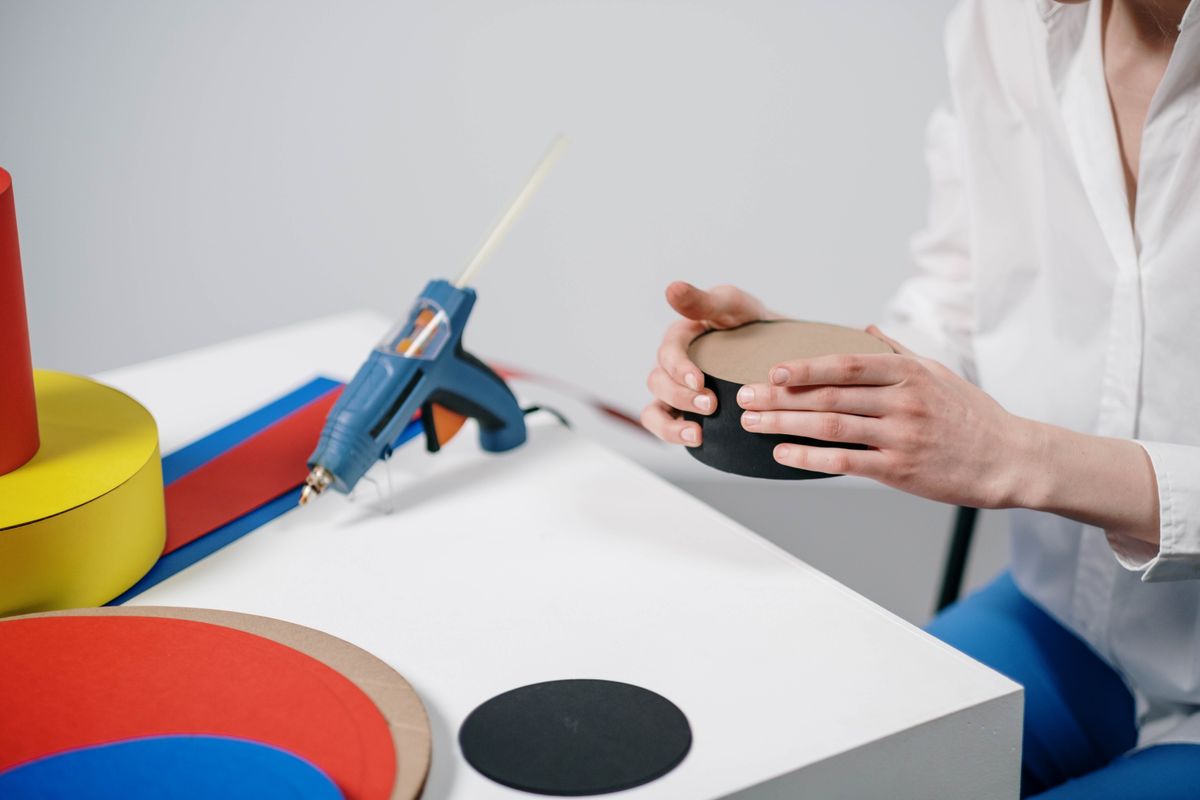
Glue gives cards dimension that flat tape never can: layered papers, ribbon, and a raised sentiment banner. I keep a shoebox of finished blanks for every occasion. Recipients genuinely keep these.
Pro Tip: Tiny glue dots at corners only — full lines can warp card stock as they cool.
23. Twine-Wrapped Wooden Sign
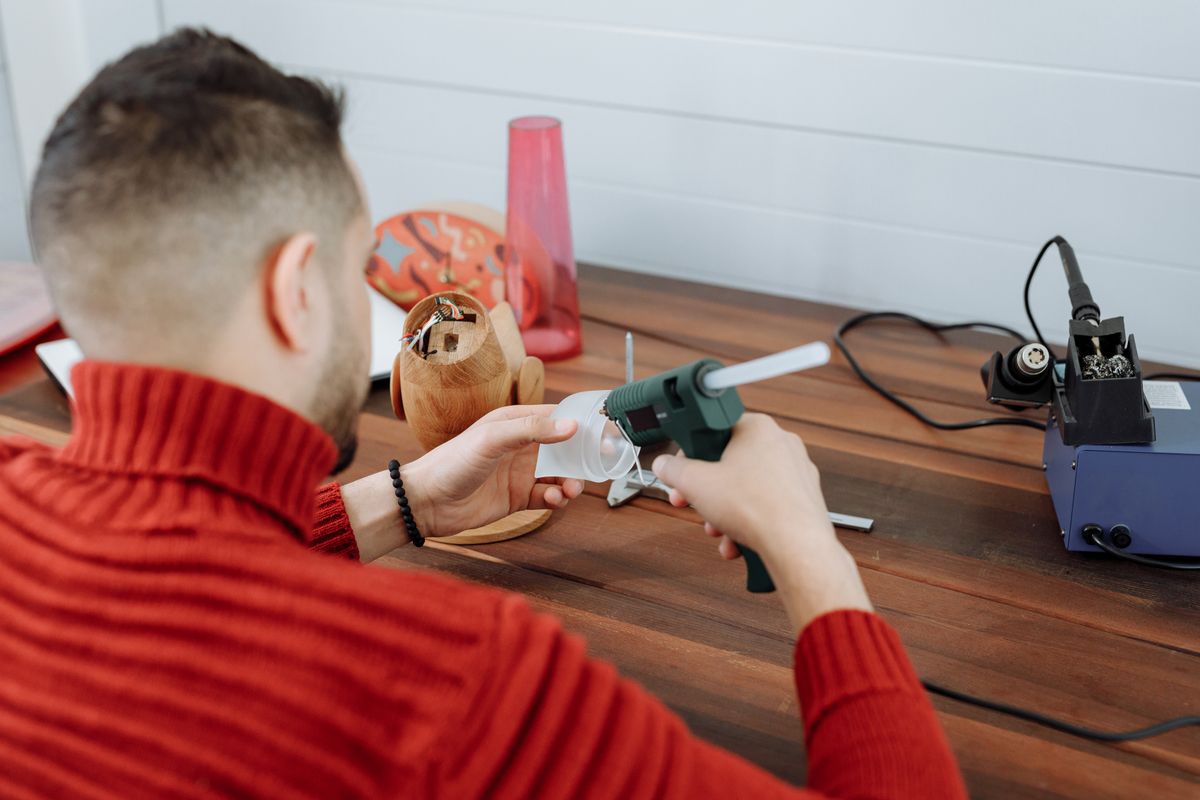
Write a word in glue-dipped twine right onto a wood slice or plank for instant farmhouse signage. “Gather,” “hello,” your family name — all charming. Seal it with a clear coat if it will live outdoors.
Pro Tip: Pencil the word first and glue twine in short sections so curves stay smooth.
24. Cardboard Photo Frame
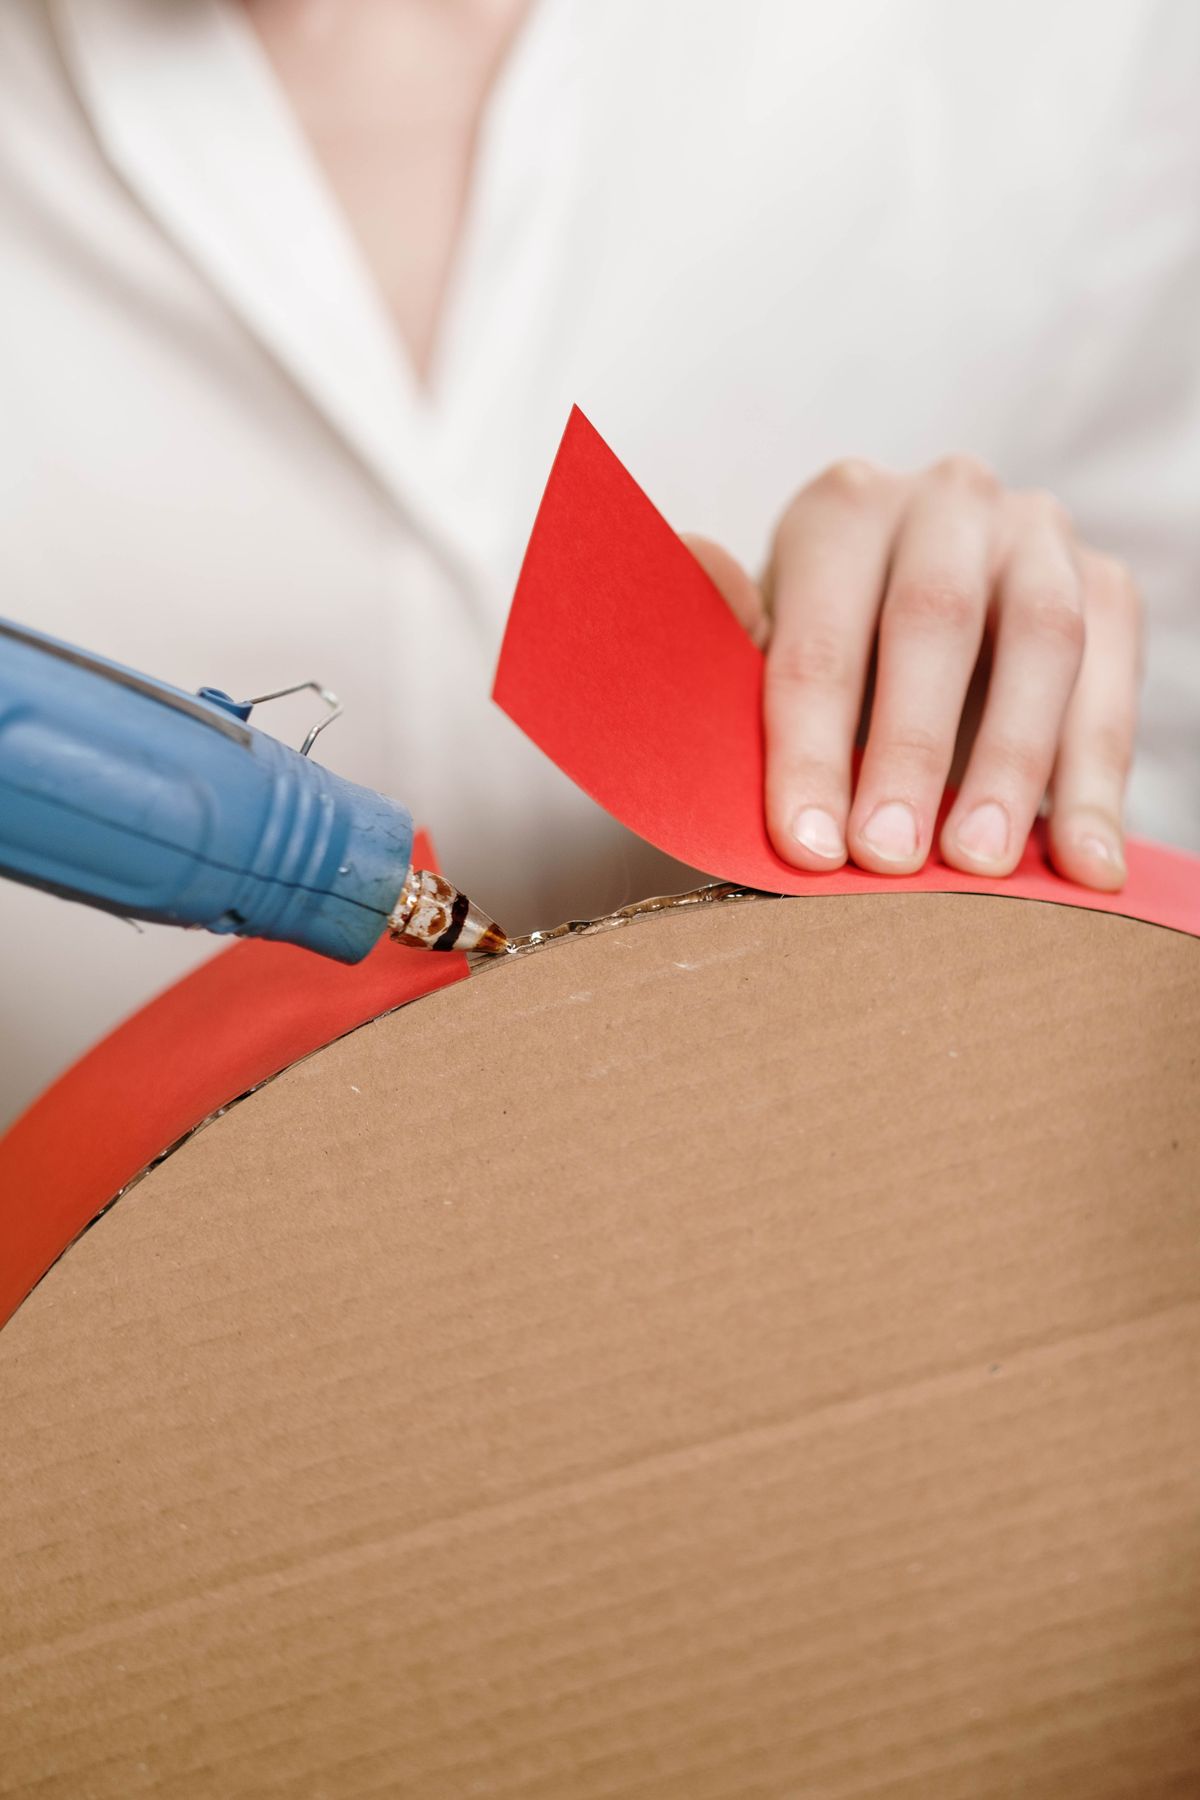
Two cardboard rectangles, a window cut in one, glued edges on three sides — a frame in ten minutes. Cover with fabric, shells, or buttons to match the photo. Kids love making these for grandparents.
Pro Tip: Leave the top edge unglued so photos slide in and out easily.
25. Giant Cardboard Wall Letters

Cut letter shapes from cardboard, glue on side walls for depth, and you have those pricey 3D letters for pennies. Paint them, wrap them in yarn, or cover them with moss. Nursery initials are my favorite use.
Pro Tip: Print the letter huge and trace it — freehand letters always lean.
26. Embellished Gift Boxes

Glue pom-poms, faux gems, or pressed flowers onto plain kraft boxes and the wrapping becomes the gift. I keep a stash ready for birthdays that sneak up on me. A glued monogram makes it personal in seconds.
Pro Tip: Decorate the lid only, so the box still opens without wrecking your work.
27. Cardboard Dollhouse

Stack and glue cardboard rooms, add paper wallpaper and tiny glued furniture, and a dollhouse appears by dinner. It is light enough for little hands to carry room to room. Ours has been redecorated four times.
Pro Tip: Score fold lines with a ruler and butter knife before bending for crisp walls.
28. Paper Party Banner
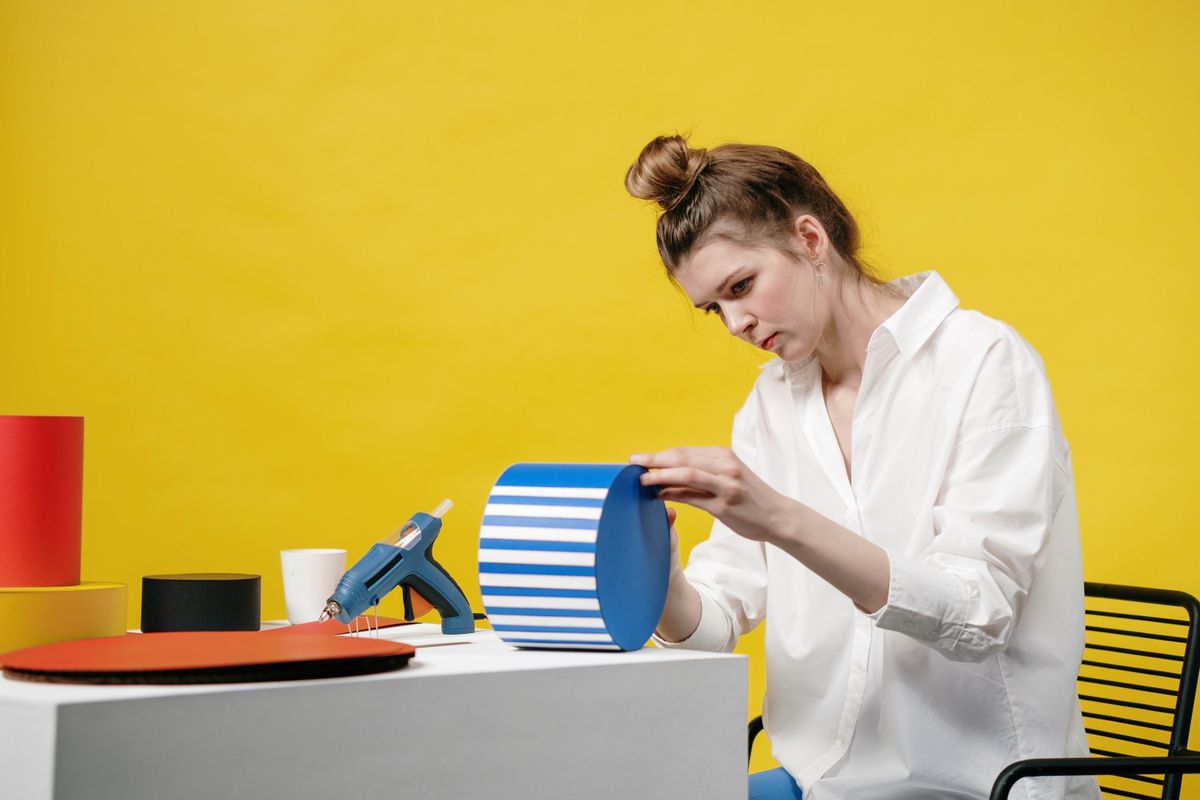
Glue paper flags along a ribbon at even spacing and your banner hangs flat and neat — no sliding like the stapled kind. Add glued letters or glitter edges for the occasion. I reuse the ribbon and swap flags per party.
Pro Tip: Fold each flag’s top over the ribbon and glue the fold — double strength, clean look.
29. Sequin Photo Frame

Run glue lines around a dollar-store frame and pour on sequins for a glam border that catches every light. Shake off the excess over paper and funnel it back into the jar. Pure sparkle, zero sewing.
Pro Tip: Work in two-inch sections so the glue is still tacky when sequins land.
30. Geometric Paper Mobile
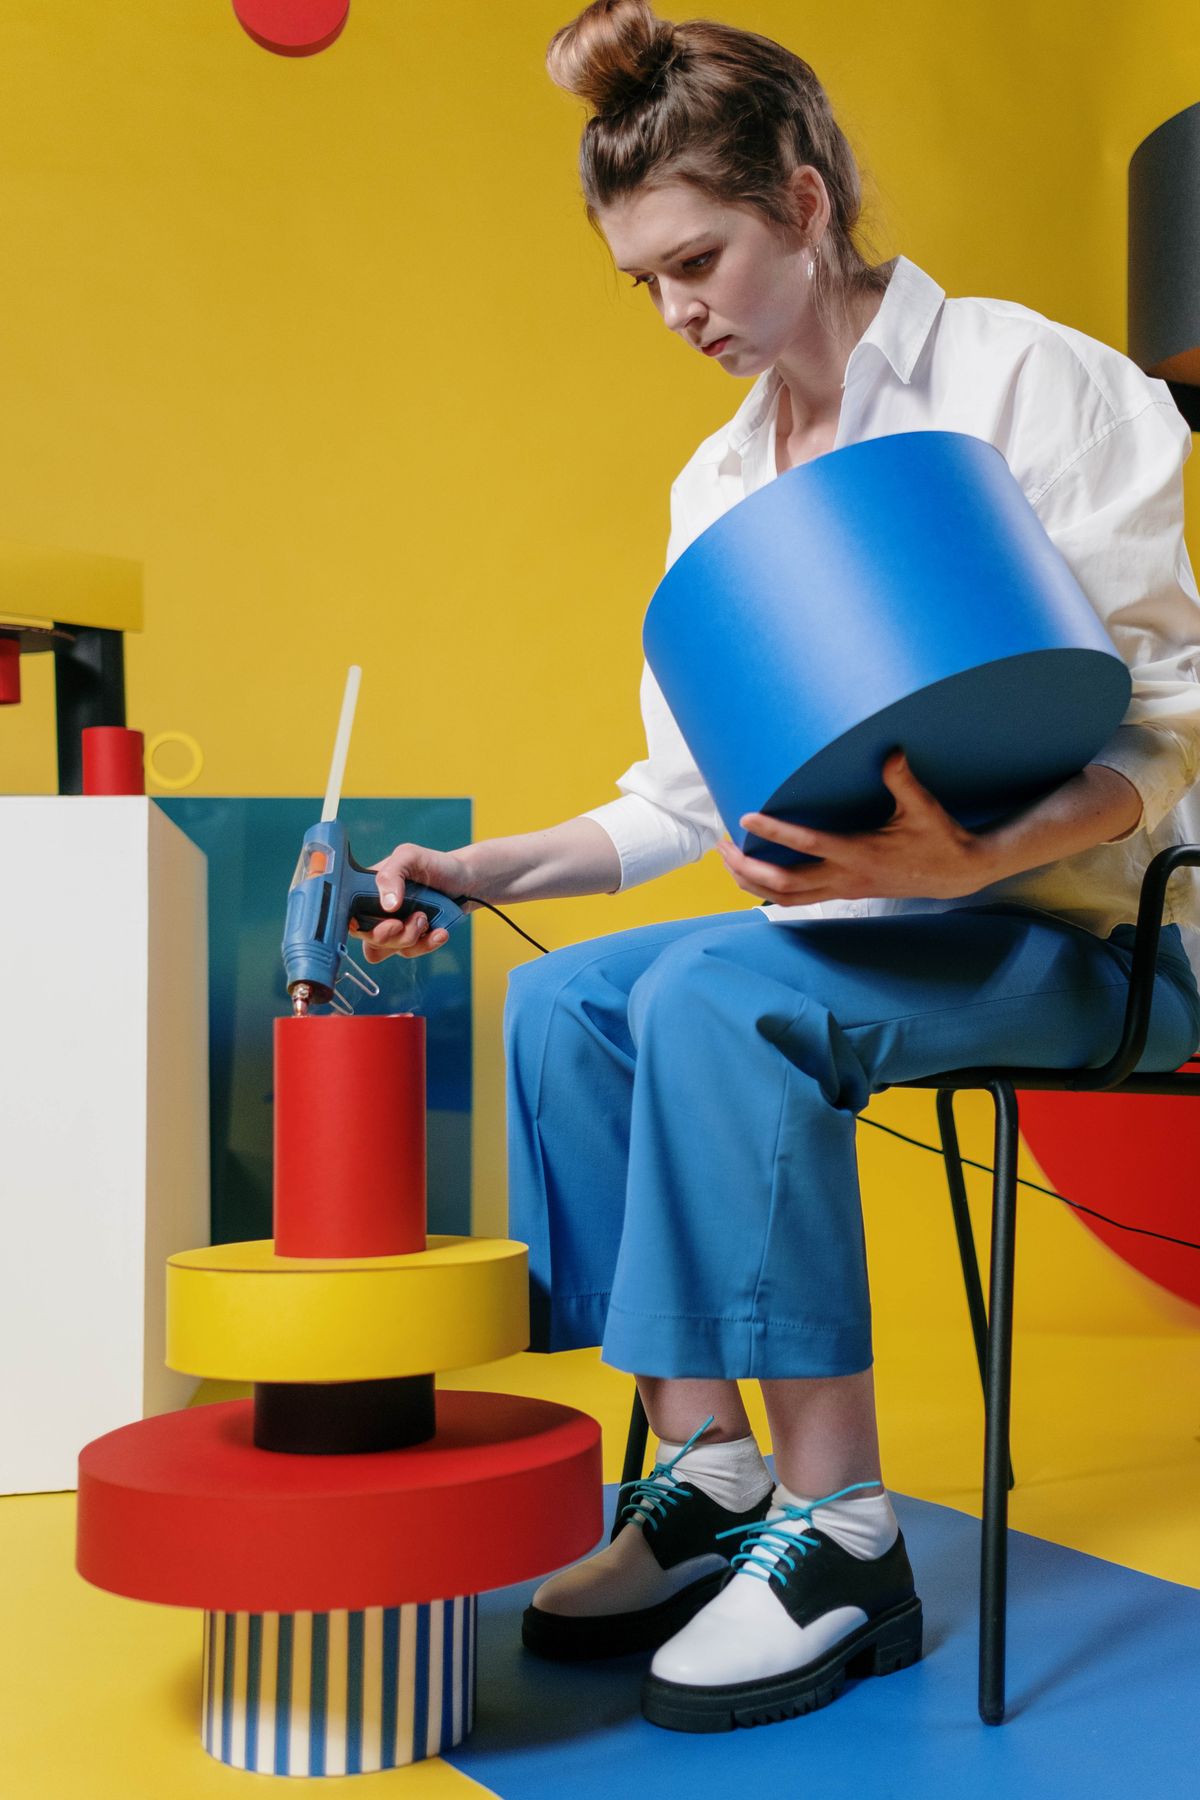
Fold and glue paper pyramids and octahedrons, then string them into a mobile that spins with the breeze. Poster-weight paper keeps the shapes crisp. It is mesmerizing over a reading chair.
Pro Tip: Glue a coin inside the lowest shape — a little weight stops wild tangling.
31. Bottle-Cap Fridge Magnets
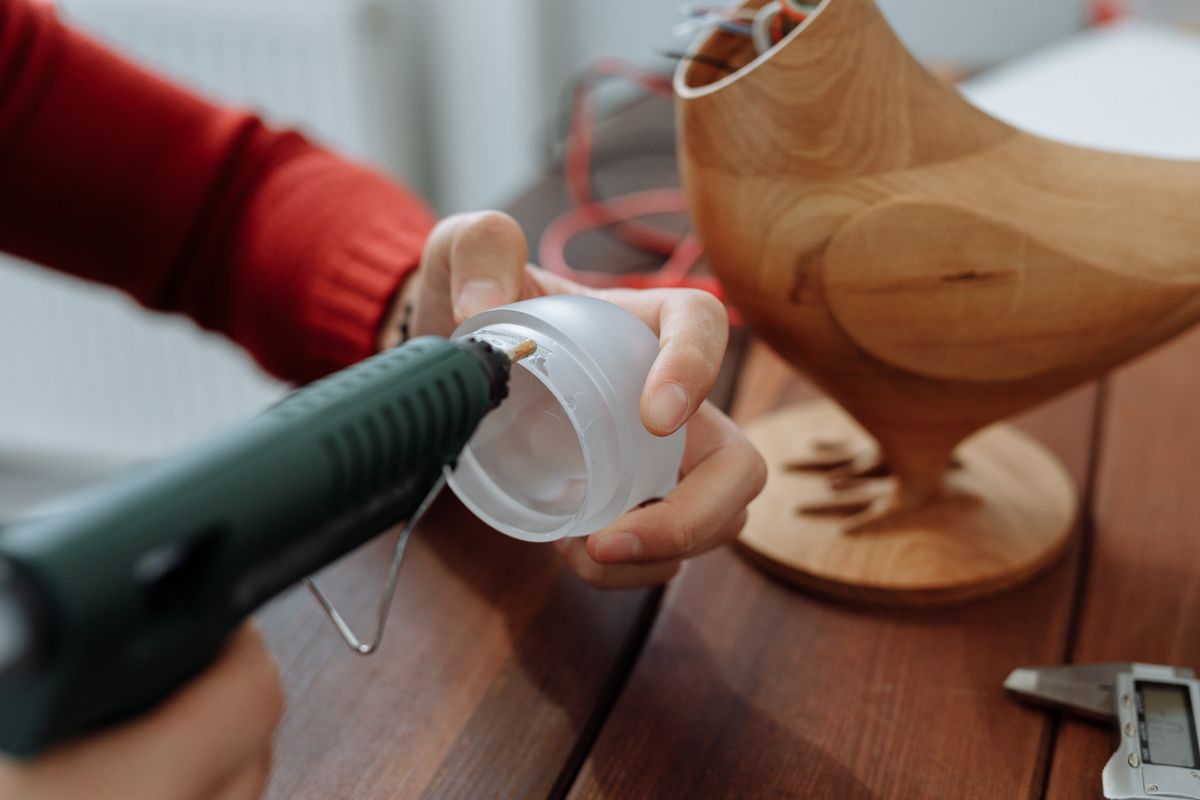
Glue a tiny picture inside a bottle cap, fill it with a clear glue puddle, and add a magnet on the back. They look like little resin charms and hold up every school notice. I make dozens for stocking stuffers.
Pro Tip: Let the glue “resin” cure a full hour so it dries glassy, not cloudy.
32. Ribbon and Glitter Hair Bows
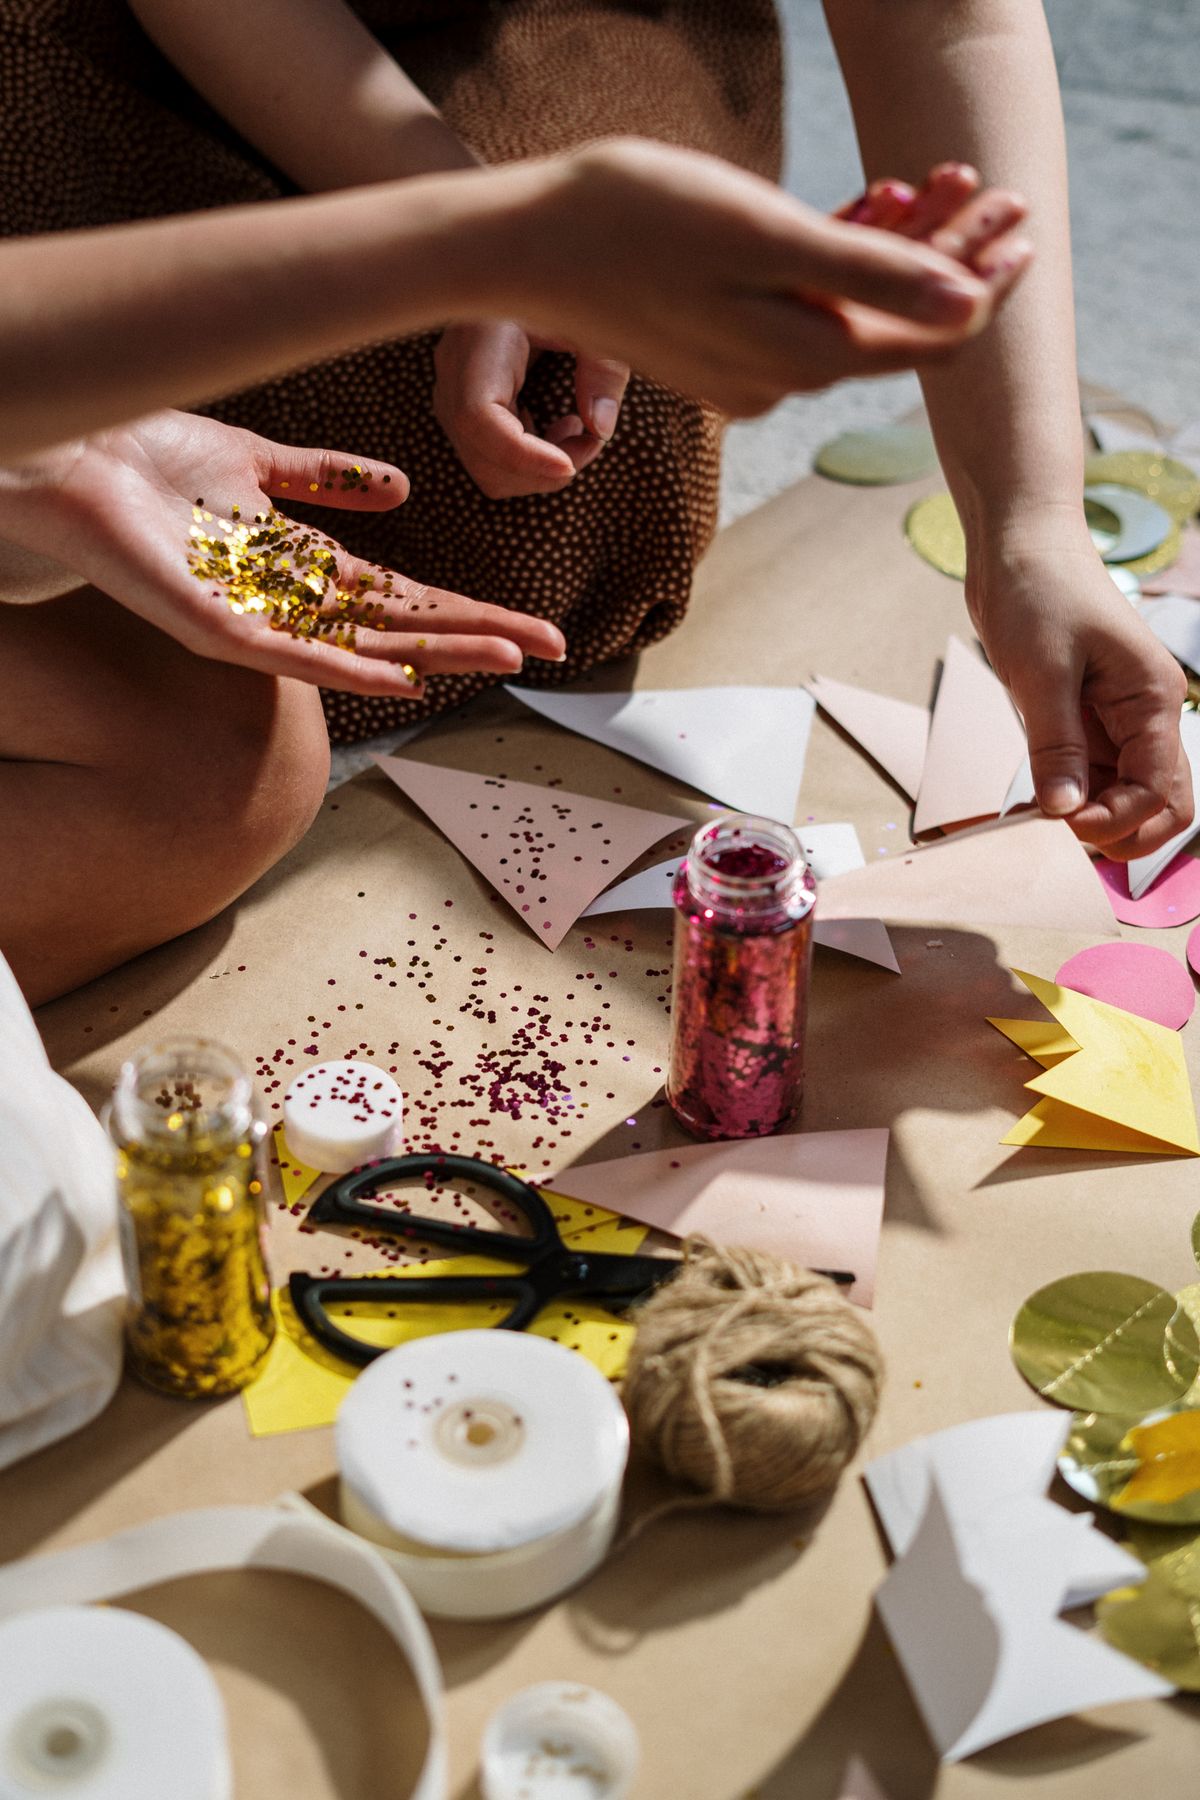
Pinch ribbon into loops, glue the center, wrap it, and glue on a clip — boutique bows in five minutes. Add a gem in the middle and little girls lose their minds. No sewing machine has ever been this fast.
Pro Tip: Seal ribbon ends with a whisper of glue instead of a flame — safer and neater.
33. Beaded Charm Bracelets
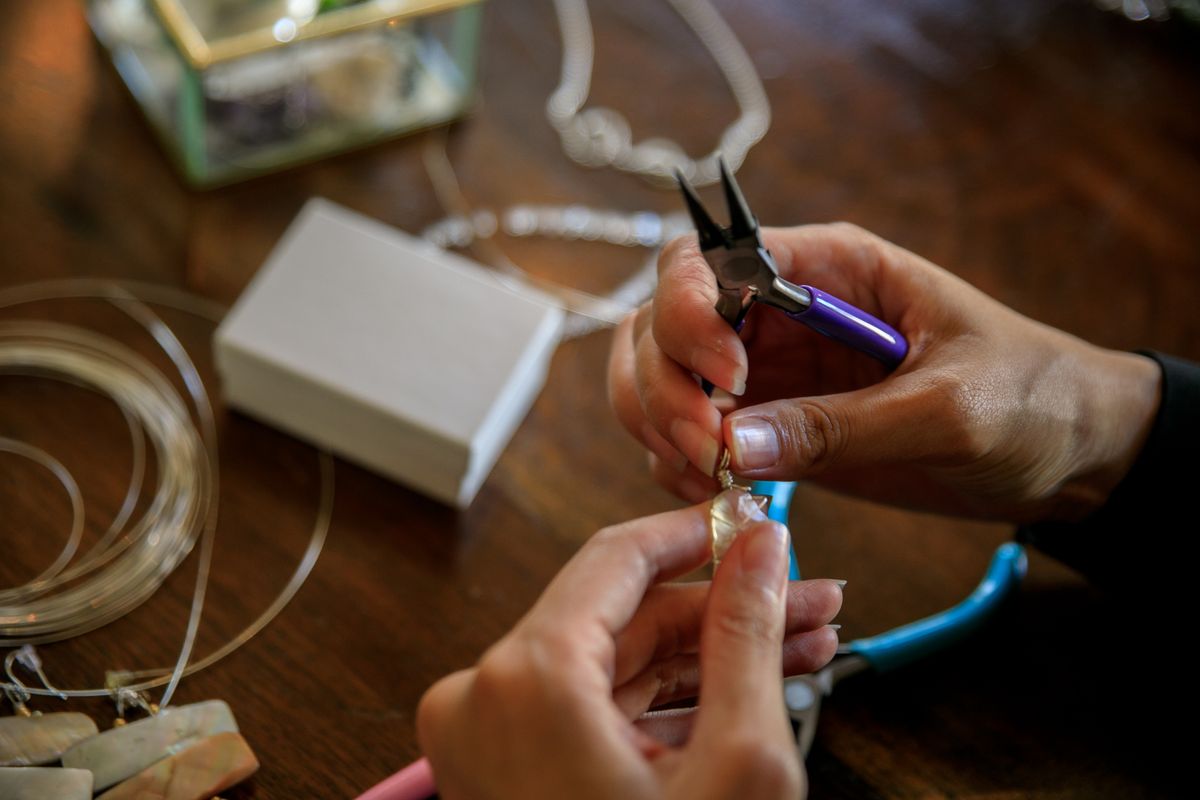
String beads and charms, then secure the knot with a dot of glue inside a crimp bead for a bracelet that never unravels. I finish every elastic bracelet this way now. Batch them in team colors for gifts.
Pro Tip: Stretch the elastic gently a few times before knotting — pre-stretched cords stay snug longer.
34. Clay Earrings with Glued Posts
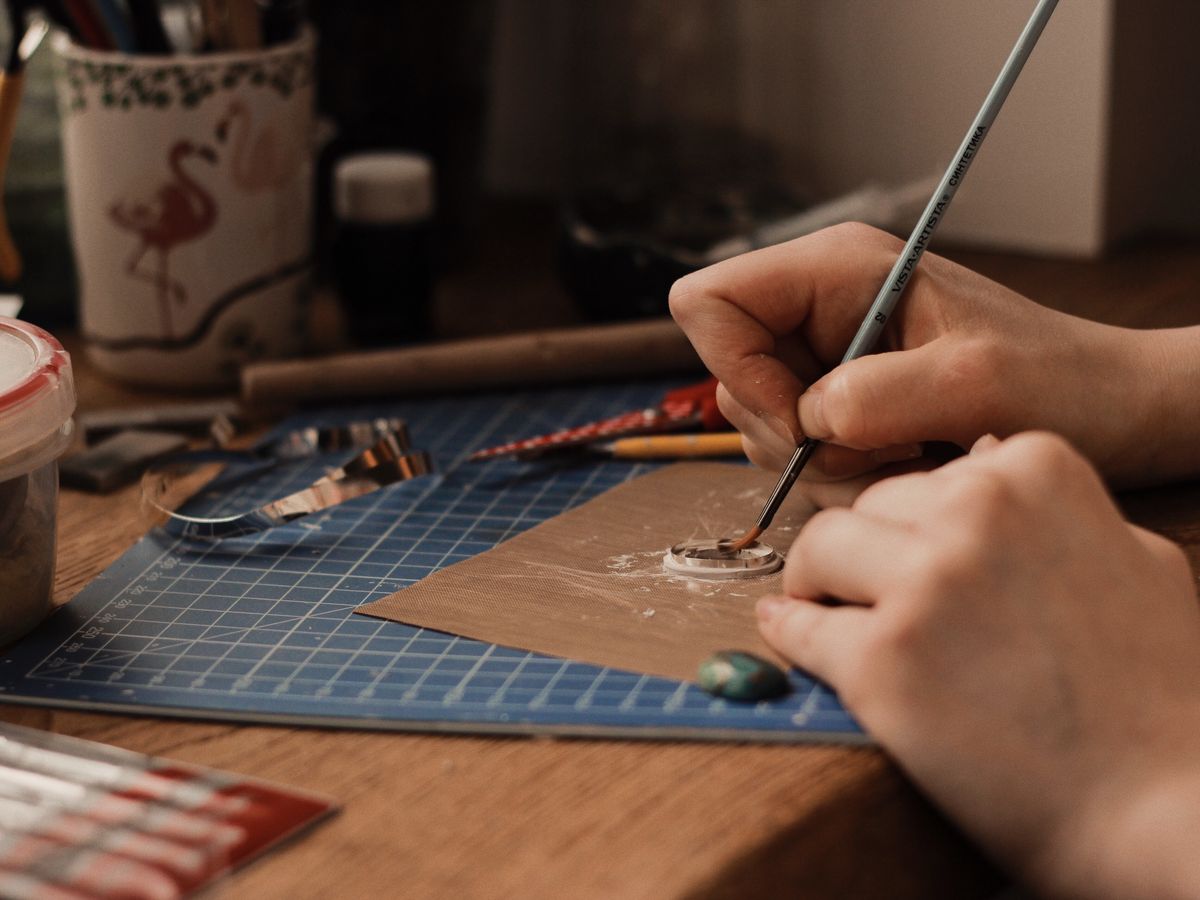
Roll, cut, and bake simple clay shapes, then glue on flat-pad earring posts for instant boutique earrings. A whisper of glue is plenty — the pads do the holding. My leopard-print pair gets compliments weekly.
Pro Tip: Score both the clay back and the post pad lightly so the glue has texture to grip.
Read this next: before you buy more supplies, raid the recycling bin — my favorite zero-cost materials hide in Ingenious Upcycling Ideas.
35. Handmade Embellished Greeting Cards
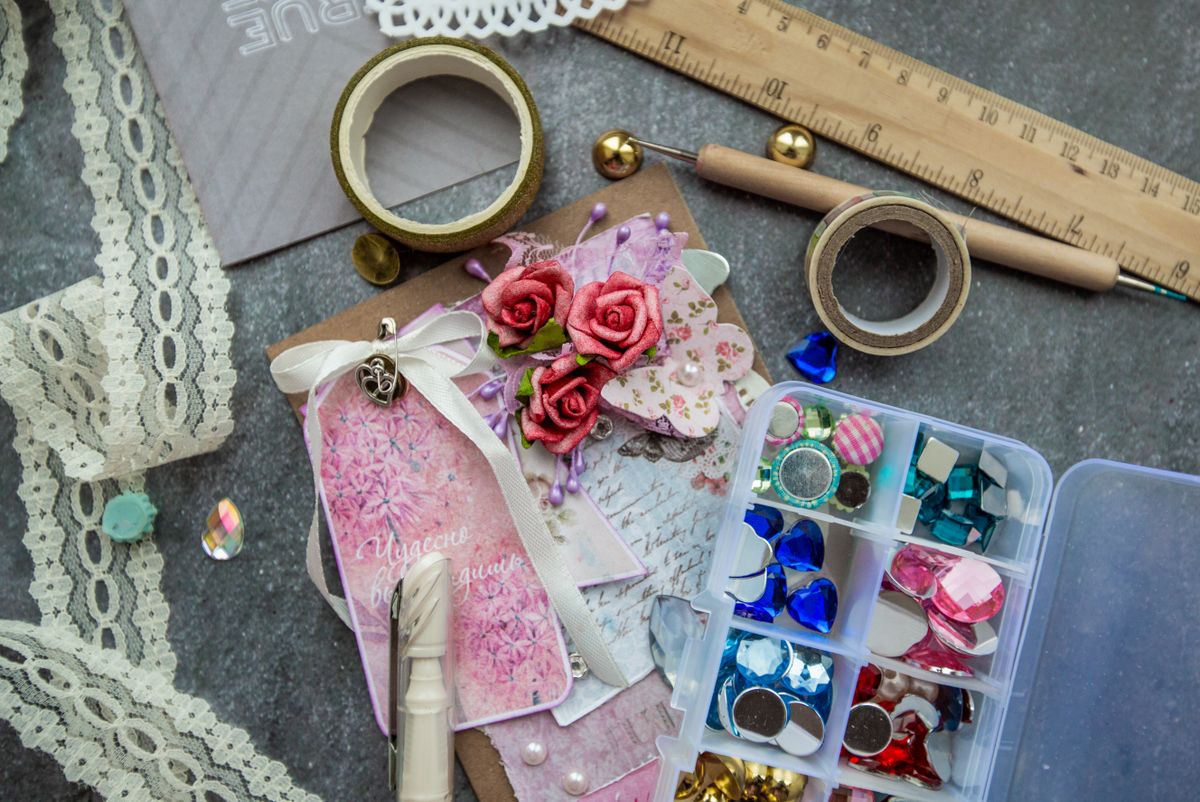
Glue lace, buttons, and dried flowers onto card blanks for one-of-a-kind cards that feel like keepsakes. I sign the back like an artist — because at this point, we are. Keep a birthday stash ready to grab.
Pro Tip: Heavy embellishments need a card blank of 110 lb stock so nothing sags.
36. Red Paper Flower Bouquet
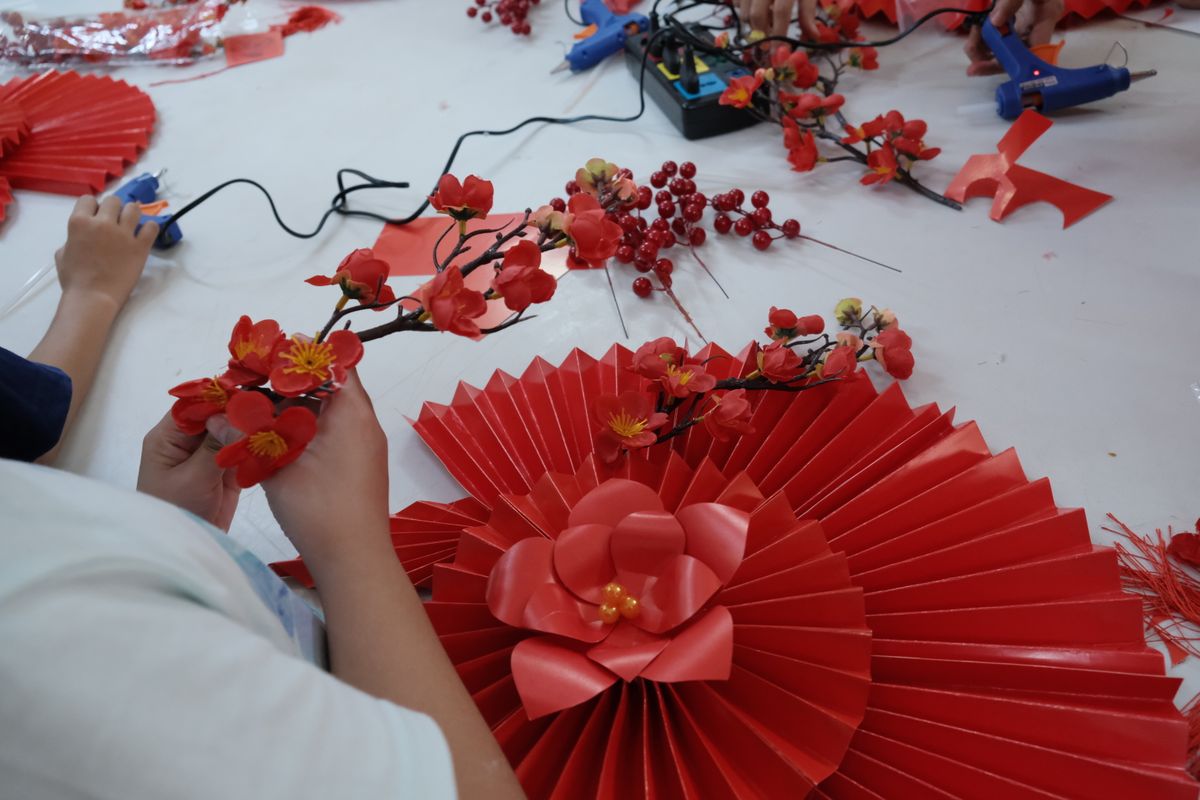
Spiral-cut red paper, roll it tight, and glue the base for roses that never fade. A dozen on wrapped skewer stems make a bouquet that stops people mid-scroll. Valentine’s and anniversaries, sorted.
Pro Tip: Loosen the roll slightly before gluing so the rose opens naturally.
37. Paper Star Lanterns
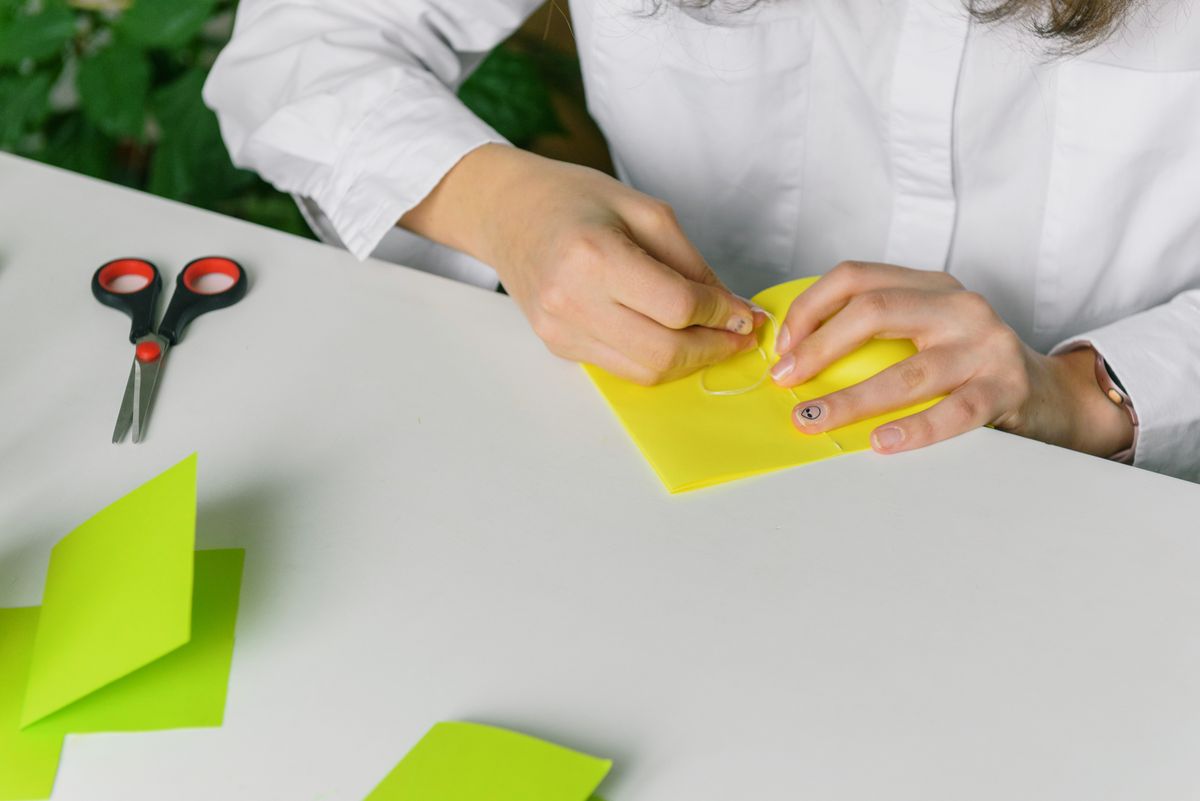
Glue five pointed paper panels into a star lantern and drop in an LED tea light for a warm glow. Real candles are a no — paper, obviously — but the LED version looks magical. They star at every winter party.
Pro Tip: Glue the final seam with the light already inside — it is nearly impossible to add later.
38. Glitter Star Ornaments
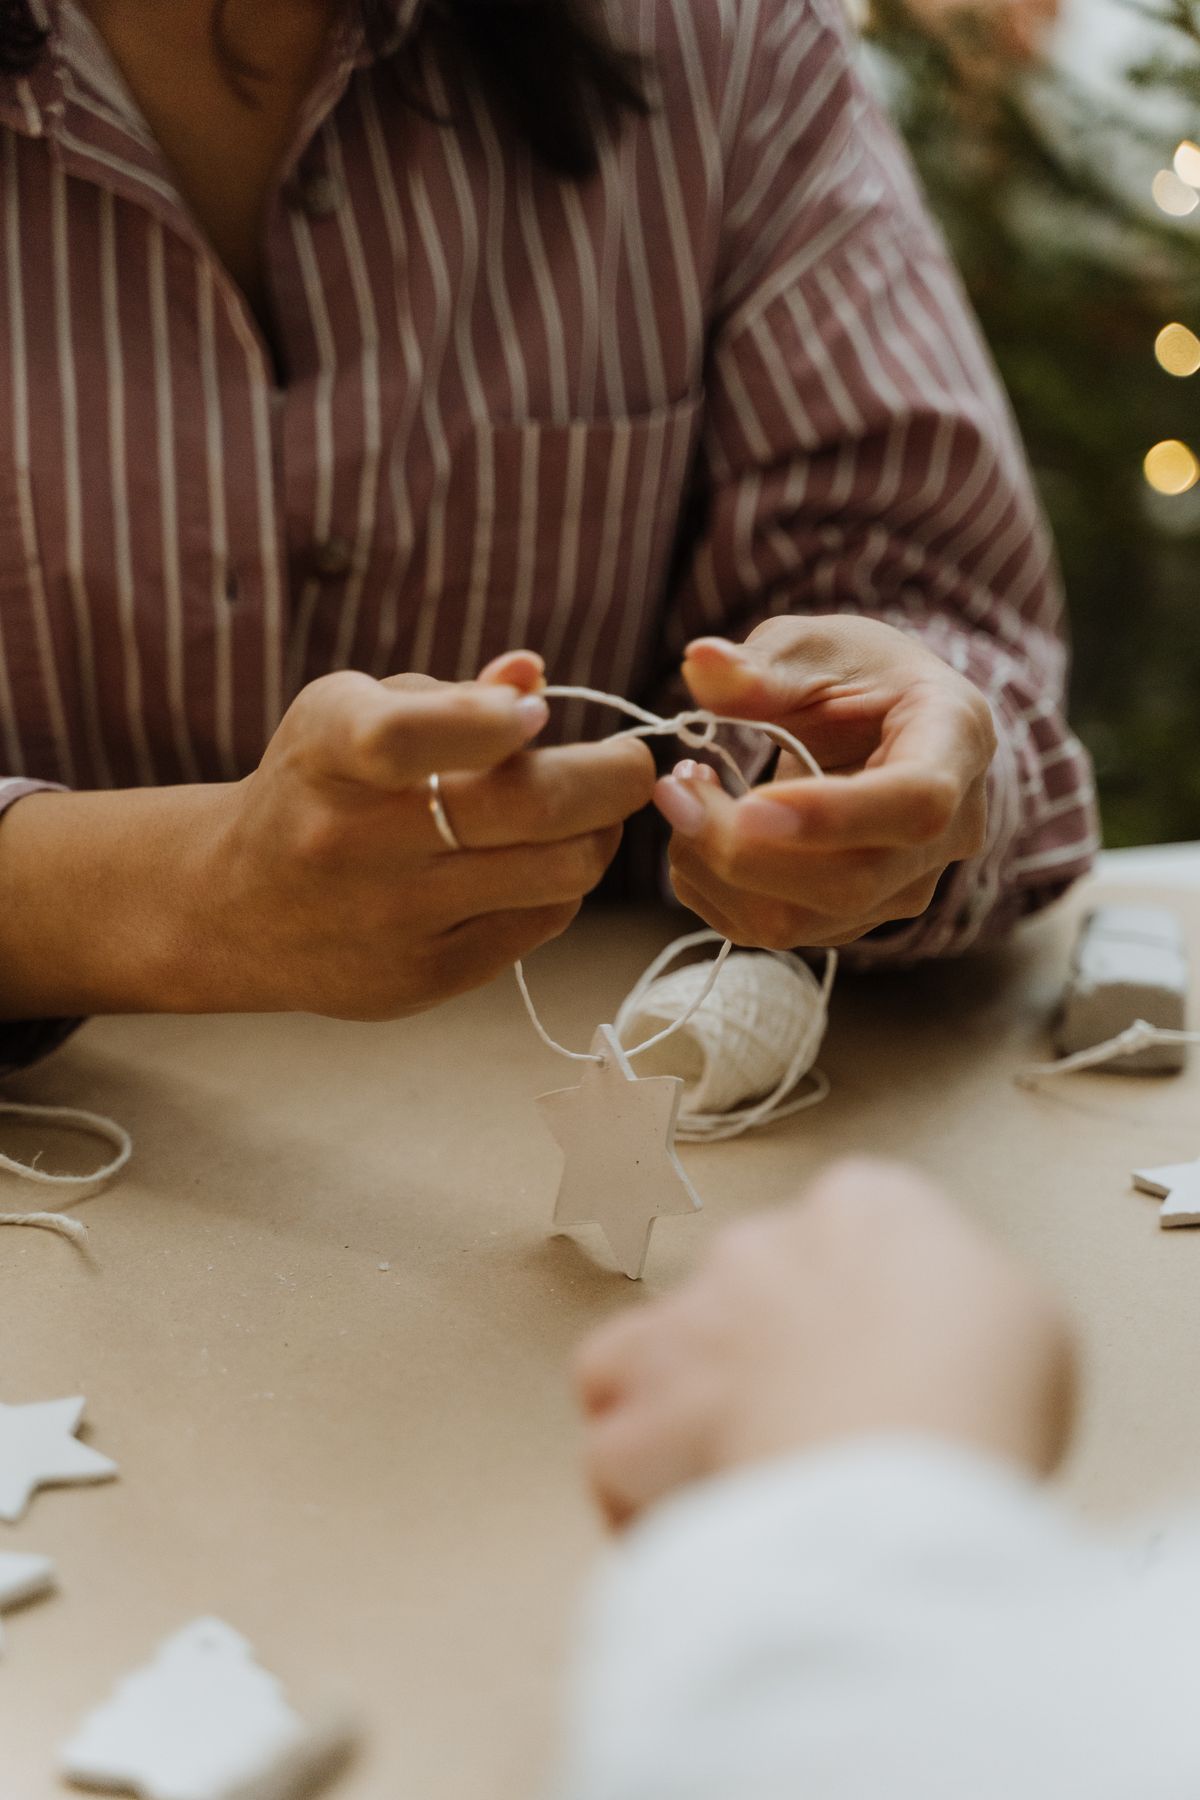
Trace a star in glue on parchment, fill it in, and peel off a lacy, flexible star once cool. Dust it with glitter while warm and add a hanging loop. They catch tree lights beautifully.
Pro Tip: Thick outline, thin fill — the edges are the structure that keeps it from tearing.
39. Beaded Bookmarks
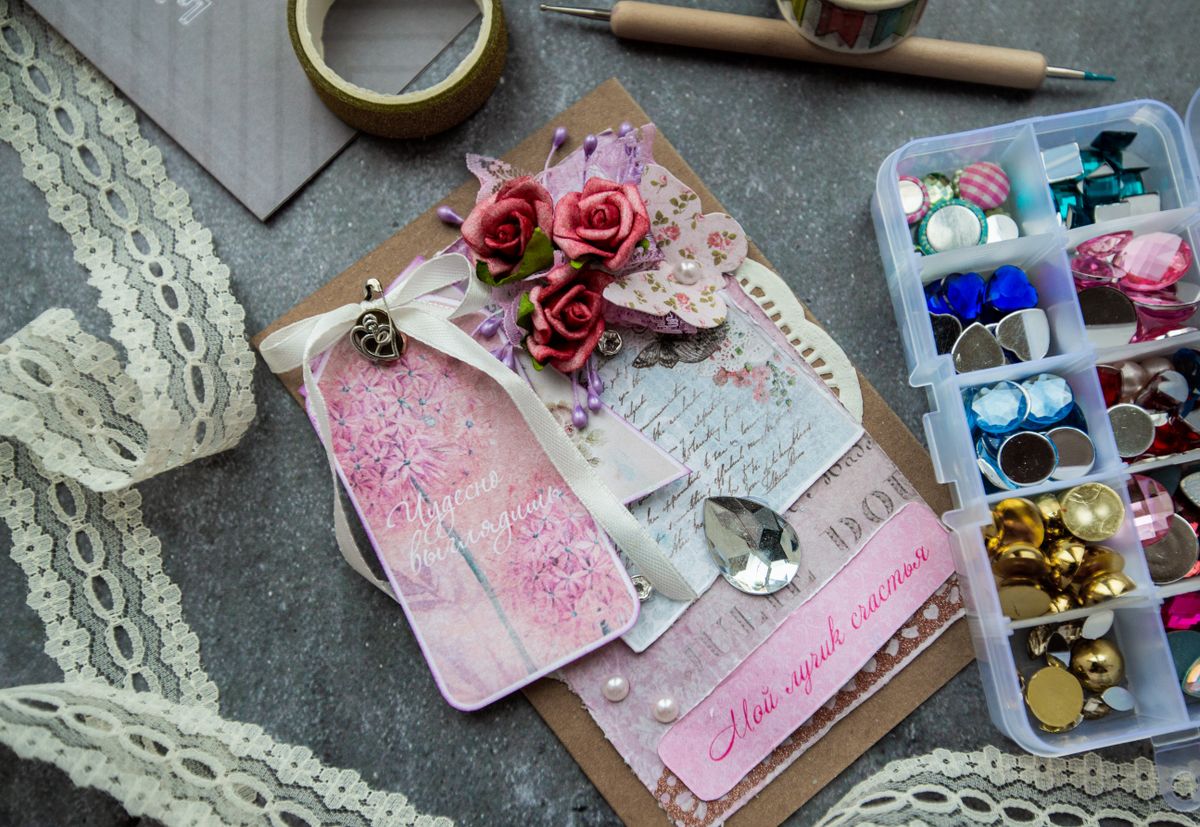
Glue a ribbon tail of beads and a button charm onto a wide paperclip or card strip for bookmarks that feel like jewelry. Readers in my life get one every Christmas. They take minutes and use bead-stash odds and ends.
Pro Tip: Knot and glue every bead end — a bookmark that sheds beads in a book is a crime.
40. Decorated Mason Jar Organizers
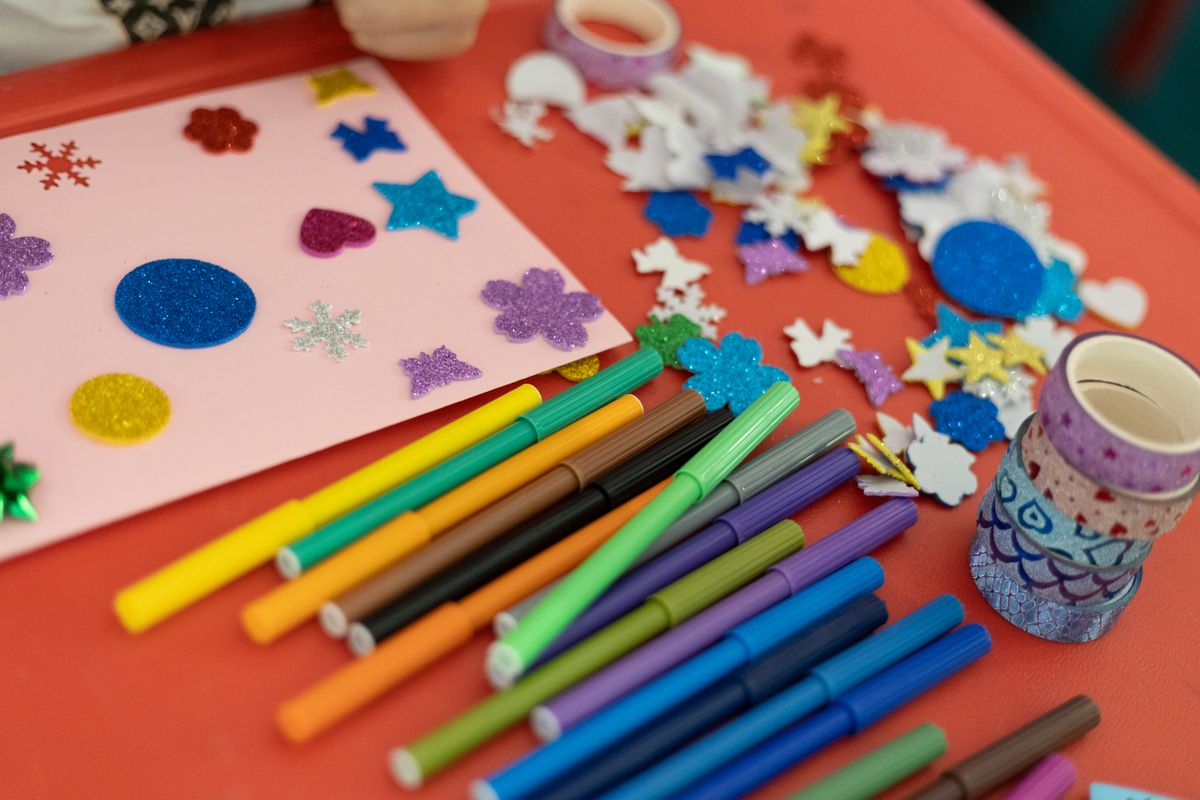
Glue rope, lace, or fabric around mason jars and your brushes, buttons, and bobbins suddenly live in matching style. I did a whole craft shelf of them in one afternoon. Add a glued label for the finishing touch.
Pro Tip: Glue in a spiral from bottom to top so rows stay even without measuring.
41. Friendship Bead Bracelets
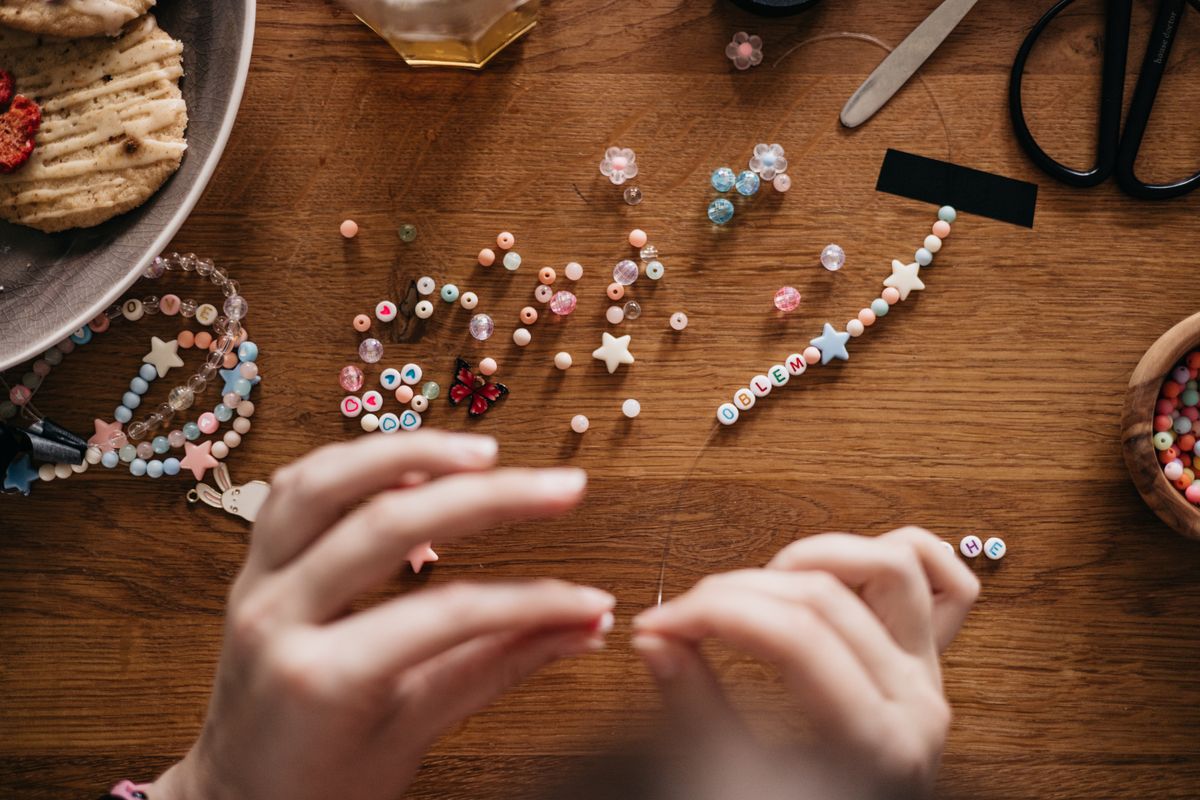
Letter beads plus a glue-secured knot make the friendship bracelets every kid (and, let us be honest, every adult) wants right now. I set up a bead bar at parties and let guests build their own. Glue guns stay busy sealing knots all afternoon.
Pro Tip: Keep a bowl of pre-cut elastic lengths ready — cutting is the bottleneck at any bead bar.
Frequently Asked Questions About Hot Glue Gun Crafts
Is a low-temp or high-temp glue gun better for crafts?
I own both and reach for low-temp most days: it is safer on paper, foam, and fingers. High-temp earns its place on wood, rope, and anything heavy that needs a serious bond. If you can only buy one, a dual-temp gun is the happy answer and costs barely more.
How do I stop hot glue strings?
Strings happen when you pull the gun away slowly — instead, give a quick little swirl and lift sharply. A blast from a hair dryer or a pass with a heat tool melts leftover strings away in seconds. Keeping the nozzle wiped clean on a silicone mat helps more than anything.
What surfaces should I never use hot glue on?
Skip anything that will get hot later — glue re-melts near stoves, in sunny cars, and on candle holders used with real flames. It also struggles on slick silicone, some plastics, and very smooth metal unless you rough the surface first. When in doubt, test a dot and try to peel it.
Can kids use a hot glue gun safely?
Yes, with the right setup: a low-temp mini gun, a silicone mat, and an adult nearby. I teach kids to set the gun on its stand, never on its side, and to treat it like a tiny iron. Cold water nearby for accidental touches is my standing rule.
How do I remove dried hot glue mistakes?
Let it cool completely, then peel — most surfaces release it cleanly. For stubborn spots, a drop of rubbing alcohol around the edge loosens the bond, and gentle heat from a hair dryer softens glue on fabric. Never pry hot glue; patience is the whole trick.
Which hot glue crafts sell best?
From my own craft-fair table: wreaths, rope baskets, and glitter ornaments move fastest, in that order. Seasonal items outsell everyday ones three to one, so I start Christmas glue projects in October. Small price points under fifteen dollars are the sweet spot for impulse buys.
Final Thoughts
Forty-one projects, one humble tool. If you are new, start with the rope basket and a paper chain garland — they are forgiving, fast, and pretty enough to gift. Then graduate to a wreath and watch your confidence (and your glue stick collection) grow.
Tell me in the comments which one you made first, and what you glued it to — bonus points for photos. I am always hunting for the next great glue gun idea, and the best ones so far have come from readers like you. Happy crafting!



One Comment