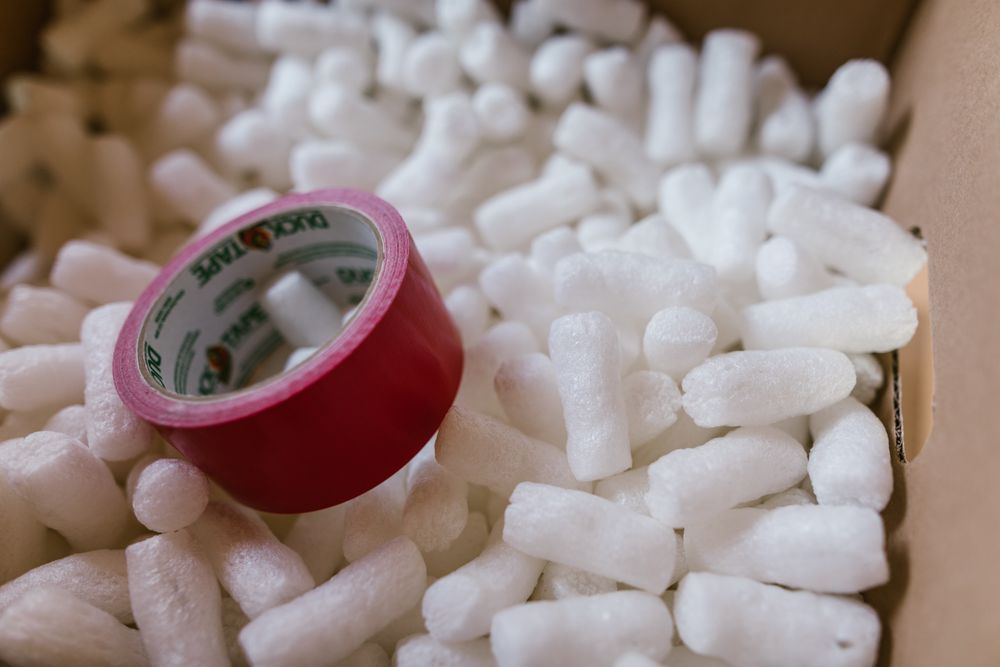
27 Duct Tape Crafts for a Sticky Situation
If there is one supply in my craft room that has never once let me down, it is duct tape. These duct tape crafts started as my rainy-day rescue with the kids, and somewhere along the way they became my go-to for wallets, gifts, party decor, and storage fixes that genuinely last.
Everything below uses the same two skills: making a duct tape sheet (strips overlapped on a cutting mat) and folding edges neatly. I will flag which projects suit beginners and which are better for patient older kids and adults — and I promise, a sticky situation has never been this productive.
Key Takeaways
- Almost every project starts the same way: overlap strips of tape sticky-side down on a cutting mat to make a fabric-like sheet.
- Duct tape crafts are waterproof, tear-resistant, and need no sewing, drying, or curing time — projects finish in minutes.
- One standard roll makes several small projects; patterned and colored rolls turn basics into gift-worthy pieces.
- A metal ruler, craft knife or scissors, and parchment paper for handling cut pieces are the only tools I rely on.
- Start beginners on coasters, bookmarks, and picture frames before graduating to woven bags and wallets.
Related article: If your craft shelf runs on one hero supply like mine does, you will love these 41 Easy Hot Glue Gun Crafts.
27 Duct Tape Crafts for a Sticky Situation
1. Classic Duct Tape Wallet

The project that starts every duct tape obsession. Make a sheet eight strips wide, fold it in thirds for the body, and tape the sides to form the bill pocket.
Add two smaller folded sheets inside as card pockets, leaving the top edge open.
Pro Tip: Round the corners of the finished wallet with scissors — it slides into pockets smoothly and looks store-bought.
2. Woven Duct Tape Tote Bag
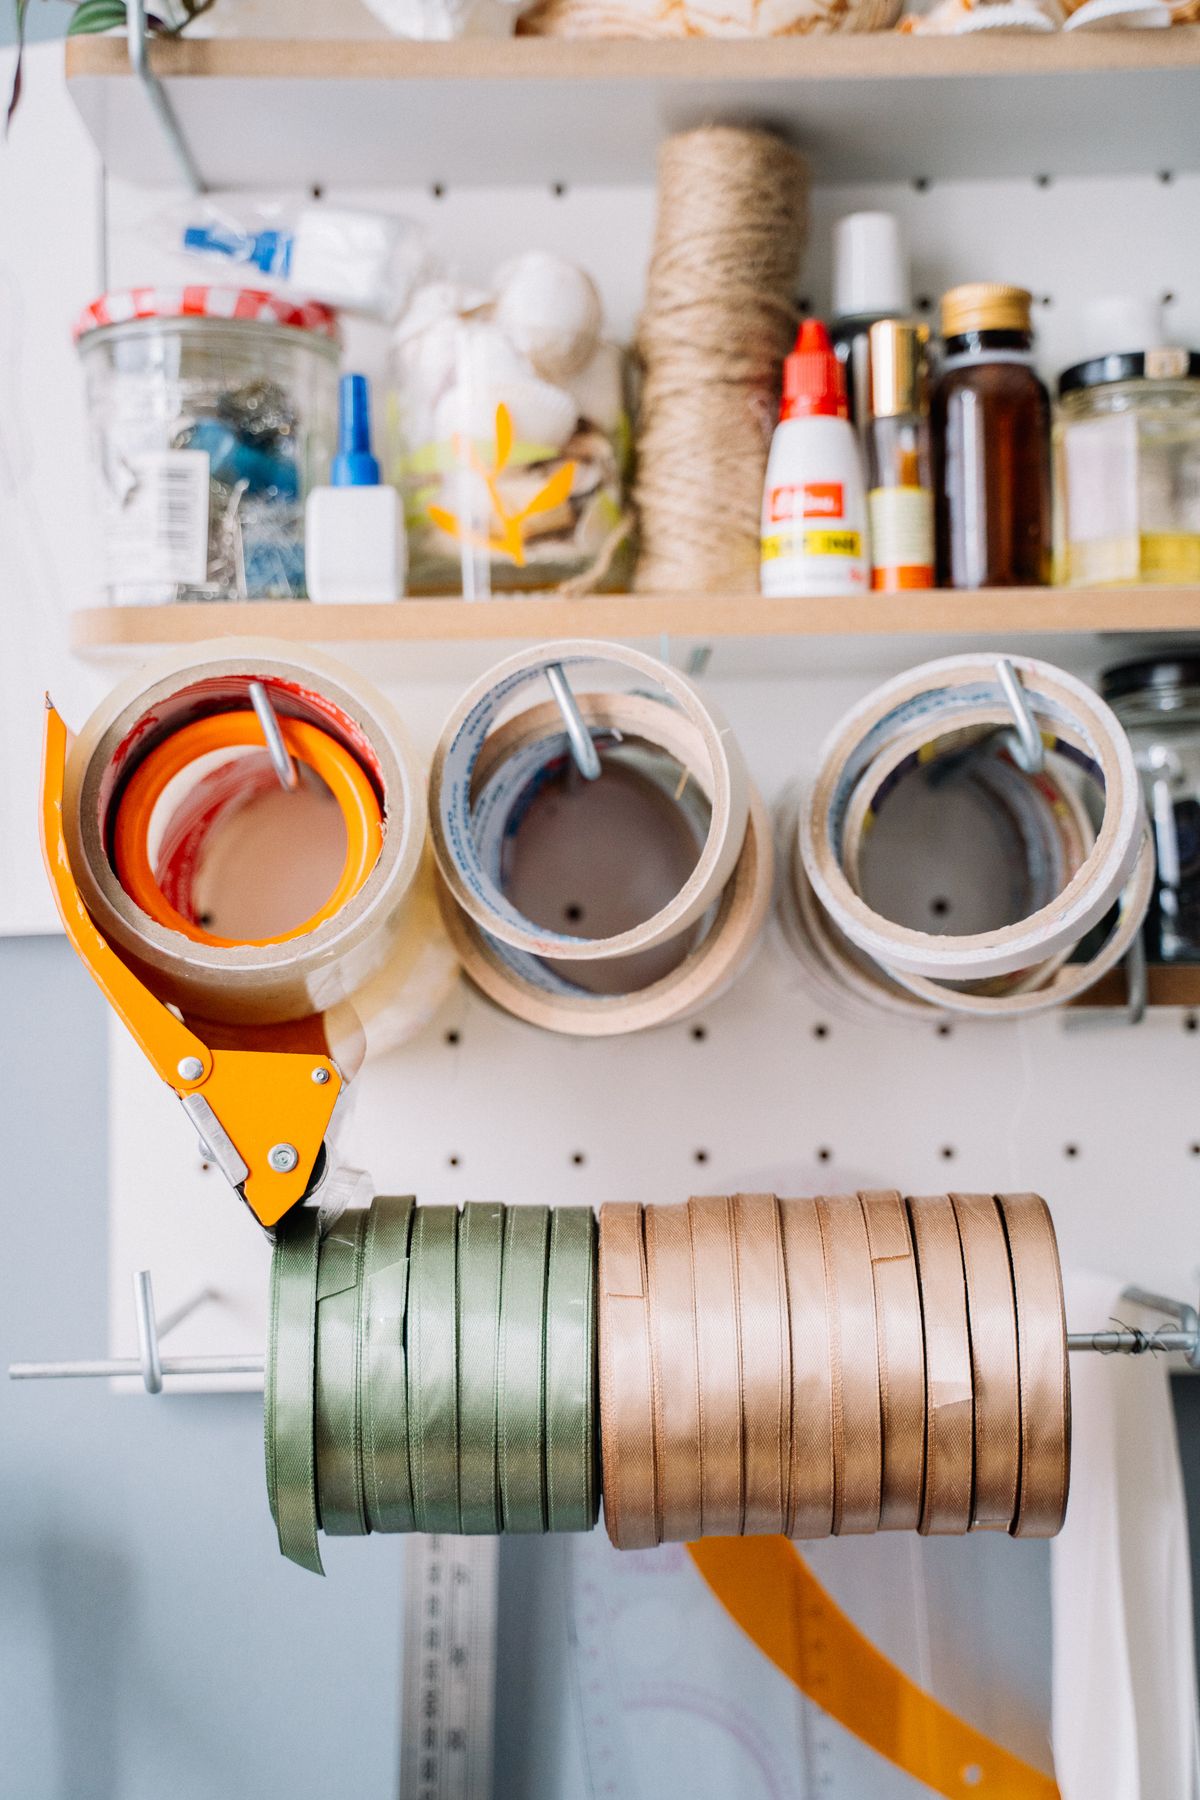
Cut long strips, fold each one in half lengthwise so no sticky side shows, and weave them over-under into a checkerboard panel.
Edge the whole thing with a contrasting tape border and add folded-strip handles.
Pro Tip: Weave on a cutting mat with numbered grid lines; the grid keeps rows straight without measuring.
3. Duct Tape Roses That Never Wilt

Cut two-inch squares of tape, fold two corners of each square into the center to make a petal, and wrap the petals one by one around a floral wire stem, sticky side in.
Twelve to fifteen petals make a full rose.
Pro Tip: Stagger each new petal halfway over the last one; lining them up evenly makes a pinecone, not a rose.
4. Zippered Pencil Pouch
Build a small sheet, fold it into a pouch, and attach a zipper along the top with the tape’s own stickiness reinforced by a thin tape strip over the zipper tape.
No sewing, no glue, and it survives the bottom of a backpack all school year.
Pro Tip: Stick the zipper down with the pouch fully open and flat; closing it first guarantees a crooked line.
5. Hardcover Book Cover
Make a sheet slightly larger than your open book, fold the edges over the covers, and secure with tape flaps inside — the classic school-days trick, upgraded with patterned rolls.
It protects textbooks and library sales finds, wipes clean after coffee incidents.
Pro Tip: Leave a finger’s width of slack at the spine so the book still opens flat without pulling.
6. No-Sew Phone Case
Trace the phone on parchment, build a sheet to size, and fold it into a sleeve with taped side seams.
Cut the camera opening with a craft knife before assembling.
Pro Tip: Trace the phone with its everyday case on, so the finished sleeve fits the real-world size.
7. Gallery Picture Frame
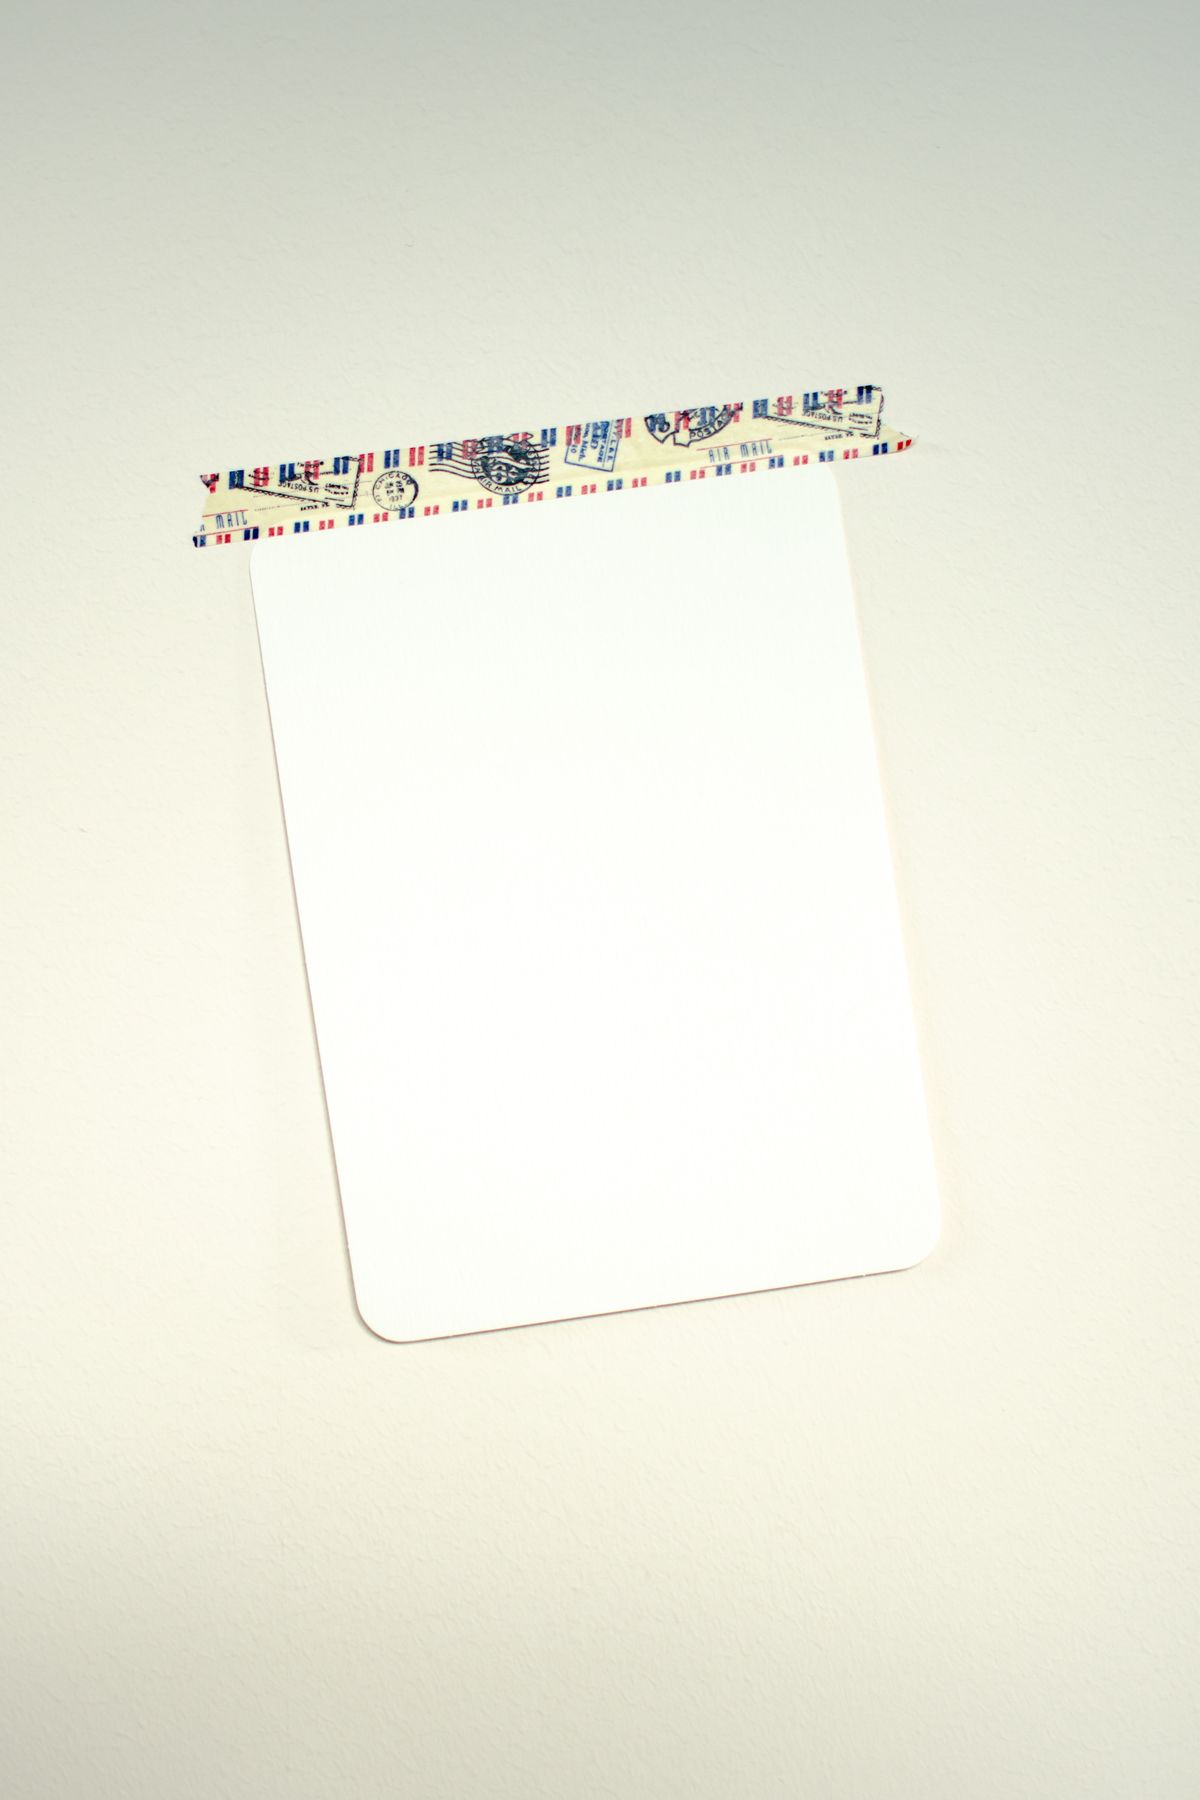
Fold four long strips in half lengthwise for the frame rails, miter the corners by cutting at an angle, and tape them around a photo mounted on card stock.
A folded strip across the back becomes a kickstand.
Pro Tip: Overlap the corner joins at the back, never the front, so the face of the frame stays clean.
8. Woven Coasters
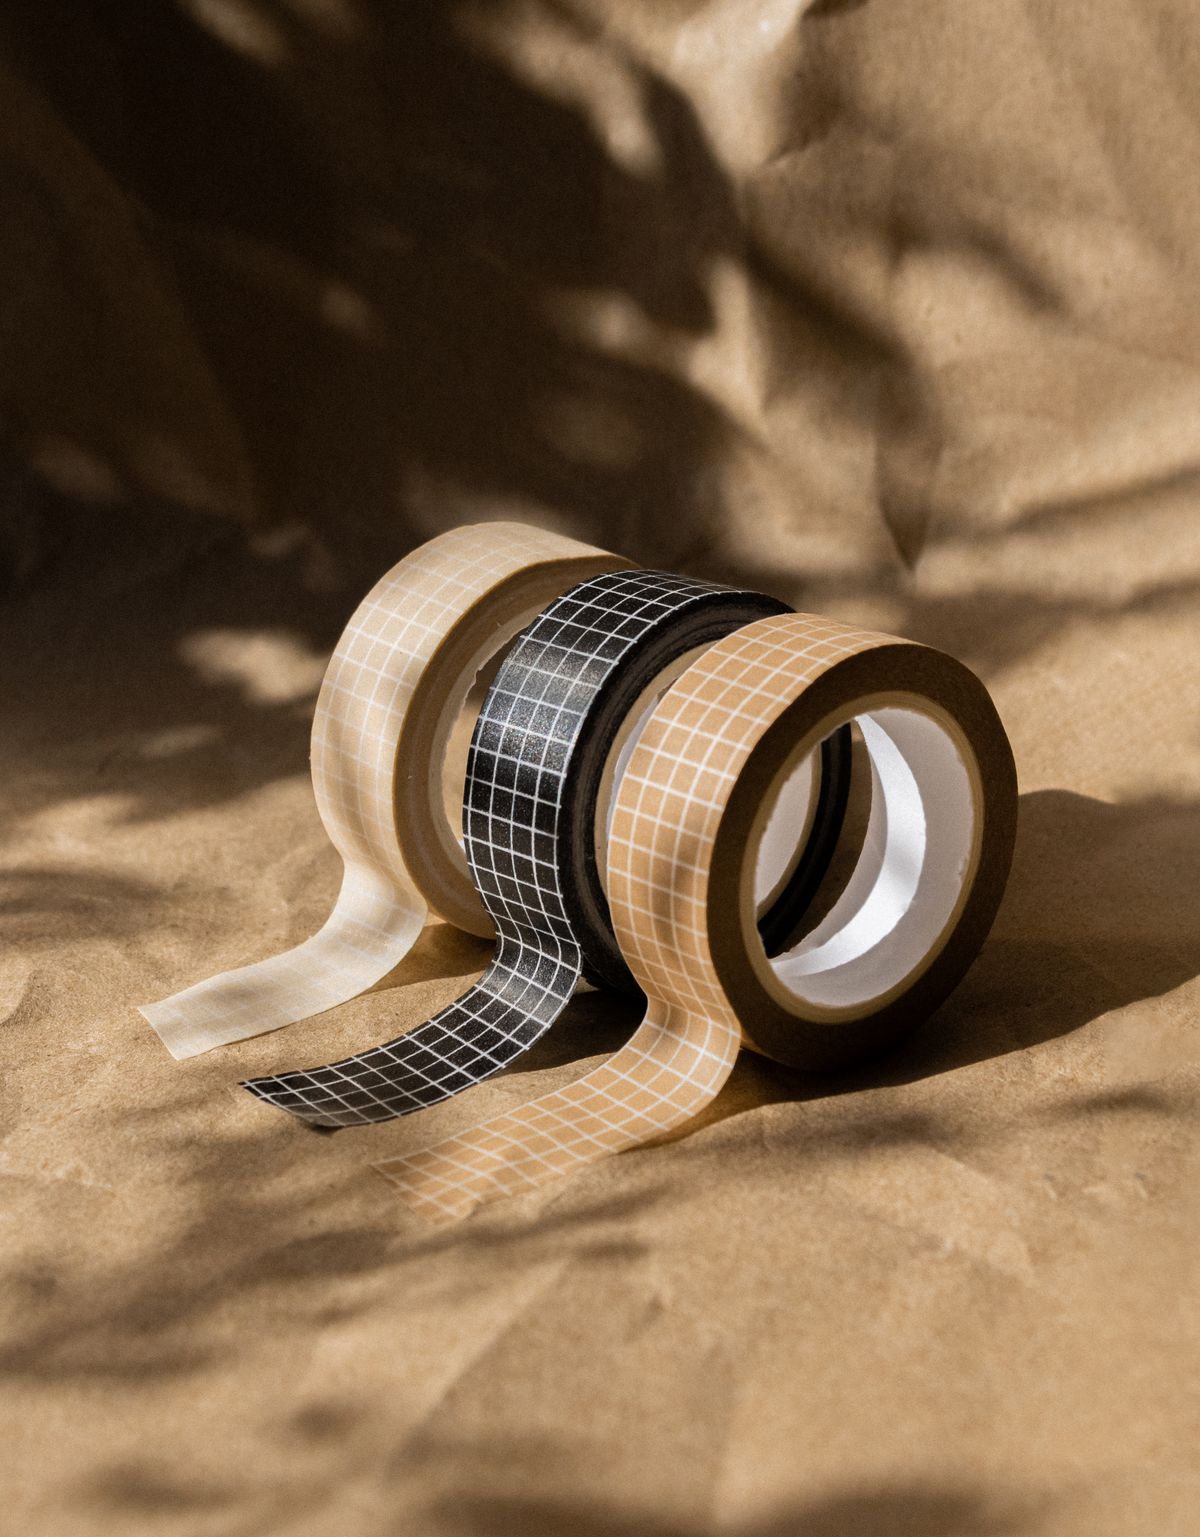
Fold strips in half and weave a small five-by-five checkerboard square, then seal the edges with a border strip. That is the whole project, and it takes ten minutes.
Make sets of four in team colors or holiday patterns; tied with twine.
Pro Tip: Press finished coasters under a heavy book overnight so they lie perfectly flat.
9. Cuff Bracelets and Bangles
Wrap a strip of tape sticky-side out around a plastic bottle or your wrist over a paper measuring band, then cover it with a second layer sticky-side in, in a contrasting color.
The result is a chunky cuff you can decorate with tape stripes, punched shapes, or initials.
Pro Tip: Always measure over a strip of paper first — never stick tape directly to skin to size a bracelet.
10. Duct Tape Key Chains and Zipper Pulls
Fold a short strip in half, punch a hole in the folded end, and thread it onto a key ring.
Two layers of contrasting tape make each one sturdy and reversible.
Pro Tip: Use up your shortest tape scraps here; key chains forgive every leftover length.
11. Woven Placemats
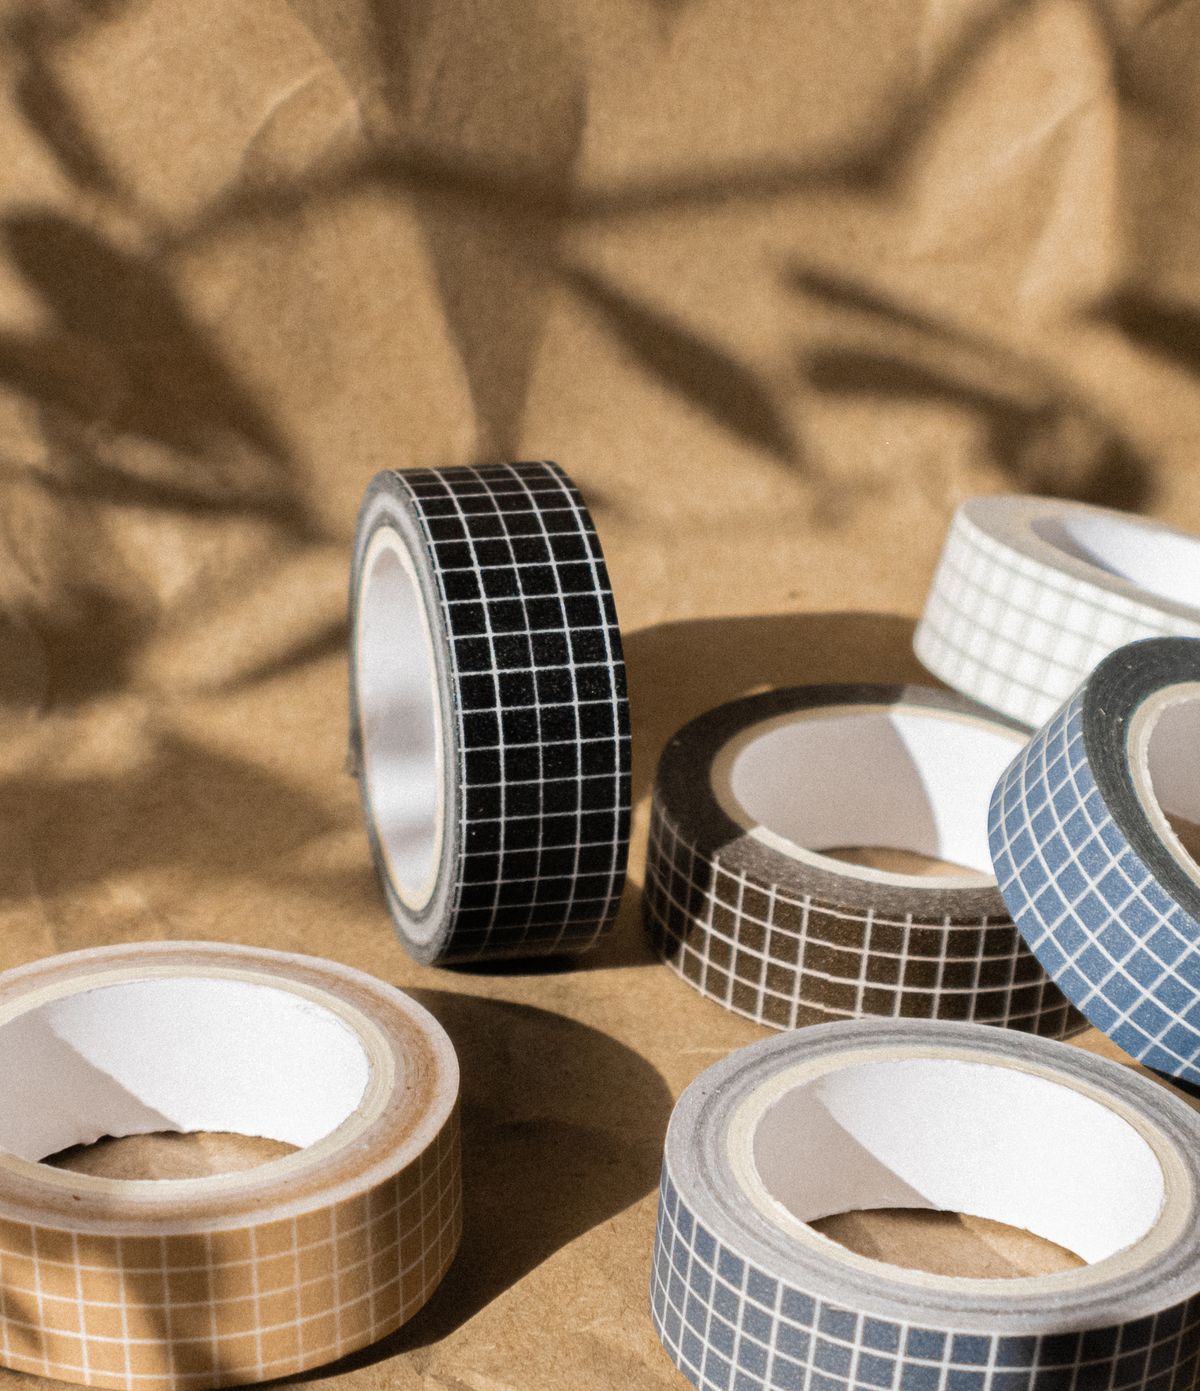
Scale the coaster method up: fold long strips and weave a panel roughly twelve by eighteen inches, then border it. A full set of six transforms a plain table instantly.
They hose off — literally — after spaghetti night with toddlers.
Pro Tip: Tape the first row of strips to the table edge as you weave; it acts as a free third hand.
12. Covered Storage Bins
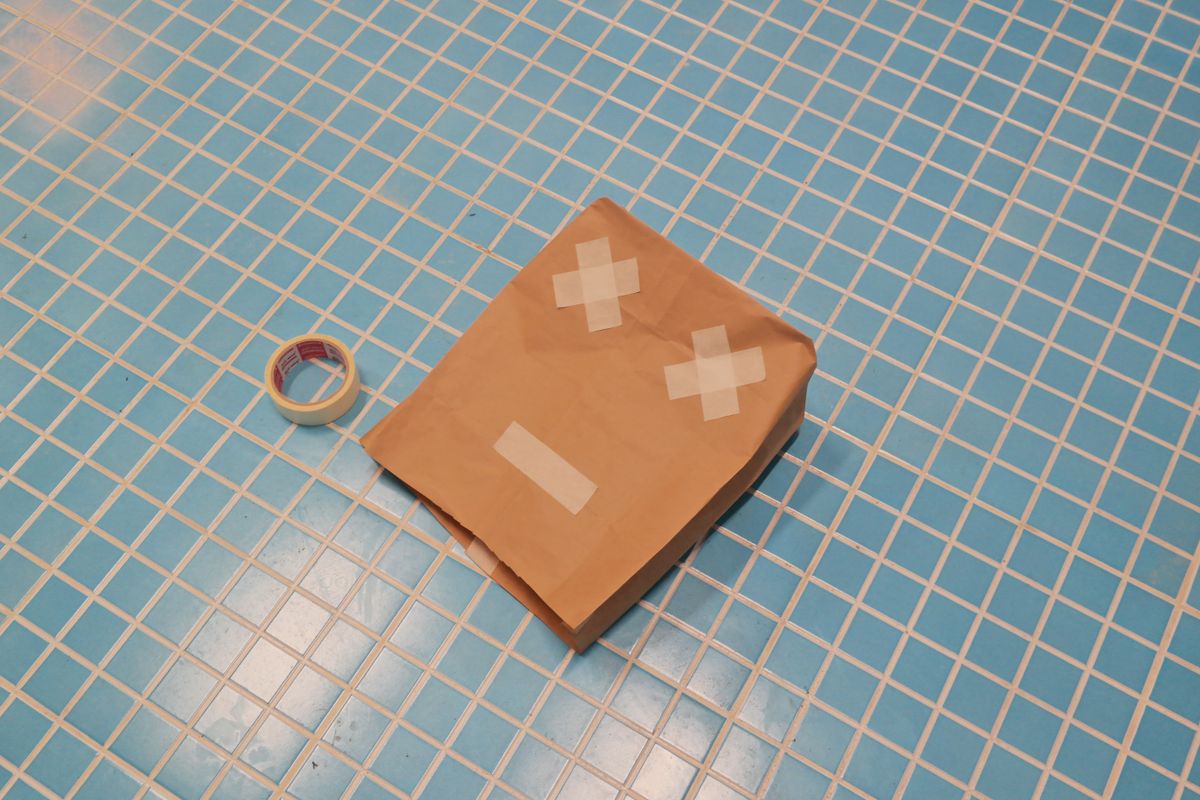
Take any tired cardboard box or dollar-store bin and wrap it in vertical tape strips, folding the ends over the rim and inside.
I label mine with a rectangle of white tape and a marker.
Pro Tip: Work from the bottom up so overlapping seams shed dust and spills instead of catching them.
13. Duct Tape Belt
Fold one very long strip in half lengthwise for the strap, then thread it through an inexpensive D-ring or a repurposed belt buckle and secure the end with a folded tape tab.
Punch holes with a leather punch or a careful craft knife.
Pro Tip: Cut the strap two inches longer than you think; trimming is easy, lengthening is a whole new belt.
14. Hair Bows and Bow Ties
Pinch a small tape rectangle in the center, wrap the pinch with a thin strip, and you have a bow.
The same bow, scaled up and clipped to a collar.
Pro Tip: Cut bow rectangles with a rotary cutter for edges crisp enough to look like ribbon.
Also read: Half of these projects start with something headed for the trash, which is why I love these Ingenious Upcycling Ideas.
15. Gift Bags and Wrap

Make two sheets, tape them together on three sides, and fold the top edge down for a gift bag with real structure. Folded strips make handles that hold actual weight.
For wrap, long plain-color sheets cover a box exactly like paper but survive shipping, rain, and curious shaking.
Pro Tip: Crease bag corners inward like a paper grocery bag so the finished bag stands up on its own.
16. Hanging Wall Pockets

Fold a sheet into a pocket shape, leave a wide top flap, and punch two holes in the flap for hooks or a dowel.
Mine hold mail, sunglasses, permission slips, and the library book that is always due tomorrow.
Pro Tip: Reinforce the hanging holes with a second small square of tape on the back before punching.
17. Waterproof Apron

Build one large sheet, cut a bib shape with a rounded neck curve, and add long folded strips as neck and waist ties.
Mine has survived tie-dye day, chili cook-offs, and a glitter incident I still do not discuss.
Pro Tip: Try the apron on before attaching the neck tie; five inches of adjustment makes all the comfort difference.
18. Bookmark Trio With Tassels
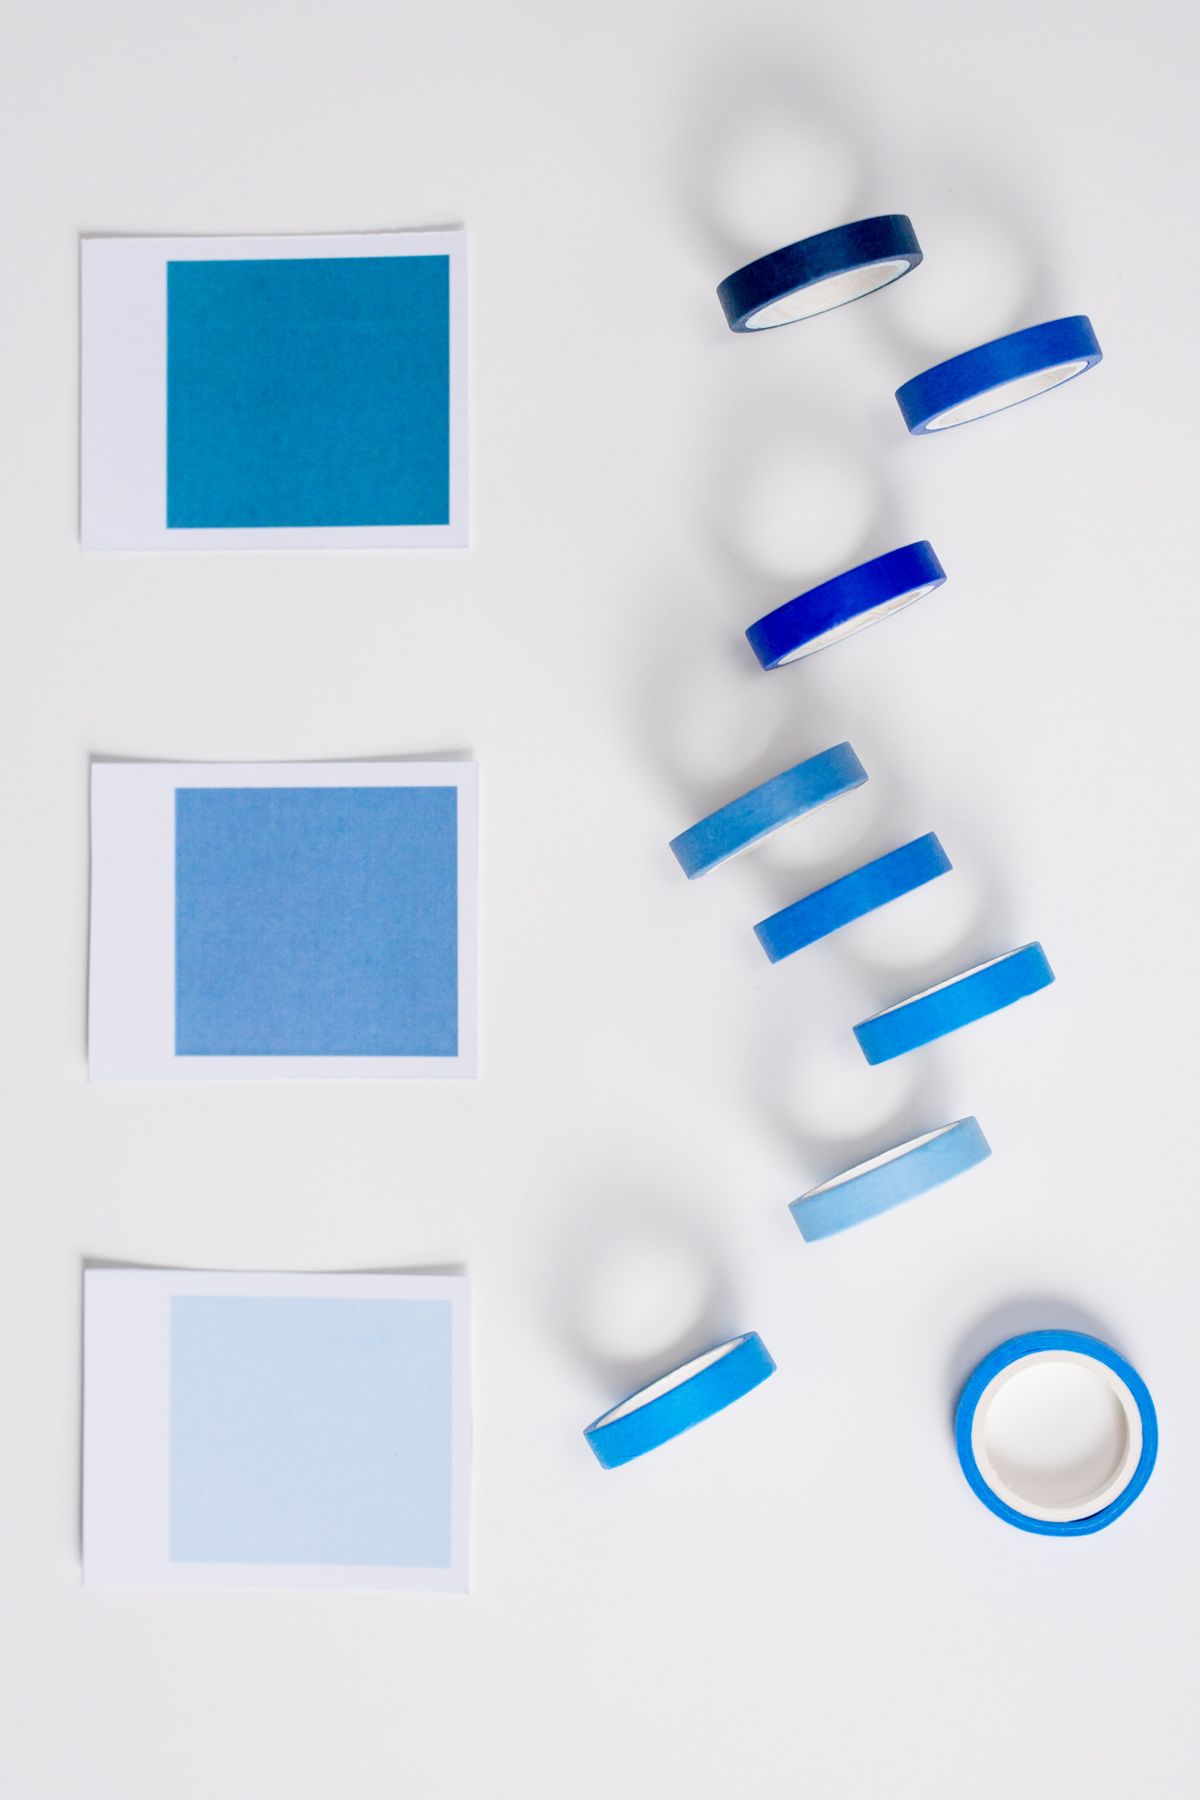
Fold a strip in half, trim it to bookmark length, and round the end. Punch a hole and thread a tassel made from thin fringed tape strips.
Ten minutes makes a full set, and they lie flatter than any ribbon bookmark I own.
Pro Tip: Sandwich a strip of card stock inside before folding for a bookmark with real backbone.
19. Checkerboard Game Mat
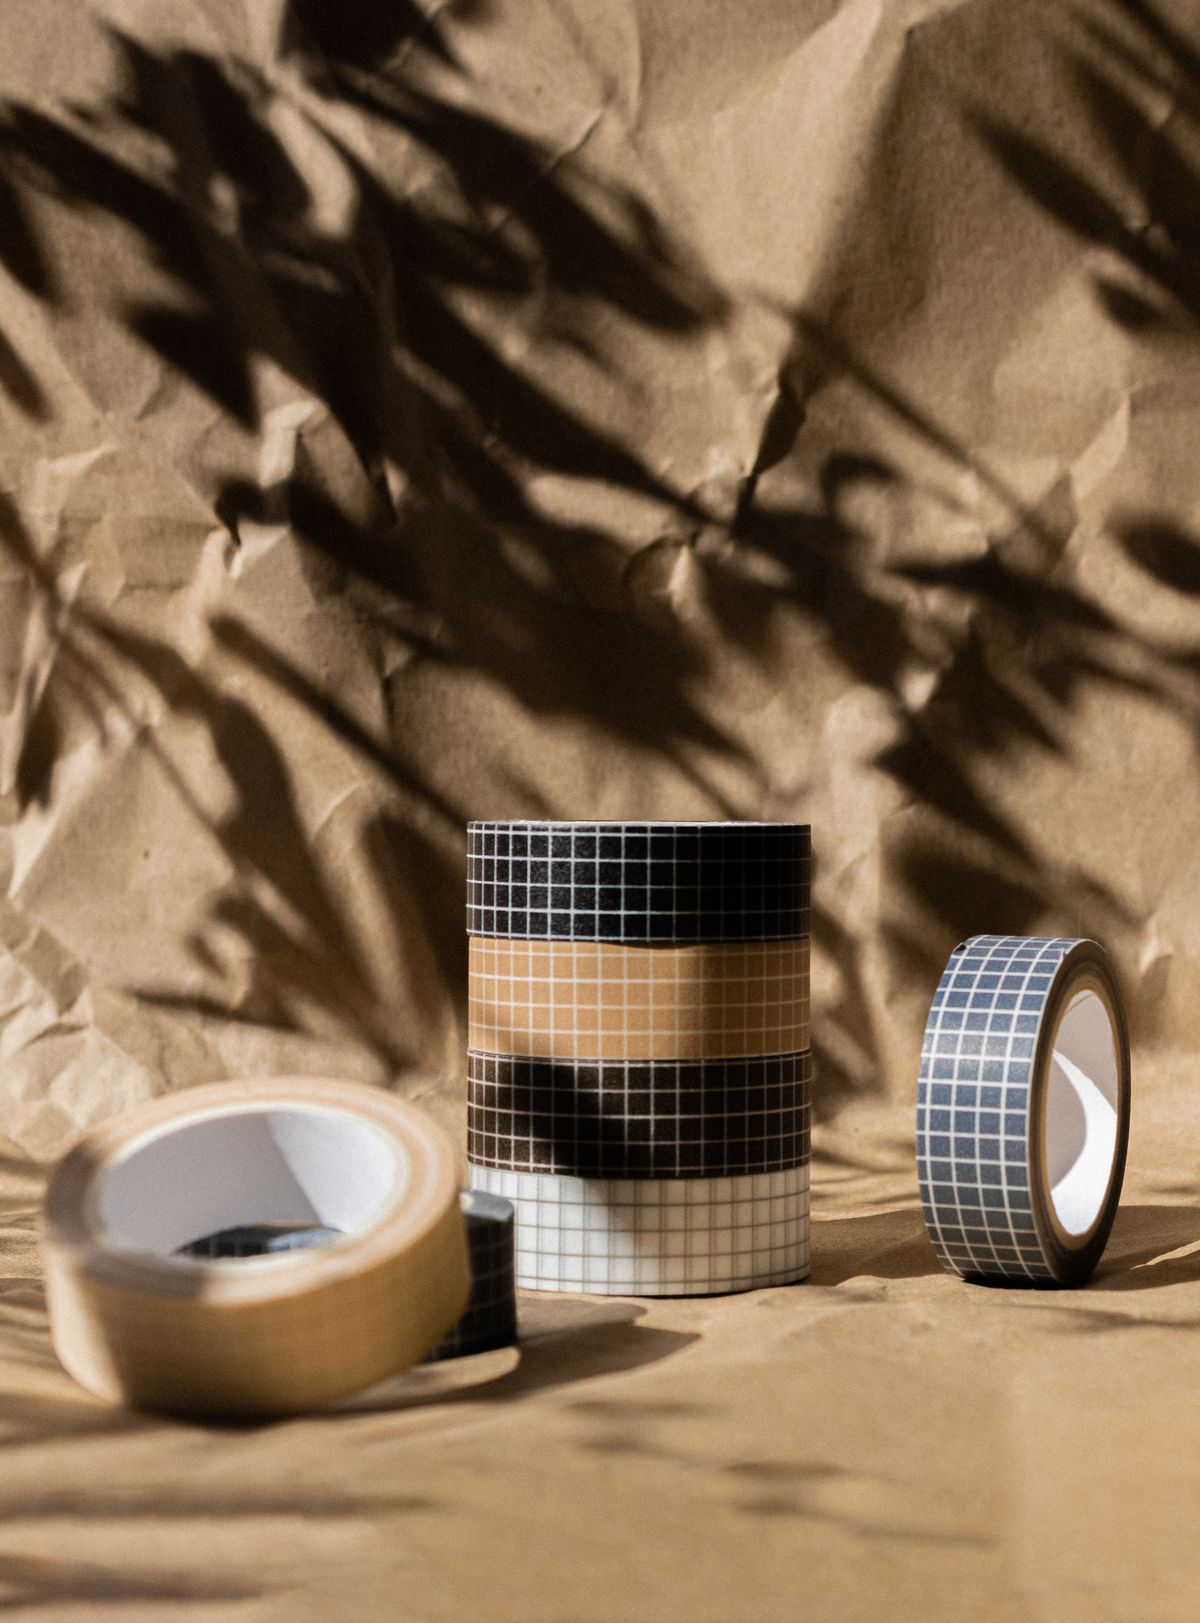
Alternate black and white folded squares, taped edge to edge, into an eight-by-eight grid, and back the whole board with one large sheet.
It rolls up for camping, wipes clean after picnic checkers.
Pro Tip: Number your grid rows on the back as you build; one rotated square ruins the whole pattern.
20. Insulated Lunch Bag

Build the bag like the gift bag but larger, line it with a second layer of silver tape, and add a folded top with a hook-and-loop strip closure.
The silver lining genuinely helps a cold pack last until lunch.
Pro Tip: Make the bag a full inch wider than the largest lunch container you own — ask me how I know.
21. Duct Tape Earrings
Cut two matching shapes — teardrops and feathers are lovely — from a doubled sheet so both sides are finished, punch a tiny hole, and hang them on earring hooks with jump rings.
They weigh almost nothing, which anyone with sensitive ears will appreciate instantly.
Pro Tip: Trace both shapes from one paper template so the pair truly matches.
22. Party Bunting Banner

Cut triangles from doubled sheets, fold the top edge of each over a long cord or twine, and press to seal. The flags are waterproof, windproof, and reusable for years.
Our silver-and-red banner has flown at four graduation parties and one very windy anniversary.
Pro Tip: Space flags with a ruler as you attach them; eyeballing always drifts by flag six.
23. Water Bottle Carrier
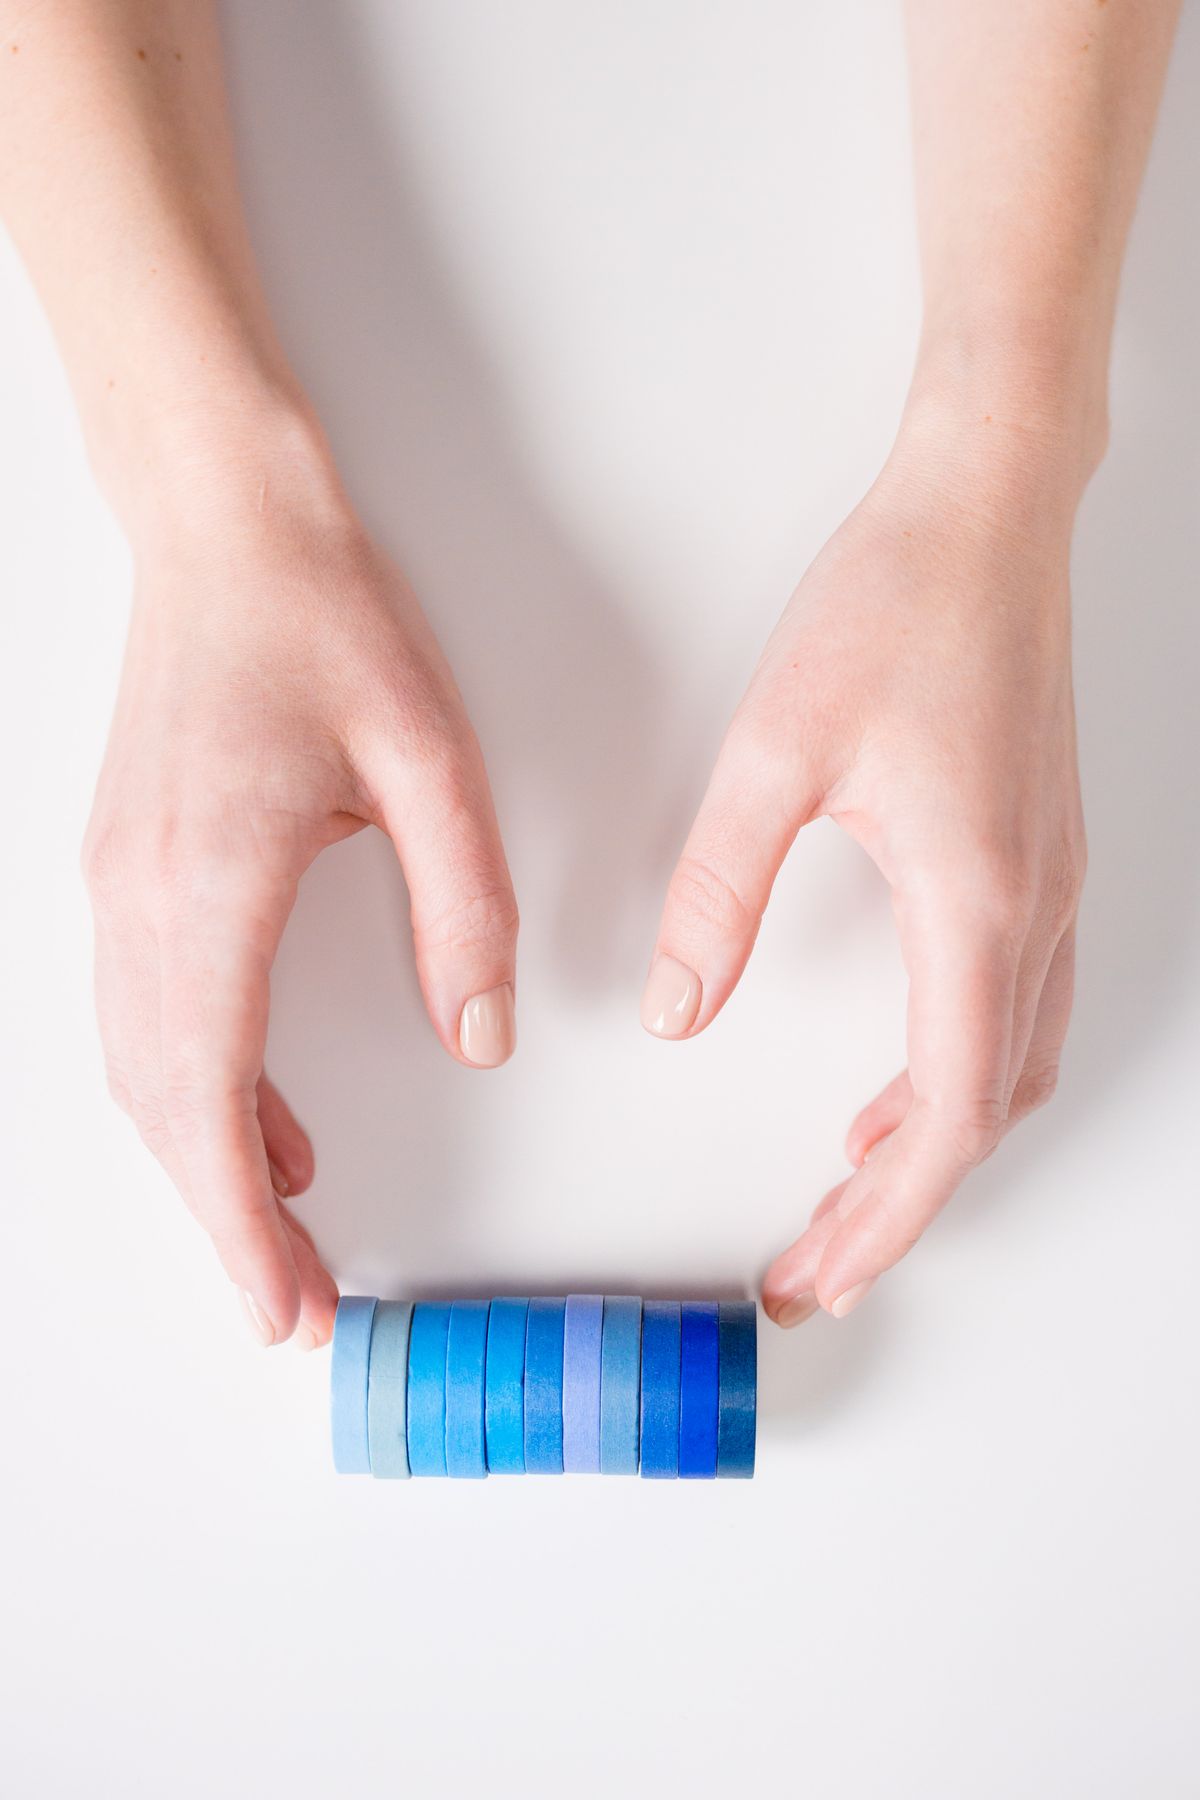
Form a tape cup around the base of your bottle, add a bottom circle, then run two long folded strips up the sides and join them into a shoulder strap.
It frees up hands on walks and at the farmers market.
Pro Tip: Build the cup with the bottle inside, then slide it out before the final strap fitting.
Read this next: Several of these projects sell beautifully at craft fairs, and this guide to Cheap Crafts to Make and Sell.
24. Holiday Ornaments
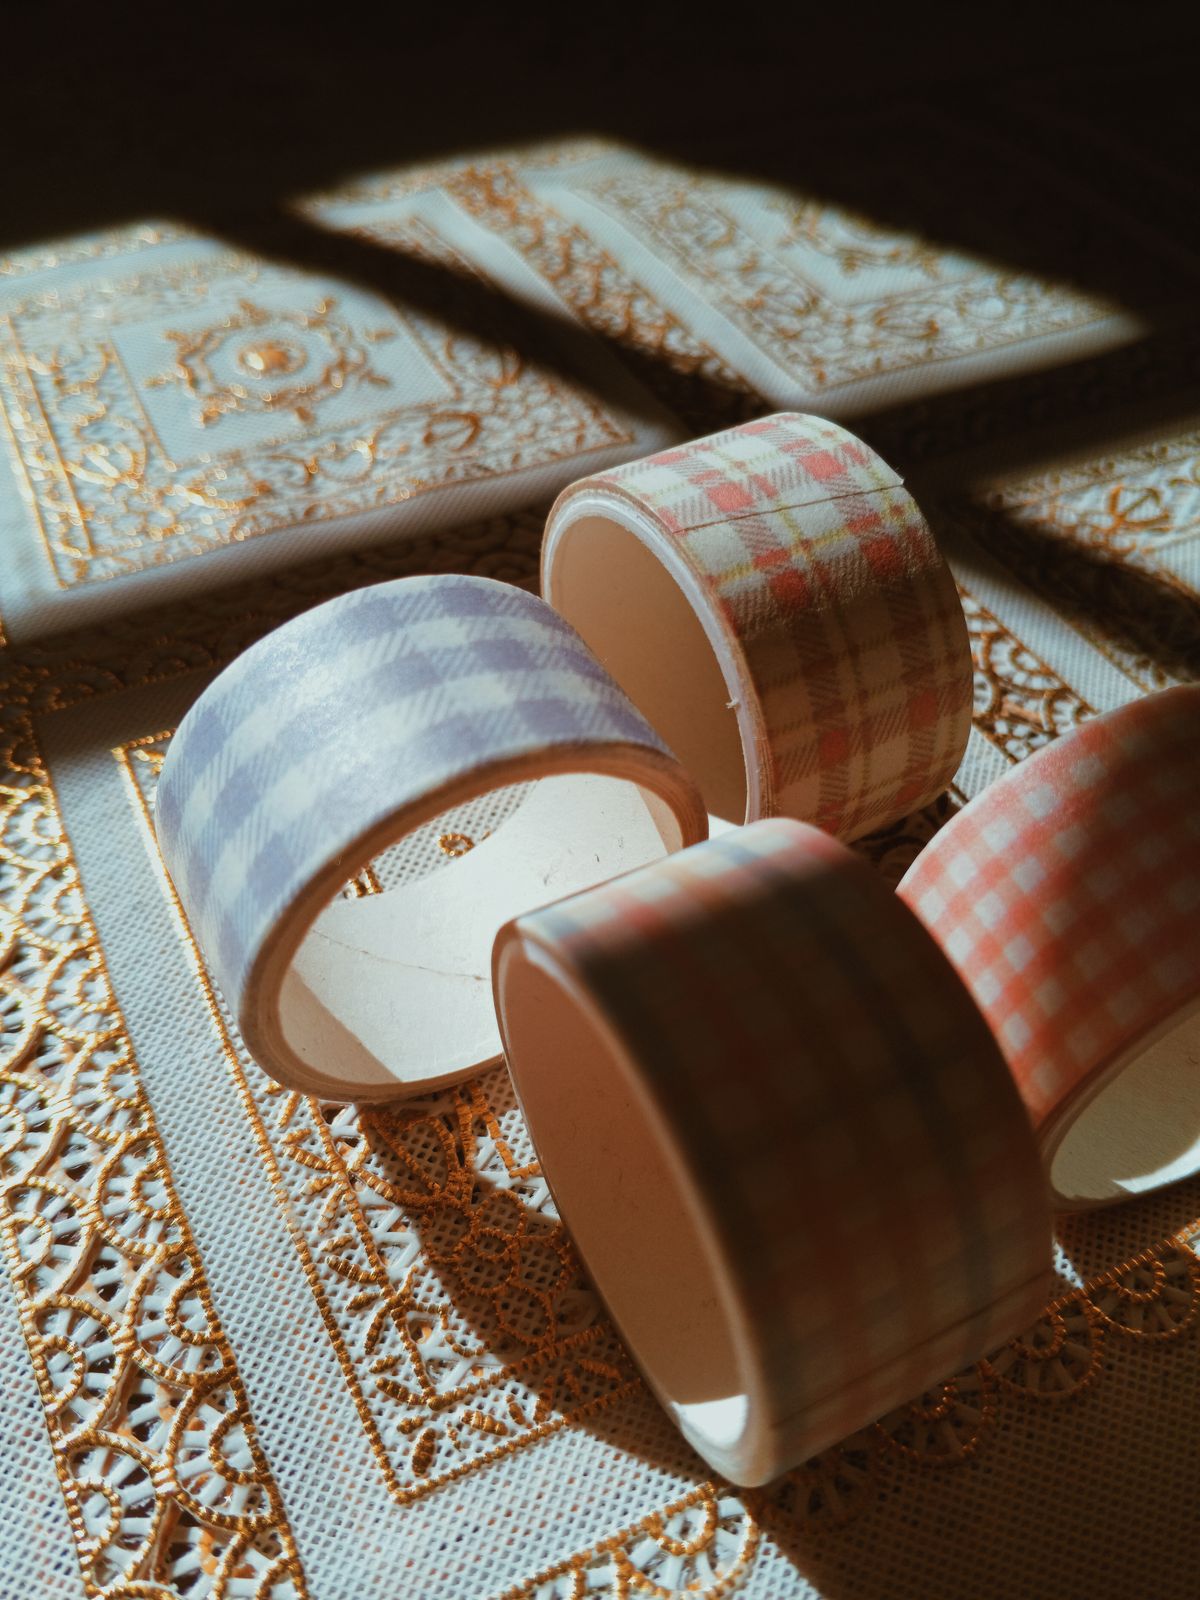
Crumple a ball of scrap paper, wrap it smoothly in tape, and decorate with thin strips, punched dots, and a tape loop on top.
They are unbreakable, toddler-proof, and cat-approved — our tree loses zero ornaments a year now.
Pro Tip: Save tape scraps in a jar all year; ornament balls are their moment to shine.
25. Pinwheel Garden Stakes
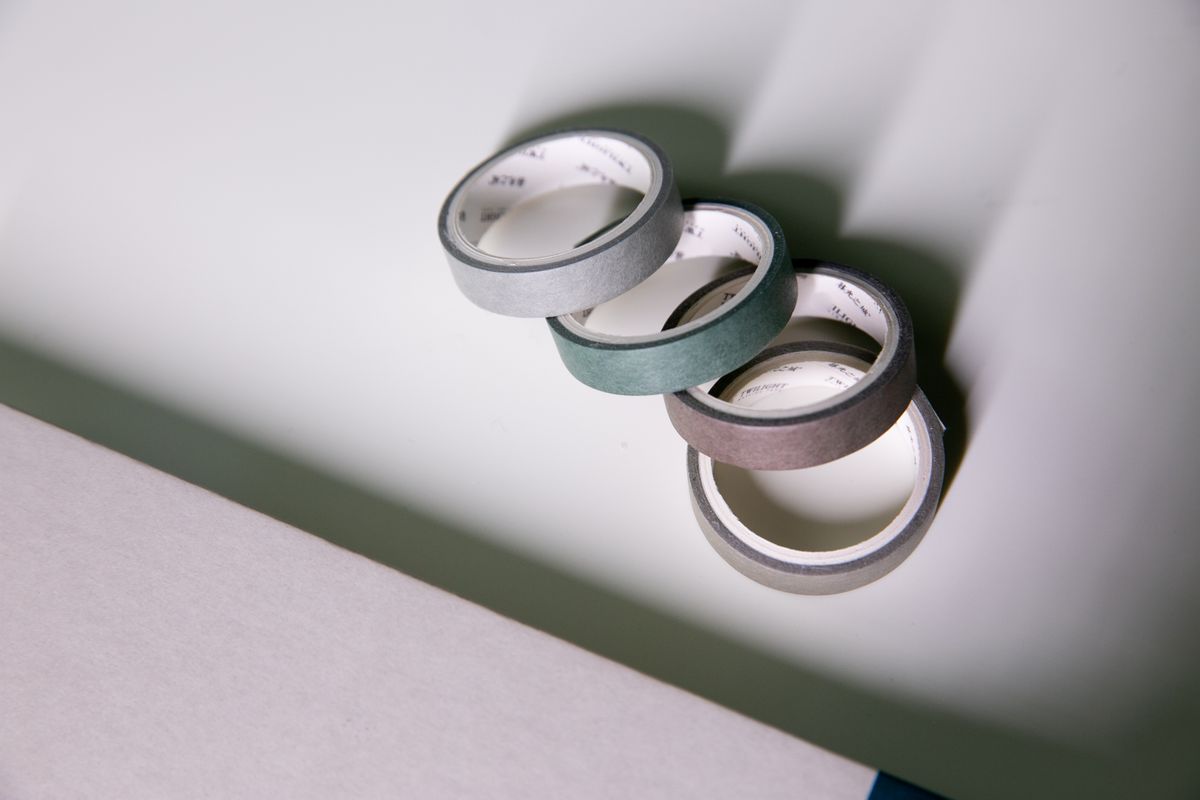
Fold a square sheet with two different colors on each side, cut slits from the corners toward the center, and fold alternate points in to form the classic pinwheel.
Pin it through the center to a dowel with a bead spacer so it spins freely.
Pro Tip: Leave a bead’s width of slack on the pin; a pinwheel squeezed flat against the stake will never spin.
26. Tool Handle Wraps
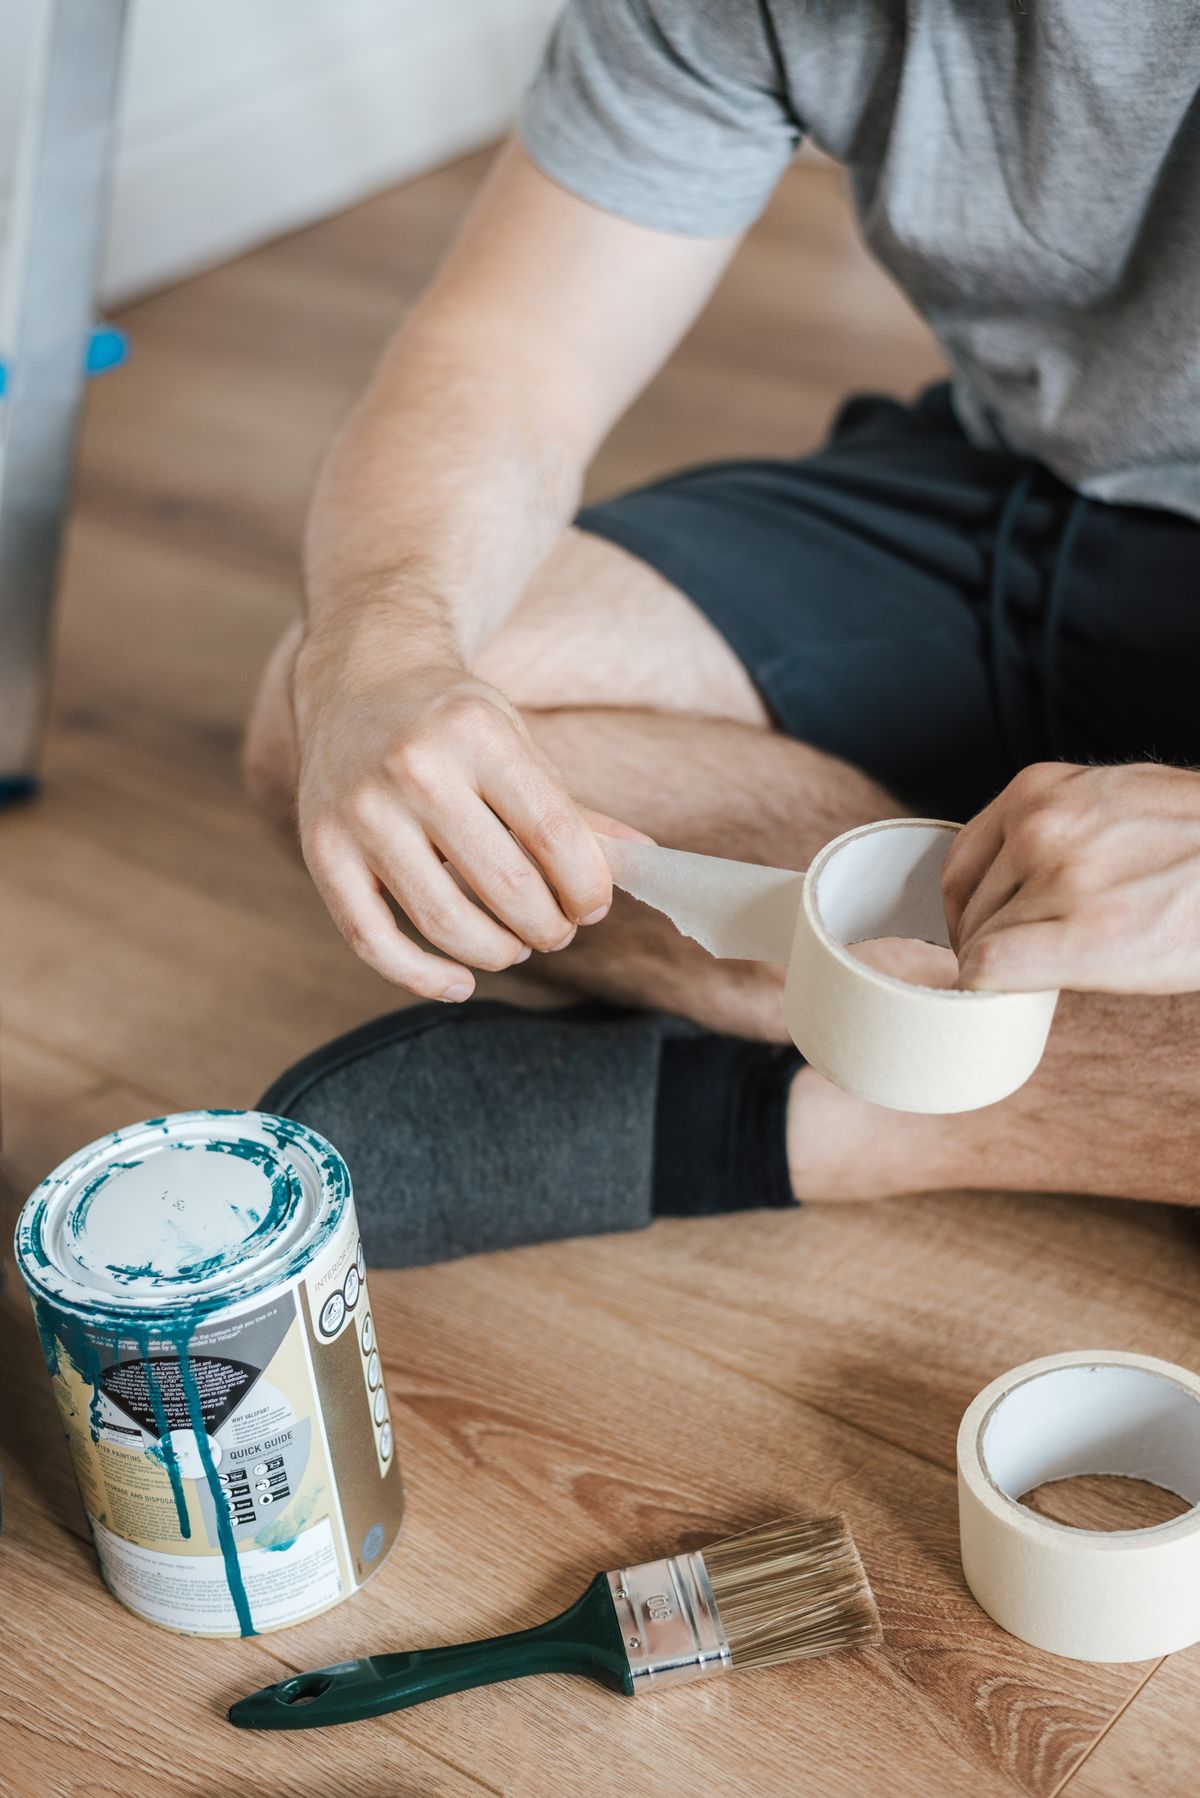
Wrap worn tool handles in overlapping tape spirals for a fresh, grippy, cushioned surface. Hammer, rake, broom, and garden trowel handles all benefit in about two minutes each.
It is the least glamorous project on this list and the one my husband requests most.
Pro Tip: End each wrap with one smooth circumferential band so the spiral edge cannot start peeling.
27. Mega Sheet Picnic Mat
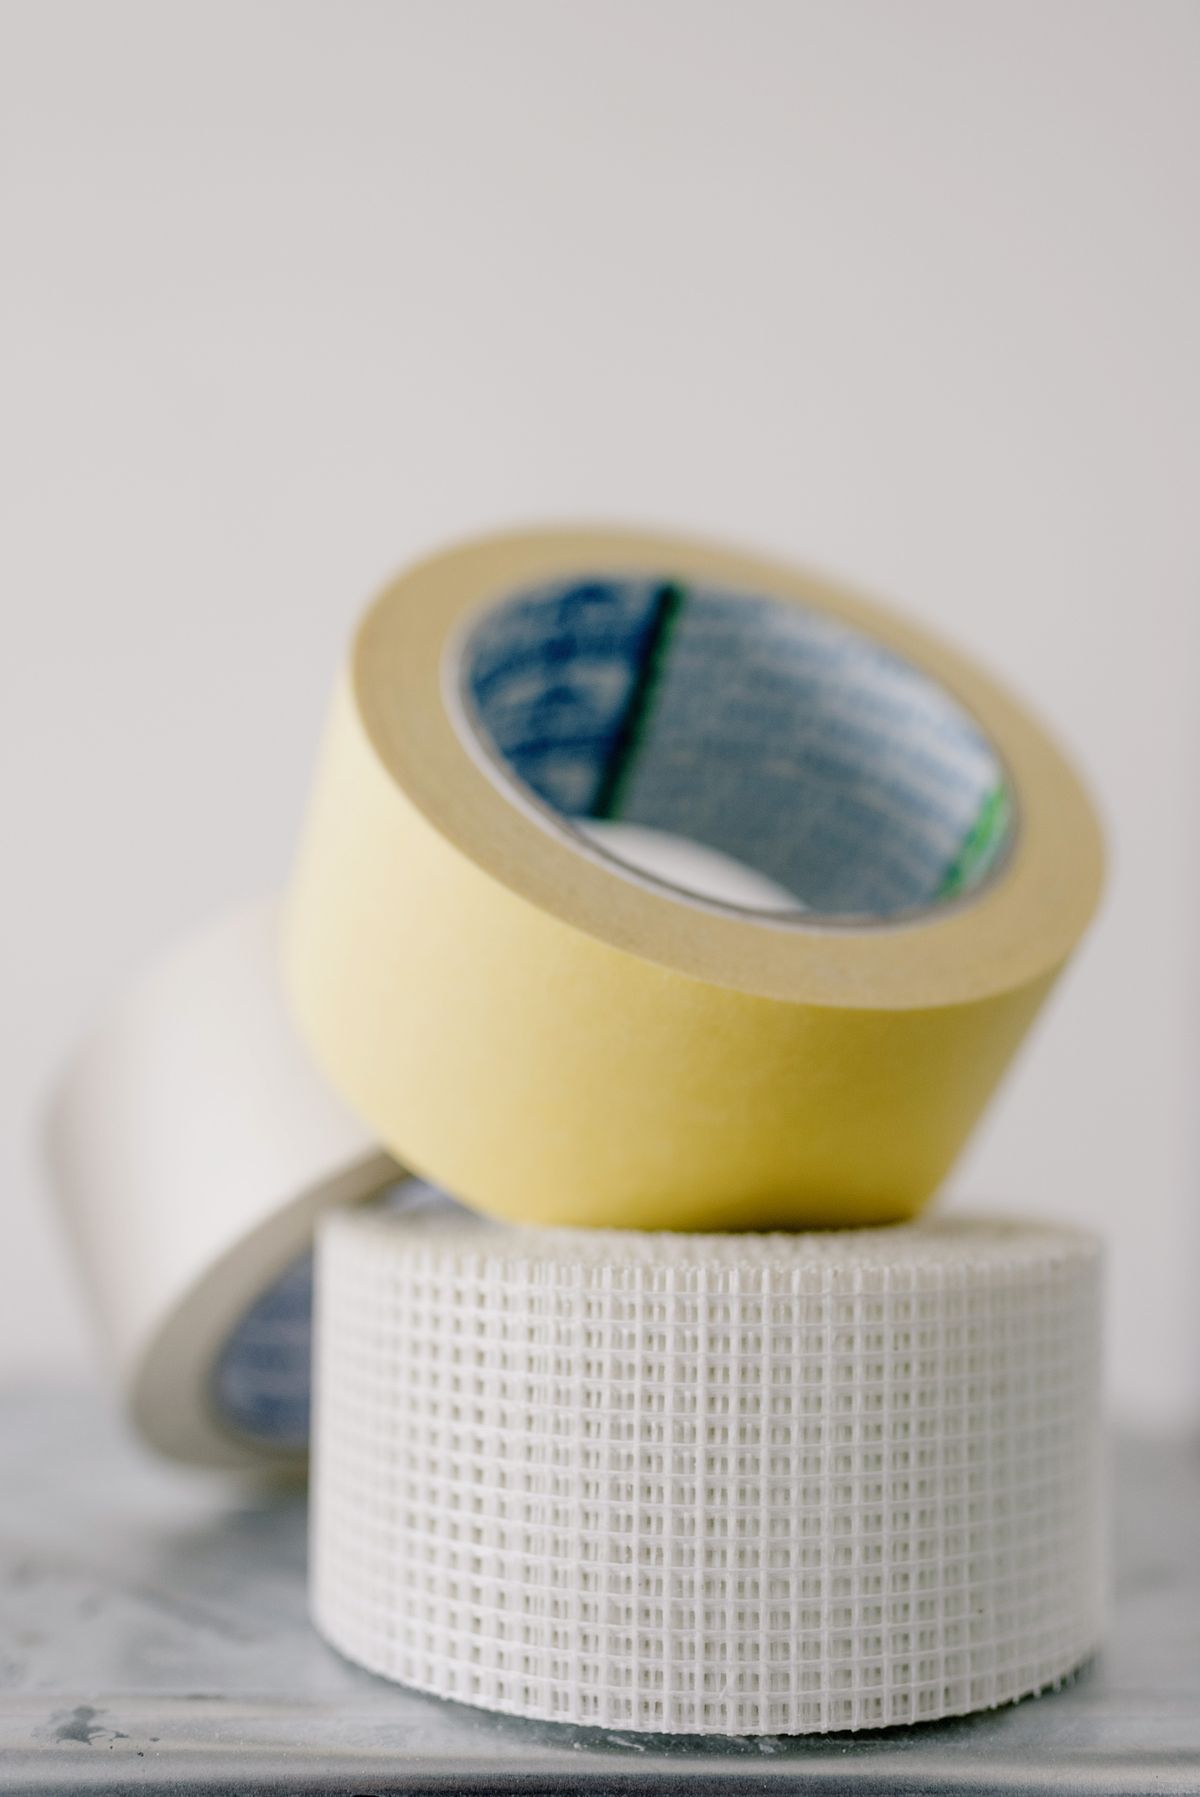
Join multiple sheets edge to edge into one huge panel, border it, and you have a waterproof ground mat for picnics, beach days, and under-tent flooring.
Ours is six feet square, rolls into the trunk, and hoses clean after every outing.
Pro Tip: Assemble the mega sheet on the floor, not a table, and weigh the corners with books as you join.
Frequently Asked Questions About Duct Tape Crafts
What kind of duct tape is best for crafting?
Standard craft-store duct tape in colors and patterns is thinner and easier to fold than heavy-duty hardware tape, which matters for small projects like roses and earrings.
How do I keep duct tape from sticking to my scissors?
Wipe the blades with a little cooking oil or a dryer sheet between cuts — the residue slides right off. A craft knife and metal ruler on a cutting mat give the cleanest edges for sheets and strips.
Are duct tape crafts safe for kids?
Yes, with age-appropriate projects and supervision for cutting. Coasters, frames, bookmarks, and bracelets suit elementary ages; wallets and woven bags reward patient older kids.
How long do duct tape projects actually last?
Far longer than most people expect. My oldest wallet is three years into daily use, and the pantry bins are older. Projects kept out of constant direct sun last longest, since UV slowly fades colors and dries adhesive.
Can duct tape crafts get wet?
They can, and it is one of their great advantages. The tape surface is waterproof, so coasters, aprons, lunch bags, and picnic mats shrug off spills and rain.
Where do I find patterned and colored duct tape?
Craft stores carry the widest range, including licensed prints, metallics, and seasonal designs, and the rolls go on sale constantly — I stock up then. Online shops have even more variety.
Final Thoughts
Twenty-seven projects, one humble roll of tape. What I love most about this collection is that it grows with the crafter — a kindergartner’s coaster and a teenager’s woven tote use the same two skills, just at different scales, and both end up genuinely useful around my house.
Start with the project that made you pause, keep your scissors oiled and your ruler handy, and do not fear the sticky mistakes — a fresh strip fixes almost anything tape-related. Tell me in the comments which project rescued your rainy day, because I am always collecting the next sticky situation to solve.





One Comment