Macrame Craft Ideas for Beginners
I started macrame with a ball of cotton cord, a YouTube video, and absolutely no idea what I was doing, and my first wall hanging looked, in my husband’s kind words, rustic. These macrame crafts are the projects I actually finished, kept, gifted, or use every day, and they are ordered from the easiest knot to the most ambitious, so a complete beginner can start at the top and work down. I picked and tested each one by making it myself, timing it honestly, and noting where I went wrong, because a craft list that only shows perfect results is not much use to anyone holding a tangled cord for the first time.
Key Takeaways
- Start with 3mm or 4mm cotton cord; thinner cord is fiddly, thicker cord is hard on your hands.
- Learn just two knots first, the square knot and the double half hitch, and you can make most beginner projects.
- Measure cord at four times the finished length you want; running short mid-project is the classic beginner mistake.
- Work on a dowel hung at eye level, not flat on a table, so your tension stays even.
- Comb out fringe with a pet brush, not a fine comb, for soft, even ends.
17 Macrame Craft Ideas for Beginners I Have Actually Made
1. Simple Square-Knot Wall Hanging
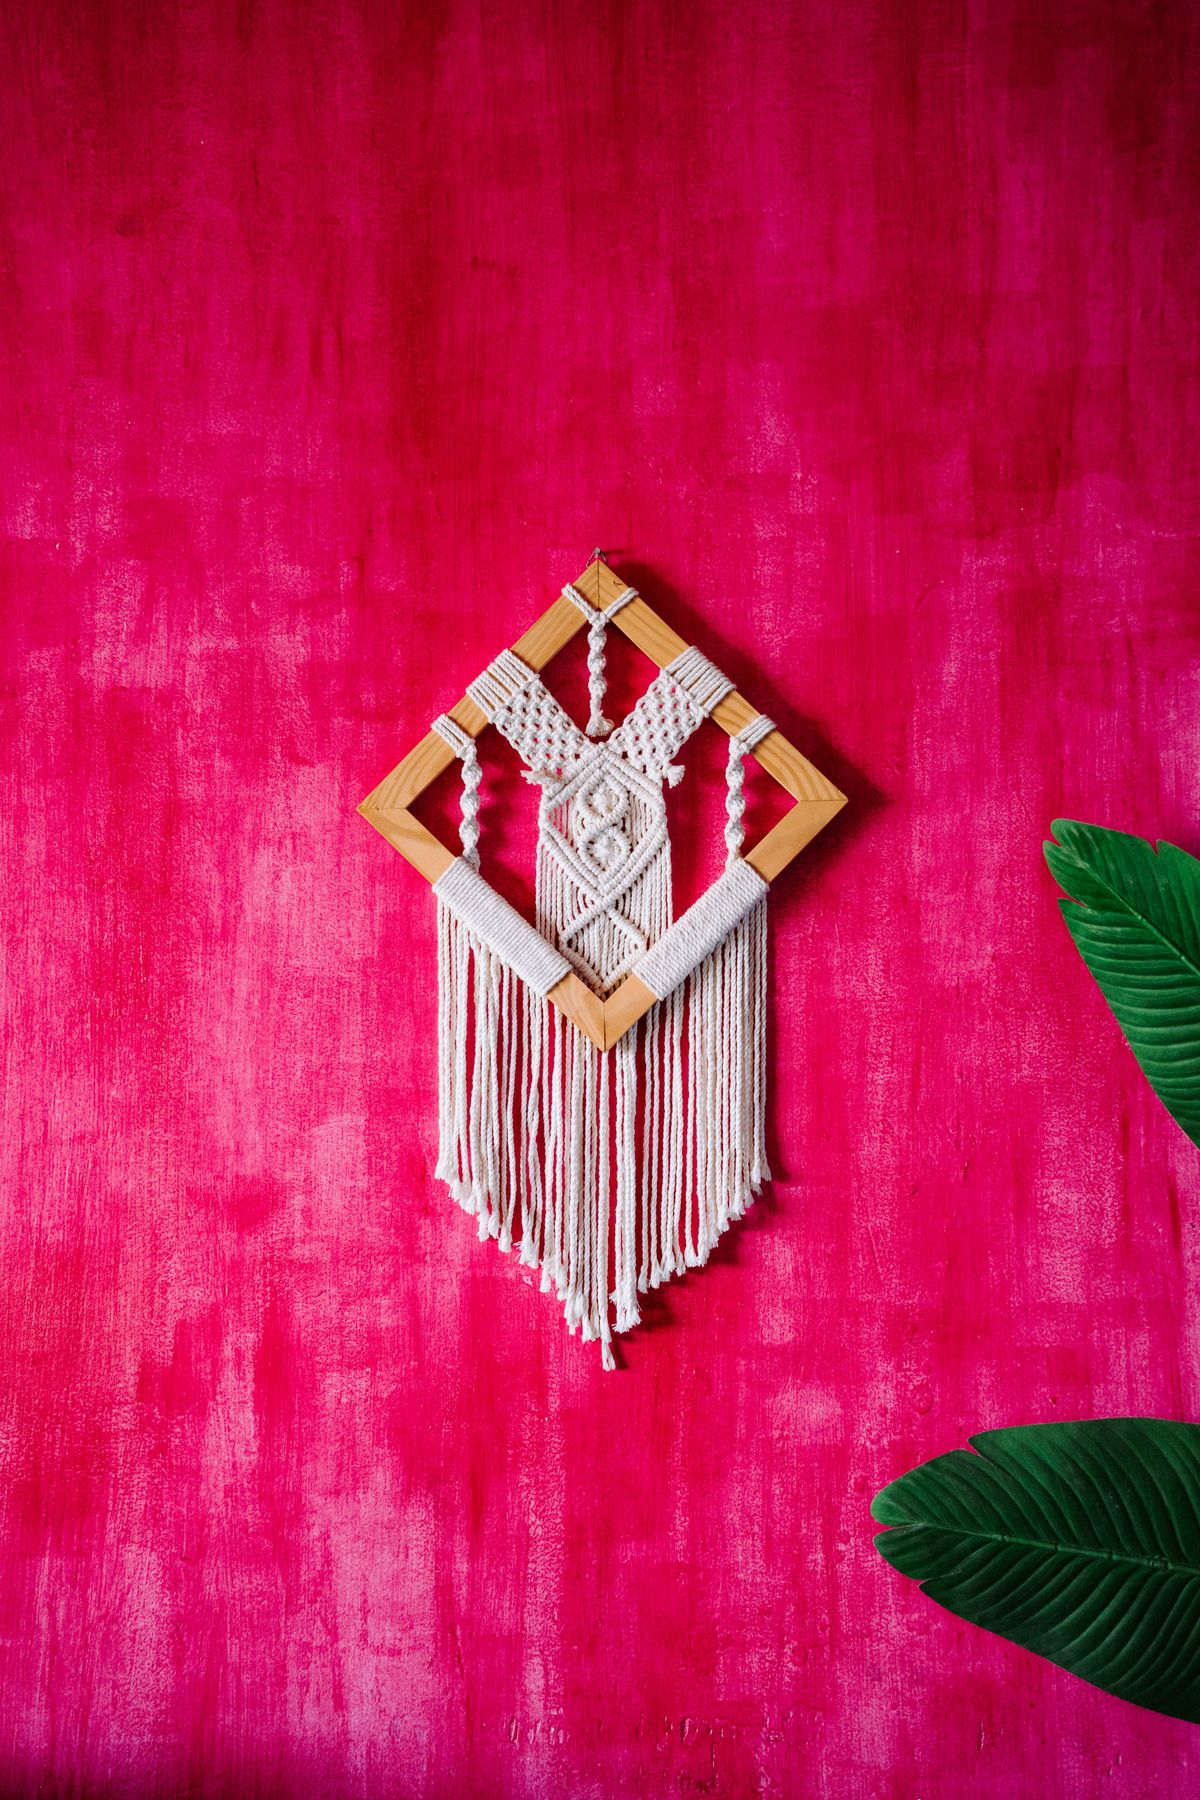
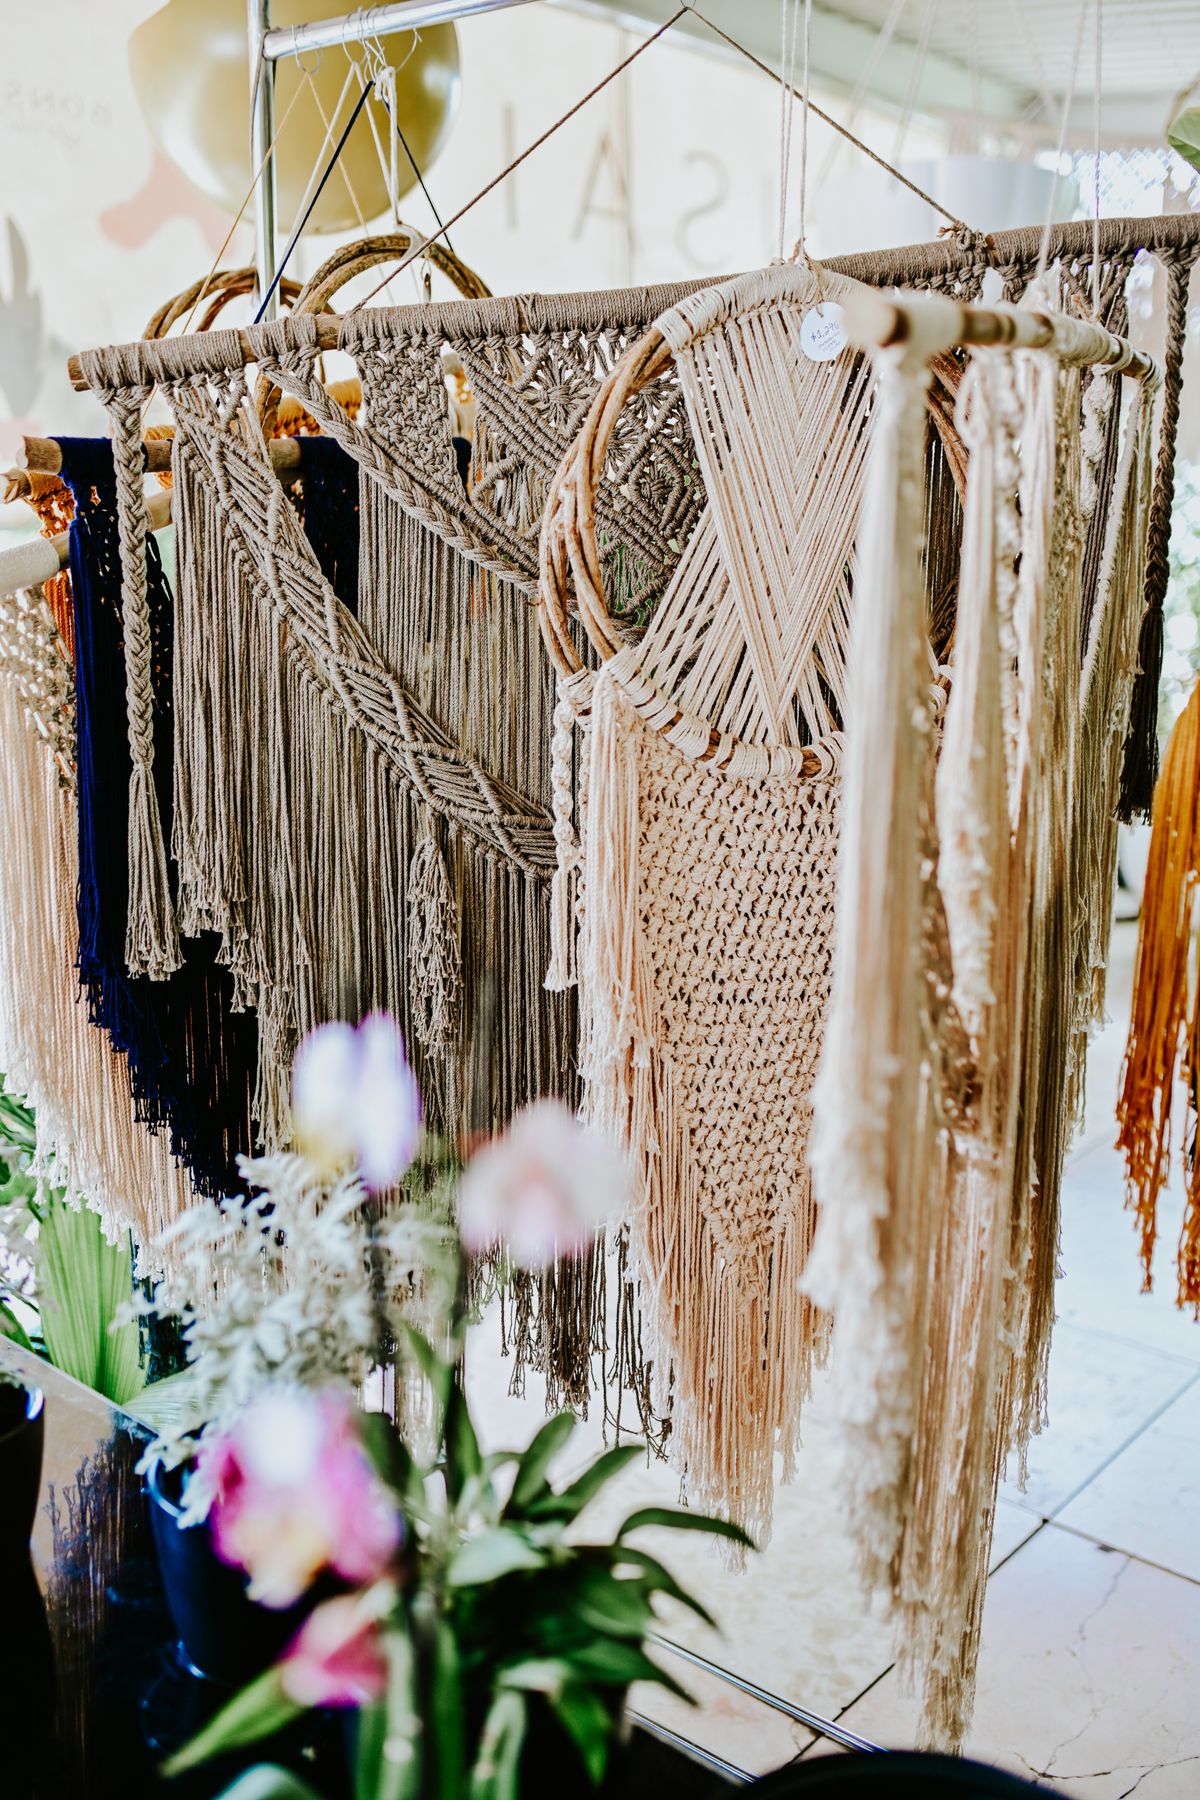
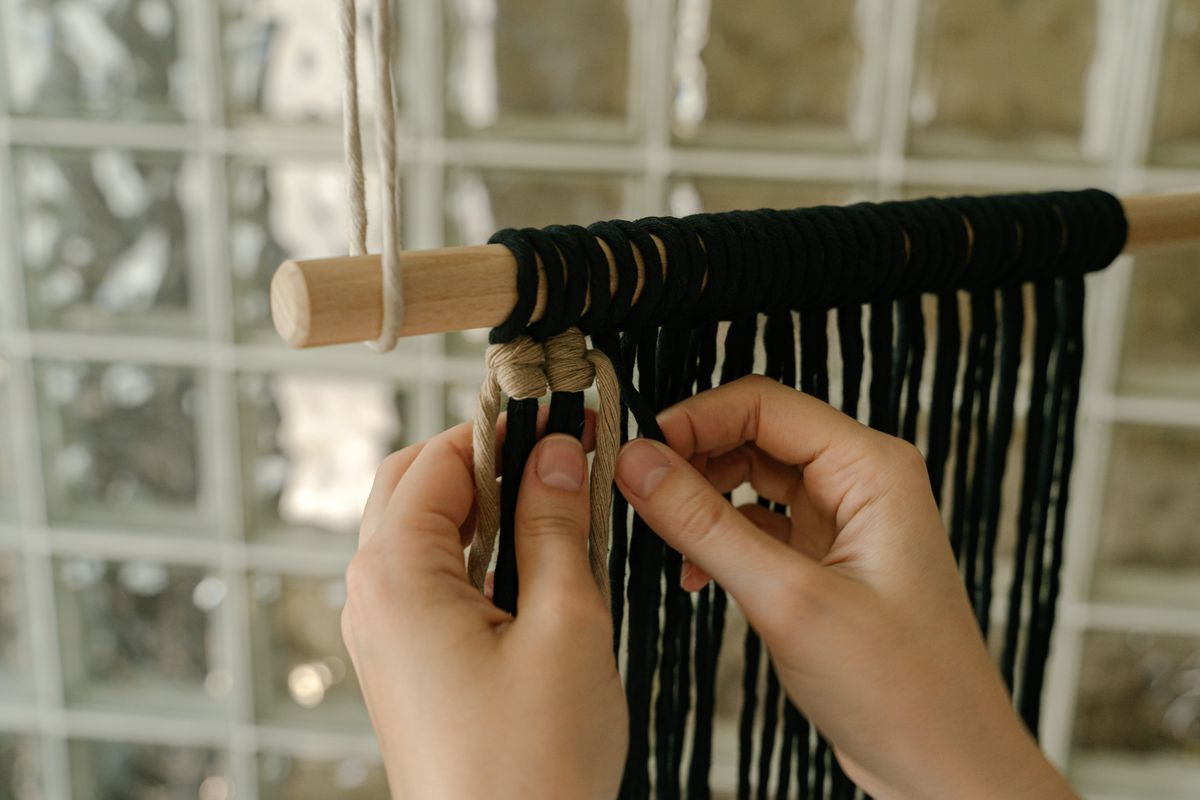
My very first project was a small wall hanging made entirely of square knots on a wooden dowel, and it is still hanging in my hallway. I cut sixteen cords, each about four feet long, folded them over a twelve-inch dowel, and knotted row after row of square knots, alternating the pattern every other row. It took me three evenings in front of the television, about four hours in total, because I kept untying knots that looked uneven. The downside is that square knots alone can look a little plain, so I added a row of wooden beads halfway down, which transformed it. If your knots look uneven, pull them tighter and step back; from two feet away, nobody sees the difference.
Cost: $10–$18 | Time: 4 hours | Difficulty: Easy
Pro Tip: Keep a ruler beside you and check your knot spacing every few rows; even spacing matters more than perfect knots.
2. Plant Hanger for a Small Pot
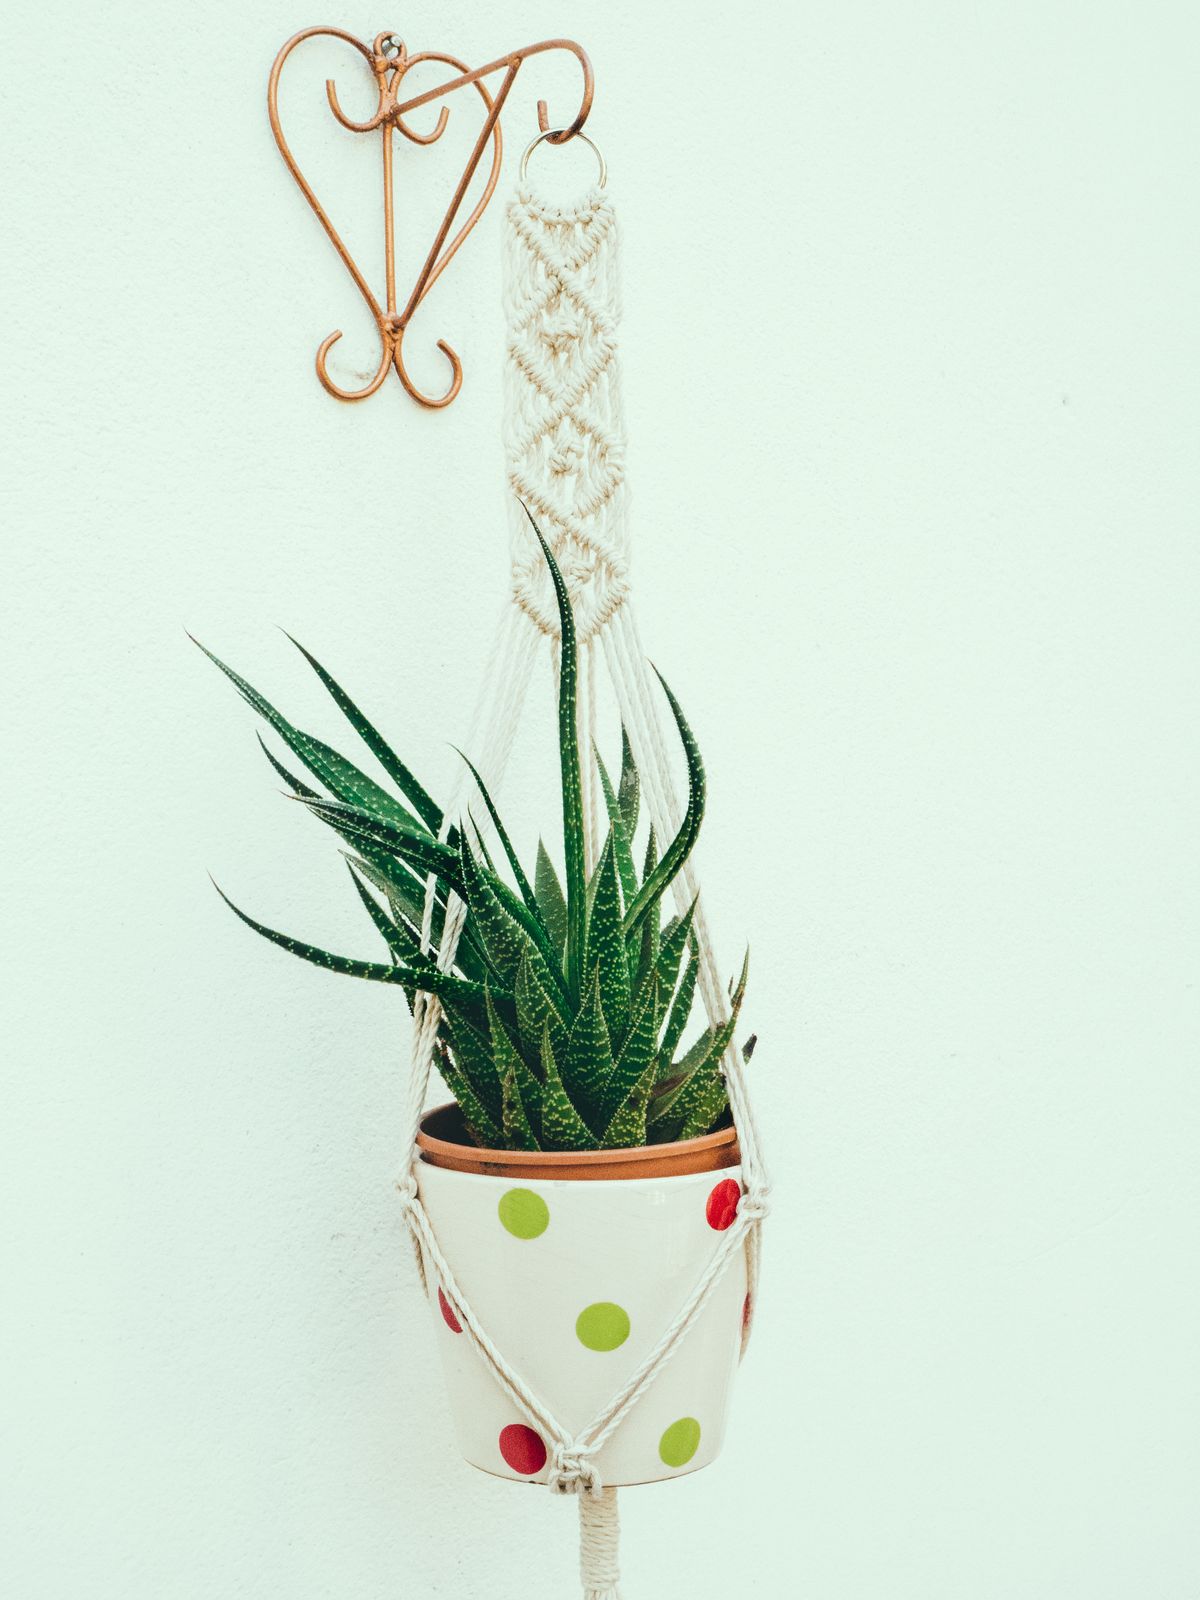
A plant hanger was my second project, and it is the one I recommend to every beginner, because it is useful, forgiving, and finished in one sitting. I cut eight cords, each about twelve feet long, knotted them into a net around a small terracotta pot, and gathered them at the bottom with a large wooden bead. It took me two hours, and the plant has lived in it for over a year without a single cord slipping. The watch-out is weight: a heavy ceramic pot in a hanger made with thin cord will stretch and sag, so I use 4mm cord for anything heavier than a small plastic pot, and I hang it from a proper ceiling hook, not a sticky hook.
Cost: $8–$15 | Time: 2 hours | Difficulty: Easy
Pro Tip: Test the hanger with the empty pot first, then add the plant; adjusting a loaded hanger is awkward and risks a spill.
3. Macrame Coasters (The Perfect First Knot Practice)
Coasters are small, quick, and brilliant for learning tension, because if one goes wrong, you have only lost twenty minutes. I made a set of four using square knots worked in a circle around a small ring, then combed out the fringe and trimmed it into a neat round shape. The whole set took me an evening, about two hours, and they live on my coffee table where guests always ask about them. The downside is that coasters get wet and stained, so I use cotton cord that can be hand-washed, and I accept that they will not stay pristine forever. A coaster that looks a little lived-in is a coaster that is actually being used.
Cost: $5–$10 | Time: 2 hours for a set of four | Difficulty: Easy
Pro Tip: Trim fringe after combing, not before; combed cord is longer than uncombed cord, and trimming too early leaves you with a stubby edge.
4. Keychain With a Wooden Ring
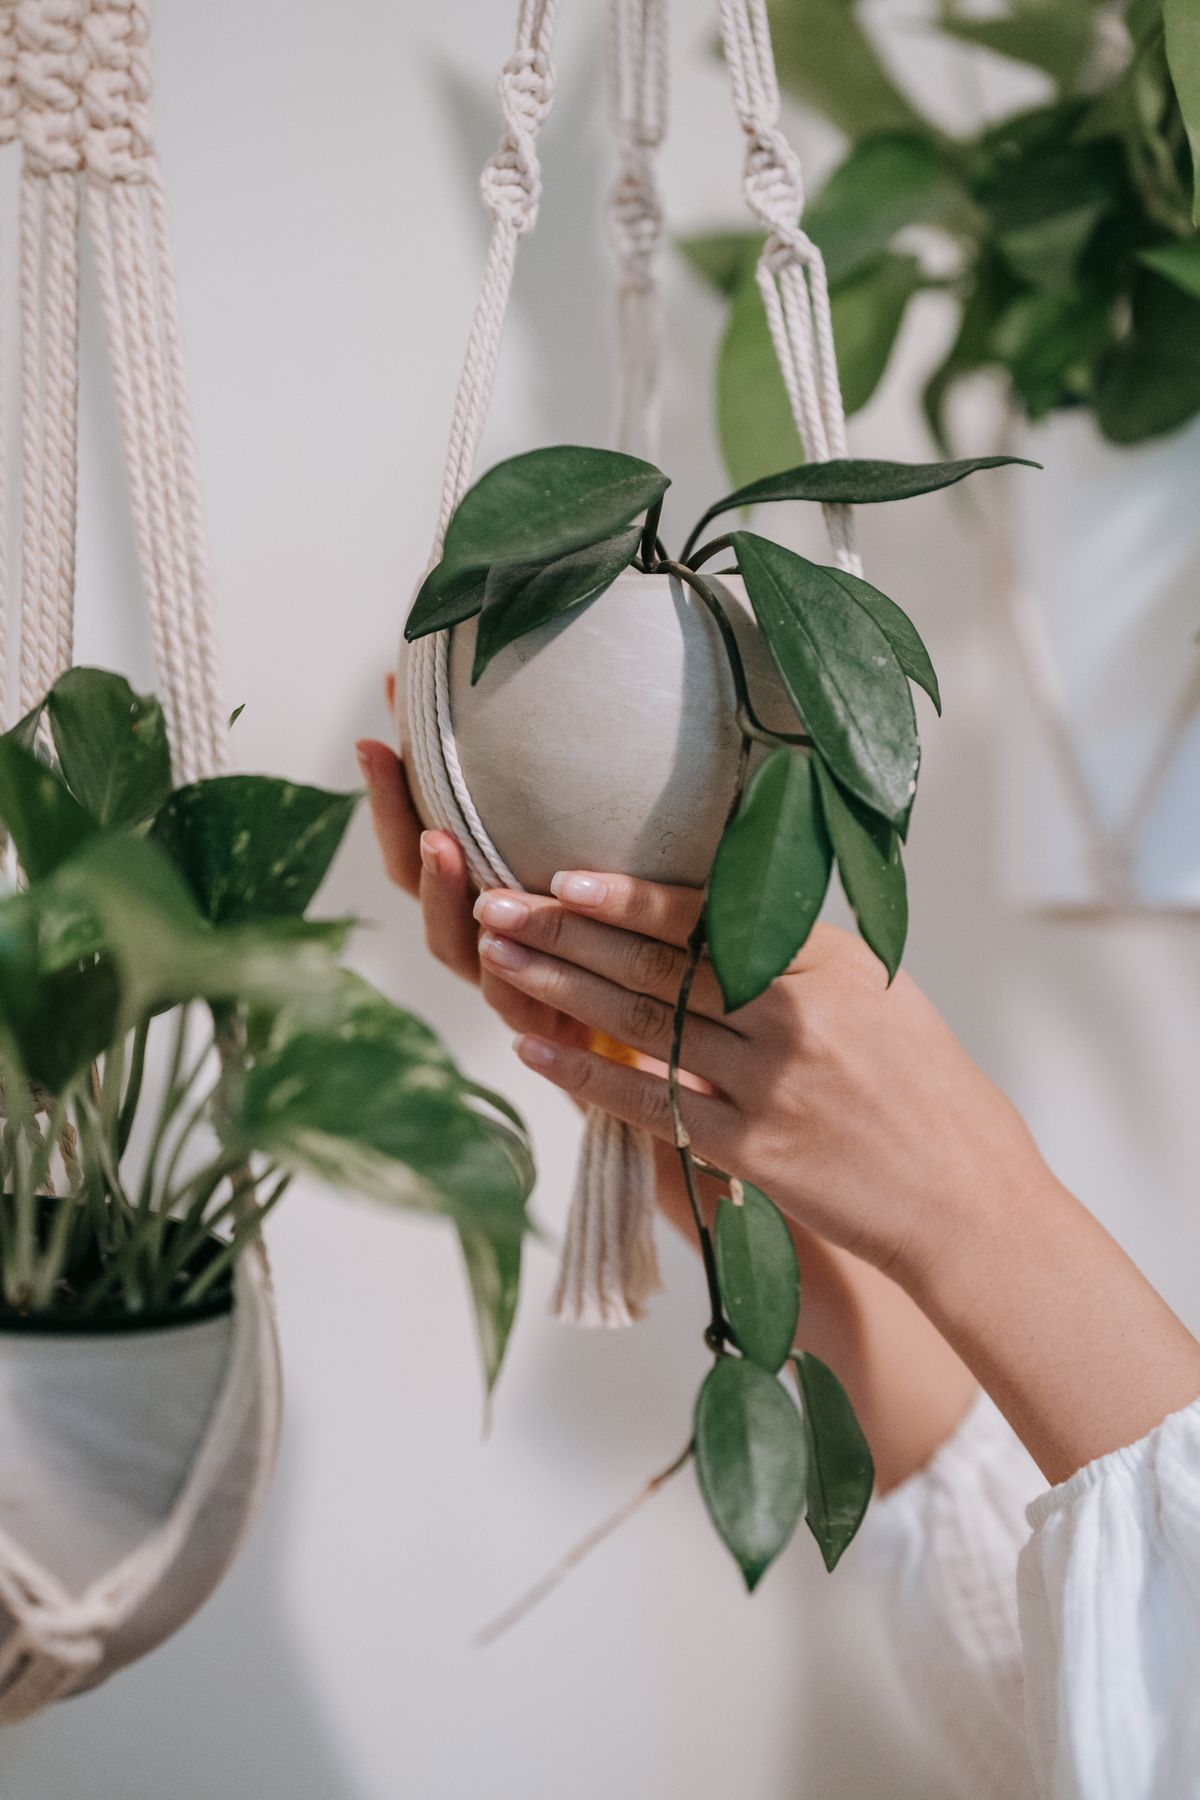
I made macrame keychains as Christmas gifts one year, using a small wooden ring, a few feet of cord, and a row of square knots finished with a tassel. Each one took about twenty minutes, I made twelve in a weekend, and they were the gifts people actually used. The first one I made unravelled because I did not secure the final knot properly, so I now add a tiny drop of clear craft glue to the last knot and let it dry before trimming. The downside is that keychains get rough treatment in bags and pockets, so I keep the design simple and avoid delicate beads that can break off. Simple and sturdy beats fancy and fragile for anything that lives on keys.
Cost: $1–$3 each | Time: 20 minutes each | Difficulty: Easy
Pro Tip: Use a lark’s head knot to attach cord to the ring; it is the strongest starting knot and takes seconds to learn.
5. Fringe Wall Hanging With a Wooden Dowel
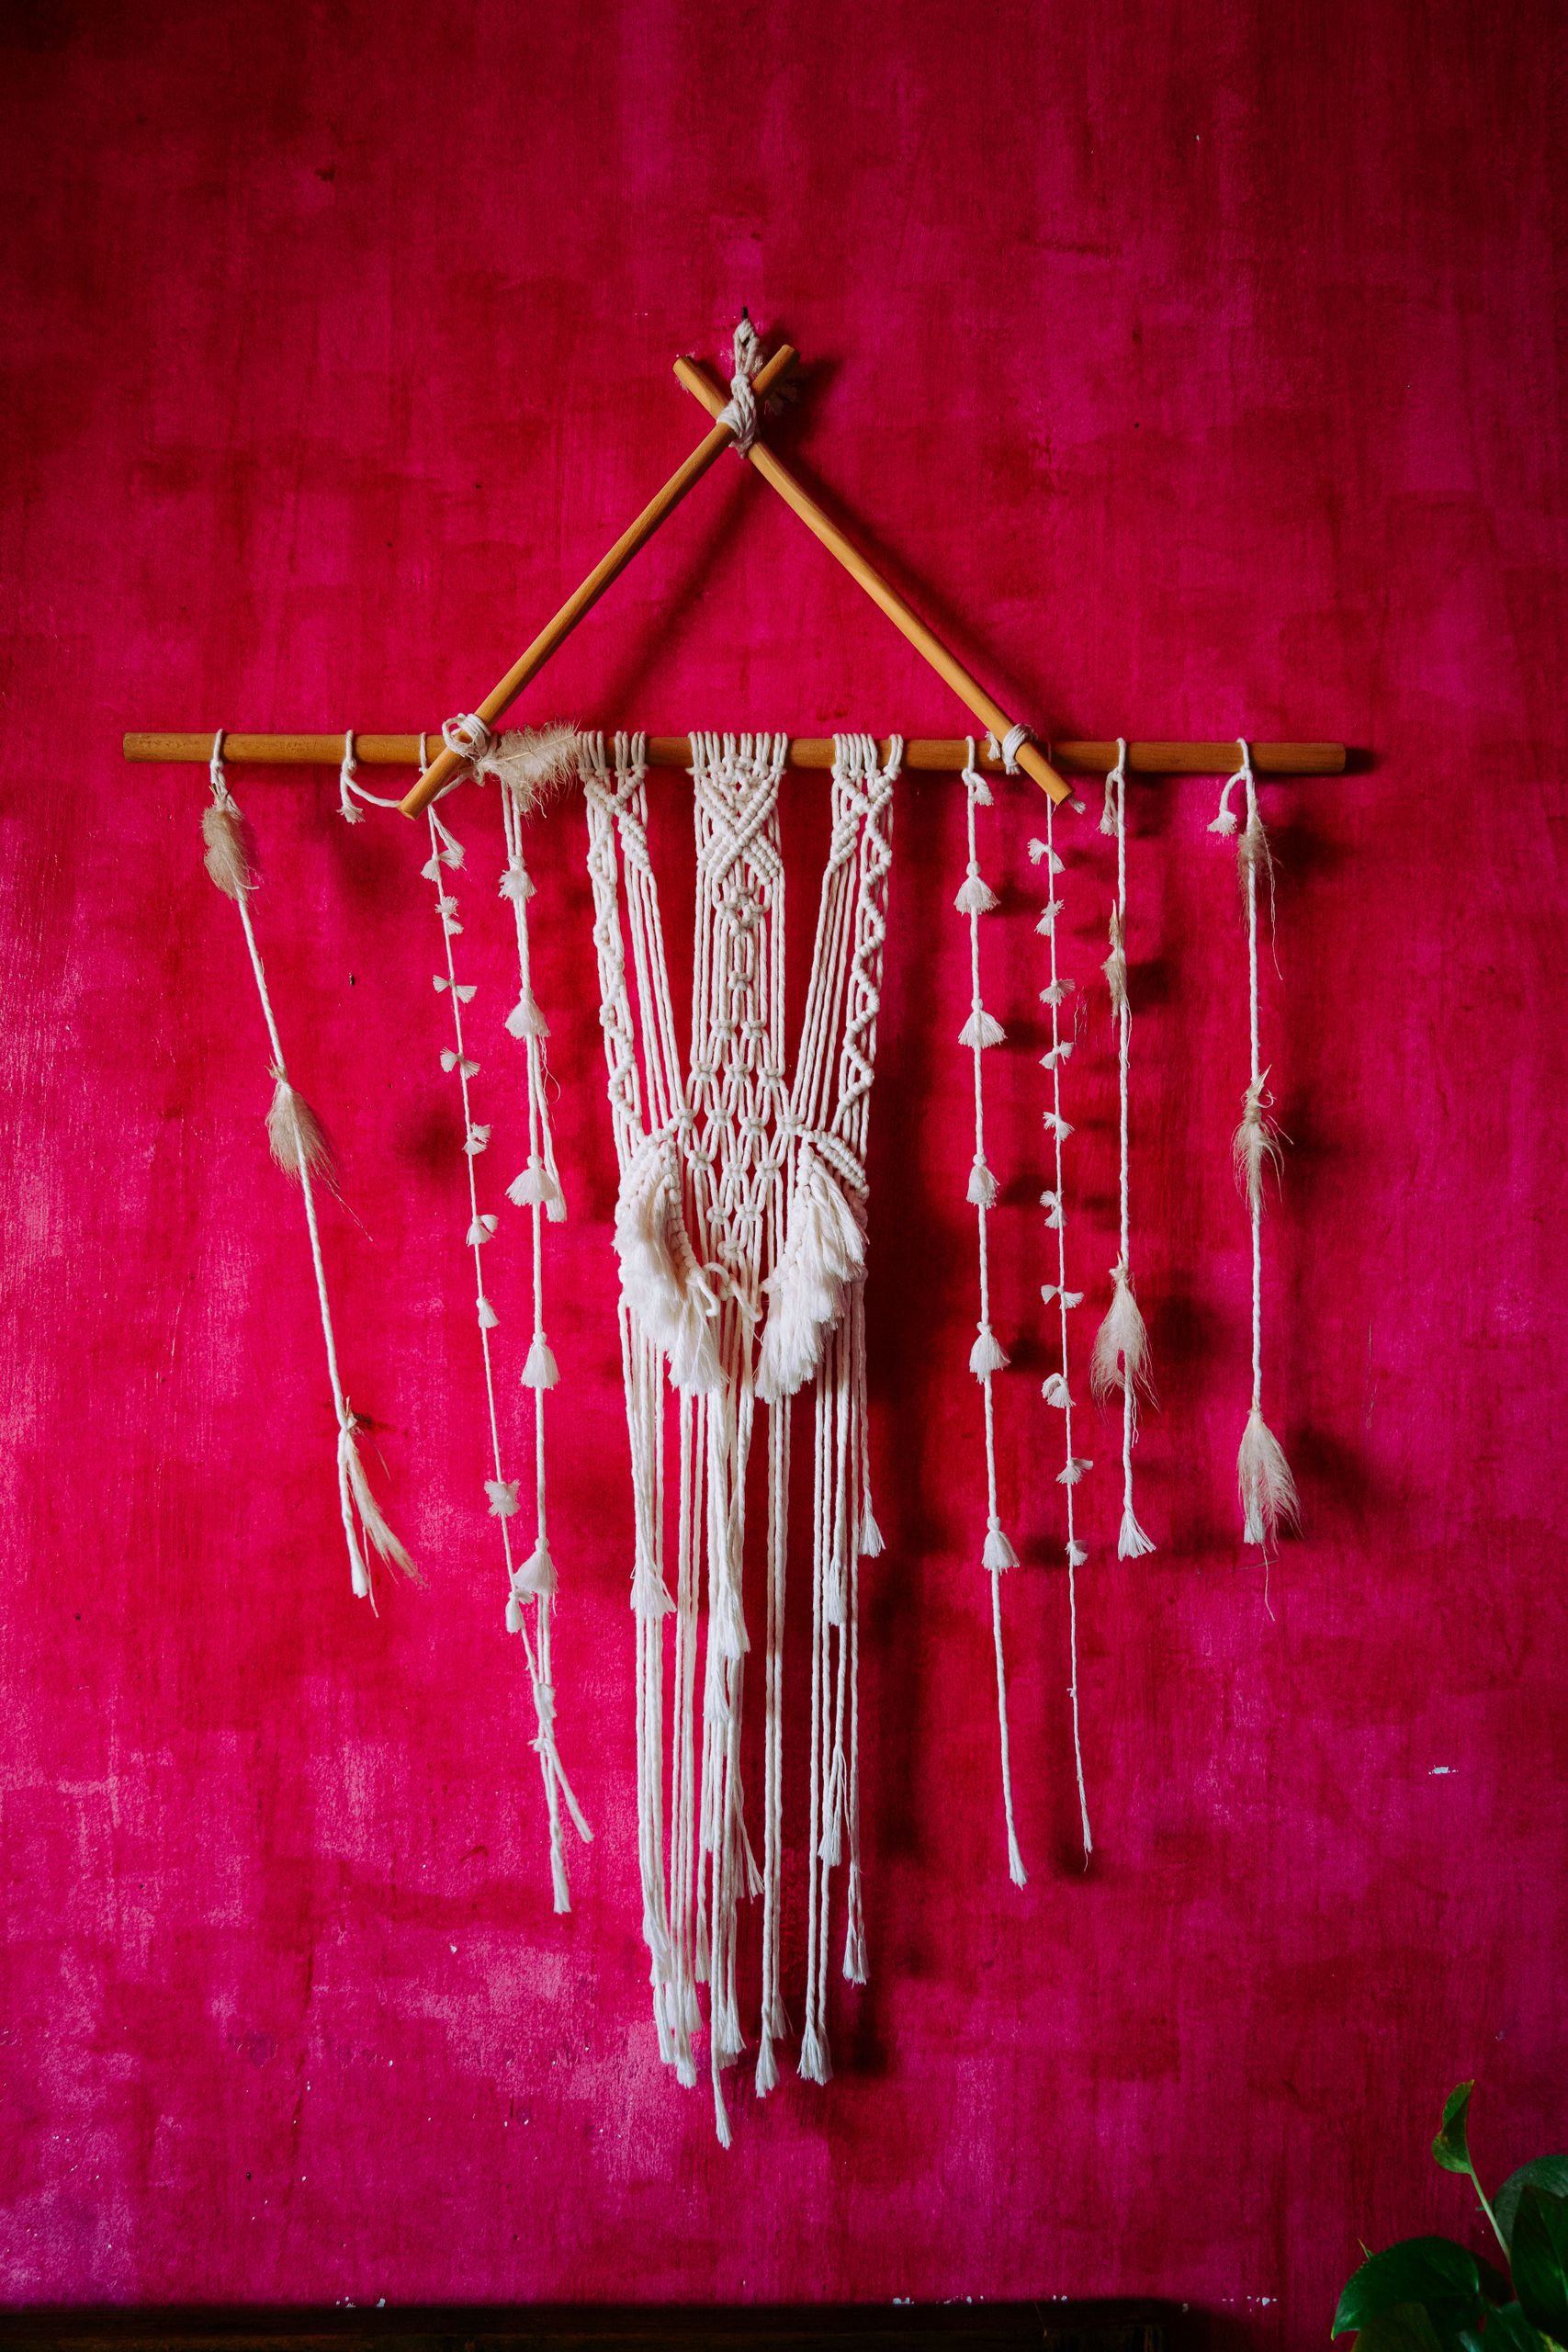
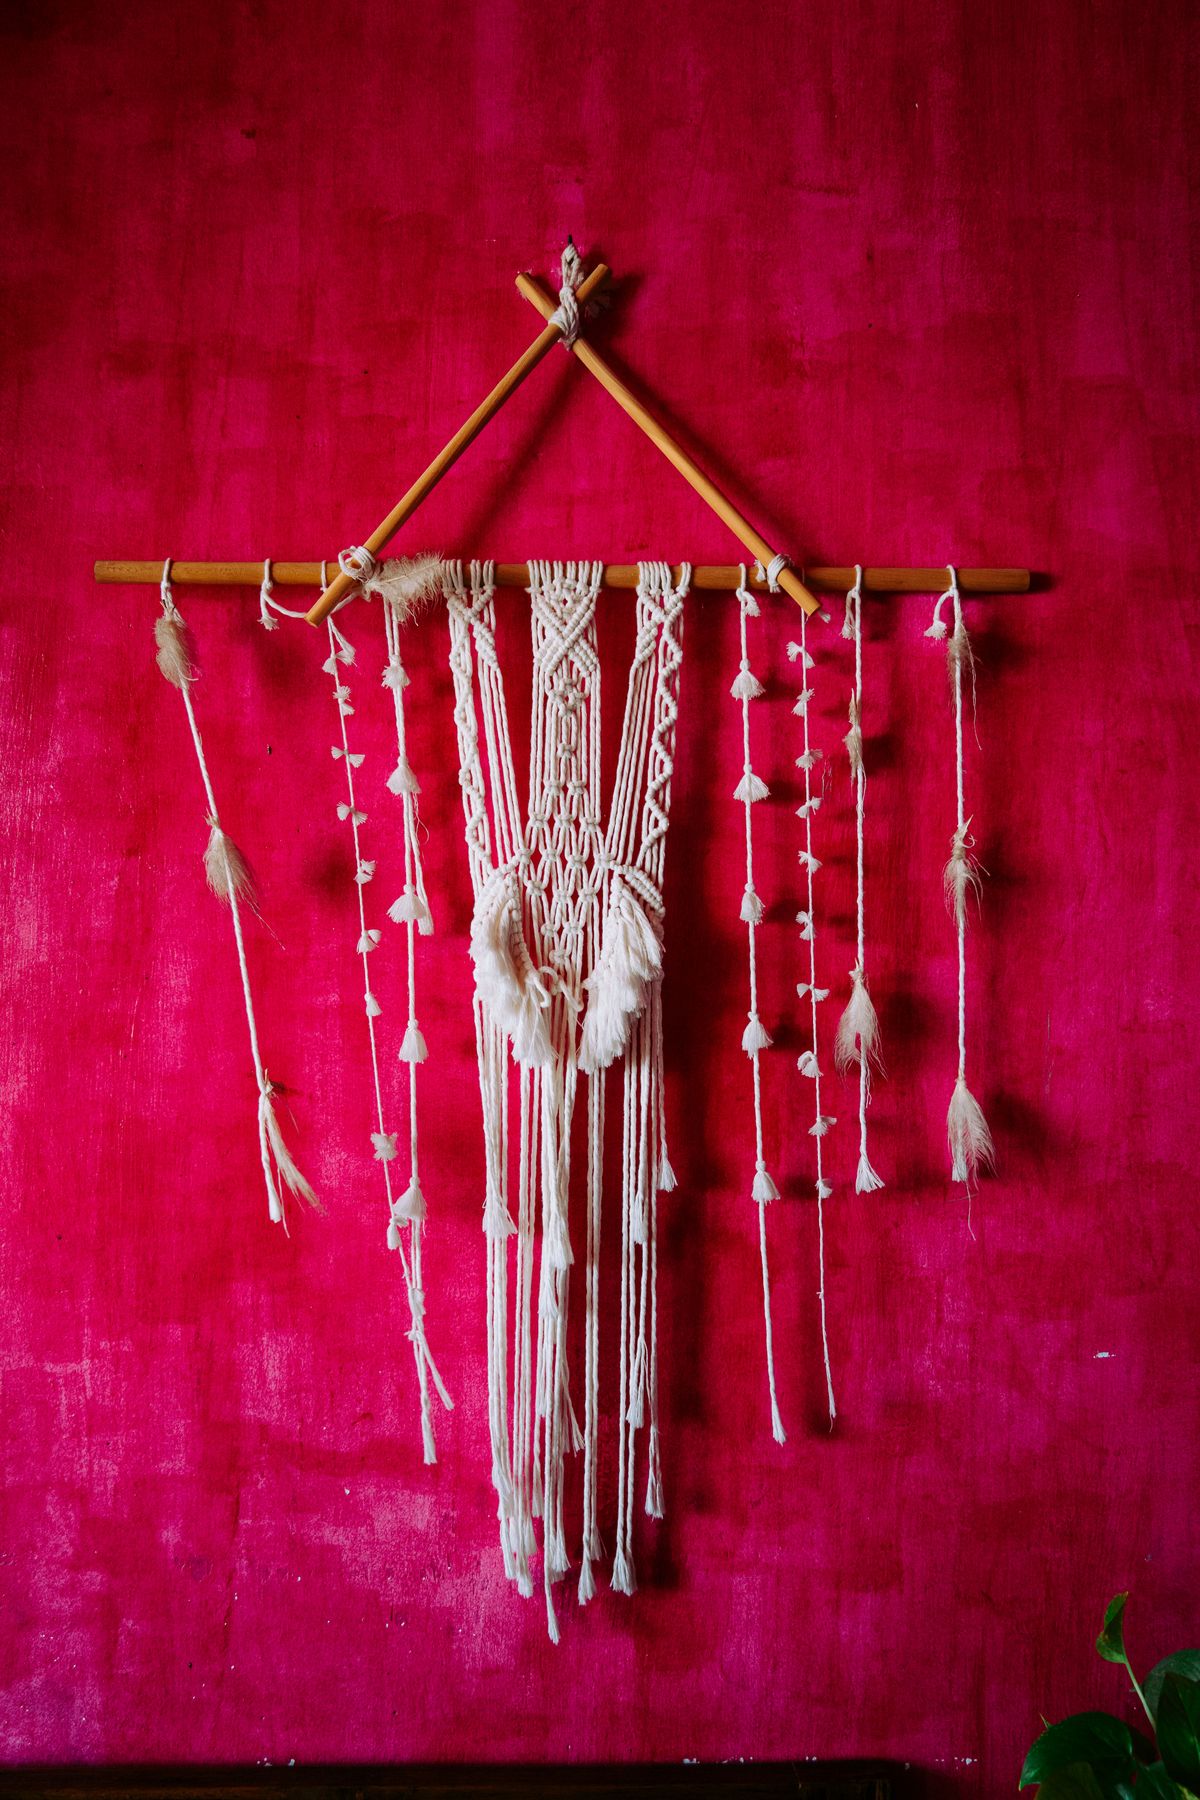
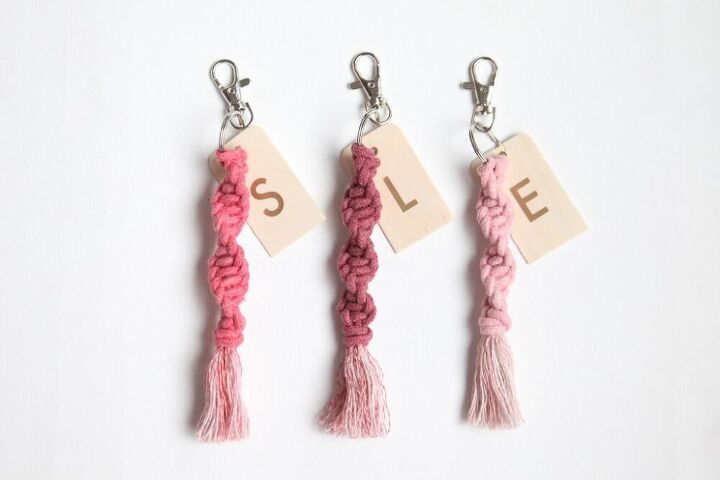
For a softer look, I made a wall hanging that is mostly fringe: cords hung from a dowel, knotted only at the top in a simple pattern, then combed out into a full, fluffy curtain of cord. It took three hours, most of it spent combing the fringe, which is meditative once you get into a rhythm. It hangs in my bedroom and softens the whole wall. The downside is dust: a fringe hanging collects dust like a curtain, so I shake it outside every few weeks and vacuum it gently with a brush attachment. If you have allergies, a smaller fringe piece or a plant hanger might suit you better than a large wall hanging.
Cost: $12–$20 | Time: 3 hours | Difficulty: Easy
Pro Tip: Comb fringe in small sections from the bottom upward; combing from the top down pulls knots loose.
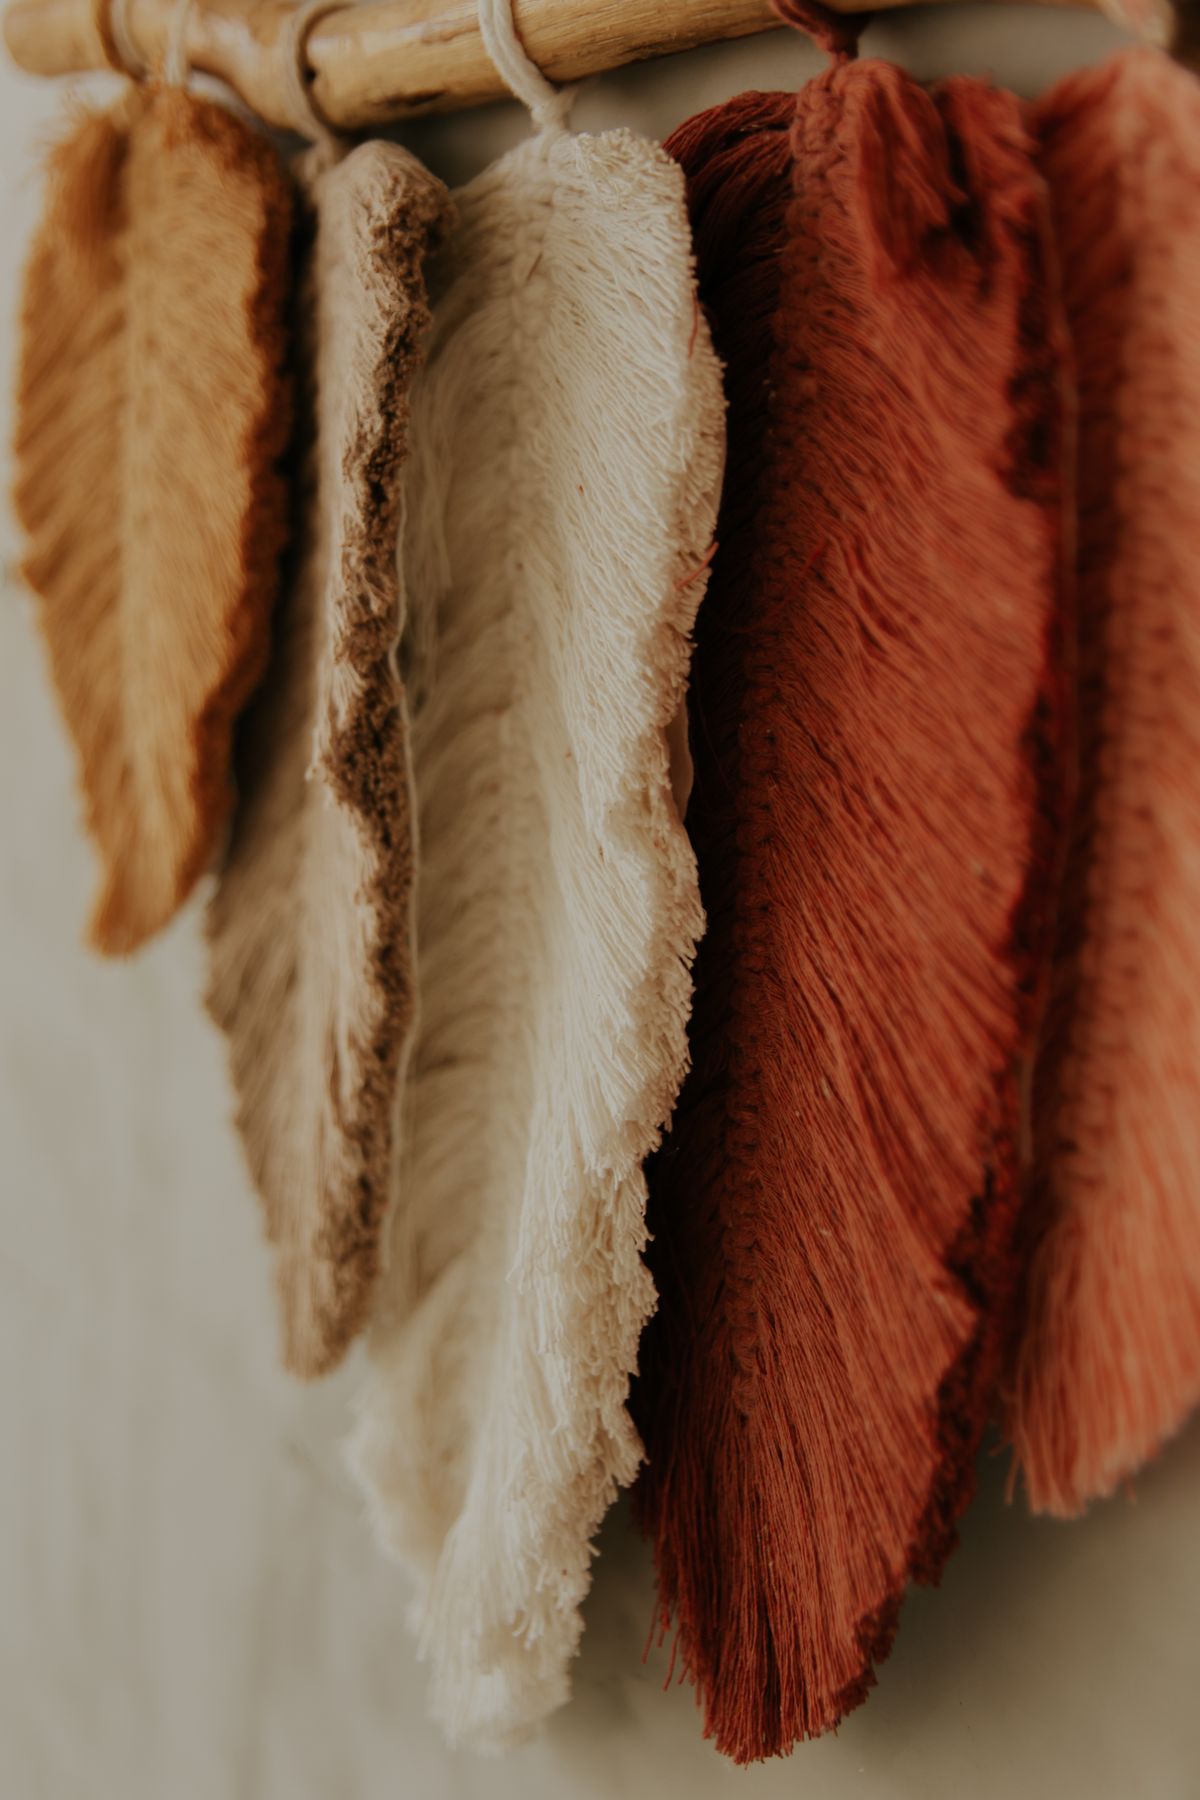
6. Macrame Feather (Leaf) Wall Decor
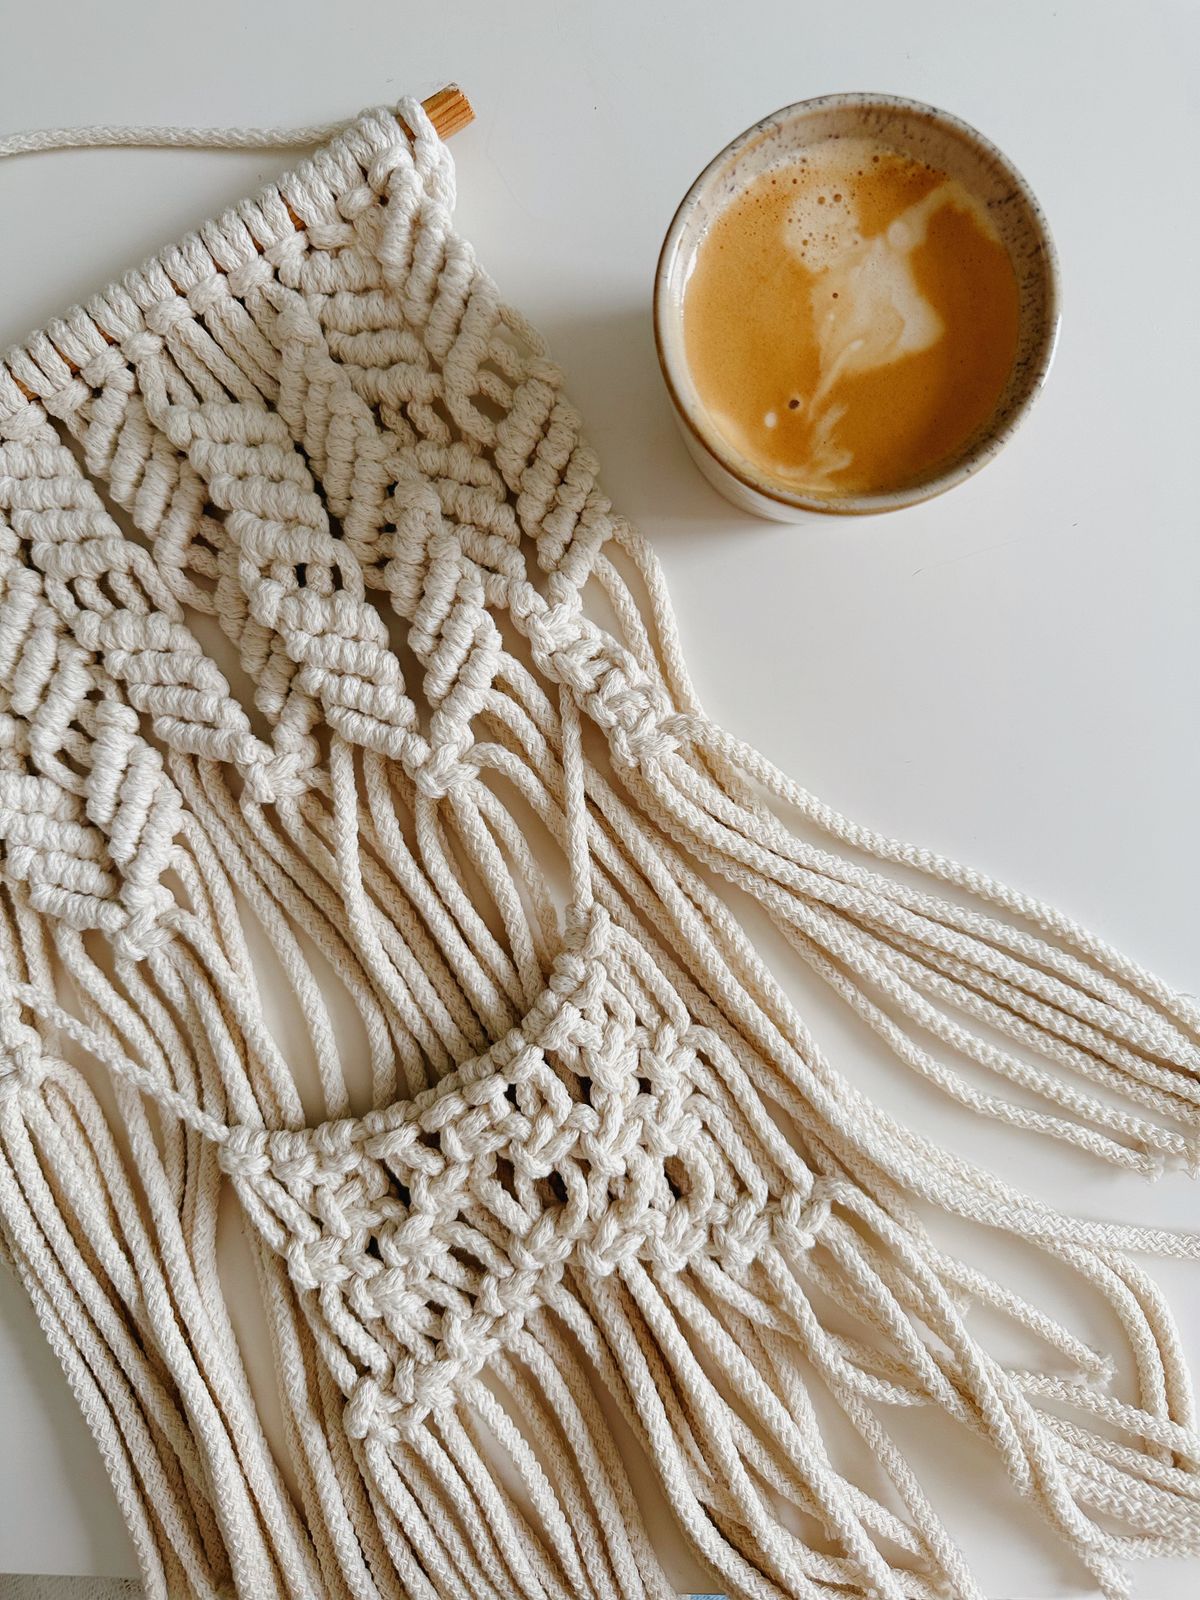
Macrame feathers, also called leaves, are made by knotting short cords along a central spine cord, then brushing them out and trimming them into a feather shape. I made a set of three in different sizes for my hallway, and they took about an hour each, including the brushing, which is the longest part. They look delicate and expensive, and guests always assume I bought them. The honest downside is that trimming a feather into a neat shape is harder than it looks, and my first one was lopsided until I made a cardboard template to trim against. With a template, the second and third feathers were nearly perfect, so I recommend making one before you start cutting.
Cost: $5–$12 | Time: 1 hour each | Difficulty: Easy
Pro Tip: Cut a feather template from cardboard in the shape you want, lay it over the brushed cord, and trim around it for a symmetrical result.
7. Hanging Shelf With Two Wooden Boards
A hanging shelf sounds ambitious, but it is really just a plant hanger with boards instead of a pot. I knotted four long cords, threaded them through holes drilled in two wooden boards, and knotted underneath each board to hold it in place, then hung the whole thing from a ceiling hook. It took me an afternoon, about four hours, and it now holds small plants and a candle in my living room. The watch-out is levelling: my first shelf tilted because one cord was longer than the others, so I now measure every cord against the same mark on the wall and adjust the knots before loading anything onto the shelf.
Cost: $15–$30 | Time: 4 hours | Difficulty: Medium
Pro Tip: Drill board holes slightly larger than your cord, and knot a large bead under each hole as well as a knot, for extra security.
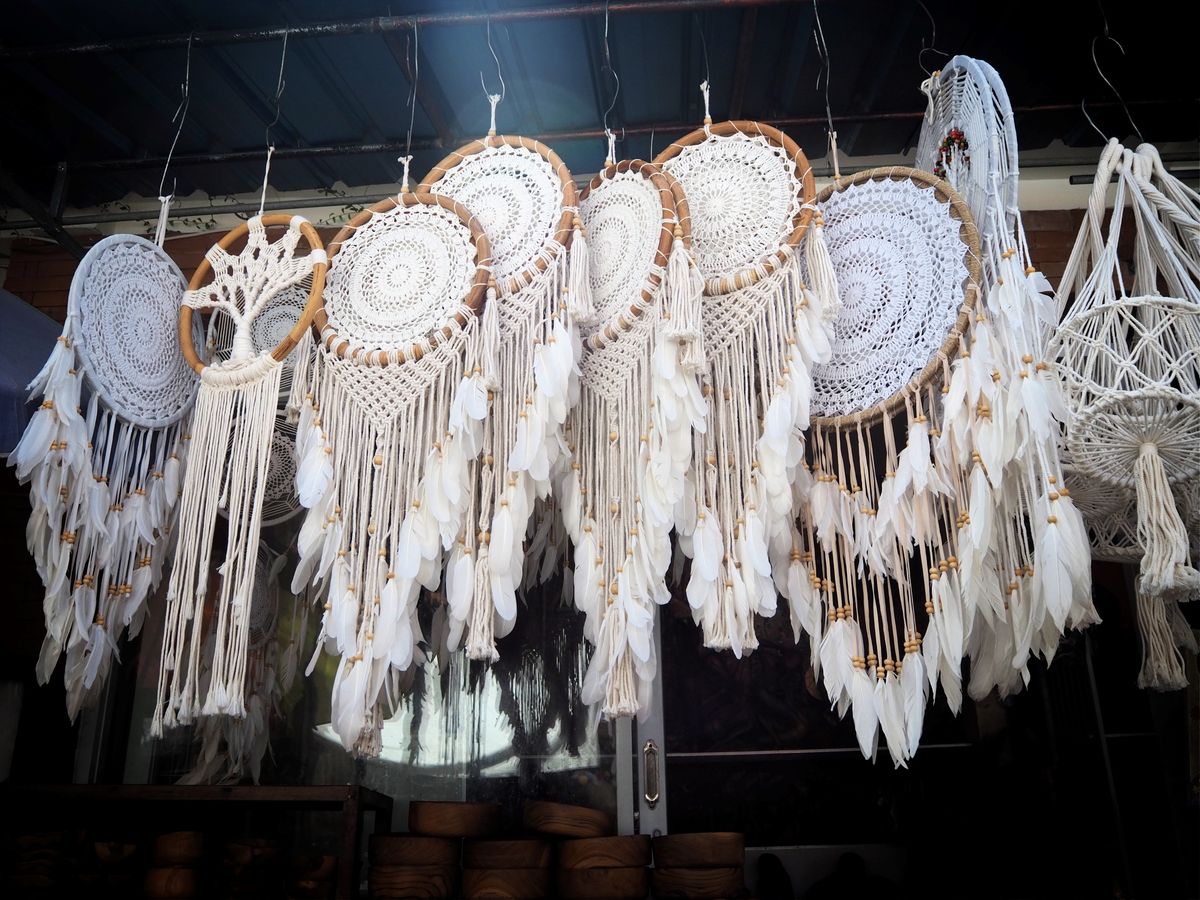
8. Macrame Dreamcatcher
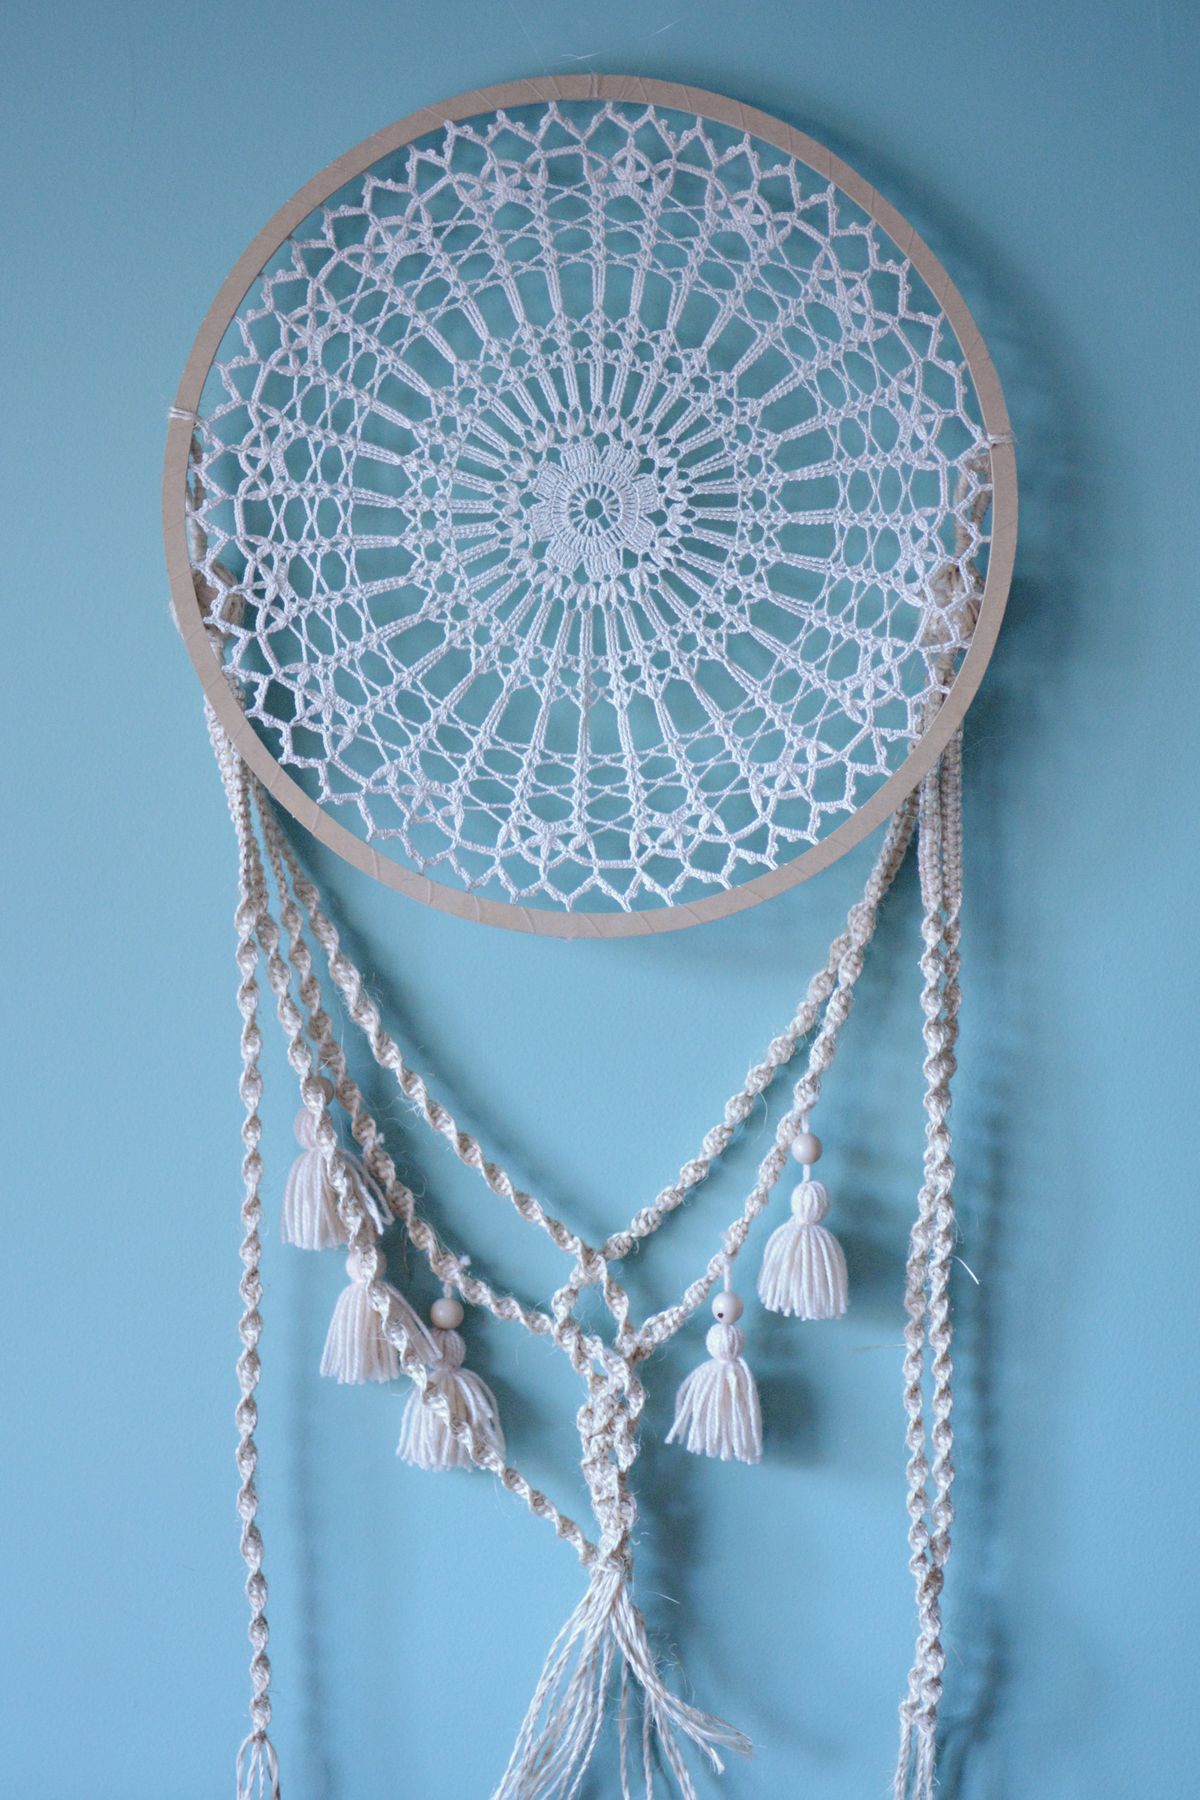
I wrapped a metal ring in cord, knotted a simple web across the middle using square knots, and added hanging cords with beads and feathers at the bottom. It took three hours, and it hangs above my daughter’s bed, where she loves it. The web is the tricky part, because the tension has to stay even or the web pulls to one side, and my first attempt did exactly that. I unpicked it and started again, pulling each knot with the same force, and the second web was centred. The downside is that feathers shed, so I use faux feathers now, which last longer and do not trigger allergies.
Cost: $8–$15 | Time: 3 hours | Difficulty: Medium
Pro Tip: Mark the centre of the ring with a pin before you start the web; it gives you a reference point to keep the pattern symmetrical.
Also read: 30 paper quilling ideas to keep you busy if you enjoy small, detailed hand crafts like macrame.
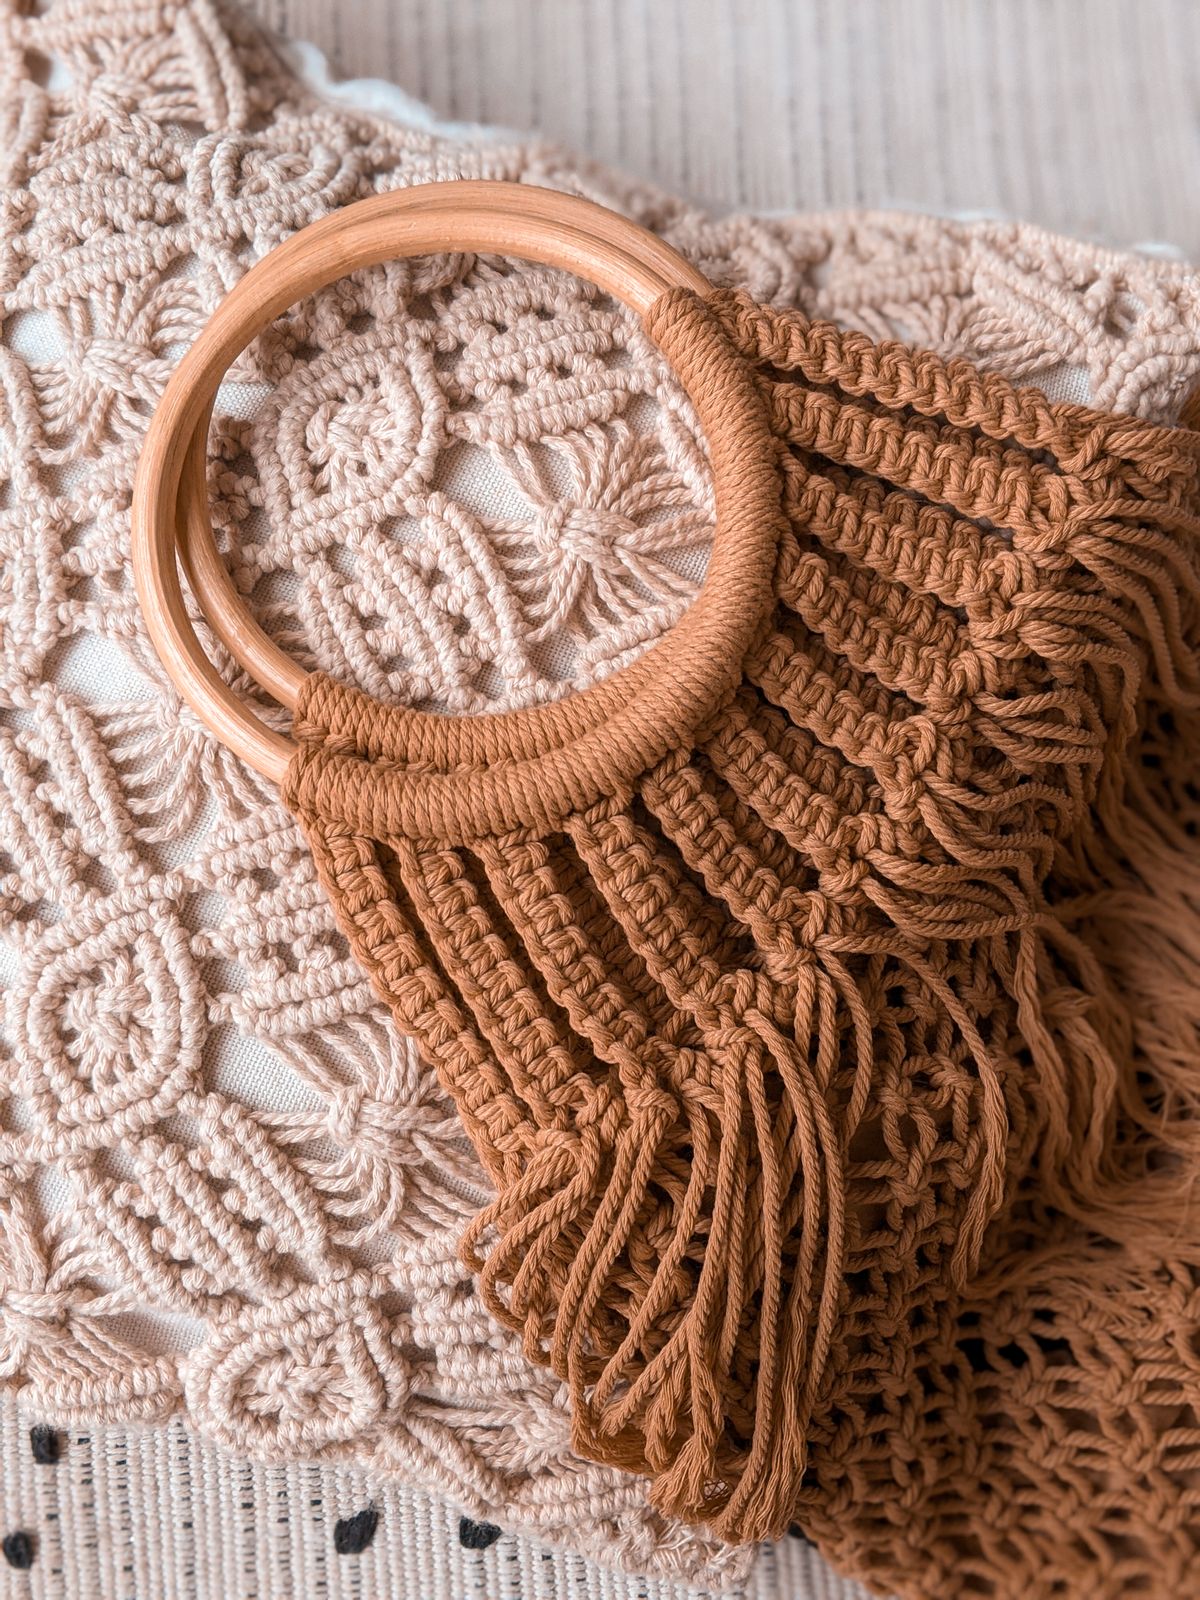
9. Macrame Bag (A Simple Shoulder Bag)
A macrame bag is a bigger commitment, but it is deeply satisfying to carry something you made. I knotted a rectangular panel of square knots, folded it, knotted the sides closed, and added a long knotted strap, lining the inside with a simple fabric pouch I sewed by hand. It took me two weekends, about ten hours in total, and I use it every summer. The downside is weight: a macrame bag is heavier than a fabric one, and it stretches if overloaded, so I carry only light things in mine, a phone, keys, and a small purse. A lined bag also stops small items falling through the knots, which I learned after losing a lip balm through the bottom.
Cost: $20–$35 | Time: 10 hours | Difficulty: Medium
Pro Tip: Line every macrame bag, even a simple one; unlined knotwork stretches and drops small items.
10. Macrame Curtain Tiebacks
I replaced plain curtain tiebacks with knotted macrame ones, using a simple braid of square knots finished with tassels, and they changed the look of my living room curtains for almost no money. Each tieback took about forty minutes, and I made four in one evening. The first one was too short and barely reached around the curtain, so I measured the curtain’s fullness before cutting cord for the rest, and the others fit perfectly. The downside is that tiebacks get pulled and tugged daily, so I used 4mm cord and double-checked every knot, and I replace them every couple of years when they start to look tired.
Cost: $5–$12 for a pair | Time: 40 minutes each | Difficulty: Easy

Pro Tip: Measure around the gathered curtain, not the flat curtain, and add six inches for the knot and tassel.
11. Macrame Placemats for the Table
I knotted flat rectangular placemats from cotton cord, using a simple square-knot pattern, and they look beautiful under plain white plates. Each placemat took about two hours, and a set of four took a week of evenings. They are the most complimented things on my table, and they cost a fraction of shop-bought woven placemats. The downside is washing: food stains soak into cotton cord, so I treat spills immediately and hand-wash the placemats in cool water, laying them flat to dry. I would not use them for a messy family dinner with small children, but for a quiet supper they are perfect.
Cost: $12–$20 for a set of four | Time: 2 hours each | Difficulty: Medium
Pro Tip: Block finished placemats by pinning them flat while damp; it evens out the edges and makes them sit flat on the table.
12. Macrame Bracelet (Friendship Style, Grown Up)
Using thin 1mm cord, I knotted simple square-knot bracelets with a sliding closure, and they became my go-to handmade gift for friends. Each bracelet took thirty minutes, and I made a batch in different colours for birthdays. The first one was too tight because I did not account for the knot thickness, so I now measure the wrist, add an inch, and test the sliding knot before finishing. The downside is that thin cord knots are fiddly and hard on the eyes after a while, so I work in good light and take breaks. A bracelet is also a great way to practise a new knot on a small scale before committing to a wall hanging.
Cost: $1–$3 each | Time: 30 minutes each | Difficulty: Easy
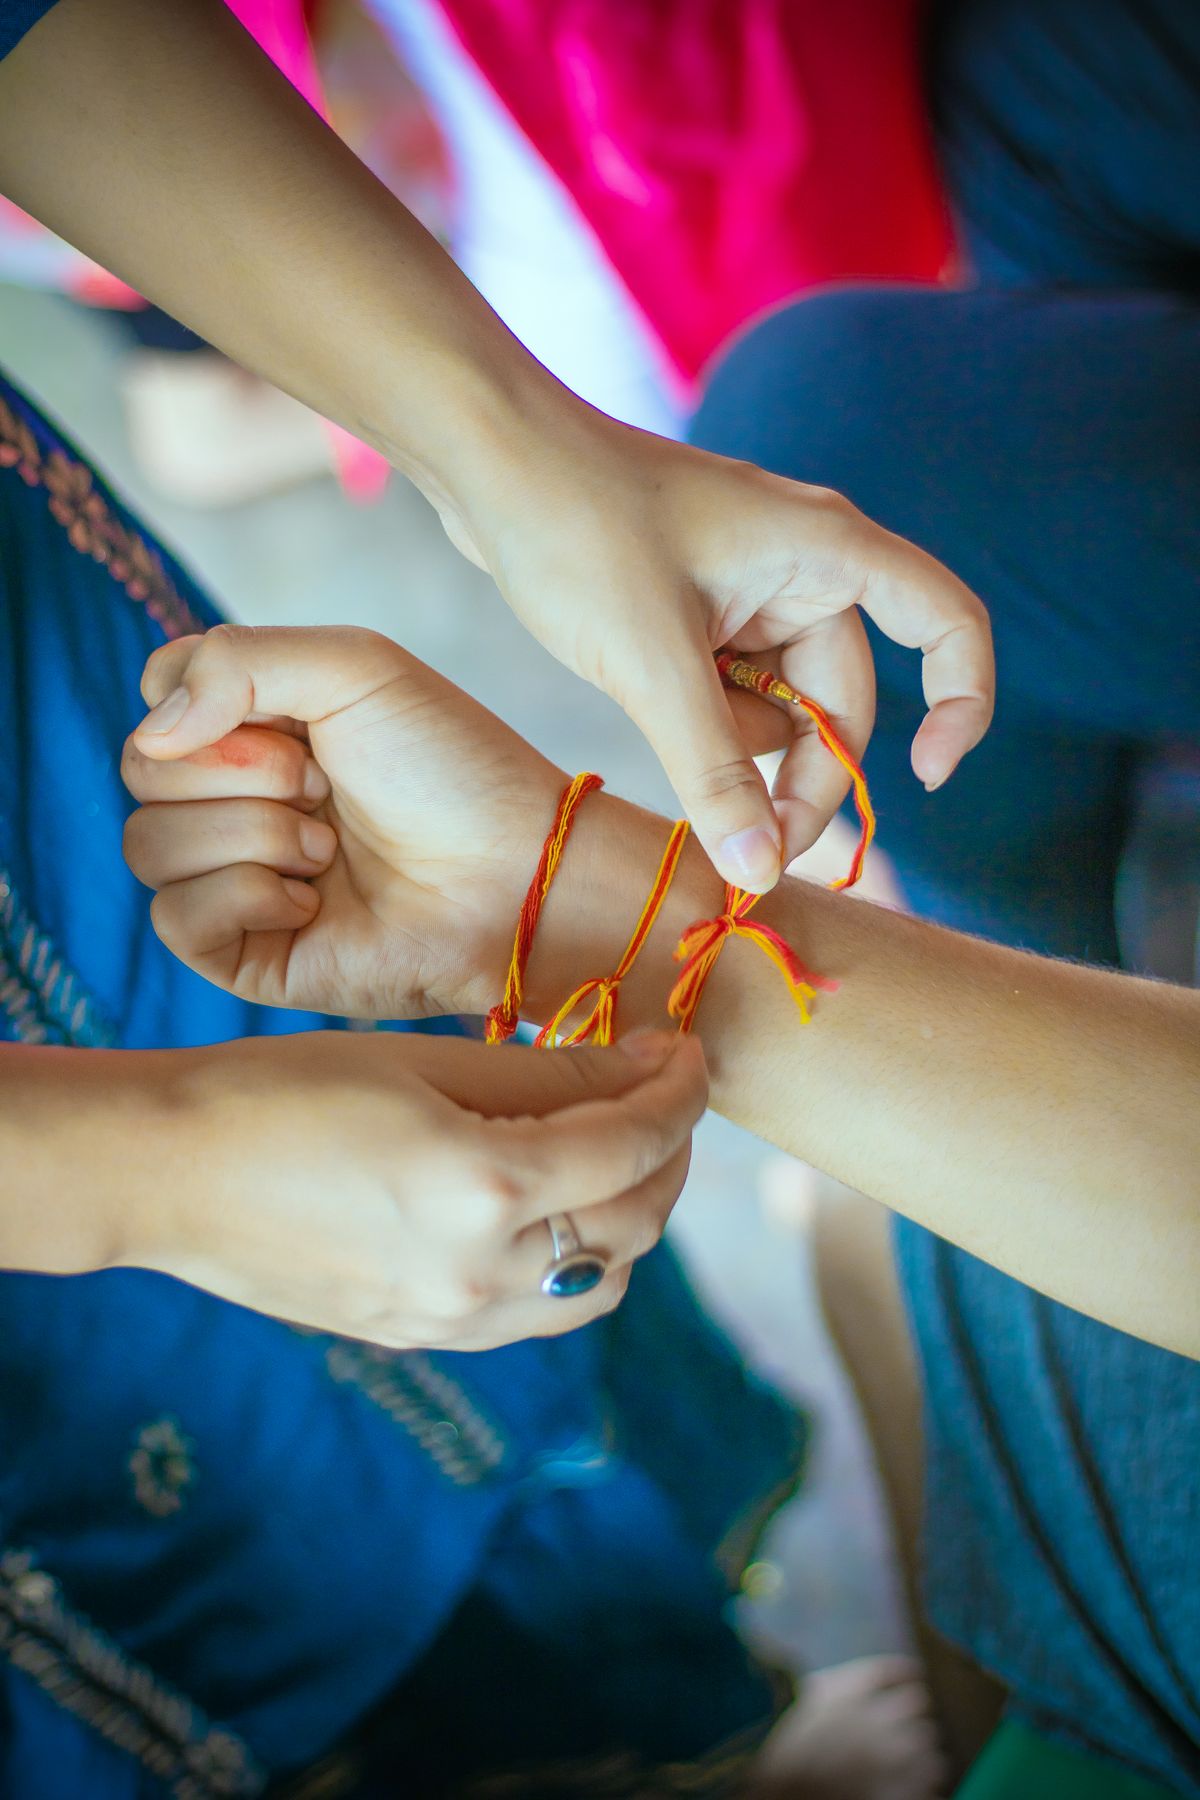
Pro Tip: Use a clipboard to hold your bracelet while you knot; it keeps tension even and stops the work twisting.
13. Macrame Mirror Frame
I wrapped a round mirror frame in knotted cord, adding a fringe at the bottom, and it turned a plain mirror into a boho statement piece for my hallway. It took four hours, mostly wrapping and knotting around the curve, which is slower than straight work. The result is worth it, and it cost far less than a shop-bought macrame mirror. The watch-out is weight and hanging: a knotted mirror is heavier than it looks, so I hung it from a proper wall anchor, not a picture hook, and I check it monthly. The fringe also collects dust, so I shake it outside regularly, just like my wall hanging.
Cost: $15–$25 | Time: 4 hours | Difficulty: Medium
Pro Tip: Wrap the mirror frame first in plain cord, then add decorative knots on top; a wrapped base gives knots something to grip.
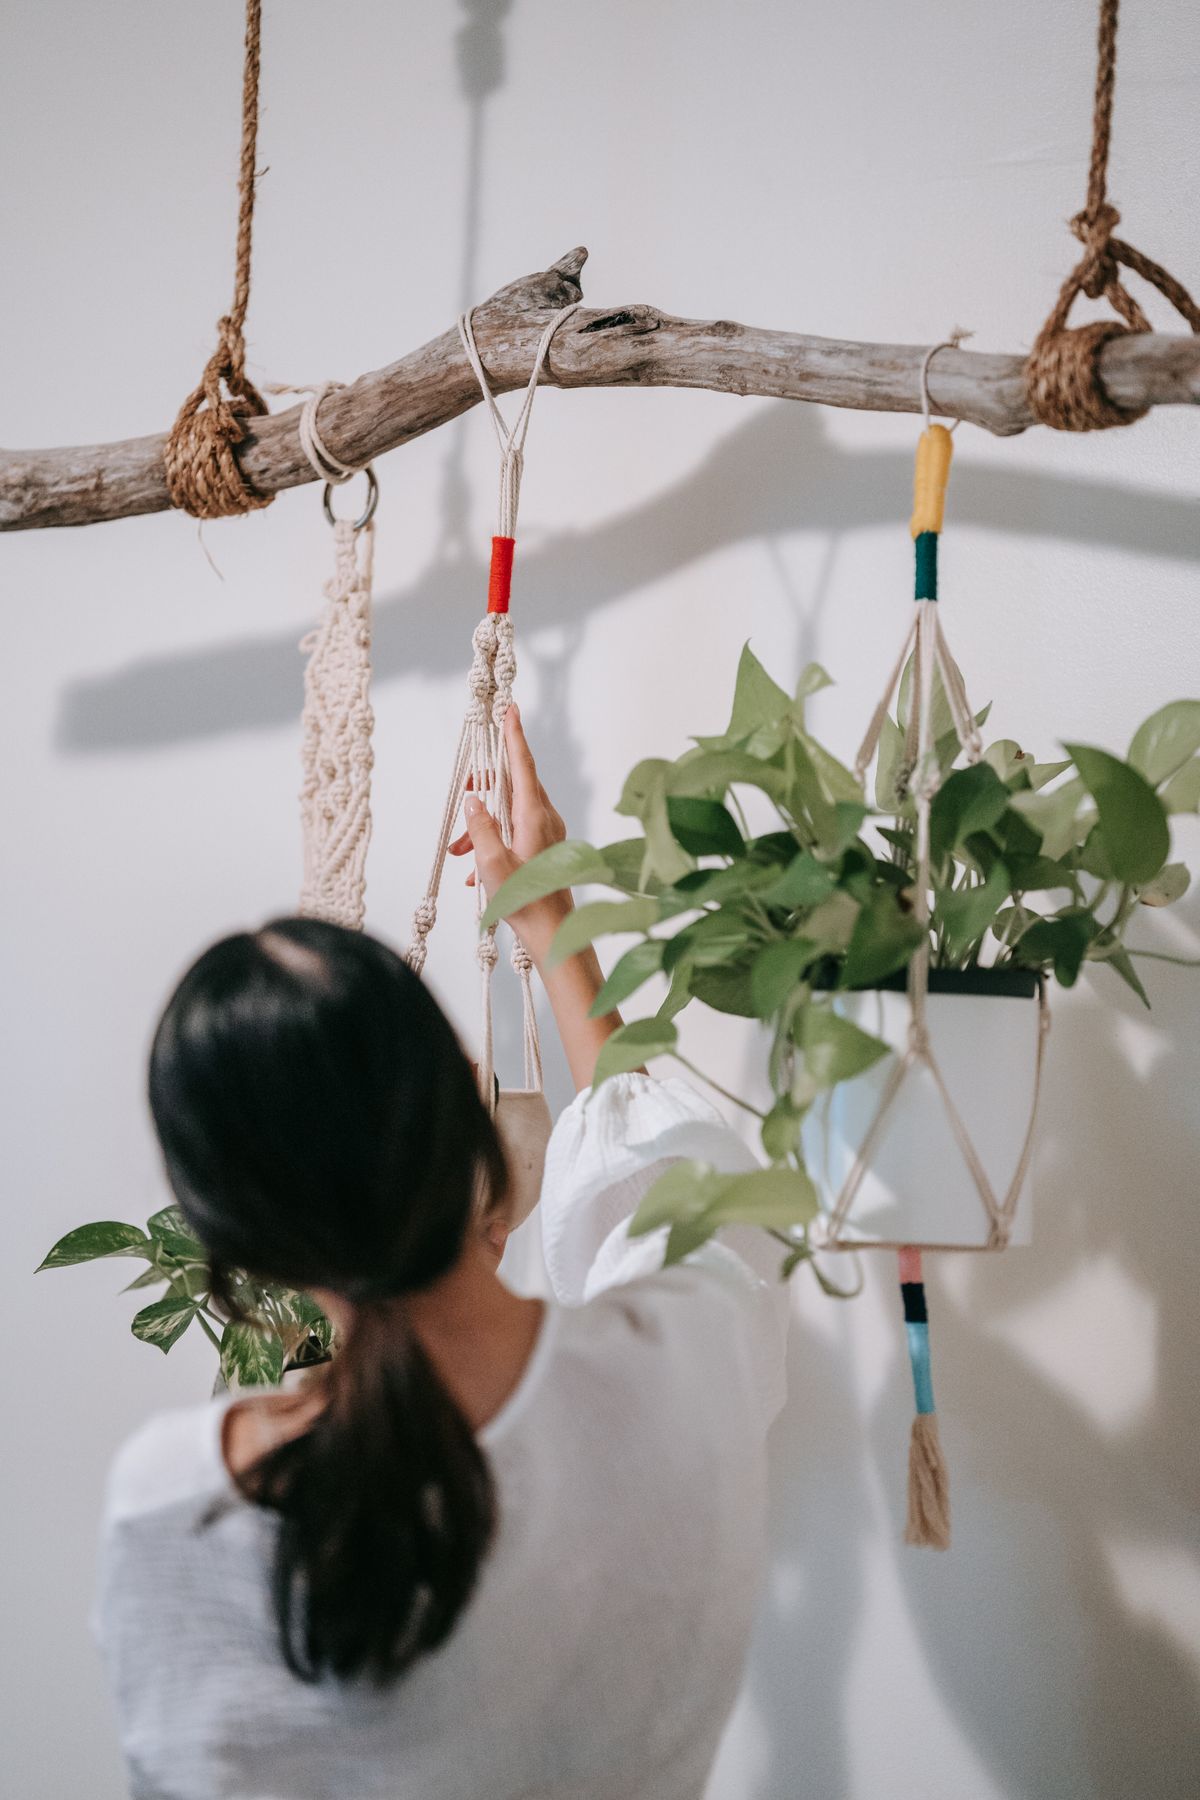
14. Macrame Plant Hanger With Wooden Beads
A variation on my first plant hanger, this one adds large wooden beads threaded onto the cords between knot sections, which looks more polished and breaks up long stretches of knotting. It took two and a half hours, and it holds a trailing plant in my kitchen window. The beads also serve a practical purpose: they mark where each knot section should end, so your pattern stays even. The downside is that beads with small holes are frustrating to thread onto thick cord, so I check the hole size before buying and I keep a thin wire loop handy to pull cord through stubborn beads. It is a small detail that saves a lot of swearing.
Cost: $10–$18 | Time: 2.5 hours | Difficulty: Easy
Pro Tip: Thread all beads onto the cords before you start knotting; adding a bead mid-project means unpicking knots.
15. Macrame Table Runner
A table runner was my most ambitious flat project: a long panel of alternating square knots and open diamond patterns, with fringe at both ends, made to fit my dining table. It took three weekends, about twelve hours in total, and it is the piece I am proudest of. It transforms a plain table instantly, and it cost about twenty dollars in cord. The downside is practicality: a macrame runner is not wipeable, so I only use it for dry occasions, never for a meal with sauces or small children, and I store it rolled, not folded, to avoid creases in the knots. It is a showpiece, not an everyday runner, and I am honest about that.
Cost: $18–$28 | Time: 12 hours | Difficulty: Medium
Pro Tip: Work a table runner in sections and check the width every ten rows; a runner that narrows in the middle looks like a mistake, not a design.
16. Macrame Earrings (Tiny Knots, Big Impact)
Using 1mm cord and tiny wooden beads, I knotted small feather-shaped earrings on earring hooks, and they are surprisingly wearable and light. Each pair took about forty minutes, and I made several in different colours. The first pair was too heavy because I used thick cord, so thin cord is essential here, and I keep the design small. The downside is durability: earrings get caught in hair and scarves, so I check the knots regularly and I do not wear them for sports or swimming. They are also a wonderful way to use up leftover cord from bigger projects, which appeals to my thrifty side.
Cost: $2–$5 a pair | Time: 40 minutes a pair | Difficulty: Medium
Pro Tip: Seal the final knots on earrings with a tiny drop of clear glue; earrings take more pulling than you expect.

Related article: 17 Sewing Hacks That Will Make Your Life Easier for more handmade skills to pair with macrame.
17. A Large Statement Wall Hanging (My Macrame Crafts Finale)
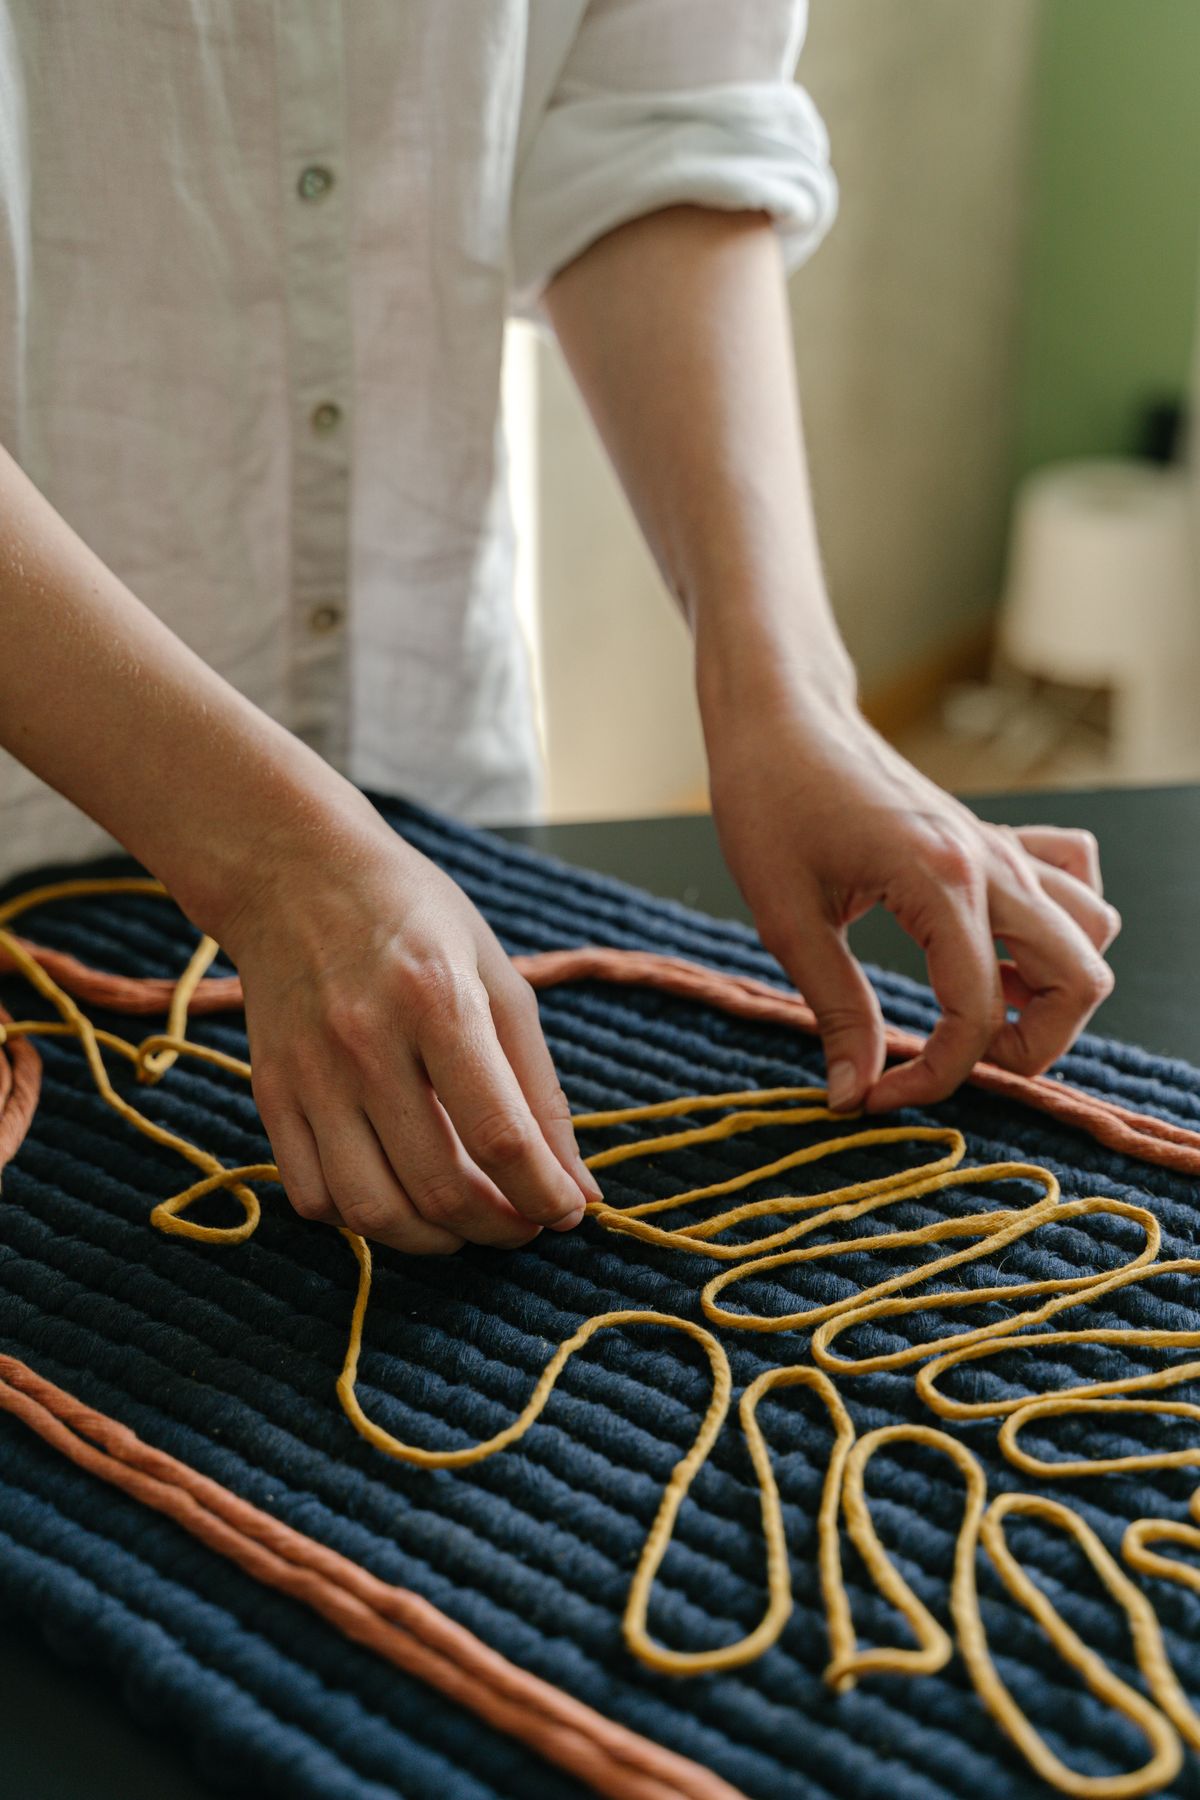
My final project is the large wall hanging I made after a year of practice: a wide piece on a driftwood branch, combining square knots, double half hitches, and long fringe, measuring about three feet wide and four feet long. It took me three weeks of evenings, roughly twenty hours, and it hangs above my sofa as the centrepiece of the room. I planned it on paper first, which I had never done before, and that planning is why it worked: I knew how much cord I needed, where each pattern section would go, and how long the fringe would be. The downside is that a piece this large is heavy and dusty, so it hangs from two strong hooks and gets shaken outside monthly. It is proof that a beginner, with patience, can make something truly beautiful.
Cost: $30–$50 | Time: 20 hours | Difficulty: Medium
Pro Tip: Sketch a large hanging on paper first, with measurements for each section; improvising a large piece leads to running out of cord halfway.
Mistakes I Made (So You Don’t Have To)
1. Cutting cord too short. My first wall hanging ran out of cord three rows from the end, and I had to start over. Now I cut cord at four times the finished length I want, and I always buy an extra ball.
2. Working flat on a table. Knots made flat on a table had uneven tension, because I could not see the pattern properly. Hanging the work at eye level fixed it immediately.
3. Using the wrong cord thickness. Thin cord for a plant hanger stretched, and thick cord for earrings made them unwearable. Match the cord to the project: 3–4mm for hangings and hangers, 1mm for jewellery.
4. Trimming fringe too early. I trimmed fringe before combing it out, and it ended up stubby and uneven. Comb first, trim last, and trim a little at a time.
Which Macrame Project Should You Start With?
| Project | Best For | Cost | Effort |
|---|---|---|---|
| Coasters | Learning tension fast | $5–$10 | Low |
| Keychain | Quick gift | $1–$3 | Low |
| Plant hanger | First useful project | $8–$15 | Low |
| Square-knot wall hanging | First wall piece | $10–$18 | Medium |
| Feathers | Small decor | $5–$12 | Low |
| Hanging shelf | A step up | $15–$30 | Medium |
| Large wall hanging | Ambitious finish | $30–$50 | High |
Frequently Asked Questions
What cord should a macrame beginner buy?
Start with 3mm or 4mm single-twist cotton cord in a natural colour. It is easy to knot, easy to comb out for fringe, and forgiving of uneven tension. Avoid synthetic cord for your first projects, as it is slippery and harder to knot tightly.
How much cord do I need for a wall hanging?
A good rule is four times the finished length you want, per cord. For a wall hanging that will be two feet long, cut each cord at eight feet, fold it in half over the dowel, and you will have four feet of working length on each side, which is plenty.
How long did your first wall hanging actually take?
About four hours spread over three evenings, including untying and redoing several rows. A confident beginner could finish the same piece in two to three hours, but I would allow a full weekend so you are not rushing.
What would you do differently if you started again?
I would start with coasters, not a wall hanging. Coasters teach tension, spacing, and fringe in twenty minutes, and that confidence makes every bigger project easier. I would also buy better cord from the start, because cheap cord frays and frustrates.
Read this next: 41 Easy Hot Glue Gun Crafts for another beginner-friendly craft to try after macrame.
Final Thoughts
Macrame rewards patience more than talent. My first hanging was uneven, my first plant hanger sagged, and my first feather was lopsided, and I kept every one of them, because these macrame crafts show how far a beginner can come in a year. Start with a coaster, learn the square knot, and let yourself make a mess. The cord is cheap, the knots can be undone, and the feeling of hanging something you made yourself on your own wall is worth every tangled evening.