17 Sewing Hacks That Will Make Your Life Easier
I have sewn for years, and the projects that go smoothly are never the ones with the fanciest tools — they are the ones where I remember my favorite sewing hacks. These little tricks have saved me from tangled thread, shifting fabric, lost pins, and more time with the seam ripper than I care to admit.
Whether you sew every weekend or only pull out the machine for Halloween costumes and quick repairs, these 17 hacks will make your next project faster, neater, and a whole lot less frustrating.
Key Takeaways
- Threading from the spool end and waxing your thread nearly eliminates tangles and knots when hand sewing.
- Everyday items — binder clips, painter’s tape, soap slivers, and a dinner fork — solve classic sewing problems for free.
- A simple magnetic dish ends the lost-pin problem and keeps your floor safe for bare feet.
- Pressing as you sew is the real difference between “homemade” and polished, handmade-looking results.
- Pre-wound bobbins and pre-threaded needles remove the little stops that slow every project down.
17 Sewing Hacks That Will Make Your Life Easier
1. Thread From the Spool End to Stop Tangles
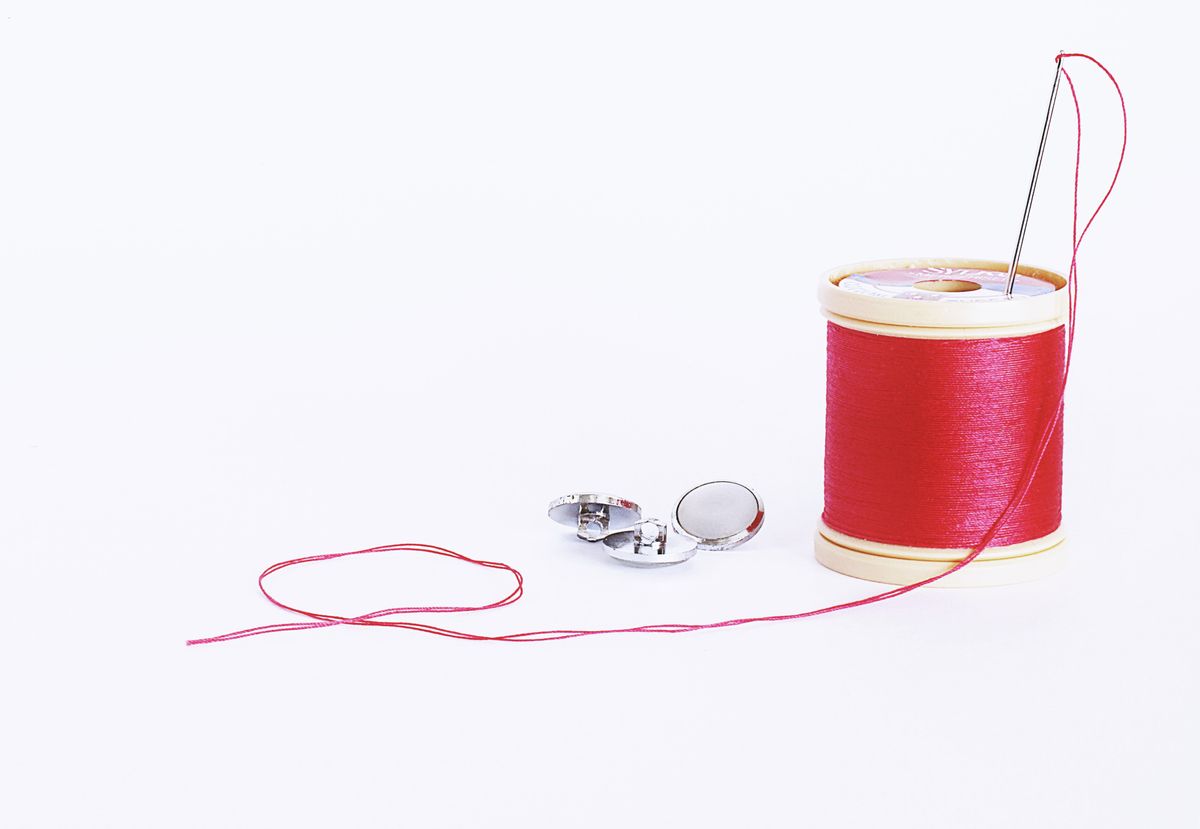
Thread has a natural twist from how it is wound onto the spool, and fighting that twist is what causes most hand-sewing tangles. I thread my needle with the end that comes off the spool first, then knot the end I cut. The thread now unwinds through the fabric in the direction it wants to travel.
It sounds too simple, but my thread stopped knotting itself into bird’s nests the week I switched — especially with lengths of about 18 inches.
Pro Tip: If a length still twists, let the needle hang and spin freely for a few seconds to unwind it before you keep stitching.
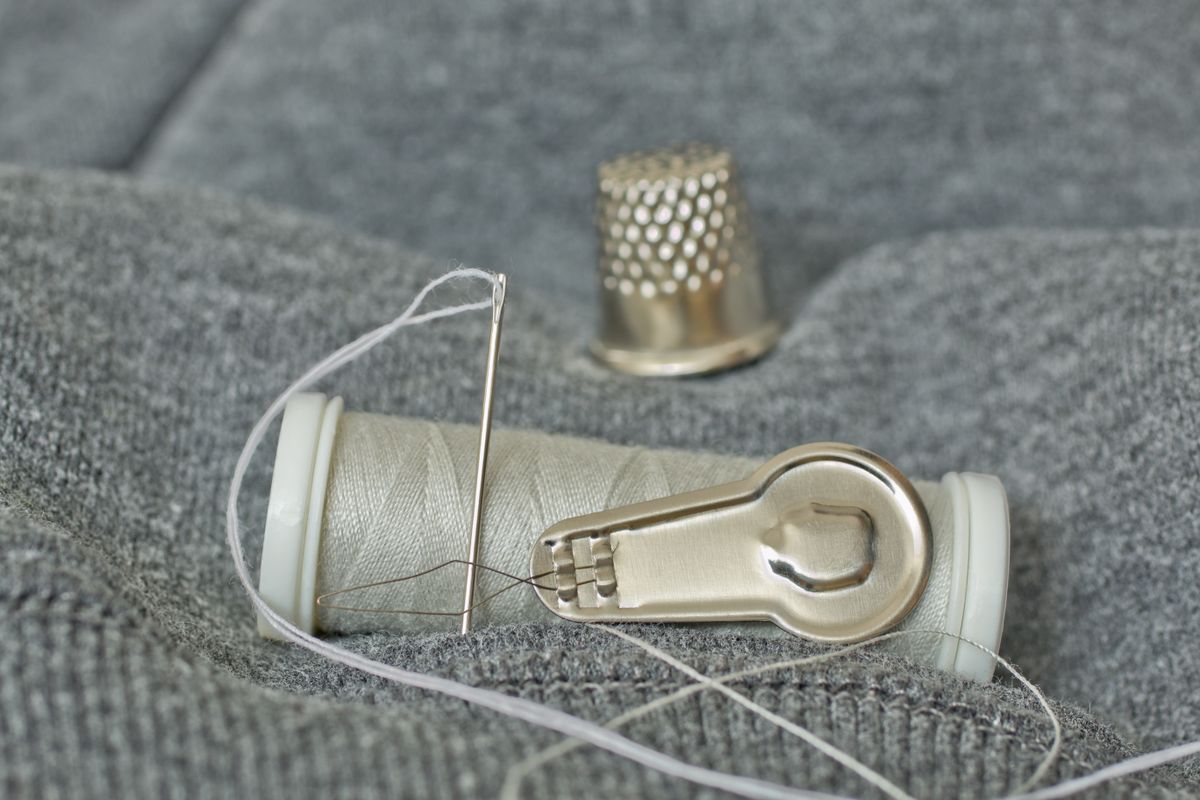
2. Run Thread Through Beeswax Before You Stitch
A quick pull through a small block of beeswax coats the thread, smooths the fuzz, and makes it glide through fabric instead of shredding. I keep a wax disc in my sewing kit for buttons, hems, and any thread that keeps fraying at the needle’s eye.
Waxed thread is also stronger, so repairs on jeans, bags, and upholstery last noticeably longer. If you don’t have beeswax, a plain unscented candle works in a pinch.
Pro Tip: After waxing, give the thread one quick press under a warm iron between paper towels to melt the wax in and remove the excess.
3. Mark Fabric With Soap Slivers Instead of Chalk
Those thin slivers left when a bar of soap wears down are the best fabric markers I own. It draws a crisp line, shows up beautifully on dark colors where chalk disappears, and vanishes with steam or the first wash.
I keep a little dish of slivers by my machine, so I never pause mid-project hunting for a marker that has dried out. No residue, no ghost lines on finished garments, and it costs absolutely nothing.
Pro Tip: Test on a scrap first with delicate or dry-clean-only fabrics, and use white soap — colored bars can tint pale fabric.
4. Swap Pins for Binder Clips on Thick Layers
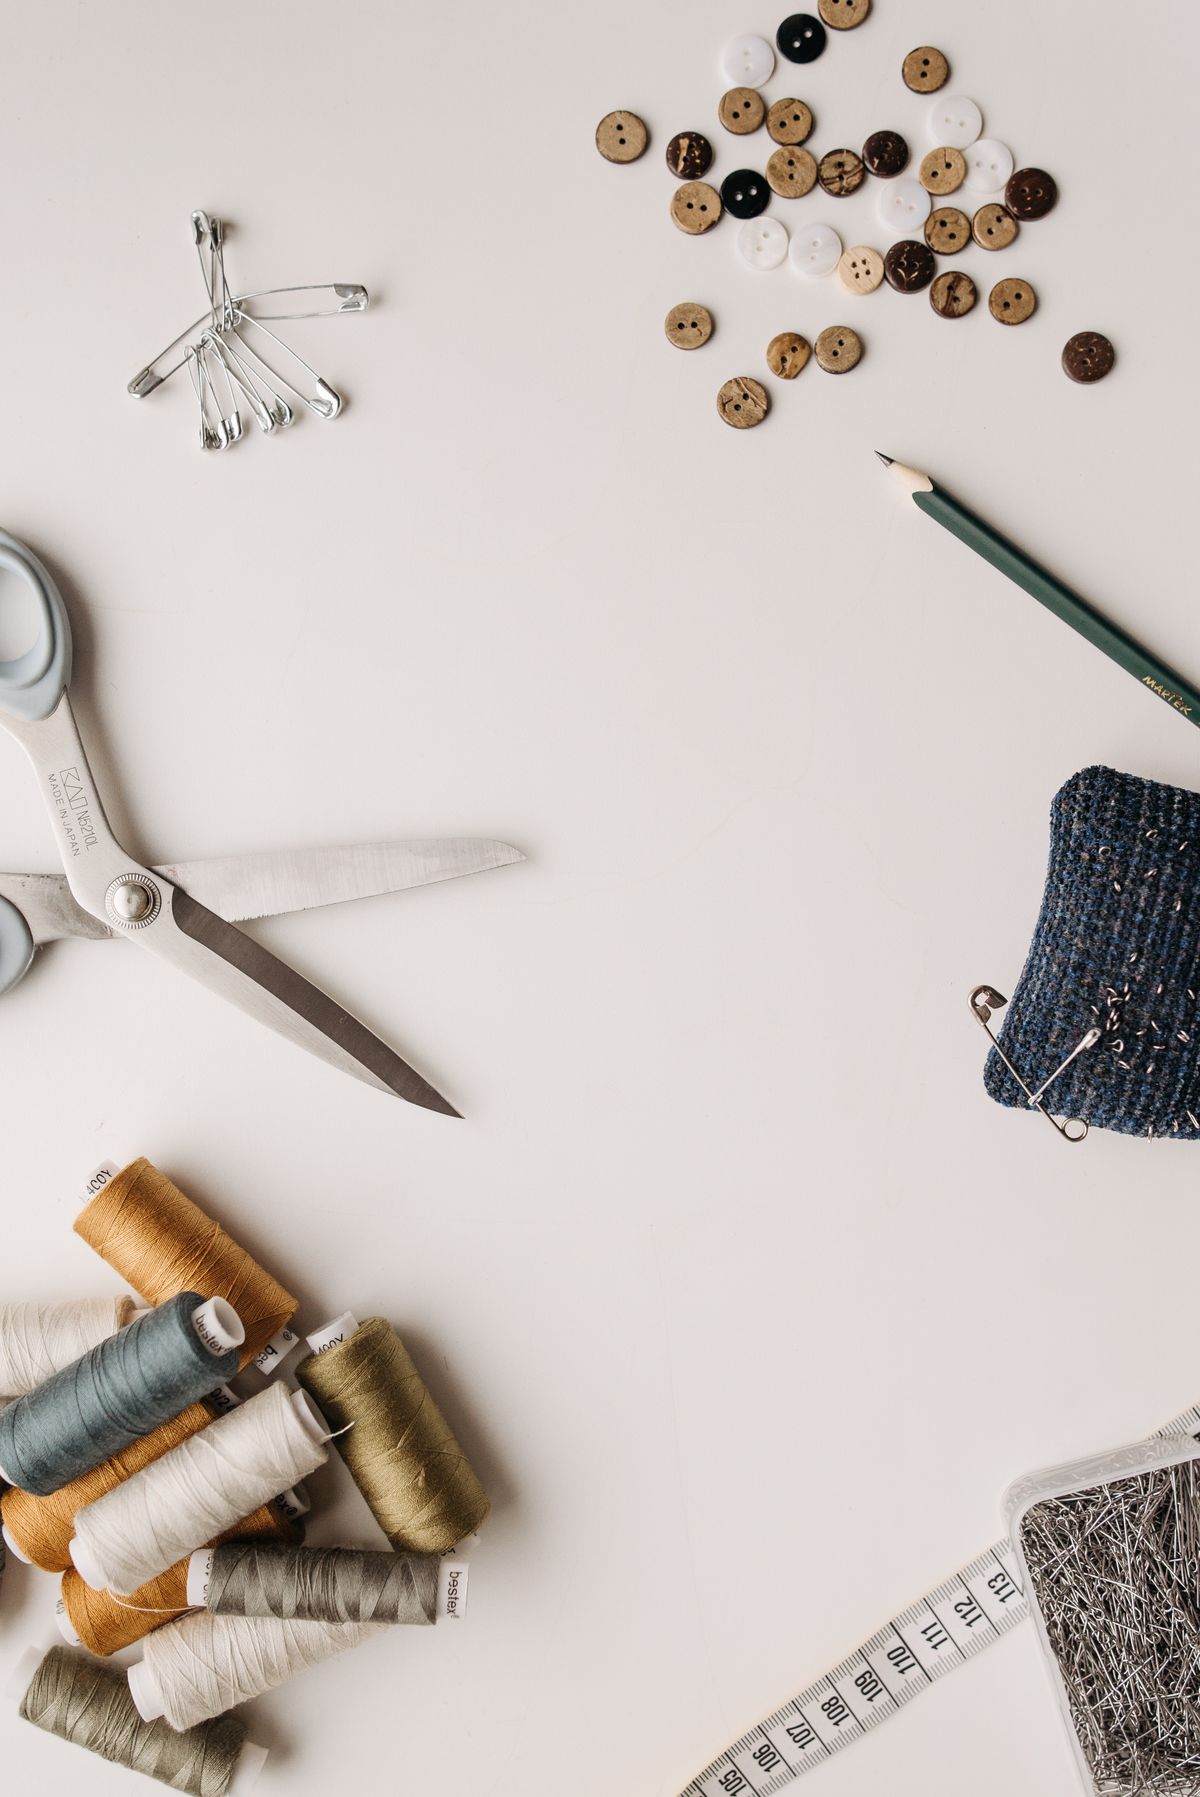
Pins bend, snap, and leave holes when you force them through denim, vinyl, leather, canvas, or a thick quilt sandwich. Small binder clips from the office drawer grip those layers firmly without piercing them at all, and they slide off in a second as the presser foot approaches.
I now clip all my bag straps, binding edges, and multi-layer hems. My pins last longer, my fingers are happier, and thick seams feed through the machine far more evenly.
Pro Tip: Fold the clip handles back flat so they don’t catch on the machine bed as you sew.
5. Keep a Magnetic Dish for Pins — and Pin Sweeps
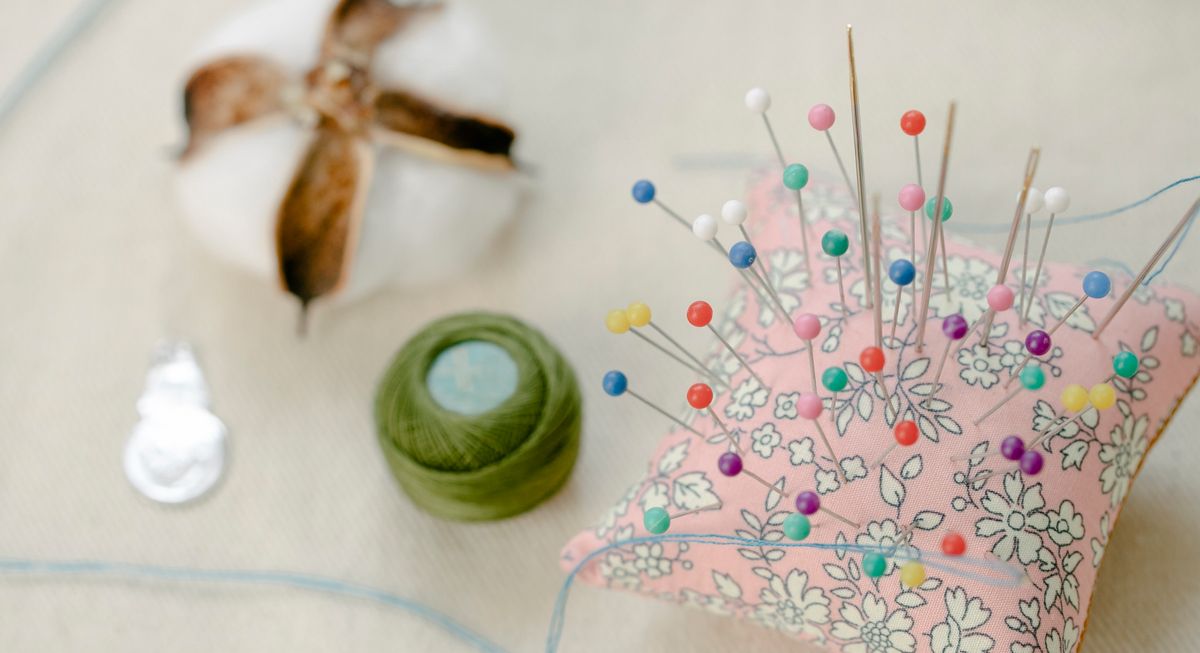
A small magnetic dish or magnetic pincushion holds pins right where I toss them, even when I knock it. But the real magic is cleanup: when pins inevitably scatter, I wave the magnet low over the table and floor and every last pin jumps up to meet it.
No more discovering a stray pin the painful way a week later — my floor has been pin-free since this dish moved in.
Pro Tip: A cheap magnetic parts tray from the hardware store works perfectly and costs less than most pincushions.
6. Make Perfect Pleats With a Dinner Fork
Evenly spaced pleats used to take me forever with a ruler and pins. Now I lay the fabric flat, slip it over one tine of a fork and under the next, fold the fork over, and press — a perfect pleat every time. Slide the fork along and repeat for a whole row of identical folds.
It is wonderful for skirts, aprons, ruffles, and curtain headers, and genuinely fun once you get the rhythm. My pleats finally match from one end of a hem to the other.
Pro Tip: Press each pleat with the iron before removing the fork, and the fold will hold while you sew the row down.
Related article: Once your fabric stash starts growing the way mine did, you’ll want my guide on How to Store Fabric so every yard stays fresh, visible, and ready to sew.
7. Use Painter’s Tape as a Seam Guide
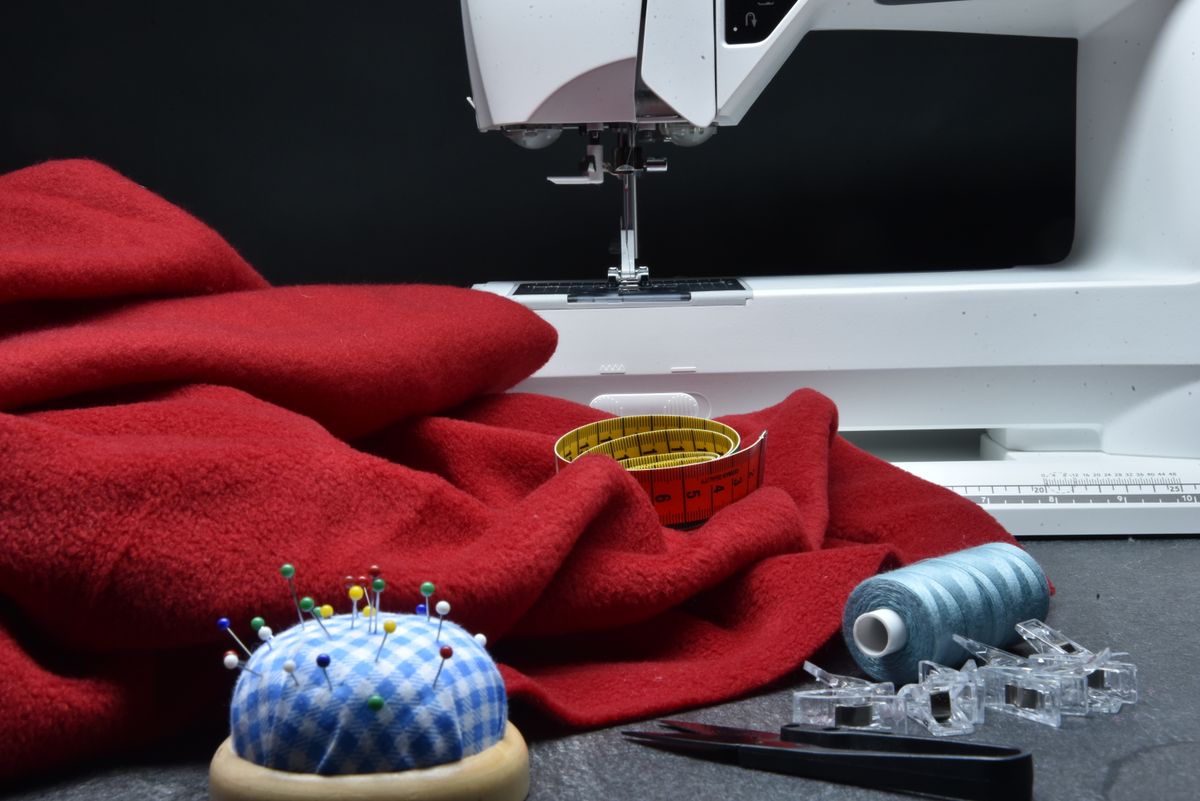
Those tiny seam allowance lines etched on the needle plate are hard to follow, especially with dark fabric or tired eyes. I stick a strip of painter’s tape on the machine bed at my seam allowance and run the fabric edge along the tape instead. The raised edge acts like a fence, so seams come out straight almost automatically.
Tape also marks diagonal lines for half-square triangles — draw the line on tape, not fabric, and sew beside it. It peels off cleanly with no residue.
Pro Tip: Stack three layers of tape for a taller fabric fence when sewing long, straight seams like curtains.
8. Never Let Paper Touch Your Fabric Scissors
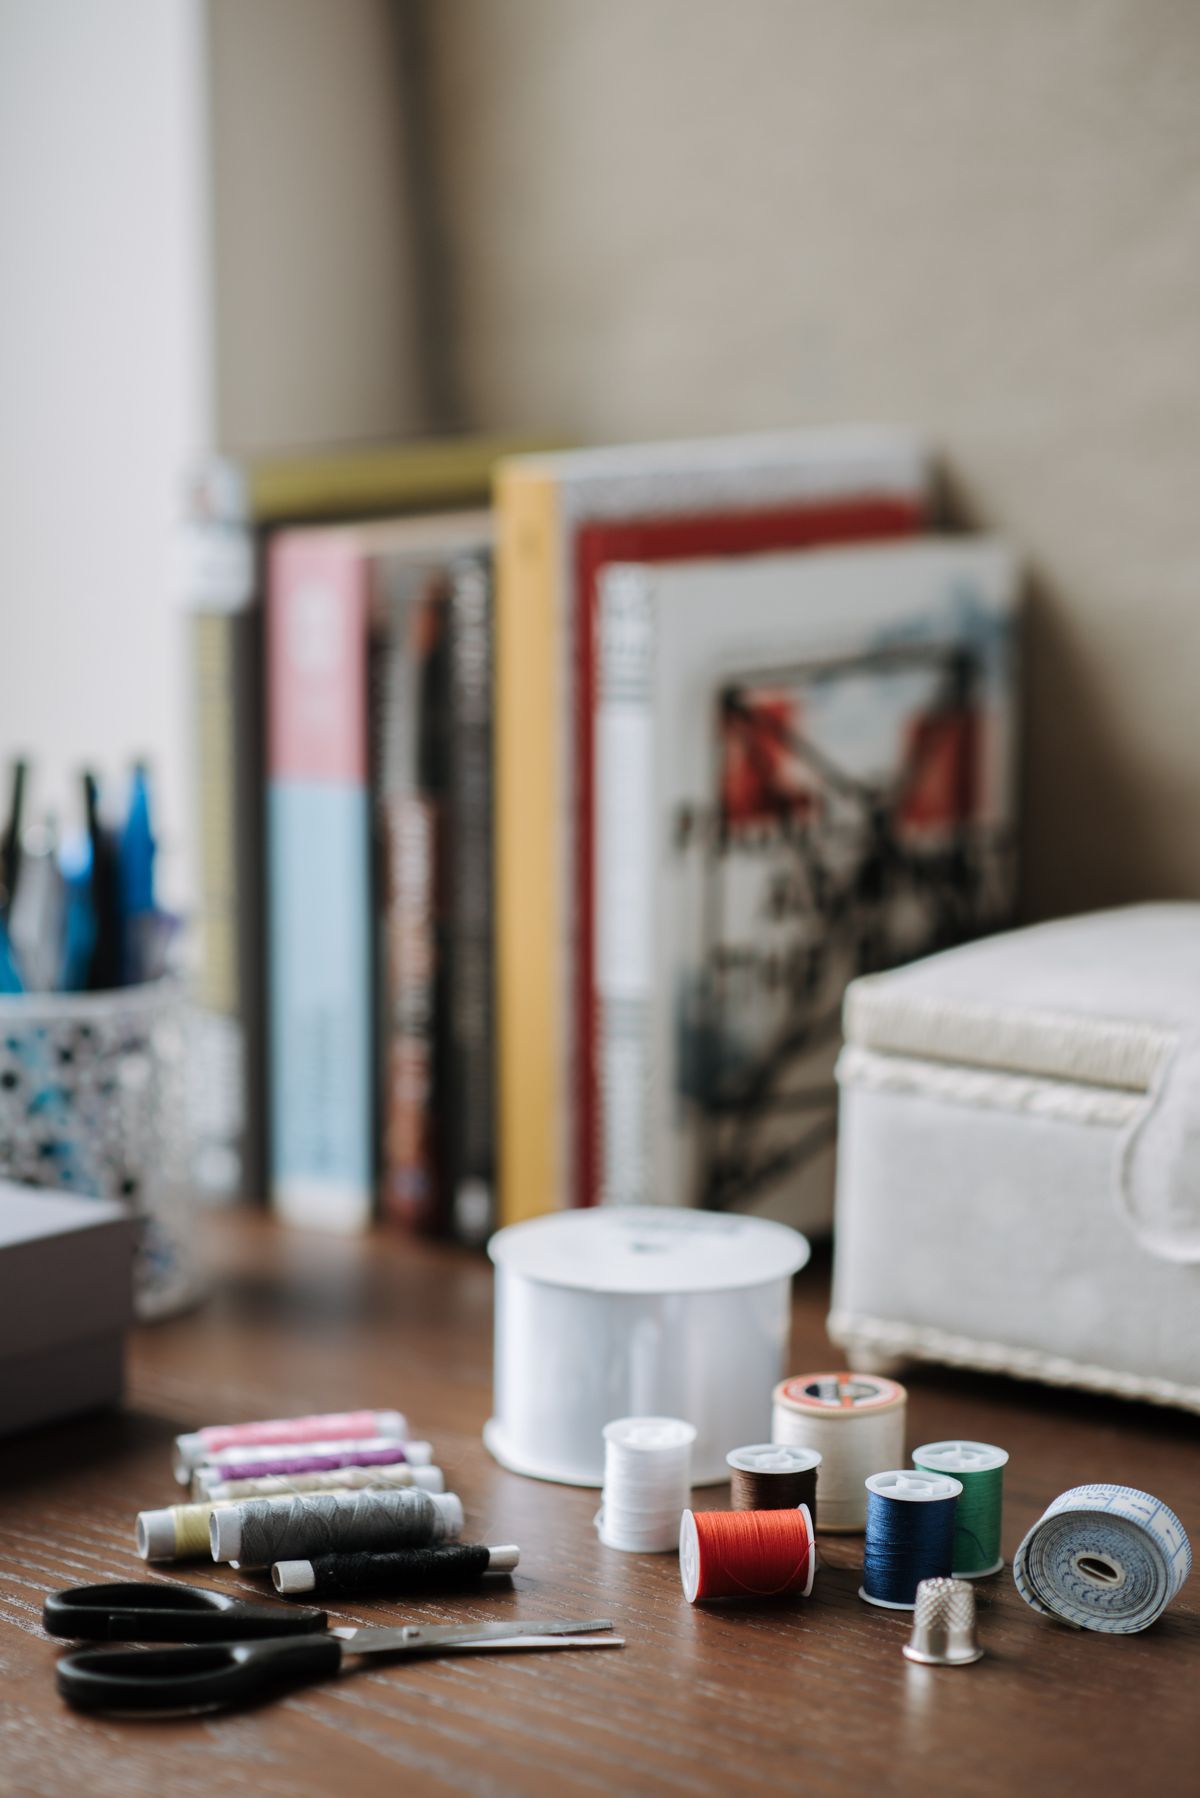
Paper dulls fabric shears faster than anything else, and dull shears chew fabric instead of cutting it, ruining edges and tiring your hand. I tie a bright ribbon around the handles of my fabric scissors and announced a house rule: ribbon scissors are for fabric only, no exceptions.
A cheap second pair lives in the same drawer for patterns, interfacing, and everything else. That habit has kept my good shears sharp for years.
Pro Tip: Wipe blades with a soft cloth after cutting to remove lint and sizing, which quietly corrodes the edge over time.
9. Press Small Seams With a Hair Straightener
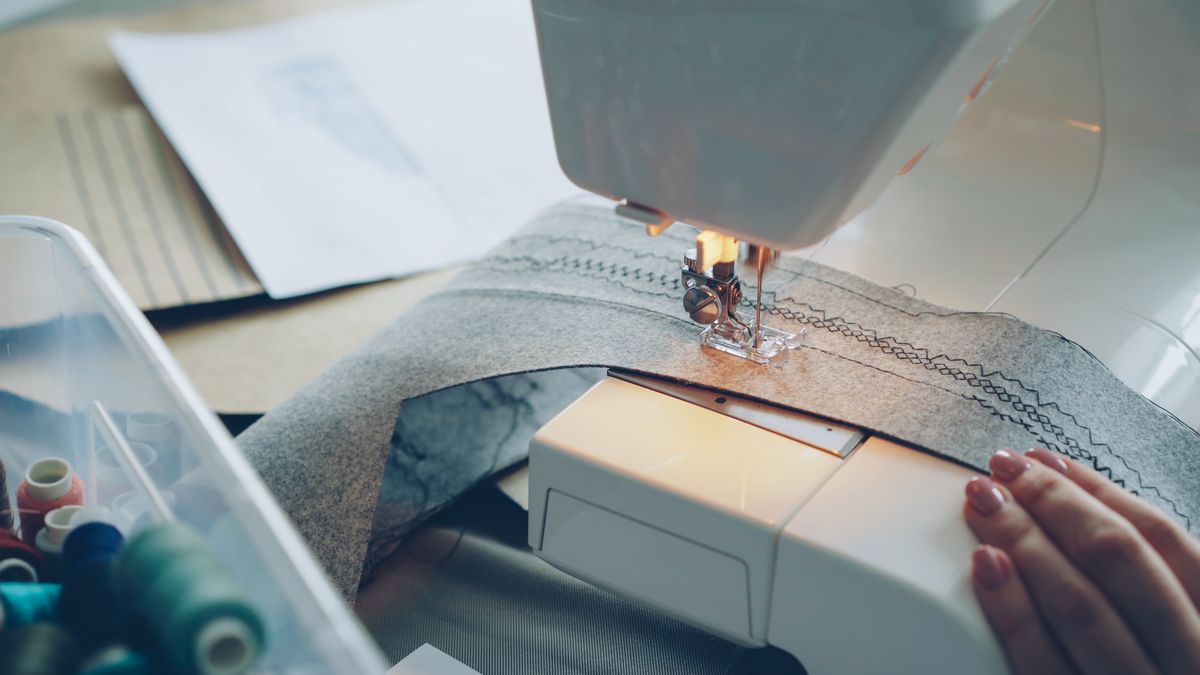
Pressing each seam as you go is the secret to professional results, but hauling out the big iron for a two-inch seam is a momentum killer. A hair straightener lives at my sewing table for exactly this: it clamps little seams, hems, appliqué edges, and strap folds flat in seconds.
It reaches inside bags, sleeves, and stuffed toys where an iron simply cannot fit. My small projects started looking dramatically more polished the week I adopted this.
Pro Tip: Use the lowest heat setting that works, test on a scrap, and keep the plates moving on synthetics so nothing melts.
Also read: If these hacks have you itching to make something small and giftable right away, browse my favorite Cute Craft Ideas for your next afternoon project.
10. Sew Buttons On With Dental Floss for Repairs That Last
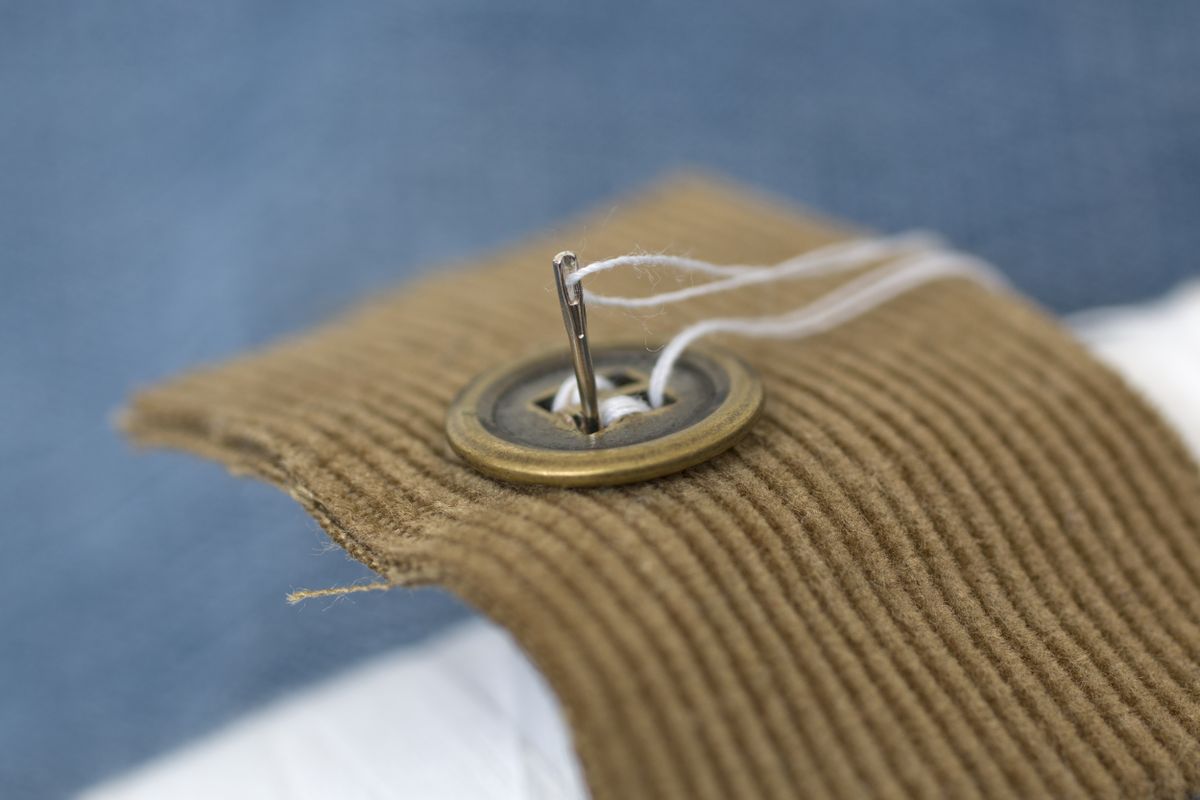
The button that pops off a winter coat or a pair of jeans is under serious strain, and regular thread often isn’t up to it. Unwaxed dental floss is dramatically stronger, slides through button holes easily, and is nearly invisible on most fabrics. I keep a container in my mending basket for exactly this job.
Since switching, I have not re-sewn the same coat button twice. It also works brilliantly for bag straps and stuffed-animal emergency surgery.
Pro Tip: Sew through each pair of holes several times, then wrap the floss around the thread shank under the button for a professional, long-lasting finish.
11. Sharpen Pins and Needles With the Pincushion Strawberry
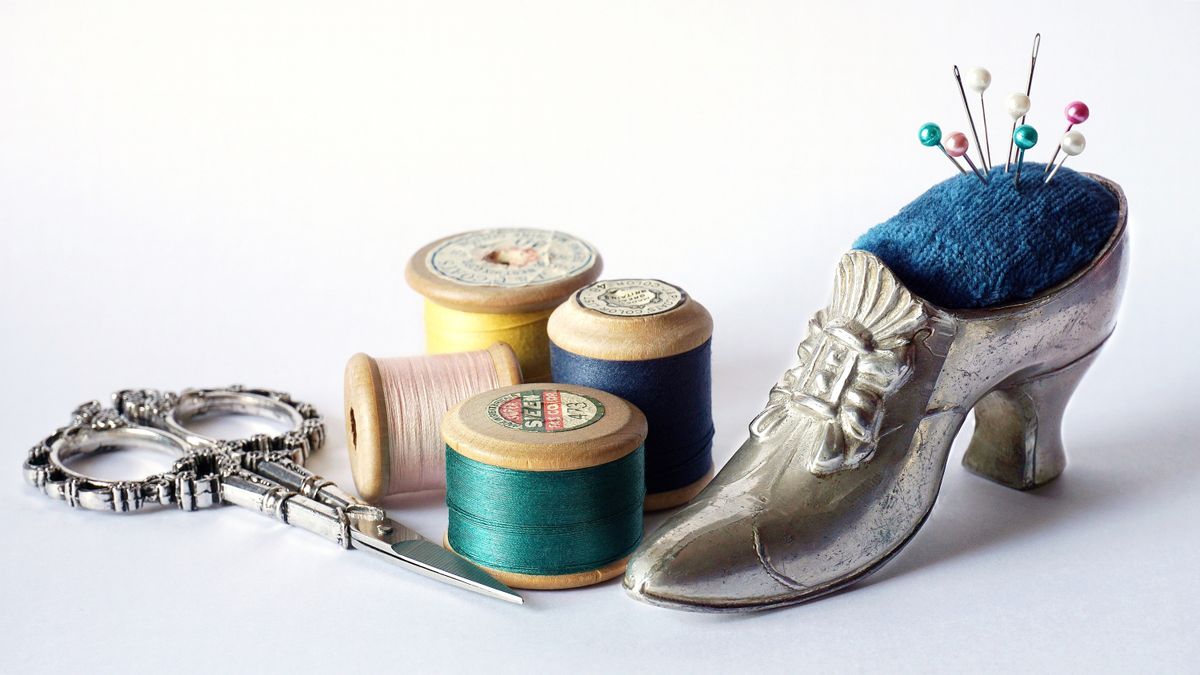
That little strawberry dangling from a classic tomato pincushion isn’t decoration — it’s filled with emery powder. Pushing a pin or needle in and out of it a few times cleans off rust and burrs and restores a smooth, sharp point, so pins glide through fabric instead of snagging it.
I give my pins a strawberry spa day whenever one starts dragging. Dull pins damage fabric fibers, so this tiny ritual quietly protects every project.
Pro Tip: No strawberry? A fine steel wool soap pad works similarly — just wipe the pin completely clean afterward.
12. Build a Seam Guide From a Stack of Sticky Notes

A small stack of sticky notes stuck to the machine bed at your seam allowance makes a surprisingly sturdy fabric fence — taller than tape, so fabric edges really register against it. When I switch allowances, I just peel the stack off and re-stick it at the new line.
It is my favorite trick for beginners and kids learning to sew, because the fabric practically steers itself. Straight seams stop being the hardest part of the project.
Pro Tip: Use the whole pad, not a few sheets — the full stack gives a fence tall enough for bulky fabrics too.
13. Mark the Right Side of Fabric — Every Single Time
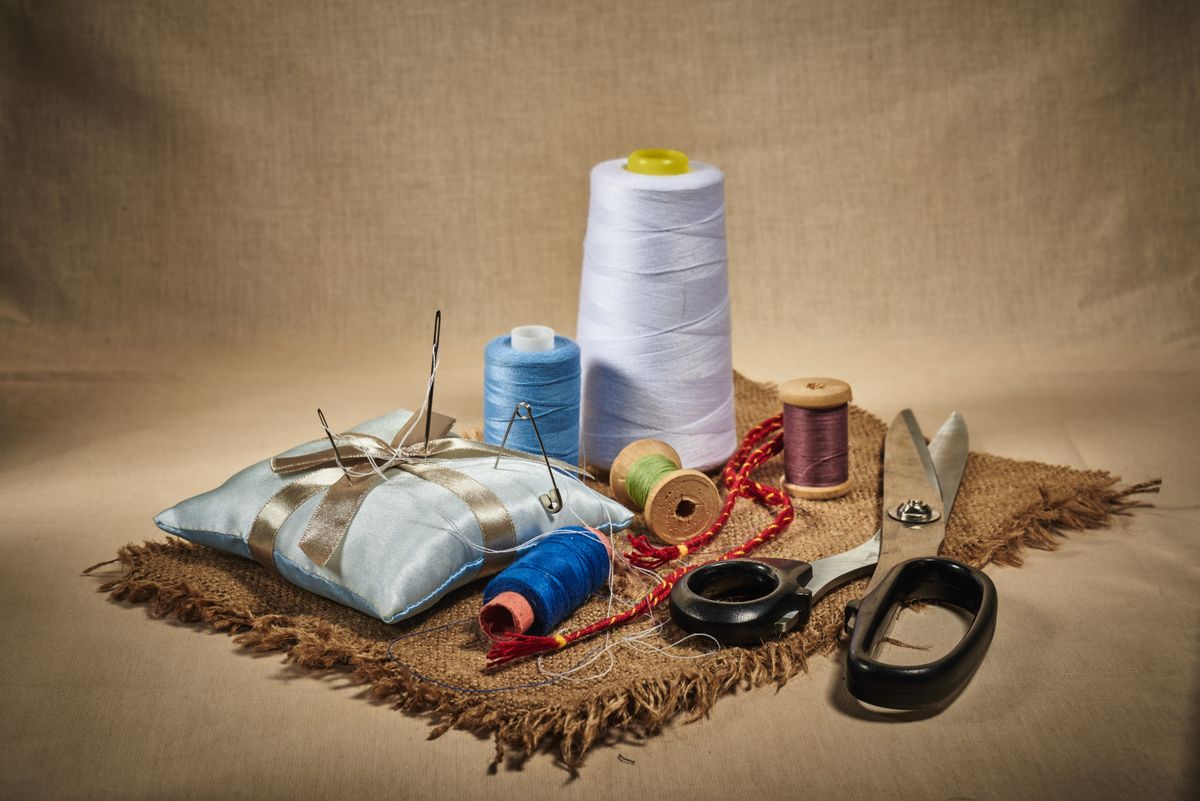
On many fabrics the right and wrong sides look almost identical — until your finished project catches the light and one panel is subtly backwards. The moment I cut a piece, I mark the wrong side with a tiny safety pin or a dot of soap, no exceptions.
This two-second habit has saved me from backwards sleeves, mismatched panels, and unpicking a finished seam at midnight.
Pro Tip: Use the same mark in the same corner of every piece, and you’ll also instantly know which edge is up.
14. Pre-Thread a Whole Needle Book Before Hand Sewing
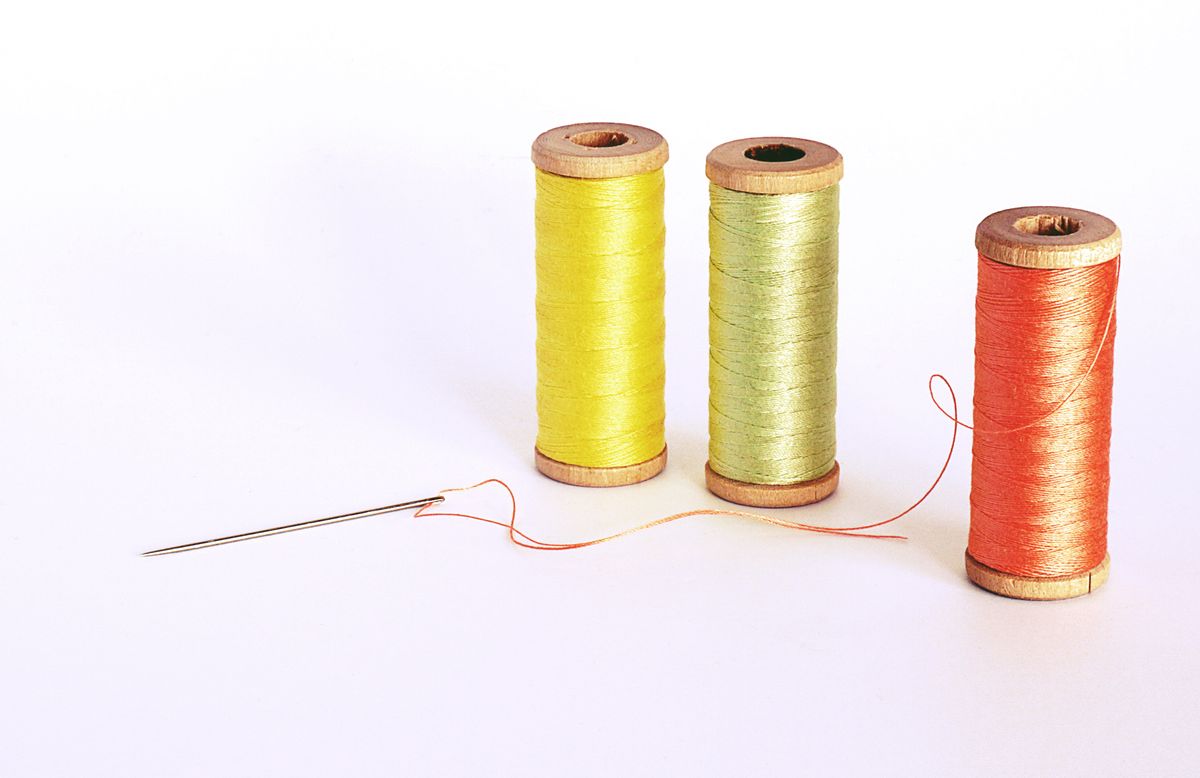
Stopping mid-project to thread another needle breaks my rhythm every time. Before any big hand-sewing session — binding a quilt, hemming curtains — I thread six to ten needles and park them in a scrap of felt. When one runs out, the next is ready in seconds.
Thread each needle in the project’s colors and you’ll fly through the work. It feels like sewing with a pit crew, and it turns long bindings into calm, continuous stitching.
Pro Tip: Store the loaded needle book right in your project bag so hand sewing is ready whenever you have five spare minutes.
Read this next: Not every fix needs a needle and thread — for no-sew repairs and playful makes, take a look at 27 Duct Tape Crafts for a Sticky Situation for your next crafting session.
15. Open Buttonholes Safely With a Pin Stop

Cutting a buttonhole open with a seam ripper is terrifying — one slip and you’ve sliced straight through the stitching. I push a pin across the end of the buttonhole, just inside the bar tack, before I start. The pin acts as a hard stop the ripper cannot pass.
Then I cut from the center toward each end in small, controlled movements. Every buttonhole opens cleanly, and my heart rate stays where it belongs.
Pro Tip: A drop of fray-check along the buttonhole before cutting keeps the edges crisp through many washes.
16. Tame Slippery Fabric With a Layer of Tissue Paper
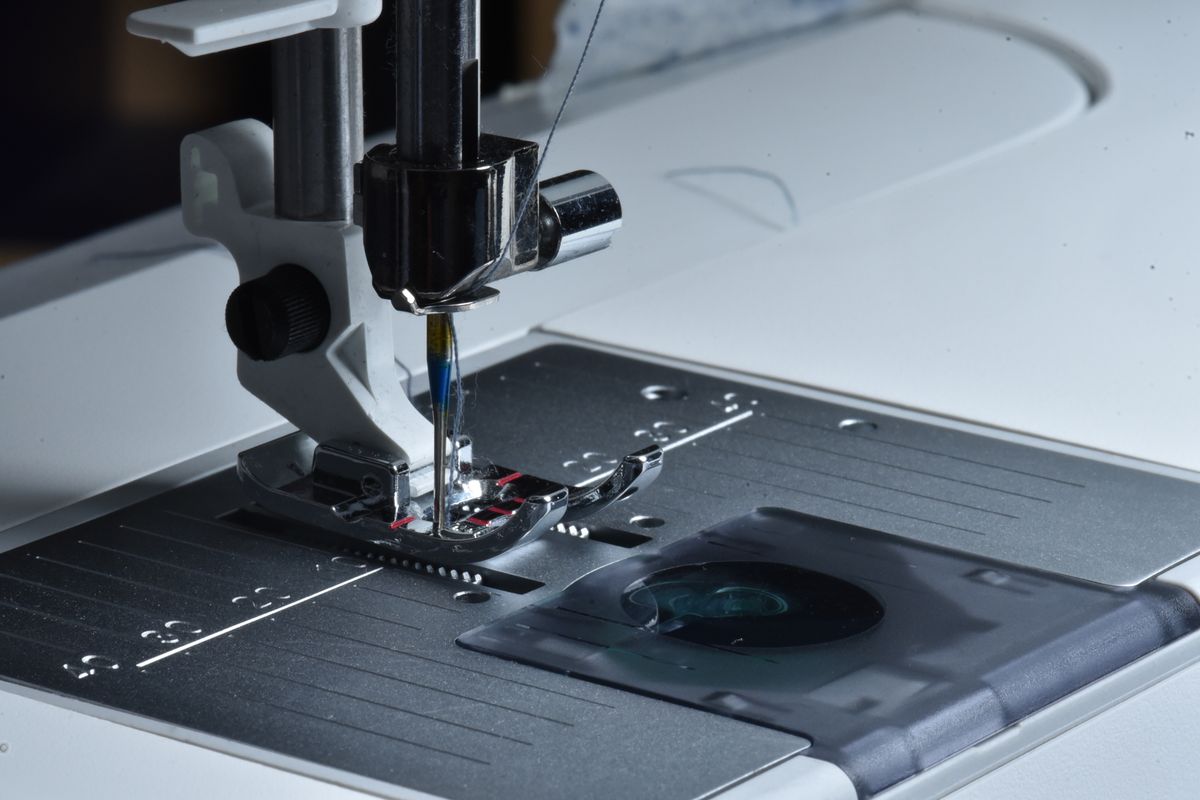
Silk, chiffon, satin, and stretchy knits love to slide, pucker, and get sucked down into the feed dogs. I place a sheet of tissue paper under the fabric — and sometimes on top too — and sew right through it. The paper stabilizes everything, then tears away cleanly when the seam is done.
It also stops the machine from eating the first inch of a seam, which is where slippery fabrics misbehave most. Delicate fabrics stopped scaring me once tissue paper joined my toolkit.
Pro Tip: Use a fresh, sharp fine needle with delicate fabrics — paper fixes the sliding, but only a good needle fixes skipped stitches.
17. Build a Mason Jar Mending Kit You Can Grab and Go
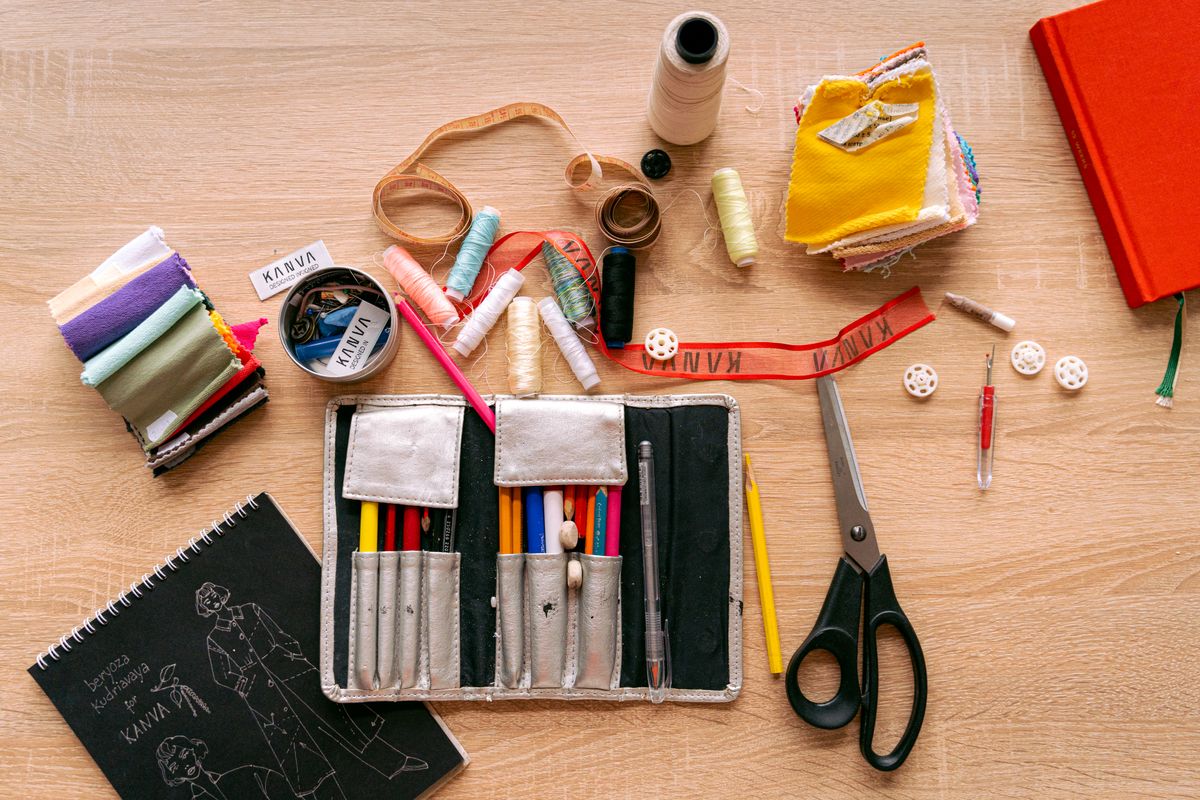
My last hack is about being ready: a mason jar stocked with needles, black, white, and grey thread, a few buttons, safety pins, a tape measure, and small scissors. A scrap of fabric and batting stapled over the lid turns it into a pincushion, so the whole kit is one grab from the closet shelf.
Loose buttons and small tears get fixed the day they happen instead of joining a mending pile I dread. It also makes a genuinely useful handmade gift for new homeowners and college students.
Pro Tip: Add a needle threader and a seam ripper to the jar — the two tools everyone needs mid-repair and never has.
Frequently Asked Questions About Sewing Hacks
What is the single best sewing hack for a beginner?
Start with the seam guide — painter’s tape or a sticky-note stack on your machine bed. Straight, even seams make every project look better instantly, and the guide does most of the steering for you. Add the magnetic pin dish second; together they remove the two most frustrating parts of learning to sew.
Why does my thread keep tangling and knotting when I hand sew?
Usually it’s direction and length. Thread has a natural twist, so thread the needle with the end that comes off the spool first and knot the other end. Keep lengths around 18 inches, and run the thread through beeswax if it still misbehaves. Those three changes together fix nearly every tangling problem I see.
How do I keep my needles and pins from rusting?
Store them dry, in a pincushion or closed container. The emery strawberry on a tomato pincushion cleans off early rust and burrs as you push pins in and out. If your sewing space is humid, tuck a small silica gel packet in with your notions.
Can I really sew well without pressing every seam?
You can sew, but the results will always look a little homemade. Pressing sets stitches into the fabric, flattens bulk, and makes edges crisp — it is the step professionals never skip. If a full iron feels like too much, the hair straightener trick handles small seams in seconds right at your machine.
What can I use to mark dark fabric?
White soap slivers are my favorite — they draw a clear line on dark fabrics and disappear with steam or washing. White chalk pencils also work well. Test on a hidden scrap first, and avoid waxy markers that can leave permanent lines.
My machine keeps skipping stitches. What should I check first?
Change the needle — a dull, bent, or wrong-type needle causes most skipped stitches. Re-thread the machine completely with the presser foot up, and check that the bobbin is wound evenly and inserted correctly. Nine times out of ten, one of those three fixes it before you ever need a repair shop.
Final Thoughts
None of these sewing hacks requires a new machine or a shopping trip — they are small changes in habit that remove the friction from sewing. Pick two or three that solve your most annoying problem and build them into your next project. You’ll feel the difference in your seams and your speed.
I add a new favorite hack almost every season, usually learned the hard way from a project that fought back. Keep your magnetic dish close, your fabric scissors sacred, and your mending jar stocked — and sewing will keep being the relaxing, satisfying craft it should be.