18 DIY Storage Baskets From Old Clothes That Actually Hold Up
Old clothes are usually thrown away, but the fabric itself is still strong, soft, and free. These diy storage baskets from old clothes are the ones I made from shirts, jeans, and towels I already owned, and I kept only the baskets that still held their shape after weeks of real use.
How I picked these: I made each basket myself, filled it with real items, and used it for at least two weeks. I kept a basket only if it did not collapse, fray apart, or smell musty, and every idea below tells you what it cost, how long it took, and where it went wrong.
Key Takeaways
- Wash and dry old clothes before you cut them, or baskets will smell and shrink later.
- Thick fabrics like denim and towels make sturdier baskets than thin t-shirts.
- Stitch, do not just glue, any basket that will hold weight.
- Line baskets that will hold damp items, or fabric will mildew.
- Start with a small basket before you try a large laundry-size one.
18 DIY Storage Baskets From Old Clothes
1. The Braided T-Shirt Basket
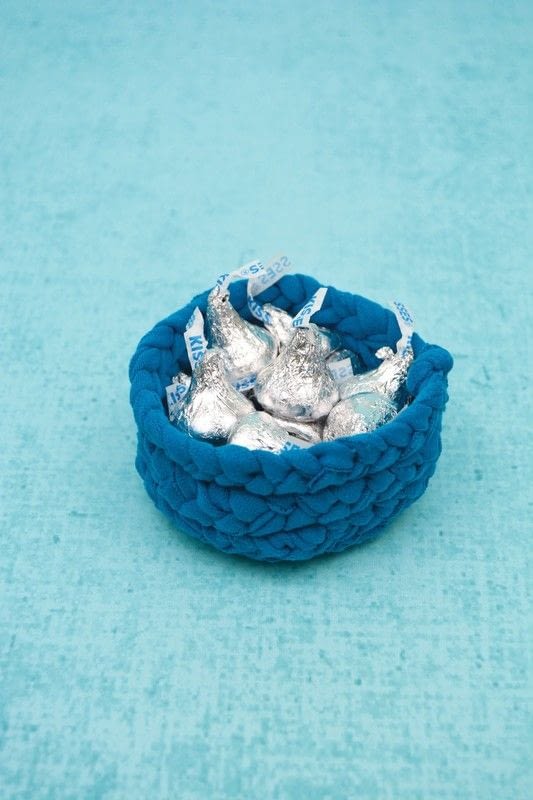
I cut three old t-shirts into long strips, braided them into a rope, then coiled and stitched the rope into a round basket. I used shirts in matching colours, cut strips about 1 inch wide, and stitched each coil firmly with a zigzag stitch. Downside is stretching. My first basket stretched out of shape because I used thin, worn shirts, so I now use shirts with some body left in them, and I stitch every coil, not every other one. The second basket holds remotes and chargers by the sofa without sagging.
Pro Tip: Stitch every coil of a braided basket, not every other one, or it will stretch out of shape.
Cost / Time / Difficulty: $0 to $3 per basket | 2 to 3 hours | Medium.
2. The Denim Jean Basket
I cut the legs off old jeans, sewed them into a tall bin shape, and folded the top edge over for a finished rim. I used two pairs of jeans, kept the seams for texture, and added handles from the waistband. Downside is bulk at seams. My first basket had lumpy corners where jean seams met, so I trimmed seam allowances and pressed them flat before sewing. The second basket sits straight, holds magazines, and looks like a bought denim bin.
Pro Tip: Trim and press jean seam allowances flat before sewing, or corners will lump.
Cost: $0 to $5 per basket | 2 hours | Medium.

3. The Towel Rolled Basket
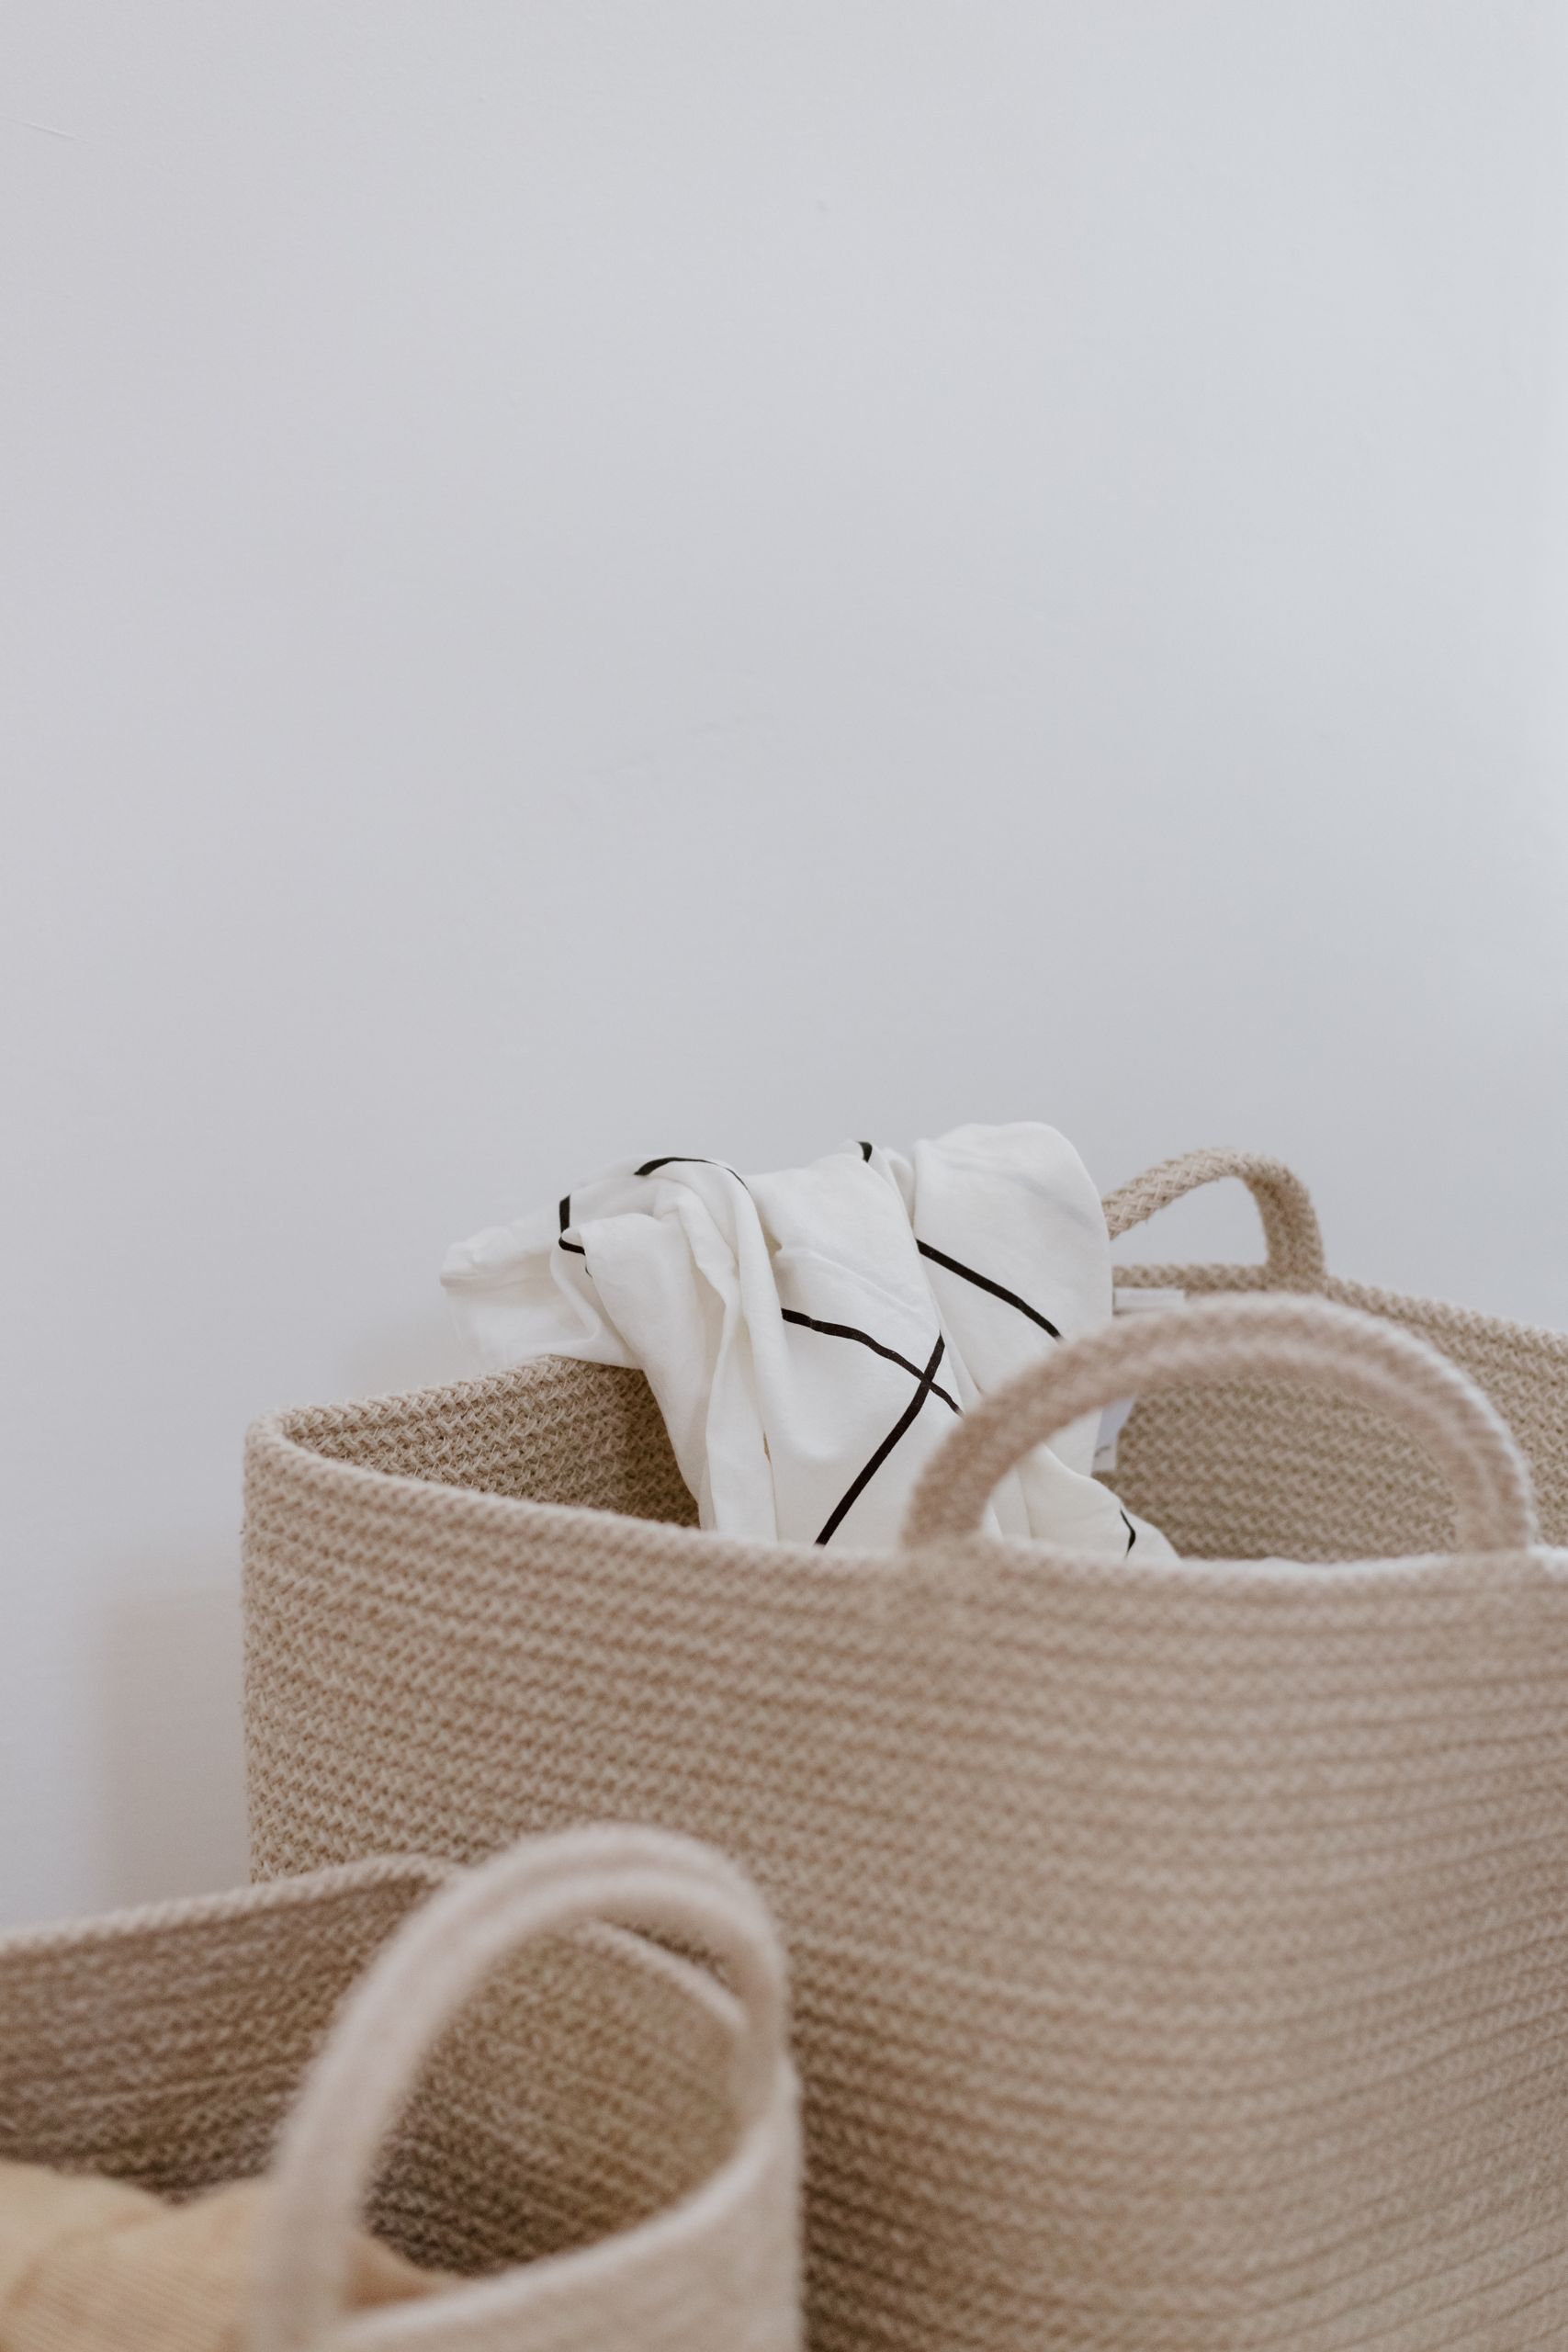
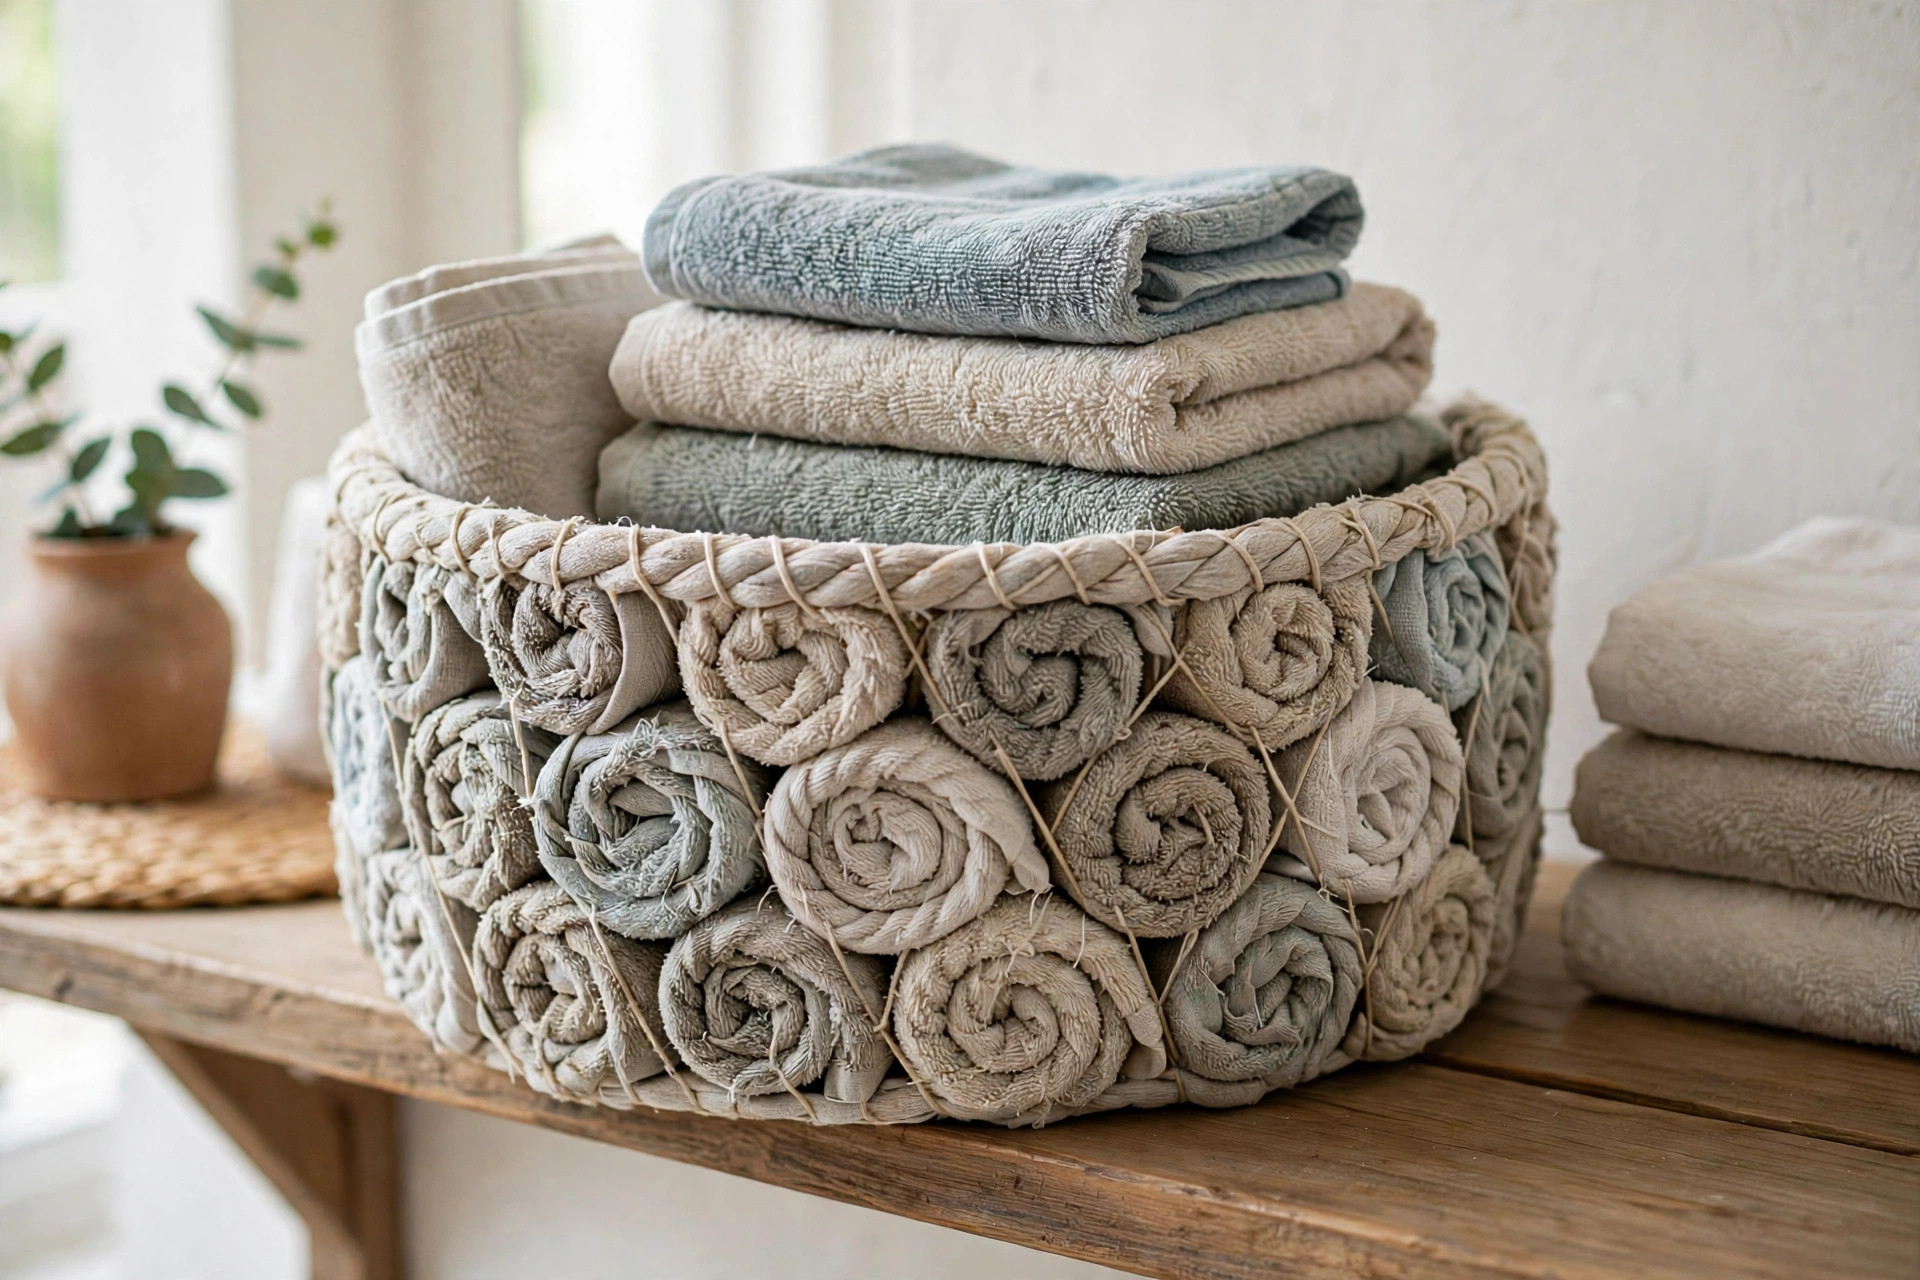
I rolled old bath towels into tight coils, stitched them together, and shaped them into a sturdy round basket for bathroom items. I used two towels, rolled them firmly, and stitched with strong thread, since towel fabric is thick. Downside is weight. My first towel basket was so heavy empty that it was awkward to move, so I now use one towel for small baskets and save two-towel versions for stationary spots. The small version holds toiletries by the sink perfectly.
Pro Tip: Use one towel for baskets you will move often, or the basket itself becomes too heavy.
Cost: $0 to $3 per basket | 1 to 2 hours | Medium.
4. The Sweater Basket
I turned an old wool sweater into a basket by sewing the bottom closed, folding the sleeves inside, and stiffening the sides with a fabric liner. I used a chunky knit sweater, sewed with matching thread, and added a felt base for shape. Downside is pilling. My first sweater basket pilled badly after a month of handling, so I now choose smooth-knit sweaters and brush them lightly before sewing. The smooth version still looks neat after six months by the bed.
Pro Tip: Choose smooth-knit sweaters for baskets, or pilling will make them look worn quickly.
Cost: $0 to $4 per basket | 1 to 2 hours | Easy.
5. The Flannel Shirt Basket
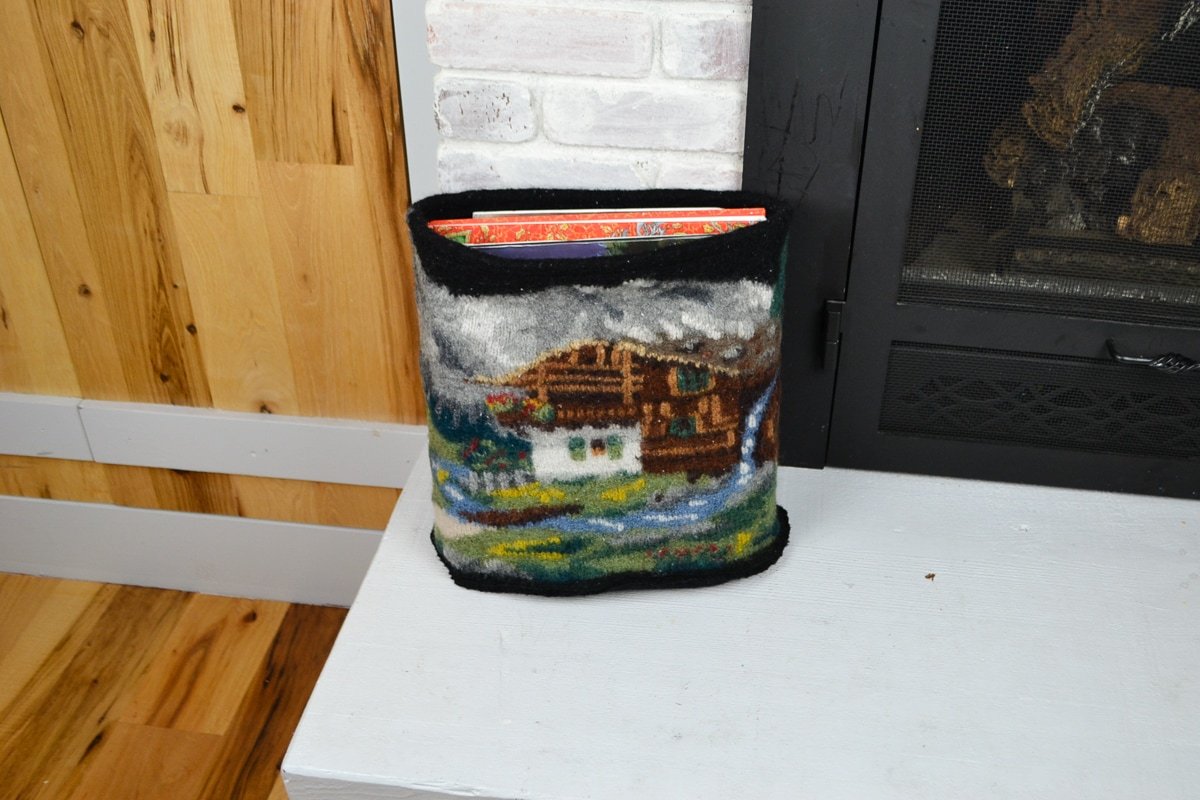
I made a soft basket from old flannel shirts, sewing panels together and adding a cardboard base for structure. I used three shirts in plaid, cut panels to the same size, and sewed them with a straight stitch, then pressed the seams. Downside is softness. My first flannel basket collapsed when empty because the fabric was too soft, so I added a cardboard base and a stiff liner. It now holds its shape empty and full, and it looks cosy on a shelf.
Pro Tip: Add a cardboard base and a stiff liner to soft fabric baskets, or they will collapse when empty.
Cost: $0 to $4 per basket | 1 to 2 hours | Easy.
6. The T-Shirt Yarn Basket
I cut an old t-shirt into continuous yarn, crocheted a simple basket shape with a large hook, and finished with a rolled rim. I used a thick t-shirt, cut carefully to keep the yarn even, and worked in rounds so the basket grew evenly. Downside is uneven yarn. My first t-shirt yarn varied in width, so the basket sides wobbled, so I now cut slowly and measure the strip width as I go. The even version stands straight and holds craft supplies by my desk.
Pro Tip: Measure t-shirt yarn width as you cut, or the basket sides will wobble.
Cost: $0 to $2 per basket | 2 to 3 hours | Medium.

7. The Denim Pocket Basket
I sewed the pockets from old jeans onto the outside of a fabric basket, creating extra storage for small items. I cut pockets carefully, sewed them on before assembling the basket, and used them for scissors, pens, and phone chargers. Downside is bulk. My first pocket basket was so thick at the pockets that it would not sit flat, so I used thin pocket fabric and trimmed excess layers. The slim version sits flat and still holds small items in every pocket.
Pro Tip: Trim excess layers behind jean pockets, or a pocket basket will not sit flat.
Cost: $0 to $5 per basket | 2 hours | Medium.

8. The Towel Beach Basket
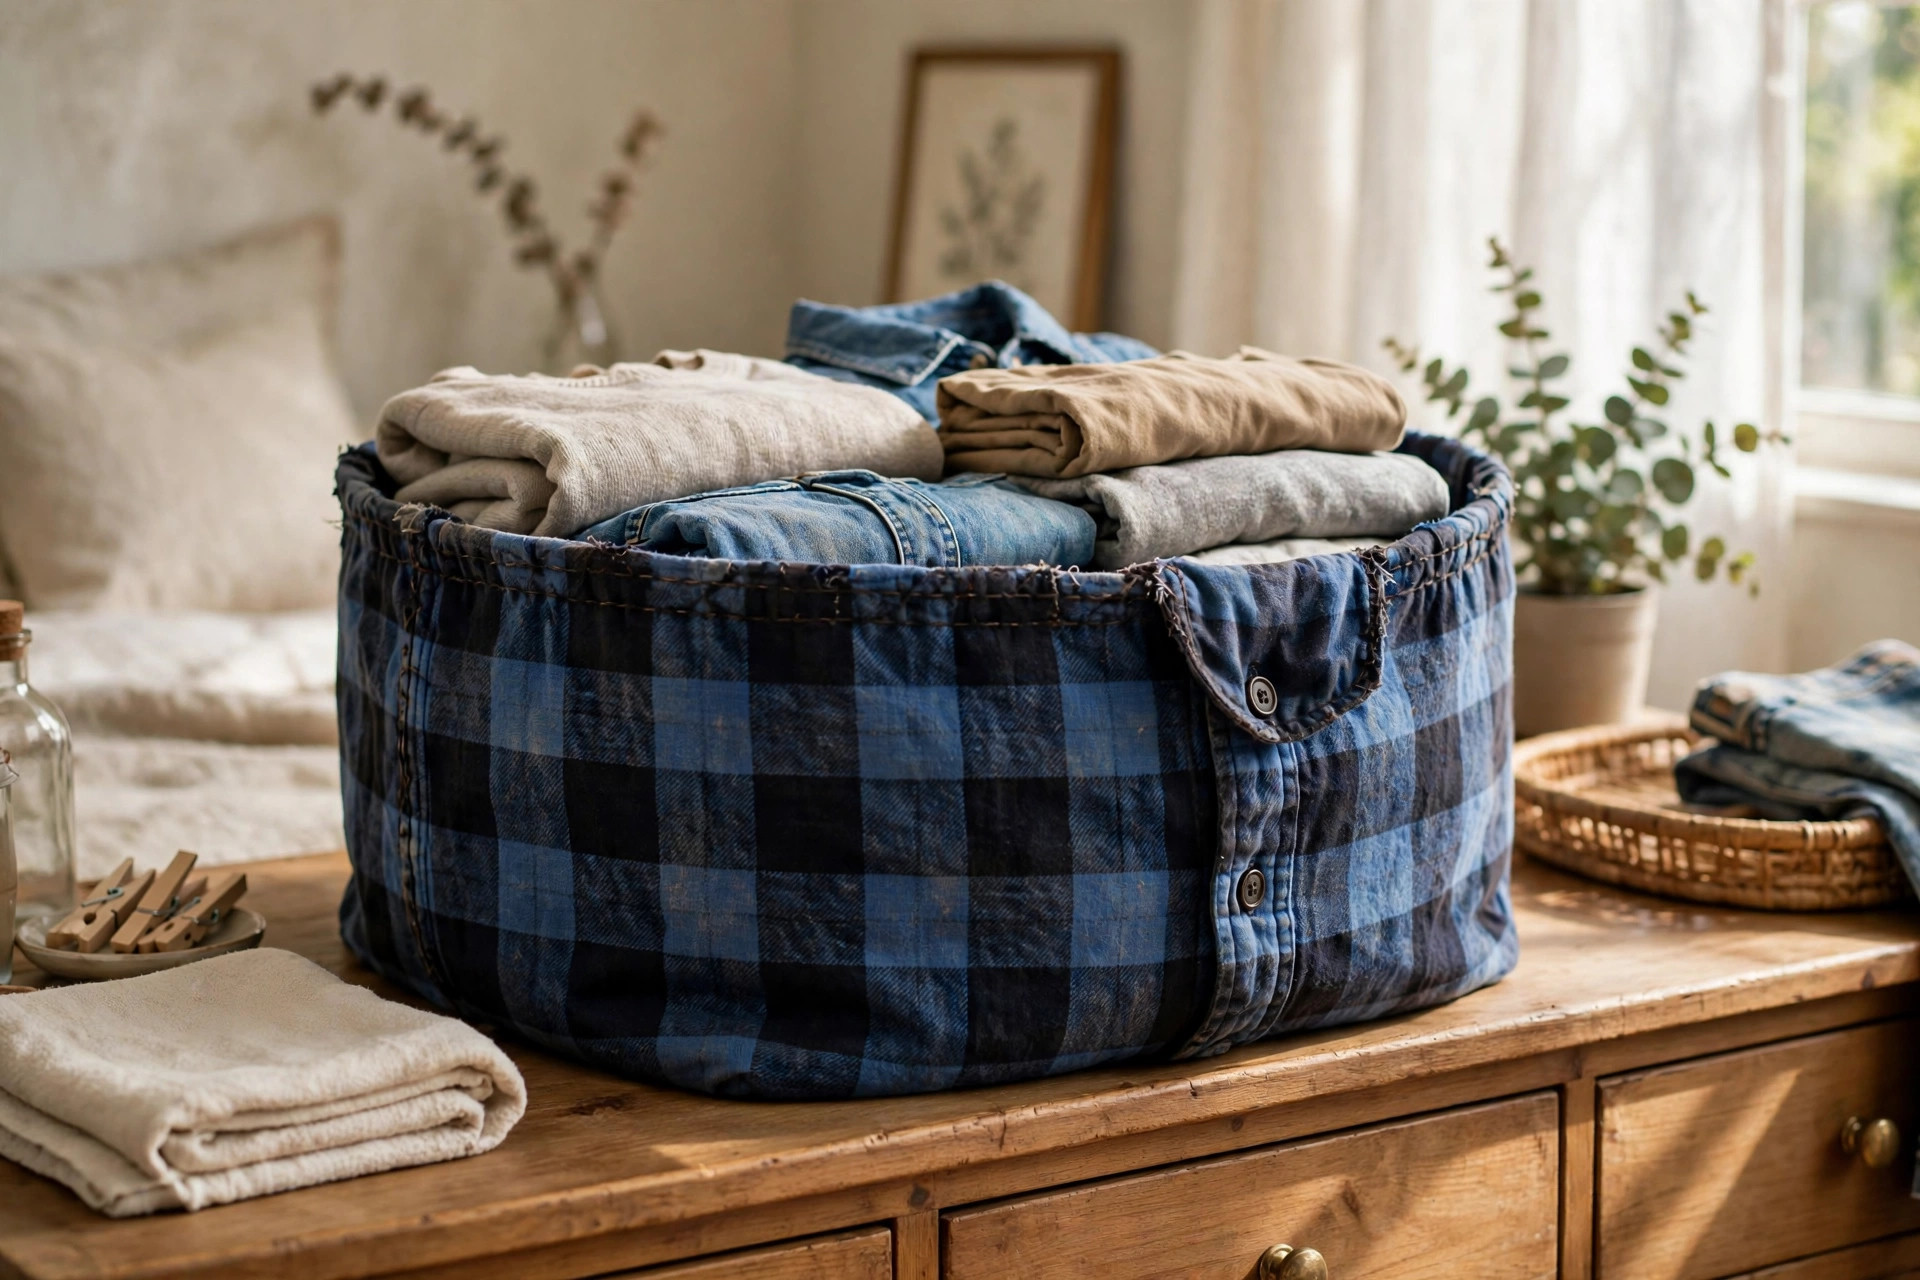
I made a beach basket from an old beach towel, sewing it into a wide, open bin with rope handles. I used a large towel, reinforced the handle attachments with extra stitching, and lined it with a shower curtain offcut for sand resistance. Downside is sand. My first beach basket trapped sand in the towel fibres, so I now shake it out after every trip and wash it monthly. It still carries towels, sunscreen, and books without tearing.
Pro Tip: Shake a towel beach basket out after every trip, and wash it monthly, or sand will build up.
Cost: $0 to $5 per basket | 2 hours | Medium.
9. The Old Curtain Basket
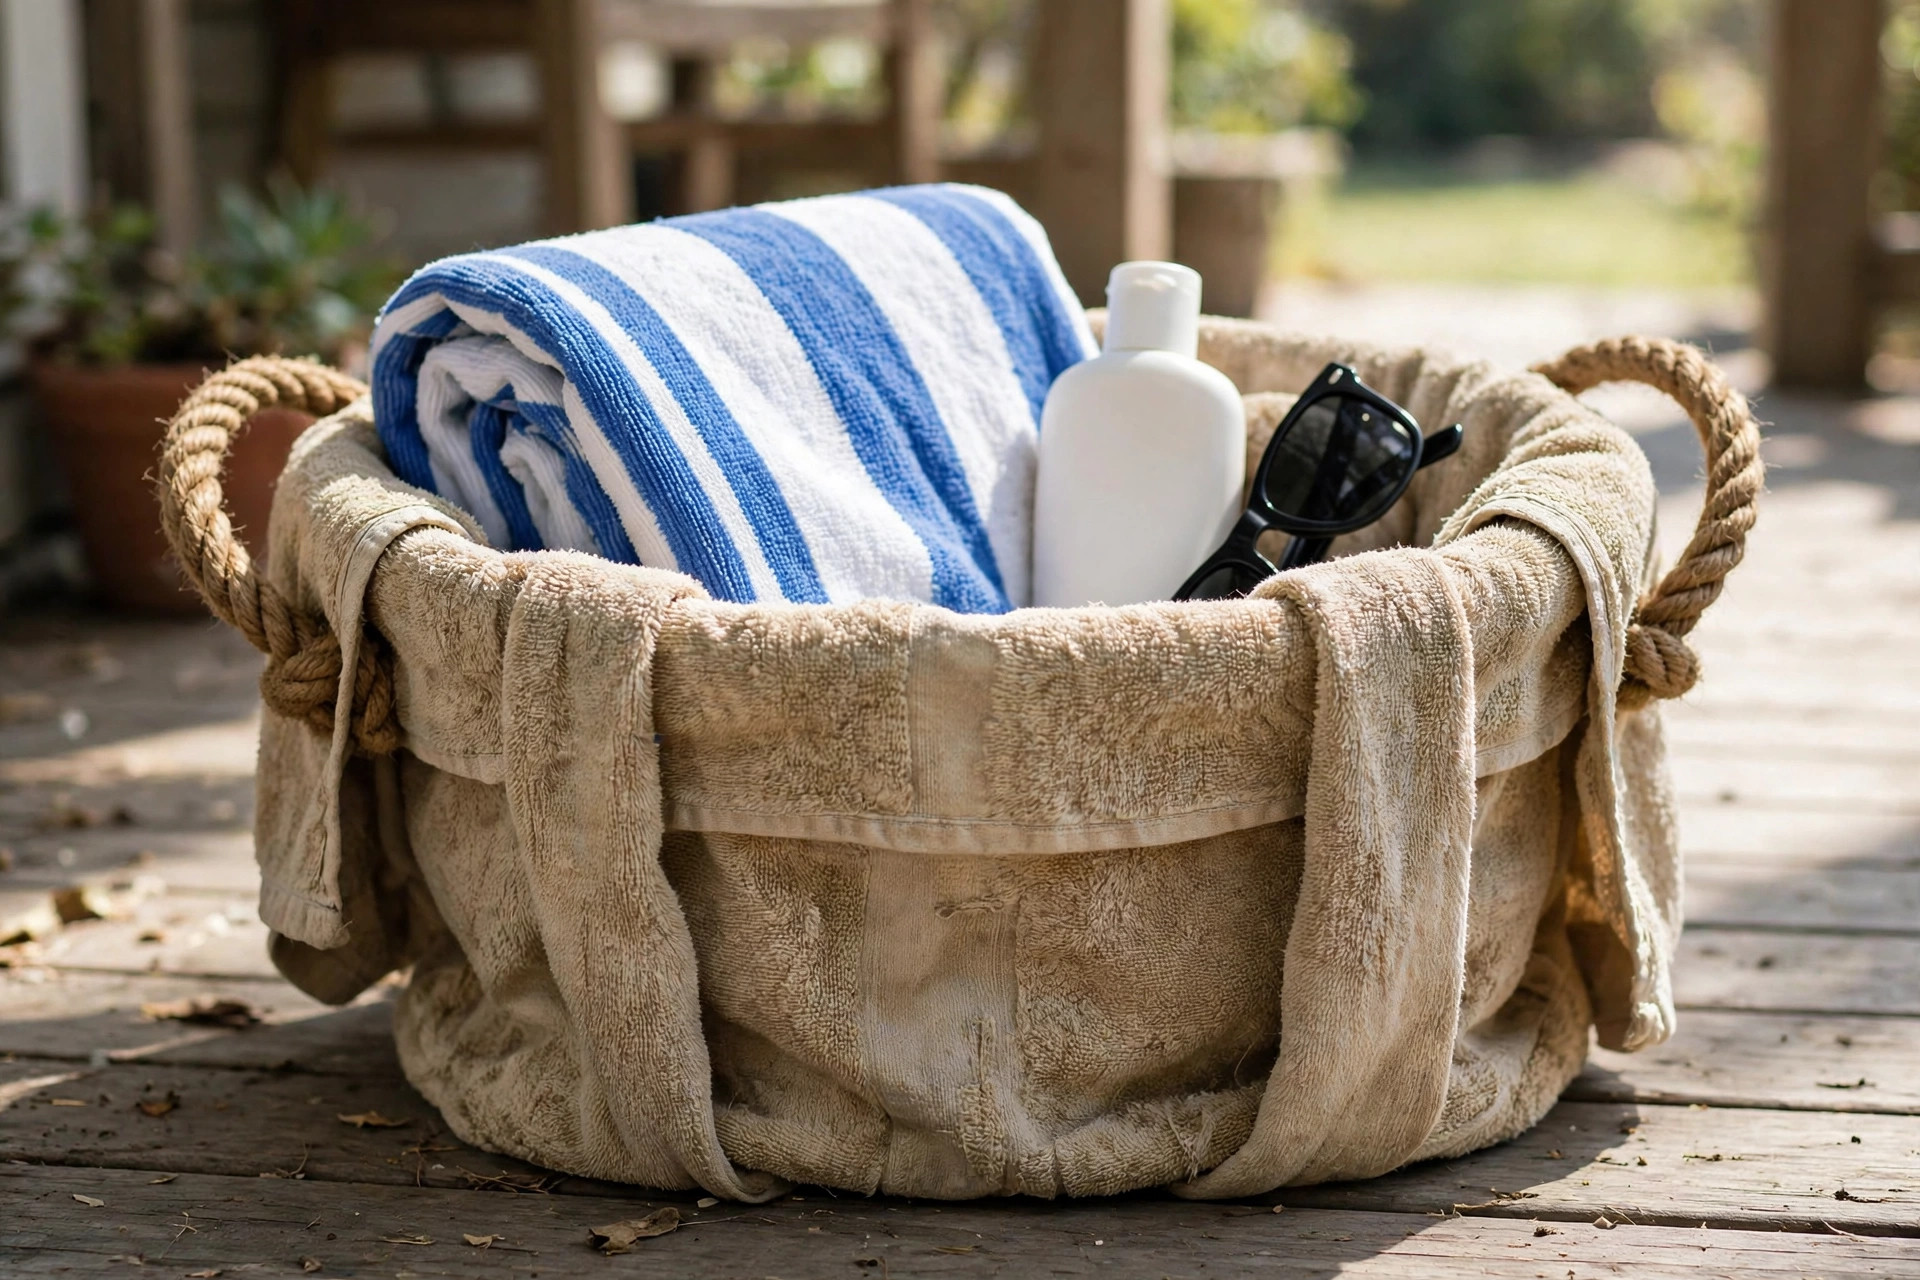
I turned old curtains into a tall laundry basket, sewing panels together and adding a drawstring top. I used heavy curtains, which gave the basket structure, and I added handles from curtain tape for carrying. Downside is fading. My first curtain basket faded in sun near a window, so I moved it to a shaded corner and chose darker curtains for the next one. The darker version has kept its colour for a year.
Pro Tip: Keep fabric baskets out of direct sun, or even sturdy curtain fabric will fade.
Cost: $0 to $5 per basket | 2 hours | Medium.
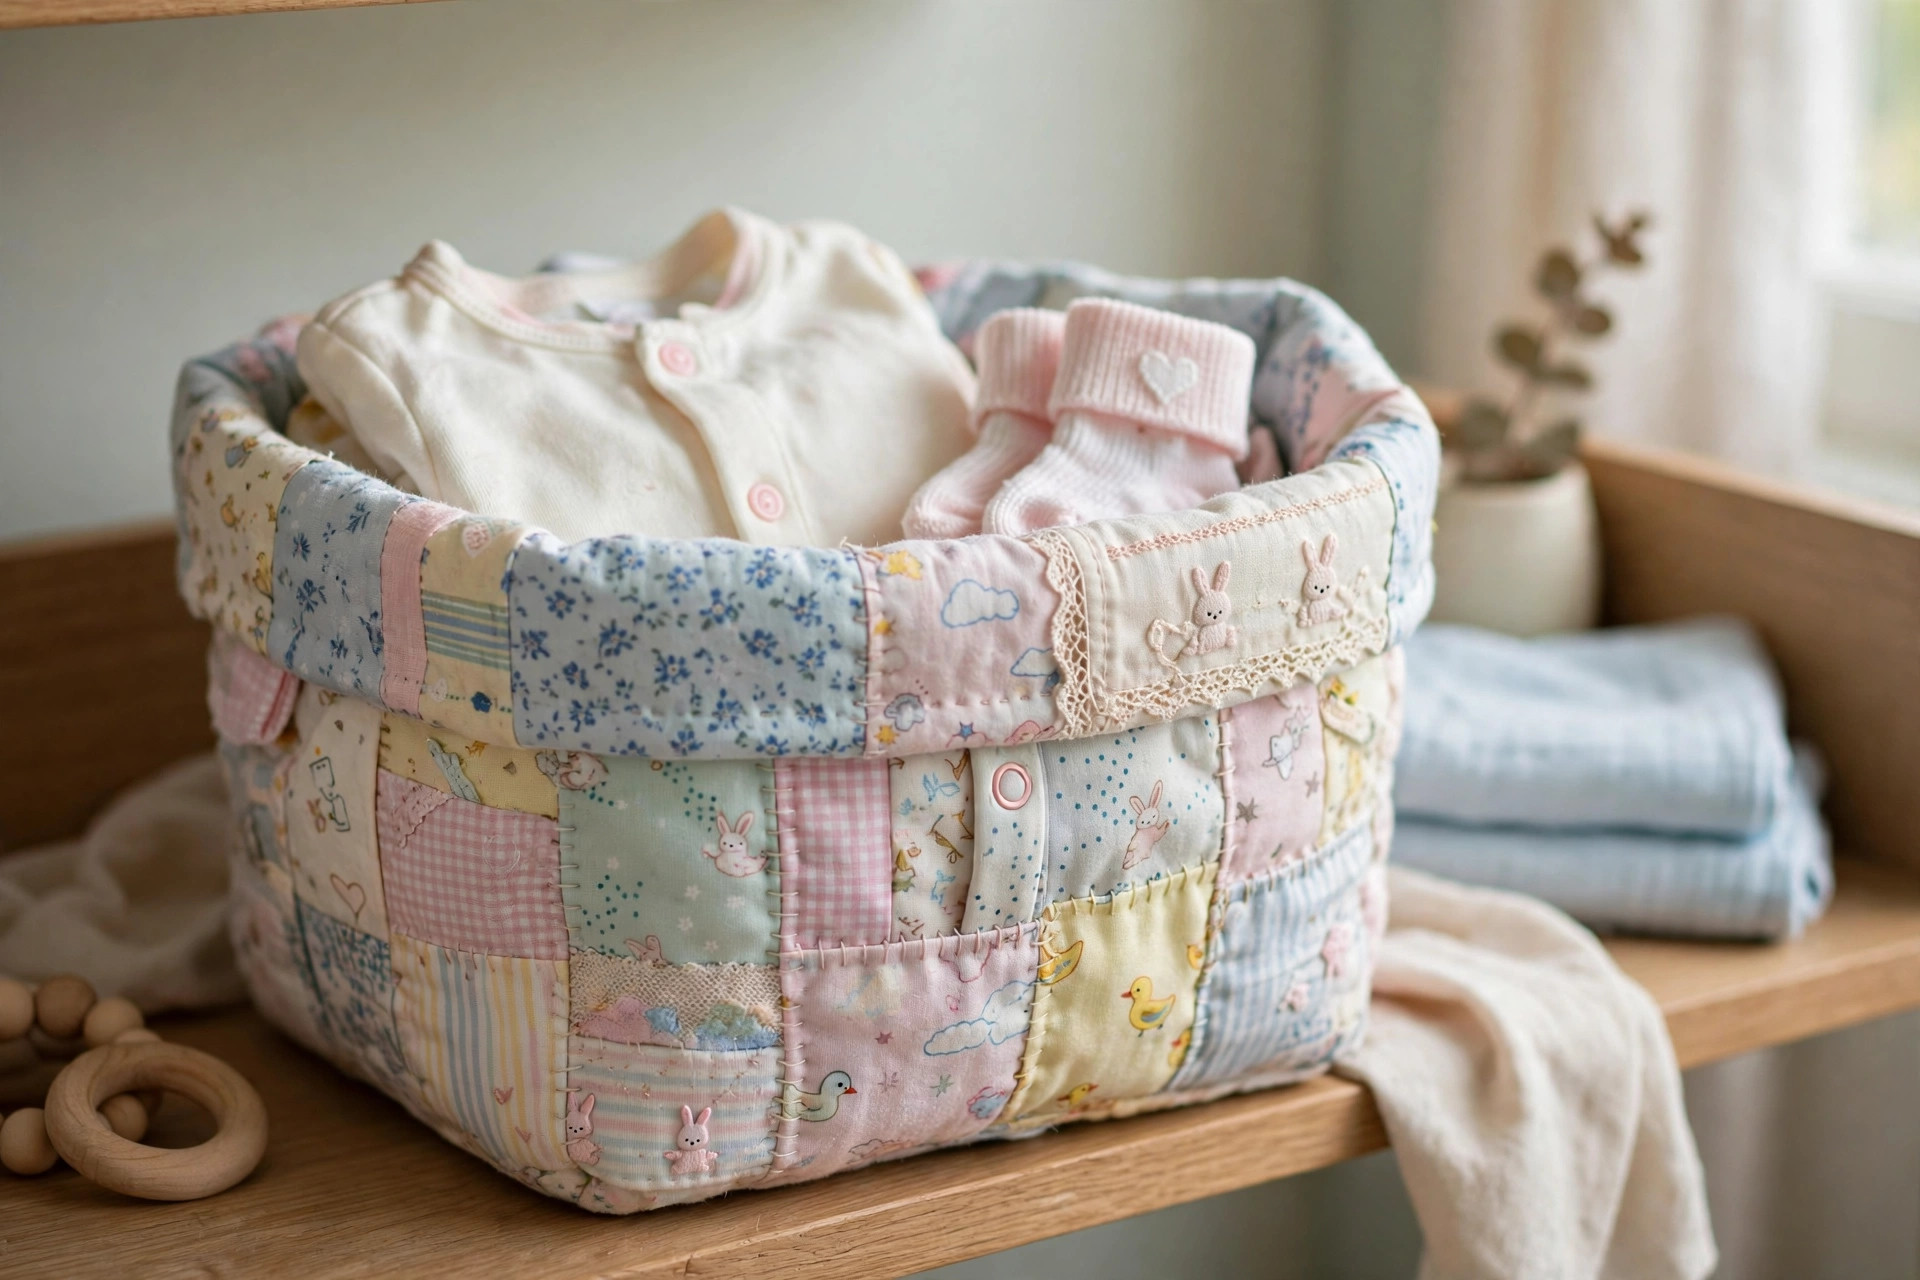
10. The Baby Clothes Keepsake Basket
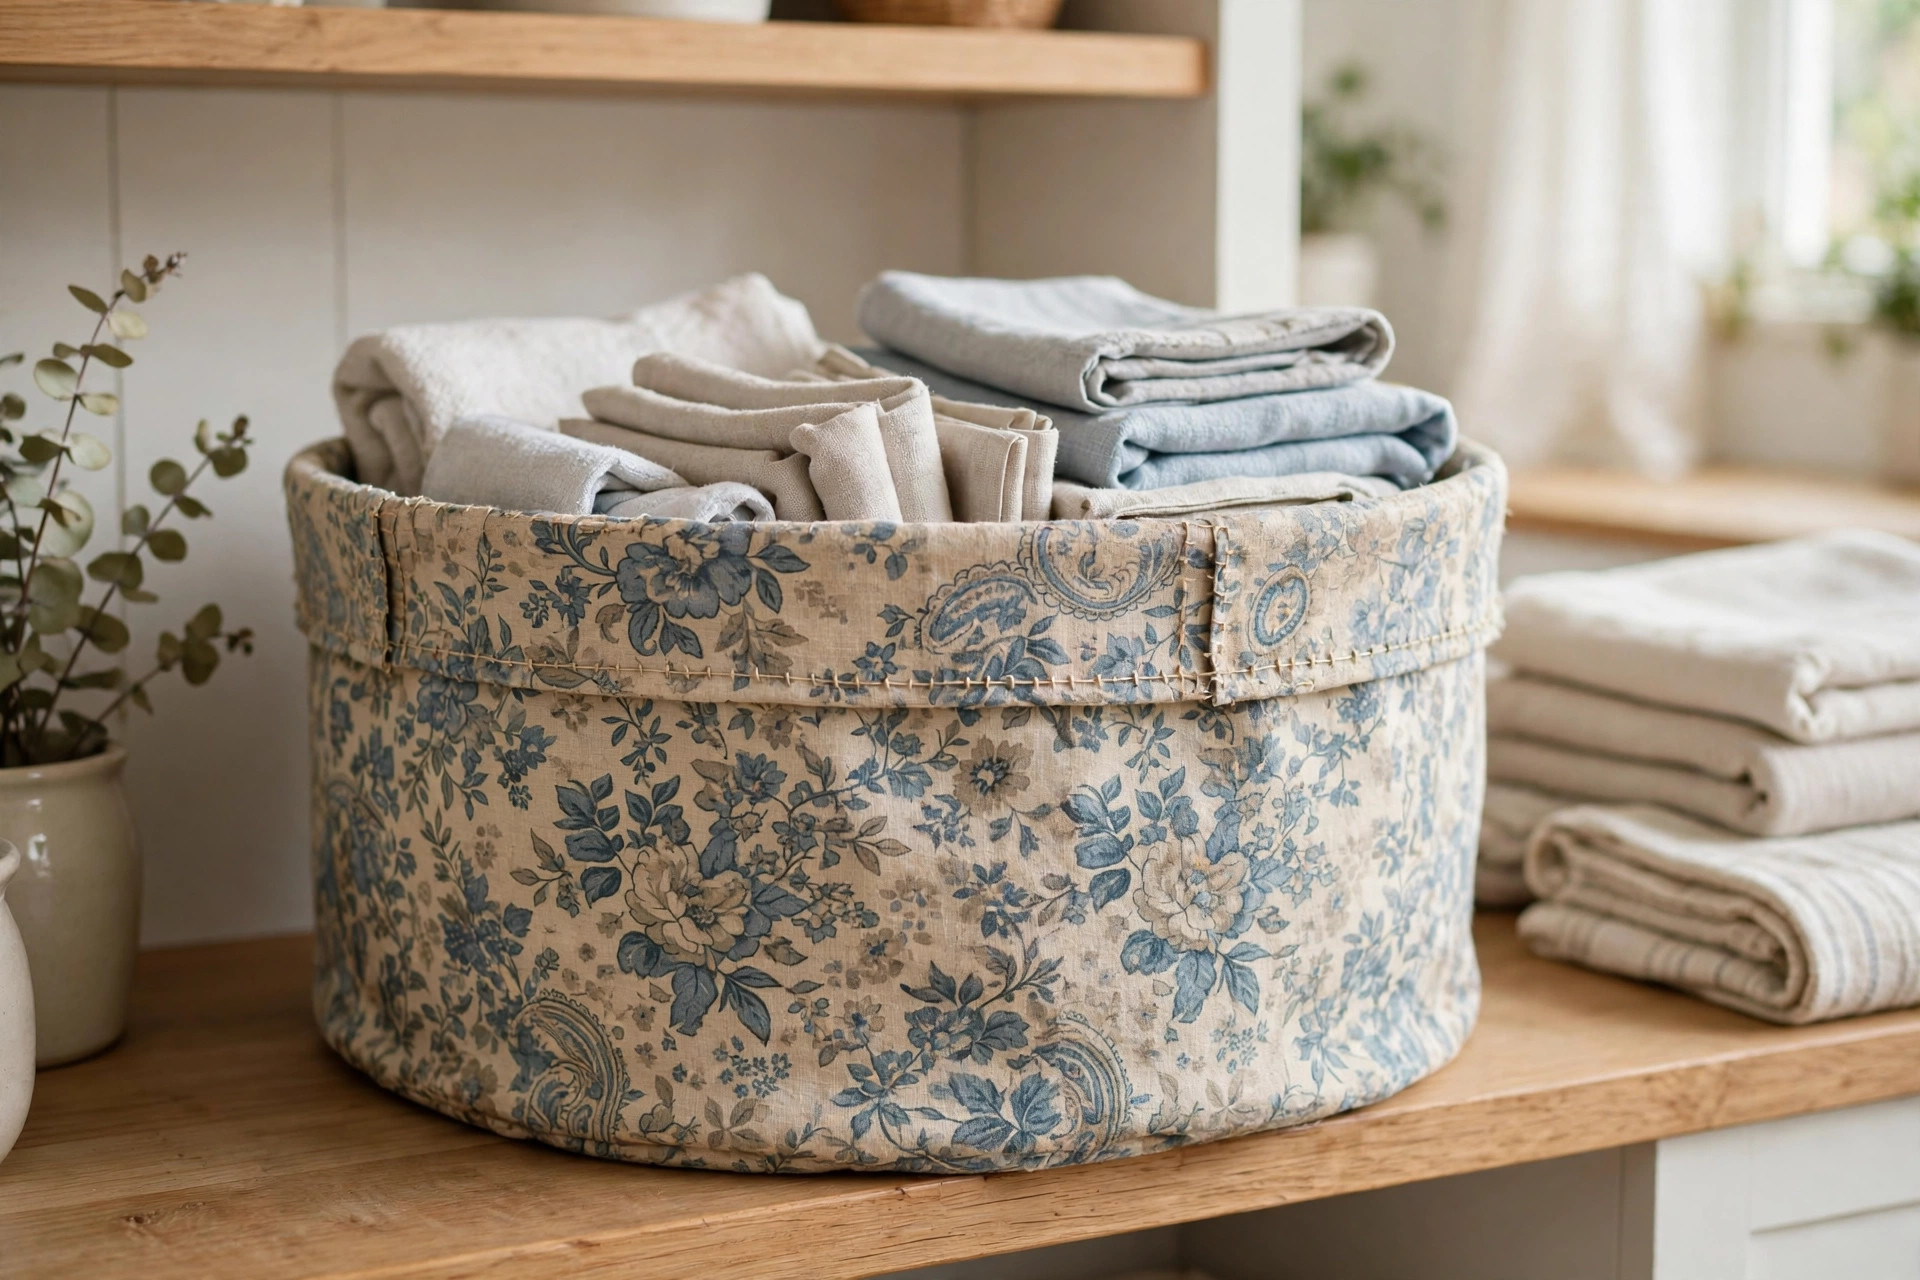
I made a keepsake basket from outgrown baby clothes, sewing small panels together into a soft memory bin. I used clothes with meaning, a first outfit and a favourite sleepsuit, and I lined the basket with plain cotton so it would not snag. Downside is emotion, honestly. My first keepsake basket made me sad to fill with other things, so I now keep it purely for keepsakes and use other baskets for everyday storage. It sits on a shelf, not in a cupboard, where I can see it.
Pro Tip: Keep a keepsake basket purely for keepsakes, or it will lose its meaning as everyday storage.
Cost: $0 to $3 per basket | 2 hours | Easy.
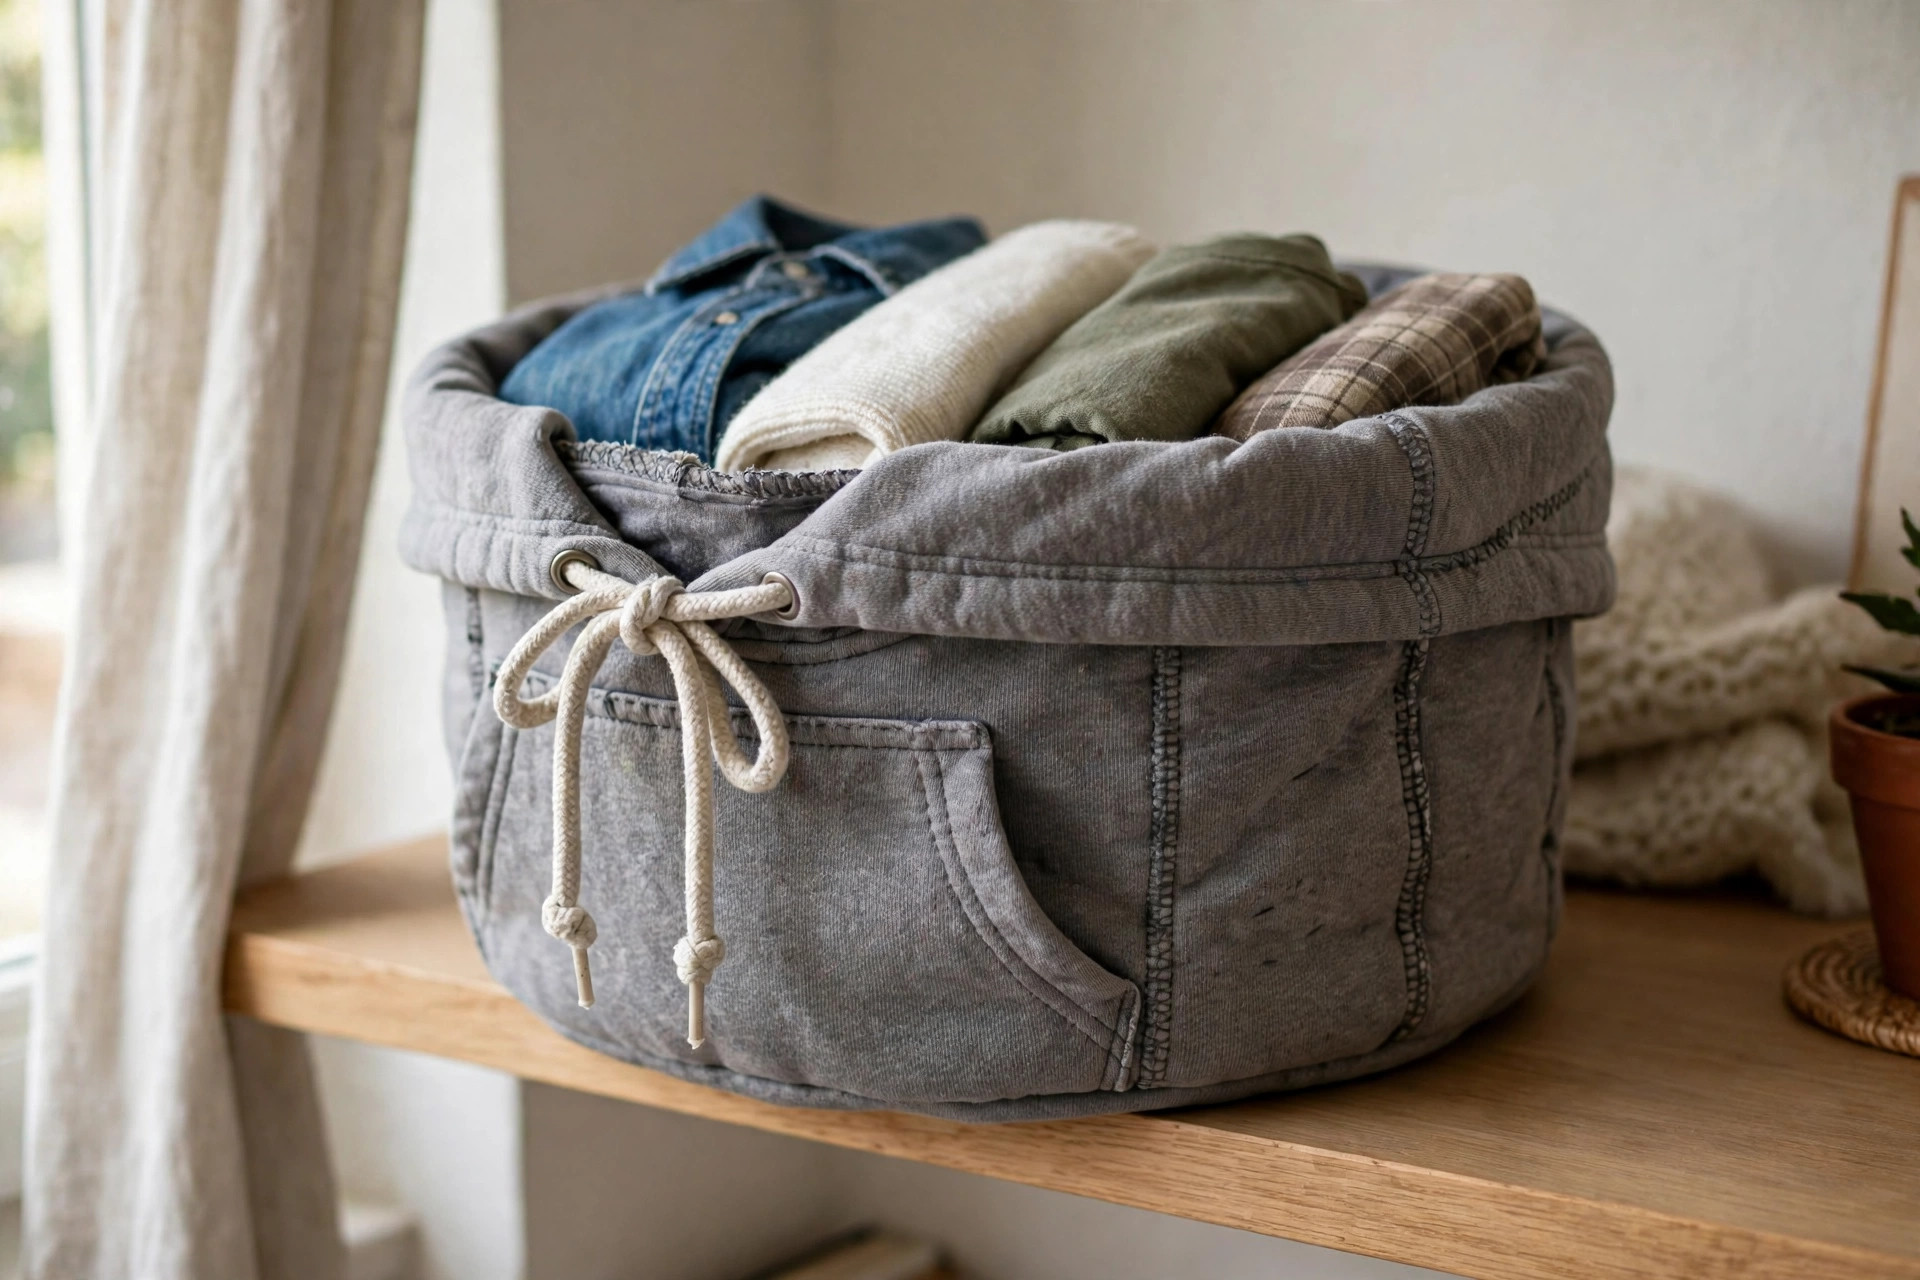
11. The Hoodie Basket
I turned an old hoodie into a basket by sewing the bottom closed, using the hood as a lid, and adding the pocket as a front pocket. I used a thick hoodie, sewed with strong thread, and kept the drawstrings as handles. Downside is shape. My first hoodie basket slumped because the fabric was too soft, so I added a stiff base and a liner, which fixed it completely. It now holds toys in my living room and looks like a bought fabric bin.
Pro Tip: Add a stiff base and liner to hoodie baskets, or soft fleece will slump.
Cost: $0 to $4 per basket | 1 to 2 hours | Easy.
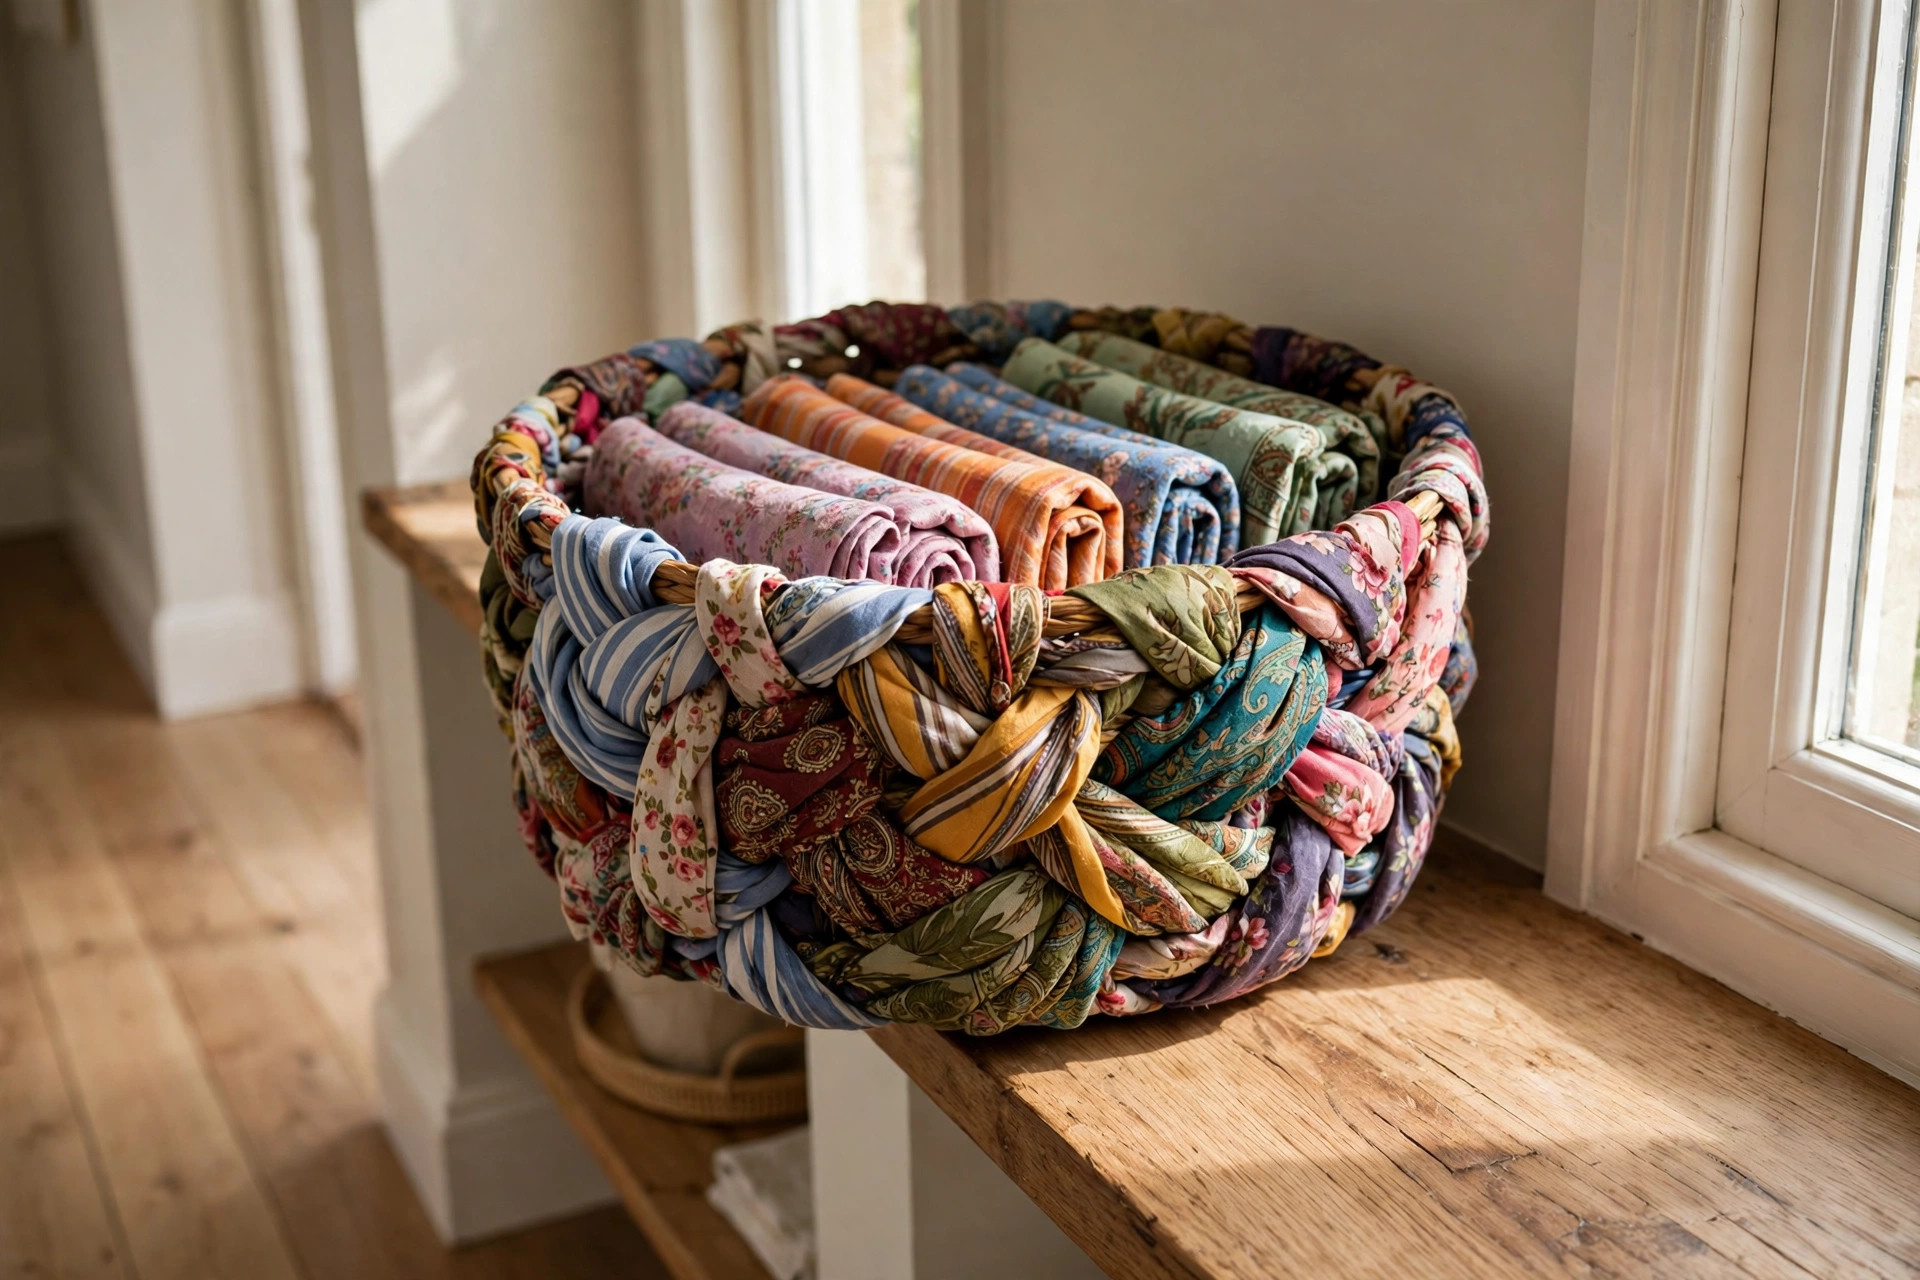
12. The Scarf Basket
I braided old scarves into a rope, coiled it into a small basket, and stitched it firmly for jewellery and small items. I used silk and cotton scarves mixed, which gave the basket colour and sheen, and I stitched every coil. Downside is slipping. My first scarf basket unravelled because silk is slippery, so I now use a dab of fabric glue at each coil join in addition to stitching. The glued version has held for months without loosening.
Pro Tip: Add fabric glue at coil joins for silk scarves, or a braided basket will unravel.
Cost: $0 to $3 per basket | 2 hours | Medium.
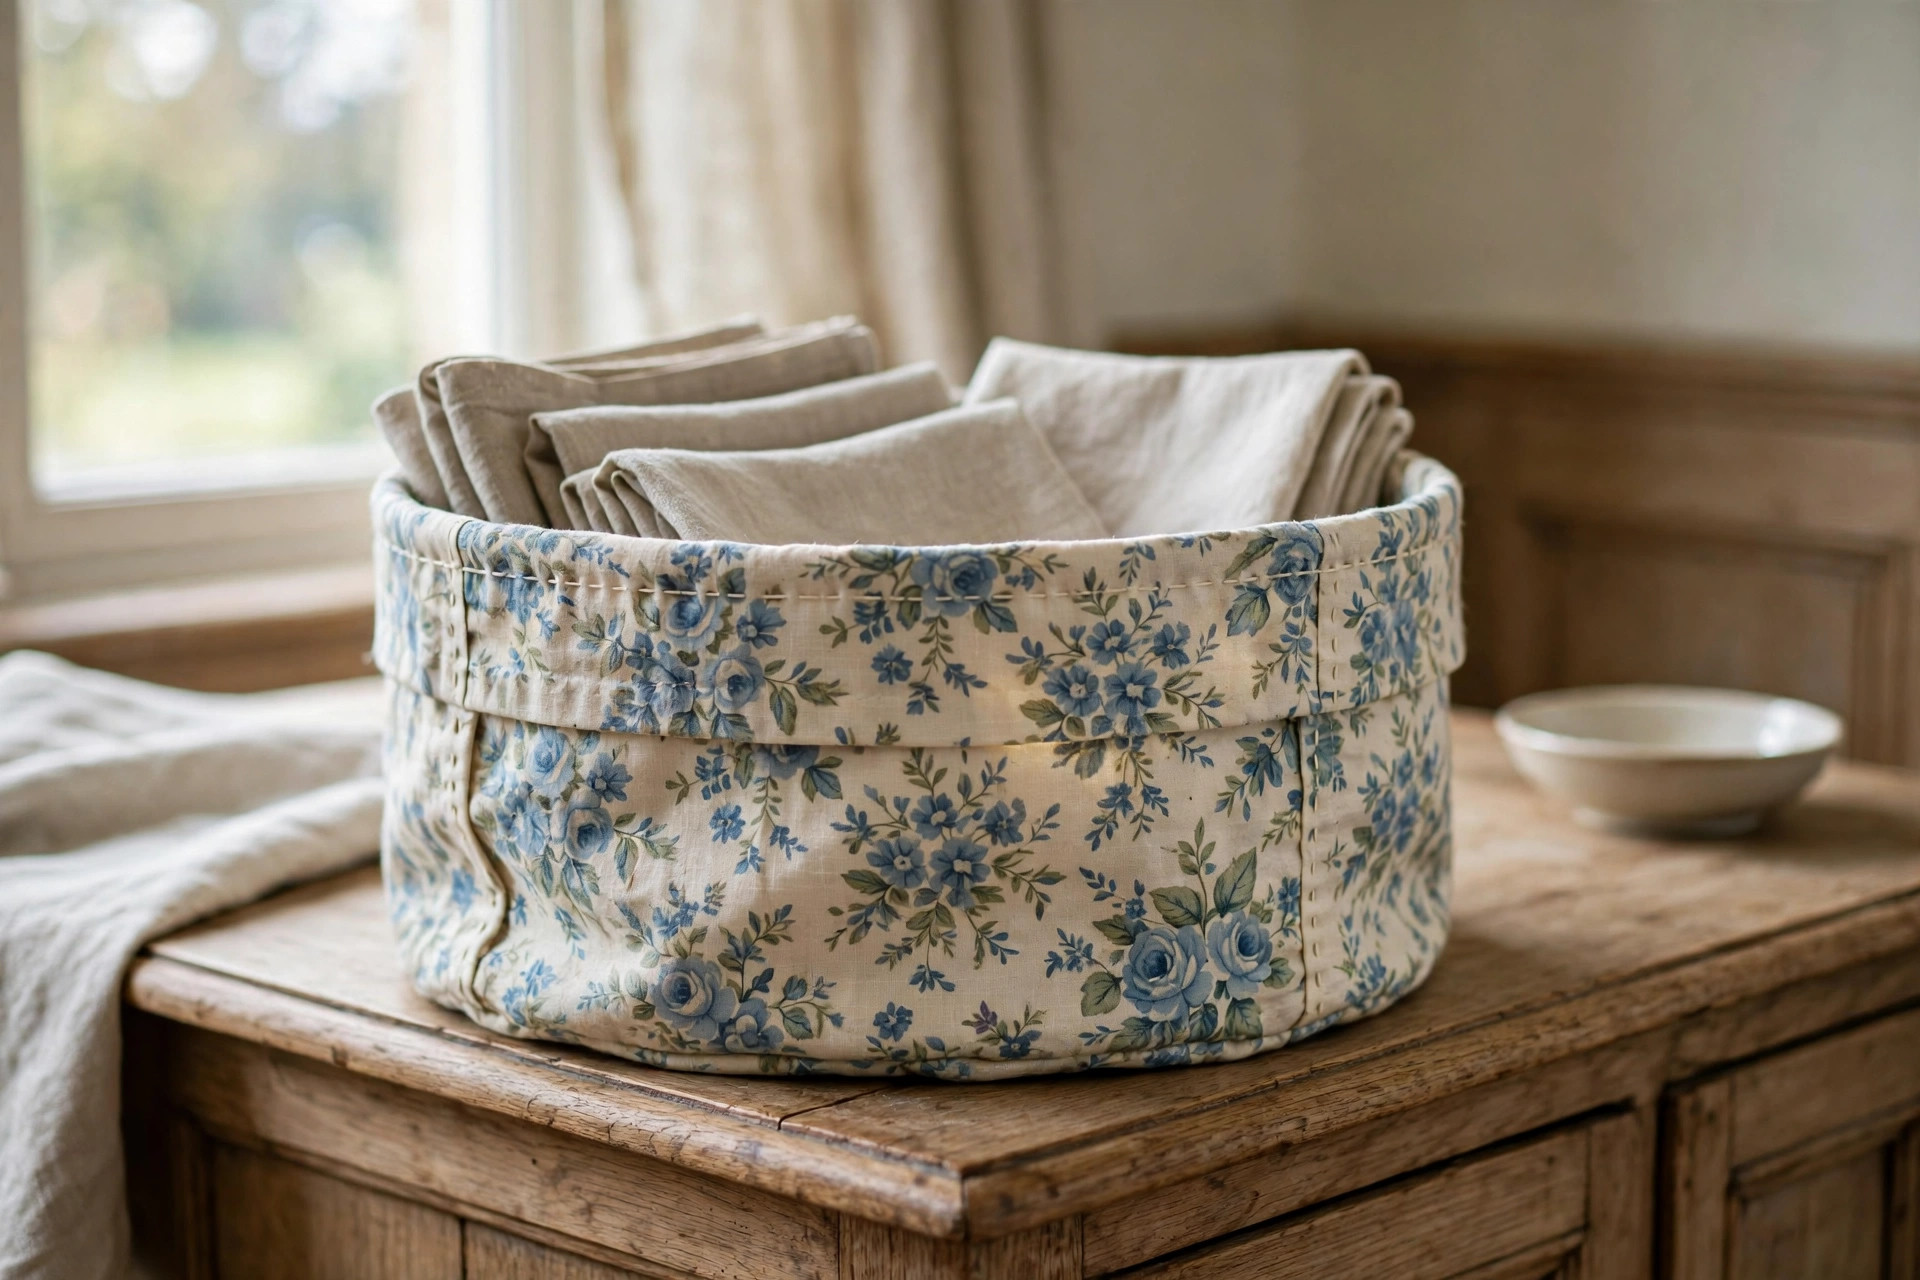
13. The Quilt Scrap Basket
I sewed quilt scraps into a patchwork basket, mixing colours and patterns, and added a stiff base for shape. I used scraps I already owned, cut them to the same size, and sewed them in rows before shaping the basket. Downside is bulk at joins. My first patchwork basket had thick joins that made sewing the shape difficult, so I pressed all seams open and trimmed excess. The second basket sewed smoothly and looks like intentional patchwork, not leftovers.
Pro Tip: Press patchwork seams open and trim excess, or joins will bulk up and distort the basket shape.
Cost: $0 to $5 per basket | 3 hours | Medium.

14. The Tablecloth Basket
I made a large basket from an old tablecloth, sewing it into a wide bin for blankets. I used a heavy tablecloth, reinforced the rim with bias tape, and added handles from the tablecloth hem. Downside is size. My first tablecloth basket was too large for any shelf, so I measured my shelf first for the second one and cut accordingly. Measure your storage spot before you cut, not after, is the lesson I learned twice.
Pro Tip: Measure your shelf before cutting a large fabric basket, or it will not fit anywhere useful.
Cost: $0 to $5 per basket | 2 hours | Easy.
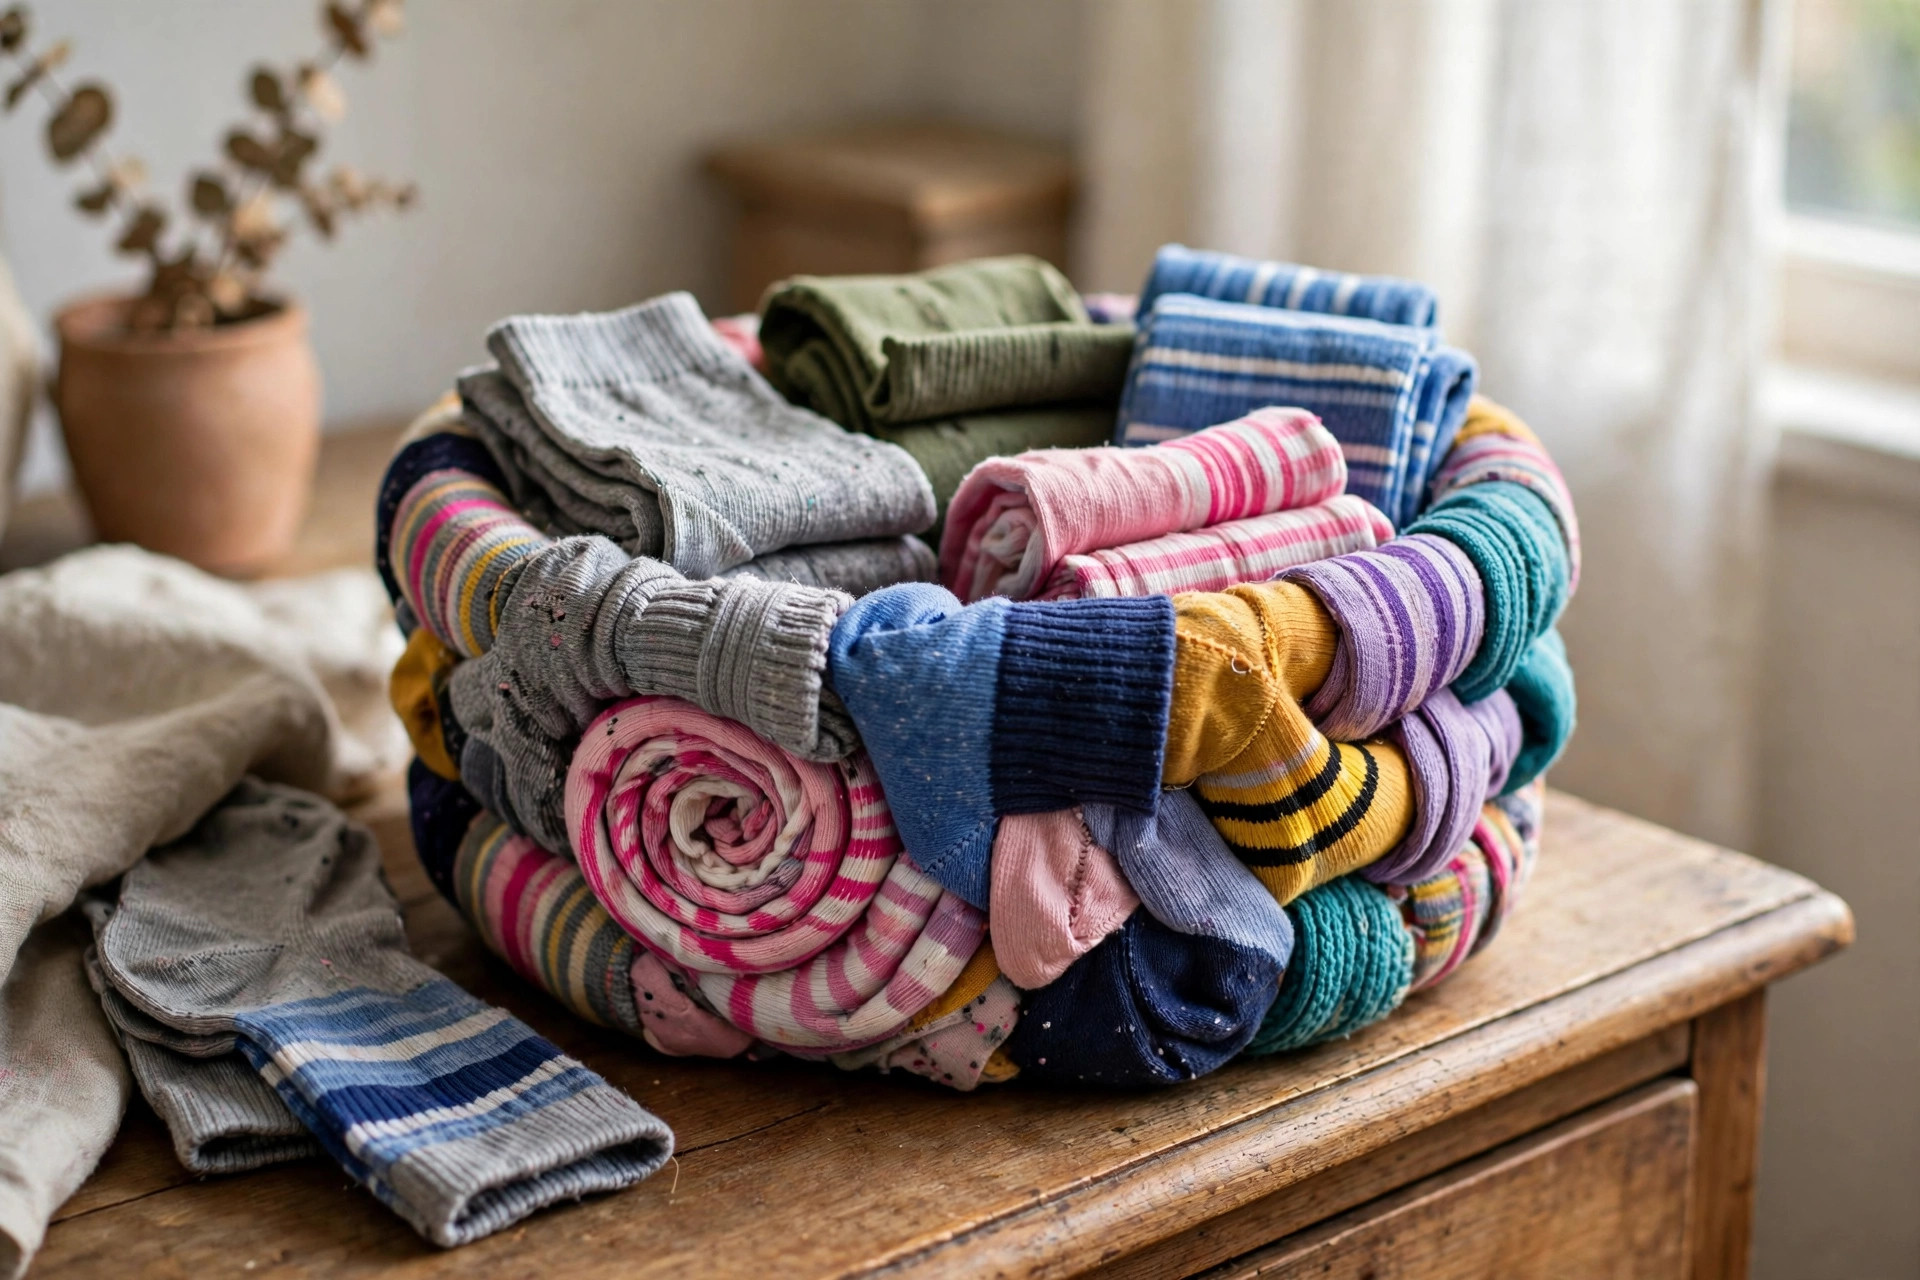
15. The Sock Basket
I made a tiny basket from odd socks, braiding them into a rope and coiling it into a small dish for jewellery. I used clean odd socks, braided them tightly, and stitched the coil firmly. Downside is smell, honestly. My first sock basket smelled faintly of feet despite washing, so I now wash odd socks in hot water and dry them in sun before crafting. The sun-dried version smells fresh, and the basket is genuinely useful.
Pro Tip: Wash odd socks in hot water and sun-dry them before crafting, or the basket will smell.
Cost: $0 to $2 per basket | 1 hour | Easy.
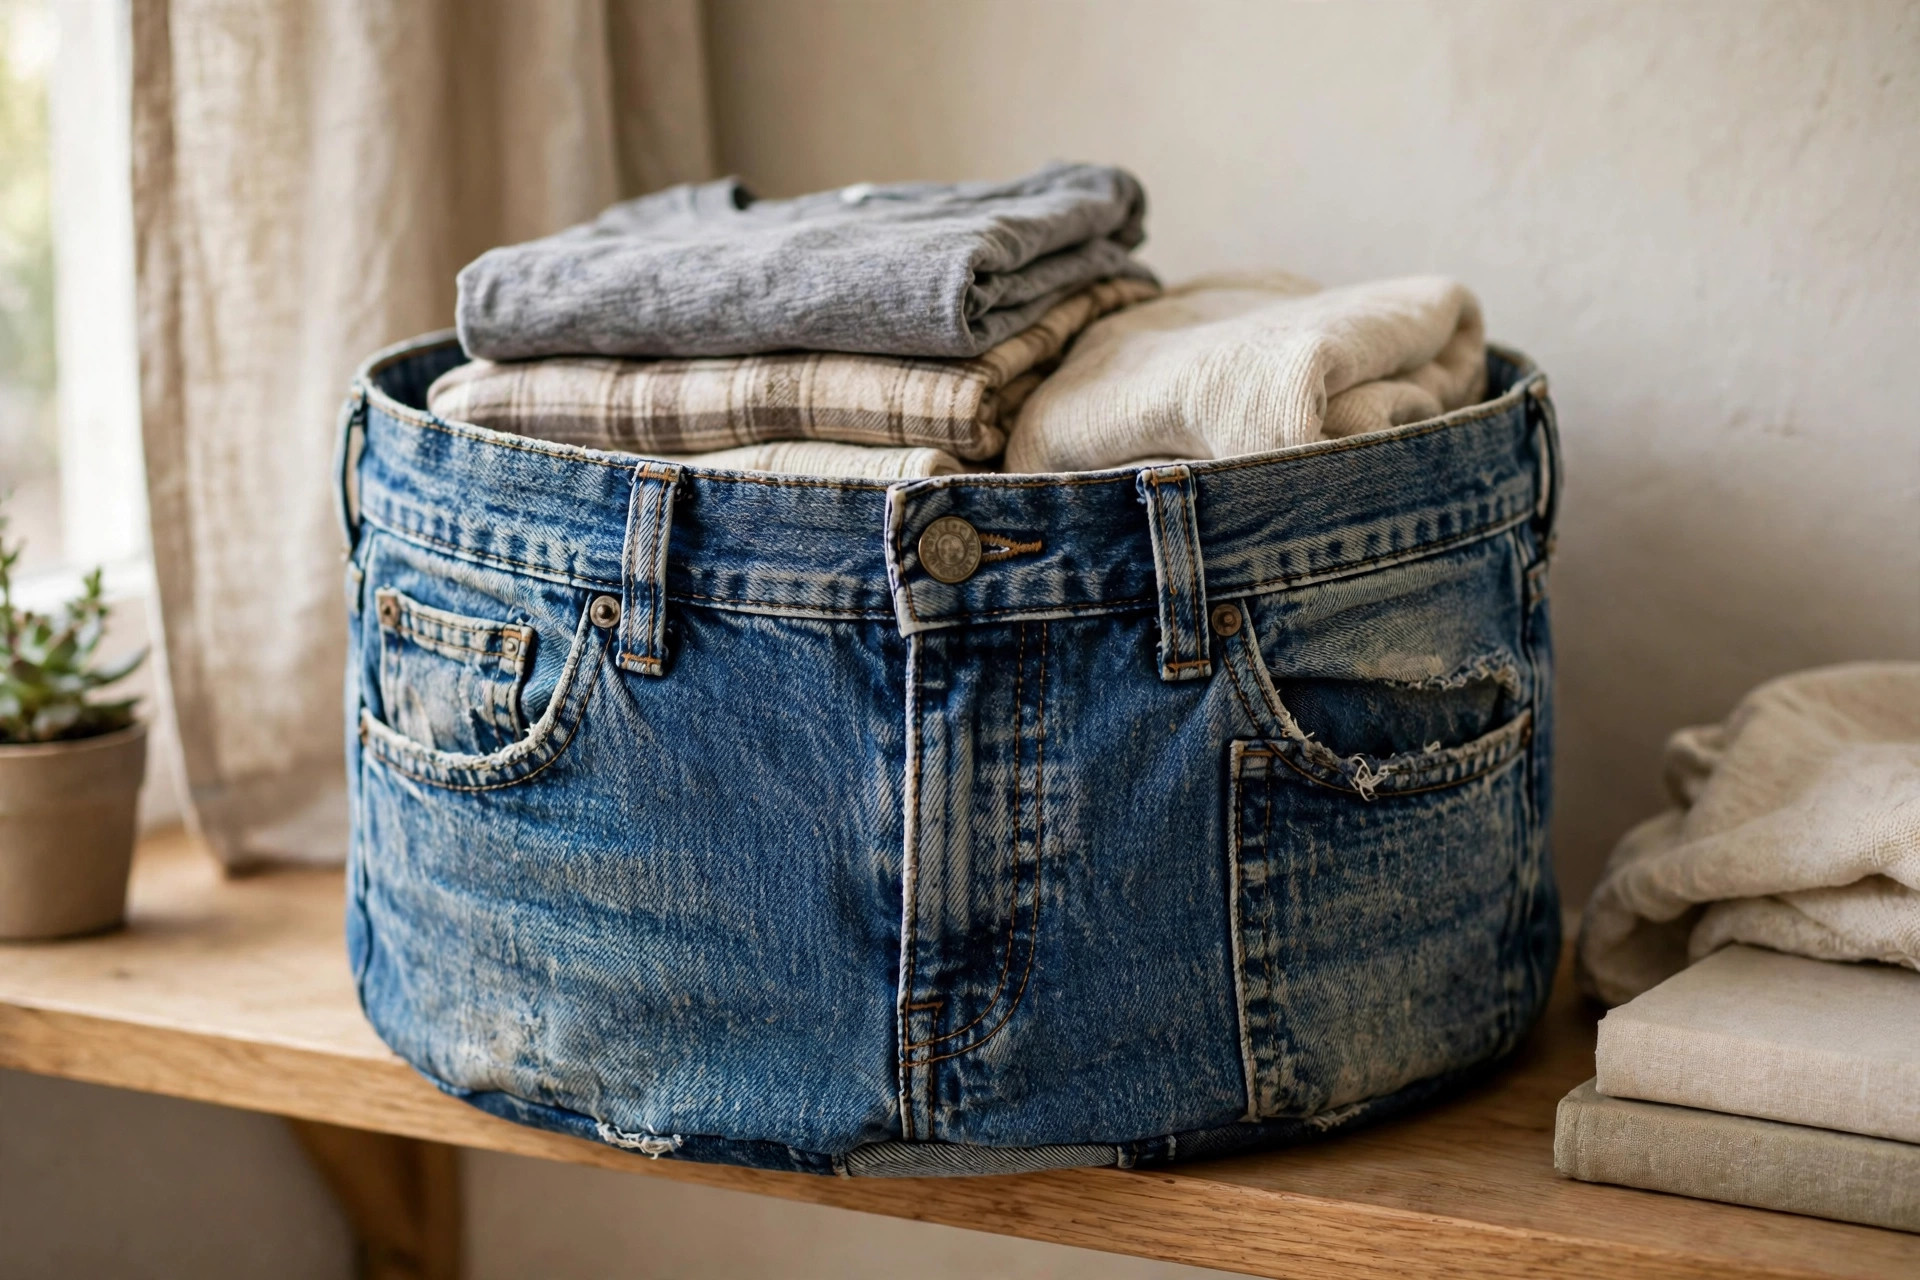
16. The Denim Shorts Basket
I turned old denim shorts into a small basket, sewing the waistband as the rim and the legs as the sides. I used one pair of shorts, kept the pockets intact, and added a felt base for shape. Downside is size. My first shorts basket was tiny, barely holding a phone, so I now use larger shorts or two pairs for a useful size. The larger version holds remotes and chargers by the bed perfectly.
Pro Tip: Use large shorts or two pairs for a denim basket, or it will end up too small to use.
Cost: $0 to $3 per basket | 1 hour | Easy.
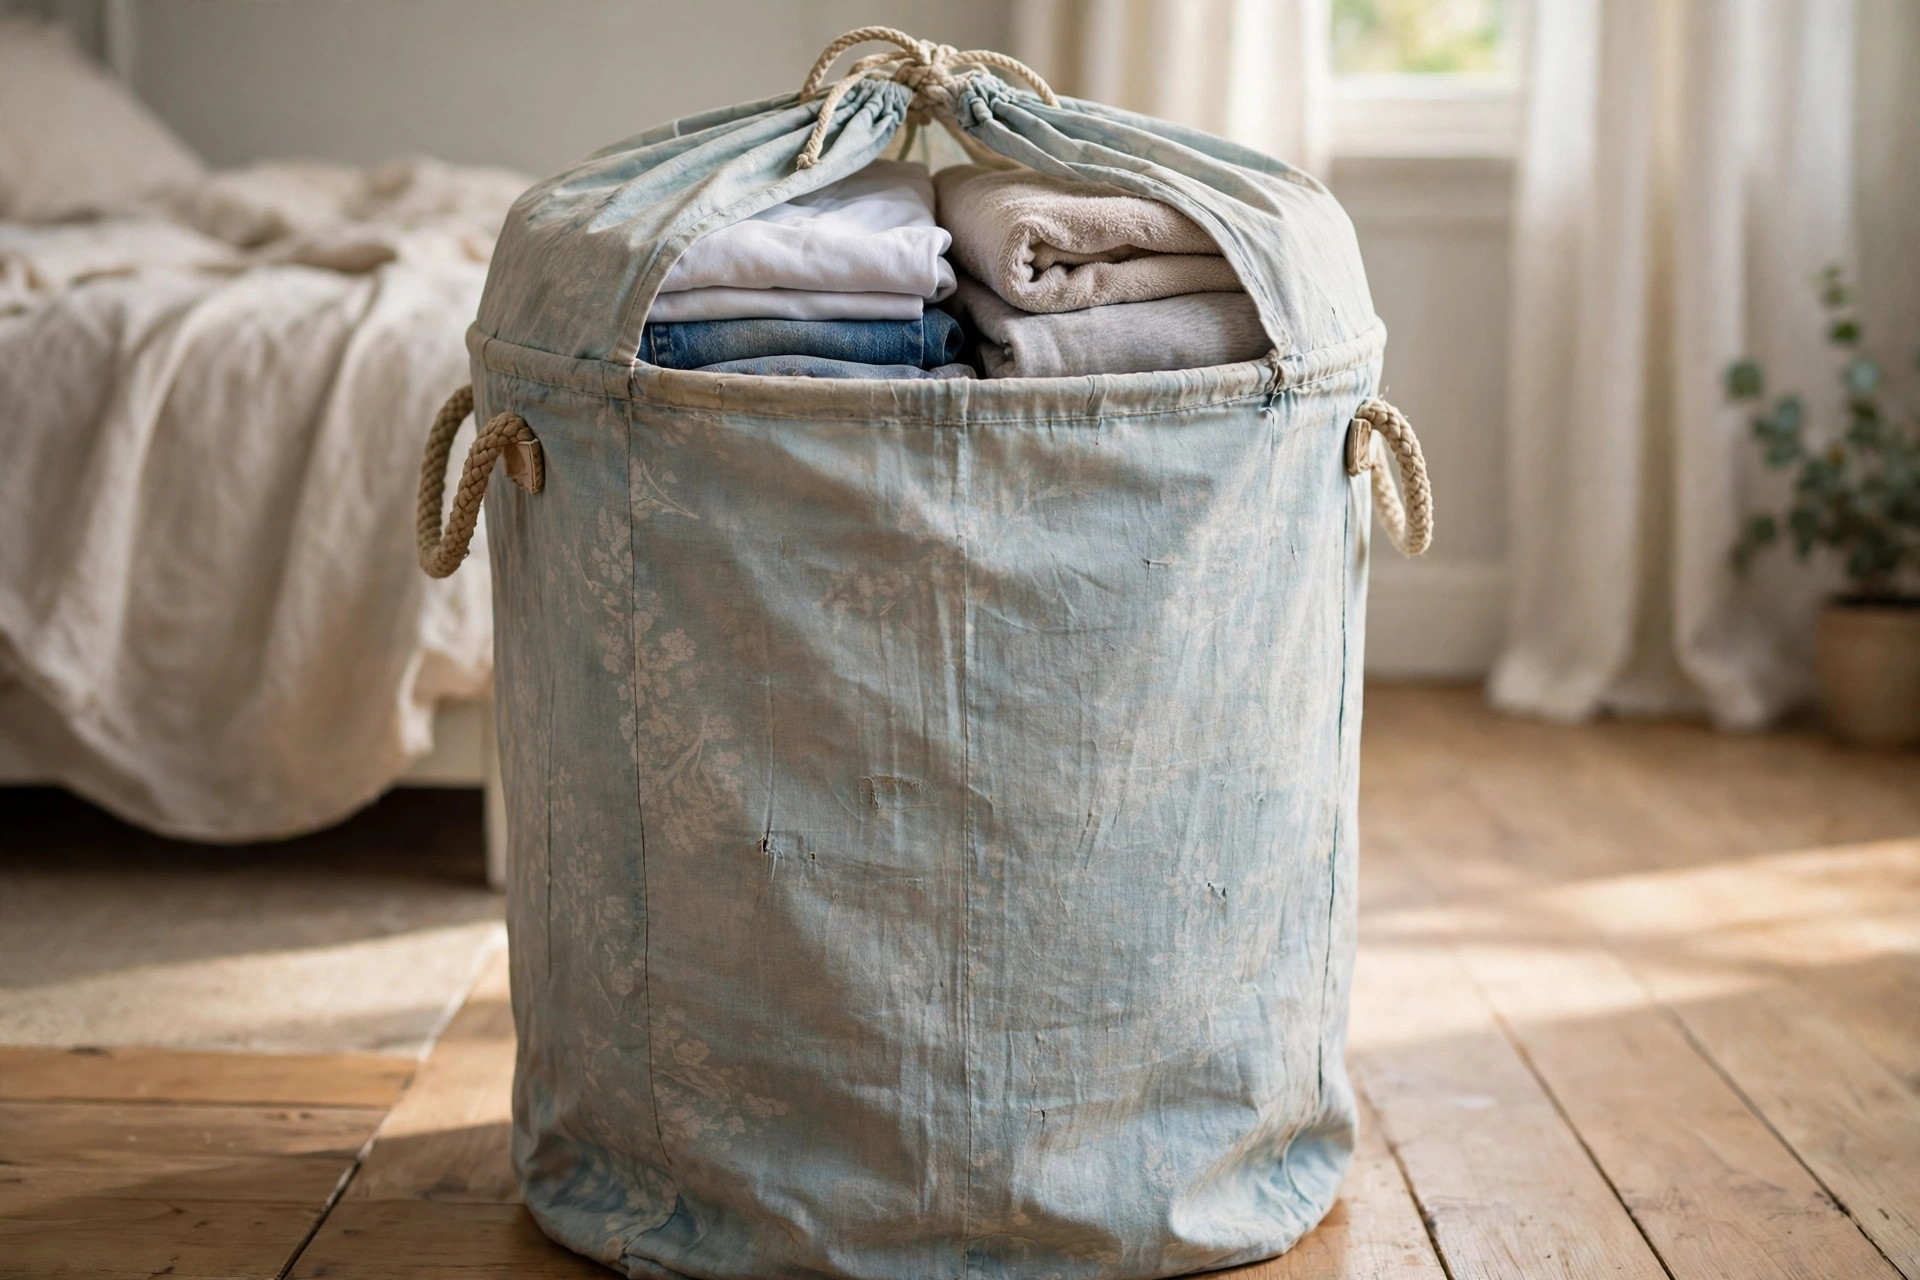
17. The Bed Sheet Basket
I made a laundry basket from an old bed sheet, sewing it into a tall bin with a drawstring top and rope handles. I used a flat sheet, doubled the fabric for strength, and reinforced the handle attachments with extra stitching. Downside is tearing at handles. My first sheet basket tore at a handle because I stitched it to a single layer, so I now stitch handles through two layers plus a reinforcement patch. It carries a full load of laundry without tearing.
Pro Tip: Stitch basket handles through two fabric layers plus a reinforcement patch, or they will tear.
Cost: $0 to $5 per basket | 2 to 3 hours | Medium.
18. The Mixed Fabric Basket
I made a basket from mixed fabric scraps, braiding strips of different colours and textures into a rope, then coiling and stitching it. I used cotton, denim, and flannel mixed, which gave the basket a rustic, patchwork look. Downside is uneven thickness. My first mixed basket wobbled because thick denim strips sat next to thin cotton, so I now pair similar thicknesses in each braid section. The even version stands straight and looks intentional, not accidental.
Pro Tip: Pair similar fabric thicknesses in each braid section, or a mixed basket will wobble.
Cost: $0 to $4 per basket | 3 hours | Medium.

Comparison Table
| Project | Best For | Cost | Effort |
|---|---|---|---|
| Braided t-shirt basket | Remotes, chargers | $0 to $3 | Medium |
| Denim jean basket | Magazines | $0 to $5 | Medium |
| Towel rolled basket | Bathrooms | $0 to $3 | Medium |
| Sweater basket | Bedrooms | $0 to $4 | Easy |
| Bed sheet basket | Laundry | $0 to $5 | Medium |
| Mixed fabric basket | Craft supplies | $0 to $4 | Medium |
Mistakes I Made (So You Don’t Have To)
I skipped washing old clothes before cutting, and my first basket smelled musty within weeks. Wash and fully dry everything first, even clothes that look clean.
I glued a basket that held weight, and it fell apart in a month. Stitch any basket that will hold weight, glue is for decoration only.
I used thin, worn t-shirts for a braided basket, and it stretched out of shape. Use fabric with body left in it, and stitch every coil, not every other one.
I made a basket without measuring my shelf, and it fit nowhere useful. Measure your storage spot before you cut, every time, even for a small basket.
FAQ
How long do fabric baskets from old clothes last?
Mine last a year or more with regular use, if stitched well and washed occasionally. Glued baskets last months, stitched baskets last years, in my experience.
What would you do differently on your first basket?
I would start with a denim basket, not a braided t-shirt one. Denim holds its shape, sews cleanly, and forgives beginner mistakes far better than stretchy t-shirt fabric.
Can I wash a basket made from old clothes?
Yes, most can be hand-washed and air-dried. Avoid machine washing baskets with cardboard bases or glued parts, which will fall apart in water.
Final Thoughts
Old clothes are not waste, they are free fabric with a history. The best baskets in this list are the ones I stitched well, measured first, and actually used every day, not the prettiest ones I made for a photo. Start with denim, stitch every coil, and let an old shirt earn a second life as something useful.
Related article: DIY Storage Solution for Small Spaces
Also read: Ingenious Upcycling Ideas
Read this next: Craft Supply Storage Ideas