24 DIY Photo Display Ideas for Your Home That Turn Memories Into Decor
My photos lived on my phone for years, thousands of them, seen by nobody, until I put up my first photo display and realized what I had been missing. A photo on a wall is a memory you actually live with, not a file you scroll past, and these 24 DIY photo display ideas are the ones I have actually made, lived with, and rearranged as my life changed.
I picked these DIY photo display ideas the way I pick every project here: I made them, hung them, and watched what happened over months. If a display faded, fell down, or made the room look cluttered, it got cut. What stayed are displays for every budget and skill level, from a single string of photos to a full gallery wall, with honest notes on cost, difficulty, and the mistakes I made so your photos stay up and looking good.
Key Takeaways
- Start with one wall and one display type. A single finished display beats three half-finished ones.
- Printed photos need protection from sunlight, or they fade in months. Keep displays out of direct sun or use UV-protective frames.
- Most of these DIY photo display ideas cost under $20, and several need nothing but string, clips, and prints.
- Plan on paper first: trace your frames or prints on kraft paper and tape the templates to the wall before making a single hole.
24 DIY Photo Display Ideas for Your Home That Turn Memories Into Decor
1. String and Clothespin Display
A string and clothespin display is the easiest photo project on this list, and the one I recommend to everyone who says they are not crafty. Stretch a length of twine across a wall, hang prints with small wooden clothespins, and you are done in twenty minutes. I love that it is endlessly changeable: swap photos for seasons, birthdays, or just because you feel like it, without making a single new hole. My first string display held our vacation photos for a year, and swapping them for holiday photos took ten minutes. The downside is that unframed prints curl over time, so use thicker photo paper or matte prints, which hold their shape far better than thin glossy ones.

Cost: $5 to $10 | Time: 20 minutes | Difficulty: Easy
Pro Tip: Use two strings, one above the other, for a fuller look. A single string can look sparse on a big wall.
2. Fairy Light String Display
A fairy light string display is the string display with magic added. Clip photos to a strand of warm fairy lights, and the whole wall glows in the evening, turning ordinary prints into something that feels like a celebration. I put mine up in our bedroom, and it is the first thing I look at every night. The lights make even imperfect phone prints look beautiful, which is a gift for those of us whose photos are mostly candid and slightly blurry. The downside is that fairy lights need power, so plan the outlet location first, and use LED lights, which stay cool and will not warm the prints.

Cost: $10 to $15 | Time: 30 minutes | Difficulty: Easy
Pro Tip: Use warm white lights, not cool white. Warm light flatters skin tones in photos; cool light makes everyone look tired.
3. Three Prints on a String
Three prints on a string is minimalism done right, and it is the display I use for my favorite photos, the ones that deserve space. Three large prints, evenly spaced on a single string, look intentional and calm, which suits a bedroom or a hallway. I rotate the three prints seasonally: spring trips, summer beach days, winter holidays. The downside is that three prints can look lost on a big wall, so this display suits smaller walls or the space above a desk, not a living room feature wall. Scale the display to the wall, not the other way around.

Cost: $5 to $10 | Time: 15 minutes | Difficulty: Easy
Pro Tip: Print all three at the same size. Mixed sizes work in collages, but a three-print display needs uniformity.
4. Polaroid Wooden Wall
A Polaroid wooden wall is pure nostalgia, and it is the display my guests always stop to look at. I mounted a wooden board on the wall and pinned Polaroid-style prints to it in a loose grid, with a small lamp nearby for evening glow. The instant-photo format makes every picture feel like a memory, even recent ones, and the wooden board adds warmth that a plain wall cannot. The downside is that real instant film is expensive, so I print phone photos in Polaroid style at a print shop for a fraction of the cost. Nobody can tell the difference on the wall, and my wallet certainly can.

Cost: $15 to $25 for board and prints | Time: 1 hour | Difficulty: Easy
Pro Tip: Leave gaps in the grid for future photos. A display that grows feels alive; a full one feels finished.
5. Vintage Collage Wall
A vintage collage wall is my favorite way to display old family photos, the ones with faded colors and deckled edges. I arranged them in a loose collage with a few vintage objects, an old camera bag, a ticket stub, a postcard, and the whole wall feels like a memory box opened up. The mix of photos and objects is what makes it work: pure photos can feel like a gallery, but objects make it feel personal. The downside is dust, because a collage with objects collects it, so I dust mine monthly with a soft brush and keep it away from the kitchen, where grease makes dust stick.

Cost: $10 to $20 | Time: 1 to 2 hours | Difficulty: Easy
Pro Tip: Copy old photos and display the copies, not the originals. Sunlight and dust damage originals over time.
6. Rustic Gray Wall Frames
Rustic gray wall frames are the display that made my living room feel finished. I hung a set of framed photos on a gray wall in a salon arrangement, mixing sizes but keeping the frame style consistent, and the gray wall makes the photos pop without competing with them. The frames are simple wood painted gray, which cost almost nothing and look far more expensive than they are. The downside is the planning: a salon wall without a plan looks random, so I traced every frame on kraft paper, taped the templates to the wall, and lived with them for a day before making holes. That day of patience saved me from a wall full of wrong holes.

Cost: $20 to $40 for frames | Time: 2 to 3 hours | Difficulty: Medium
Pro Tip: Hang the center of the whole grouping at eye level, about 57 to 60 inches from the floor. It is the gallery standard for a reason.
7. String Photos with Botanicals
String photos with botanical accents is the display I made for spring, and it never came down. Photos on a string, interspersed with small dried flowers and eucalyptus sprigs, look like a garden party on your wall. The botanicals add texture and color that photos alone cannot, and they smell faintly lovely for the first month. The downside is that dried flowers shed and fade, so I replace the botanicals seasonally and keep the display away from direct sun, which bleaches both flowers and photos. A seasonal refresh takes ten minutes and keeps the display feeling new.

Cost: $8 to $12 | Time: 30 minutes | Difficulty: Easy
Pro Tip: Attach botanicals with small clips, not glue. Clips let you swap them seasonally without damaging the photos.
8. Minimalist Wall Collage
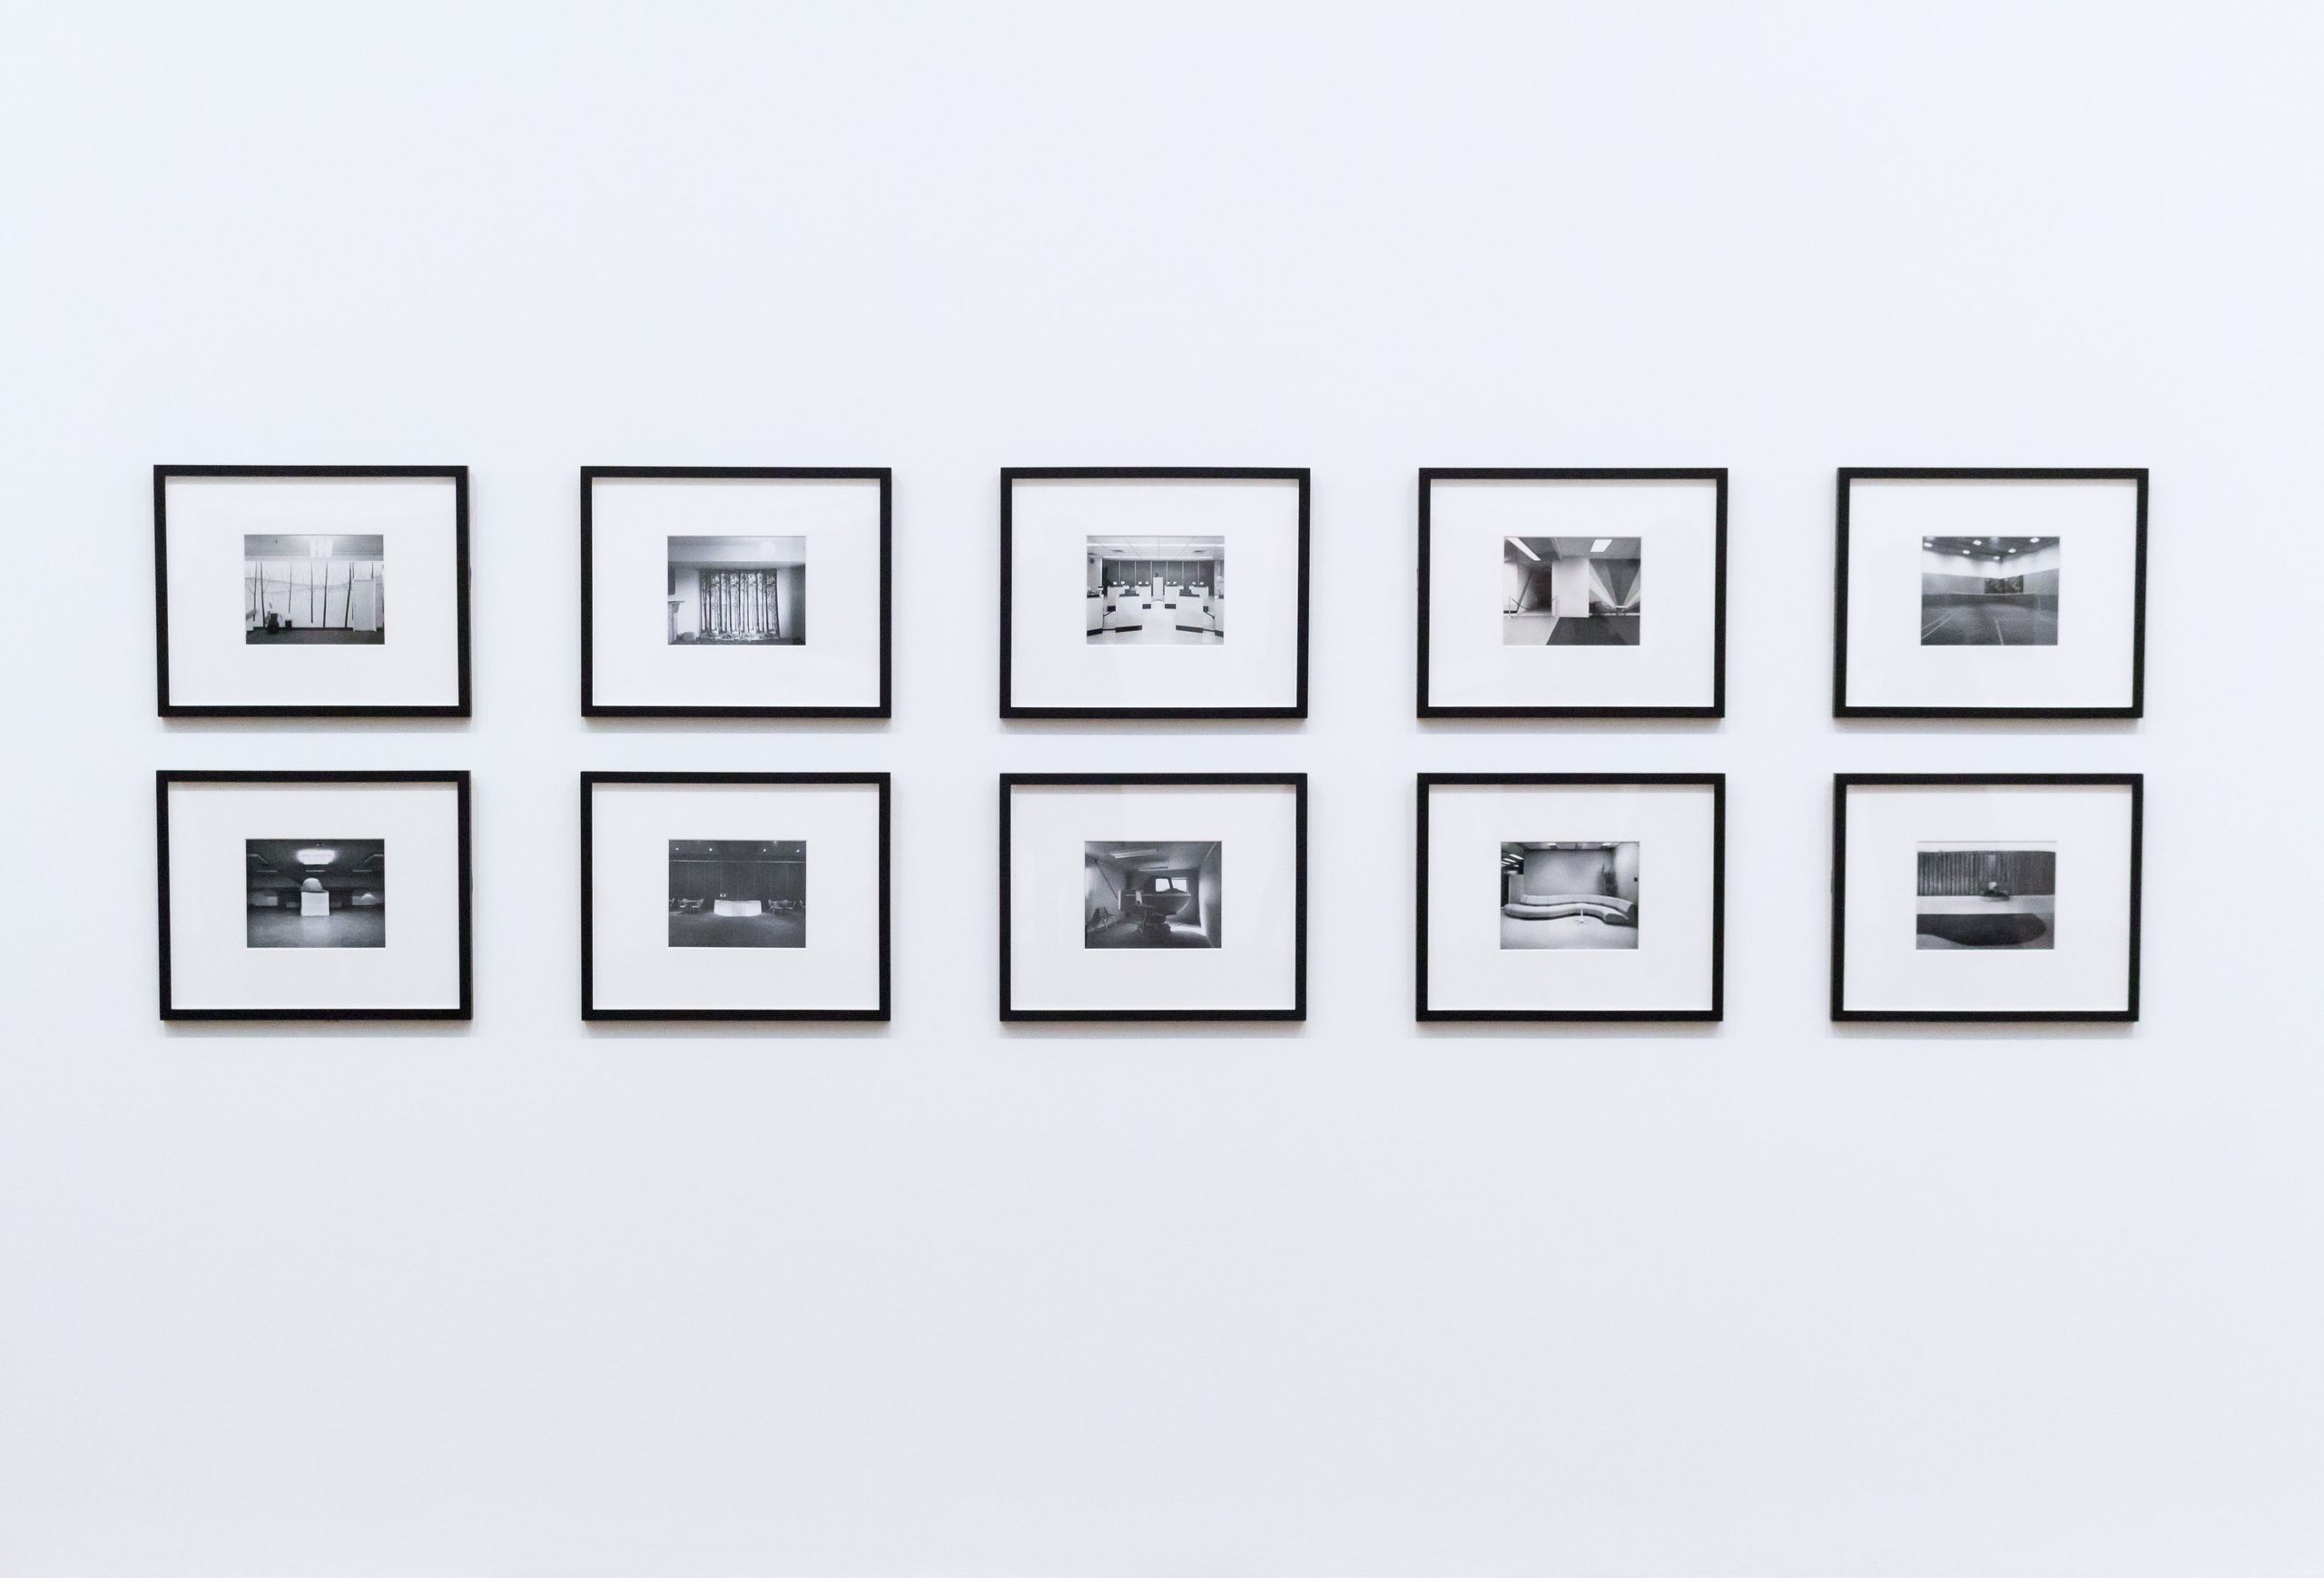
A minimalist wall collage is the display for people who love photos but hate clutter. I arranged a small number of prints with generous white space between them, all in the same size and frame style, and the restraint makes each photo matter more. The wall feels calm instead of busy, which suits our bedroom perfectly. The downside is that minimalism is unforgiving: one crooked frame ruins the whole effect, so I use a level for every single frame and measure twice. It takes longer than a loose collage, but the result looks like a professional hung it, which, in a sense, one did.

Cost: $15 to $30 for matching frames | Time: 2 hours | Difficulty: Medium
Pro Tip: Use a laser level if you have one. A phone level app works, but a laser is faster and more accurate.
9. Taped Photo and Art Wall
A taped photo and art wall is the most casual display on this list, and the one I change most often. Photos and art prints taped directly to the wall in a loose grid, with colorful washi tape as part of the design, look youthful and creative. I love that there are no holes, no frames, and no commitment: peel the tape off and the wall is unchanged. The downside is that tape fails over time, especially in humidity, so I use washi tape, which holds well and removes cleanly, and I replace any peeling tape monthly. It is a display for renters and commitment-phobes, and I mean that as praise.

Cost: $5 to $10 for tape and prints | Time: 30 minutes | Difficulty: Easy
Pro Tip: Use washi tape, not masking tape. Masking tape yellows and leaves residue; washi tape does neither.
10. Gallery Wall with Mixed Frames
A gallery wall with mixed frames is the classic photo display, and it earns the title. I combined different frame styles, wood, black, gold, in one wall grouping, keeping the photo sizes varied but the spacing even at two to three inches. The mix looks collected over time rather than bought in one trip, which is exactly the feeling I wanted. The downside is that mixed frames can look chaotic if the spacing is uneven, so even spacing is the rule that holds the whole wall together. Measure the gaps, even if the frames themselves are gloriously mismatched.

Cost: $30 to $60 for frames | Time: 3 to 4 hours | Difficulty: Medium
Pro Tip: Start with the largest frame slightly off-center and build outward. A centered large frame makes the wall feel stiff.
11. Blue Wall Frames
Blue wall frames are my boldest display, and the one that taught me color matters as much as photos. I painted a wall a deep blue and hung framed photos in white and gold frames, and the contrast makes every photo glow. The blue wall is dramatic, but the photos keep it personal instead of theatrical. The downside is commitment: painting a wall blue is a weekend project, and repainting it is another one, so be sure about the color before you commit. I tested three blue swatches on the wall for a week before choosing, and I am glad I did, because my first choice looked purple in evening light.
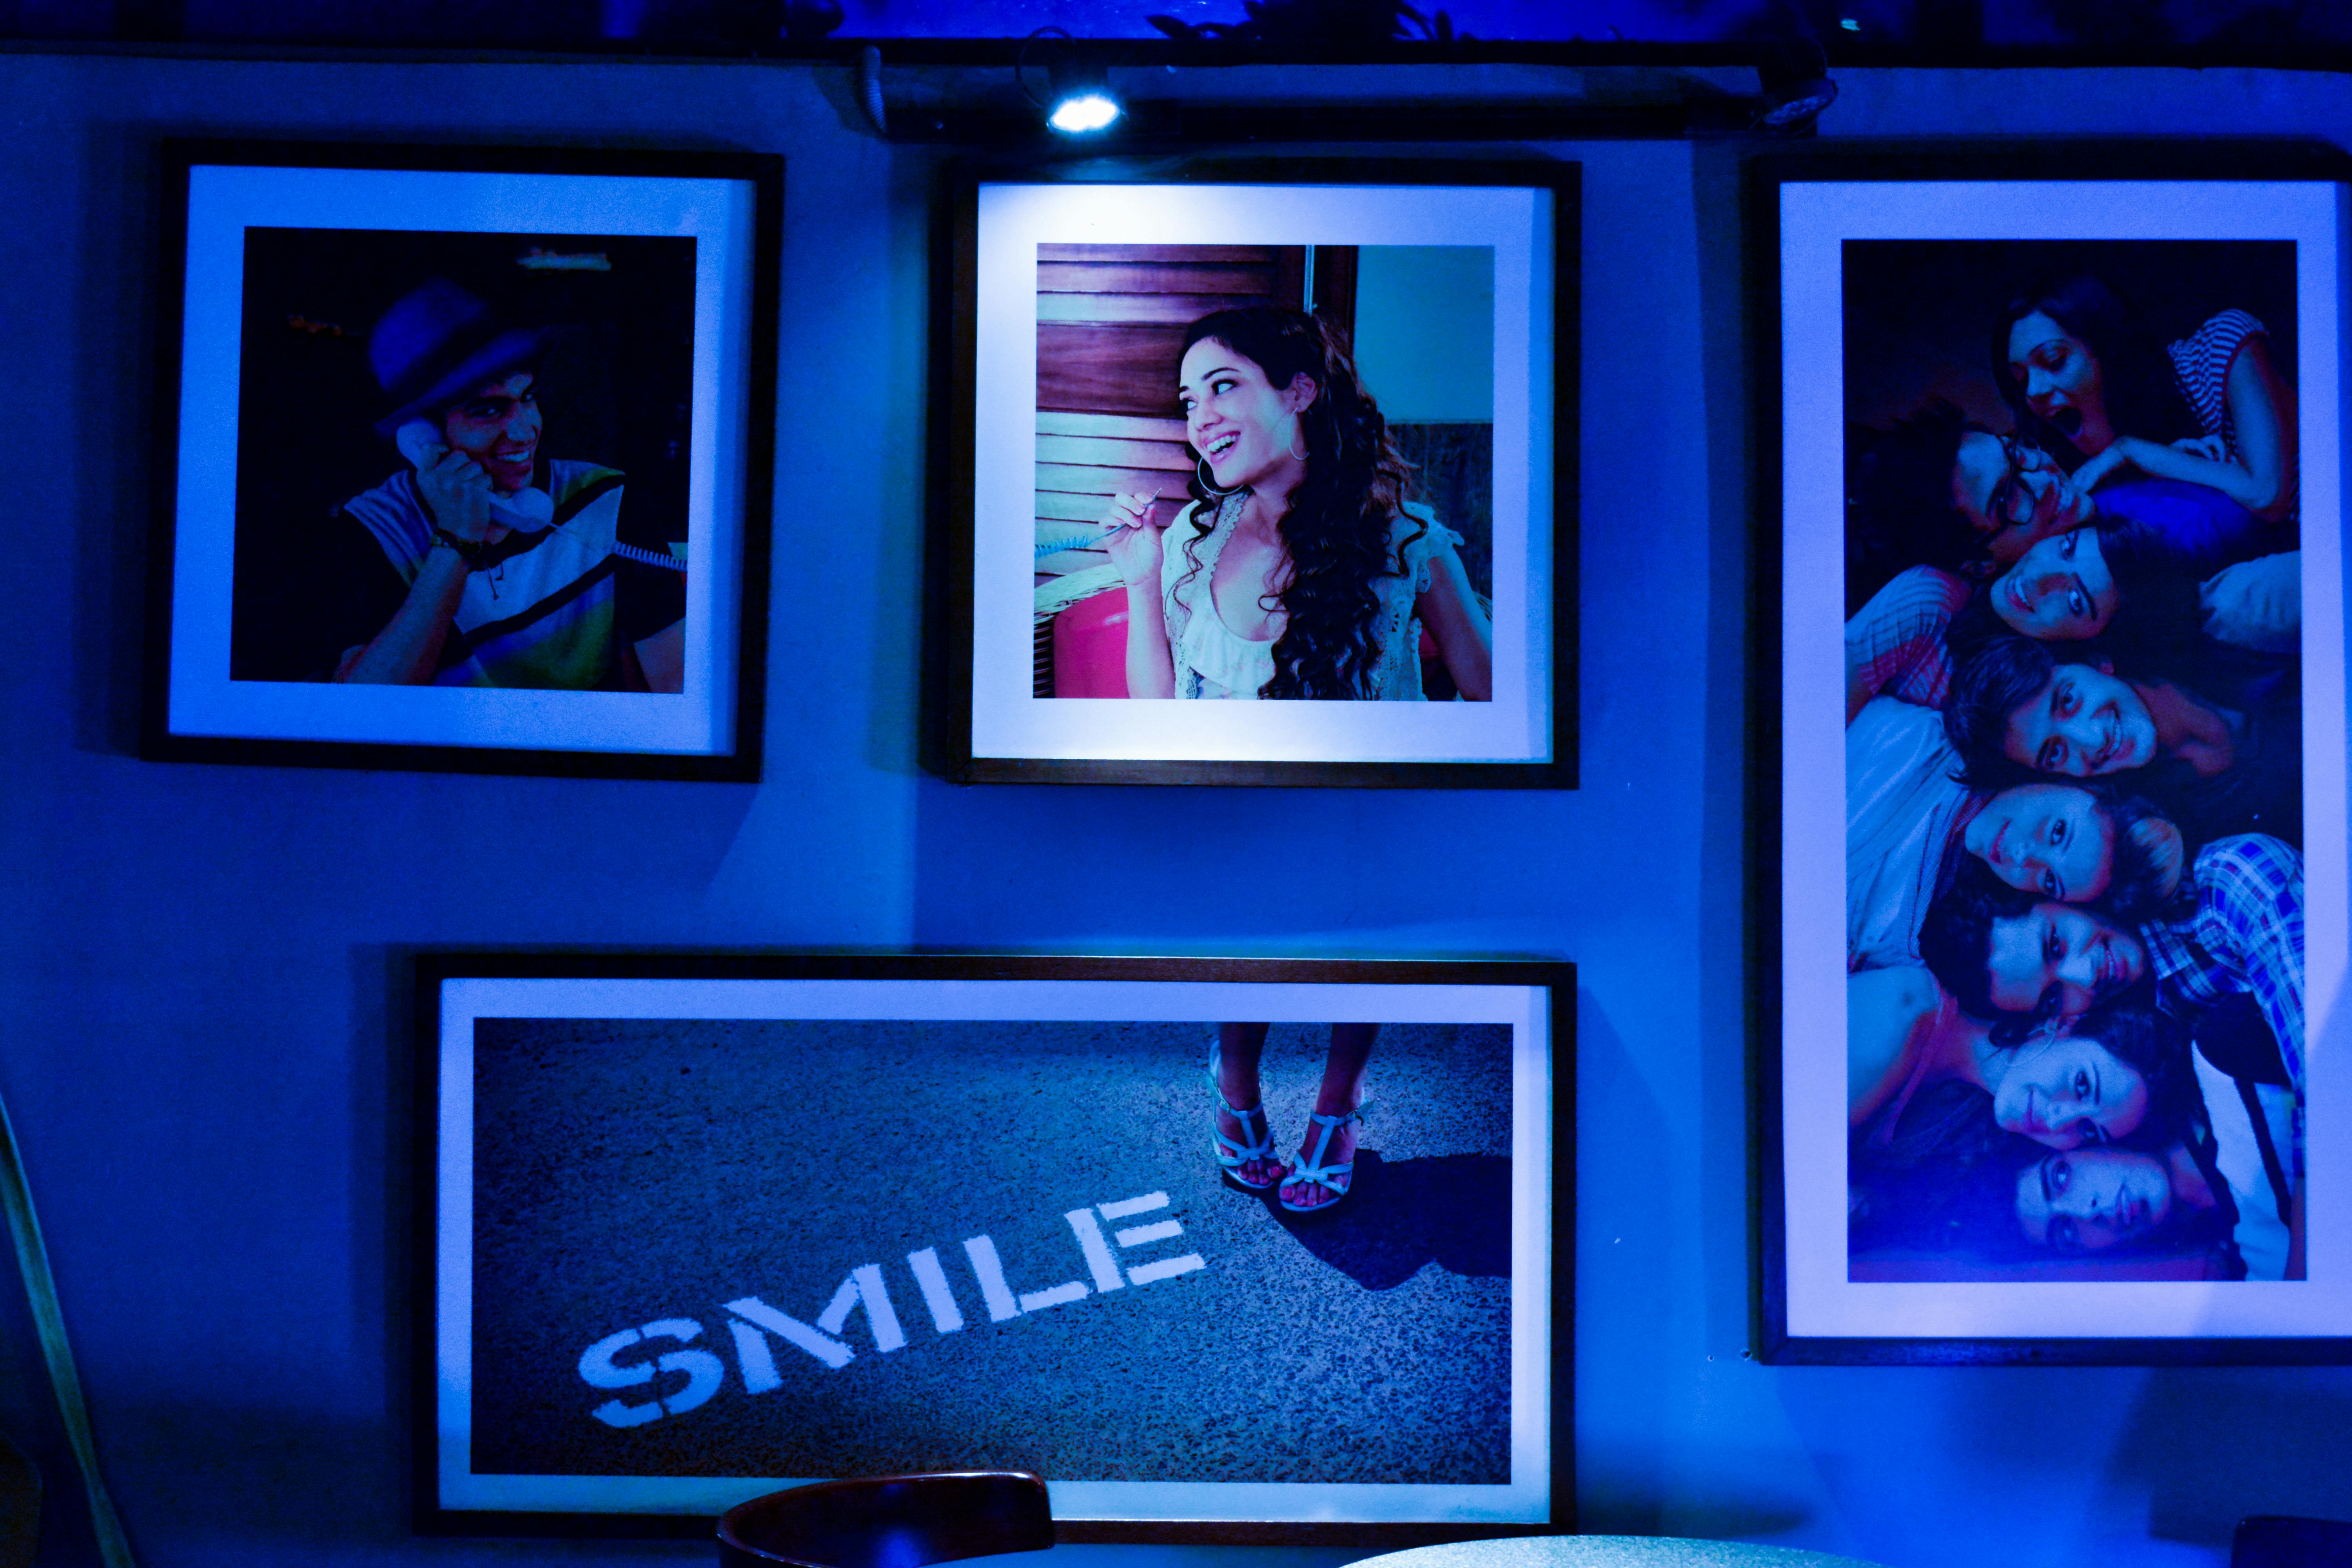
Cost: $25 to $40 for paint and frames | Time: 1 weekend | Difficulty: Medium
Pro Tip: Test paint swatches in morning and evening light. Wall color changes dramatically with the light.
12. Vintage Frames on a Dark Green Wall
Vintage frames on a dark green wall is the moodiest display I own, and my favorite for old black-and-white photos. The dark green makes black-and-white prints look rich and timeless, and the vintage frames, found at thrift stores for a few dollars each, add history. I hung them with a small bulb light above, which creates a gallery feeling in an ordinary hallway. The downside is that dark walls need light, or the display disappears in the evening, so the picture light is not optional, it is essential. One small light transformed the whole wall from gloomy to gorgeous.

Cost: $20 to $40 for thrifted frames and a light | Time: 2 to 3 hours | Difficulty: Medium
Pro Tip: Thrift stores sell sturdy old frames for a few dollars. A coat of paint makes mismatched frames look like a set.
13. Travel Map Pin Wall
A travel map pin wall is the display that turns trips into decor. I pinned a large map to a corkboard, marked every place we have traveled with a pin and a small photo, and the wall became a visual travel diary. Guests love finding their own city on it, and planning the next trip starts with staring at the empty spaces. The downside is size: a map wall needs a big wall to work, and small maps look cramped with photos, so use the largest map you can fit. My first version used a small map, and the pins crowded each other within a year.

Cost: $15 to $25 for map, board, and pins | Time: 1 to 2 hours | Difficulty: Easy
Pro Tip: Use a corkboard behind the map. Pins in plain drywall fall out and leave holes everywhere.
14. Garden String Display
A garden string display is the outdoor version of the string display, and it is perfect for parties. I strung photos between trees in our garden for a birthday, using clothespins and twine, and the photos swaying in the breeze became part of the party decor. The display lasted the whole summer because I used laminated prints, which handle rain and sun far better than regular prints. The downside is weather, obviously: regular prints last one rainstorm, so laminate or use a covered porch. My laminated set survived three months outdoors and still looks good.
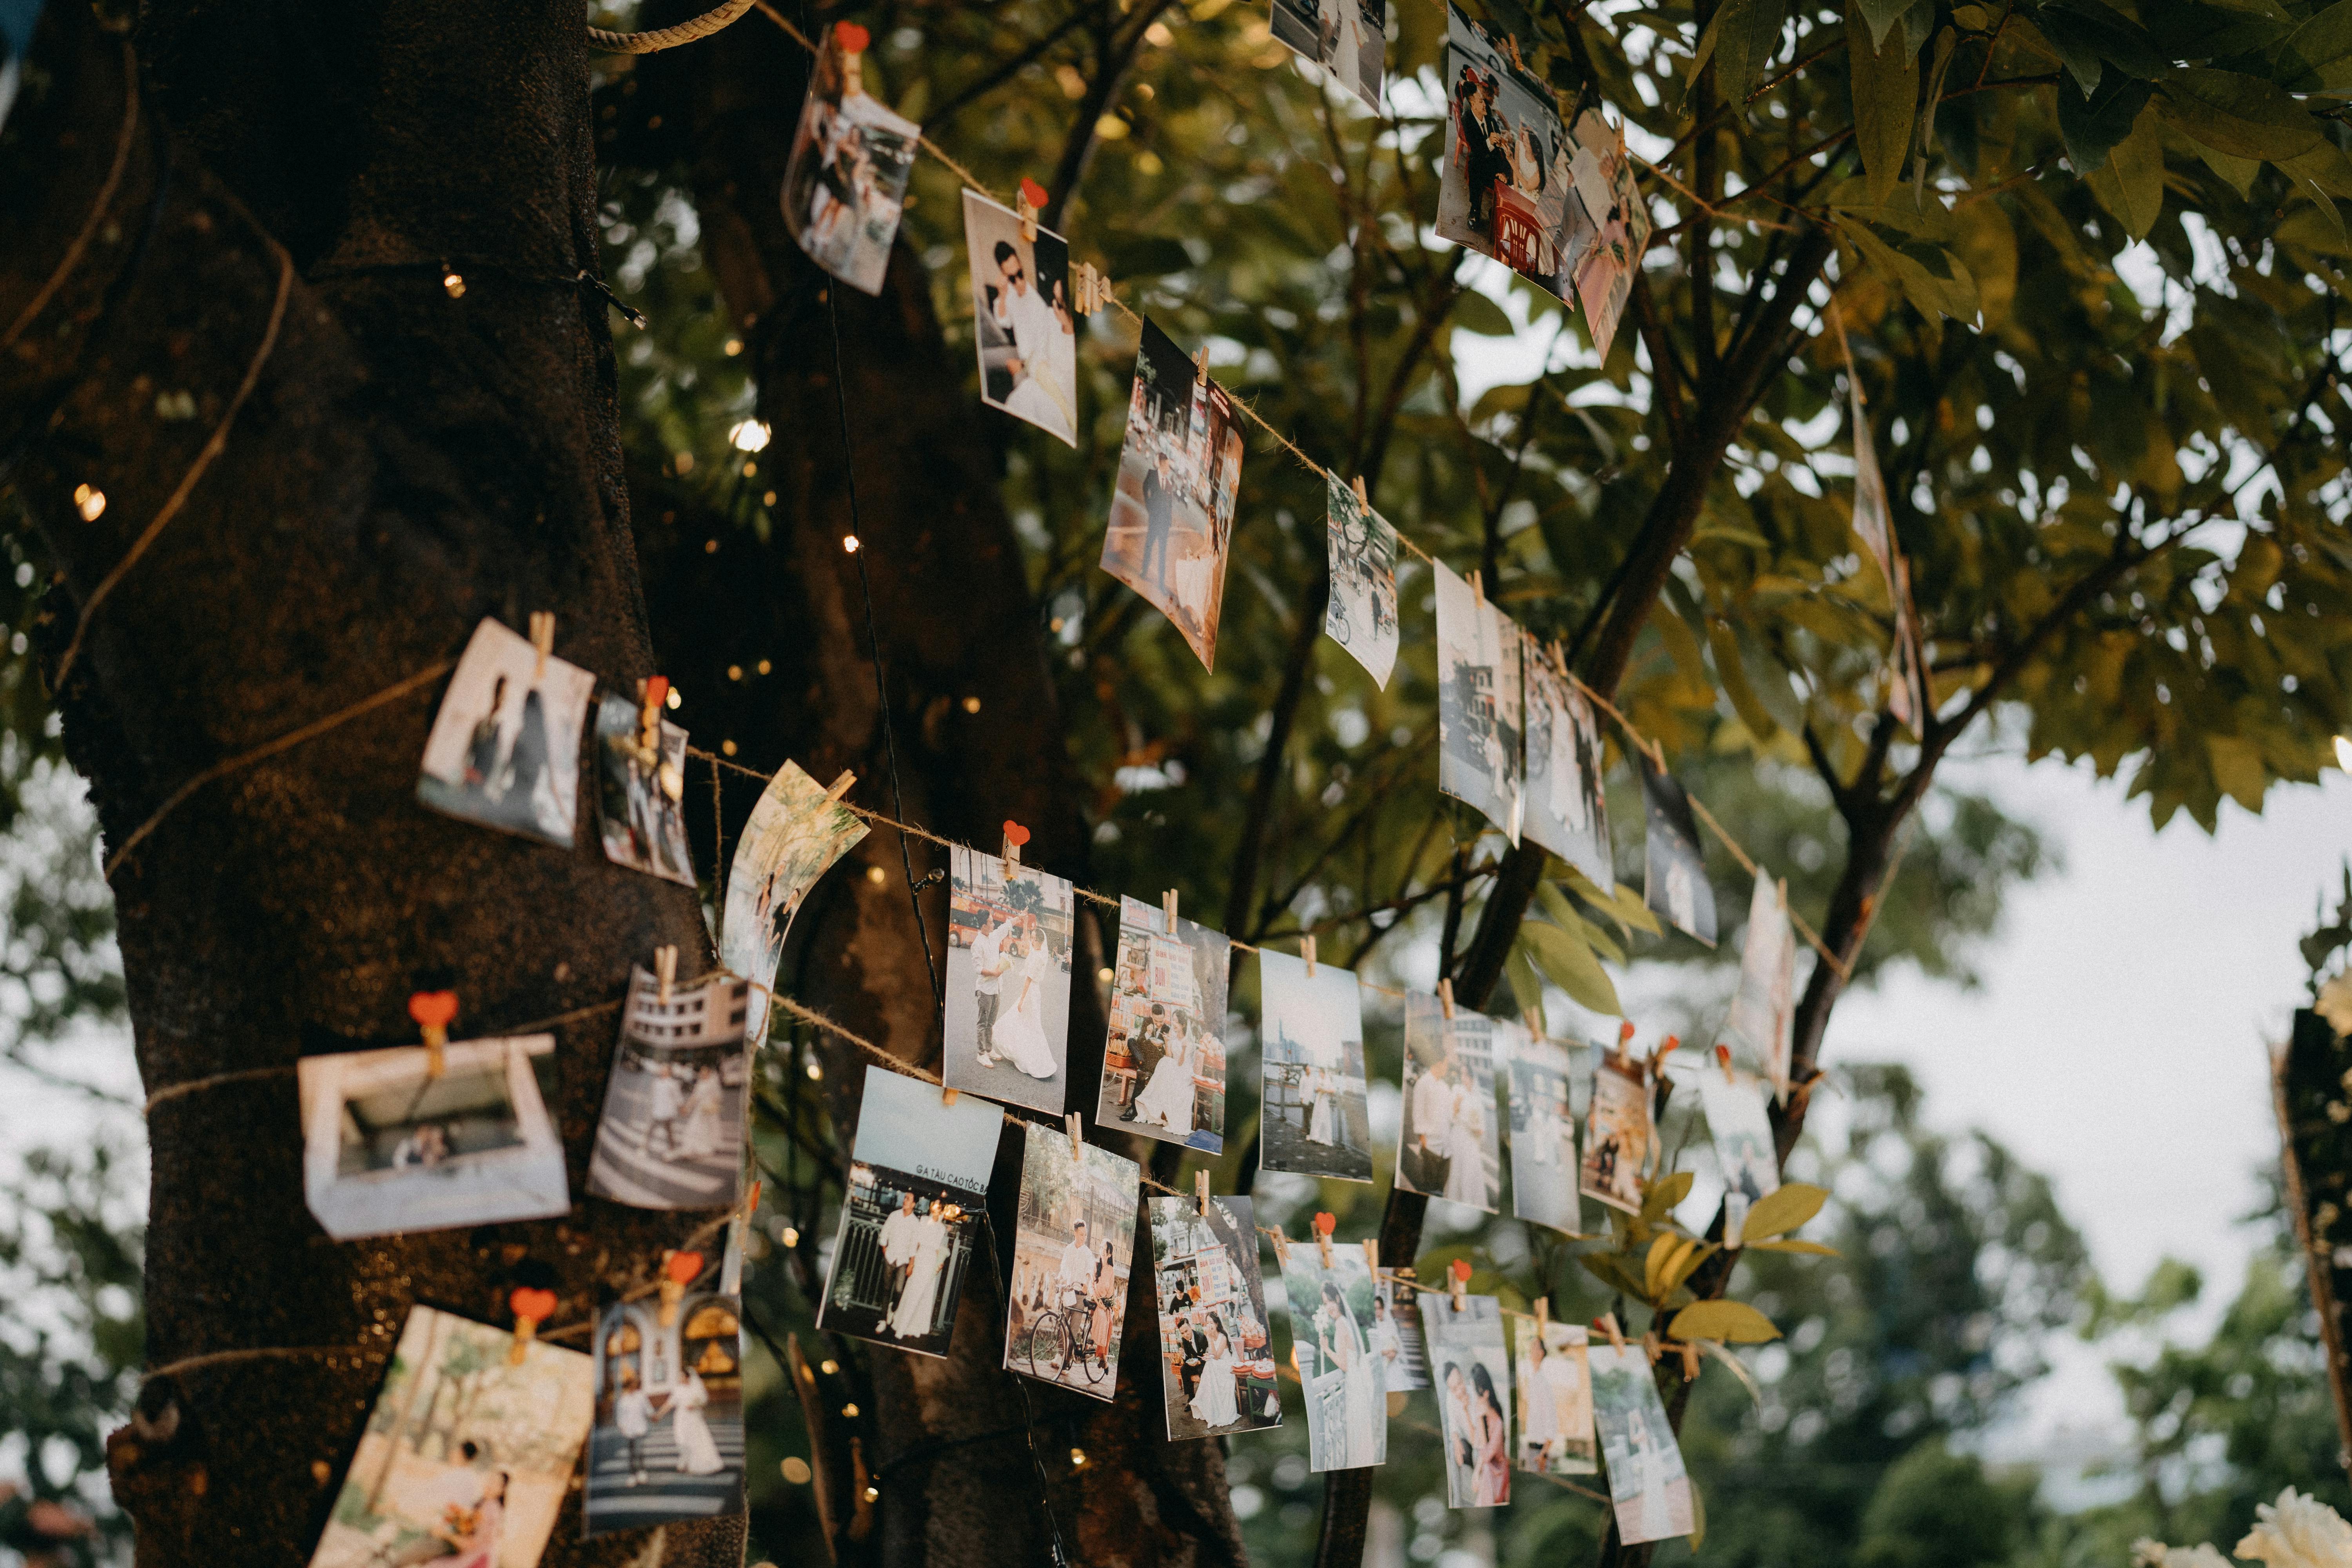
Cost: $10 to $15 including lamination | Time: 30 minutes | Difficulty: Easy
Pro Tip: Laminate outdoor prints. It costs little and triples their life outside.
15. Hand-Pinned Wall Display
A hand-pinned wall display is the simplest gallery I own: photos pinned directly to the wall with decorative pins, no frames, no string, just photos and pins. It looks like a photographer’s studio wall, which I love, and it is the easiest display to update: pull a pin, swap a photo, done. The downside is holes: every pin leaves a small hole, so this display suits a wall you do not mind marking, or a corkboard panel mounted on the wall. I use a corkboard panel now, and the wall behind it stays perfect.

Cost: $5 to $15 | Time: 20 minutes | Difficulty: Easy
Pro Tip: Use a corkboard panel if you rent. It gives you the pinned look with zero wall damage.
16. Moodboard Display
A moodboard display is the creative’s photo wall: photos, notes, ticket stubs, and color swatches pinned to a board in a loose, inspiring arrangement. I keep mine in my workspace, and it changes monthly as projects change. The moodboard is less a finished display and more a living one, which suits creative work perfectly. The downside is clutter: a moodboard without editing becomes a junk board, so I limit mine to one board and remove something every time I add something. One in, one out keeps it inspiring instead of overwhelming.

Cost: $10 to $20 for a board and pins | Time: 30 minutes | Difficulty: Easy
Pro Tip: Use one board only. Two boards become four, and four become a wall of clutter.
17. Loft Concrete Wall Display
A loft concrete wall display is the industrial version of the photo wall, and it suits instant photos perfectly. I pinned a collection of instant prints directly to a gray concrete-look wall in our loft space, and the gray background makes the white instant-photo borders pop. The contrast is striking, and the informal pinning suits the instant format. The downside is that concrete walls are hard to pin into, so I mounted a thin cork panel painted gray over the concrete, which gives me the look with easy pinning. The panel is invisible behind the photos, and the wall stays undamaged.

Cost: $15 to $25 for a cork panel and prints | Time: 1 hour | Difficulty: Easy to medium
Pro Tip: Paint the cork panel to match the wall. A matching panel disappears; a brown one announces itself.
18. Studio Collage Board
A studio collage board is the photographer’s display: a large board covered in prints, arranged in a grid that looks effortless and takes real planning. I built mine from foam board and covered it in linen, then arranged prints in a loose grid with small gaps. The board leans against the wall on a desk, so it needs no holes at all, which makes it perfect for renters. The downside is size: a collage board big enough to matter is heavy and awkward to move, so build it where it will live, not in another room. My first board was built in the garage and barely fit through the door.

Cost: $15 to $25 | Time: 2 hours | Difficulty: Easy to medium
Pro Tip: Cover foam board in fabric before pinning. Fabric hides pin holes and looks far more finished.
19. Workspace Photo Collage
A workspace photo collage is the display above my desk, and it is the one that makes work feel personal. I combined photos with a small digital display that cycles through more photos, so the wall shows a few favorites permanently and hundreds more in rotation. The mix of print and screen sounds odd, and it works beautifully, because the screen keeps the display fresh without any effort. The downside is glare: a screen near a window reflects badly, so I placed mine on a wall opposite the window, and the problem vanished. Position matters more than technology here.

Cost: $30 to $80 for a small digital frame | Time: 1 hour | Difficulty: Easy
Pro Tip: Set the digital frame to change photos slowly, once an hour. Fast slideshows distract; slow ones inspire.
20. Creative Wall Display with Posters
A creative wall display with posters mixes photos with art posters, quotes, and prints, and the mix is what makes it feel like a real person’s wall rather than a gallery. I combined family photos with travel posters and a favorite quote print, keeping the frame colors consistent so the variety feels intentional. The downside is balance: too many posters and the photos disappear, too many photos and the posters feel random, so I use a rough rule of two photos to one poster. That ratio keeps the wall personal without losing the artistic variety.

Cost: $20 to $40 | Time: 2 hours | Difficulty: Medium
Pro Tip: Keep frame colors consistent across photos and posters. Consistent frames unify wildly different content.
21. Hands-On Collage Wall
A hands-on collage wall is the display I build with my family, and the process is half the joy. We spread prints on the floor, arrange and rearrange them together, and then transfer the arrangement to the wall, one photo at a time. The kids pick their favorites, I pick mine, and the wall ends up being a real family project instead of my project. The downside is disagreement: everyone has opinions about placement, so I give each person one veto and final say rotates. The veto rule keeps the peace and the wall gets finished, which is the real victory.

Cost: $10 to $20 | Time: 2 hours | Difficulty: Easy
Pro Tip: Photograph the floor arrangement before transferring it. The photo is your map when the wall version gets confusing.
22. Vintage Photos Nostalgic Wall
A vintage photos nostalgic wall is my tribute to old family pictures, displayed in a simple arrangement that lets the photos speak. I used plain black frames and white mats, which make faded old photos look intentional instead of worn, and the wall feels like a small museum of our family. The mats are the secret: white mats give old photos breathing room and make them look far better than they do unmatted. The downside is fading, because old photos are already fragile, so this wall is on an interior wall away from windows, and I display copies, keeping originals in an album.

Cost: $20 to $40 for frames and mats | Time: 2 hours | Difficulty: Easy
Pro Tip: Use white mats for old photos. Mats make faded photos look deliberate instead of damaged.
23. Arranging Art Photos Display
An arranging art photos display is the one I change most often, because it is really a rotating exhibition. I keep a set of prints and art photos that I rearrange on a light wall every season, treating the wall like a gallery that changes. The current arrangement is minimal, with lots of space, and it makes the room feel fresh every time I change it. The downside is holes: frequent rearranging means frequent holes, so I use picture ledges instead of nails for this wall. Ledges let me swap and rearrange without tools, and the wall stays perfect.

Cost: $15 to $30 for picture ledges | Time: 1 hour | Difficulty: Easy
Pro Tip: Picture ledges are the renter’s best friend. They hold frames securely and swap in seconds.
24. Memorabilia Shelf Display
A memorabilia shelf display is the final idea, and the one that holds more than photos: a shelf with framed photos alongside small objects, a ticket, a shell, a tiny trophy, that tell the story behind the pictures. The objects give context that photos alone cannot, and guests always ask about them, which starts the stories. I keep one shelf for travel memories and one for family milestones, and both get rearranged when new memories arrive. The downside is dust and clutter, so I limit each shelf to five objects plus photos, and dust weekly. Five objects tell a story; fifteen tell a mess.

Cost: $10 to $25 for a shelf | Time: 1 hour | Difficulty: Easy
Pro Tip: Limit each shelf to five objects plus photos. Editing is what separates a display from a storage shelf.
Which Photo Display Fits Your Home?
| Display type | Best for | Cost | Commitment |
|---|---|---|---|
| String and clips | Renters, frequent changes | Under $15 | None, no holes |
| Framed gallery wall | Living rooms, forever homes | $20 to $60 | High, many holes |
| Boards and ledges | Renters, rotating displays | $15 to $30 | Low, no holes |
| Painted feature wall | Bold rooms, big impact | $25 to $40 | High, repainting needed |
Mistakes I Made (So You Don’t Have To)
Hanging photos in direct sunlight. My first gallery wall faced a south window, and within a year the prints had faded visibly. Now every display goes on an interior wall or away from direct sun, and I display copies of anything precious. For more beginner-friendly home projects, this related article on tote bags from old t-shirts uses the same protect-your-work mindset.
Making holes before planning. My early walls were full of holes from frames I moved three times. Now I trace templates on kraft paper and live with them for a day before drilling. One day of patience saves a wall full of patches.
Displaying originals instead of copies. I lost one irreplaceable family photo to sunlight before I learned to display copies and keep originals safe. Copies look identical on the wall, and originals stay safe in an album.
Frequently Asked Questions
What is the easiest DIY photo display idea for a beginner? A string and clothespin display, without question. Twenty minutes, under ten dollars, no holes, and you can change the photos whenever you like.
How do I hang photos without damaging the wall? Use strings, picture ledges, washi tape, or adhesive strips rated for the weight. For more wall ideas that need no nails, also read our paper wall decor ideas, which use the same damage-free approach.
How do I keep a gallery wall from looking cluttered? Keep frame colors consistent, spacing even at two to three inches, and the center of the grouping at eye level. For keeping your craft supplies tidy between projects, read this next for storage baskets from old clothes.
Final Thoughts
The best DIY photo display ideas do one beautiful thing: they take memories off your phone and put them where your life actually happens. Start with one string of photos tonight, or one small gallery wall this weekend, and let it grow from there. Your walls will tell your story, your guests will stop and look, and you will wonder why your favorite photos lived in your pocket for so long. Mine did, and now they live on my walls, where they belong.