18 Toy Storage Ideas for Small Rooms That Kids Can Actually Use
Introduction
My playroom is a corner of a small living room, about 3 metres by 2 metres, with two kids and far too many toys. These toy storage ideas are the ones I tested there over two years, keeping only systems that kids could actually use, that survived daily play, and that did not turn the room into a warehouse.
How I picked these: I kept only ideas that fit a small room, that a child aged 3 to 8 could reach and put back, that I could set up in under an hour, and that were still working a month later. I skipped tall shelves kids cannot reach, systems that needed a whole playroom, and pretty baskets that hid everything and made kids dump them out.
Key Takeaways
- Low and open beats high and closed for kids, if they cannot see it, they will not play with it or put it back.
- One bin per toy type, with a picture label, works better than one big toy box for everything.
- Rotate toys, do not display them all at once, or a small room will feel crowded and kids will play with nothing.
- Put away time needs to be five minutes, not twenty, or kids will not do it, and neither will you.
18 Toy Storage Ideas
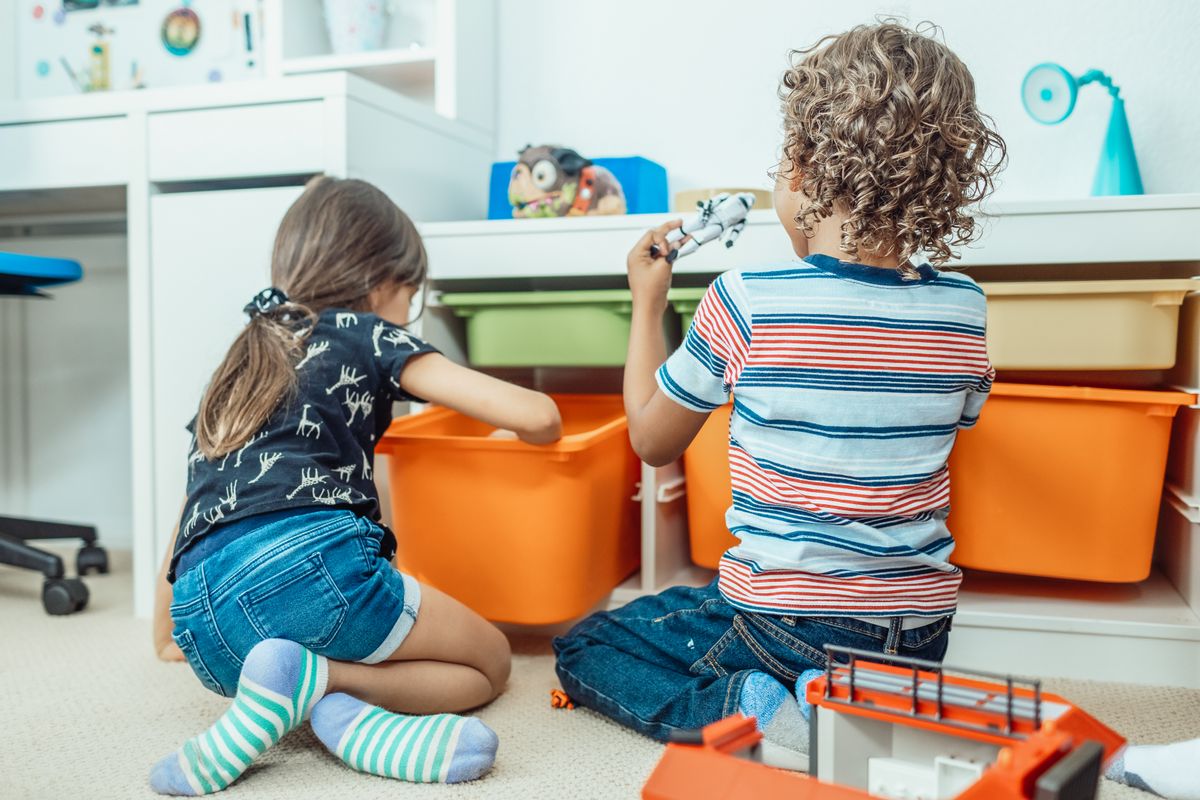
1. Low Open Bins, One Per Toy Type
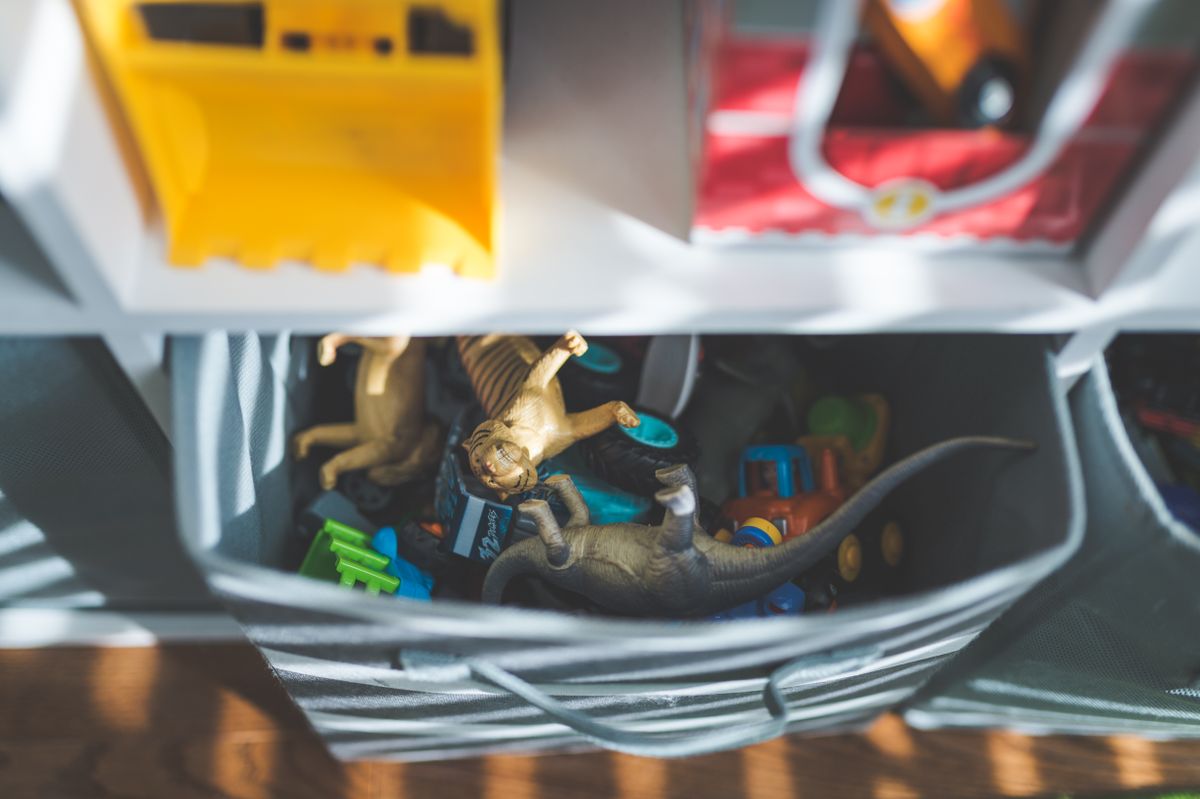
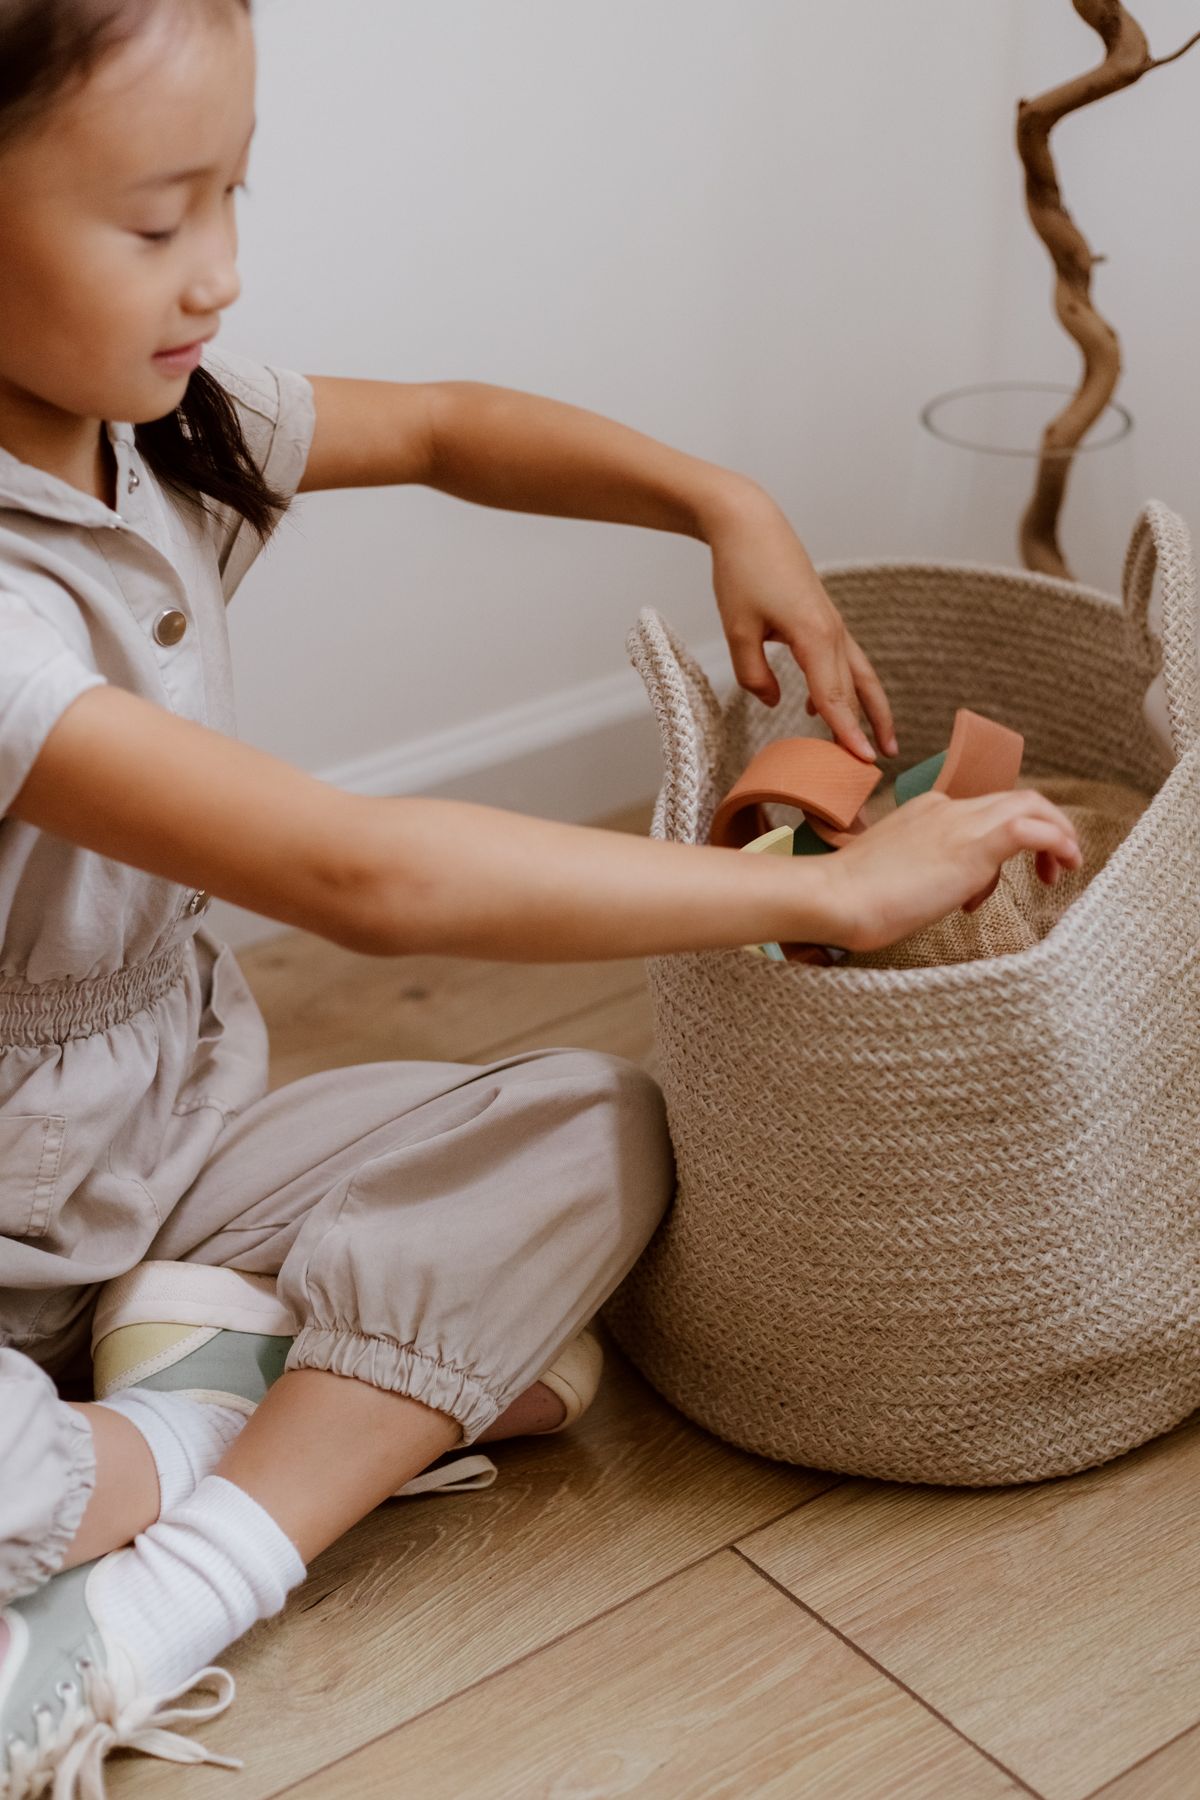
I bought four low open bins, about 30 cm wide, and put them on the floor against the wall: cars in one, dolls in one, blocks in one, and animals in one. Kids can see everything, grab one bin, play, and put it back, without emptying a big box. I chose bins with no lids, because lids slow kids down and get lost.
The downside is that open bins look messy from across the room, so I chose bins in one colour, navy, which looks tidier than mixed colours.
Pro Tip: Put a picture label on each bin, not just a word, so pre-readers can put toys back correctly.
Cost: $20-$30 for four | Time: 20 minutes | Difficulty: Easy
2. A Rolling Cart for Art Supplies
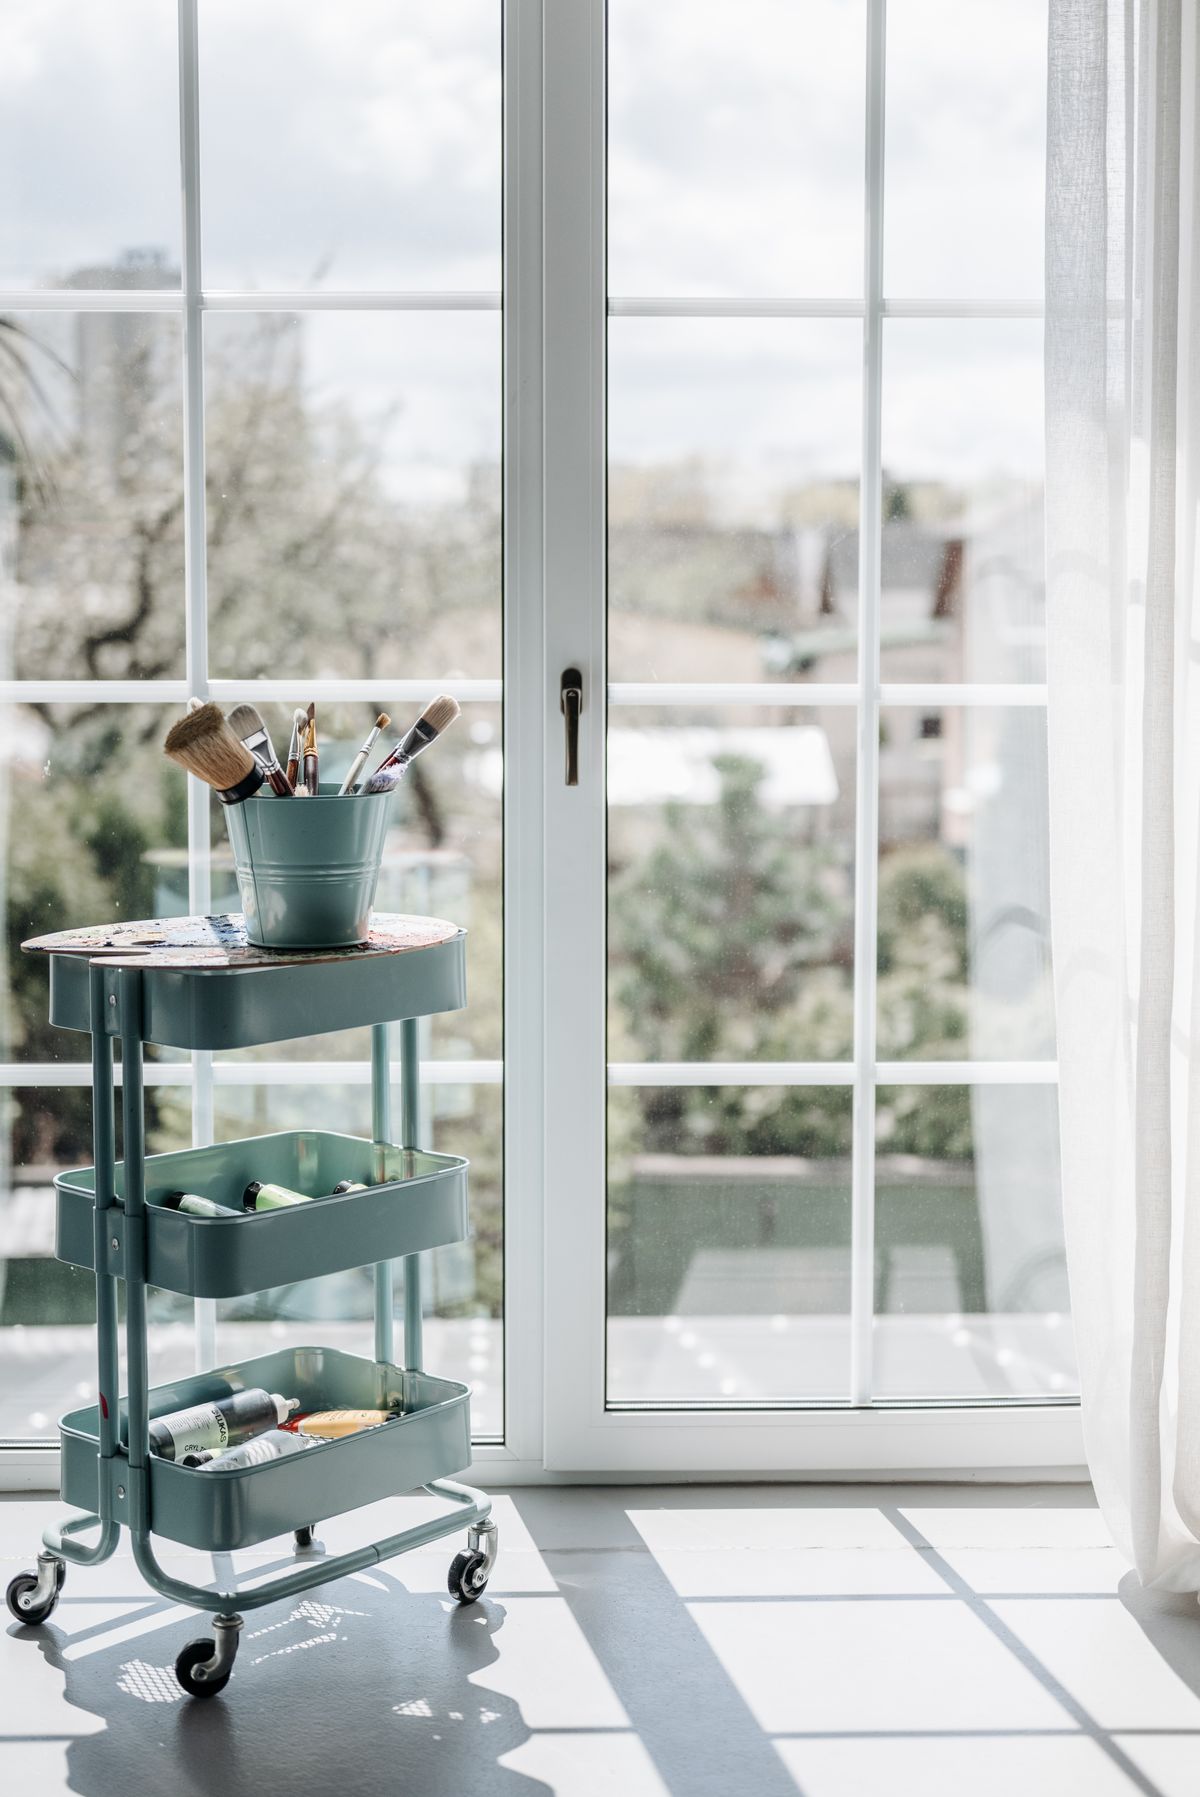
I put art supplies, crayons, paper, and stickers, on a three-tier rolling cart I can wheel to the table and back to the corner. It keeps art in one place, it stops crayons ending up in the sofa, and kids love wheeling it, which is a bonus. I bought a cart with a lip on each tier, so things do not slide off when it moves.
The downside is that a rolling cart rolls, so I lock the wheels when it is parked, or it will drift across the room.
Pro Tip: Put the cart in a corner when not in use, or it will become a permanent obstacle in a small room.
Cost: $25-$40 | Time: 15 minutes | Difficulty: Easy
3. A Toy Rotation Box, Out of Sight
I put half the toys in a box in a cupboard, out of sight, and rotate them every two weeks. Kids play more with fewer toys, and the rotated toys feel new when they come back, which is free. I label the box by month, not by toy, so I just grab the next box, not hunt for a specific toy.
The downside is that kids will ask for a specific toy in the rotation box, so I keep a list on the box of what is inside, and I swap on request if it is reasonable.
Pro Tip: Rotate on a Sunday, when you tidy anyway, or rotation becomes another chore you will skip.
Cost: $5-$10 for one box | Time: 30 minutes to sort first time | Difficulty: Easy
4. A Low Bookshelf, Turned on Its Side
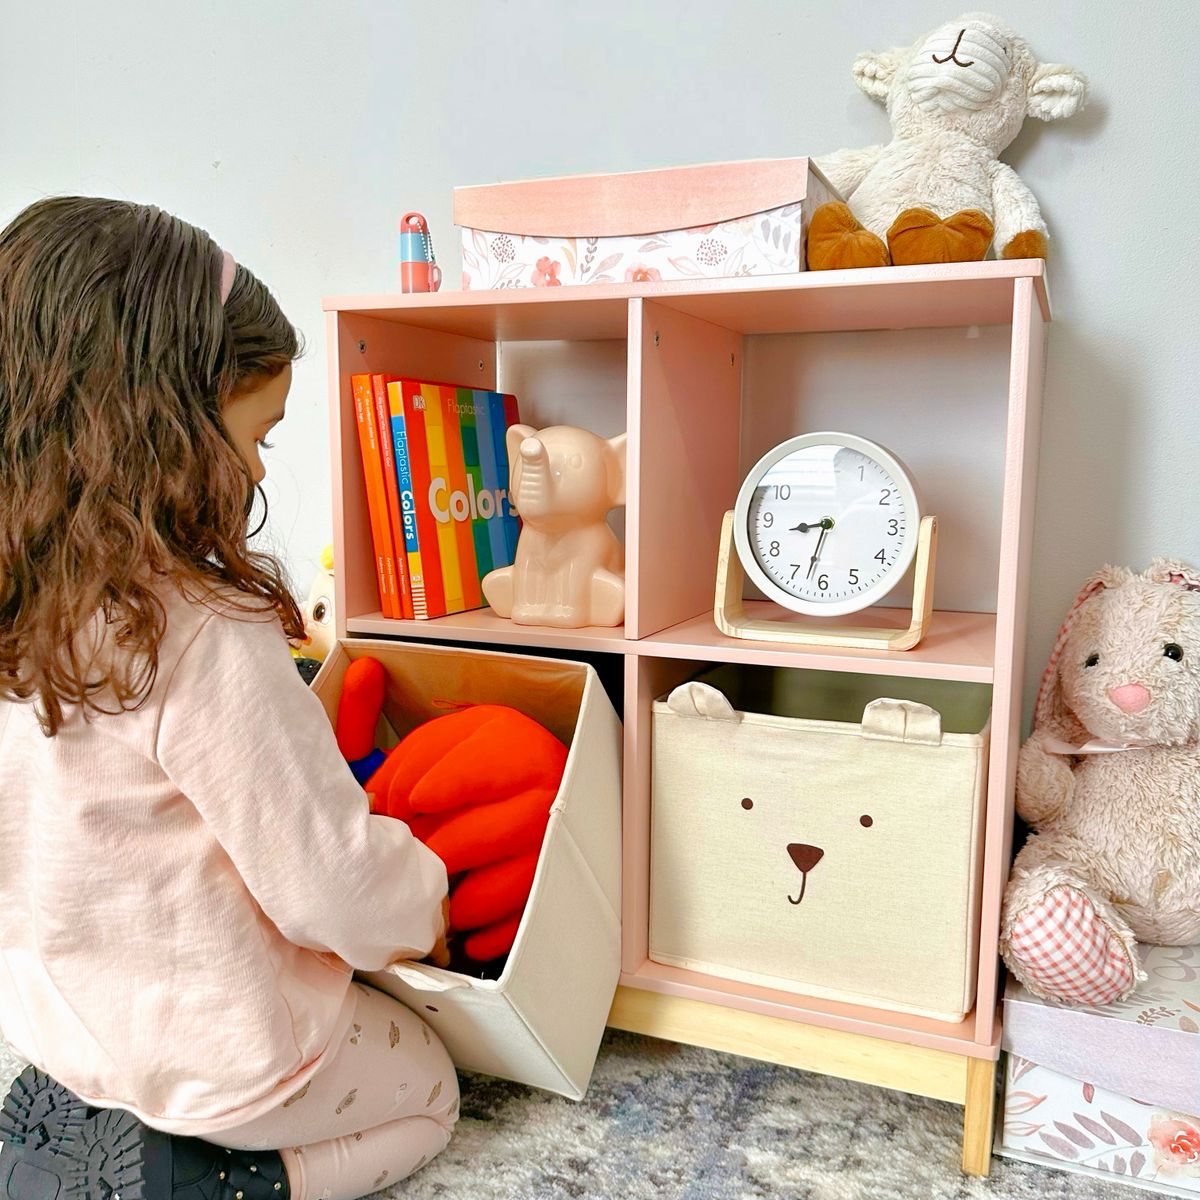
I turned a low bookshelf on its side, so the shelves became cubbies at child height, and I put bins in each cubby. It cost nothing, because the shelf was already in the house, and it turned a tall, unsafe shelf into a low, safe one. I fixed it to the wall with a strap, because even low furniture can tip if a child climbs it.
The downside is that a sideways shelf looks odd at first, so I put a plant and a photo on top to make it look intentional.
Pro Tip: Fix every shelf to the wall, even low ones, kids climb, and a falling shelf is dangerous.
Cost: $0-$10 for wall strap | Time: 30 minutes | Difficulty: Easy
5. Clear Bins for Small Toys, With Lids
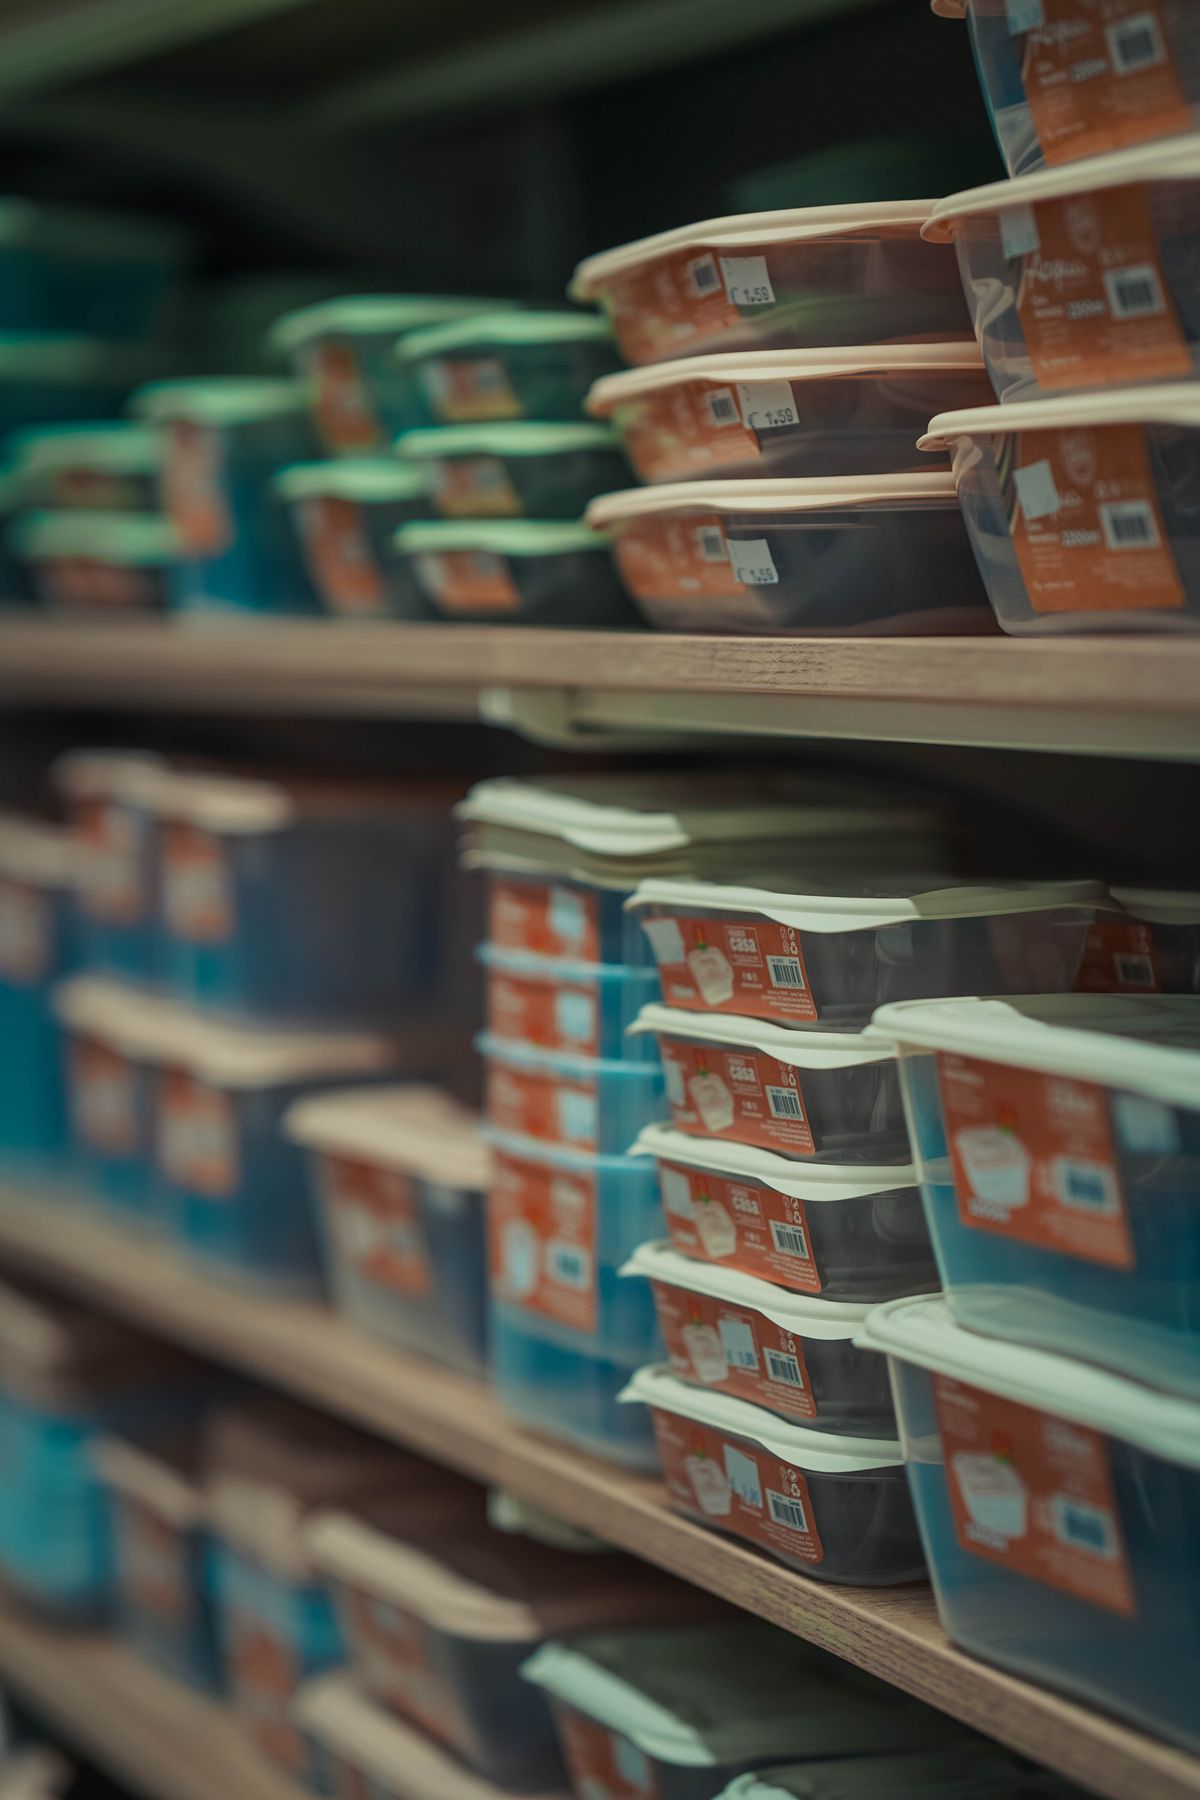
I put small toys, like LEGO, beads, and tiny figures, in clear bins with lids, on a low shelf. Clear bins stop small toys mixing into one soup, lids stop them spilling, and I can see what is inside without opening every bin. I bought bins with latching lids, because snap lids pop off when kids carry them.
The downside is that lids slow kids down, so I use clear bins with lids only for small toys, not for big toys, which go in open bins.
Pro Tip: Put small toys in bins a child can carry with two hands, not bins that are too heavy when full.
Cost: $15-$25 for four | Time: 20 minutes | Difficulty: Easy
6. A Stuffed Animal Hammock in the Corner
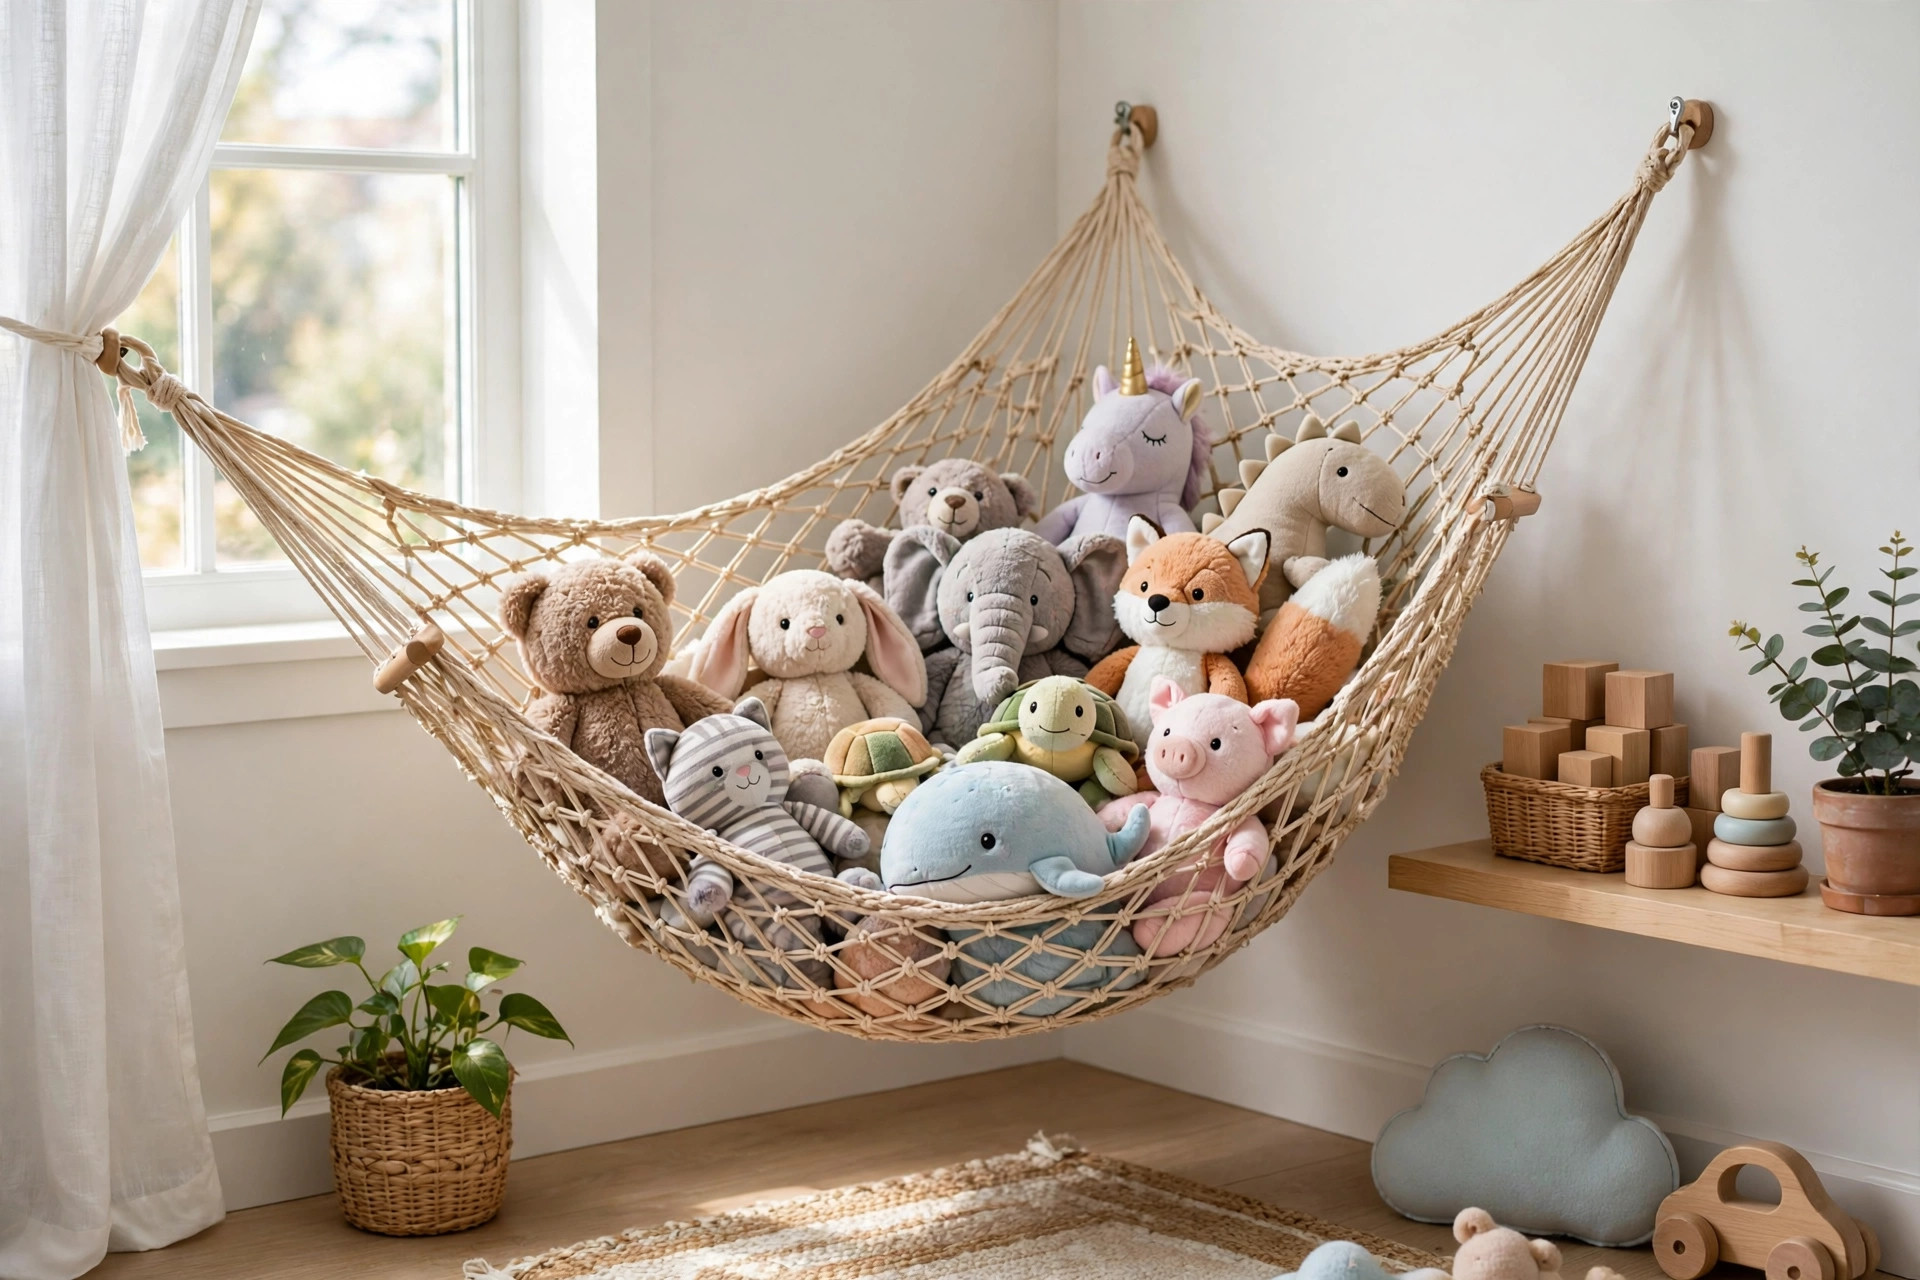
I hung a mesh hammock in a corner, high up, for stuffed animals, which used to cover the bed and the floor. It holds about twenty soft toys, it uses dead corner space, and kids can see and grab their favourite without emptying a box. I fixed it with hooks rated for the weight, and I check them monthly, because stuffed animals are heavier than they look in bulk.
The downside is that a hammock sags if overloaded, so I limit it to twenty animals and rotate the rest, or it will stretch and look messy.
Pro Tip: Put the favourite animal at the front, kids will grab that one first and leave the rest alone.
Cost: $12-$20 | Time: 20 minutes | Difficulty: Easy
7. A Dress-Up Basket by the Door
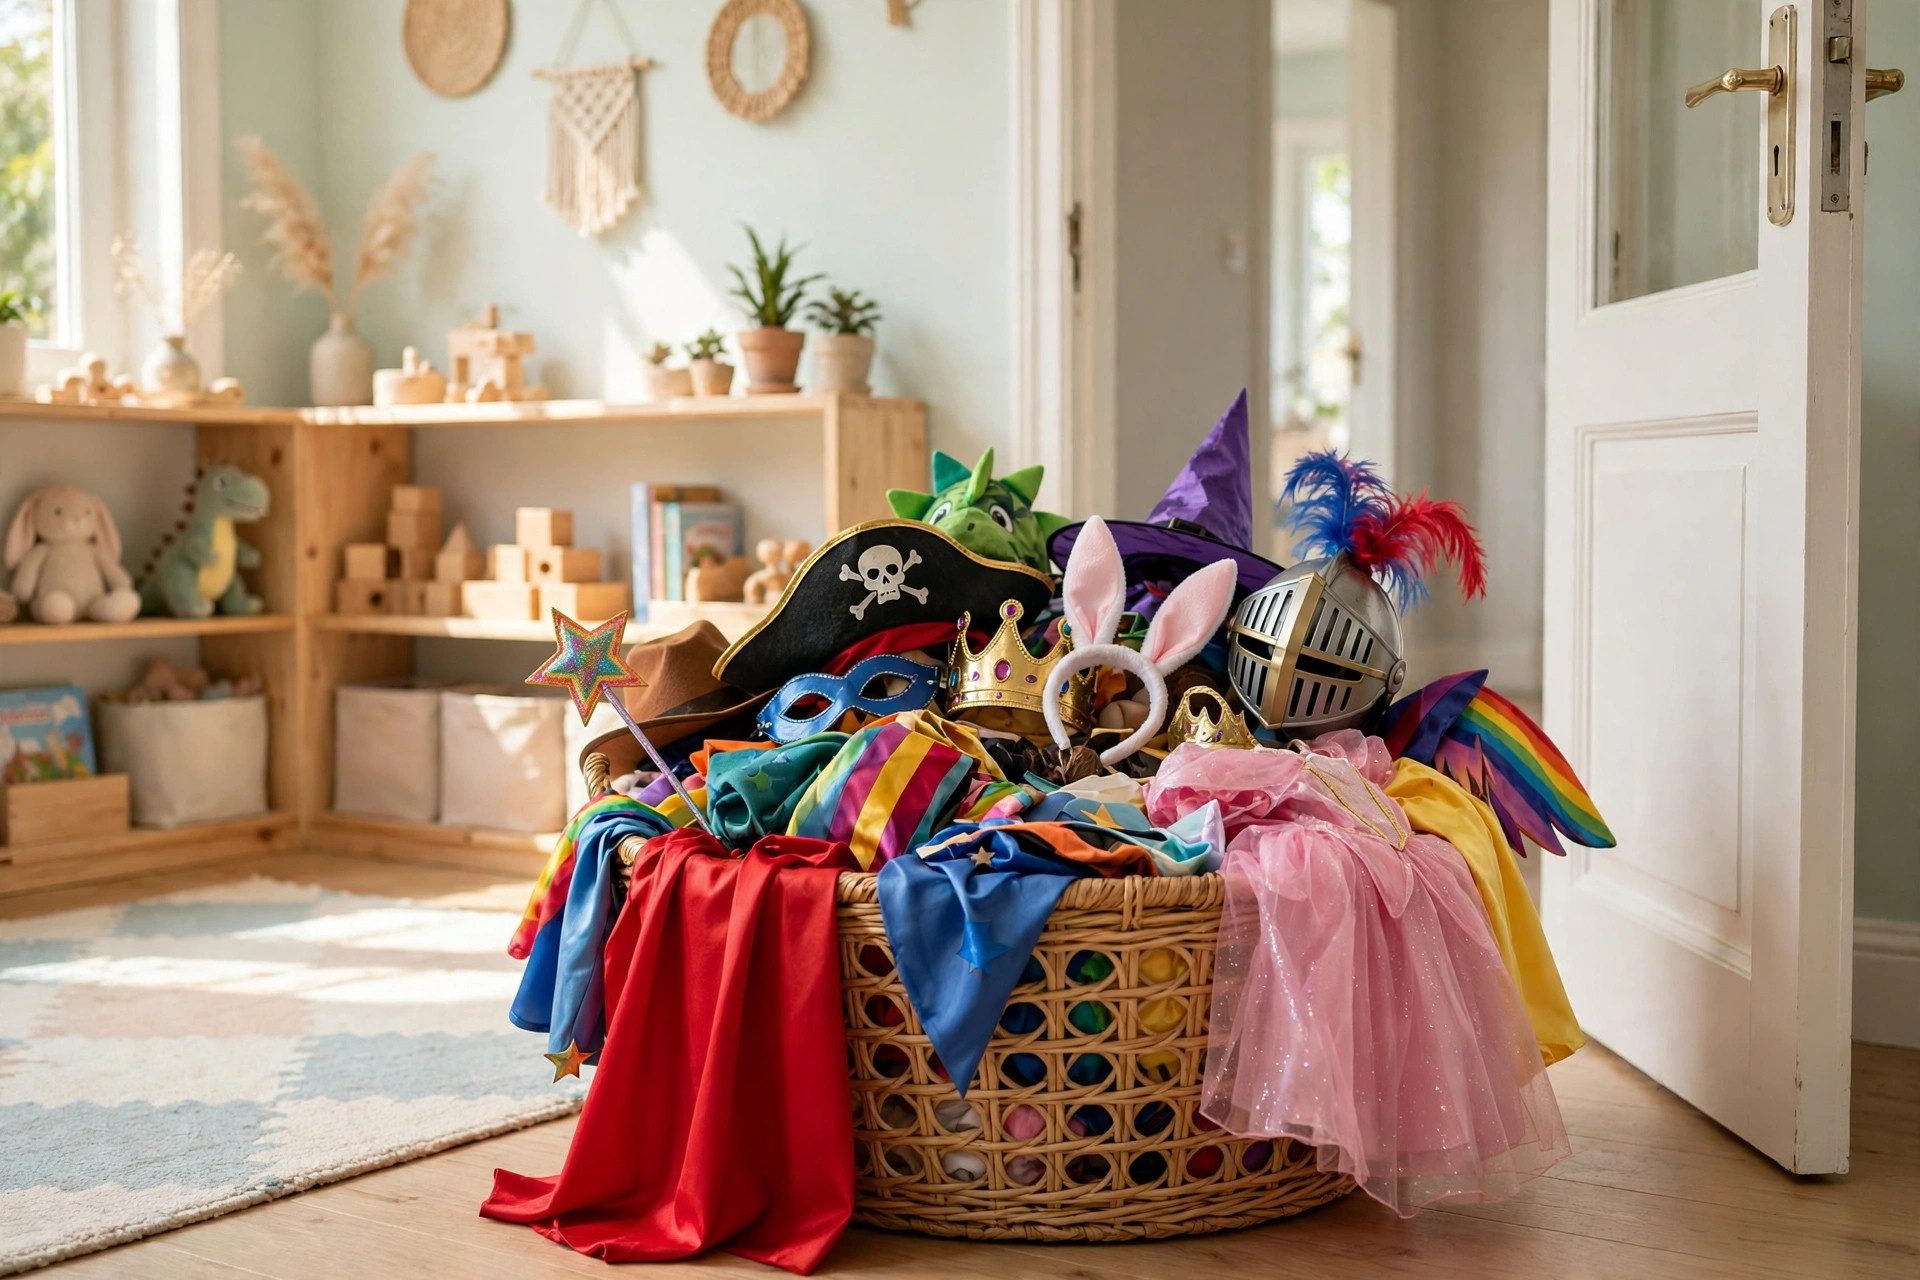
I put dress-up clothes in a large basket by the door, not in a wardrobe, because kids dress up every day and a wardrobe is too slow. The basket is open, it is low, and kids can see capes and hats without unfolding everything. I wash dress-up clothes monthly, because they get sweaty and dusty fast.
The downside is that a dress-up basket looks messy, so I use one large basket in a plain colour, not five small ones in bright colours.
Pro Tip: Keep dress-up separate from everyday clothes, or mornings will become a costume parade.
Cost: $10-$15 for one basket | Time: 10 minutes | Difficulty: Easy
8. A Puzzle Shelf, With Puzzles Standing Up
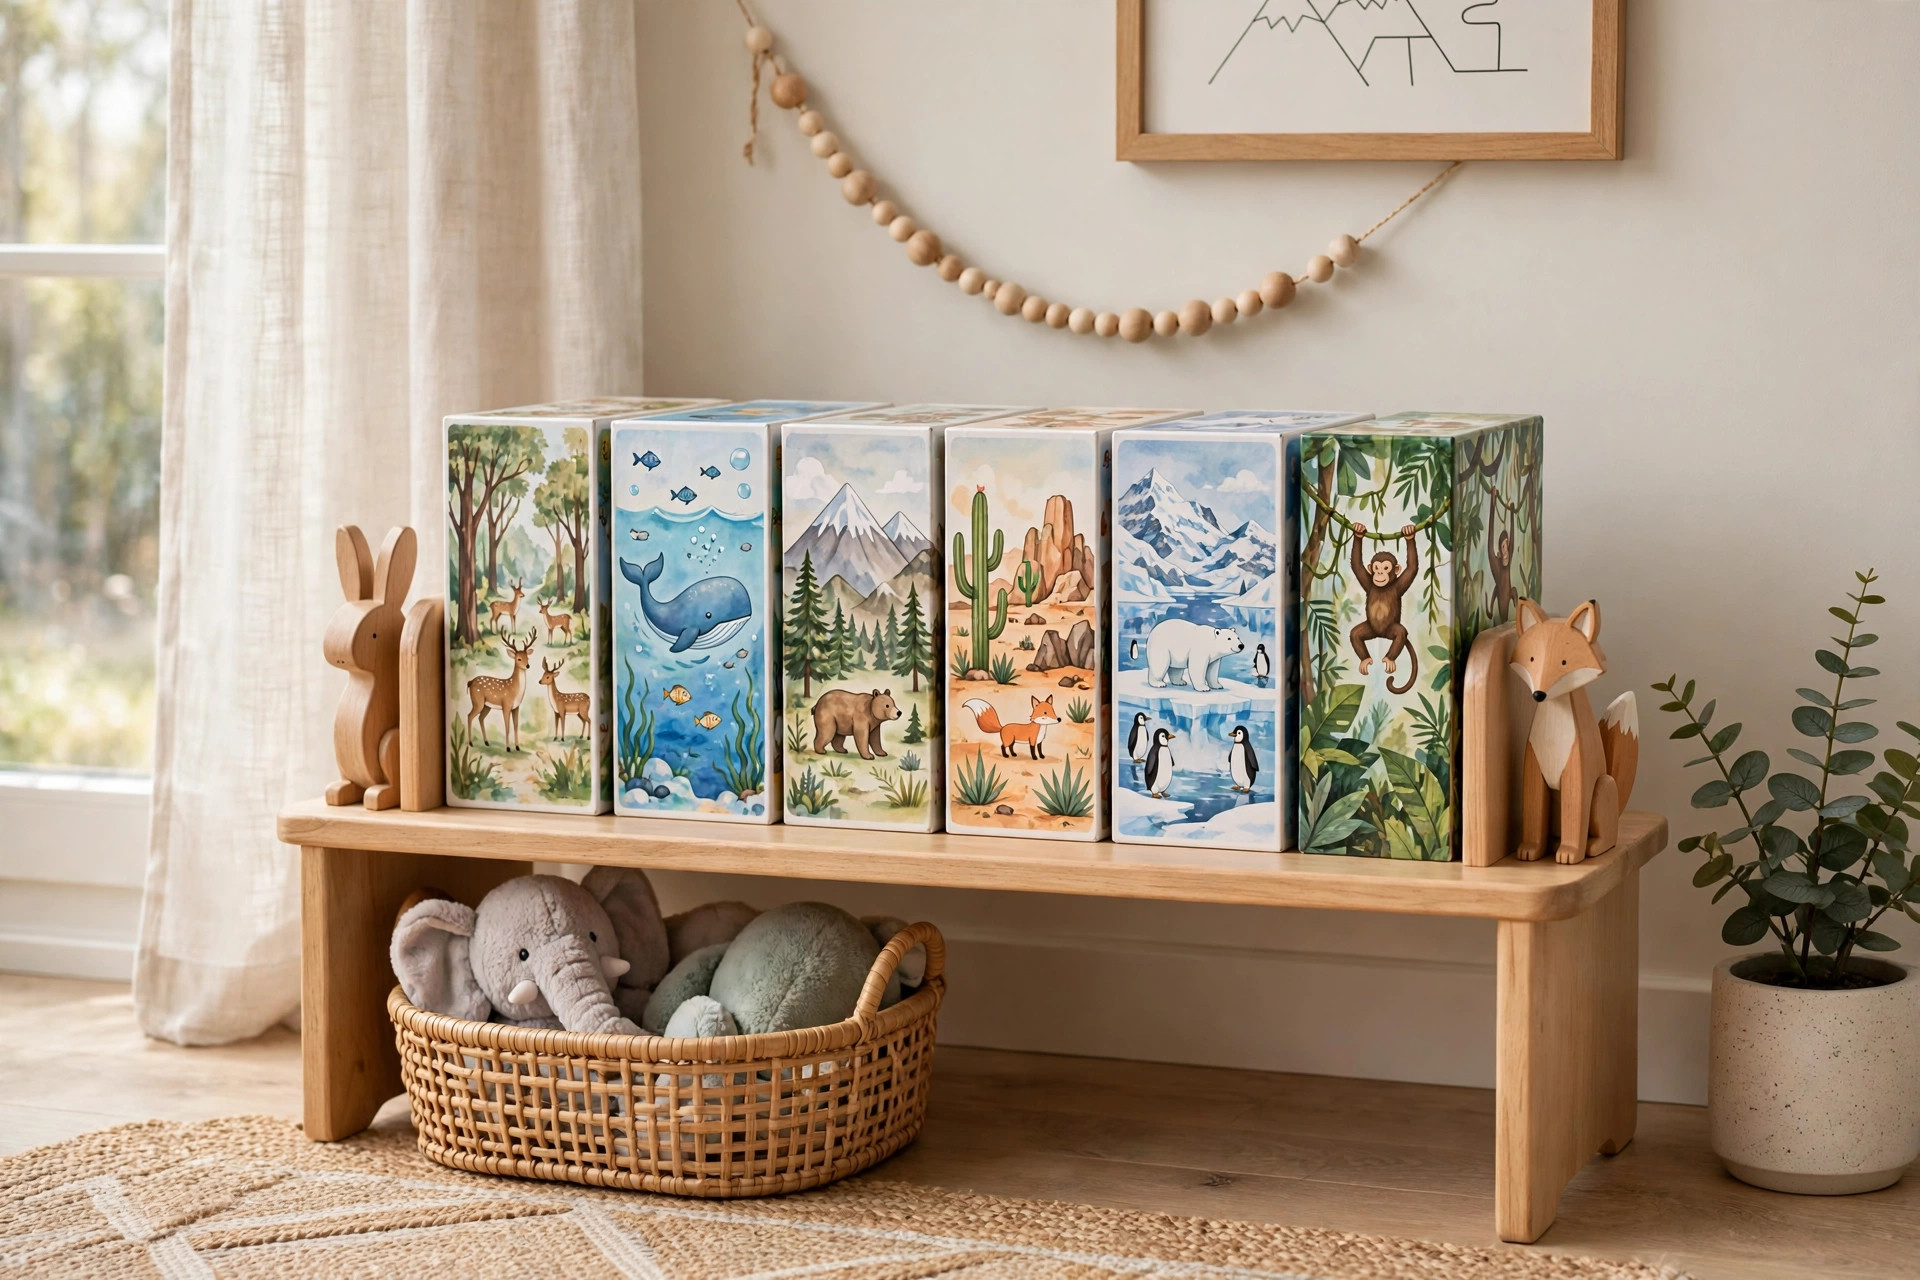
I put puzzles on a low shelf, standing up like books, with the picture facing out, instead of stacking them flat. Kids can see each puzzle, choose one, and put it back, without unstacking five puzzles to get to the bottom one. I use bookends to stop them falling over, which I learned after a whole shelf of puzzles fell in a domino effect.
The downside is that standing puzzles need a shelf exactly the right height, so I measure before buying bookends, not after.
Pro Tip: Put puzzle pieces in a zip bag inside the box, or you will lose pieces and the puzzle will never be finished again.
Cost: $5-$10 for bookends | Time: 15 minutes | Difficulty: Easy
9. A Car Track Rug That Rolls Up
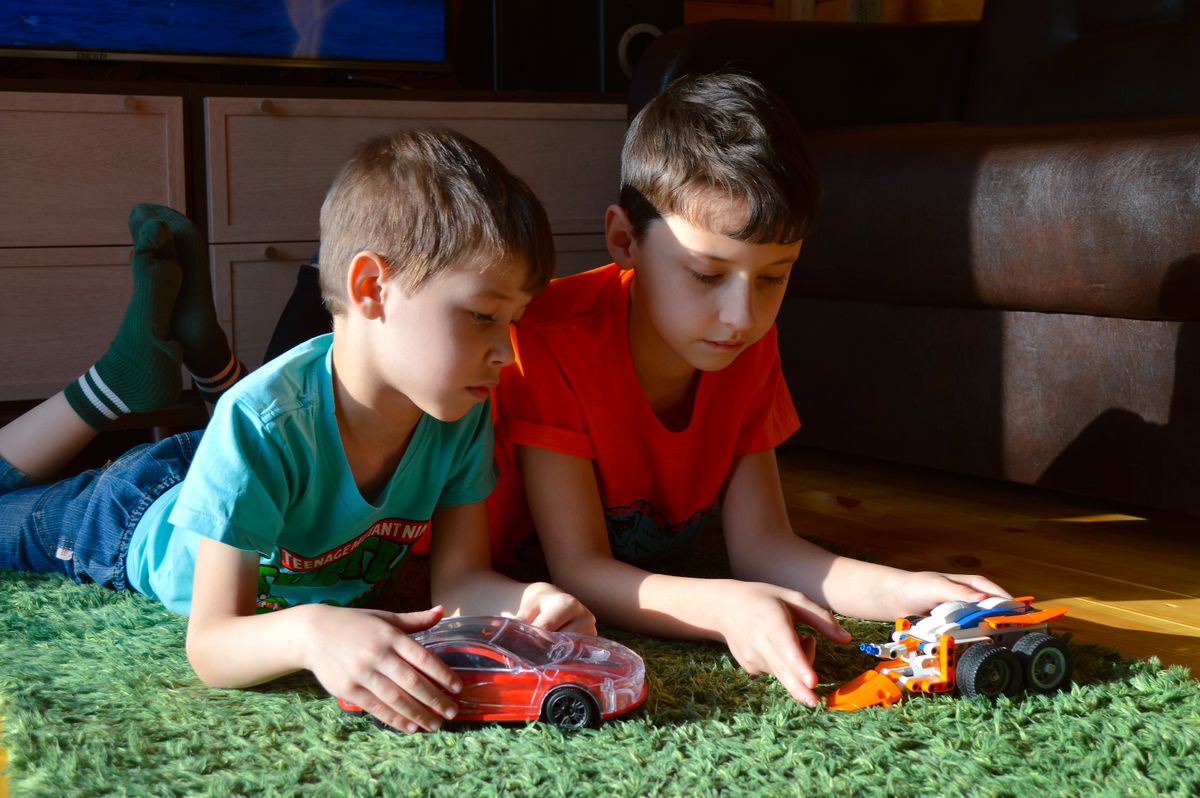
I bought a play rug with roads printed on it, which kids use for cars, and I roll it up when not in use. It gives cars a place to play without a permanent track taking up floor space, and it stores in a corner. I chose a rug with a non-slip backing, because a rug that slides is dangerous and annoying.
The downside is that a rolled rug needs a corner to stand in, so I keep it behind the door, not in the middle of the room.
Pro Tip: Put cars in a bin next to the rug, so play starts in one place, not with cars scattered across the house.
Cost: $15-$25 | Time: 5 minutes | Difficulty: Easy
10. A Doll House on a Low Table, Not the Floor
I put a doll house on a low table, about 40 cm high, instead of on the floor, so kids can play standing or sitting on a small chair, without bending. It keeps the doll house in one place, it stops pieces getting lost under furniture, and I can wipe the table in seconds. I bought a table with a lip, so small pieces do not roll off.
The downside is that a doll house on a table takes permanent space, so I use a table that folds, and I fold it when guests come.
Pro Tip: Put doll accessories in a small bin under the table, or they will end up in every room in the house.
Cost: $20-$35 for a folding table | Time: 15 minutes | Difficulty: Easy

11. A Block Bin With a Scoop, for Quick Tidy
I put blocks in a large bin with a scoop, and tidy-up becomes a game: scoop blocks, pour them in, done in two minutes. It works because kids like scooping, and it works because blocks are heavy and a scoop is faster than hands. I bought a scoop from a kitchen shop for $2, which is the cheapest toy storage tool I own.
The downside is that a scoop can become a weapon in a sibling argument, so I take it away after tidy-up, like a tool, not a toy.
Pro Tip: Make tidy-up a race, who can scoop ten blocks fastest, and it will happen without nagging, most days.
Cost: $2-$5 for a scoop, plus a bin you own | Time: 5 minutes | Difficulty: Easy
12. A Hanging Pocket Organizer for Small Figures
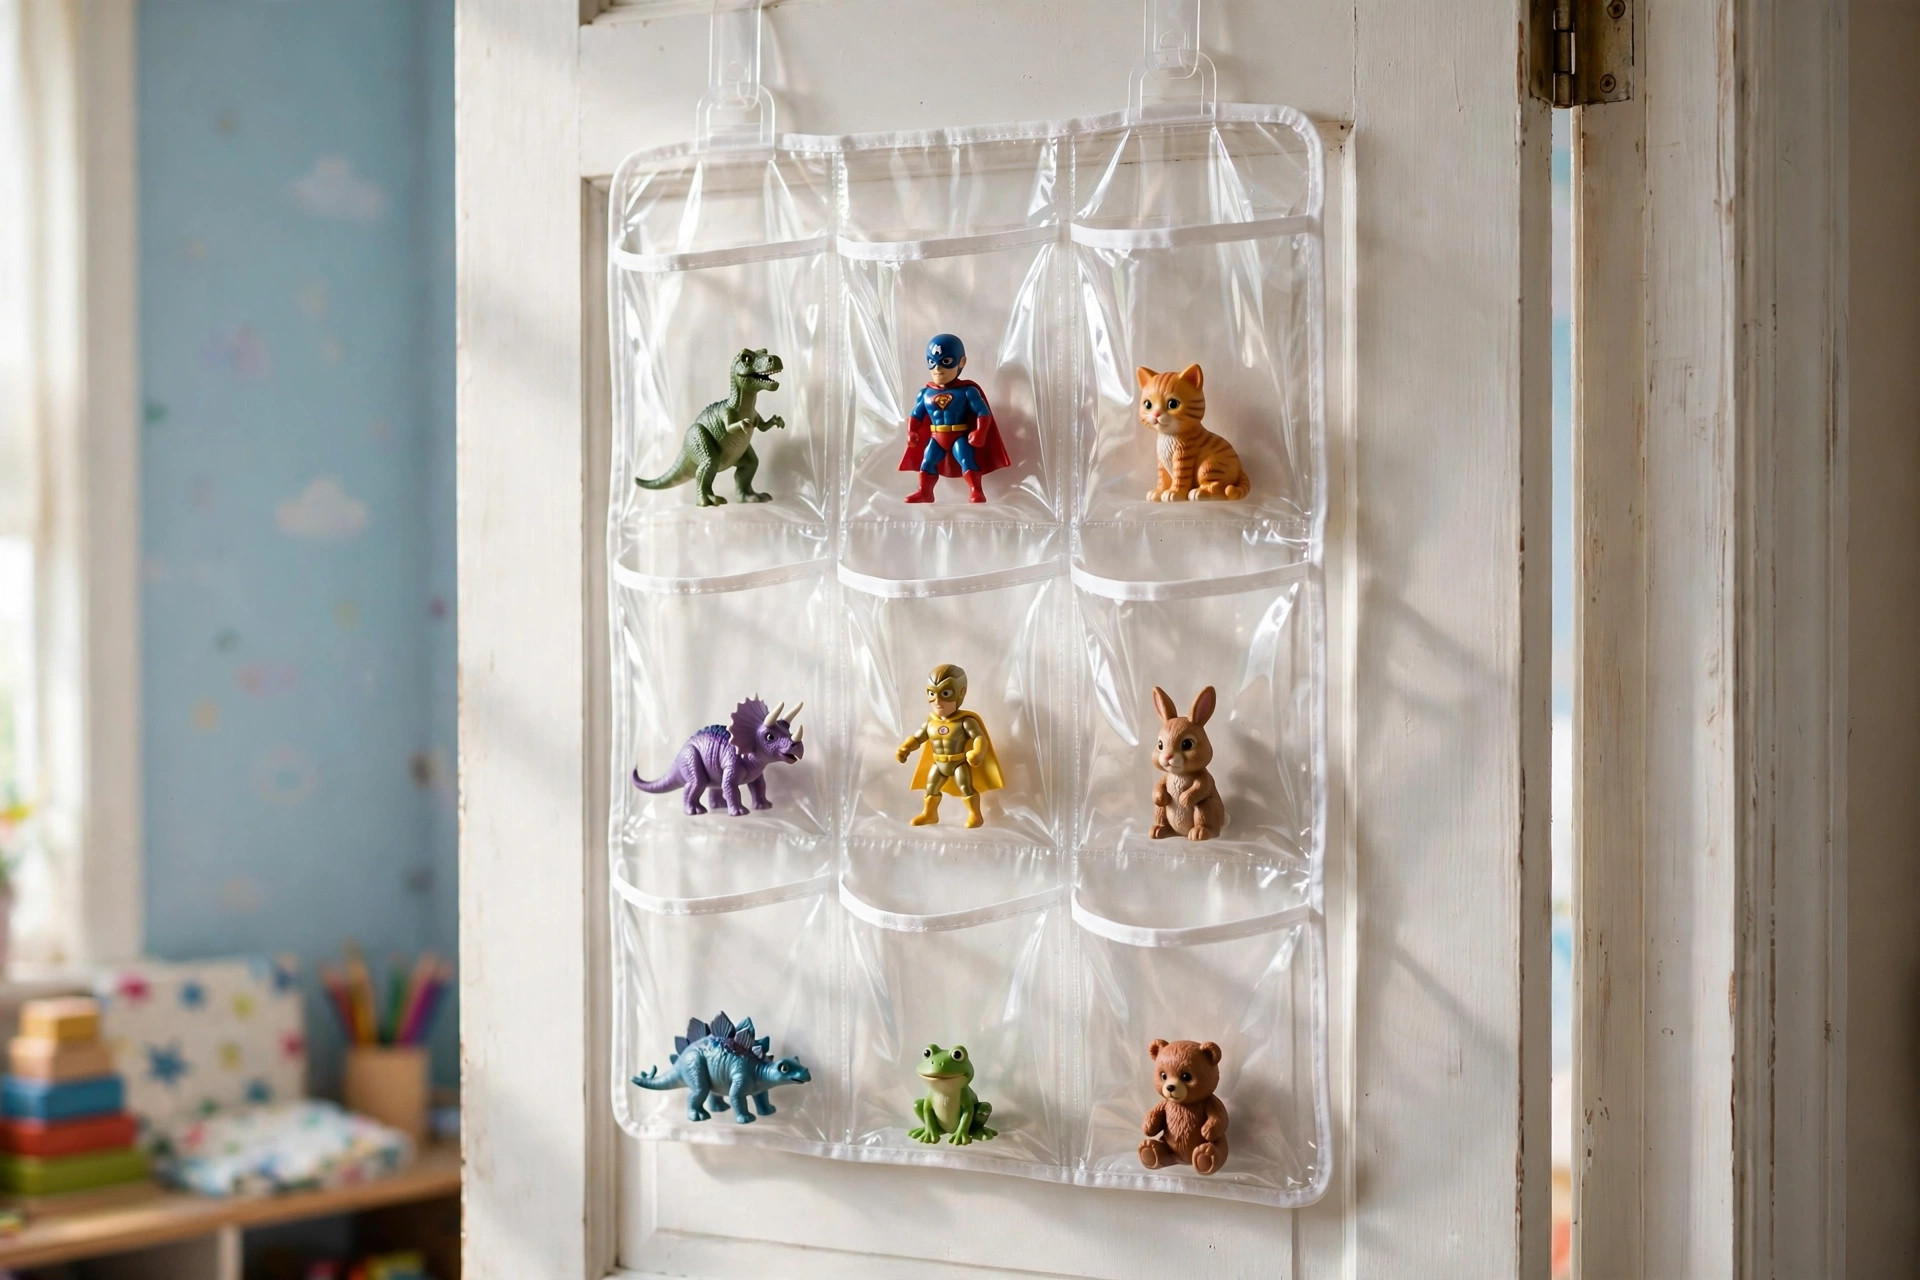
I hung a pocket organizer on the back of a door for small figures, like dinosaurs, superheroes, and tiny animals, one per pocket. Kids can see every figure, choose one, and put it back, without emptying a box. I bought a clear plastic organizer, so figures are visible, not hidden in fabric pockets.
The downside is that pockets stretch if overloaded, so I put one figure per pocket, not three, or the organizer will sag.
Pro Tip: Put the favourite figures at child eye level, not at the top, or kids will climb to reach them.
Cost: $8-$14 | Time: 10 minutes | Difficulty: Easy
13. A Basket for Balls, in the Corner
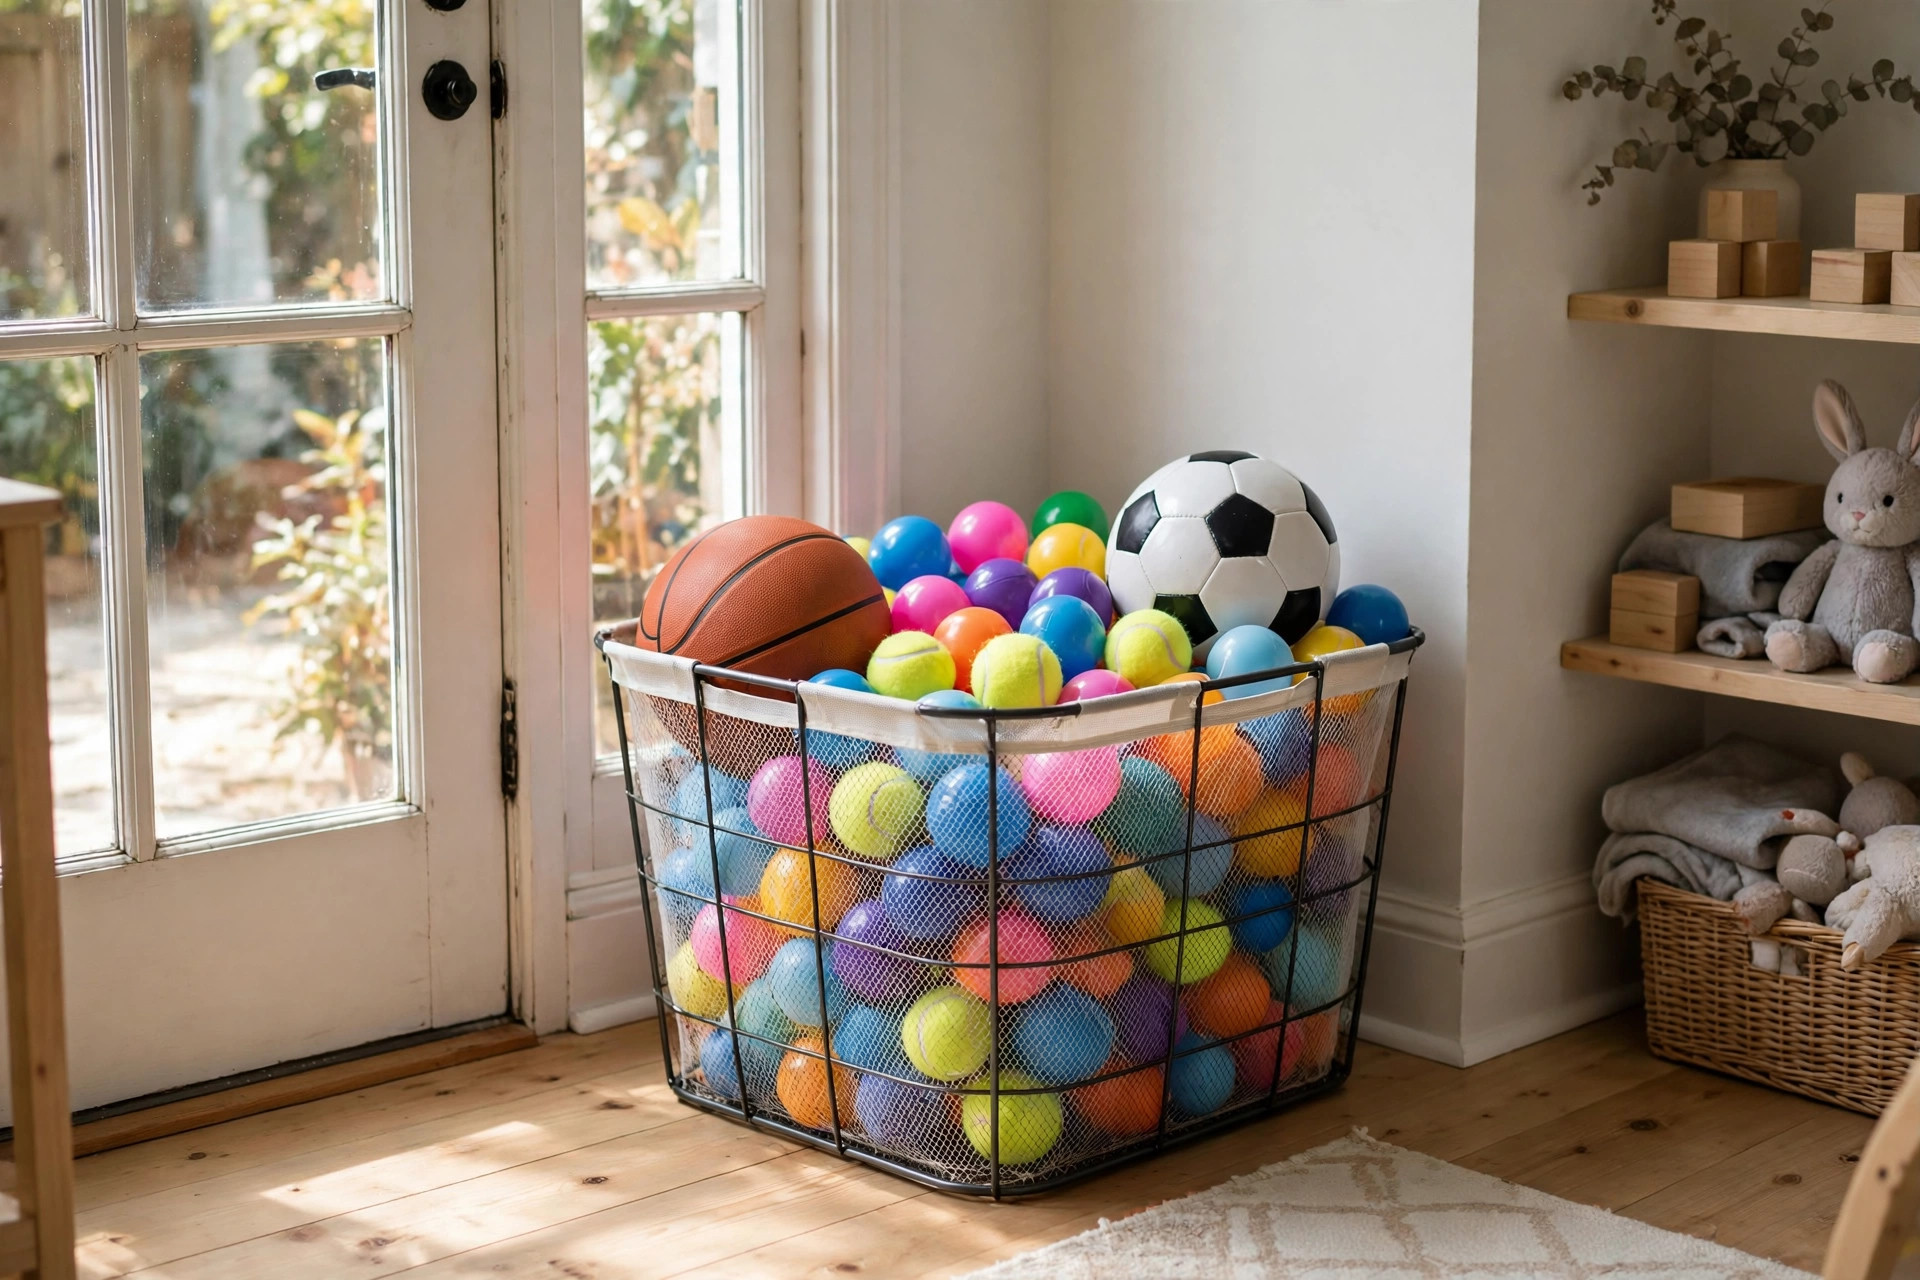
I put all balls in a large mesh basket in a corner, because balls roll everywhere if they are not contained. Mesh lets kids see the balls, it lets air circulate, and it is light enough for a child to carry to the garden. I bought a laundry basket, not a toy basket, because it was cheaper and bigger, and it works exactly the same.
The downside is that a ball basket fills fast, so I limit balls to five, and I donate the rest, or the basket overflows.
Pro Tip: Put the ball basket by the back door, balls go outside, not through the living room, if the basket is by the door.
Cost: $8-$12 | Time: 5 minutes | Difficulty: Easy
14. A Craft Caddy for Glitter and Glue, With a Lid
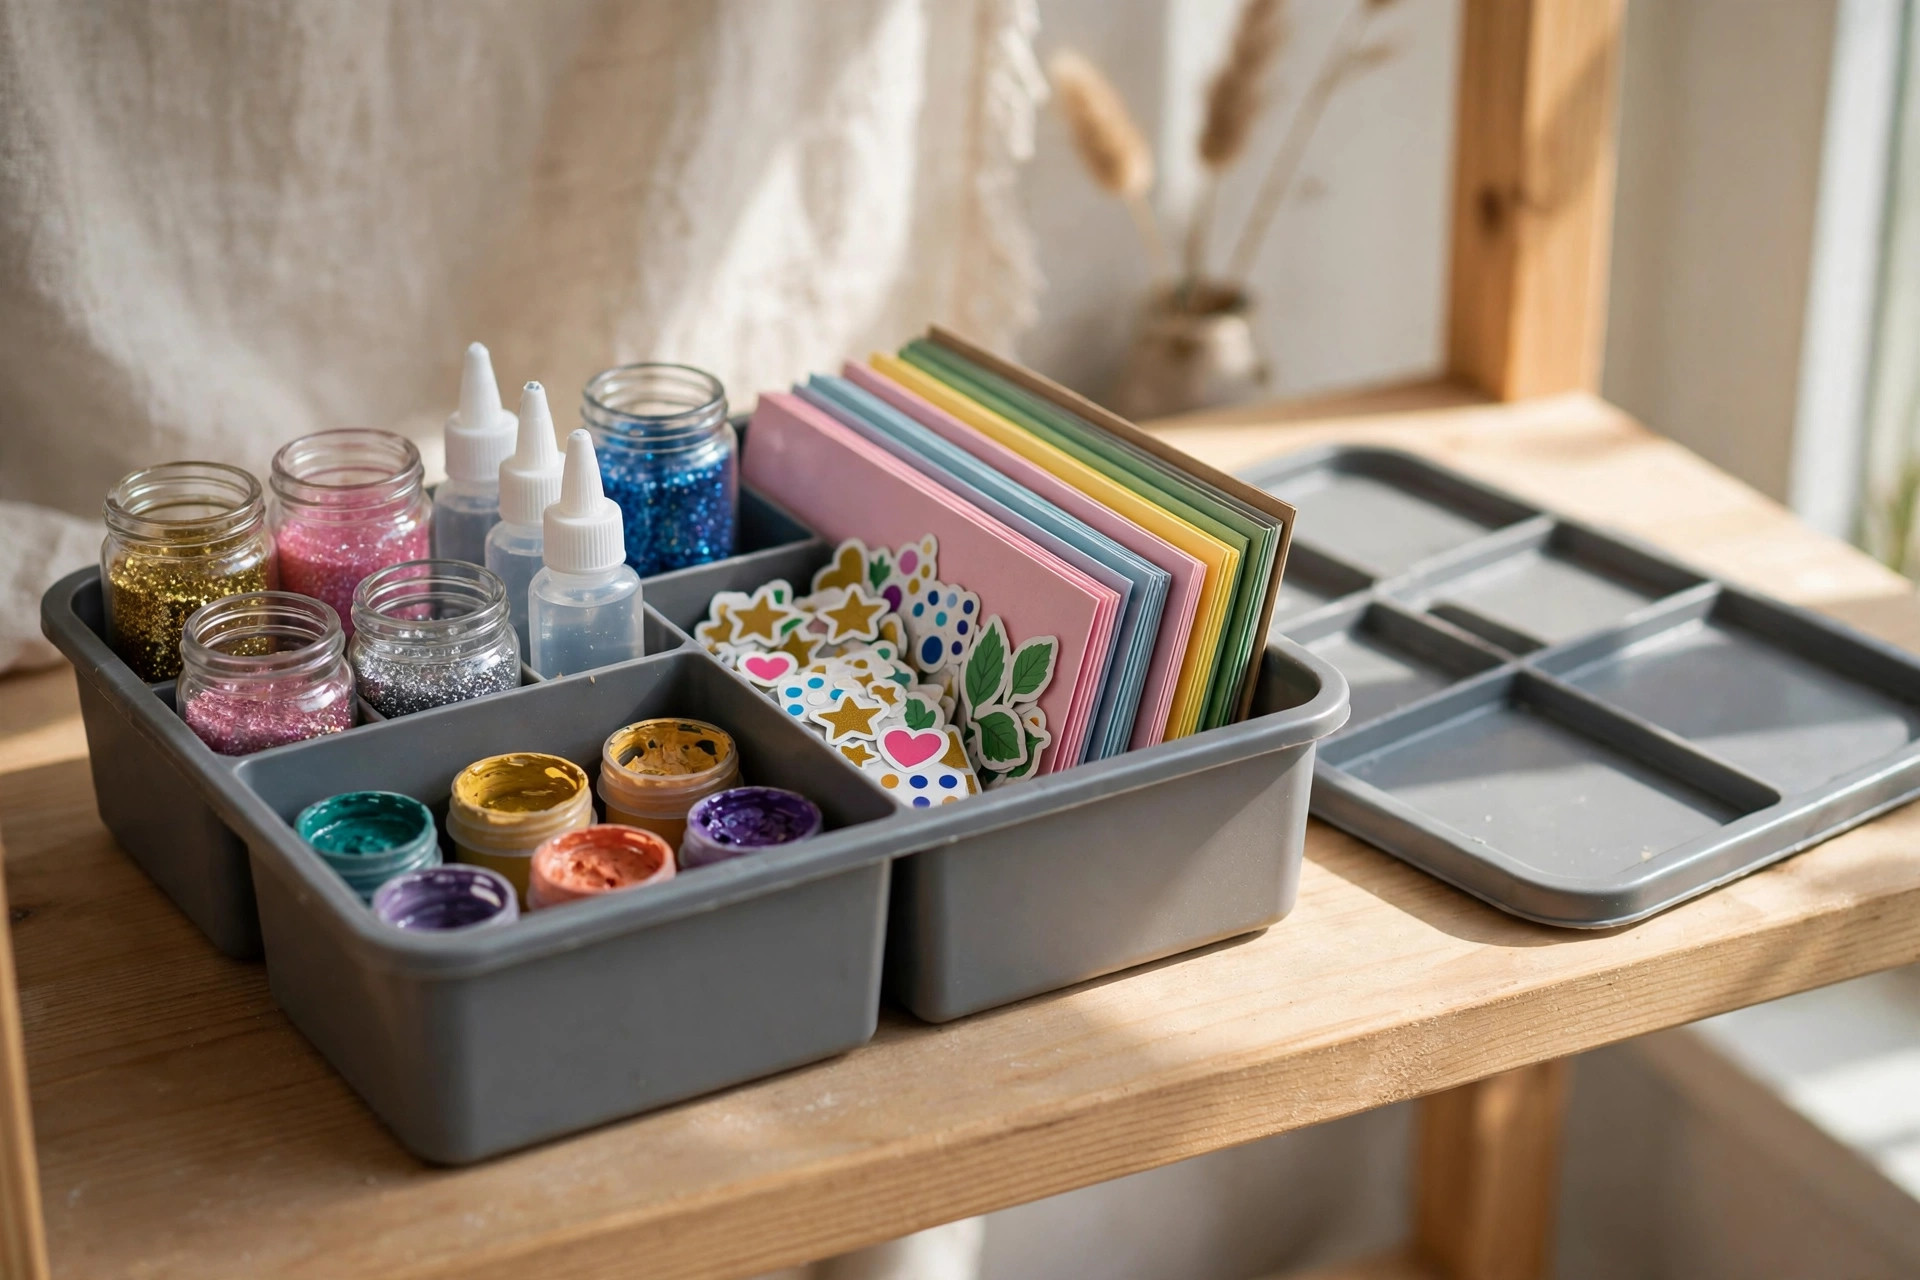
I put glitter, glue, and paint in a caddy with a lid, on a high shelf, out of reach of younger kids, and I bring it down when we craft. It stops glitter ending up on the carpet, which happened once and took a week to clean, and it keeps paint from spilling in a toy bin. I label the caddy Craft, Adults Help, so older kids know to ask.
The downside is that a caddy on a high shelf is hard to reach, so I keep a step stool nearby, hooked on the wall.
Pro Tip: Put glitter in zip bags inside the caddy, double protection, because glitter escapes from every container eventually.
Cost: $10-$18 | Time: 15 minutes | Difficulty: Easy
15. A Book Basket, Not a Bookshelf, for Young Kids
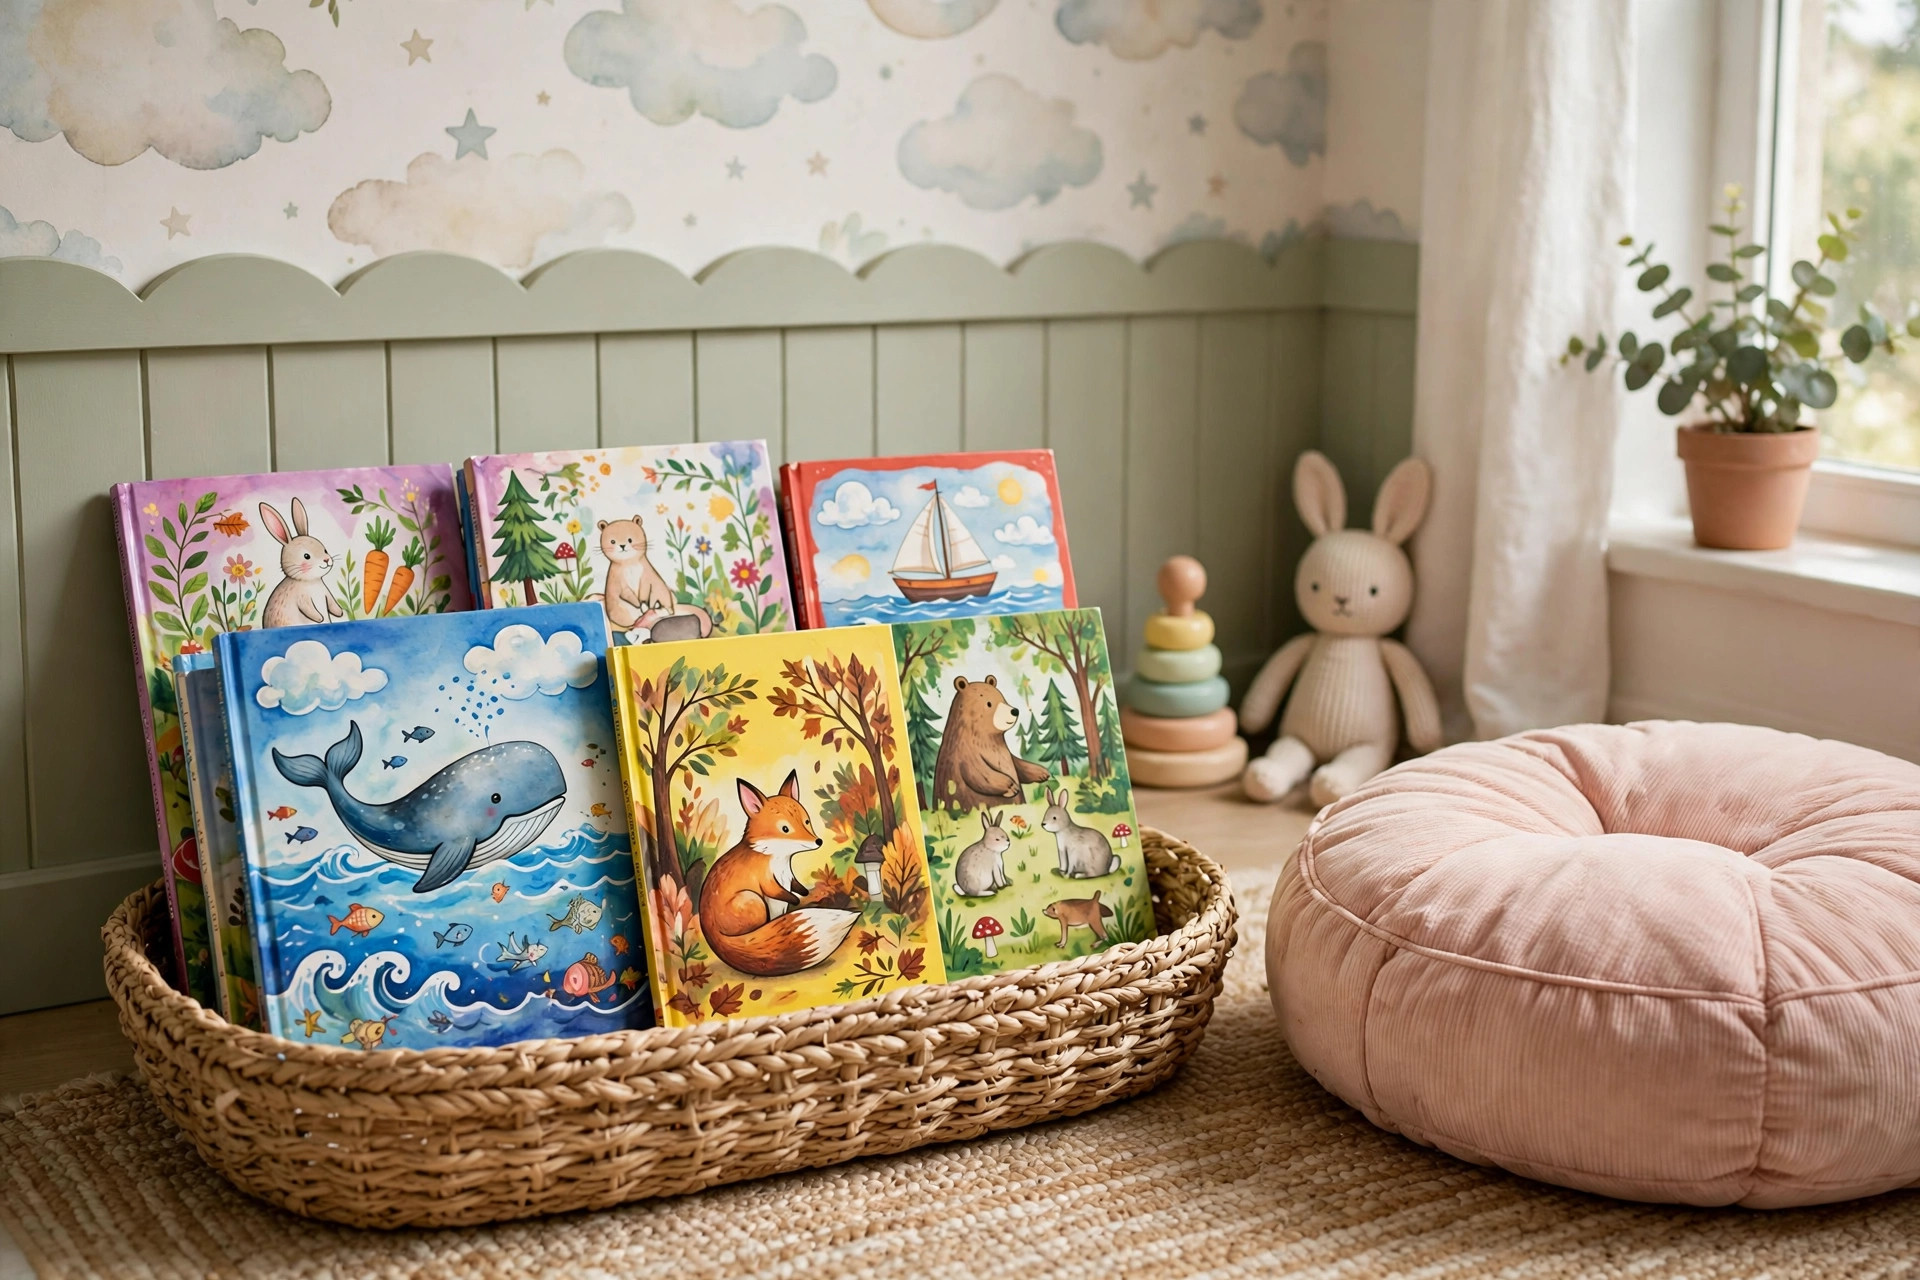
I put picture books in a low basket, facing forward, instead of on a bookshelf, because young kids choose books by the cover, not the spine. They flip through the basket, choose a book, and put it back, mostly, without pulling a whole shelf down. I rotate books monthly, like toys, so the basket feels new without buying new books.
The downside is that a book basket can get messy, so I keep it to ten books, not thirty, or kids will not find anything.
Pro Tip: Put the basket next to a reading cushion, kids will sit and read, not just flip and drop.
Cost: $8-$12 for one basket | Time: 10 minutes | Difficulty: Easy
16. A Toy Box for Big Toys Only, With a Soft Lid
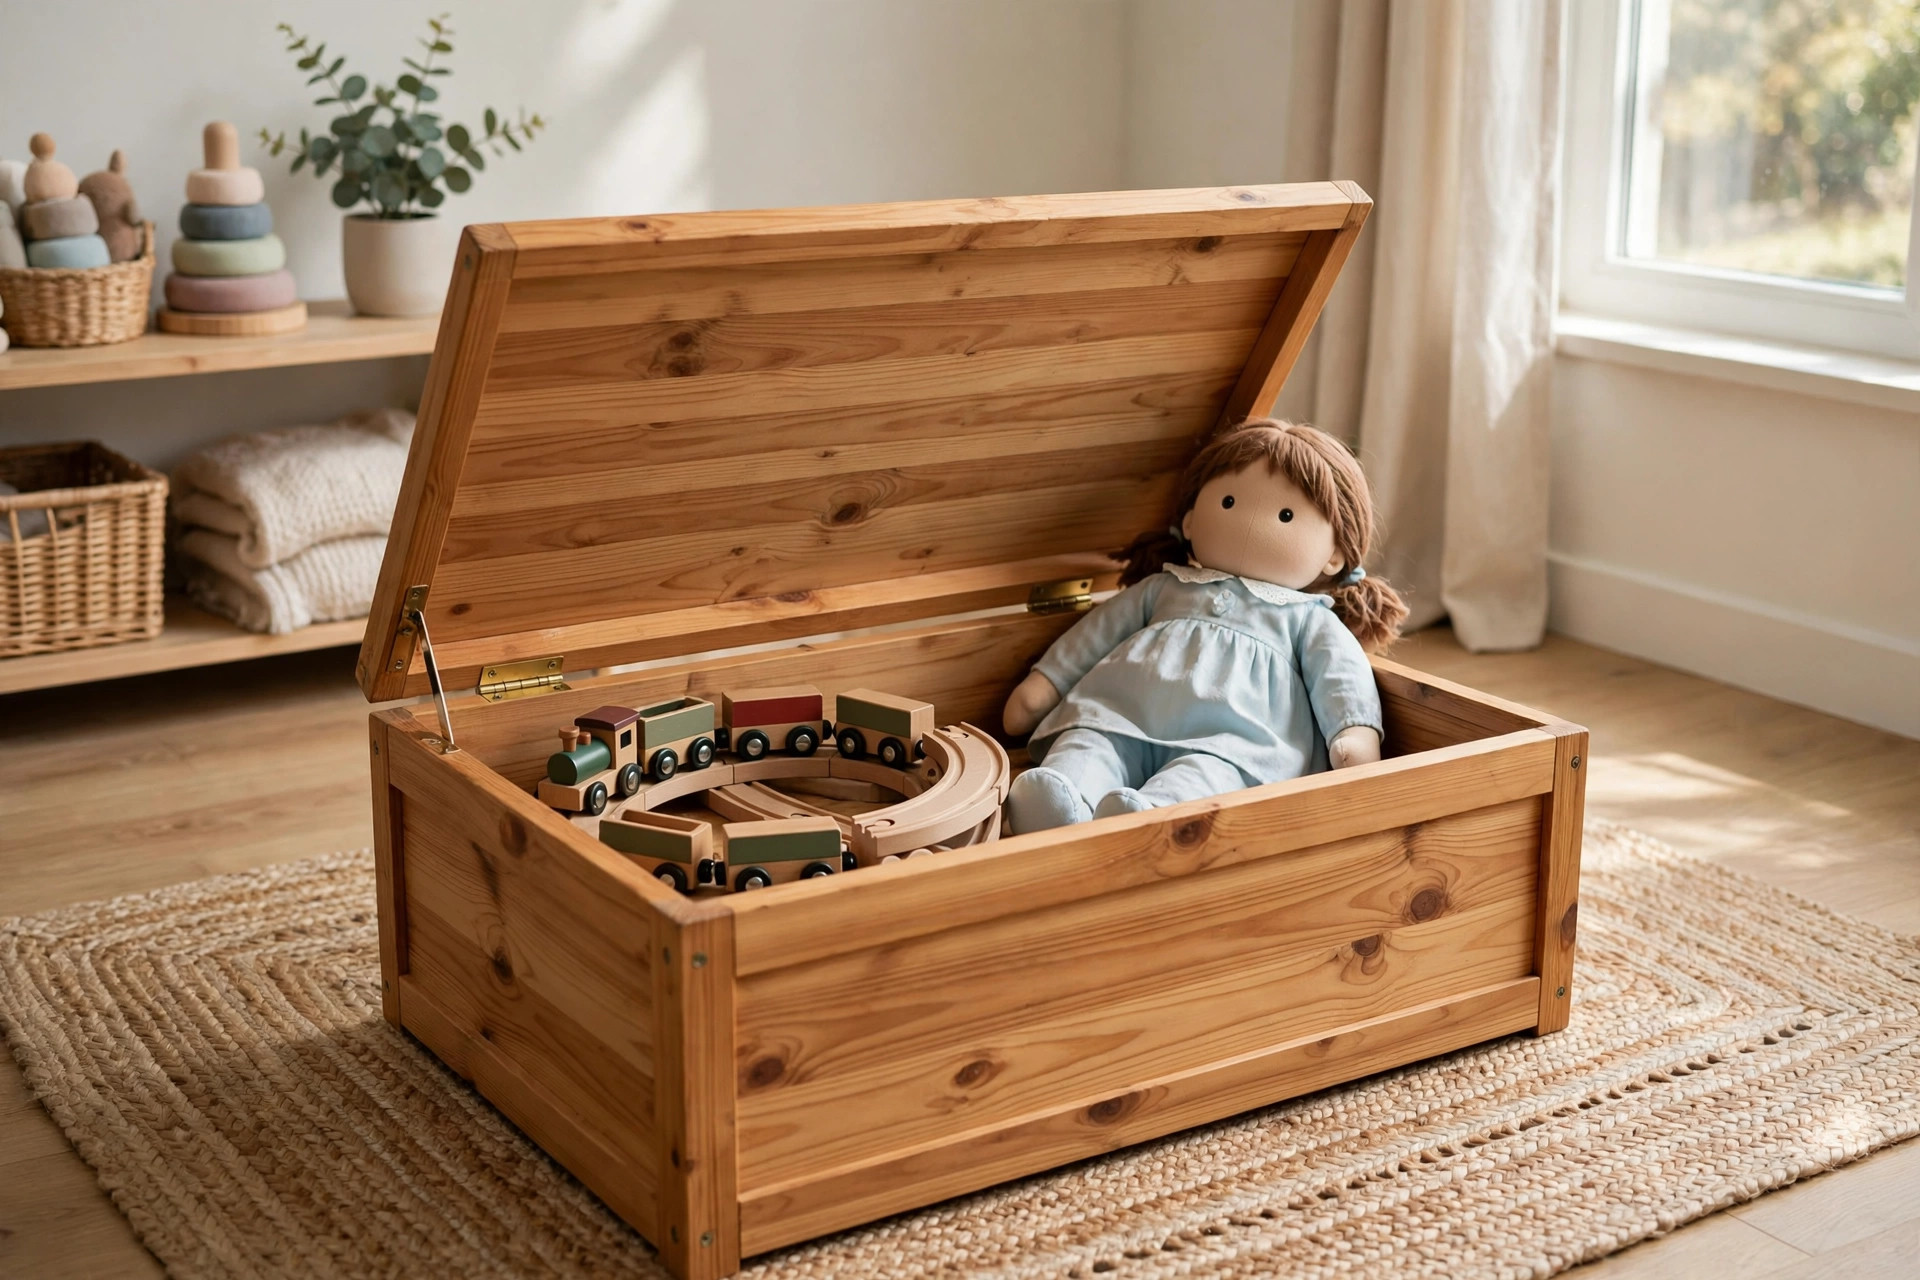
I kept one toy box, with a soft, slow-closing lid, for big toys only, like a train set and a large doll. It is the only toy box in the room, because one big box for everything becomes a dumping ground. I chose a soft lid, because a heavy lid can trap fingers, and I check the hinges monthly.
The downside is that a toy box, even one, can become a dumping ground, so I check it weekly and remove anything that belongs in a bin.
Pro Tip: Put big toys in the toy box, small toys in bins, or the small toys will disappear under the big ones.
Cost: $25-$40 | Time: 10 minutes | Difficulty: Easy
17. A Five-Minute Tidy Song, Every Evening
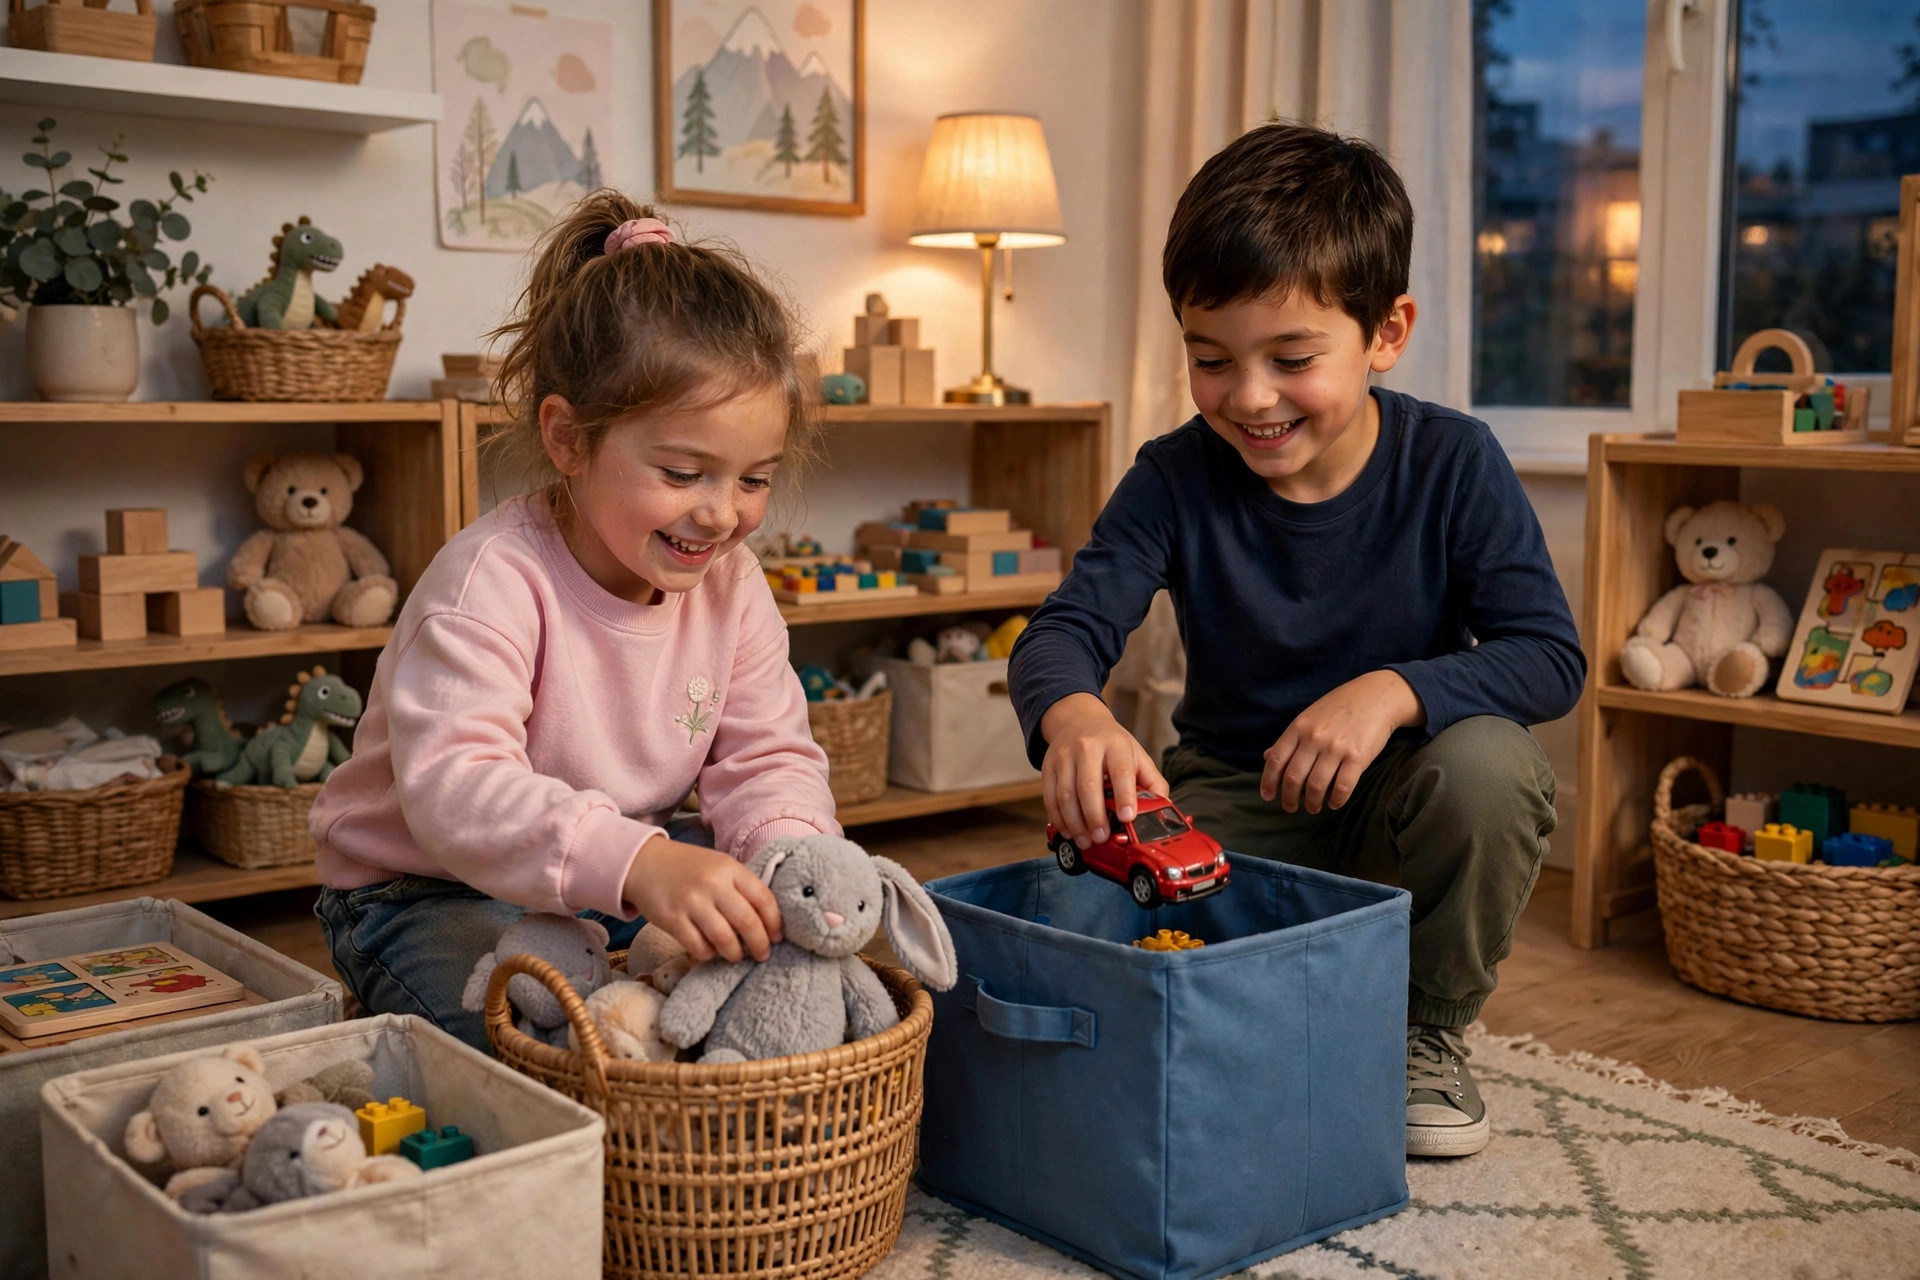
I play the same tidy song every evening, and we tidy for the length of the song, about three minutes, not until the room is perfect. It works because kids know when it ends, and it works because it is a routine, not a nag. I put on the song, we tidy together, and when it ends, we stop, even if the room is not perfect, because tomorrow we will tidy again.
The downside is that a tidy song only works if you do it daily, so I tie it to bath time, not to a reminder I will ignore.
Pro Tip: Let kids choose the song, they will tidy to a song they love, not to a song you love.
Cost: $0 | Time: 3 minutes daily | Difficulty: Easy
18. A Small Room System That Kids Can Keep
My final system is simple: four low open bins, one rolling cart, one rotation box, picture labels, and a five-minute tidy song. That is it. I tried a complicated system with colour-coded bins for every toy type, a spreadsheet, and a label maker, and it lasted two weeks, because kids could not maintain it. Simple systems survive, complicated ones do not, and that is the most important toy storage ideas lesson I have learned in a small room.
The downside is that a simple system looks less impressive in photos, but it is the one kids will actually use, which is what matters.
Pro Tip: If a system takes more than five minutes a day to maintain, simplify it until it does, or it will fail.
Cost: $50-$80 total | Time: 2 hours to set up | Difficulty: Easy
Comparison Table
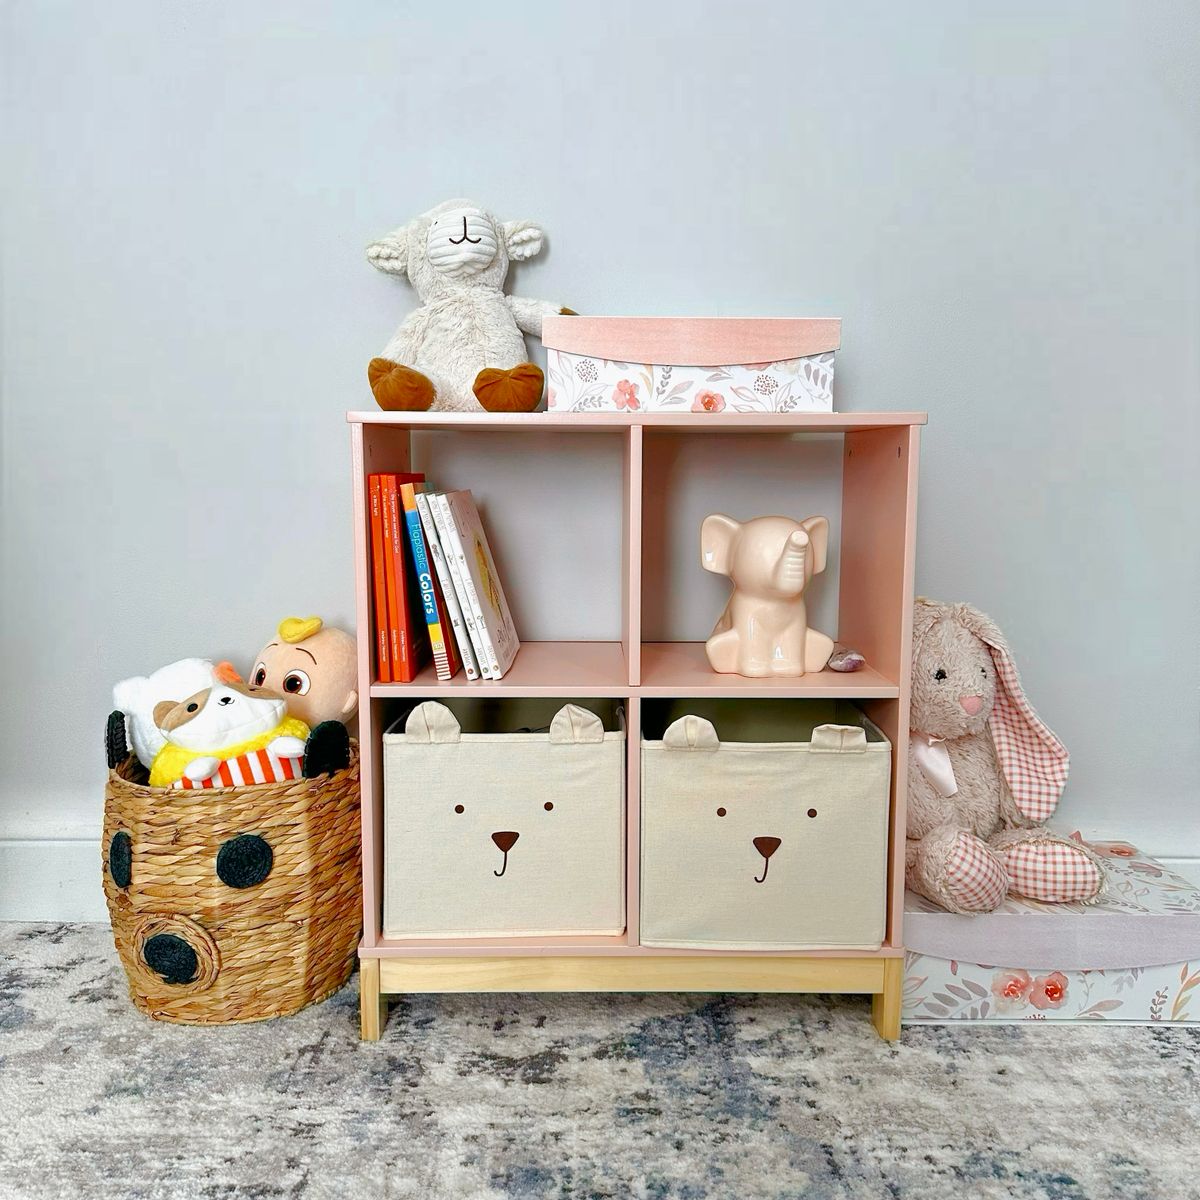
| System | Best for | Cost | Effort |
|---|---|---|---|
| Low open bins, one per type | Daily play, kids put back | $20-$30 | Low |
| Rolling cart | Art supplies, move to table | $25-$40 | Low |
| Toy rotation box | Small rooms, fewer toys out | $5-$10 | Low |
| Stuffed animal hammock | Soft toys, dead corner space | $12-$20 | Low |
| Simple system overall | Kids maintain it, not just adults | $50-$80 | Low |
Mistakes I Made (So You Don’t Have To)
First, I bought one big toy box for everything, and it became a dumping ground where nothing could be found, so now it is one bin per toy type. Second, I put shelves high where kids could not reach, so toys never got played with or put back, so now everything is low and open. Third, I displayed all toys at once in a small room, and kids played with nothing, so now I rotate toys every two weeks. Fourth, I built a complicated colour-coded system that lasted two weeks, so now I keep it simple, with picture labels and a five-minute tidy song.
FAQ
How long did your toy storage system actually stay working?
The low bins, rotation box, and tidy song system has worked for over a year in my small playroom, with a weekly check. The complicated system I tried before lasted two weeks, so simplicity and child-height access were the difference.
What would you do differently in a room with no floor space?
I would use wall space, a hammock for soft toys, a door pocket organizer for small figures, and a rolling cart that tucks into a corner, instead of floor bins. Low and open still applies, just on walls and doors, not on the floor.
How do you get kids to actually put toys back?
Picture labels, one bin per type, and a five-minute tidy song every evening, done together, not as a punishment. If tidy-up takes longer than five minutes, the system is too complicated, so I simplify it until tidy-up is quick and, mostly, fun.
Final Thoughts
A small room does not need fewer toys, it needs low bins, rotation, picture labels, and a system kids can use without help. Start with four open bins, add a rotation box, and play a tidy song every evening. That is the toy storage ideas approach that has kept my small playroom usable for over a year, and I hope it does the same for yours.
Related article: Craft Supply Storage Ideas
Also read: LEGO Storage Ideas
Read this next: Storage Ideas for Small Spaces