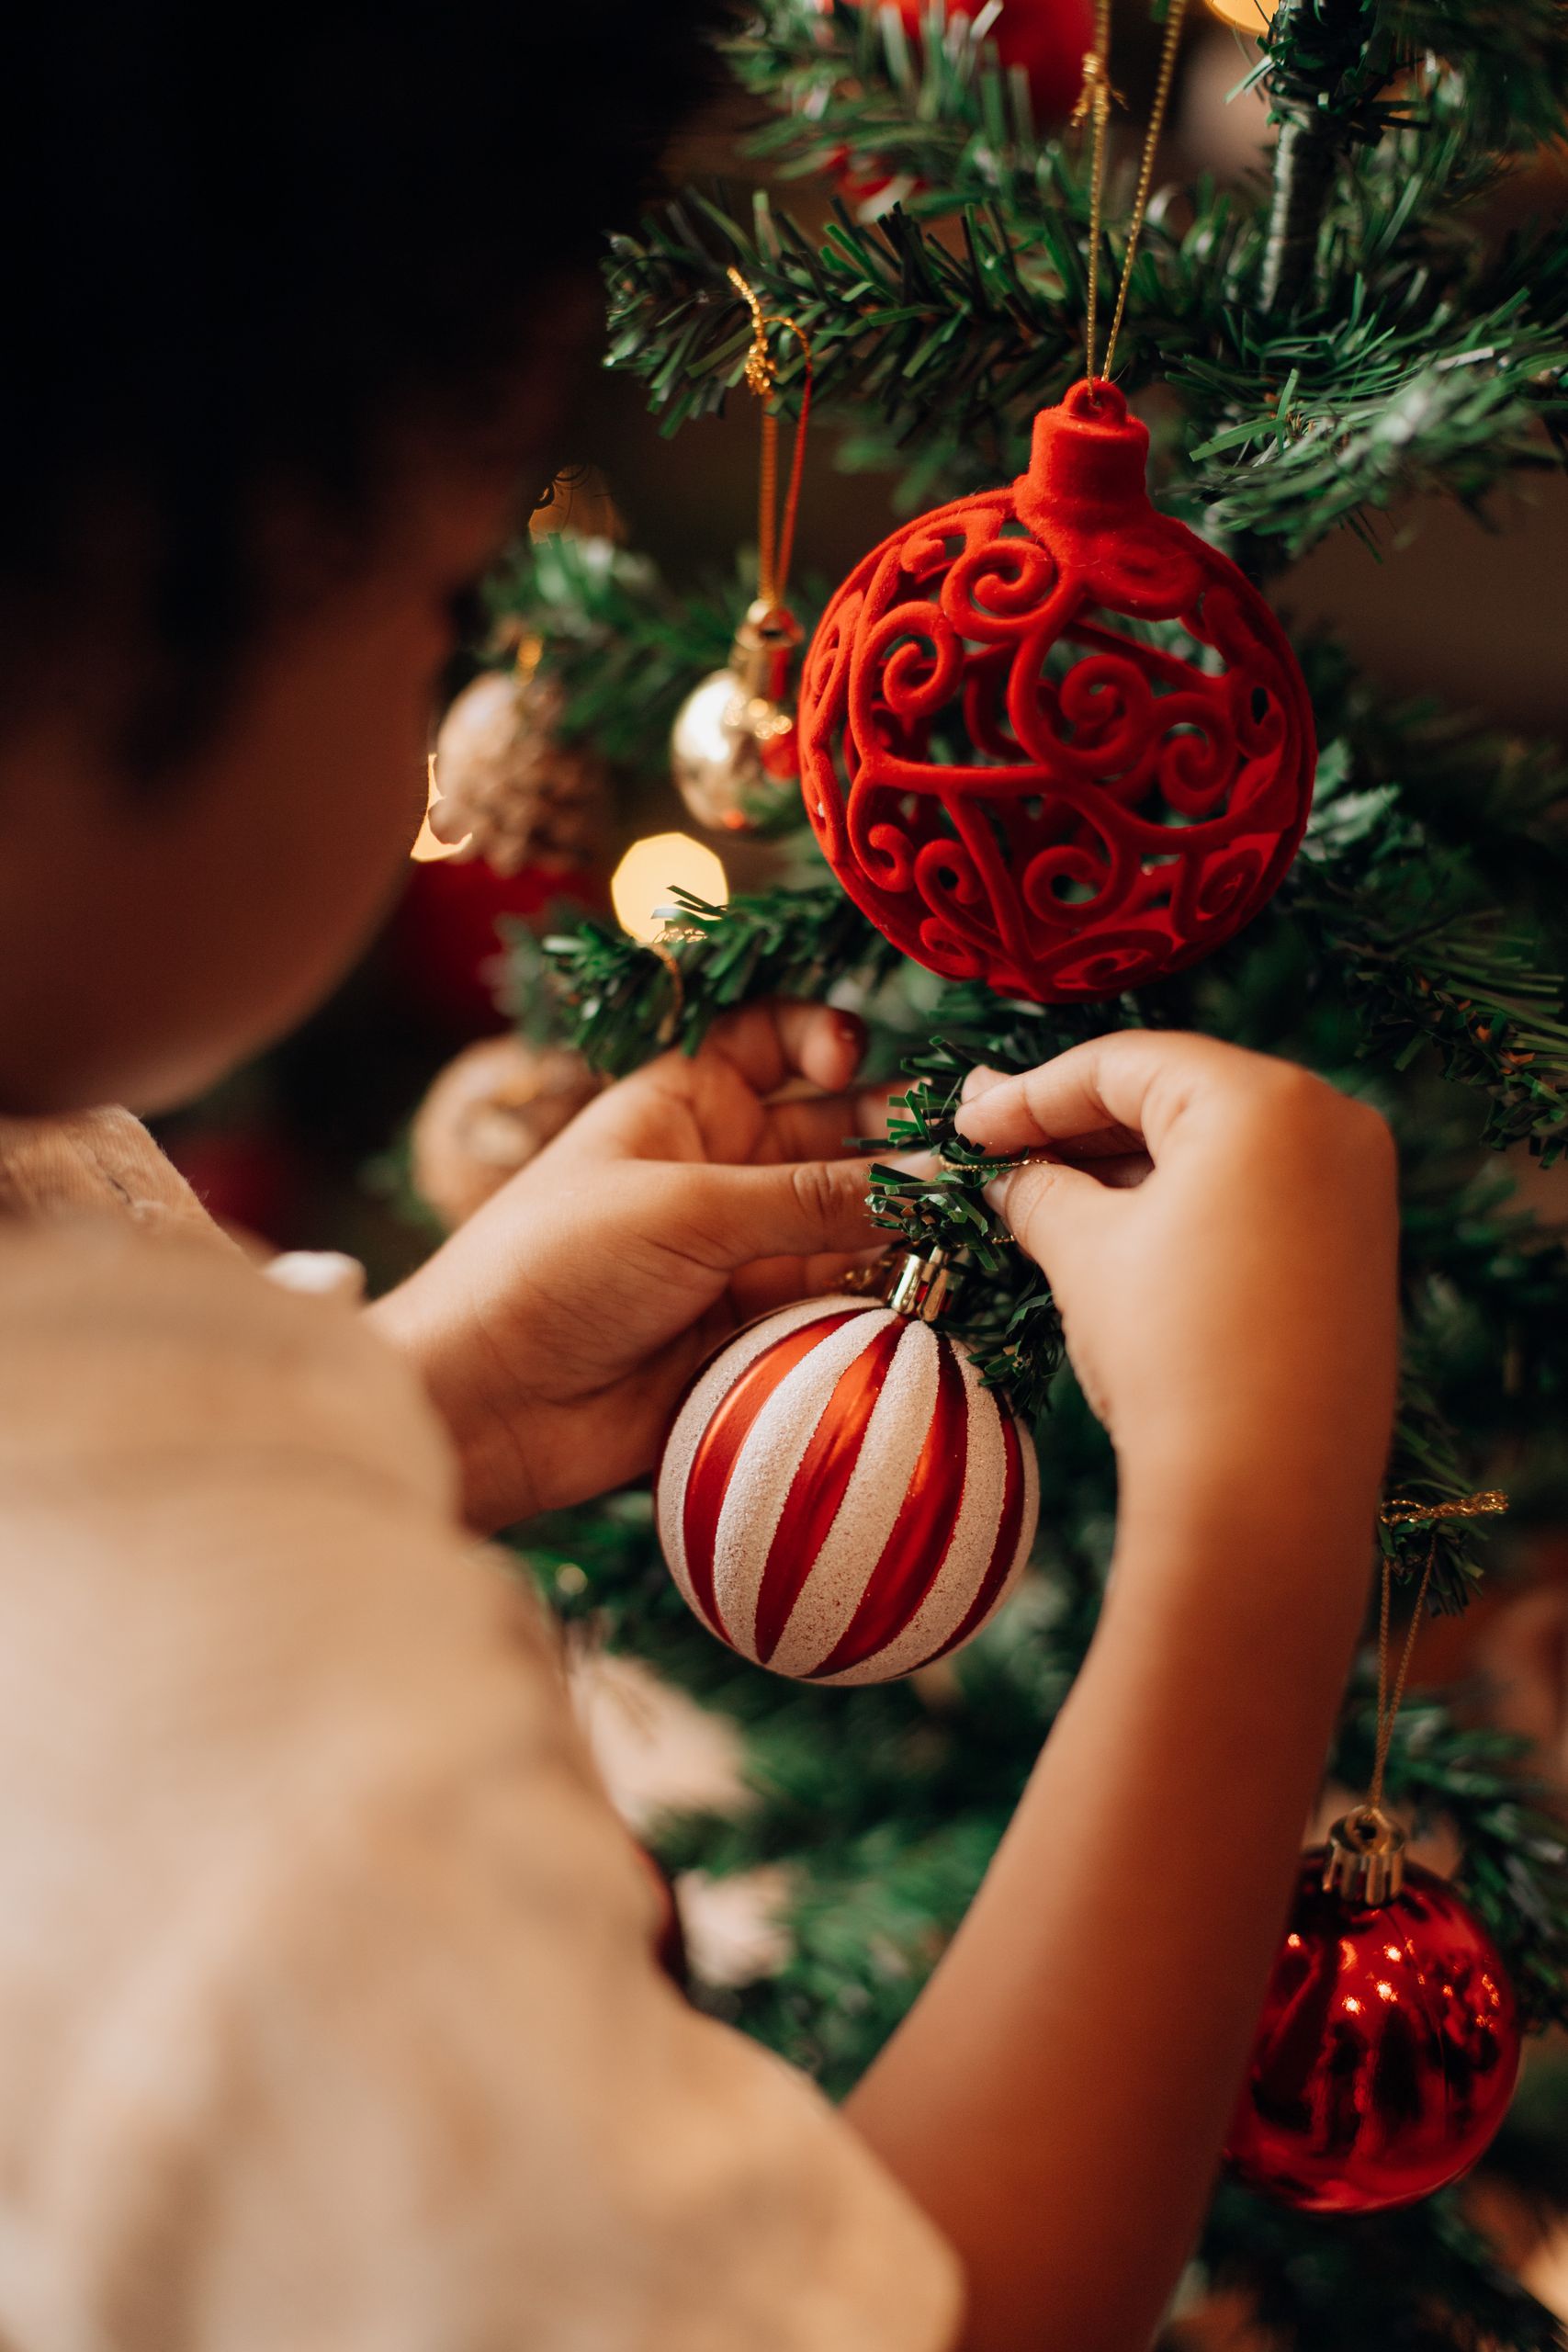
18 Christmas Ornament Ideas for Kids That Survive Real Children
A Christmas ornament made by a child is the one decoration I never throw away, even when it is lopsided, and I learned why the year my daughter cried because her paper angel fell off the tree. These christmas ornament ideas are the ones my children actually made, hung, and asked to make again, and I kept only the ornaments that survived a full season on our tree.
How I picked these: I made each ornament with my children, aged 4 to 9, using supplies from our craft cupboard or a pound shop. I kept an ornament only if a child could finish it in under an hour, it hung safely without breaking on the first fall, and we still liked it in January. Every idea below tells you what it cost, how long it took, and where it went wrong.
Key Takeaways
- Salt dough, paper, and felt beat glass for children every time, because falls happen.
- Let children choose colours, even if they clash, or they will not care about the ornament.
- Seal painted ornaments with clear varnish, or the paint will flake by New Year.
- Hang child-made ornaments on lower, sturdier branches where they can be seen and touched.
- Make two of each favourite, because one will break, and the spare saves tears.
18 Christmas Ornament Ideas for Kids
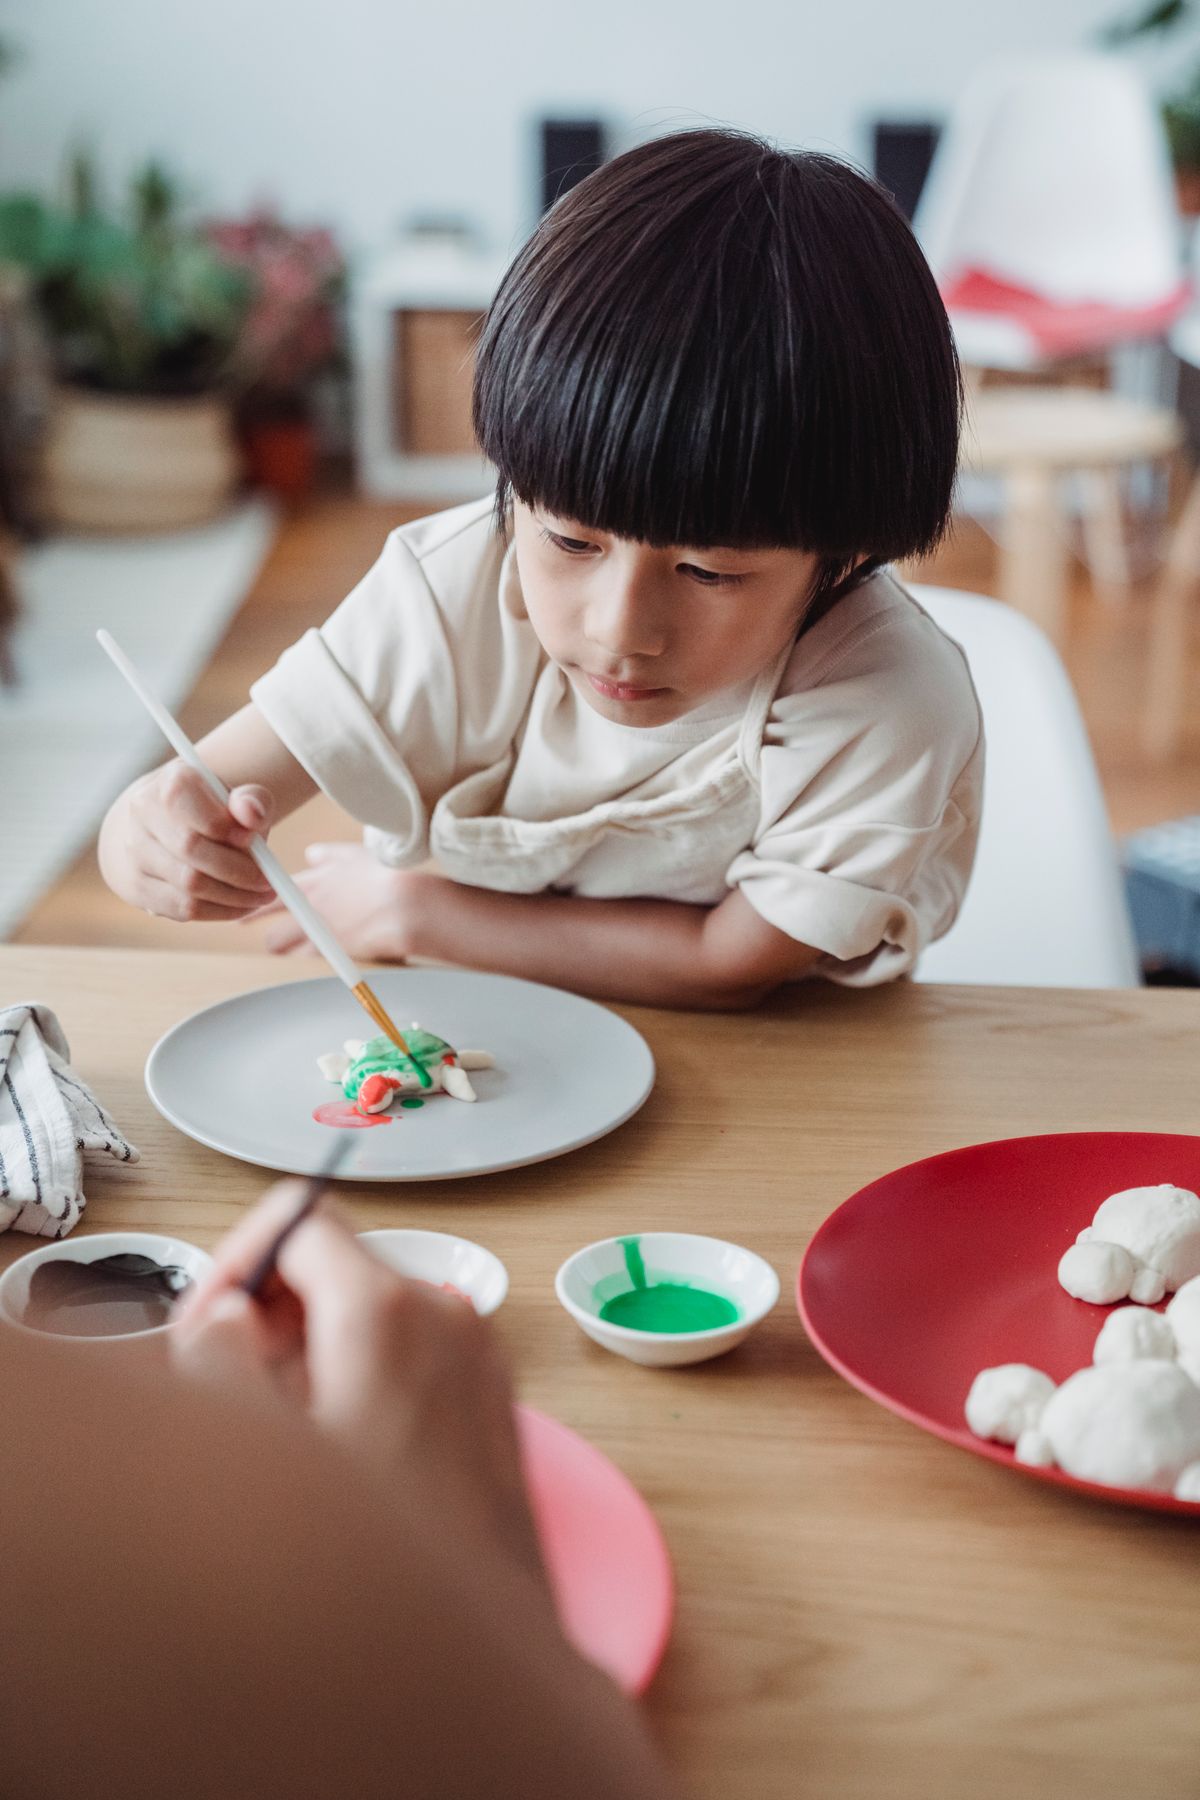
1. The Salt Dough Star
We mixed two cups of flour, one cup of salt, and one cup of water, rolled it flat, and cut stars with a cookie cutter. My children painted them red and gold after baking at a low oven for two hours, and we threaded ribbon through a straw hole.
My youngest pressed her thumbprint into the centre of one star before painting, and that slightly wonky star is now the first ornament we hang every year.
The downside is thickness. My first stars were too thick and stayed soft inside, then cracked a week later. I now roll the dough to about half a centimetre and bake until fully hard.
Pro Tip: Roll the dough thin and bake it fully hard, or thick stars will crack later.
Cost / Time / Difficulty: $2 to $4 | 1 hour plus baking | Easy
2. The Paper Angel
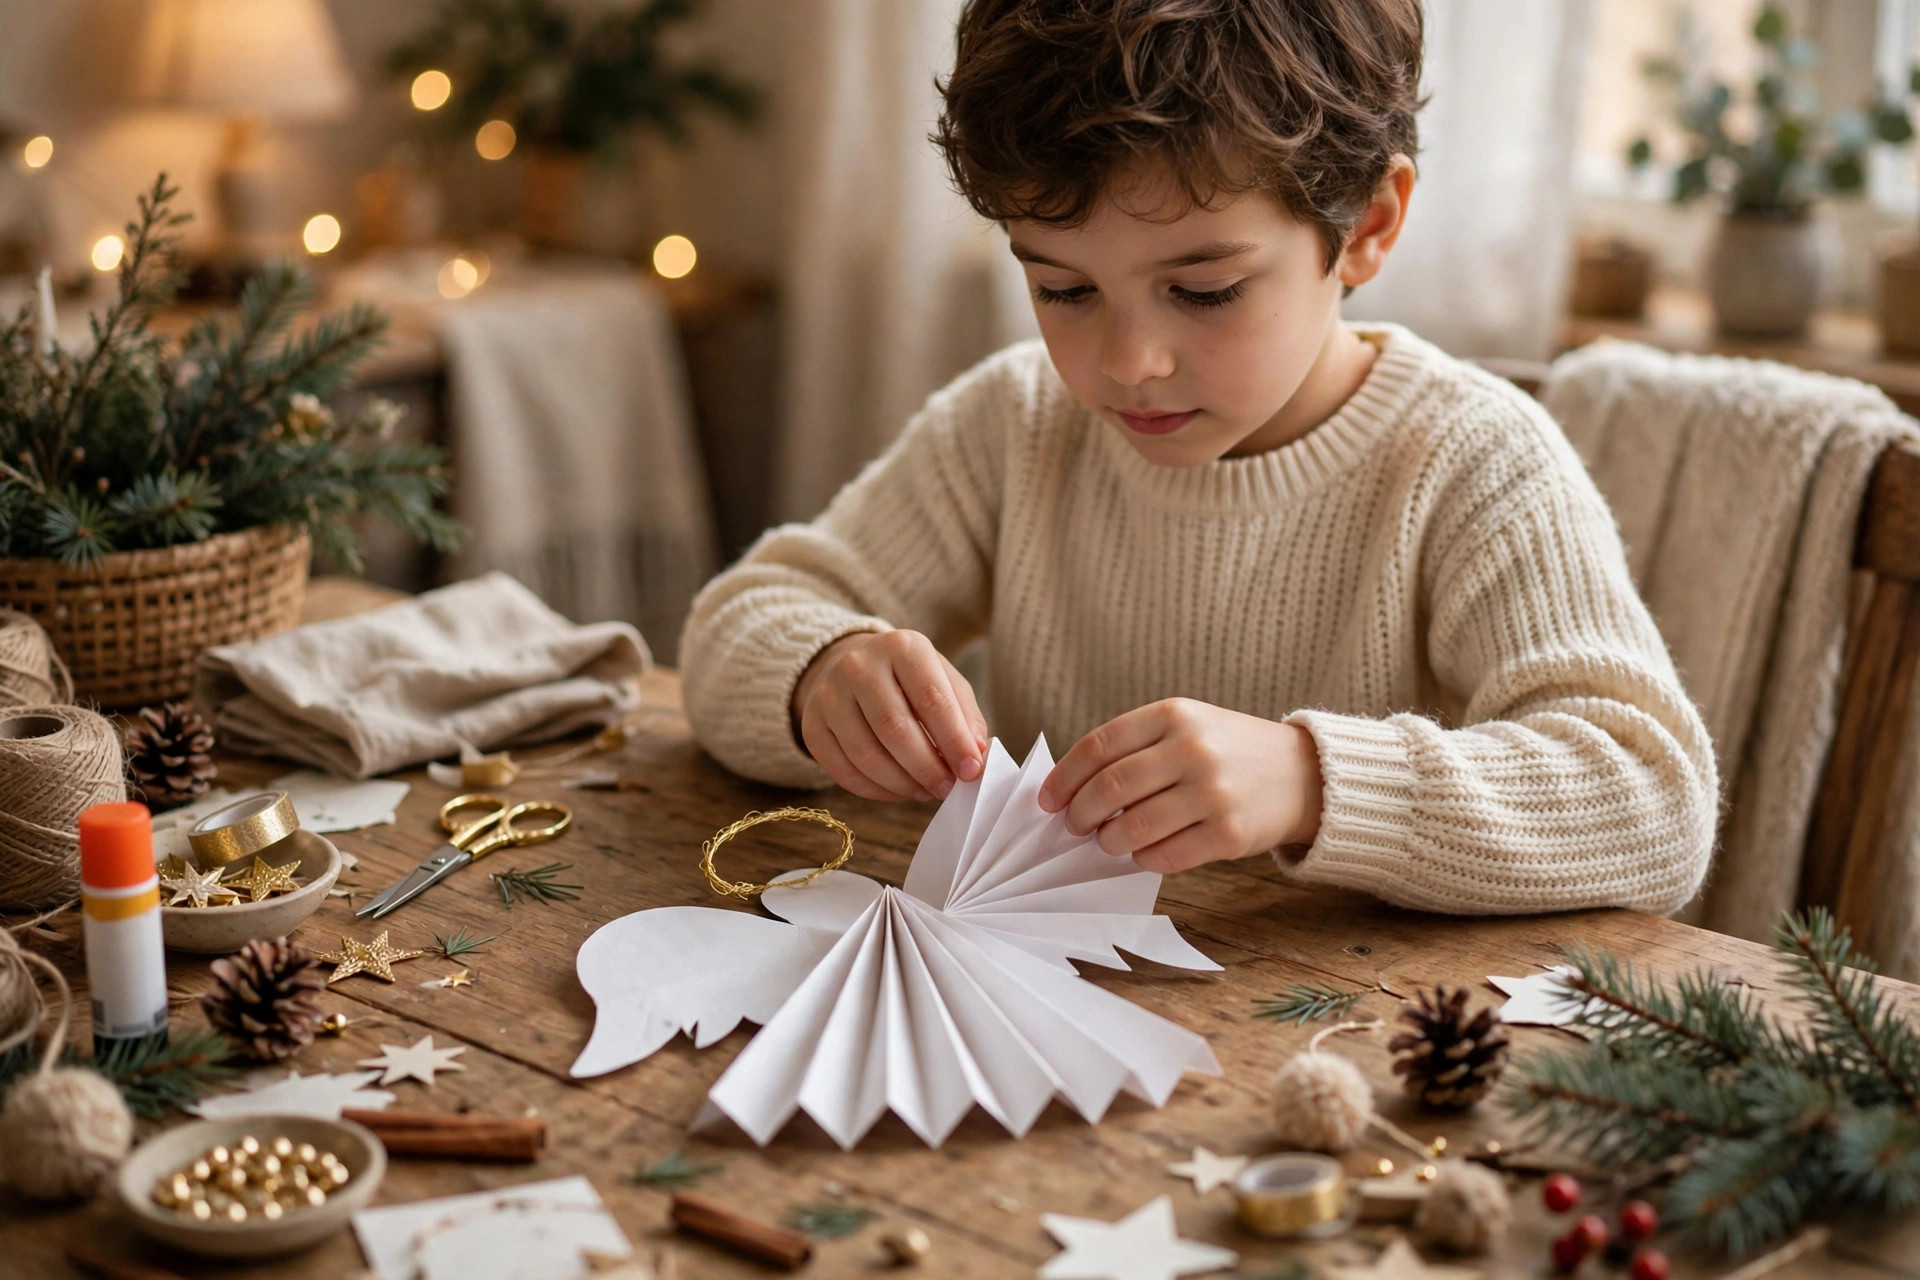
We folded white paper into a simple angel with a round head and pleated wings, then added a gold pipe cleaner halo. My daughter made three in one afternoon, and they looked lovely against our green tree.
My daughter insisted on giving each angel a different coloured halo, and I learned to let her choose, because the mismatched angels are the ones she still remembers.
The downside is fragility. My first angels tore when hung by thin thread, because the paper was too light. I switched to thicker card and a loop of ribbon, and they lasted all season.
Pro Tip: Use card, not thin paper, and hang angels with ribbon loops, not thread.
Cost / Time / Difficulty: $1 to $3 | 30 minutes | Easy
3. The Snowflake Ornament
We cut snowflakes from white paper and stiffened them with a light spray of starch, then hung them with silver thread. My son cut six different patterns, and no two looked alike, which he loved.
We folded the leftover paper scraps into tiny stars for the mantel, so nothing was wasted, and my son proudly pointed out his own pattern on every visit from grandparents.
The downside is that paper snowflakes wilt in a damp room. My first batch drooped near our hallway window, so I moved them to the dry living room tree and sealed them with clear spray.
Pro Tip: Seal paper snowflakes with clear spray and keep them away from damp windows.
Cost / Time / Difficulty: $1 to $2 | 45 minutes | Easy
4. The Red Bauble Friend
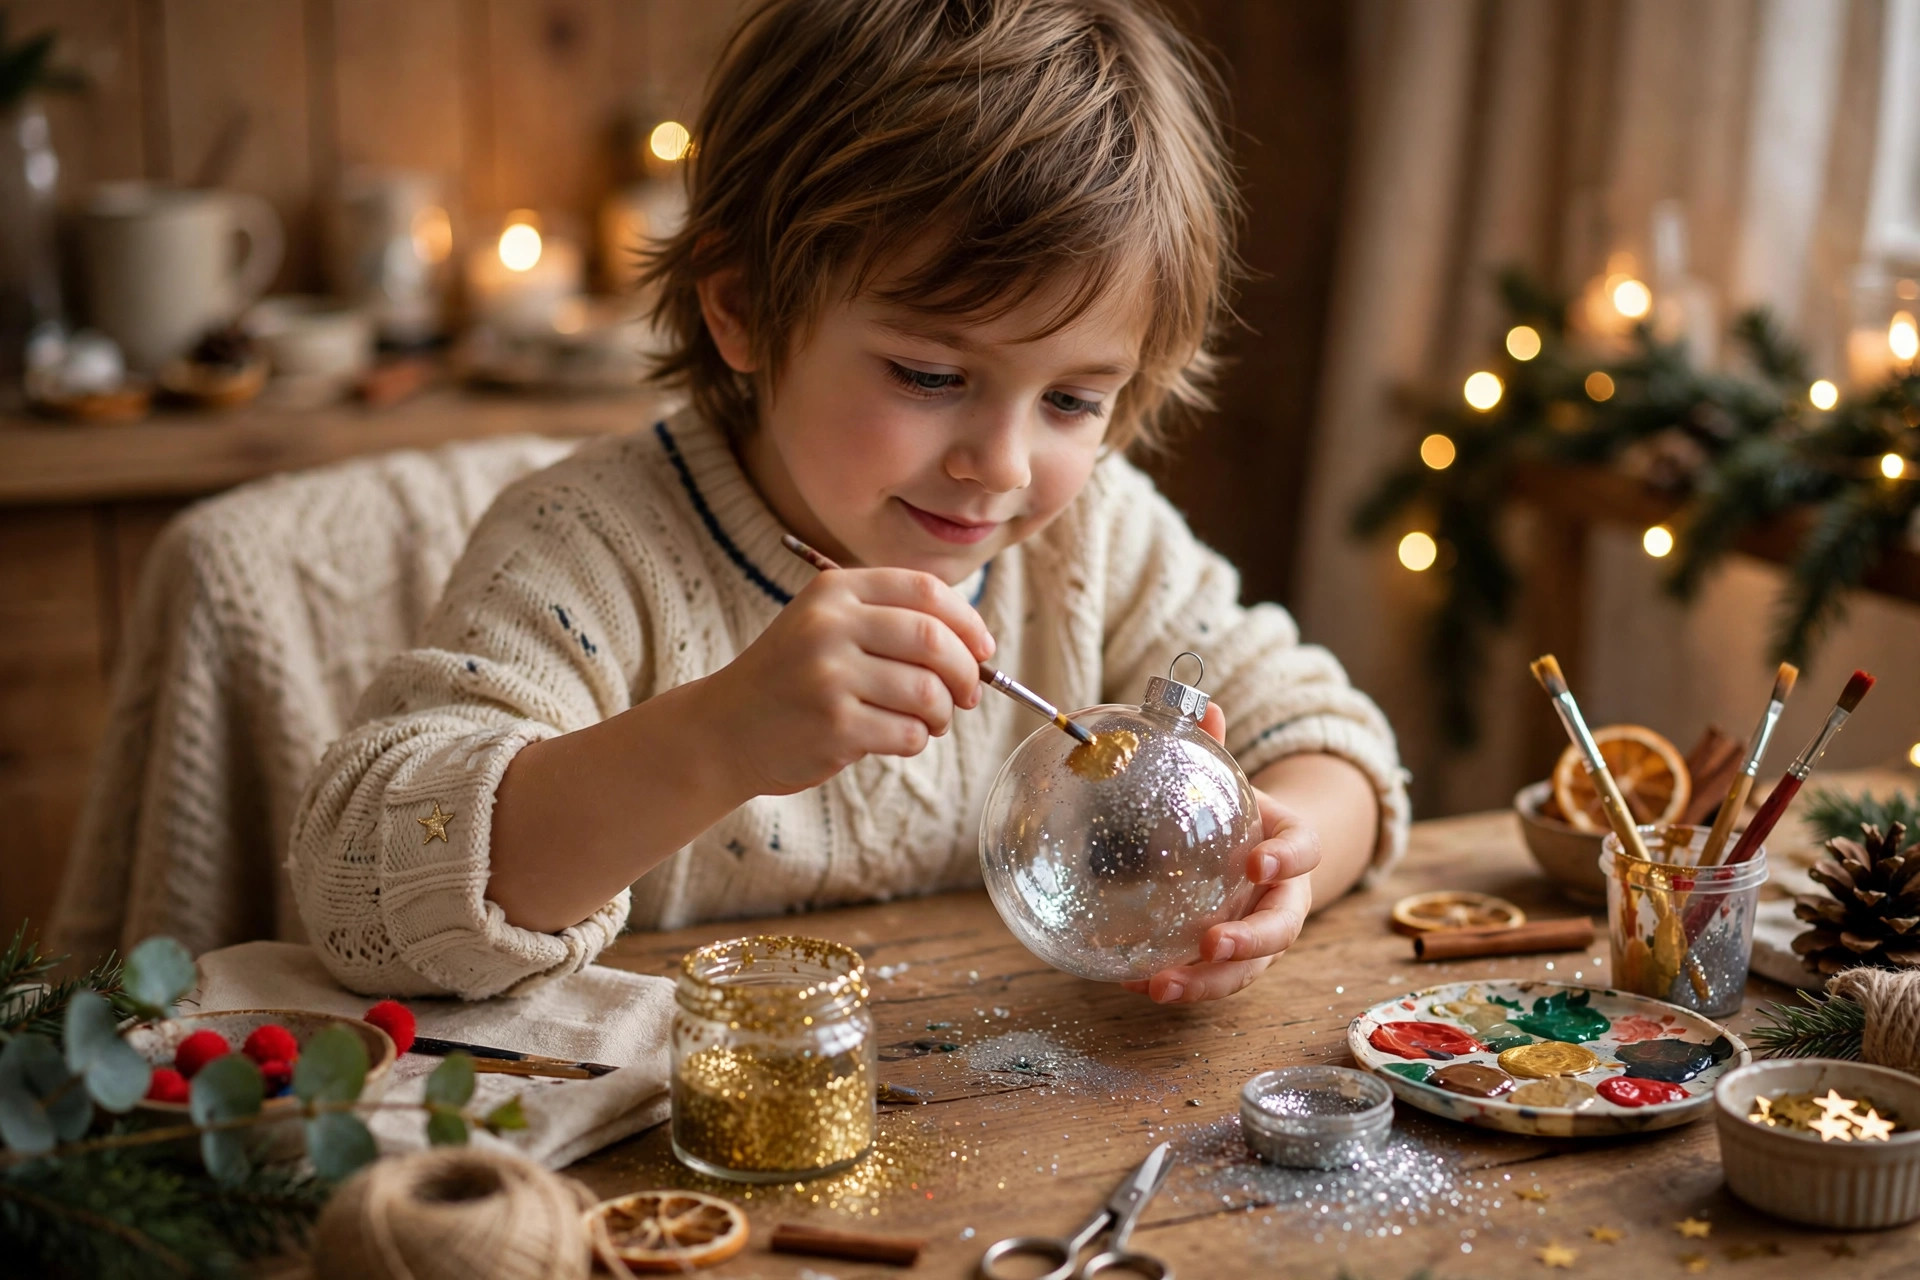
We bought plain red baubles and let my children decorate them with stickers, glitter glue, and their names in paint pen. The baubles were plastic, not glass, so drops did not matter, and each child recognised their own bauble instantly.
I bought a pack of twelve plain baubles for under six dollars, which meant each child could ruin one and still have plenty left, and that took all the pressure off.
The downside is glitter everywhere. My first glitter session ended with glitter on the sofa, the dog, and me. I now do glitter work on a tray, outdoors if possible, and seal the baubles the next day.
Pro Tip: Do glitter work on a tray and seal it the next day, or it will shed all December.
Cost / Time / Difficulty: $3 to $6 for a pack | 1 hour | Easy
5. The Plush Reindeer
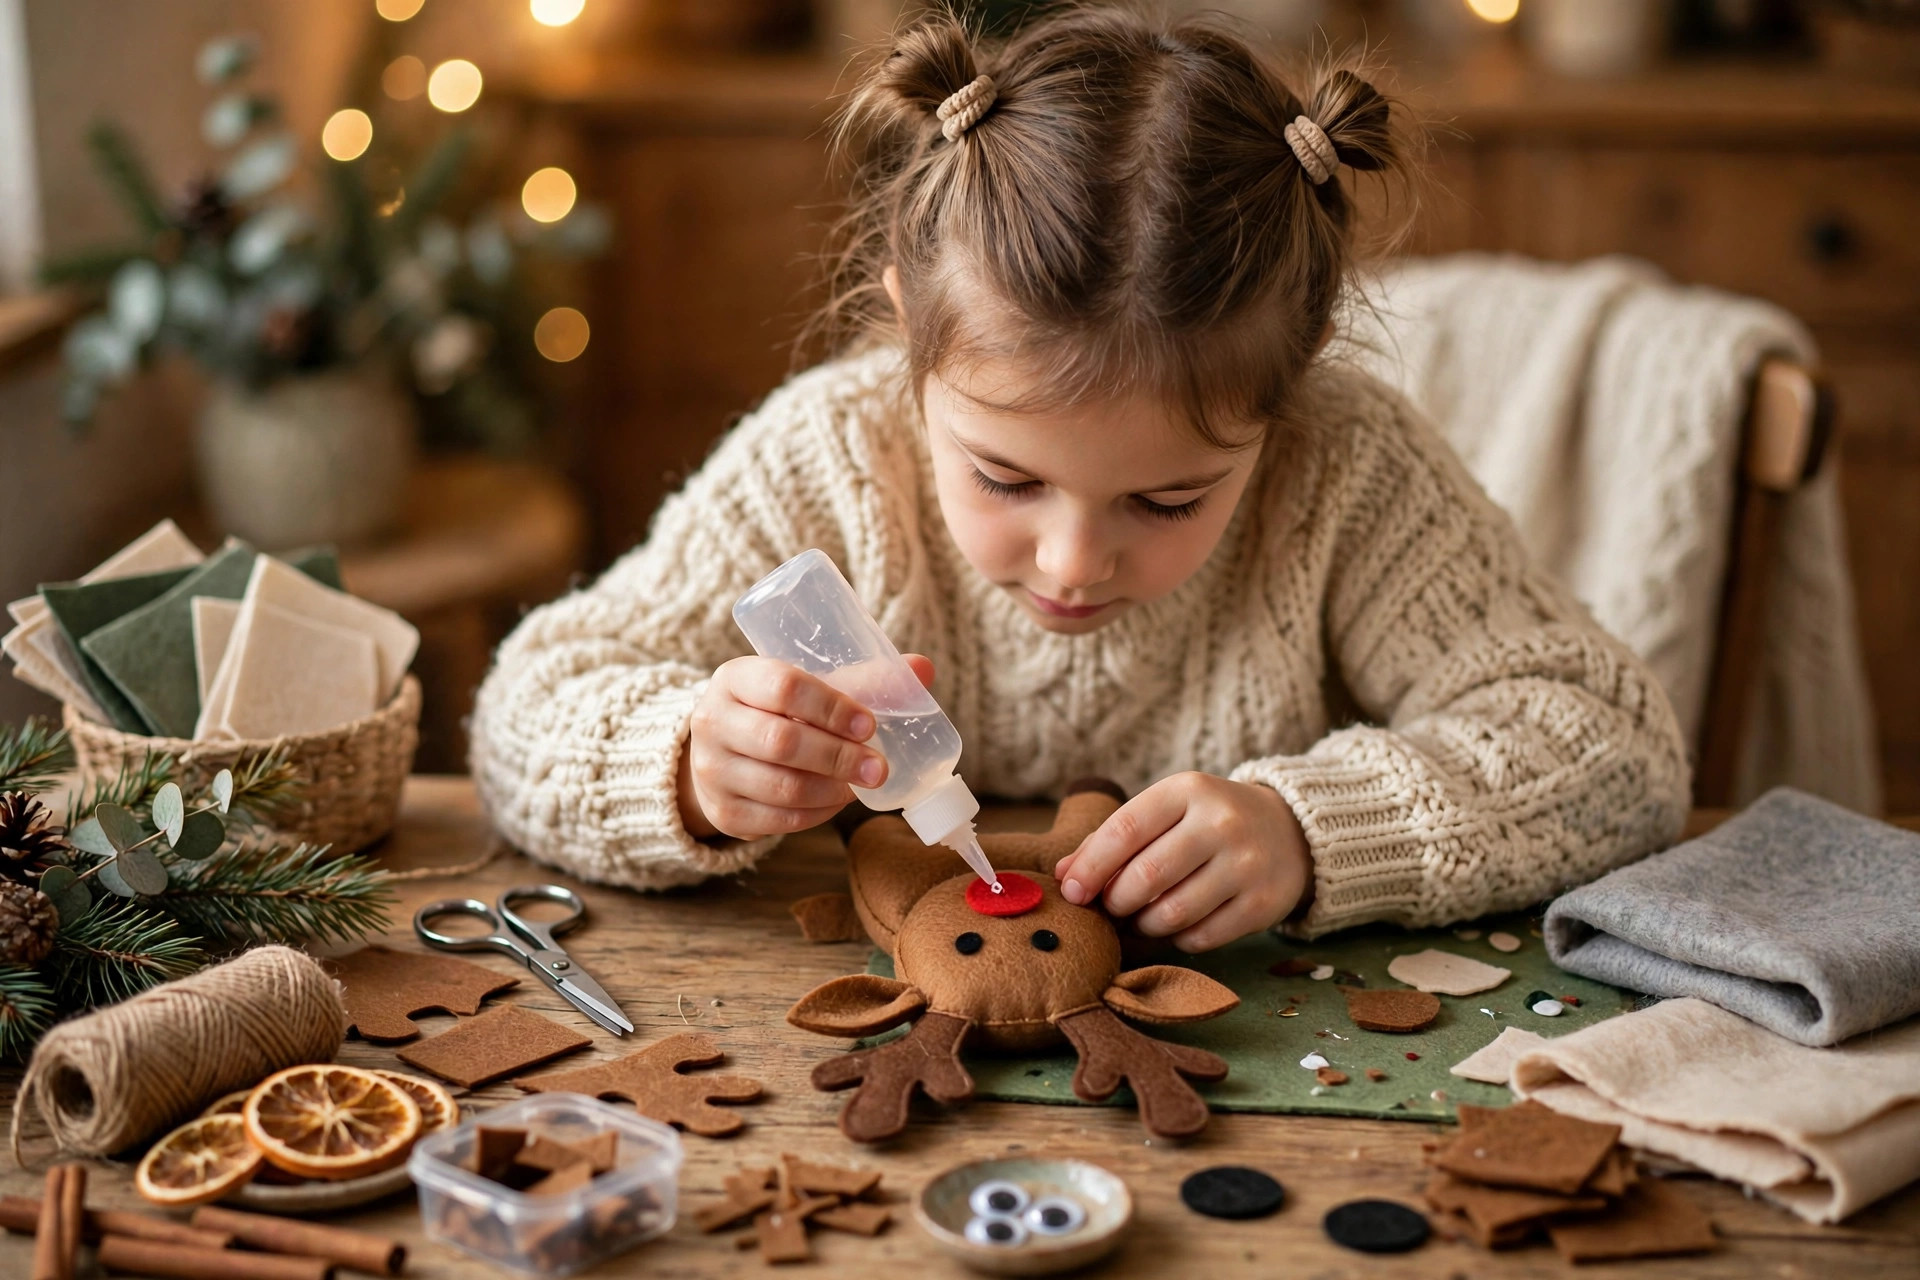
We made a small plush reindeer from brown felt, stuffed it lightly, and added googly eyes and a red pom-pom nose. It was soft, safe for toddlers, and became the ornament my youngest hugged every night.
My youngest chose the googly eyes herself, one big and one small, and I left them exactly like that, because her lopsided reindeer made us all laugh every time we saw it.
The downside is sewing. My first reindeer had loose stitches, and the stuffing escaped. I switched to fabric glue for younger children and only sewed the edges for older ones.
Pro Tip: Use fabric glue for younger children, and save sewing for children over seven.
Cost / Time / Difficulty: $3 to $5 | 1 hour | Easy
6. The Pine Branch Flat Lay Ornament
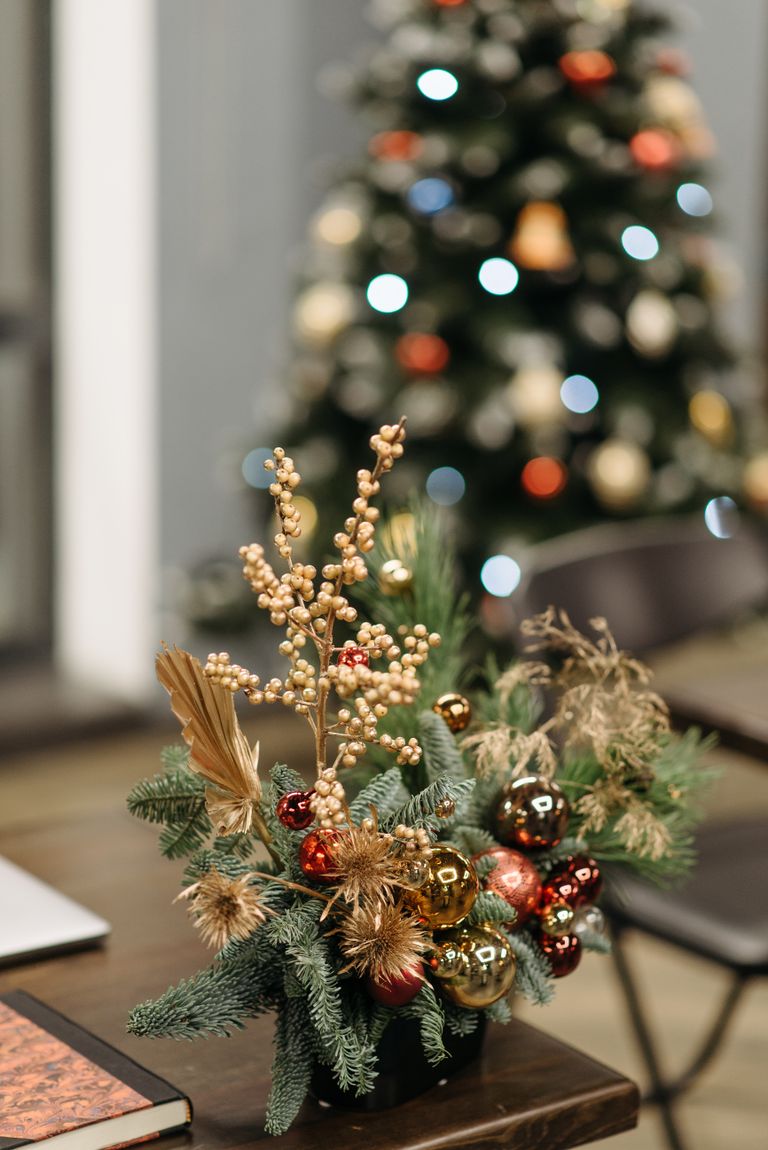
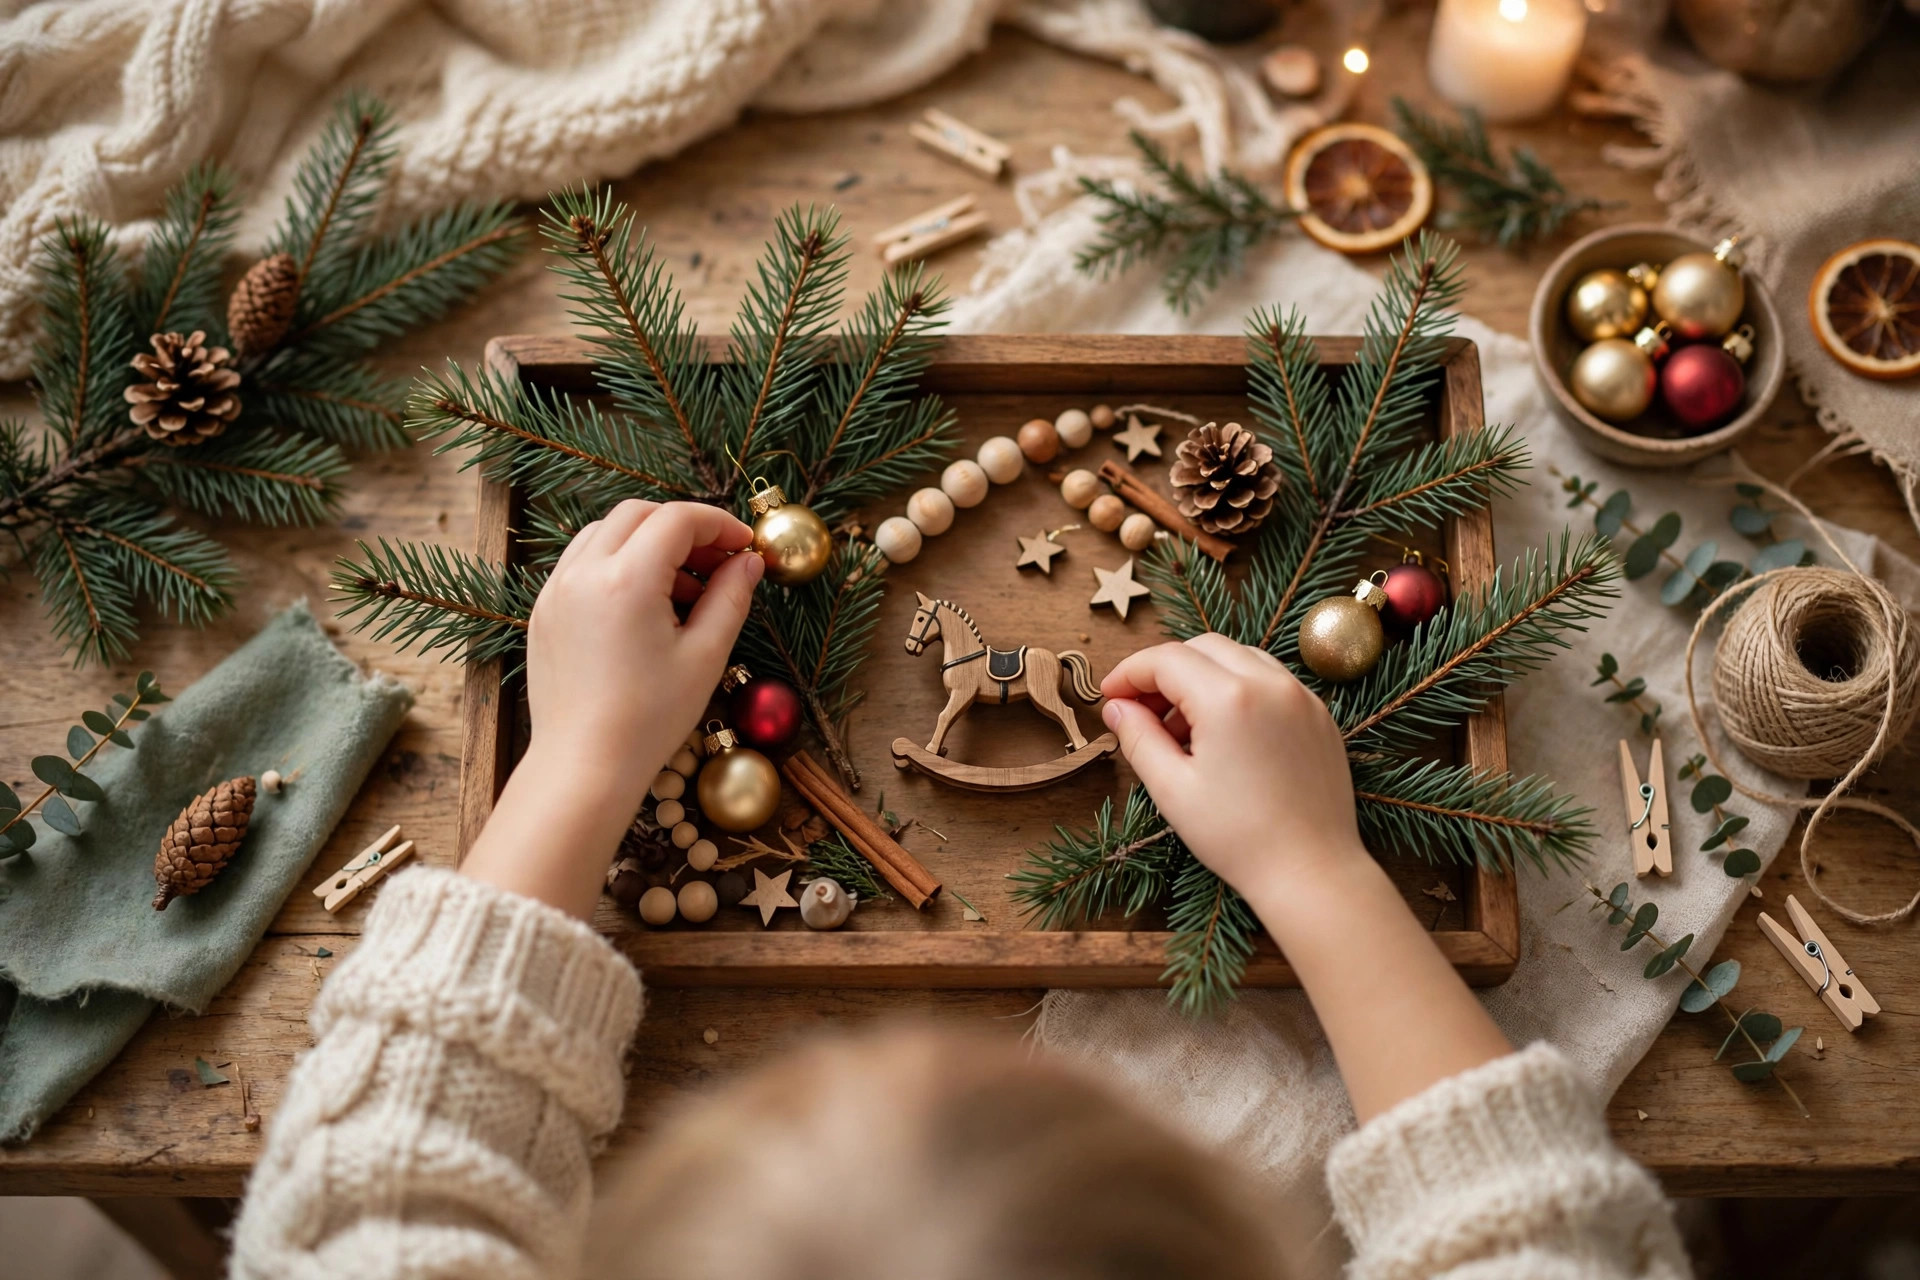
We arranged pine branches, small ornaments, and a tiny rocking horse on a tray, photographed it, and printed the photo as a flat ornament card for grandparents. It was a lovely keepsake, and grandparents framed theirs.
We printed two copies of the flat lay photo, one for each set of grandparents, and I wrote the date on the back in pen, which turned a simple print into a proper keepsake.
The downside is that a photo is not a tree ornament in the usual sense. My first print curled on the tree, so I mounted it on card and laminated it before hanging.
Pro Tip: Mount photo ornaments on card and laminate them, or they will curl on the tree.
Cost / Time / Difficulty: $2 to $4 | 30 minutes | Easy
7. The Gold Boot Ornament
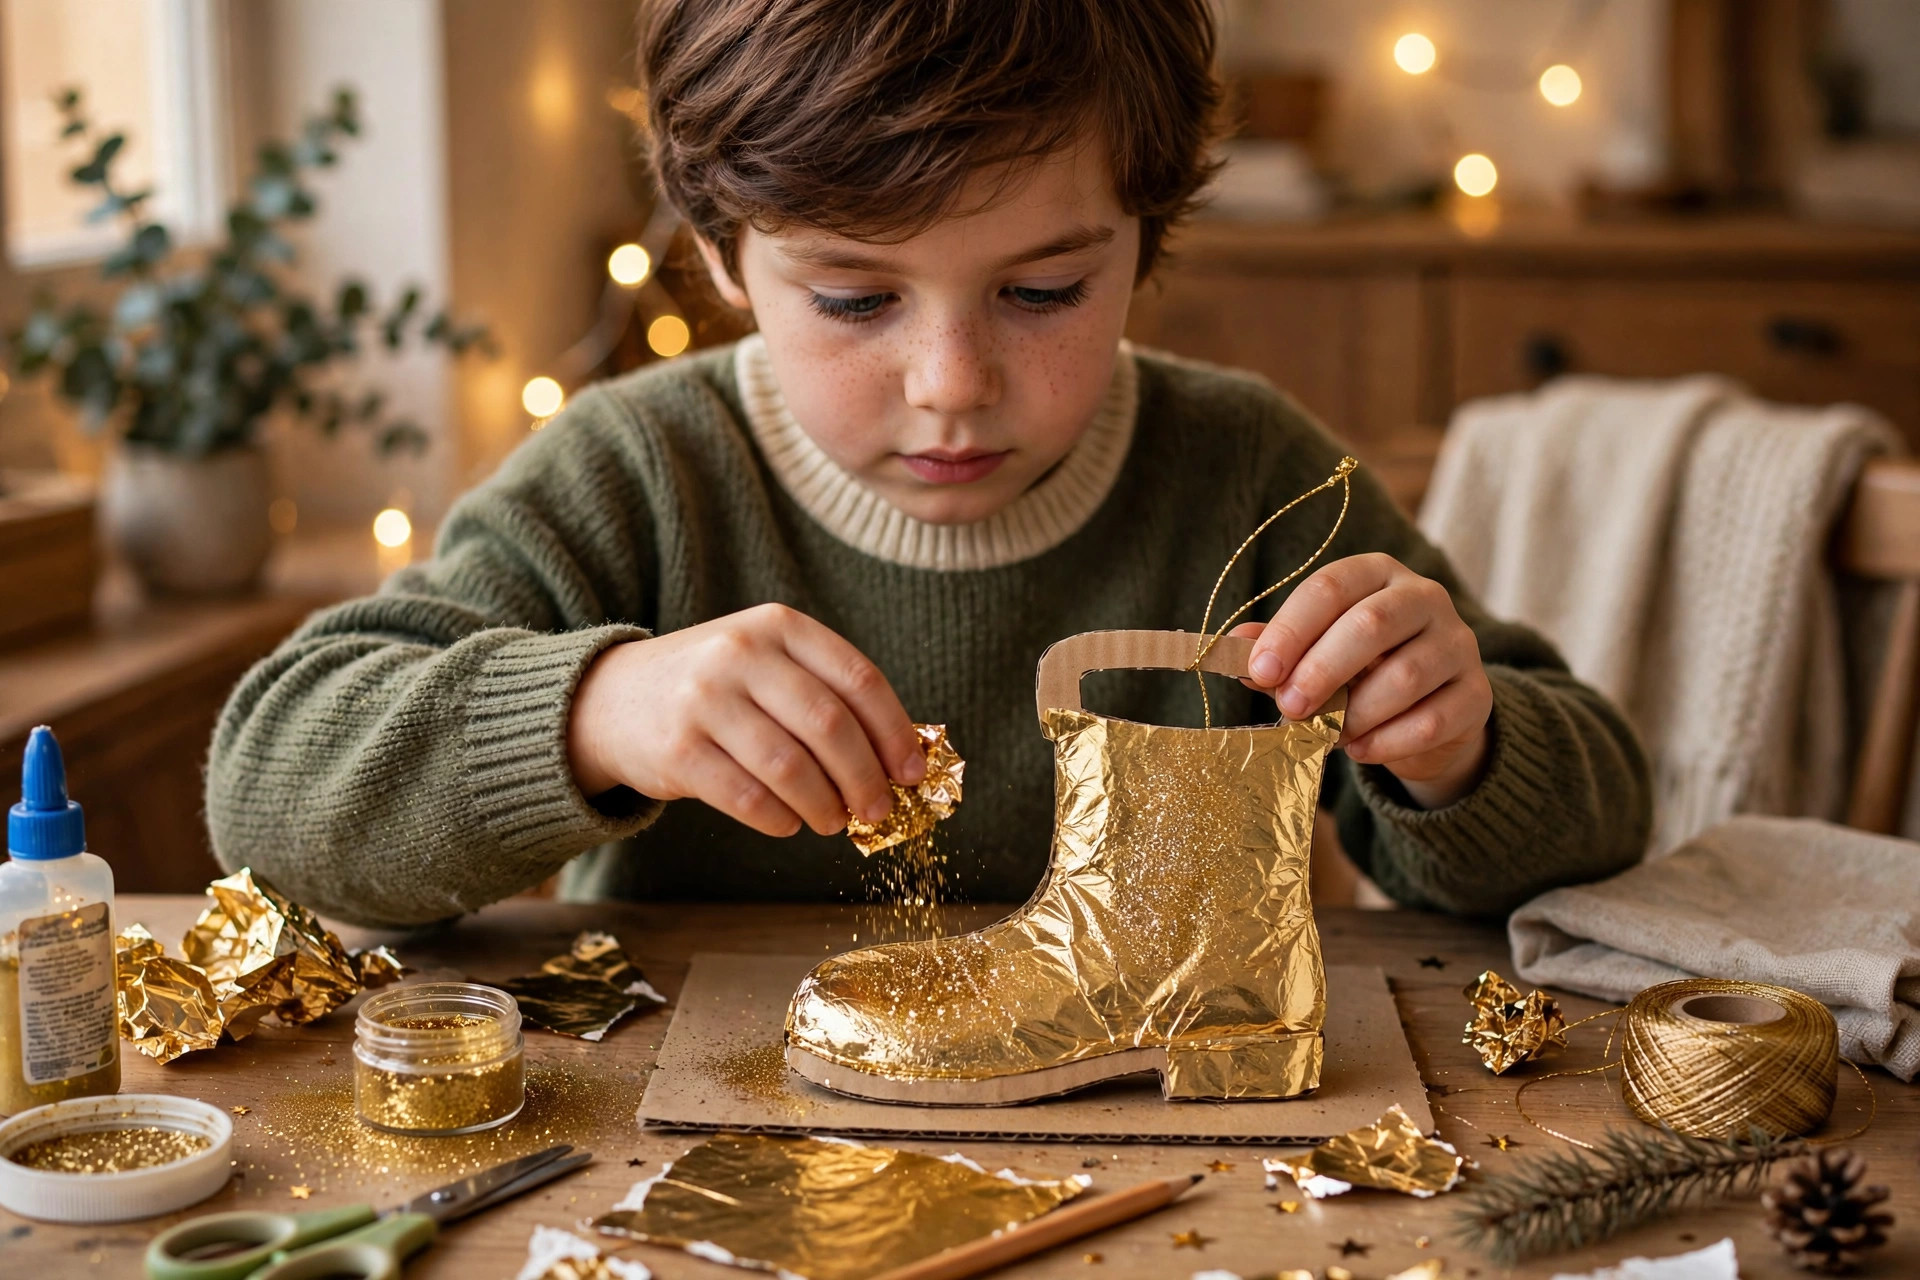
We covered a small cardboard boot shape with gold foil and glitter, then hung it with red ribbon. It looked expensive, cost almost nothing, and my daughter insisted it go at the front of the tree.
My daughter painted the boot with a cotton bud for the tiny edges, which kept the foil neat, and she still tells visitors she made the fanciest ornament on our tree.
The downside is foil tearing. My first boot tore when my daughter pressed too hard, so I backed the cardboard with tape before foiling.
Pro Tip: Back cardboard shapes with tape before foiling, so little hands cannot tear through.
Cost / Time / Difficulty: $2 to $4 | 45 minutes | Easy
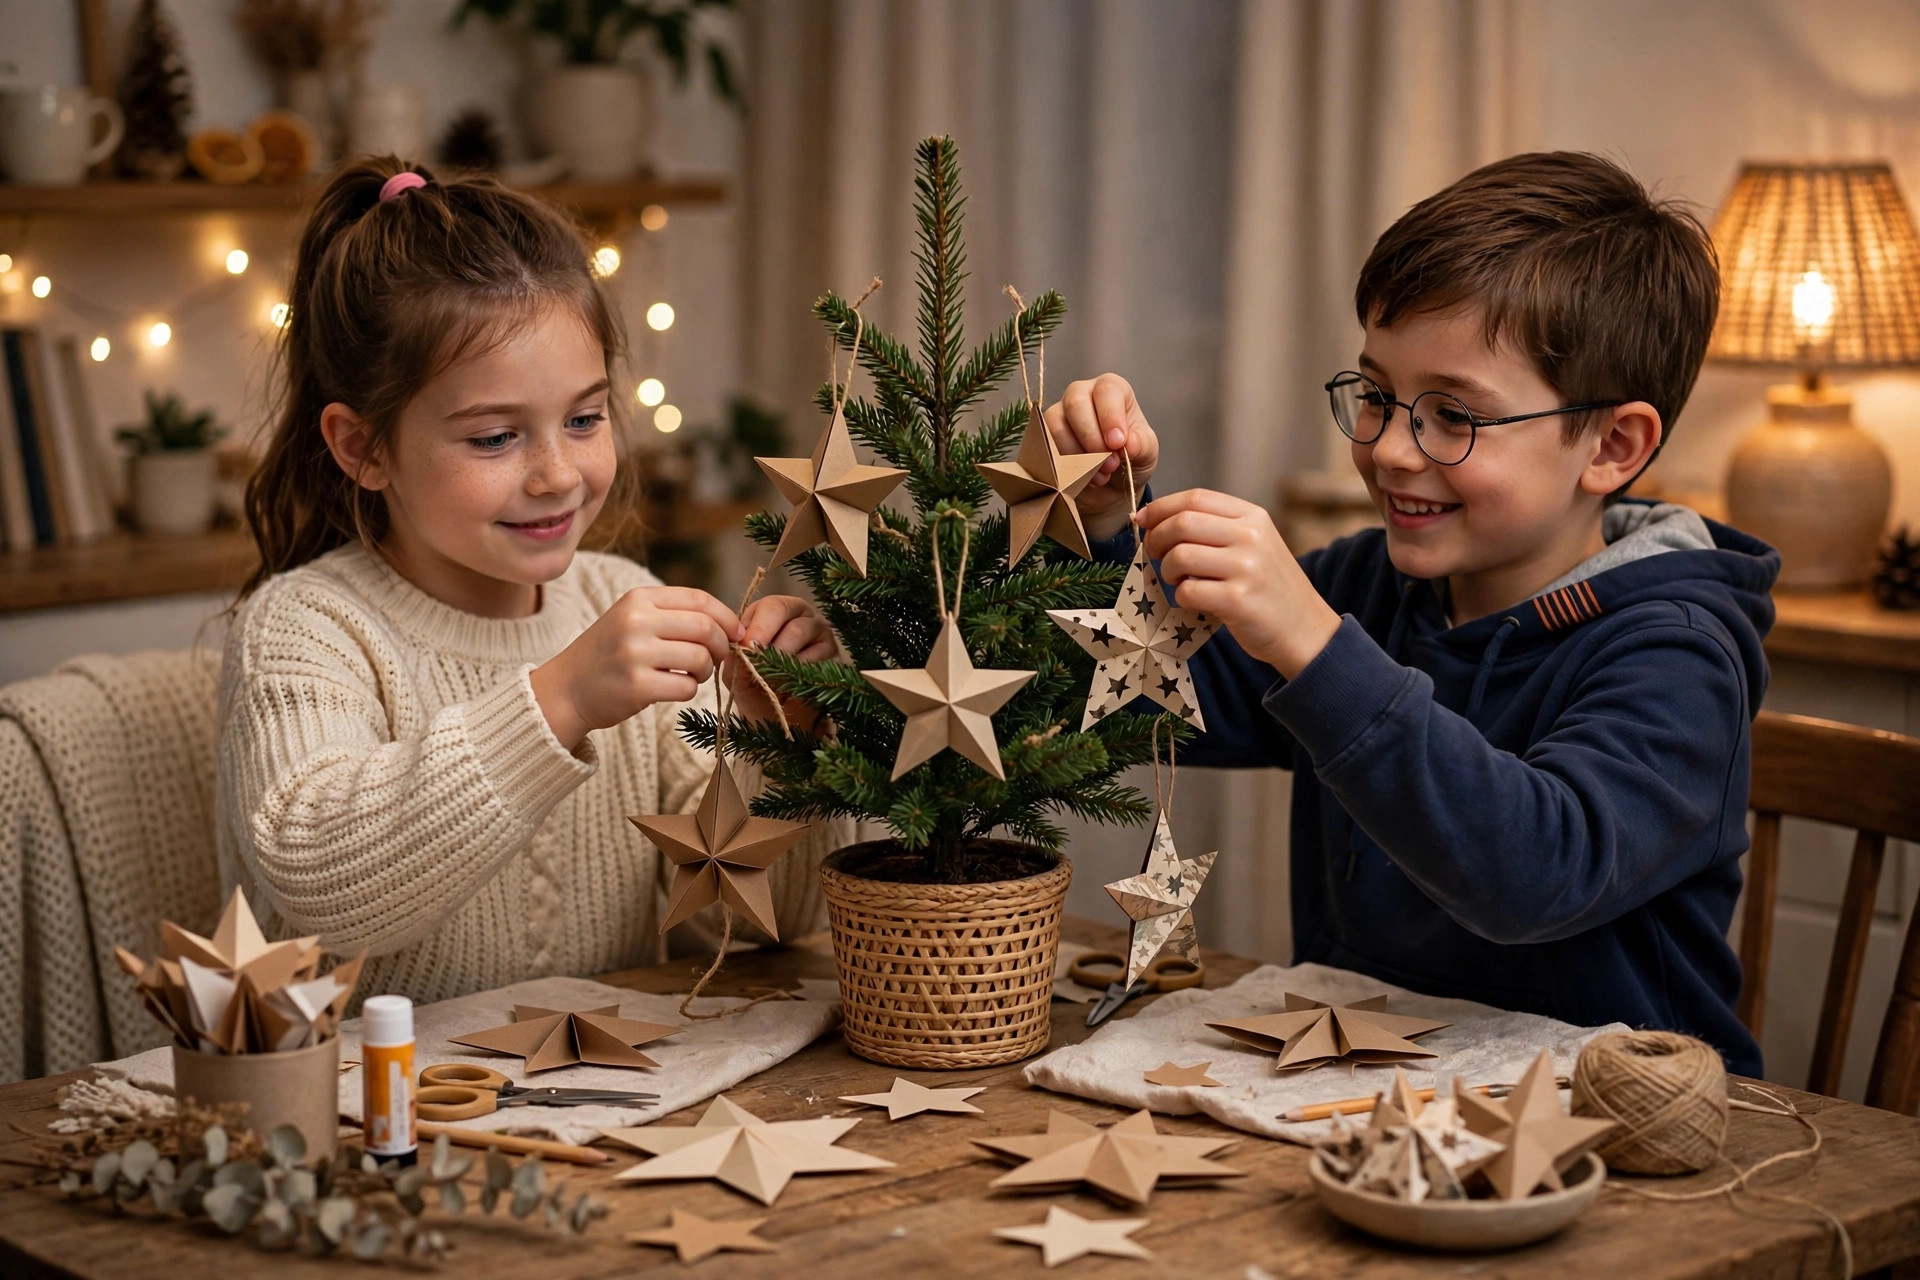
8. The Colourful Tree Ornament Set
We decorated a small tabletop tree with colourful ornaments my children chose themselves, mixing shop-bought baubles with their own paper stars. It became their own tree, and they stopped rearranging our main tree.
Their little tree sat on a sturdy side table by the window, and I checked every evening that it was not leaning, because a child tree near a curtain needs a stable base.
The downside is that a child tree gets crowded fast. My first tabletop tree collapsed under too many ornaments, so I limited each child to six ornaments on it.
Pro Tip: Limit a child tree to six ornaments per child, or it will topple.
Cost / Time / Difficulty: $5 to $10 | 1 hour | Easy
9. The Glitter Red Ornament
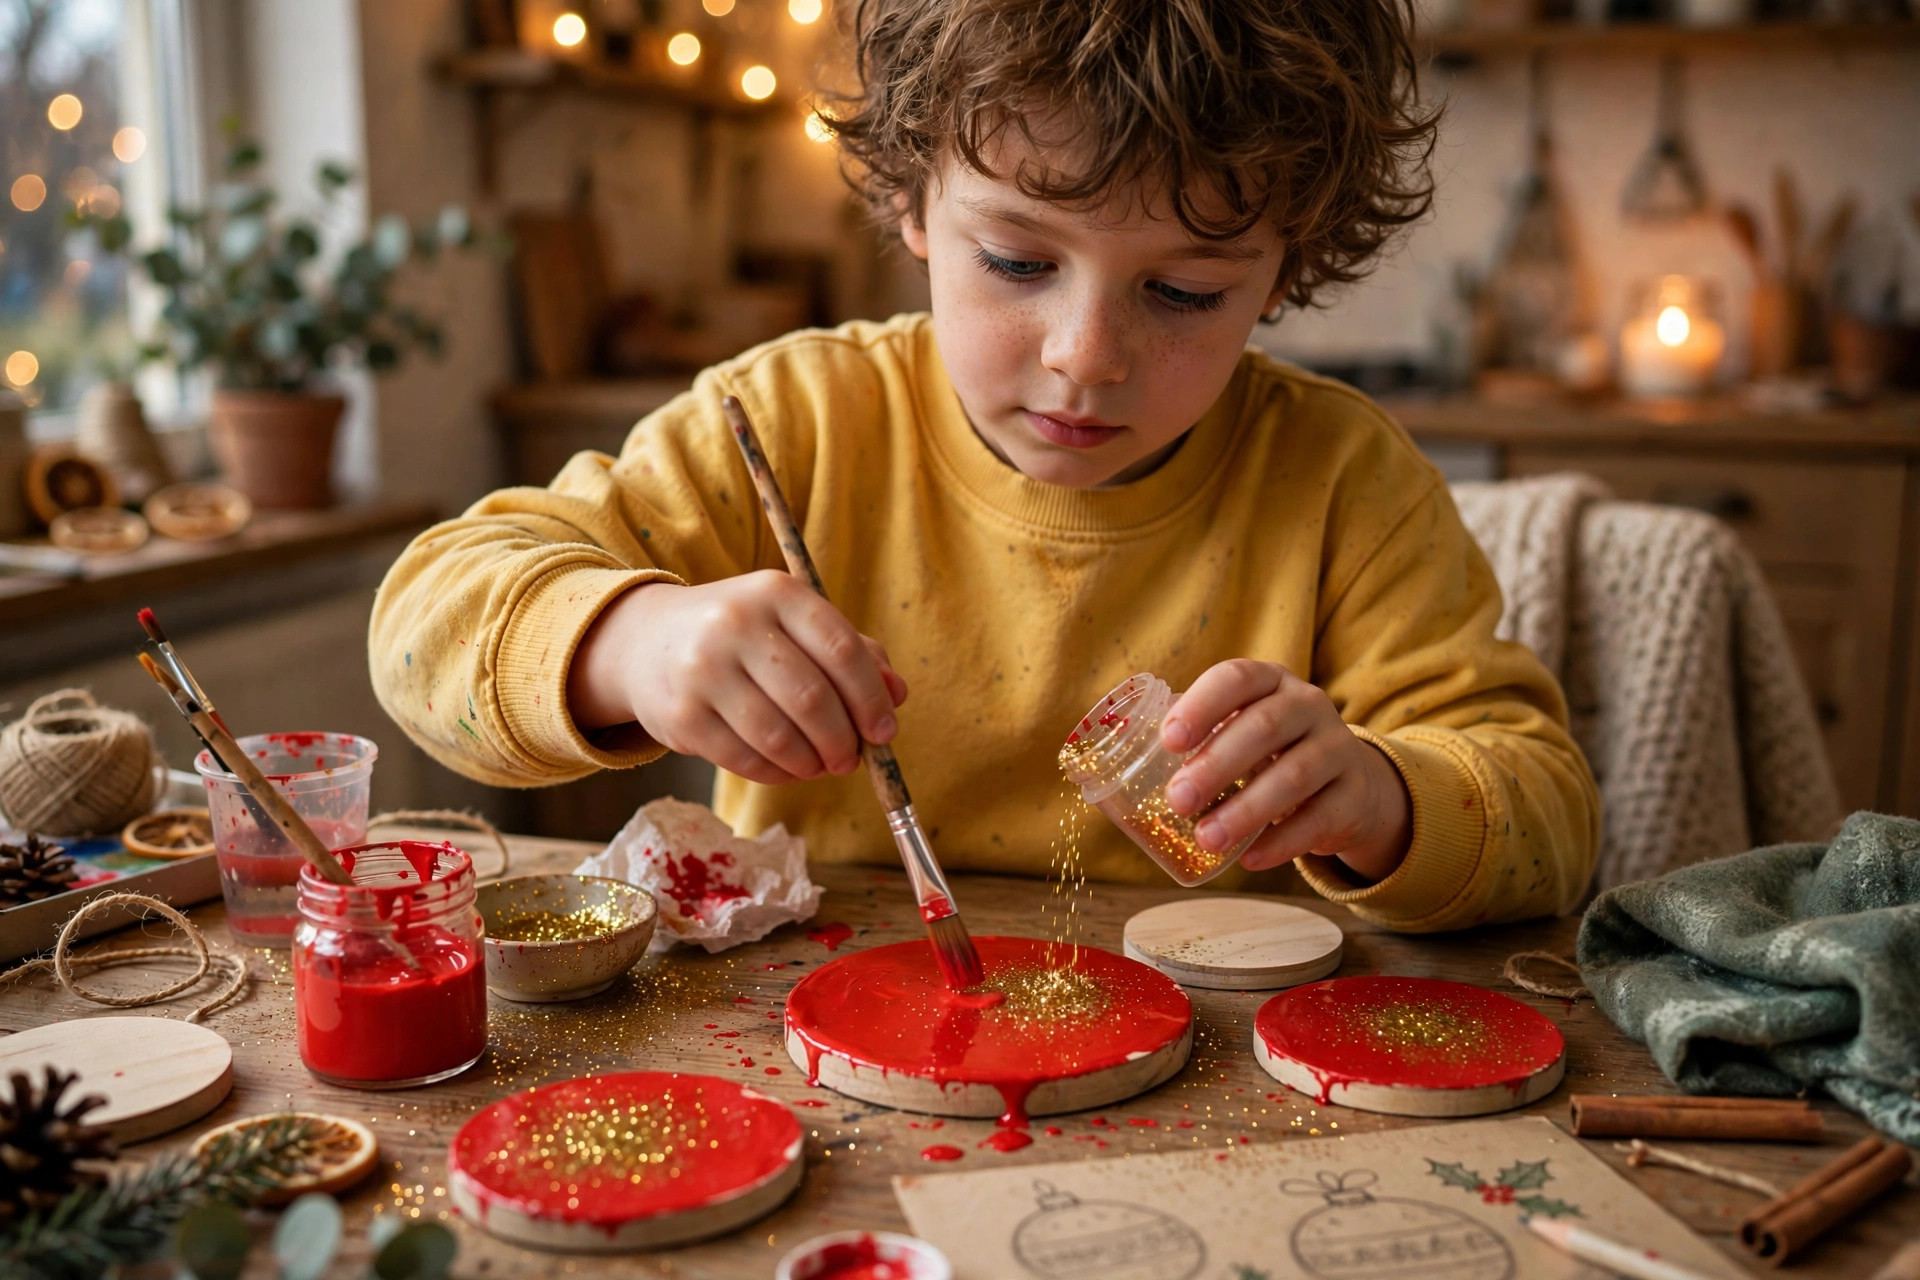
We painted plain wooden discs red, added glitter while wet, and sealed them once dry. The discs were sturdy, cheap, and looked like expensive baubles on the tree.
We used a sponge brush for the red paint, which gave a smooth finish without brush marks, and my son loved dabbing the glitter on with his fingers, messy as that was.
The downside is drying time. My first discs smudged because my children handled them too soon, so I now leave them overnight before sealing.
Pro Tip: Leave glitter discs overnight before sealing, or little fingerprints will stay forever.
Cost / Time / Difficulty: $3 to $5 | 1 hour plus drying | Easy
10. The Red Velvet Ornament
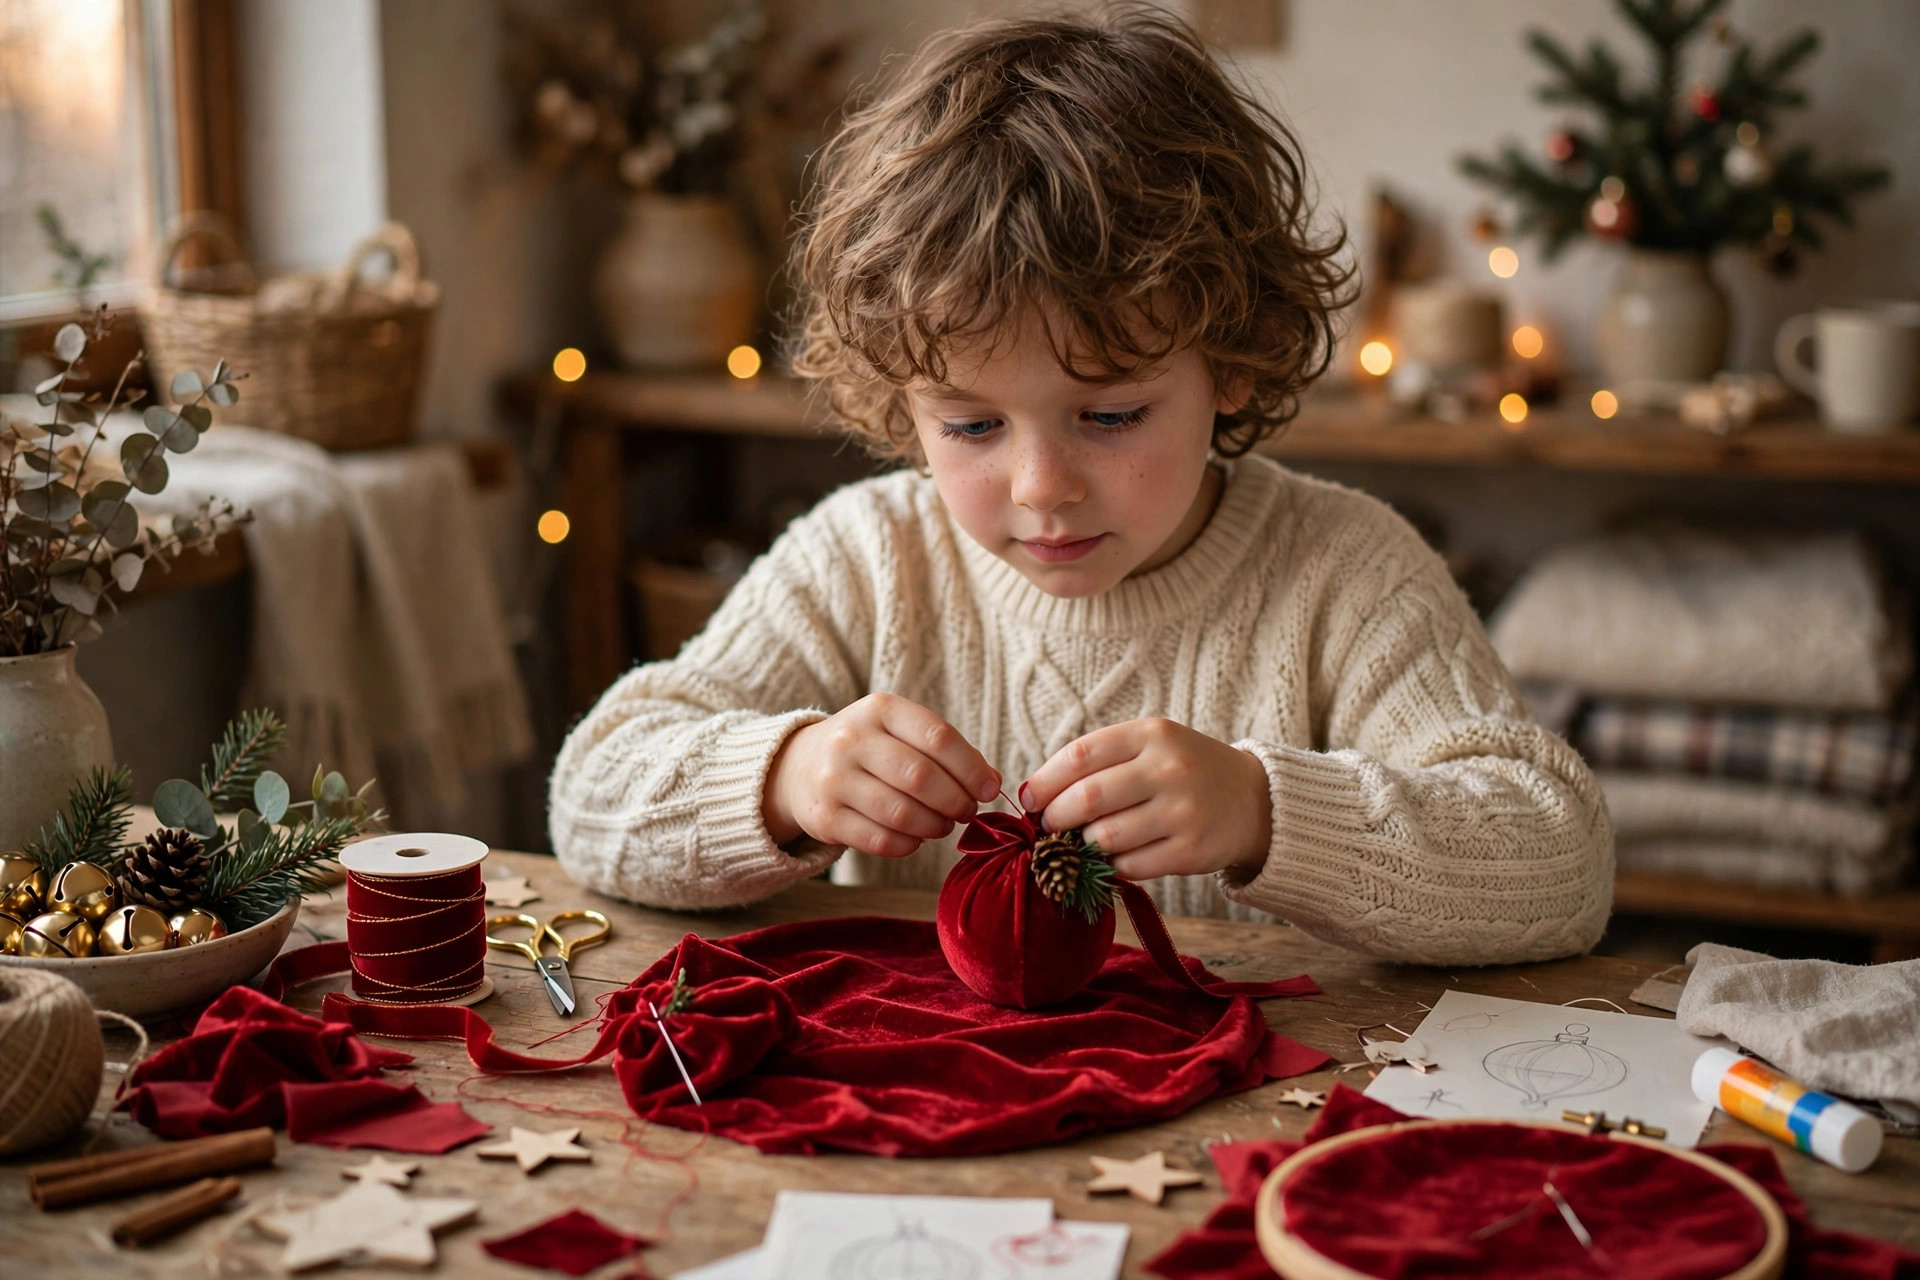
We wrapped small foam balls in red velvet fabric and tied them with gold ribbon. They looked soft and luxurious, and they were completely unbreakable, which mattered with a toddler in the house.
I tied the gold ribbon in a double knot, not a bow, after the first bow came undone twice, and the velvet balls have stayed perfectly round ever since.
The downside is dust. My first velvet balls collected dust quickly and looked dull by January, so I now store them in a sealed box, not loose in a bag.
Pro Tip: Store fabric ornaments in a sealed box, or they will collect dust and dull.
Cost / Time / Difficulty: $4 to $7 | 1 hour | Easy
11. The Transparent Greenery Ornament
We filled clear plastic baubles with tiny greenery sprigs and red beads, then sealed the tops. My children loved seeing inside, and the baubles looked like tiny snow globes on the tree.
My children took turns dropping beads in one at a time, counting aloud as they went, and that slow, careful filling became the calmest ten minutes of our whole decorating day.
The downside is that greenery dries out. My first sprigs turned brown in a week, so I switched to artificial sprigs, which stayed green all season.
Pro Tip: Use artificial greenery inside clear baubles, or real sprigs will brown quickly.
Cost / Time / Difficulty: $4 to $8 | 45 minutes | Easy

12. The Snowman Ornament
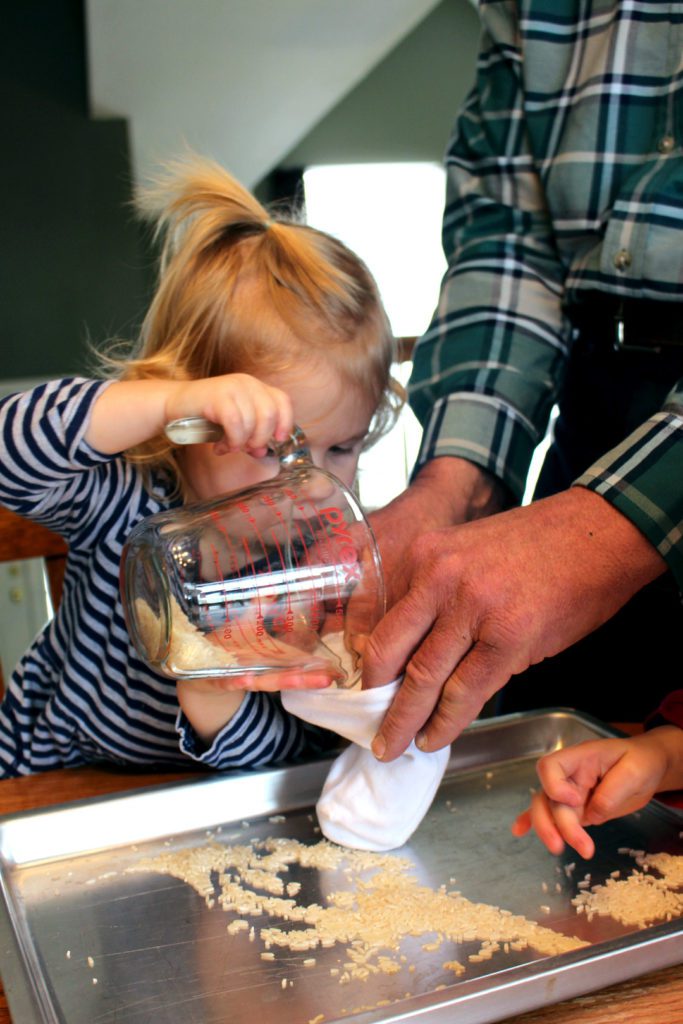
We made snowmen from white socks filled with rice, tied them into three sections, and added button eyes and a felt scarf. They were soft, funny, and my children named each one.
We used odd socks from the laundry basket, which cost us nothing, and my daughter drew a little carrot nose on one snowman that still makes me smile.
The downside is rice leakage. My first snowman split at the seam and spilled rice on the floor, so I double-tied the sections and used thicker socks.
Pro Tip: Double-tie sock snowmen and use thick socks, or rice will escape.
Cost / Time / Difficulty: $2 to $4 | 45 minutes | Easy
13. The Glass Angel Ornament
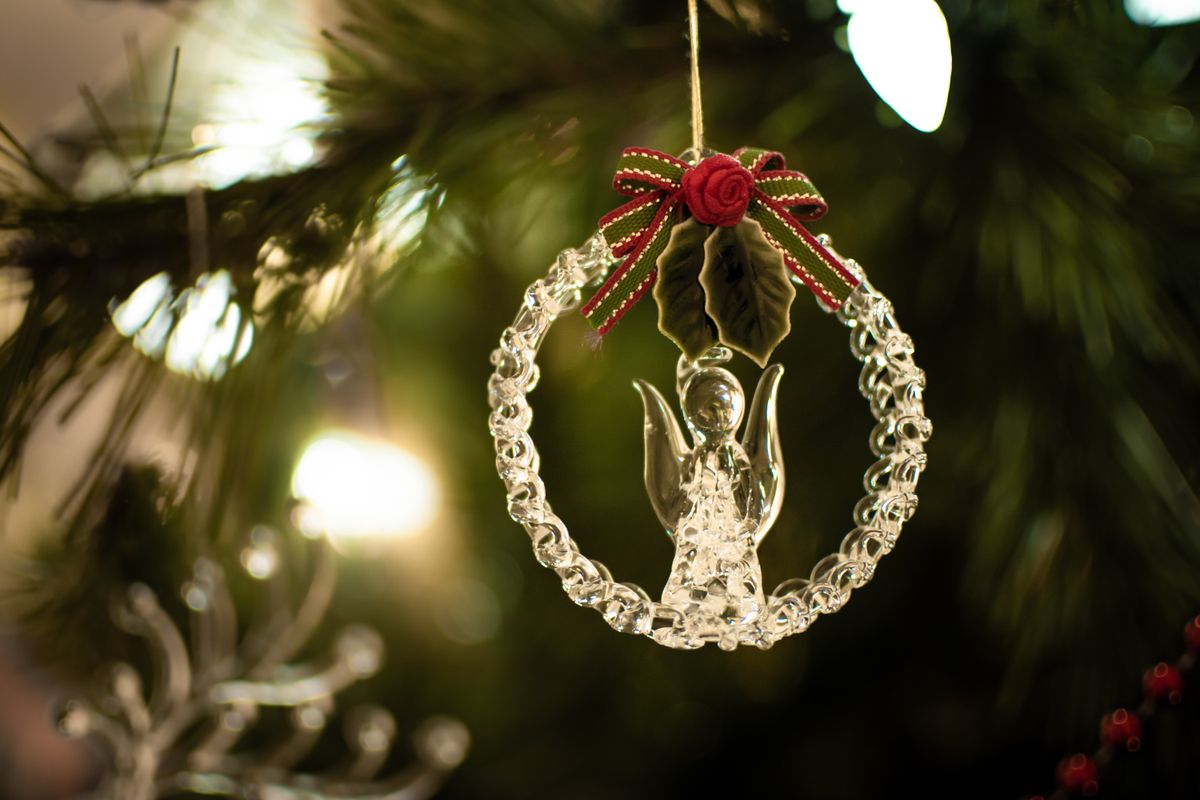
We bought one delicate glass angel as a special ornament, not for play, and let my older child hang it carefully at the top of the tree. It became a family tradition, and my child felt proud to be trusted with it.
I wrapped the glass angel in tissue paper in its own small box each January, and that five-minute ritual is why it has survived four Christmases without a single chip.
The downside is obvious: glass breaks. My first glass angel fell the year we hung it low, so I now hang glass ornaments high, out of reach, and only with older children.
Pro Tip: Hang glass ornaments high and only with older children, or skip glass entirely for toddlers.
Cost / Time / Difficulty: $5 to $10 | 10 minutes | Easy, with care
14. The Santa Ornament
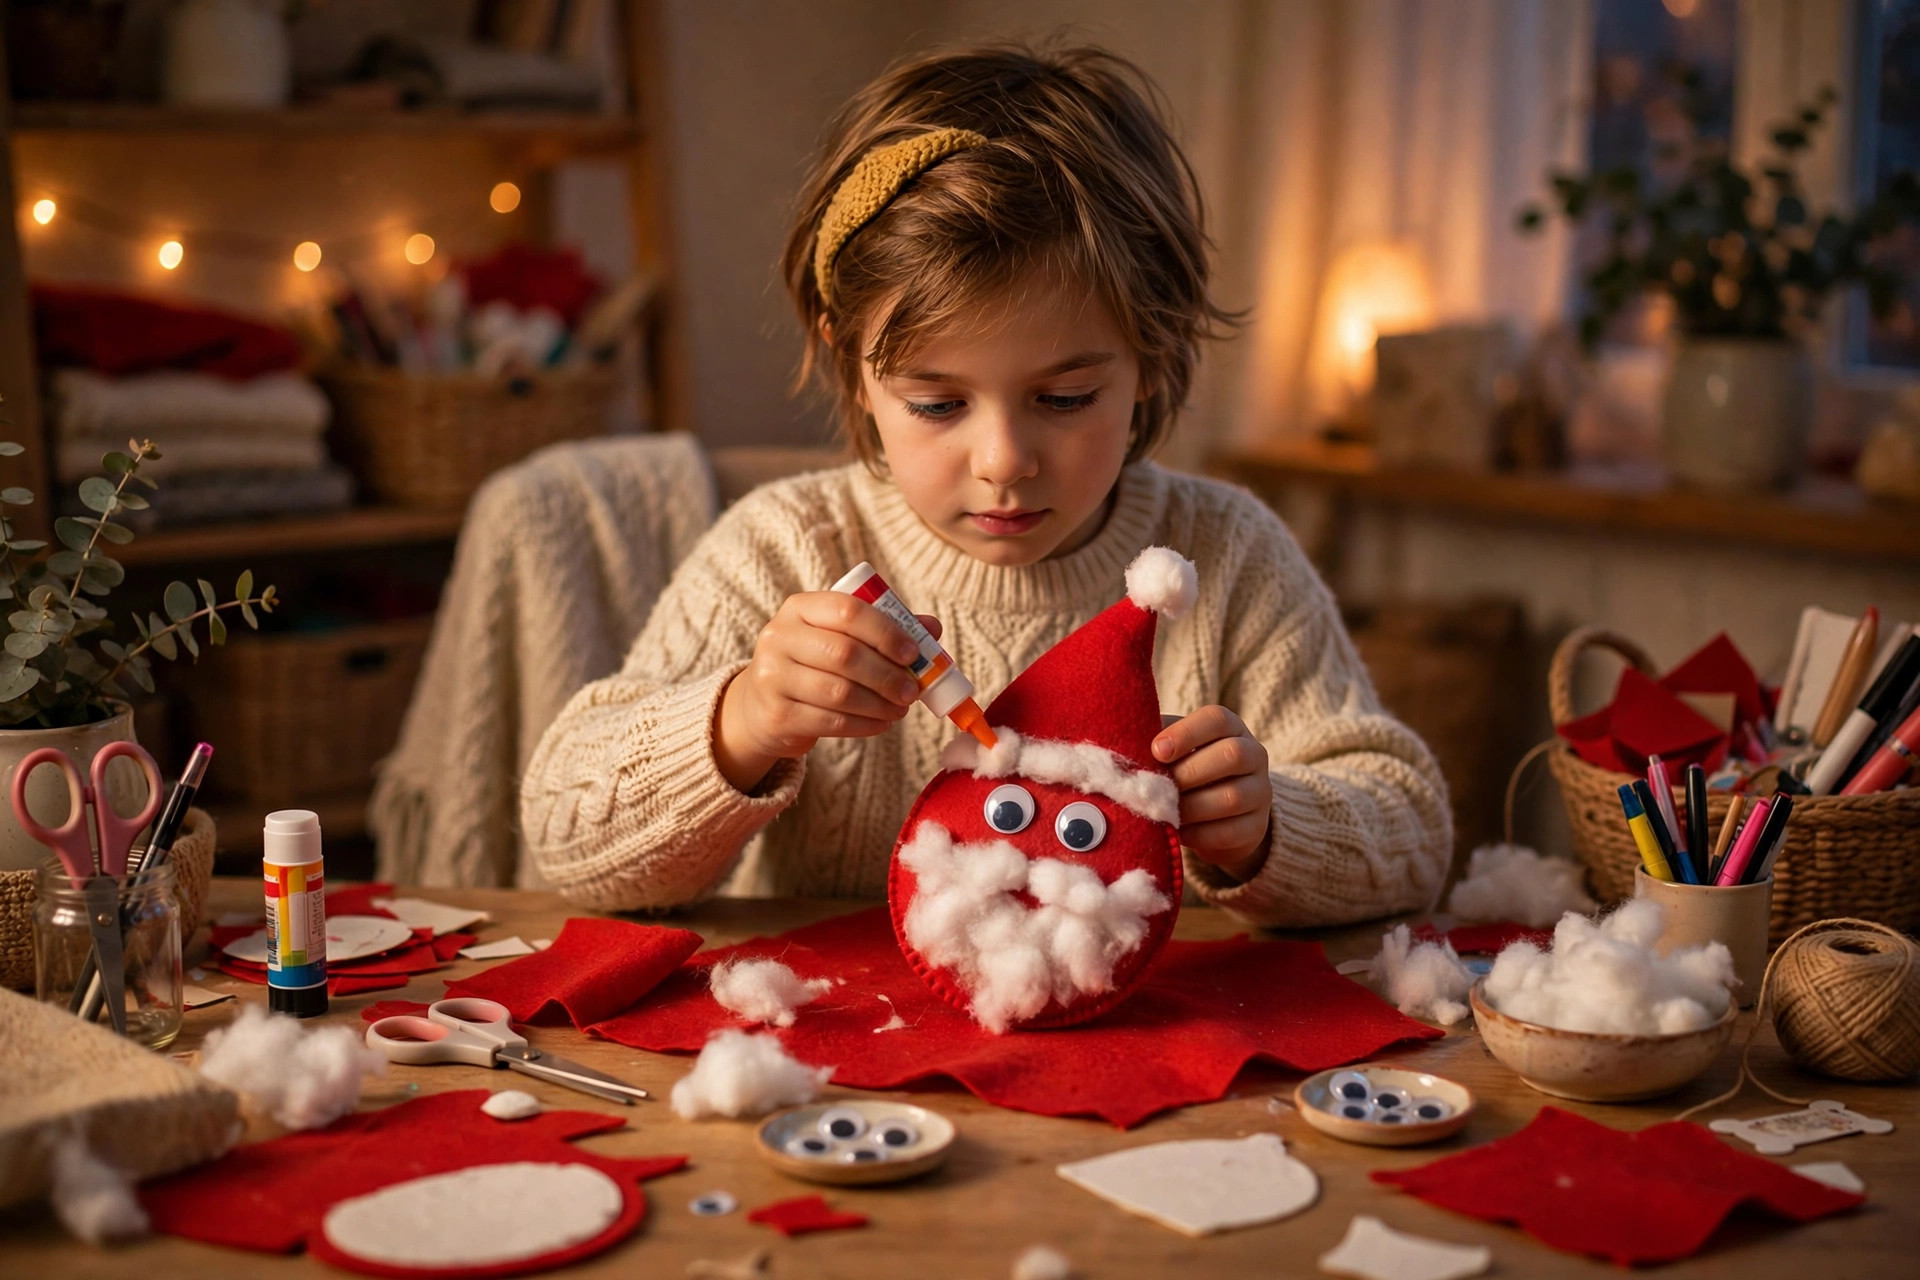
We made Santa faces from red felt, cotton wool beards, and googly eyes, glued onto wooden discs. My children made a whole Santa family, and each one looked different, which made them laugh.
We glued the cotton wool beards on last, after the paint had fully dried, because the first Santa ended up with red-tinged wool when we rushed that step.
The downside is cotton wool shedding. My first Santas left white fluff on the tree, so I sealed the beards with a light spray of hairspray.
Pro Tip: Seal cotton wool beards lightly, or they will shed all over the tree.
Cost / Time / Difficulty: $3 to $5 | 1 hour | Easy
15. The Golden Bell Ornament
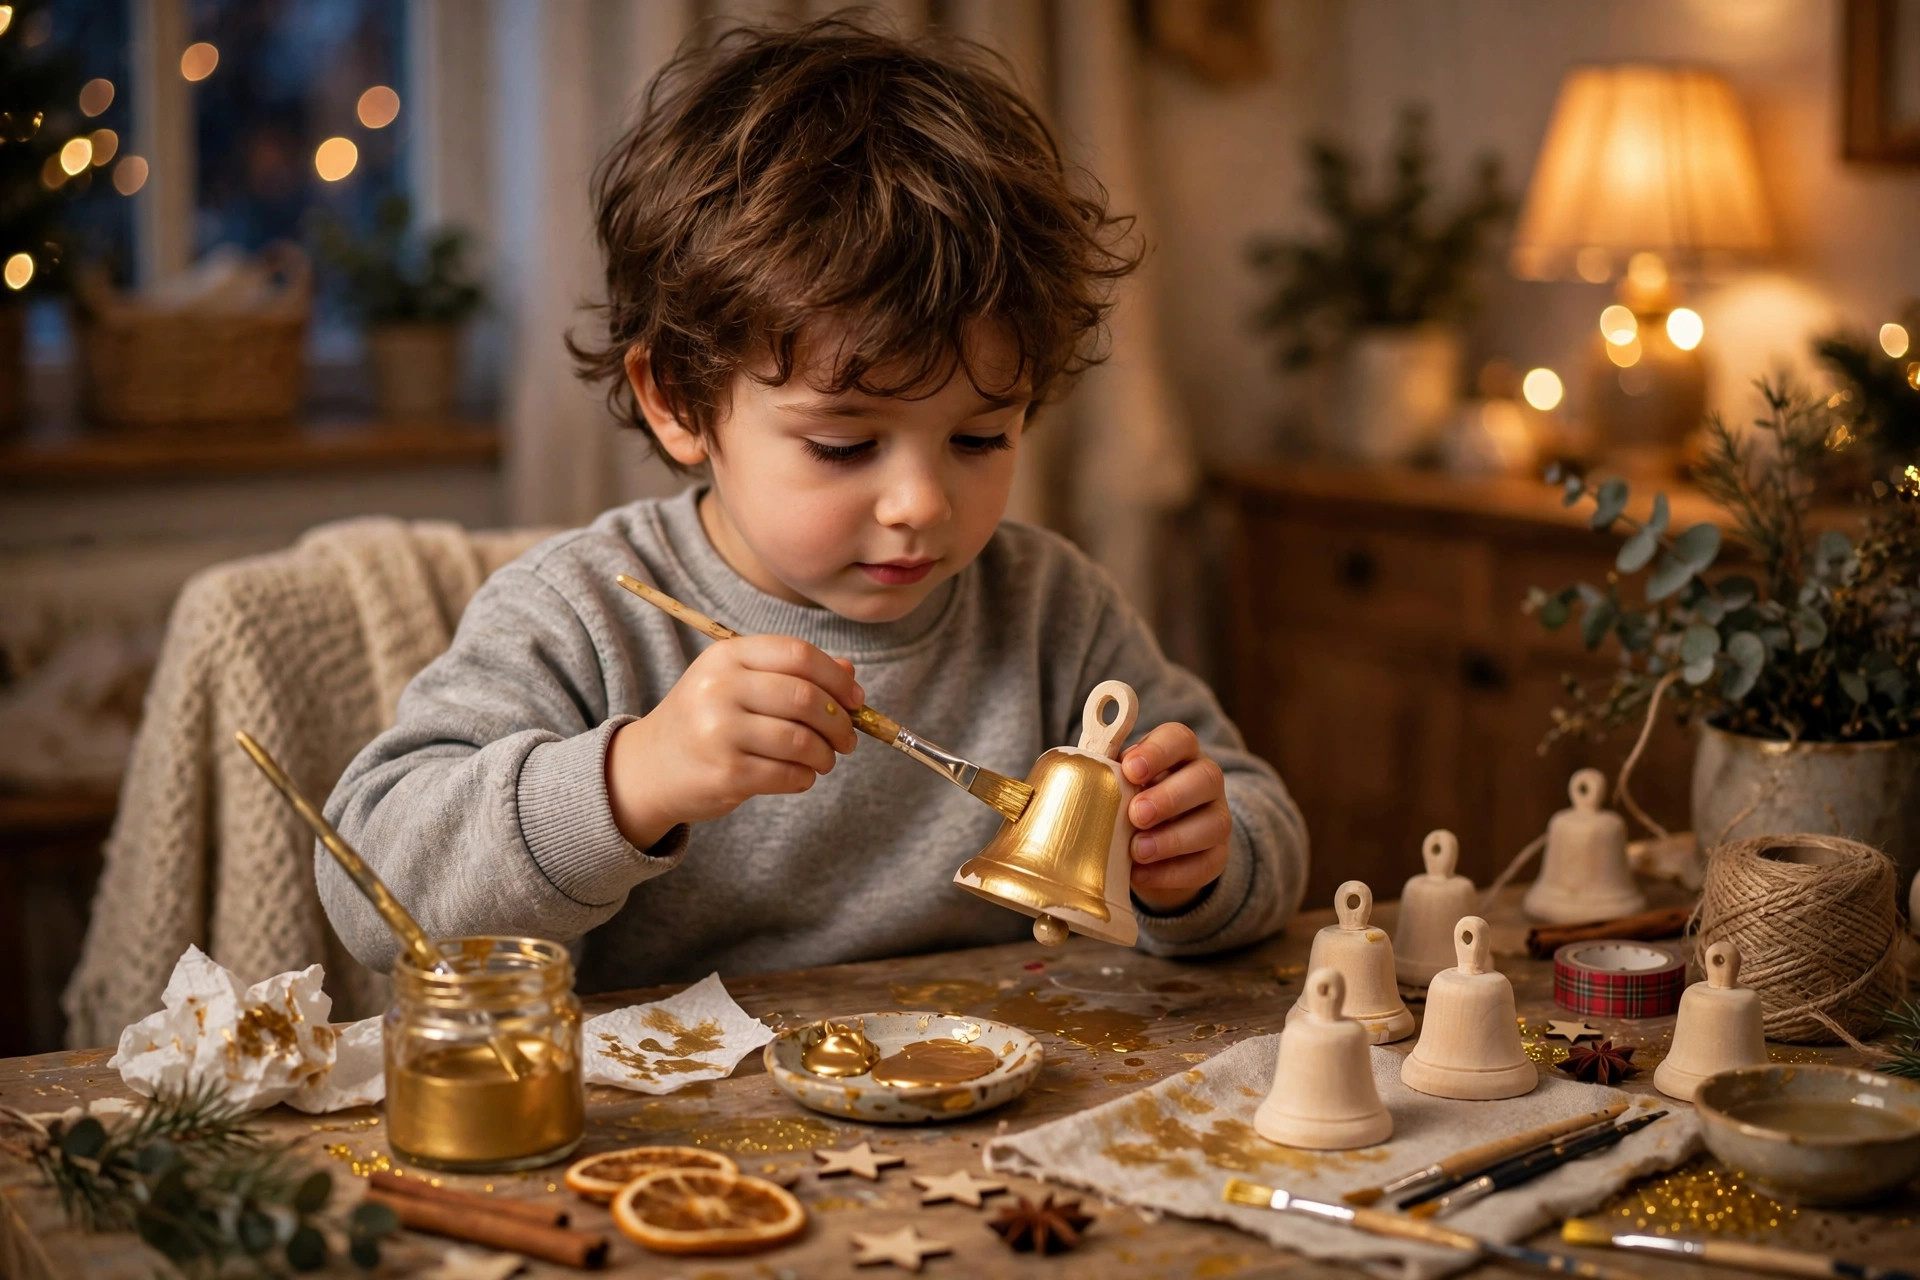
We painted small wooden bells gold, added red ribbon, and hung them in a cluster. They jingled softly when the tree moved, and my children rang them gently every morning.
I hung the bell cluster on an inner branch, not a tip, so it did not pull the branch down, and the soft jingle when the tree was brushed became our morning signal.
The downside is noise. My first cluster had ten bells, which drove us mad by day three, so I limited it to three bells per cluster.
Pro Tip: Limit bell clusters to three bells, or the jingling will drive the house mad.
Cost / Time / Difficulty: $3 to $6 | 45 minutes | Easy
16. The Gold and Red Ornament Pair
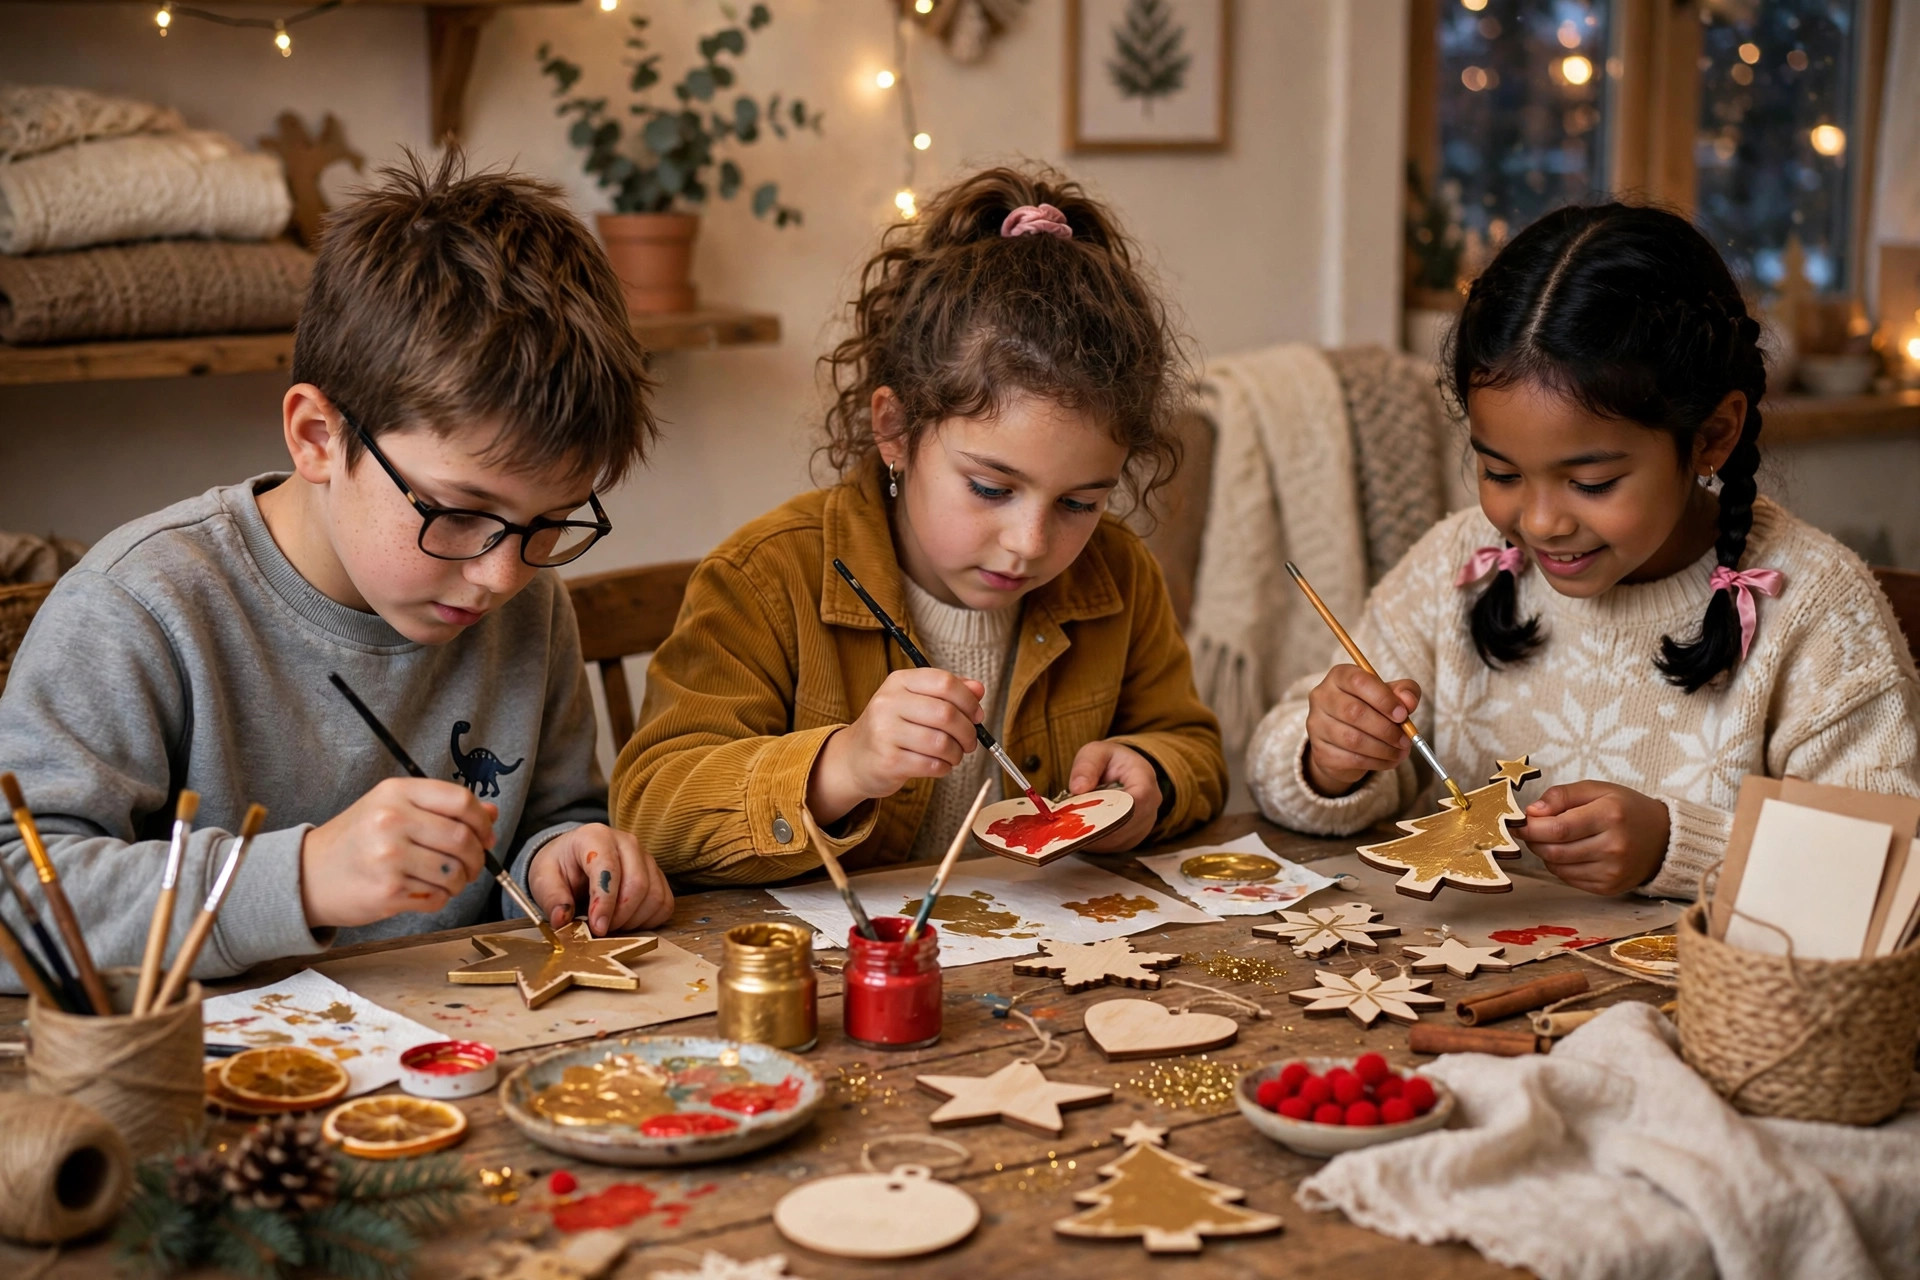
We made matching gold and red ornaments from painted wooden shapes, one for each child, with their initials on the back. They looked coordinated on the tree, and each child could find their own ornament instantly.
We wrote each child’s initial on the back with a paint pen after sealing, and that small label stopped the yearly argument about whose ornament was whose.
The downside is paint mixing. My first gold paint went muddy when my son mixed it with red, so I now give each child separate paint pots and brushes.
Pro Tip: Give each child separate paint pots, or gold and red will quickly turn brown.
Cost / Time / Difficulty: $3 to $5 | 1 hour | Easy
17. The Bell Tree Ornament
We hung a single ornate bell ornament on a small branch, with a tiny tag saying who made it and when. It became a keepsake we add to every year, and my children now look for last year’s bell first.
I added a tiny paper tag with the year written in my handwriting, and looking back through those tags now shows how my children’s handwriting and tastes have changed.
The downside is that a single special ornament can cause arguments. My first year both children wanted the bell, so I now make one bell per child, in different colours.
Pro Tip: Make one special bell per child, in different colours, to avoid arguments.
Cost / Time / Difficulty: $4 to $7 | 30 minutes | Easy
18. The Sparkling Tree Ornament
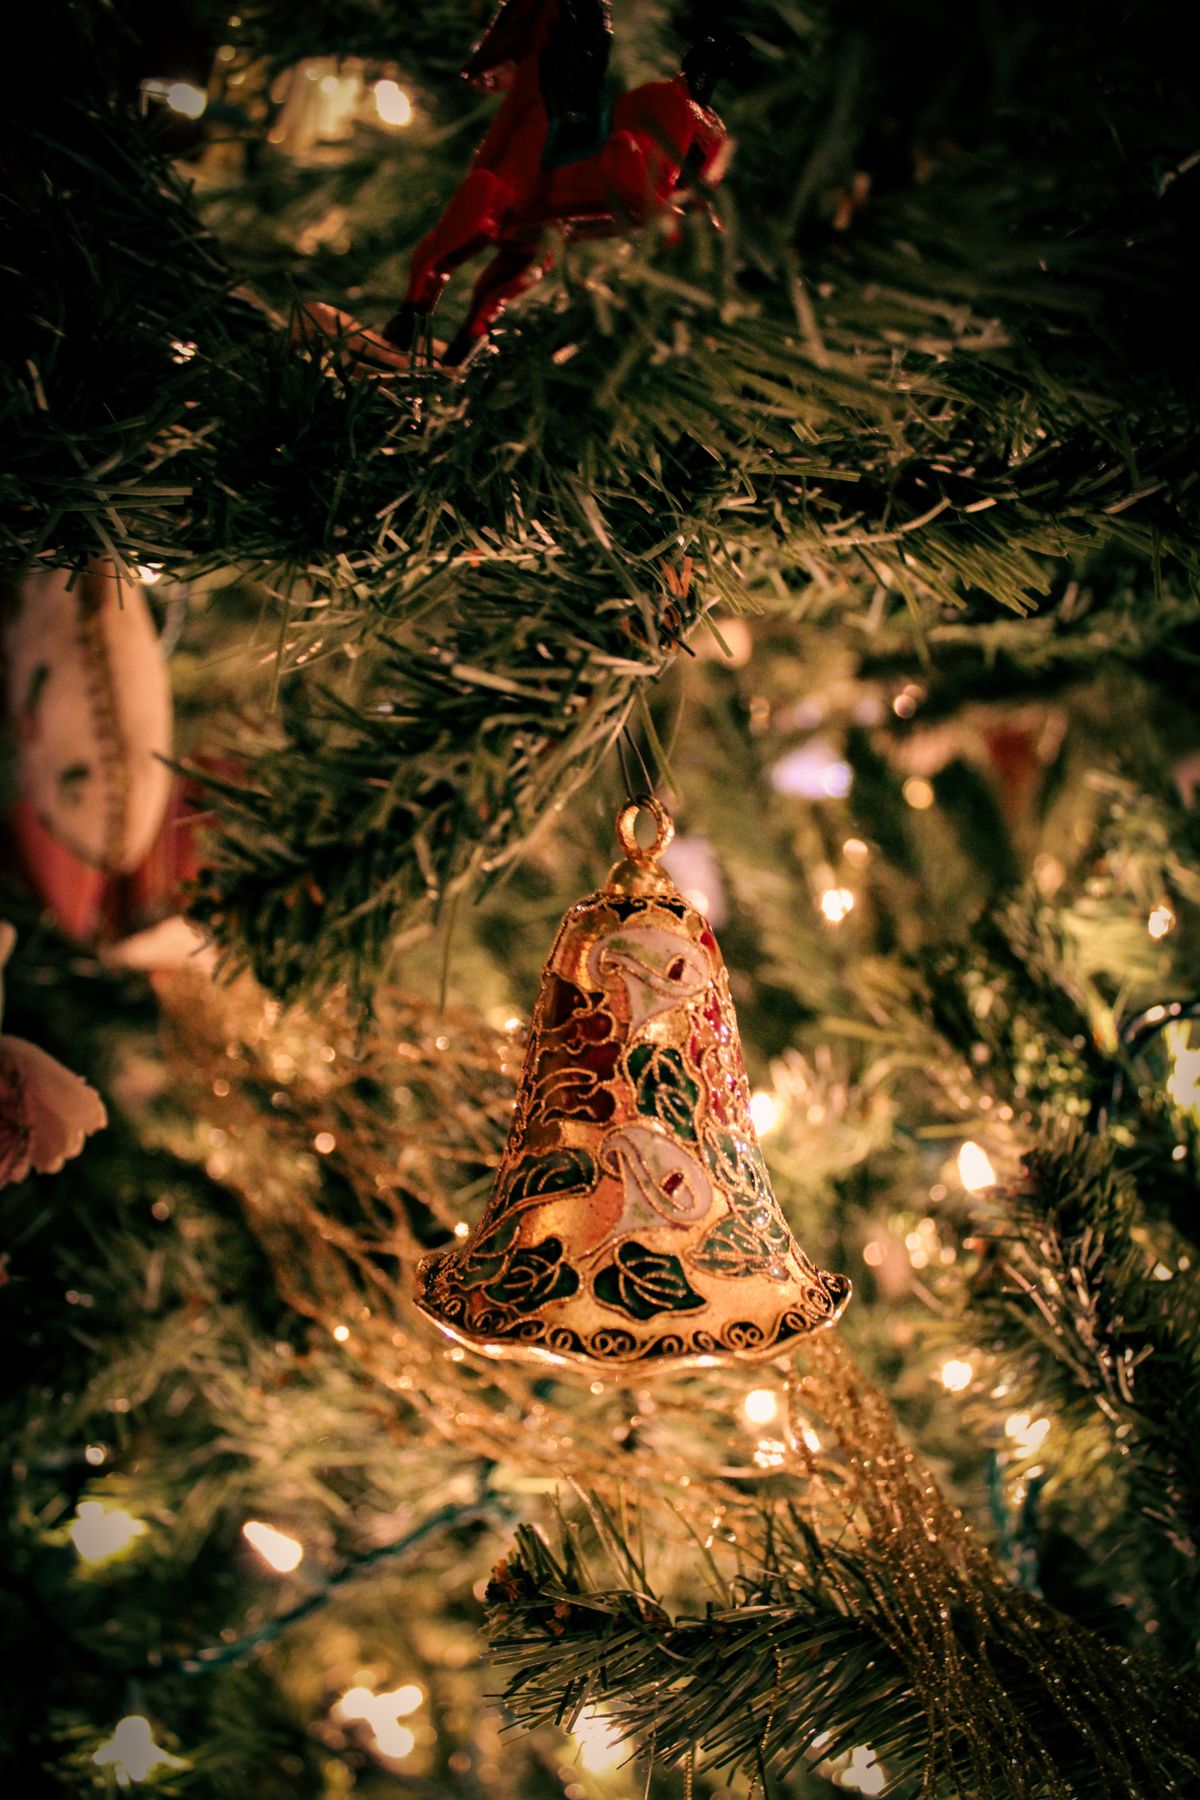
We finished with a sparkling ornament made from a clear bauble filled with tinsel and tiny beads, sealed and hung with gold thread. It caught the lights beautifully, and my children called it the magic bauble.
We sealed the magic bauble with a dot of clear glue around the cap, after the first one popped open in the box, and it has stayed sparkling ever since.
The downside is that tinsel tangles. My first magic bauble had tangled tinsel that looked messy, so I now cut the tinsel short and use only a few strands.
Pro Tip: Cut tinsel short inside clear baubles, or it will tangle and look messy.
Cost / Time / Difficulty: $3 to $5 | 30 minutes | Easy

Comparison Table
Style | Best for | Cost | Effort
Salt dough stars | Toddlers, keepsakes | Very low | Low
Paper angels | Quick afternoon crafts | Very low | Low
Plastic baubles | Children who drop things | Low | Low
Felt ornaments | Soft, safe, washable | Low | Medium
Glass ornaments | Older children only, keepsakes | Medium | Low, with care
Clear baubles | Seeing inside, mixing colours | Low | Low
Mistakes I Made (So You Don’t Have To)
I used glass ornaments low on the tree, and one broke in the first week. Now glass goes high, and plastic goes low.
I let glitter loose without a tray, and our house sparkled until January. Now glitter work happens on a tray, outdoors if possible.
I did not seal painted ornaments, and the paint flaked by New Year. Now every painted ornament gets a clear seal the next day.
I made only one of each favourite, and tears followed when one broke. Now I always make a spare.
Frequently Asked Questions
How long do child-made Christmas ornaments actually last?
In my house, salt dough and felt ornaments last years if sealed and stored in a box, while paper ornaments last one season unless laminated. I store ours in tissue paper, not loose in a bag.
What age is best for making Christmas ornaments?
From age three for felt, salt dough, and sticker baubles, with an adult helping. From age seven, children can handle sewing, hot glue with supervision, and more detailed painting.
How do I stop ornaments falling off the tree?
Use ribbon loops, not thin thread, and hang heavier ornaments on sturdy inner branches. I also put child-made ornaments lower, where a fall is short and safe.
Is it safe to use hot glue with children?
Only with close supervision, and never for children under seven in my house. I use fabric glue or white glue for younger children, and save hot glue for older children with an adult present.
Final Thoughts
The best christmas ornament ideas for kids are not the prettiest ones in a shop. They are the lopsided stars, the paper angels, and the glitter baubles that your children made themselves and can find on the tree every year. Keep the materials safe, the projects short, and always make a spare. If you do that, your tree will tell your family’s story, not just look decorated.
Related article: Christmas Tree Decor Ideas
Also read: Christmas Centerpiece Ideas
Read this next: Christmas Mantel Decor Ideas