20 Embroidery Hoop Art Ideas That Turn a Simple Ring Into Wall-Worthy Art
These embroidery hoop art ideas are the ones I actually stitched, hung, and lived with, not just pinned and admired. I tested each one at my kitchen table, timed it honestly, and kept only the designs that still looked good on my wall weeks later.
I picked these 20 by starting with the simplest stitches I trust, then adding one new skill at a time, so a total beginner can start at idea one and finish the list with real confidence. If you love sewing shortcuts, this Related article is a handy companion while you work.
Most of these hoops cost under $15, use a hoop, linen or cotton, and a handful of floss colours, and I will tell you plainly where each one gets fiddly. Let us turn that simple wooden ring into something you are proud to hang.
Key Takeaways
- Start with a 6-inch hoop, plain linen, and three stitches: backstitch, lazy daisy, and French knots.
- Keep fabric firm, not drum-tight, and test floss colours against your fabric before stitching.
- Short quotes, small motifs, and one colour palette make hoops look polished, not busy.
- A gallery wall of mixed hoop sizes makes the biggest impact for the least extra effort.
1. Classic Floral Botanical Hoop

I started with the simplest embroidery hoop art ideas of all: one wooden hoop, a square of plain linen, and a loose bouquet of daisies, leaves, and one bold rose. I sketched the stems freehand with a water-soluble pen, then used lazy daisy stitches for petals and a simple stem stitch for the stalks.
My first hoop still hangs by my front door, slightly wonky and completely loved, because I learned to leave the fabric a little loose rather than drum-tight. The honest downside is that pale linen shows every pencil mark, so test your pen on a scrap first. It took one relaxed evening and cost almost nothing.
Cost / Time / Difficulty: Under $10 / 2-3 hours / Beginner
Pro Tip: Trace your design lightly, then stitch the smallest flowers first so the big blooms can overlap them naturally.
2. French Knot Wildflower Meadow
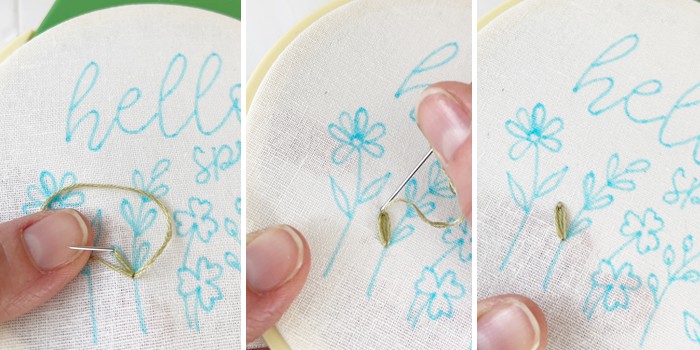
French knots terrified me until I made a whole meadow of them, and now they are my favourite shortcut to a full-looking hoop. I used a 6-inch hoop, cream cotton, and six strands of floss in mustard, dusty pink, and sage, wrapping the needle twice for each tiny knot.
I scattered the knots in clusters, taller at the back and shorter at the front, and added a few straight-stitch grasses so it looked like a real field edge. The downside is real: knots take patience, and my thumb ached after the first hour. Still, this is the hoop guests always touch first.
Cost / Time / Difficulty: $5-$12 / 2-4 hours / Beginner
Pro Tip: Wrap the thread the same number of times every knot, or your meadow will look patchy instead of fluffy.
3. Hoop-Framed Stitching Display
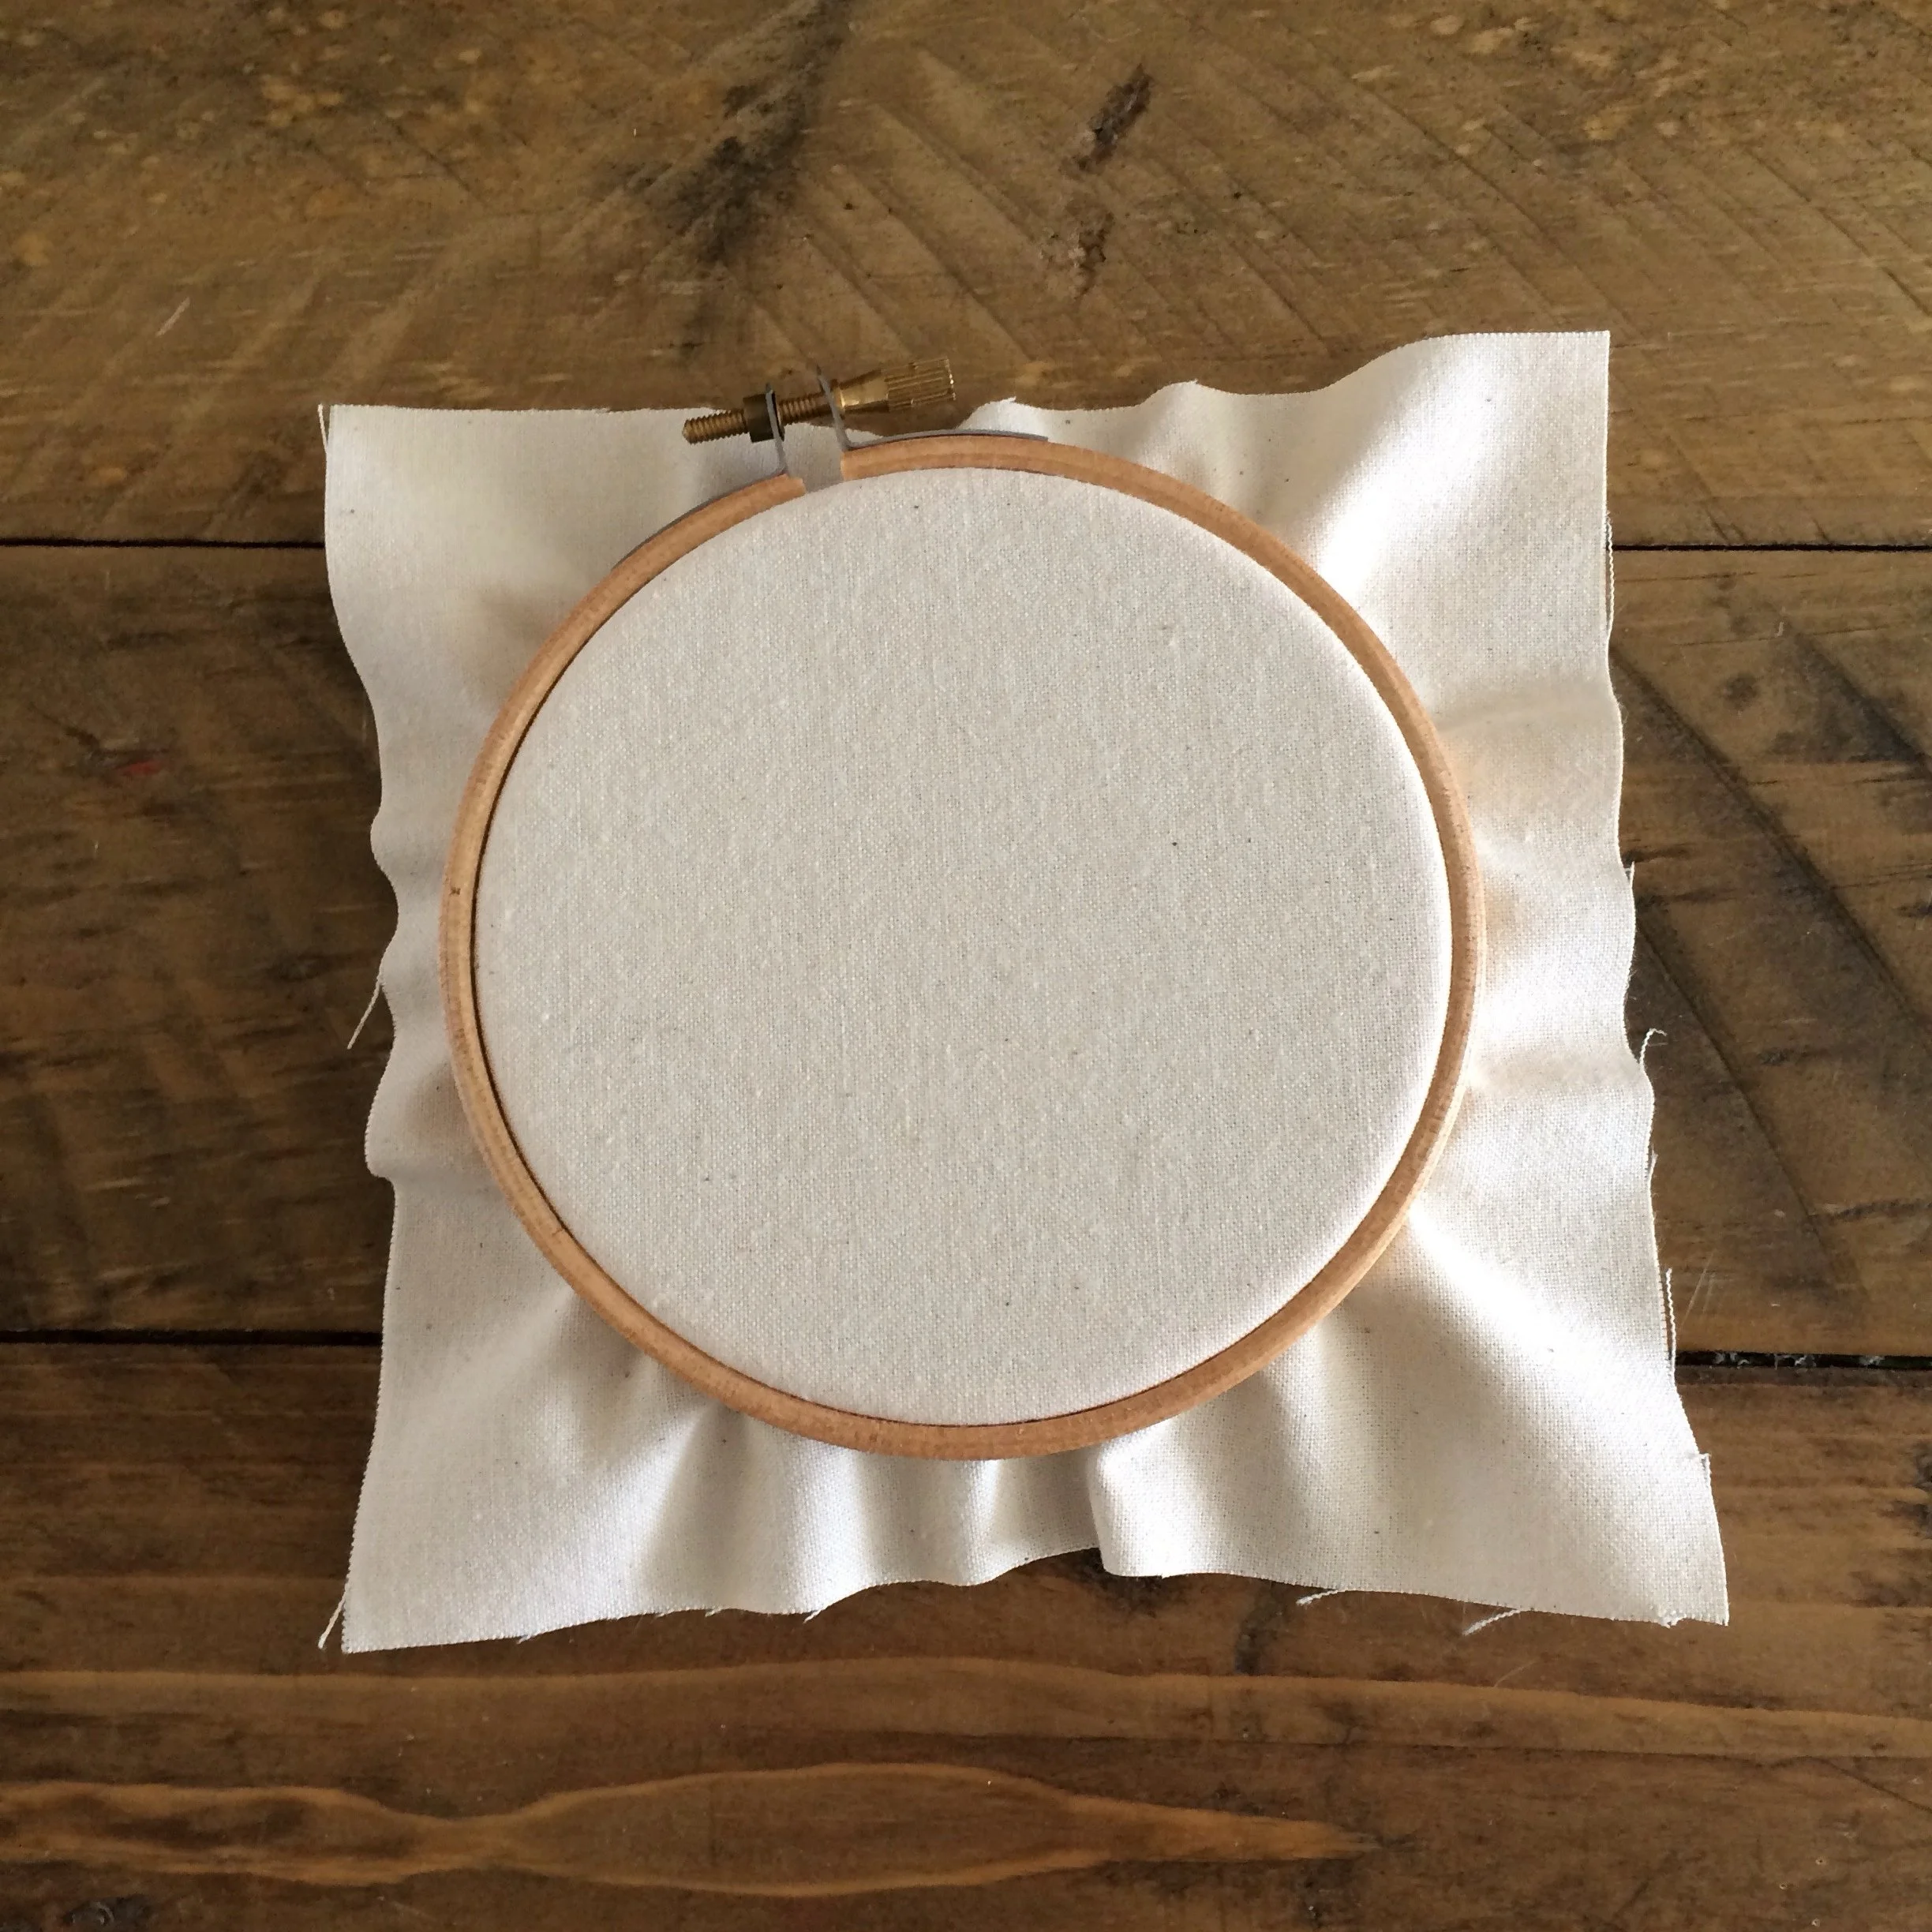
Not every hoop has to be a picture in itself; sometimes the hoop is the frame. I finished a small cross-stitch I had abandoned, trimmed it with an inch to spare, and mounted it in a clean wooden hoop with the back neatly laced shut.
I love this trick because it rescues half-finished stitching and turns it into wall art in under an hour. The catch is that bulky knots on the back can stop the hoop closing flat, so I press the piece gently first. It now hangs in my hallway, proof that finished beats perfect.
Cost / Time / Difficulty: $3-$8 / Under 1 hour / Beginner
Pro Tip: Lace the back in a criss-cross pattern, pulling evenly, so the front fabric stays smooth and centred.
4. Fall Wreath Hoop

For autumn I swapped flowers for a wreath shape: a circle of embroidered leaves, tiny pumpkins, and berries stitched around an empty centre. I used a 7-inch hoop, rust, gold, and olive floss, and filled the leaves with satin stitch in short, overlapping sections.
I hung it in September and left it up until Thanksgiving, which made it the best value hoop I own. The downside is satin stitch shows uneven tension fast, so I slowed down and stitched in daylight. A friend now asks for one every single fall.
Cost / Time / Difficulty: $8-$15 / 3-4 hours / Easy
Pro Tip: Stitch leaves pointing outward from the circle, like a real wreath, instead of all in the same direction.
5. Floral Monogram Letter Hoop

A single letter wrapped in flowers makes a gift that looks far more expensive than it is. I drew a big block letter on linen, outlined it in backstitch, then crowded tiny French knots and lazy daisies around the curves until the letter peeked through.
I made one for my niece with her initial in blush and sage, and she hung it above her desk the same day. The honest downside is that spacing matters: crowd one side and the letter disappears. I sketch, step back, and only then start stitching.
Cost / Time / Difficulty: $5-$12 / 3-5 hours / Easy
Pro Tip: Keep flowers smaller near the letter edges so the initial stays readable from across the room.
6. Hand-Lettered Quote Hoop

My kitchen hoop says a short line I actually live by, stitched in a relaxed script I drew myself. I printed the words, traced them onto fabric with a lightbox, and used backstitch for the letters with a tiny French knot as each full stop.
I chose a short quote on purpose after a long one turned into a weekend project I resented. The downside of lettering is that one wobbly letter stands out, so I practise each word on scrap fabric first. Guests read it aloud every time they visit.
Cost / Time / Difficulty: $5-$10 / 2-4 hours / Easy
Pro Tip: Use two strands of floss for lettering; six strands look bold in photos but blur small script in real life.
7. Celestial Star and Moon Hoop

This midnight-blue hoop is the one I made just for me: a crescent moon in gold, scattered stars in French knots, and a few long straight stitches like falling light. I used navy linen so the metallic thread could actually shine.
I stitched it during a quiet week and it still calms me to look at, especially in a dark hallway where the gold catches the light. The downside is metallic thread frays and sulks, so I cut short lengths and worked slowly. It was worth every frayed inch.
Cost / Time / Difficulty: $8-$15 / 3-4 hours / Easy
Pro Tip: Thread metallic floss through a needle with a larger eye and use lengths no longer than your forearm.
8. Pastel Rainbow Hoop

A pastel rainbow is pure joy and wonderfully forgiving for beginners. I stitched five arches in blush, peach, butter yellow, mint, and lilac, using chain stitch so each band had a soft, rope-like texture.
I made this one with my daughter on a rainy afternoon, and she picked the colours while I stitched the arches. The downside is that pastel shades can look washed out on white fabric, so I used a pale grey linen instead. It hangs in her room and still makes us both smile.
Cost / Time / Difficulty: $5-$10 / 1-2 hours / Beginner
Pro Tip: Mark each arch with a compass or a bowl outline before stitching, so the curves stay even.
9. Felt Woodland Animal Hoop

For a nursery wall I stitched a simple felt fox shape onto linen, then added embroidered trees and tiny French-knot berries around it. I cut the fox from rust and cream felt, glued it lightly in place, and blanket-stitched the edges.
I love felt because it hides uneven stitches and gives a soft, storybook look that flat thread alone cannot match. The honest downside is that felt edges can lift if children tug them, so this one hangs high on the wall. It is still my favourite gift hoop.
Cost / Time / Difficulty: $8-$15 / 2-3 hours / Easy
Pro Tip: Use a dab of fabric glue under each felt piece before stitching, so nothing shifts while you work.
10. Vintage Lace and Doily Hoop
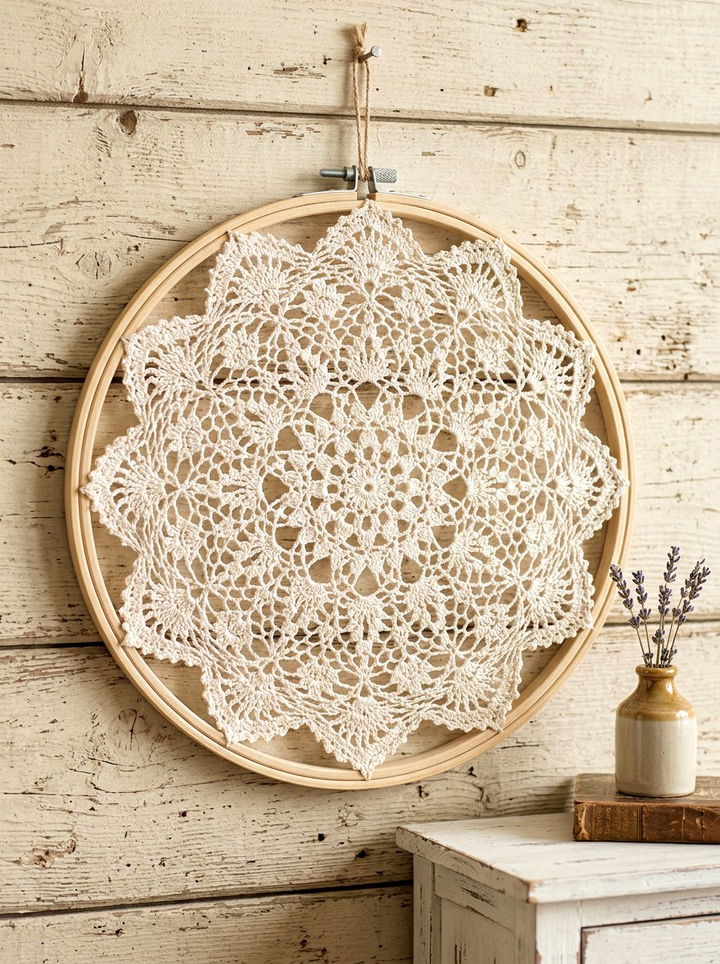
This is my slowest, prettiest hoop: a vintage-style doily stretched in a hoop, with a few embroidered sprigs added where the lace looked bare. I found the doily at a thrift shop, washed it gently, and let it dry flat before mounting.
I love how it catches light and looks like something from my grandmother’s house, without needing advanced stitches at all. The downside is old lace is fragile, so I never pull it tight in the hoop. It hangs in my bedroom and feels like an heirloom already.
Cost / Time / Difficulty: $5-$15 / 1-2 hours / Beginner
Pro Tip: Mount lace over a plain backing fabric so the pattern shows clearly instead of disappearing against the wall.
11. Beaded Glamour Hoop

When I want sparkle without sewing a whole dress, I add beads to a simple floral hoop. I stitched a small bouquet first, then sewed seed beads into the flower centres and along one sweeping stem for a touch of glamour.
I wore out my patience the first time by using beads that were too small for my needle, so now I match bead size to needle size before I begin. The downside is that beaded hoops are heavier, so I hang this one on a proper hook, not a sticky strip.
Cost / Time / Difficulty: $10-$20 / 3-5 hours / Intermediate
Pro Tip: Sew each bead on twice and pull gently; a single loose thread can spill a whole flower centre.
12. Cross-Stitch Sampler Hoop

A sampler hoop is my version of a diary: a row of tiny motifs, a date, and one small saying, all in cross-stitch on evenweave. I picked a 7-inch hoop, counted carefully, and stitched one motif each evening for a week.
I still remember miscounting a border and having to unpick a whole row, which taught me to count twice before every colour change. The downside is cross-stitch demands patience, but the crisp, even result is deeply satisfying. It is the hoop I am proudest of.
Cost / Time / Difficulty: $8-$15 / 5-8 hours / Intermediate
Pro Tip: Start from the centre of the pattern and work outward, so the design stays centred in the hoop.
13. Pressed Flower Hoop
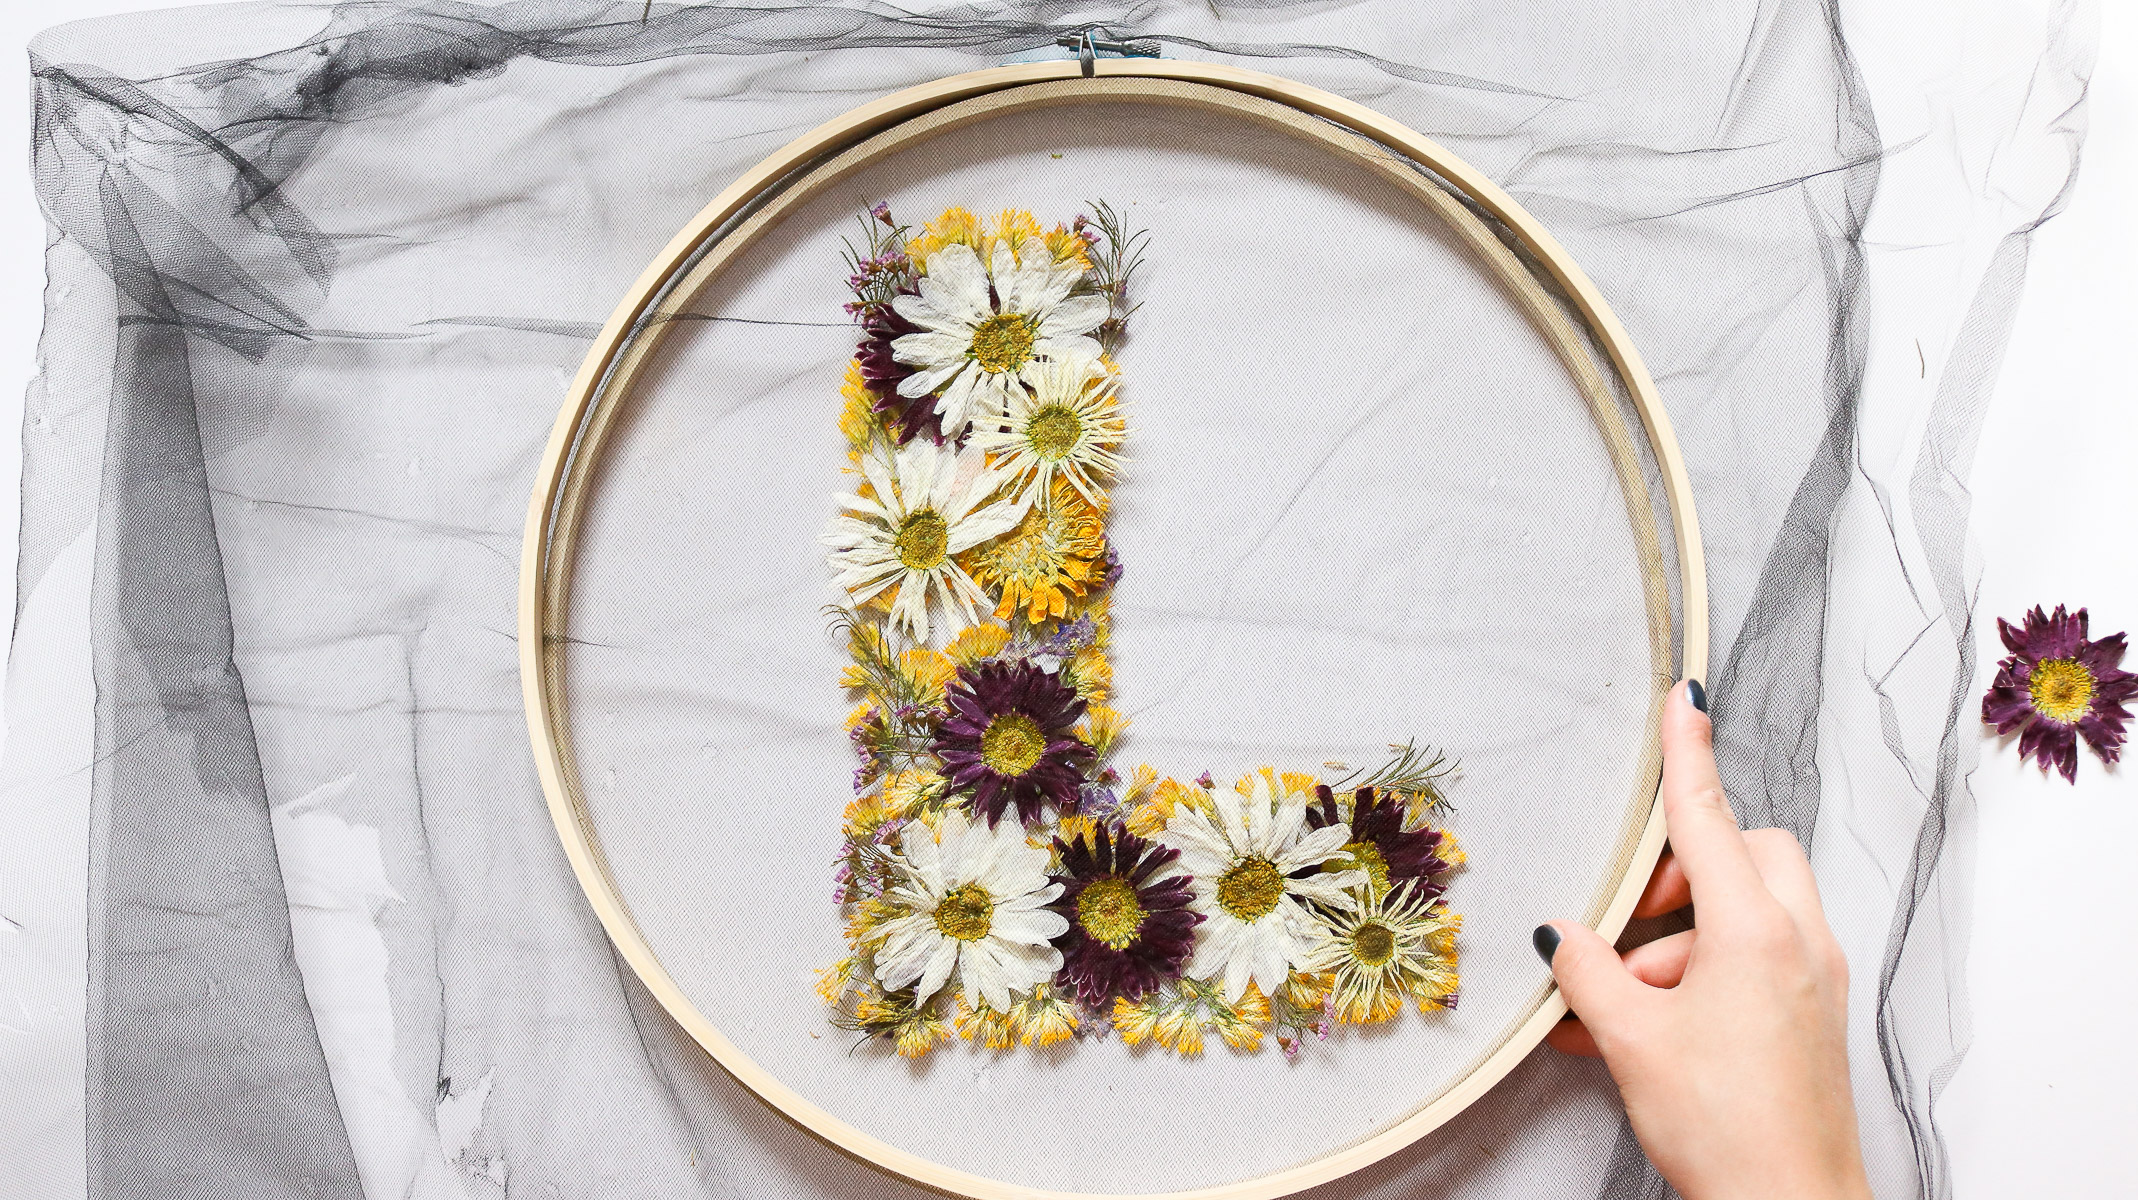
Pressed flowers trapped between fabric and a hoop look like a tiny garden window. I pressed violas and ferns for two weeks in a heavy book, arranged them on linen, and stitched a few stems to connect them into one design.
I love how delicate this looks in a sunny room, and I made three as gifts in one weekend once the flowers were ready. The honest downside is that pressed flowers fade, especially in direct sun, so I keep mine on a shaded wall. They still look lovely a year on.
Cost / Time / Difficulty: $5-$12 / 1-2 hours plus pressing time / Easy
Pro Tip: Press flowers for at least two weeks and handle them with tweezers, because dry petals crumble fast.
14. Denim Scrap Hoop

This hoop came from my scrap bin and my old jeans, which makes it my favourite upcycling project. I stretched a square of light denim in a hoop, stitched a simple wildflower in white and yellow thread, and left the frayed edge showing.
I love the contrast of rough denim and soft stitching, and it cost me nothing but thread. The downside is denim is thick, so I use a sharp chenille needle and a thimble. It hangs in my craft room as a reminder to use what I already own.
Cost / Time / Difficulty: Under $5 / 2-3 hours / Easy
Pro Tip: Use a thimble and pull each stitch through fully; half-pulled stitches pucker thick fabric badly.
15. Multi-Hoop Gallery Wall

One hoop is lovely, but a cluster of five is a whole gallery wall. I mixed sizes from 4 to 8 inches, used one colour palette across all of them, and left one hoop plain linen so the eye had somewhere to rest.
I planned the layout on the floor first, which saved me from a wall full of extra nail holes. The downside is that a gallery wall takes more planning than a single hoop, and I rearranged mine three times. Now it is the first thing visitors notice.
Cost / Time / Difficulty: $20-$40 total / A weekend / Easy
Pro Tip: Lay hoops on the floor and photograph the arrangement before you hang a single nail.
16. Mountain Landscape Hoop

For a mountain scene I stitched layered triangles in deep green, slate, and cream, with French-knot stars above the peaks. I kept the stitches simple, mostly straight stitch and satin stitch, and let the colour layers do the work.
I made this one after a hiking trip, and it reminds me of that cold, clear morning every time I pass it. The downside is that flat triangles can look childish if the colours are too bright, so I chose muted, dusty shades. It looks far more grown-up than I expected.
Cost / Time / Difficulty: $8-$15 / 3-4 hours / Easy
Pro Tip: Overlap each mountain layer slightly so the ridges look like real depth, not separate triangles.
17. Christmas Ornament Hoops

Mini hoops make the sweetest Christmas ornaments: tiny trees, snowflakes, and stars stitched on scraps, then finished with a ribbon loop. I used 3-inch hoops and one simple motif per ornament, which kept each one quick.
I made a dozen one December as gifts, and they were finished in two evenings while I listened to carols. The downside is small hoops are fiddly to hold, so I rest mine on a table while stitching. They come out every year now, and that feels like a tradition.
Cost / Time / Difficulty: $10-$20 for a set / 1 hour each / Beginner
Pro Tip: Stitch the motif before you trim the fabric, or a tiny hoop leaves no room to fix mistakes.
18. Macrame Dreamcatcher Hoop

This hoop blends embroidery and macrame: a wooden ring wrapped in cotton cord, with a simple woven web and a few embroidered leaves at the edge. I used a large ring, soft cotton cord, and wooden beads for the hanging strands.
I hung it above my bed and love the slow, boho texture it adds to a plain wall. The downside is macrame takes more cord than you think, so I bought an extra skein halfway through. Measure generously and you will finish without a panic trip to the shop.
Cost / Time / Difficulty: $12-$25 / 3-5 hours / Intermediate
Pro Tip: Cut cords four times the finished length you want; short cords are the classic beginner mistake.
19. Pet Portrait Hoop

A pet portrait hoop sounds ambitious, but I kept mine simple: one clear photo outline, a few thread colours matched to my dog’s coat, and long-and-short stitch for the fur. I traced the outline from a printed photo taped to a window.
I gave it to my sister and she cried, which is the highest praise a craft can earn. The downside is that realistic fur takes time and honest colour matching, so I never promise one in a weekend. Start with a side profile, which is far easier than a full face.
Cost / Time / Difficulty: $10-$20 / 6-10 hours / Intermediate
Pro Tip: Match thread colours in daylight, not under yellow kitchen lights, or the coat colour will look wrong.
20. Hoop Memo and Craft-Room Board

My last hoop is not art at all, but a working board: a large hoop stretched with linen and crossed with ribbons, where I tuck photos, pattern notes, and fabric swatches. I used a 12-inch hoop and grosgrain ribbon pinned at the back.
I use it daily in my craft room, and it keeps my best ideas visible instead of buried in a drawer. The downside is that a loaded board gets heavy, so I hang it on a wall hook rated for real weight. It is the most useful hoop I own.
Cost / Time / Difficulty: $10-$18 / 1-2 hours / Beginner
Pro Tip: Cross ribbons tightly and pin them at the back, so tucked notes stay put instead of sliding out.
Comparison Table: Which Idea Fits Your Day?
| Idea | Best For | Cost | Effort |
|---|---|---|---|
| Floral Botanical | A first hoop | Under $10 | Low |
| French Knot Meadow | A relaxing evening | $5-$12 | Low |
| Gallery Wall | A bare hallway | $20-$40 | Medium |
| Pet Portrait | A special gift | $10-$20 | High |
| Memo Board | A craft room | $10-$18 | Low |
| Christmas Ornaments | Holiday gifts | $10-$20 | Low |
Mistakes I Made (So You Don’t Have To)
Pulling fabric drum-tight: I tore a corner of my first linen square and learned that firm, not stretched, is enough for neat stitches.
Choosing a long quote: a twelve-word hoop took me a week and stole the fun, so now I keep lettering short and sweet.
Skipping a colour test: I stitched a whole rainbow in shades that vanished on white fabric, and now I always hold floss against the fabric first.
Using metallic thread in long lengths: it tangled, frayed, and snapped until I switched to short lengths and a bigger needle eye.
Embroidery Hoop Art Ideas: Your Questions, Answered
Do I need to know lots of stitches to start?
No. Backstitch, lazy daisy, French knots, and stem stitch cover almost every idea here, and each one is learnable in an evening from a free video.
What size hoop should a beginner buy?
Start with a 6-inch hoop. It is big enough to hold a design, small enough to hold comfortably, and cheap enough to buy in a few sizes.
How do I finish the back of a hoop neatly?
Trim the fabric to about an inch, run a gathering stitch around the edge, pull it closed, and glue a felt circle over the back for a tidy finish.
Will embroidery hoop art fade in sunlight?
Thread is fairly hardy, but pressed flowers and pale fabrics fade faster, so hang those hoops on shaded walls away from direct sun.
Final Thoughts
My favourite hoop is not the most perfect one; among all these embroidery hoop art ideas, it is the wonky floral hoop by my front door, because it was the first one I finished. That is the real secret here: finish one, hang it, and let the next one be a little braver.
If you try just one idea this weekend, make it the floral botanical or the pastel rainbow, then come back for the gallery wall. And if you want more ways to reuse scraps, this Read this next guide pairs beautifully with the denim hoop.
Happy stitching, and remember to step back and admire your work from across the room. That is where hoop art truly shines, and where your effort turns into wall-worthy art. For quick fixes along the way, Also read this hot glue guide, which has saved more than one of my hoop backs.