DIY Christmas Lantern Ideas
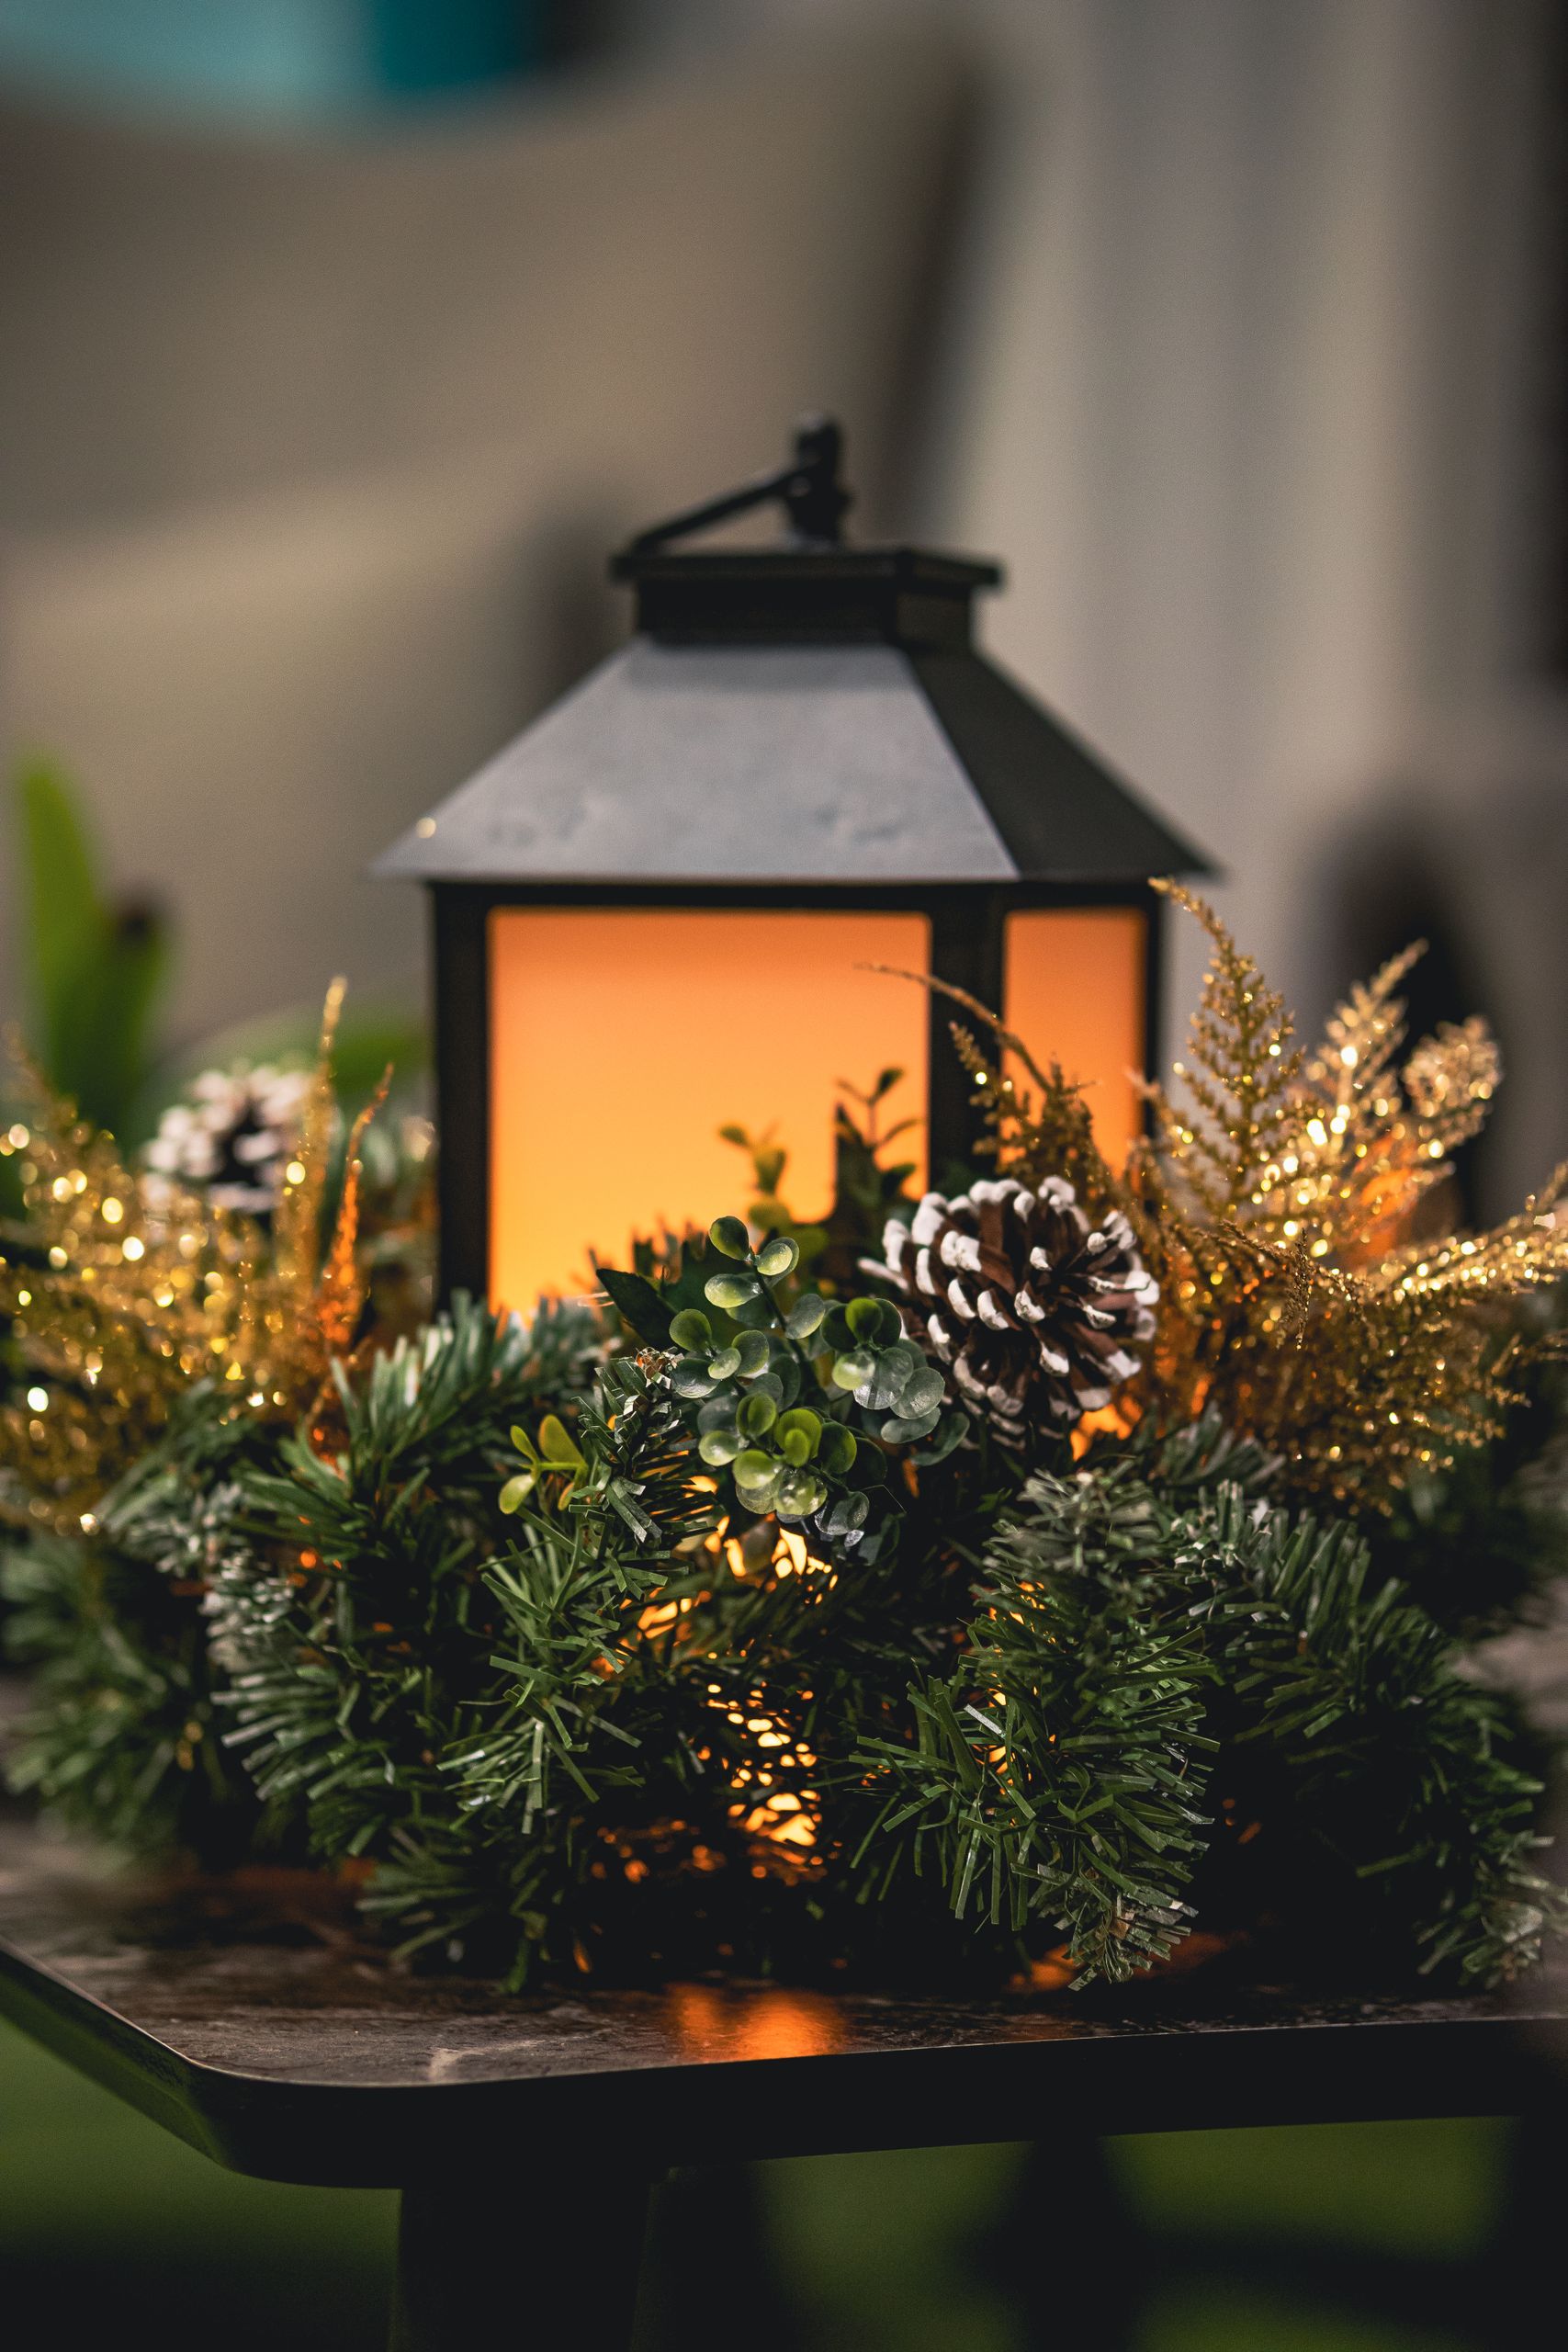
These diy christmas lantern ideas are the ones I have actually made, lit, and lived with, from a classic porch lantern to tiny tree ornaments that glow after dark. Every December, the first thing I put out is a lantern, because one warm glow by the door or on the table makes the whole house feel like Christmas before the tree is even up.
I picked and tested them the same way I test everything in this house: I built each one, switched it on in the evening, and kept only the lanterns that looked good, stayed safe, and still made me smile a week later. A Related article on centrepieces gave me a few starting points, but the lantern versions here are my own.
Safety comes first in every idea below: I never leave a real candle unattended, I keep flames away from curtains, paper, and greenery, and I use flameless candles in lanterns near kids, pets, and bedding. A lantern should feel cosy, never worrying.
Why These DIY Christmas Lantern Ideas Work
Most lanterns here cost under $12, and many start from a jar, an old lantern, or a simple wooden base you already own.
Glass lanterns glow softly, metal lanterns handle outdoor weather better, and paper lanterns suit flameless lights only.
Flameless candles and fairy lights make lanterns safe for porches, kids’ rooms, and anywhere you cannot watch a flame.
Never leave a real candle burning alone, and keep every lantern clear of curtains, dried foliage, and dangling ribbon.
1. Classic Cosy Lantern with a Candle

Start with a plain metal-and-glass lantern, set a pillar candle or flameless candle inside, and add a sprig of pine at the base. This is the lantern I reach for first every year, because it suits a porch, a mantel, or a dining table equally well.
Mine sits by our front door all December, and it is the first thing visitors notice. The downside is glass smudges fast outdoors, so I wipe it once a week to keep the glow bright.
Pro Tip: Use a flameless pillar on the porch, where wind can blow a real flame unevenly. Test the holder on a flat surface first, so it never wobbles once it is lit.
Cost: about $10. Time: 10 minutes. Difficulty: Easy.
2. Gingerbread-Table Lantern

Place a small lantern on the table beside gingerbread, a few baubles, and a folded napkin, and let it anchor a festive place setting. The lantern’s warm light makes even a simple table look like a celebration.
I styled this for a December tea with friends, and the lantern stole the show from the cake. The watch-out is crumbs and icing near glass, so I keep food a hand’s width away.
Pro Tip: Choose a short lantern for tables, so guests can still see each other across it. Check the fit the night before guests arrive, when you still have time to fix it.
Cost: about $9. Time: 10 minutes. Difficulty: Easy.
3. Mini Lantern Ornaments on the Tree

Hang tiny lantern ornaments among the tree branches, with battery fairy lights inside each one, and space them evenly so the tree glows from within. They look especially lovely on a tree with simple, plain baubles.
My daughter helped hang these last year, and she still calls them the fairy lanterns. The honest downside is battery changes, so I buy ornaments with an easy twist-off base. I repeat this one every December without fail.
Pro Tip: Use only battery lights inside tree lanterns, never a real flame near branches. Keep a spare candle nearby, so a short or uneven burn never spoils the evening.
Cost: about $8 for a set. Time: 15 minutes. Difficulty: Easy.
4. Lantern by the Front Door

Set a tall lantern beside the front door, flanked by potted evergreens and a wreath above, and switch it on at dusk. Visitors get a warm welcome before they even knock, and the entry looks finished with very little effort.
This is the first decoration I put out each year, and neighbours have copied it twice now. The catch is rain, so my door lantern holds a flameless candle and sits under the porch roof.
Pro Tip: Weigh the lantern down with a stone inside the base on windy porches. Try the holder in daylight first, then again at night, because the glow changes completely.
Cost: about $12. Time: 10 minutes. Difficulty: Easy.
5. Red Lantern with a Wreath

Pair a red lantern with a simple green wreath on a wooden door, and add a small sign or ribbon in the same red. The single bold colour keeps the entry cheerful without needing a dozen decorations.
I tried this on our side door, and it looked far more expensive than it was. The downside is red paint fades in sun, so I bring this lantern inside after Christmas. I repeat this one every December without fail.
Pro Tip: Match the ribbon exactly to the lantern colour for a pulled-together look. Move it a few inches at a time until the light falls exactly where you want it.
Cost: about $11. Time: 15 minutes. Difficulty: Easy.
6. Vintage Fire Lamp Lantern

Use an old-fashioned railway-style lantern with a warm bulb or flameless candle, and style it with pine branches on a side table. The vintage shape suits farmhouse and rustic rooms, and it glows beautifully in a dark corner.
I found mine at a flea market, and it is now my favourite reading-corner light. The watch-out is weight: vintage lanterns are heavy, so I keep mine low, where it cannot fall. I repeat this one every December without fail.
Pro Tip: Check old lanterns for rust inside before adding any light source. Give the holder a gentle nudge test, just as a passing sleeve or pet might.
Cost: about $14. Time: 10 minutes. Difficulty: Easy.
7. Snowman Lantern Figurine

Place a snowman figurine holding a tiny lantern on a windowsill or mantel, with fake snow scattered at its base. Children love this one, and it adds a storybook feel to a room without any real flame at all.
Our snowman lives on the mantel, and my kids check on him every morning. The only downside is dust in the fake snow, so I shake it out gently each week. I repeat this one every December without fail.
Pro Tip: Use a battery lantern in figurines, so little hands can admire it safely. Leave a little breathing room around it, so heat never builds up against nearby decorations.
Cost: about $8. Time: 5 minutes. Difficulty: Easy.
8. Snowy Glass Lantern Outdoors

Set a glass lantern in the snow by a path or porch step, with a flameless pillar inside, and let it mark the way to your door on dark evenings. The light through glass and snow is soft, calm, and unmistakably winter.
I lined our short path with two of these, and coming home felt magical. The catch is snow melt, so I stand each lantern on a flat stone, never directly on soft snow.
Pro Tip: Bring glass lanterns in during heavy storms, since ice can crack cold glass. Photograph it once before the event, since photos reveal clutter your eyes tend to miss.
Cost: about $9 each. Time: 10 minutes. Difficulty: Easy.
9. Porch Glow for the Whole House

Use lanterns as part of a wider porch display, with string lights, garland, and one or two glowing lanterns by the steps. The lanterns give the display a warm focal point, instead of light coming only from above.
Our porch looked flat until I added lanterns at ground level, and that one change made everything feel warmer. The downside is extension cords, so I now use solar or battery lanterns outside.
Pro Tip: Keep outdoor lanterns clear of walkways, so nobody trips over them after dark. Place it where you can reach it easily, because you will need to light and snuff it safely.
Cost: about $15 for a pair. Time: 20 minutes. Difficulty: Easy.
10. Porch Lamp Pair by the Steps
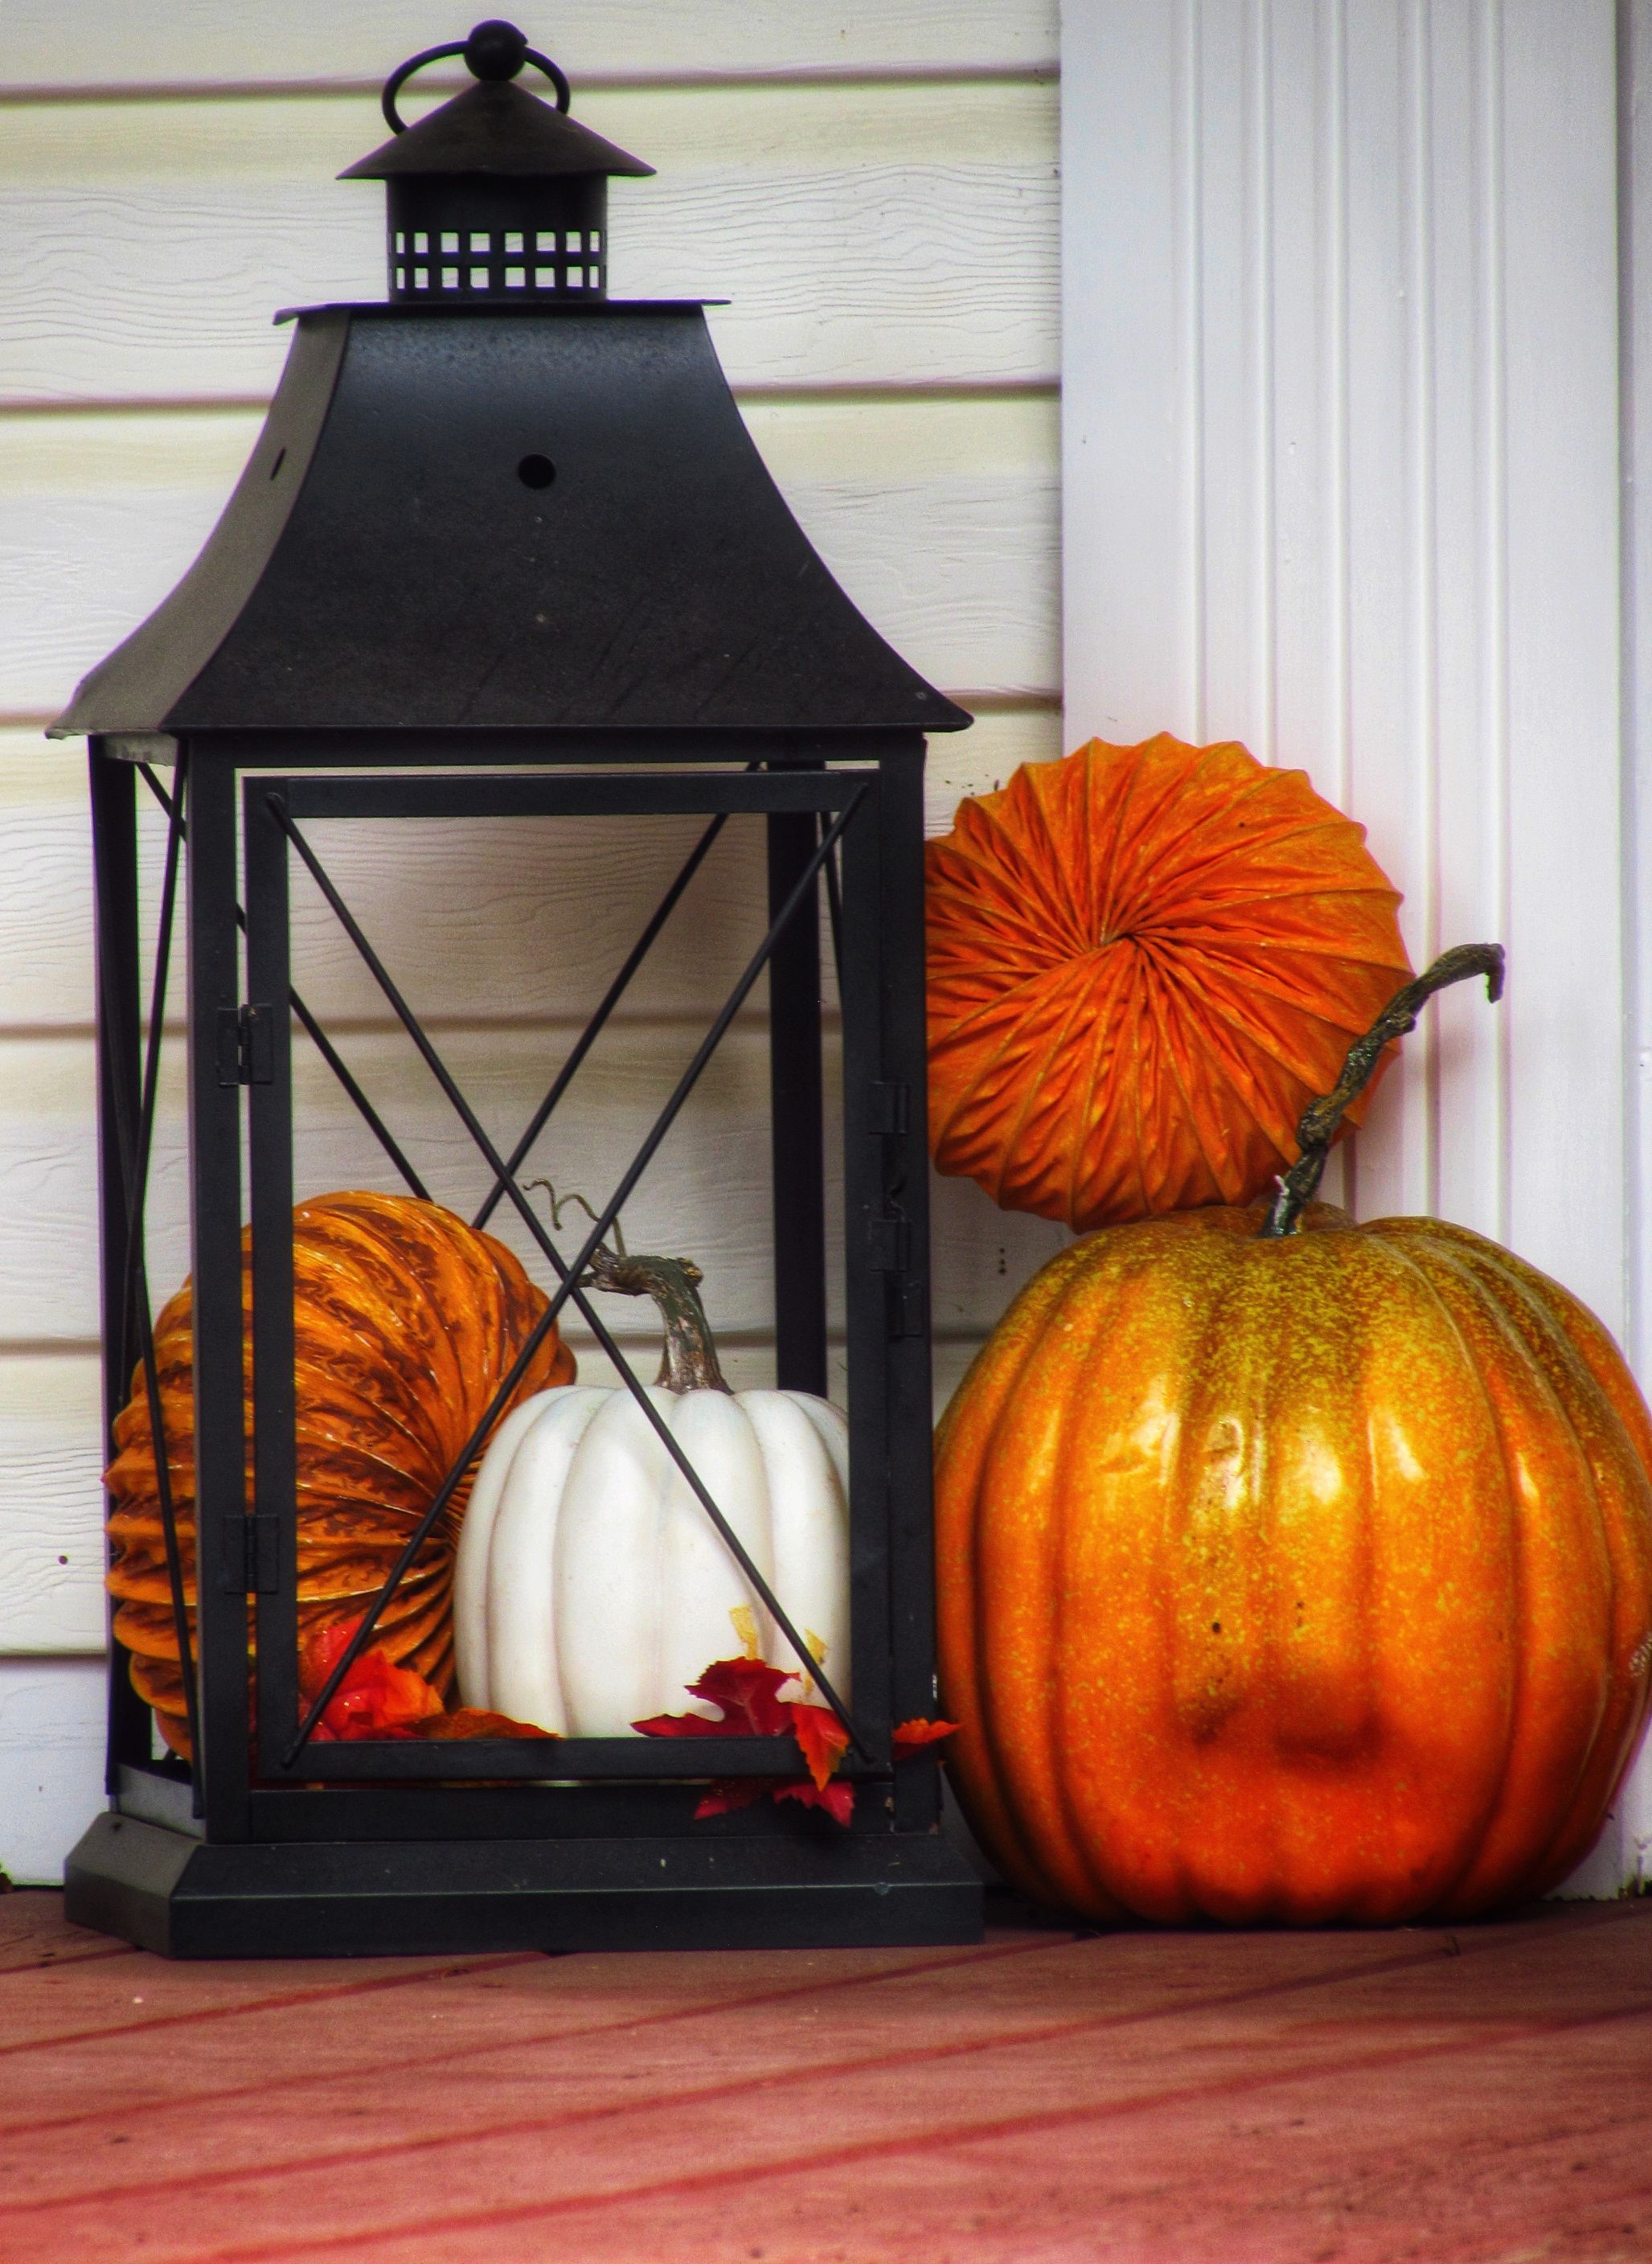
Place a pair of black lamps or lanterns on either side of your porch steps, and dress them with seasonal greenery for Christmas. Matching pairs frame a doorway beautifully, and they guide guests safely up the steps at night.
I am honest about this one: my porch lamps started life as an autumn display, and I swapped the pumpkins for pine and red ribbon in December. The lamps themselves work perfectly, but the seasonal dressing needs changing.
Pro Tip: Swap autumn dressing for evergreen and ribbon, so the same lamps carry into Christmas. Check it again after an hour of burning, when wax and heat have both settled.
Cost: about $16 for a pair. Time: 20 minutes. Difficulty: Easy.
11. Lantern-and-Tree Decoration

Set a lantern-style candle display beside a small tree, with silver ornaments and a white wall behind it, for a clean, modern Christmas corner. The lantern light softens the tree lights and stops the corner feeling cold.
I styled a corner like this in our hallway, where a full tree would not fit. The watch-out is clutter, so I limit the corner to the tree, the lantern, and nothing else. I repeat this one every December without fail.
Pro Tip: Use a white or silver lantern here, so it blends with a modern, minimal tree. Keep the base clean and dry, so the holder sits level and never slides on polish.
Cost: about $10. Time: 15 minutes. Difficulty: Easy.
12. Lantern Dinner Glow

Bring lantern-style candlelight to the dinner table with enclosed glass holders down the centre, surrounded by baubles and soft fairy lights. Enclosed glass gives you lantern warmth without an open flame near the food.
This setup made our Christmas dinner feel special, even though the lanterns were simple jars. The downside is table space, so I use this only for smaller dinners. I repeat this one every December without fail.
Pro Tip: Keep enclosed holders low, so guests can talk across the table comfortably. Pair it with a matching holder nearby, since a lone candle can look lost on a big table.
Cost: about $14 for a set. Time: 20 minutes. Difficulty: Easy.
13. Windowsill Lantern Row
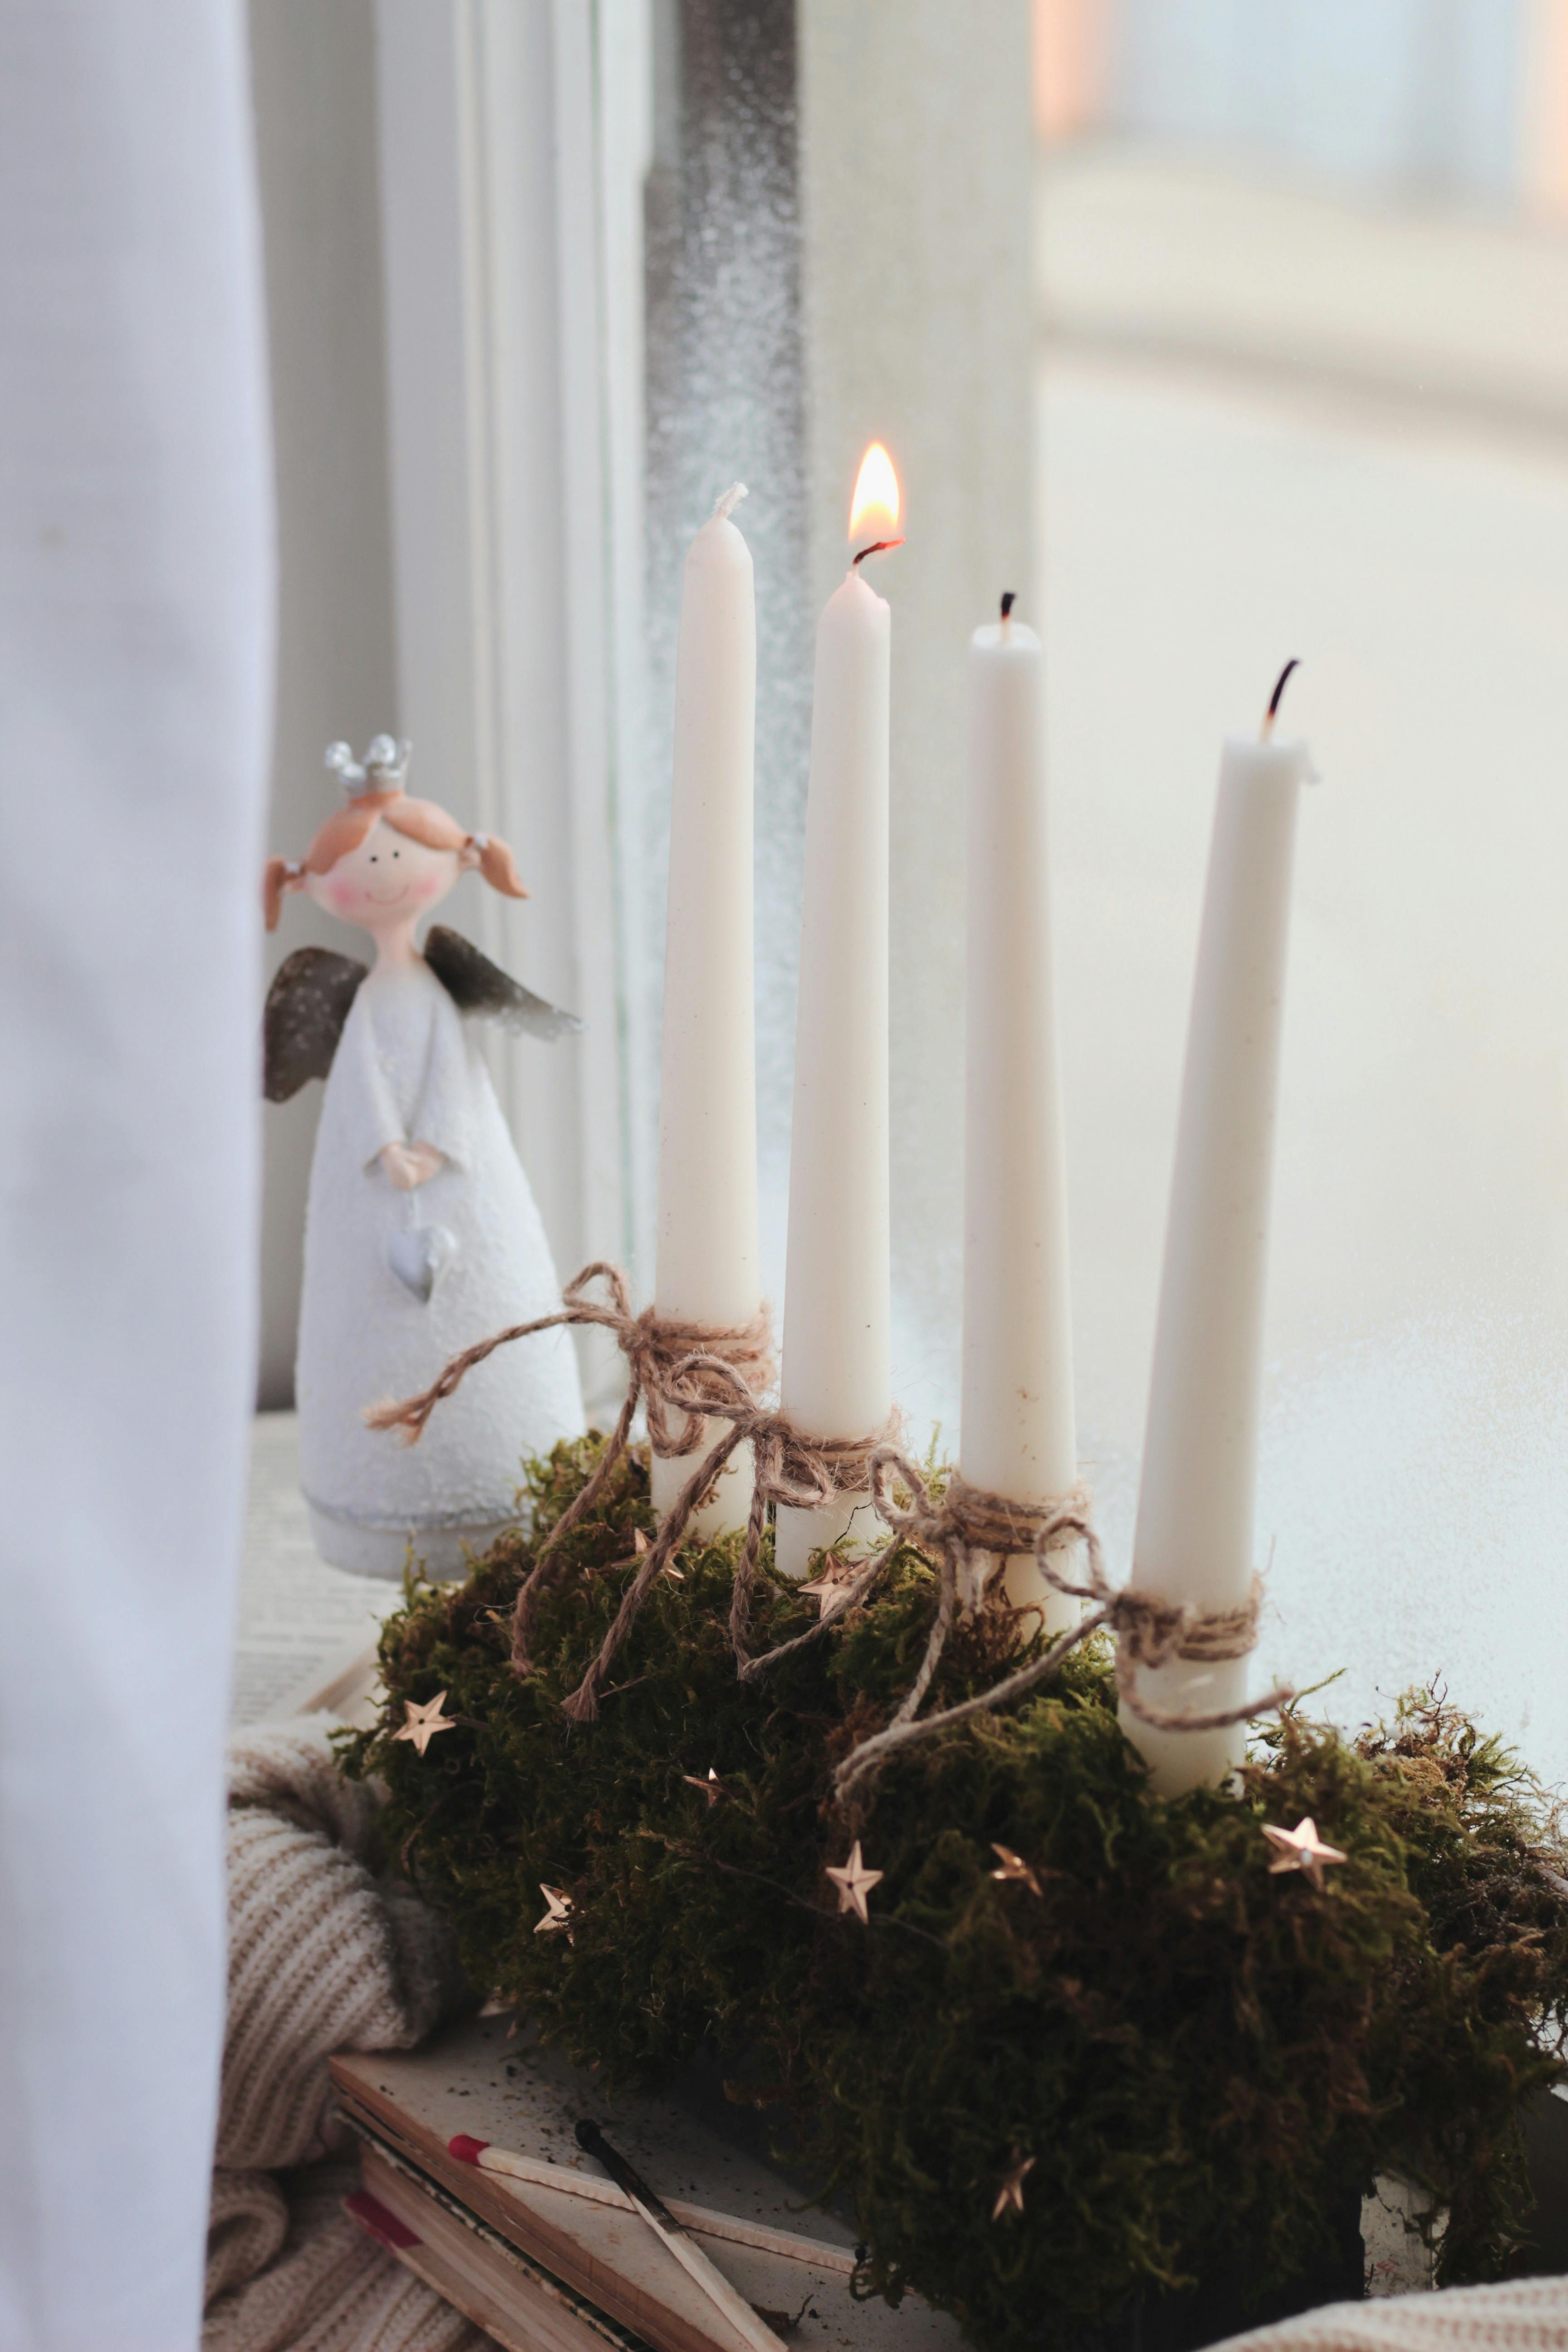
Line up three small lanterns along a windowsill, alternating a plain glass one with a metal one, and add a small figurine at one end. From the street, the row looks like a tiny glowing village in the window.
Neighbours noticed this row before any other decoration, which delighted me. The safety rule is firm here: windowsill lanterns hold flameless candles only, because curtains are always nearby. I repeat this one every December without fail.
Pro Tip: Tie curtains well back from any windowsill lantern, even a flameless one. Step back to the doorway and look, because that is how guests will first see it.
Cost: about $15 for a row. Time: 10 minutes. Difficulty: Easy.
14. Single-Lantern Close-Up Glow

Sometimes one lantern is enough: a single glowing candle inside glass on a quiet side table, with the rest of the room dim. This minimal styling suits bedrooms and reading corners, where calm matters more than a big display.
I keep this one beside my reading chair, and it is the light I switch on first each evening. The downside is that a single flame shows every draught, so I keep it away from doors.
Pro Tip: Use a heavy glass lantern for a single light, so it cannot tip easily. Trim the wick before every lighting, so the flame stays small, steady, and clean.
Cost: about $7. Time: 5 minutes. Difficulty: Easy.
15. Lantern Table Setting

Give your Christmas table a lantern feel with small glass holders at each place, a low runner of greenery, and one larger lantern in the centre. The repeated glass catches the light from every seat at the table.
I used this layout for a friends’ dinner, and guests kept the little holders as favours. The watch-out is napkins near glass, so I keep every holder on a small saucer. I repeat this one every December without fail.
Pro Tip: Use unscented candles at the table, so the light never competes with the food. Store spare holders together in one box, ready to grab next December without hunting.
Cost: about $12 for a set. Time: 20 minutes. Difficulty: Easy.
16. Lantern Dinner-Table Centrepiece

Build a centrepiece around one large lantern, with low greenery and baubles spread out from it, and keep serving dishes at the ends of the table. The lantern becomes the table’s heart, and everything else arranges around it.
This centrepiece survived a full Christmas dinner in our house, which is high praise. The only downside is that a large lantern eats table space, so I plan the menu around it. I repeat this one every December without fail.
Pro Tip: Test the centrepiece with empty dishes first, before hot food arrives. Label the box with its contents, so next year you remember exactly what worked.
Cost: about $13. Time: 20 minutes. Difficulty: Easy.
17. Craft-Night Lantern Project
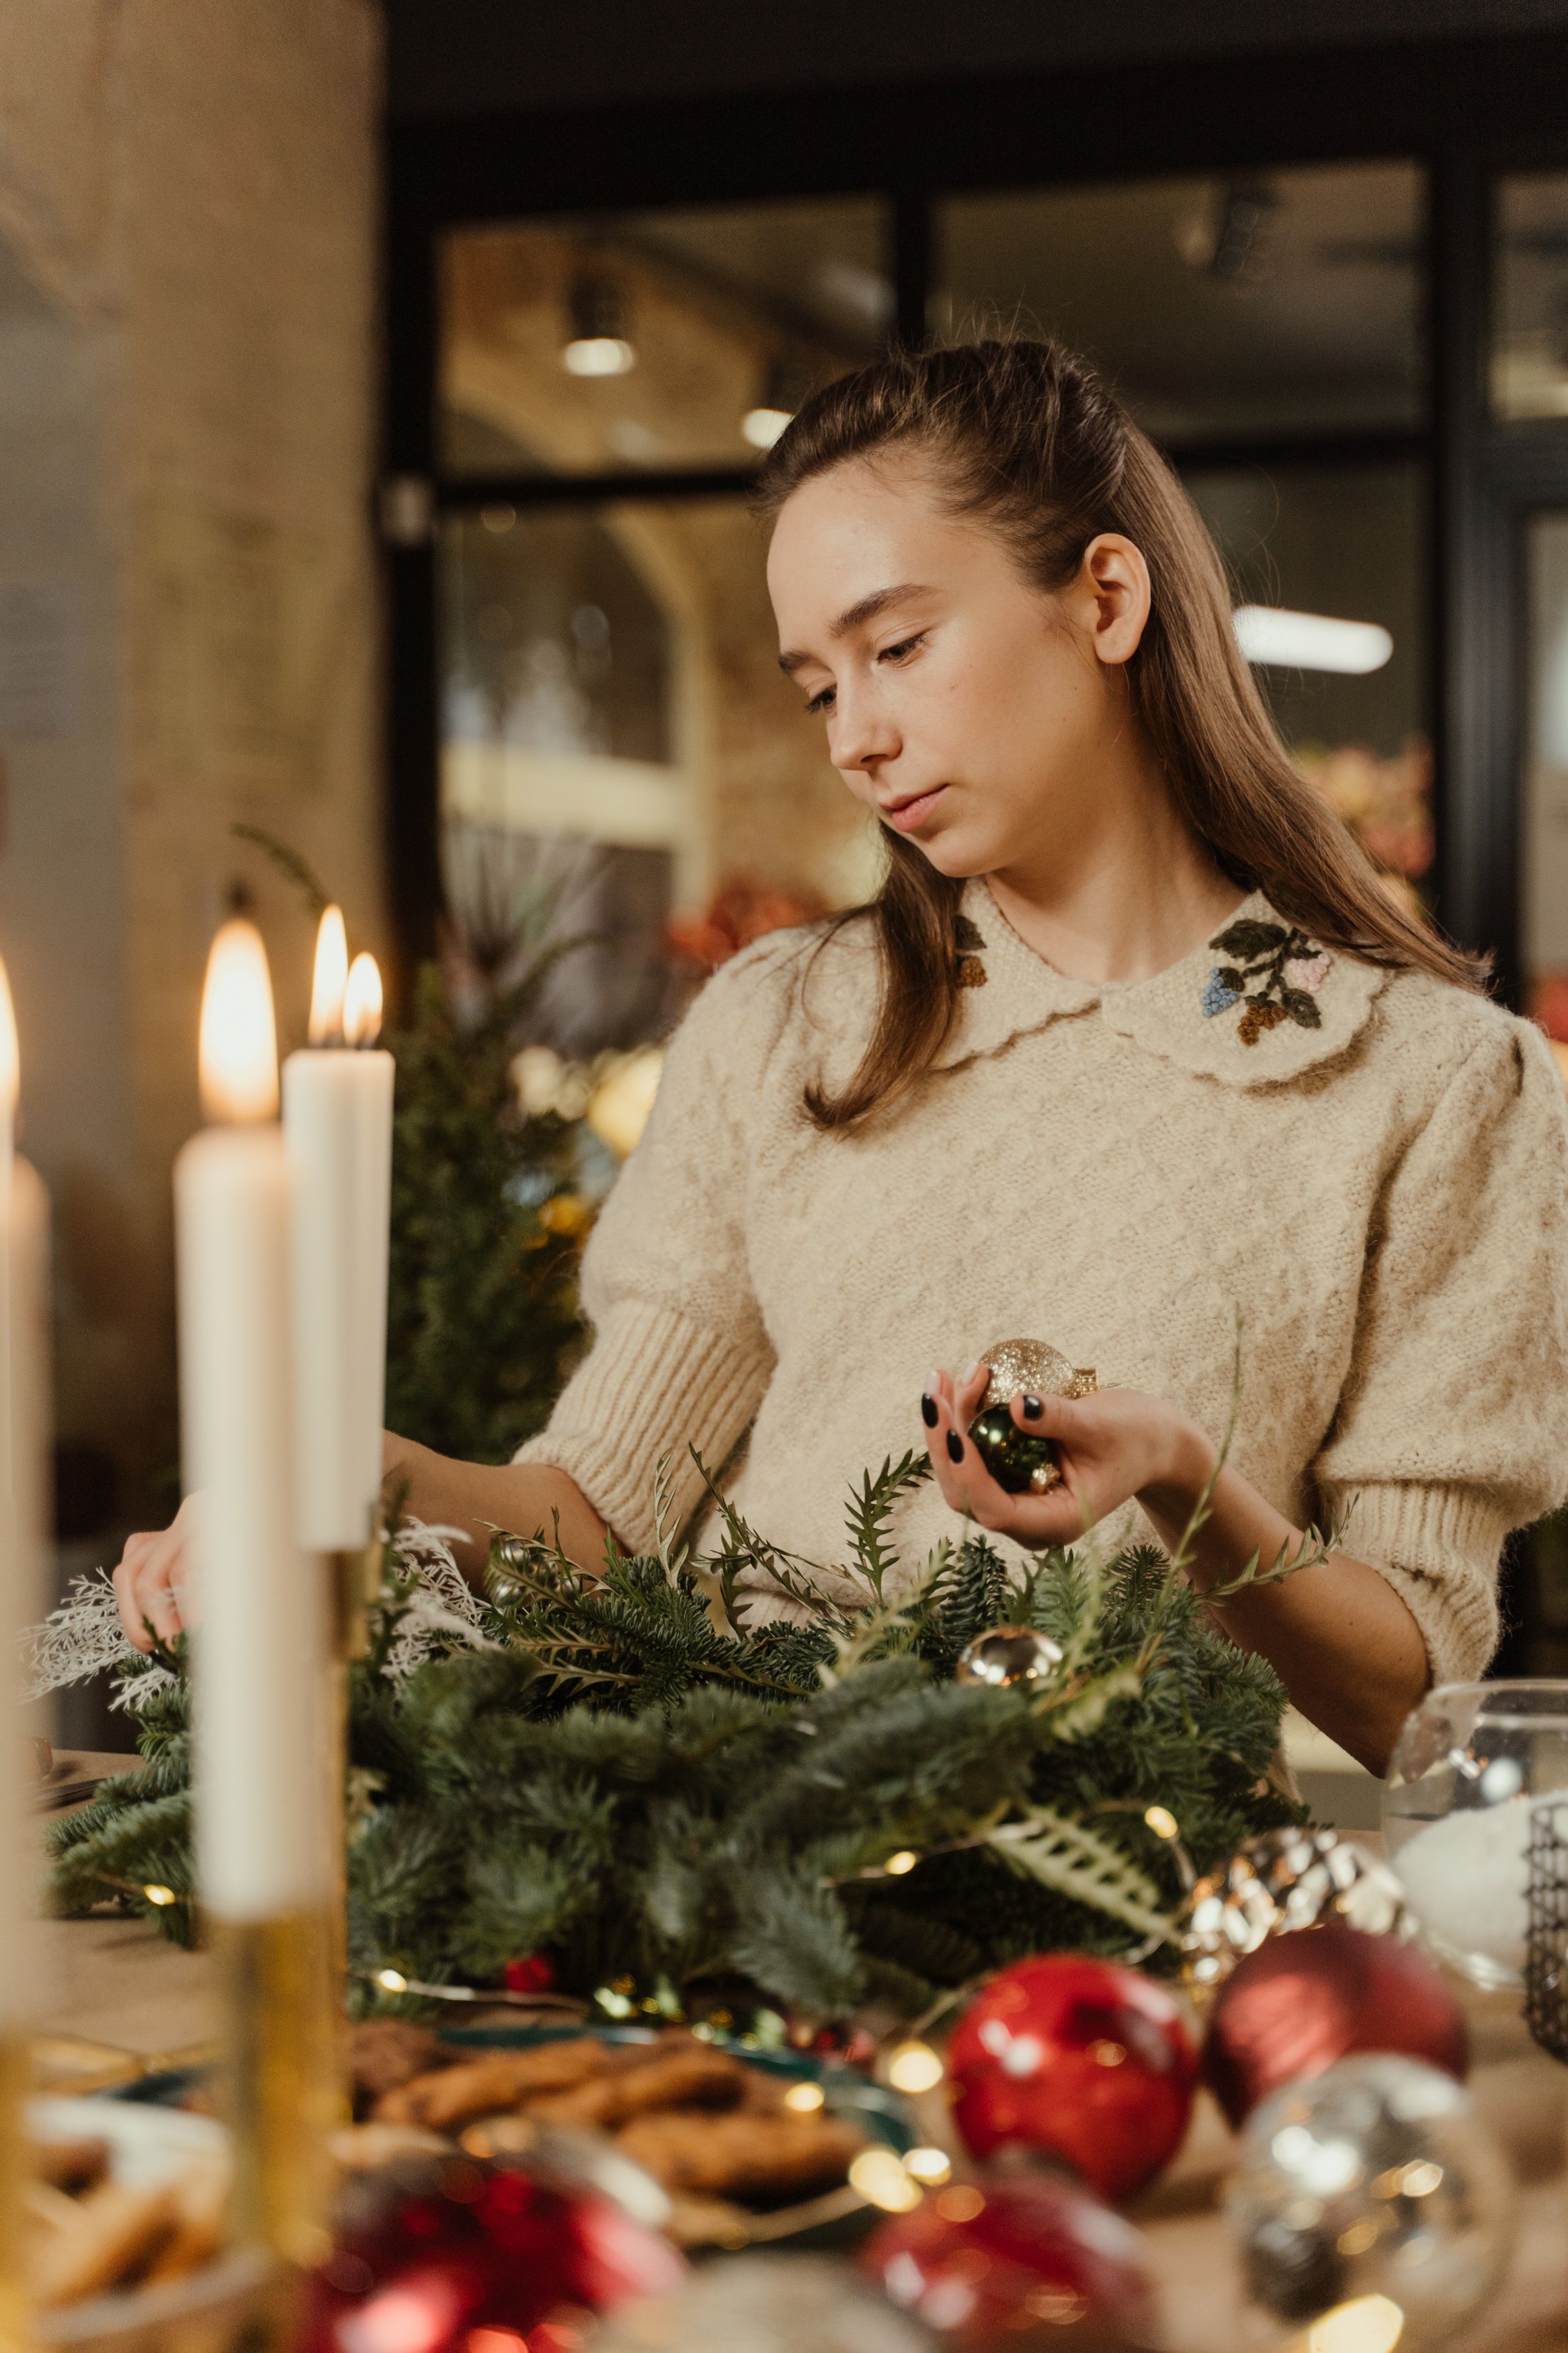
Make lanterns the project at a craft night: give each friend a jar, tissue paper, and glue, and let everyone decorate their own lantern to take home. Battery tealights inside mean the finished lanterns glow safely that same evening.
I hosted this night last December, and every lantern came out different, which was the joy of it. The lesson was glue everywhere, so I now cover the table fully before anyone starts. I repeat this one every December without fail.
Pro Tip: Use battery tealights for craft-night lanterns, especially with children crafting too. Try it with both real and flameless candles, then choose whichever suits that spot best.
Cost: about $4 each. Time: 45 minutes. Difficulty: Easy.
18. Pinecone-Filled Lantern

Fill the base of an open lantern with small pinecones and rosemary sprigs, then set a flameless candle on top, so the light shines through the natural textures. The pinecones add height and interest without costing anything.
I gathered my pinecones on a family walk, which made this lantern extra special. The downside is pinecones are flammable, so a real flame never goes inside this one in my house. I repeat this one every December without fail.
Pro Tip: Bake gathered pinecones at low heat first, so they open fully and dry out. Keep children and pets in mind for every placement, even in rooms they rarely enter.
Cost: about $3. Time: 20 minutes. Difficulty: Easy.
19. Wooden-Base Lantern

Set a glass lantern or a pillar candle on a flat wooden base, and add a thin ribbon or a small pine sprig to finish it. The wood warms up the glass and metal, and the whole piece suits a rustic mantel or farmhouse table.
My first wooden base wobbled, because I skipped sanding the bottom, and I have sanded every base since. The watch-out is wax on wood, so I use a small saucer under the candle.
Pro Tip: Seal the wood with a clear coat, so wax drips wipe off easily. Note what worked in a phone memo, so you can repeat the winners next Christmas.
Cost: about $5. Time: 20 minutes. Difficulty: Easy.
20. Wall-Hung Lantern Pair

Hang a wreath on the wall, then place a matching lantern on the table below it, using the same ribbon and greenery in both pieces. The pair draws the eye up and down, and makes a plain hallway feel thoughtfully decorated.
I tried this in our entryway, and it looked more intentional than either piece alone. The safety point matters here: heat rises, so the lantern below a wreath always holds a flameless candle in our home.
Pro Tip: Use a flameless candle under any wall wreath, since heat rises into dried foliage. Enjoy the glow for a full evening before judging it, since candlelight grows on you slowly.
Cost: about $11 for a pair. Time: 20 minutes. Difficulty: Easy.
Lantern Styles at a Glance
| Holder style | Best for | Budget | Safety note |
|---|---|---|---|
| Metal porch lantern | Doors and steps | $10–$16 | Flameless in wind and rain |
| Glass table lantern | Dinner tables | $7–$12 | Keep low for conversation |
| Mini tree lantern | Christmas trees | $8 for a set | Battery lights only |
| Paper lantern | Kids’ rooms | $4–$8 | Flameless lights only |
| Vintage lamp lantern | Reading corners | $12–$18 | Keep low, it is heavy |
Mistakes I Made / What I Learned the Hard Way
Using a real flame outdoors: I once lit a real candle in a porch lantern on a windy night, and it burned unevenly and smoked. I now use flameless candles outside without exception, and the glow is steadier anyway.
Paper near a flame: A ribbon draped over a lantern edge curled toward the heat, and I caught it just in time. Now no ribbon, paper, or dried foliage ever drapes over or into a lantern with a real flame.
Forgetting the lantern was lit: I left a lantern burning in an empty room while I cooked, and felt awful when I remembered. Now a lit lantern gets a timer, or it goes out when I leave the room.
Choosing a pretty but tippy lantern: A tall, narrow lantern I loved fell when our dog brushed past it. I replaced it with a wide, heavy base, and I wobble-test every lantern before it earns a place.
Frequently Asked Questions
Are lanterns with real candles safe indoors?
Yes, if the lantern is stable, enclosed, and kept away from curtains, paper, and dried greenery. I never leave a real candle unattended, and I switch to flameless candles near kids, pets, and bedding.
What is the cheapest lantern idea here?
The pinecone-filled lantern costs about $3, especially if you gather pinecones yourself. The craft-night jar lantern is next, at around $4, using a jar you already own.
Can I leave a porch lantern out all winter?
You can, if it holds a flameless or solar light and sits under cover. I bring glass lanterns in during storms, and I wipe metal ones dry so they do not rust.
How do I stop lantern glass going cloudy?
I wipe glass with warm soapy water once a week in December, and I trim real candle wicks to stop soot. Flameless candles, of course, cause no soot at all.
Do solar lanterns work in winter?
They work, but they charge slowly on short, cloudy days. I keep a battery lantern as backup, so the porch never goes dark on the gloomiest evenings.
Final Thoughts
Start with one lantern, perhaps the classic porch lantern or the snowy glass one, and see how a single warm glow changes your evenings. If you love it, add a second by the door, and let the collection grow slowly through December. An Also read on porch styling pairs beautifully with these lanterns for your entryway.
Keep the habits that make lantern light relaxing: stable bases, clear space around every flame, and flameless lights wherever life gets busy. That is how I enjoy these diy christmas lantern ideas all season, and I hope they bring the same warm welcome to your home. For garland to hang above them, Read this next for more festive inspiration.