20 DIY Coaster Ideas That Protect Your Table and Look Handmade-Beautiful
Coasters are the smallest project with the biggest payoff in my house. They take an afternoon, cost almost nothing, and sit on your table every single day, which is more than I can say for most crafts I have made. After years of rings on my coffee table and a drawer full of store-bought coasters I never loved, I started making my own, and these 20 DIY coaster ideas are the ones that survived real daily use.
I picked these DIY coaster ideas the way I pick every project for this blog: I made them, used them for weeks, and kept the ones that held up to hot mugs, cold glasses, and one memorable spaghetti-sauce incident. If a coaster warped, peeled, or stained on the first week, it got cut. What stayed are projects for every skill level, from no-skill cork to first-time resin, with honest notes on what went wrong for me so it does not go wrong for you.
Key Takeaways
- Seal every coaster, no matter the material. An unsealed coaster is just a future stain with extra steps.
- Cork and wood are the most forgiving beginner materials; resin looks the most impressive but needs patience and ventilation.
- Most of these DIY coaster ideas cost under $15 for a set of four, and several use scraps you already own.
- Make a test coaster first, every time. One test saves a whole ruined set.
20 DIY Coaster Ideas That Protect Your Table
1. Resin Art Coasters
Resin art coasters are the project that made my friends ask where I bought them, which is the highest compliment a DIY project can get. You pour tinted resin into round silicone molds, swirl in a second color, and wait a full day for it to cure. My first set came out with tiny bubbles on the surface because I skipped the heat gun step, and I have never skipped it since: a quick pass with a heat gun pops every bubble. The result is a glossy, waterproof coaster that looks like a tiny piece of art. The downside is real, though. Resin smells, it needs gloves and ventilation, and you cannot rush the cure, so this is a weekend project, not a weeknight one.

Cost: $20 to $30 for resin and molds | Time: 30 minutes active, 24 hours curing | Difficulty: Medium
Pro Tip: Warm the resin bottles in warm water for ten minutes before pouring. Warm resin pours thinner and traps fewer bubbles.
2. Ocean-Blue Resin Coasters
Ocean-blue resin coasters are my favorite variation, and the one I give as gifts most. The technique is simple: pour a deep blue base, add a white swirl for waves, and drop in a pinch of sand from a craft store for a beach effect. My first attempt looked more like a storm cloud than the sea because I overmixed the white, and the fix was simple: swirl once, then stop touching it. The blue-and-white combination suits almost any table, which is why these are the set I reach for when guests come over. The downside is the same as all resin: fumes, gloves, and a full day of curing, plus sand can settle unevenly if you pour too thick.

Cost: $20 to $30 | Time: 30 minutes active, 24 hours curing | Difficulty: Medium
Pro Tip: Pour in two thin layers instead of one thick one. Thin layers cure clearer and trap less air.
3. Resin Pouring Basics for First-Timers
If resin intimidates you, start here, because this is the project that taught me resin is not scary, just specific. Use a small round mold, a 1:1 epoxy resin that says “beginner friendly” on the label, and a single color, no swirls, no extras. My first pour was a plain amber coaster, and it came out perfect, which gave me the confidence to try everything else on this list. The key lessons are boring but essential: measure exactly, stir slowly for three full minutes, and do not pour on a cold day, because cold resin cures cloudy. The downside is the waiting, but a plain first coaster teaches you the whole process in one afternoon.

Cost: $20 to $25 | Time: 20 minutes active, 24 hours curing | Difficulty: Easy to medium
Pro Tip: Cover your curing coasters with a box. Dust settling on wet resin is the most common beginner heartbreak.
4. Wooden Star Coasters
Wooden star coasters are the simplest wood project on this list, and they look far more expensive than they are. I cut squares from a pine board, sanded them smooth, and painted white stars with a stencil, then sealed them with three coats of clear varnish. The whole set took one afternoon, and they have survived two years of daily coffee. The stars hide small imperfections beautifully, which is why I recommend this to anyone nervous about painting. The downside is the sealing: skip a coat and a hot mug will leave a mark, so be generous with the varnish and let each coat dry fully before the next.

Cost: $8 to $12 | Time: 2 hours plus drying | Difficulty: Easy
Pro Tip: Sand between varnish coats with fine sandpaper. It feels fussy, but it is what makes the finish smooth instead of bumpy.
5. Painted Wooden Coasters
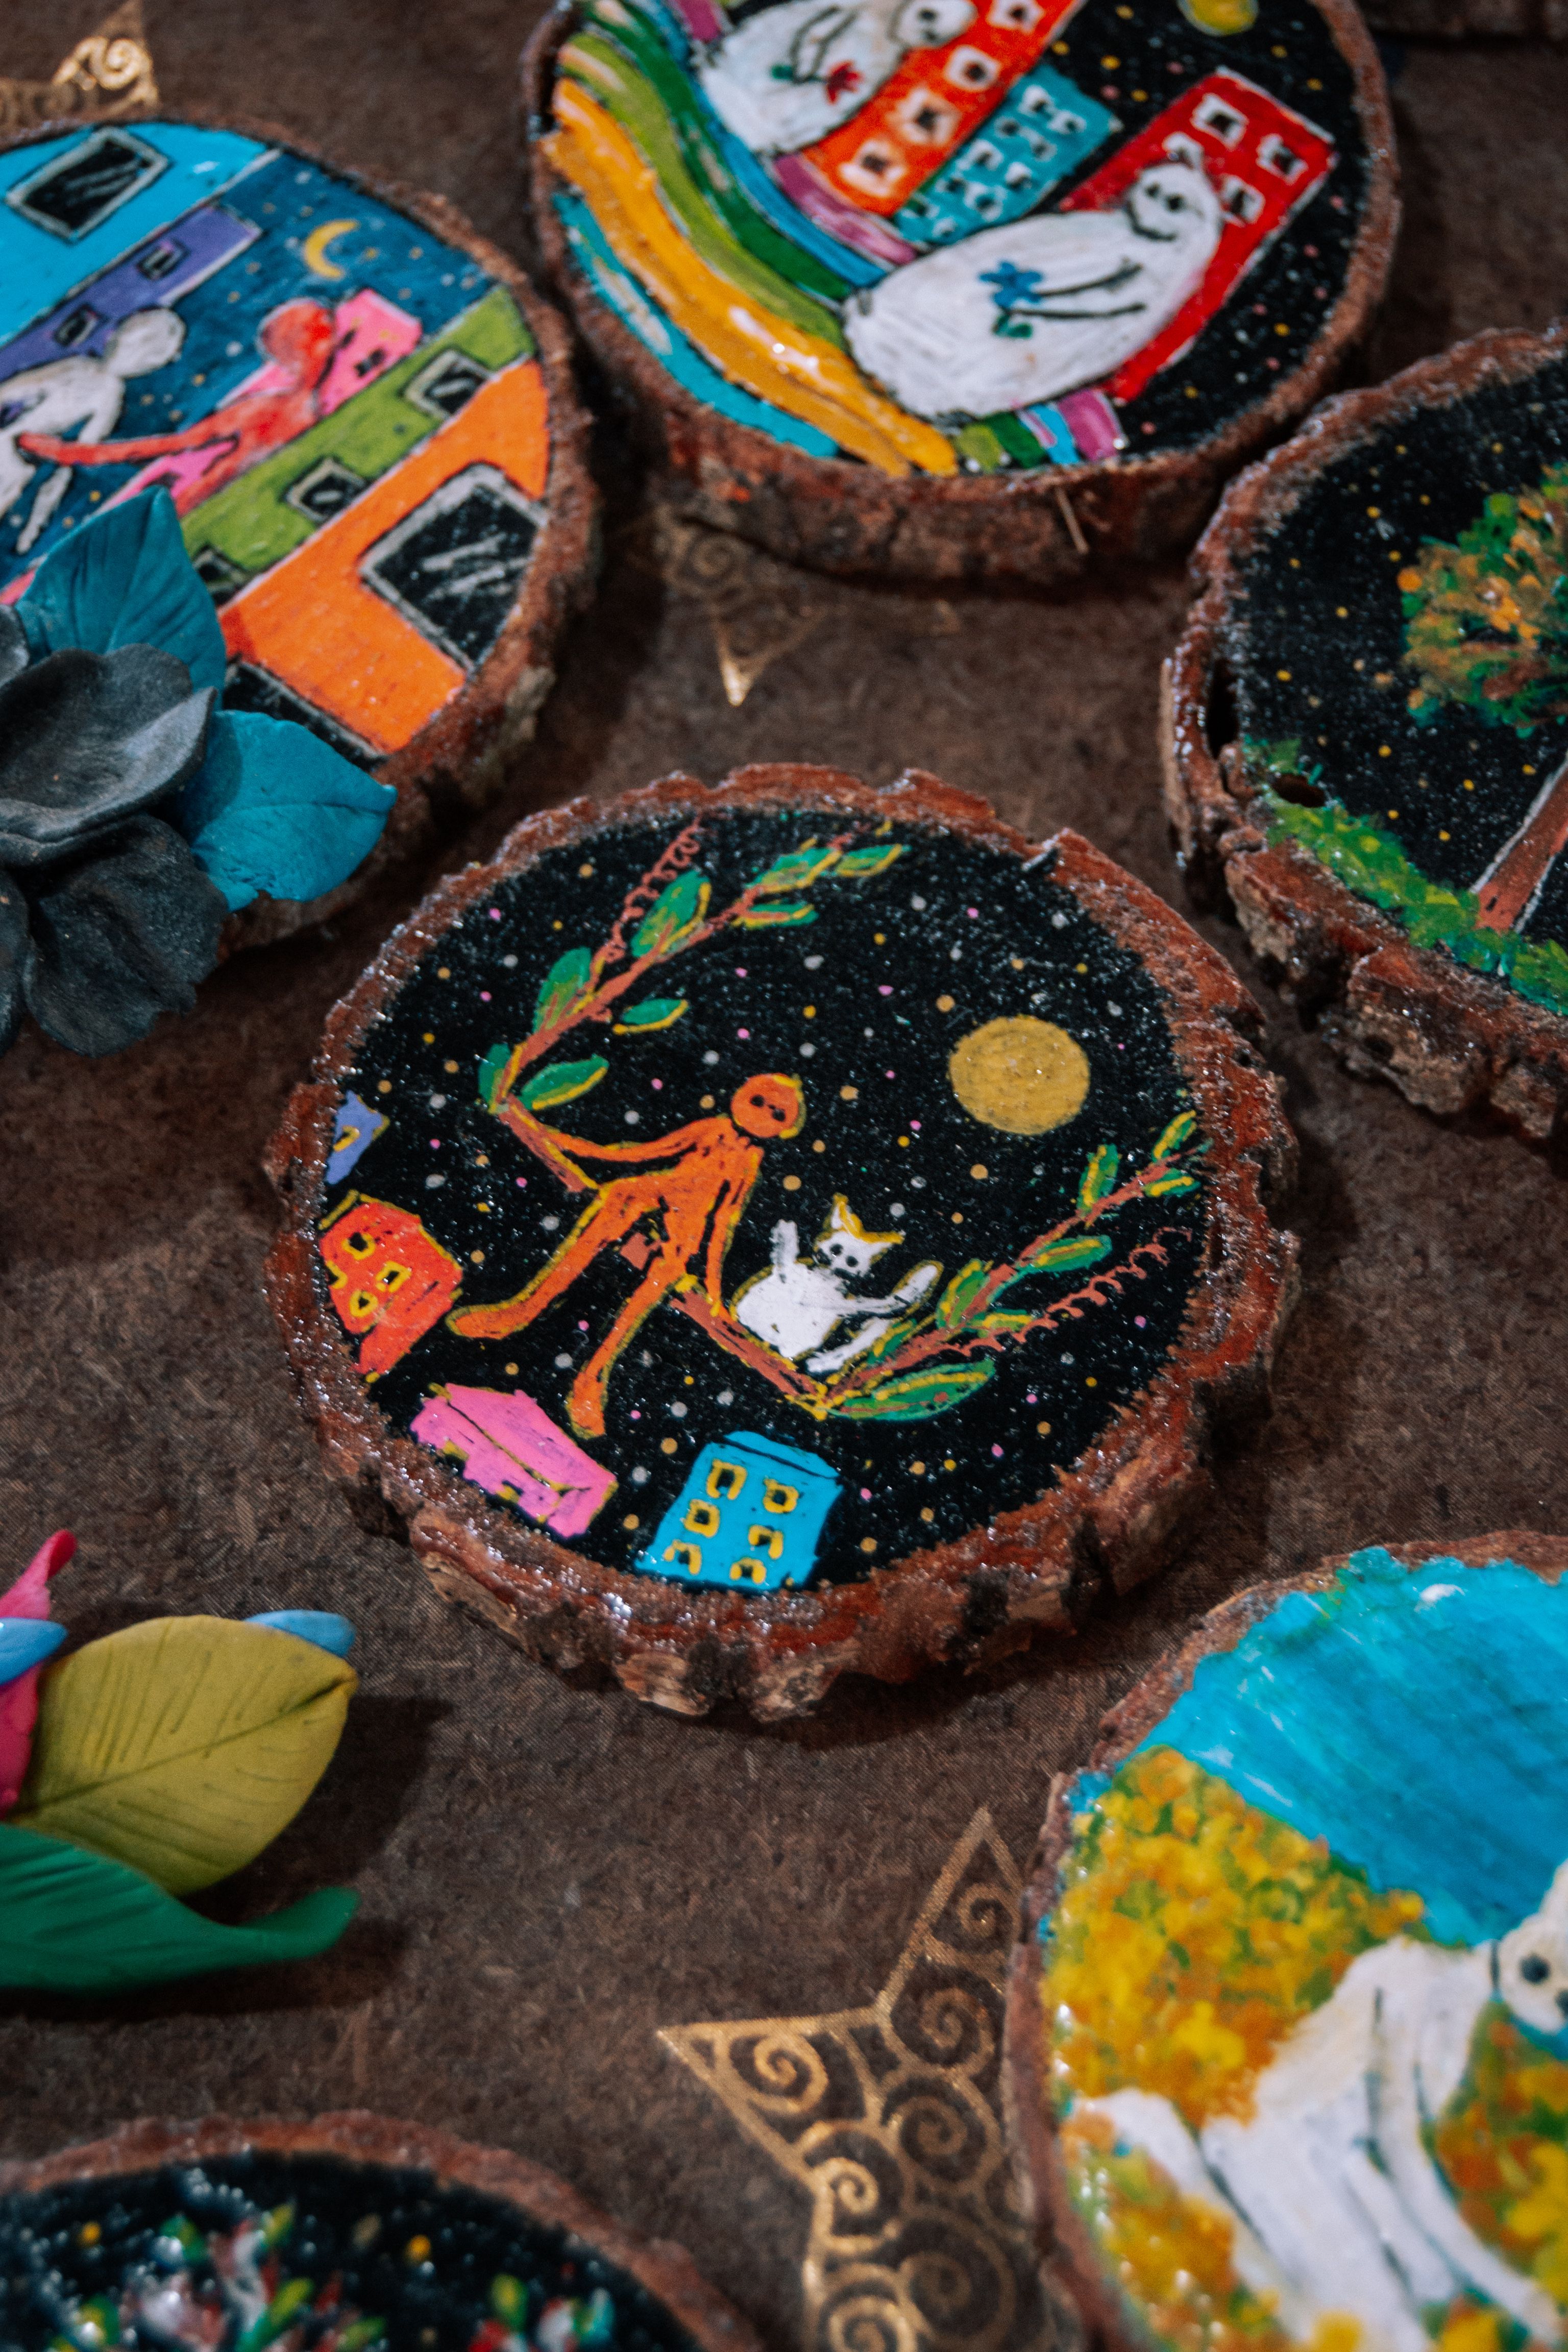
Painted wooden coasters are where I let myself be artistic, and the results are my favorite kind of imperfect. I paint freehand designs, leaves, dots, little landscapes, on plain wood slices, and seal them the same way as the star coasters. No two are alike, which is the charm, and guests always pick a favorite, which starts conversations. My first painted set had a design that ran when the varnish went on, because I used water-based paint under water-based varnish too soon. Now I let paint dry a full day before sealing, and the problem never came back. The downside is that freehand painting takes confidence, so start with dots and lines before attempting anything detailed.
Cost: $10 to $15 | Time: 2 to 3 hours plus drying | Difficulty: Easy to medium
Pro Tip: Use acrylic paint pens instead of brushes for details. They give you control without the learning curve.
6. Engraved Quote Coasters
Engraved quote coasters are the gift I make most, because a short quote turns a plain coaster into something personal. I use a wood-burning tool to write phrases like “I love you more than coffee” on wood slices, and the burned lettering looks rustic and permanent. My first attempt was wobbly because I pressed too hard, and the fix was to practice on scrap wood first and let the tool do the work with light, steady strokes. The downside is the smell and the need for ventilation, plus a wood-burning tool is not a casual purchase if you only want one set. But for gifts, nothing beats a coaster with words that mean something.

Cost: $15 to $25 including a basic wood-burning tool | Time: 1 to 2 hours | Difficulty: Medium
Pro Tip: Pencil your quote on the wood first. Burning over pencil lines is ten times easier than freehanding hot.
7. Everyday Wooden Coasters
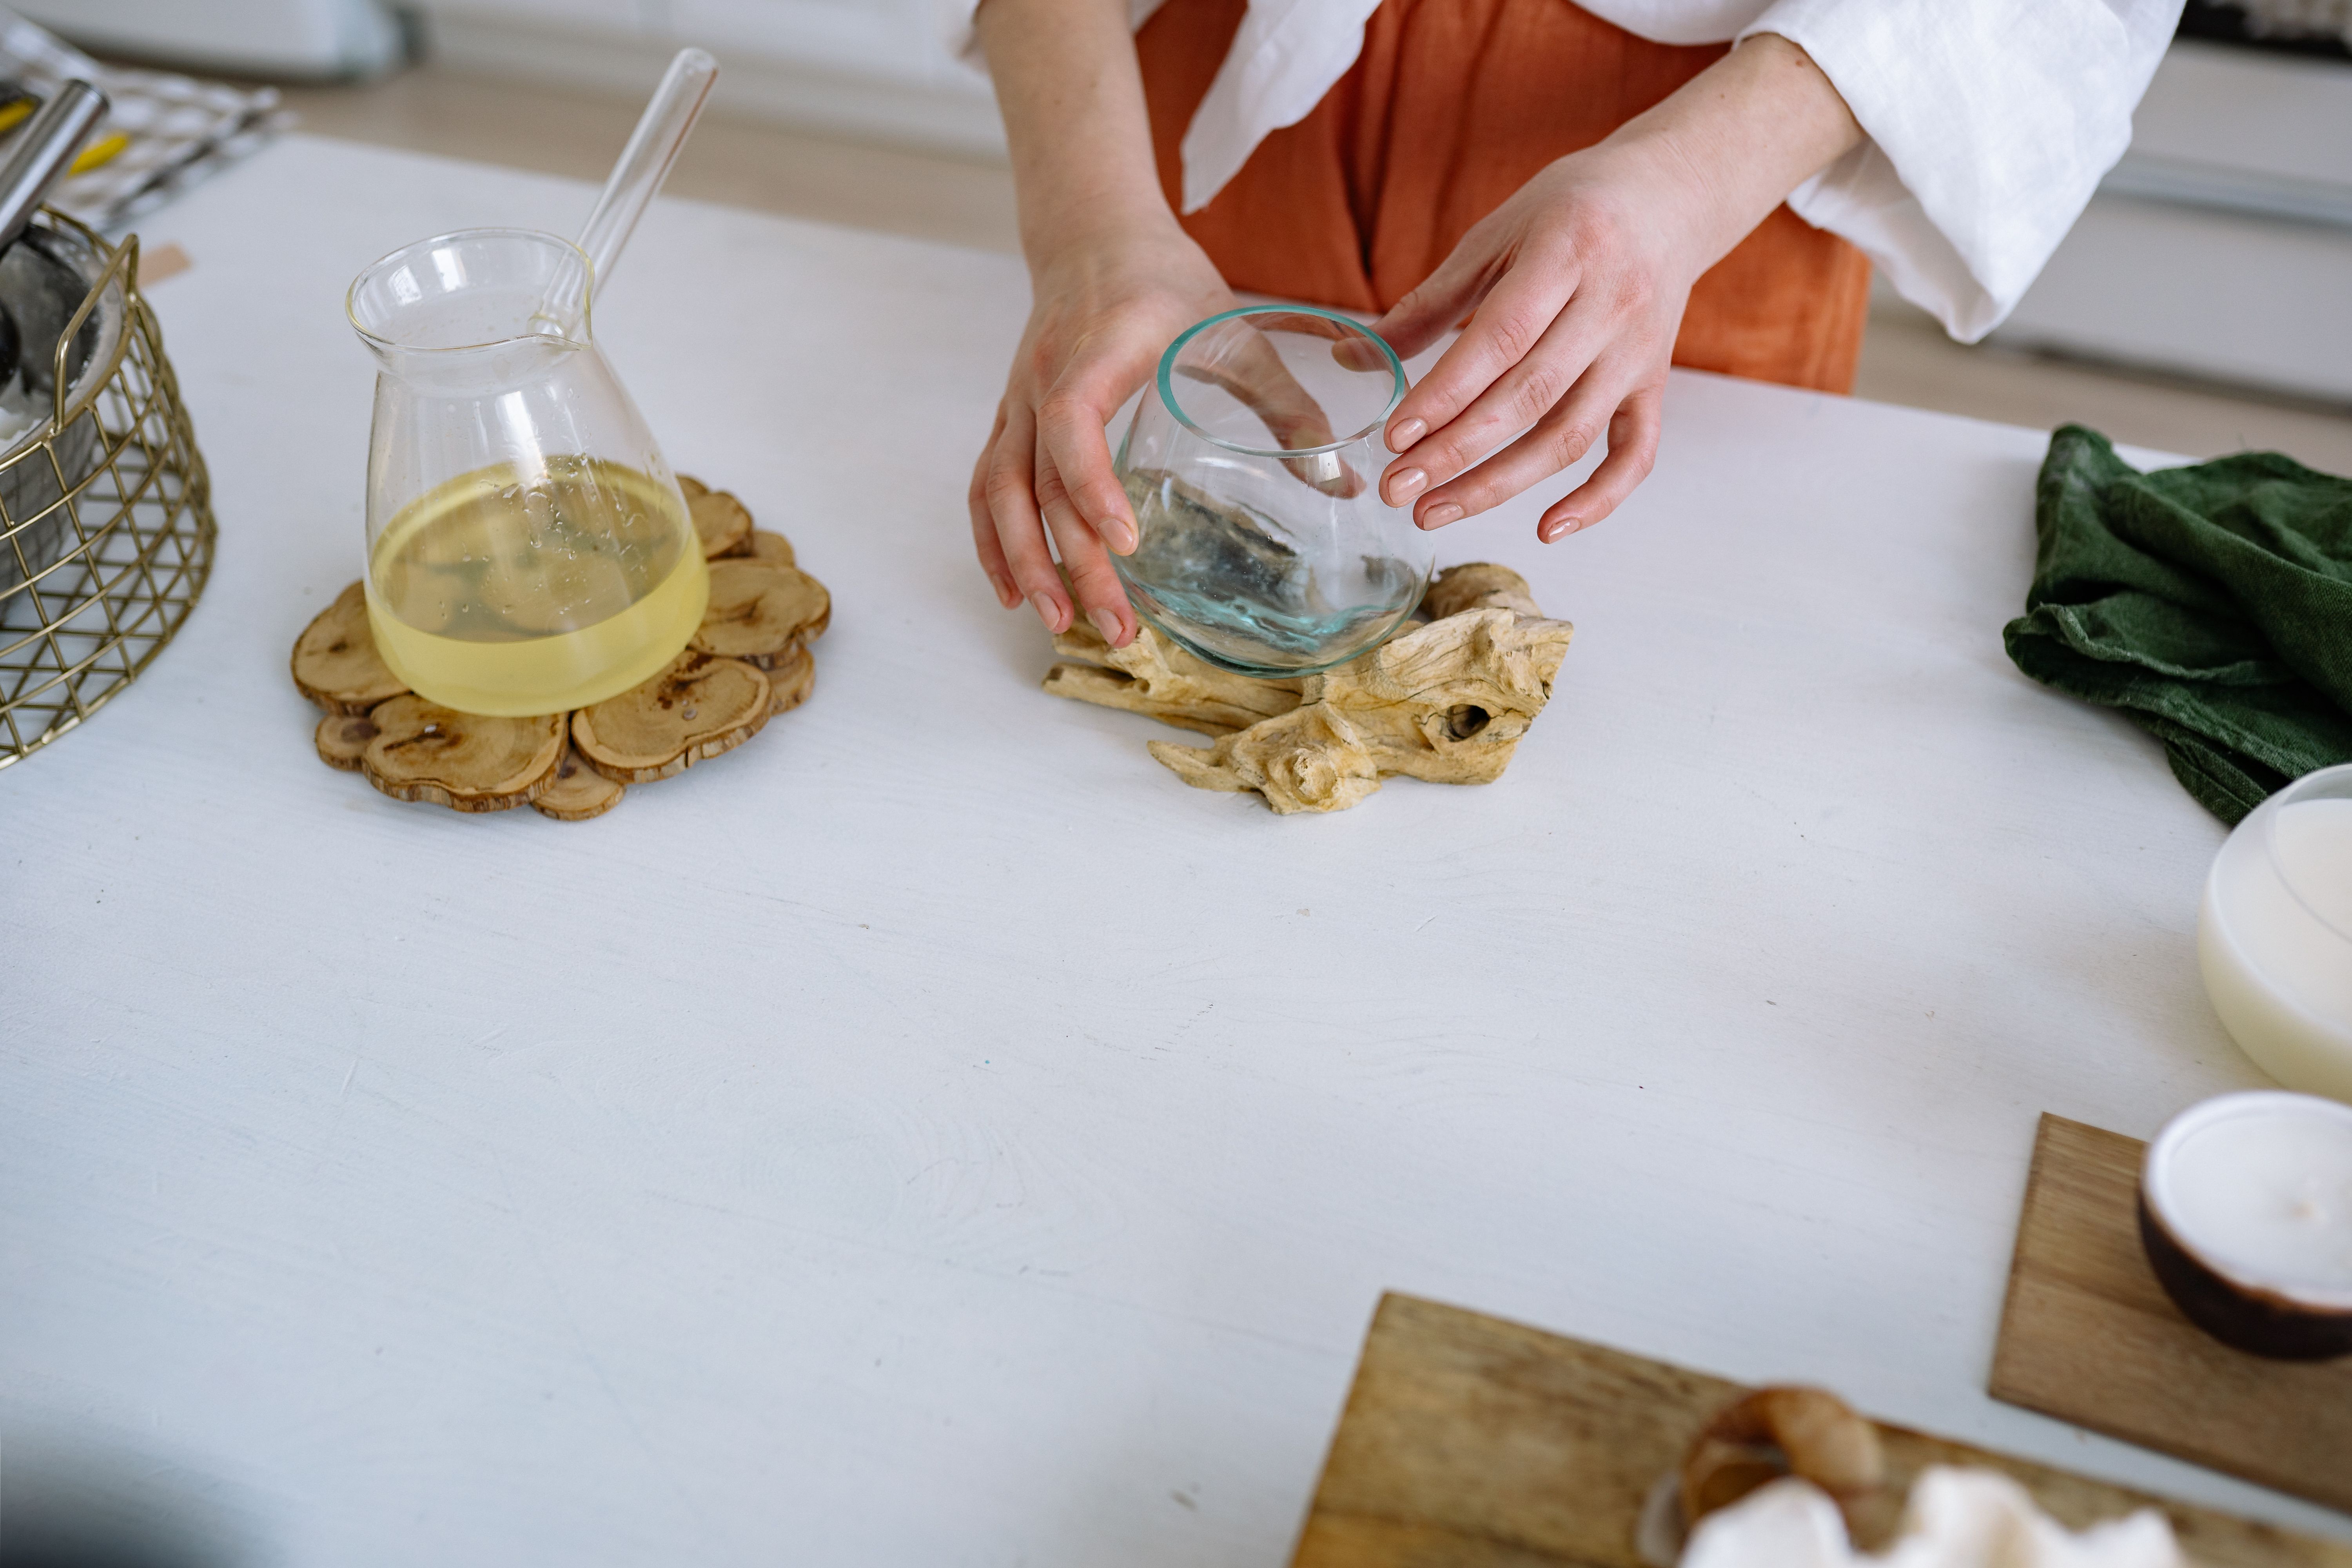
Everyday wooden coasters are the workhorses of my house: plain, sturdy, and always within reach. I made a set from a single pine board cut into squares, sanded smooth, and sealed with food-safe oil instead of varnish, which gives them a matte, natural look. They are not fancy, and that is the point: they go with every mug, every table, and every mood. The oil finish needs reapplying every few months, which is the honest downside, but it takes five minutes and the coasters look new afterward. If you only make one project from this list, make this one, because it is the set you will actually use daily.
Cost: $5 to $10 | Time: 1 hour plus drying | Difficulty: Easy
Pro Tip: Add small felt pads to the bottom. They stop the coasters from sliding and protect the table underneath.
8. Japanese-Style Wooden Coasters
Japanese-style wooden coasters are the most elegant set I own, and they came from a simple idea: pair pale wood with a folded fan motif and a woven mat underneath. I kept the design minimal, a single dark line and a small painted accent, and the restraint is what makes them beautiful. They suit tea drinkers especially, and they look intentional on a table in a way my busier coasters do not. The downside is that minimalism shows mistakes: an uneven edge or a smudged line stands out when there is nothing else to hide behind, so take your time sanding and use painter’s tape for every line.
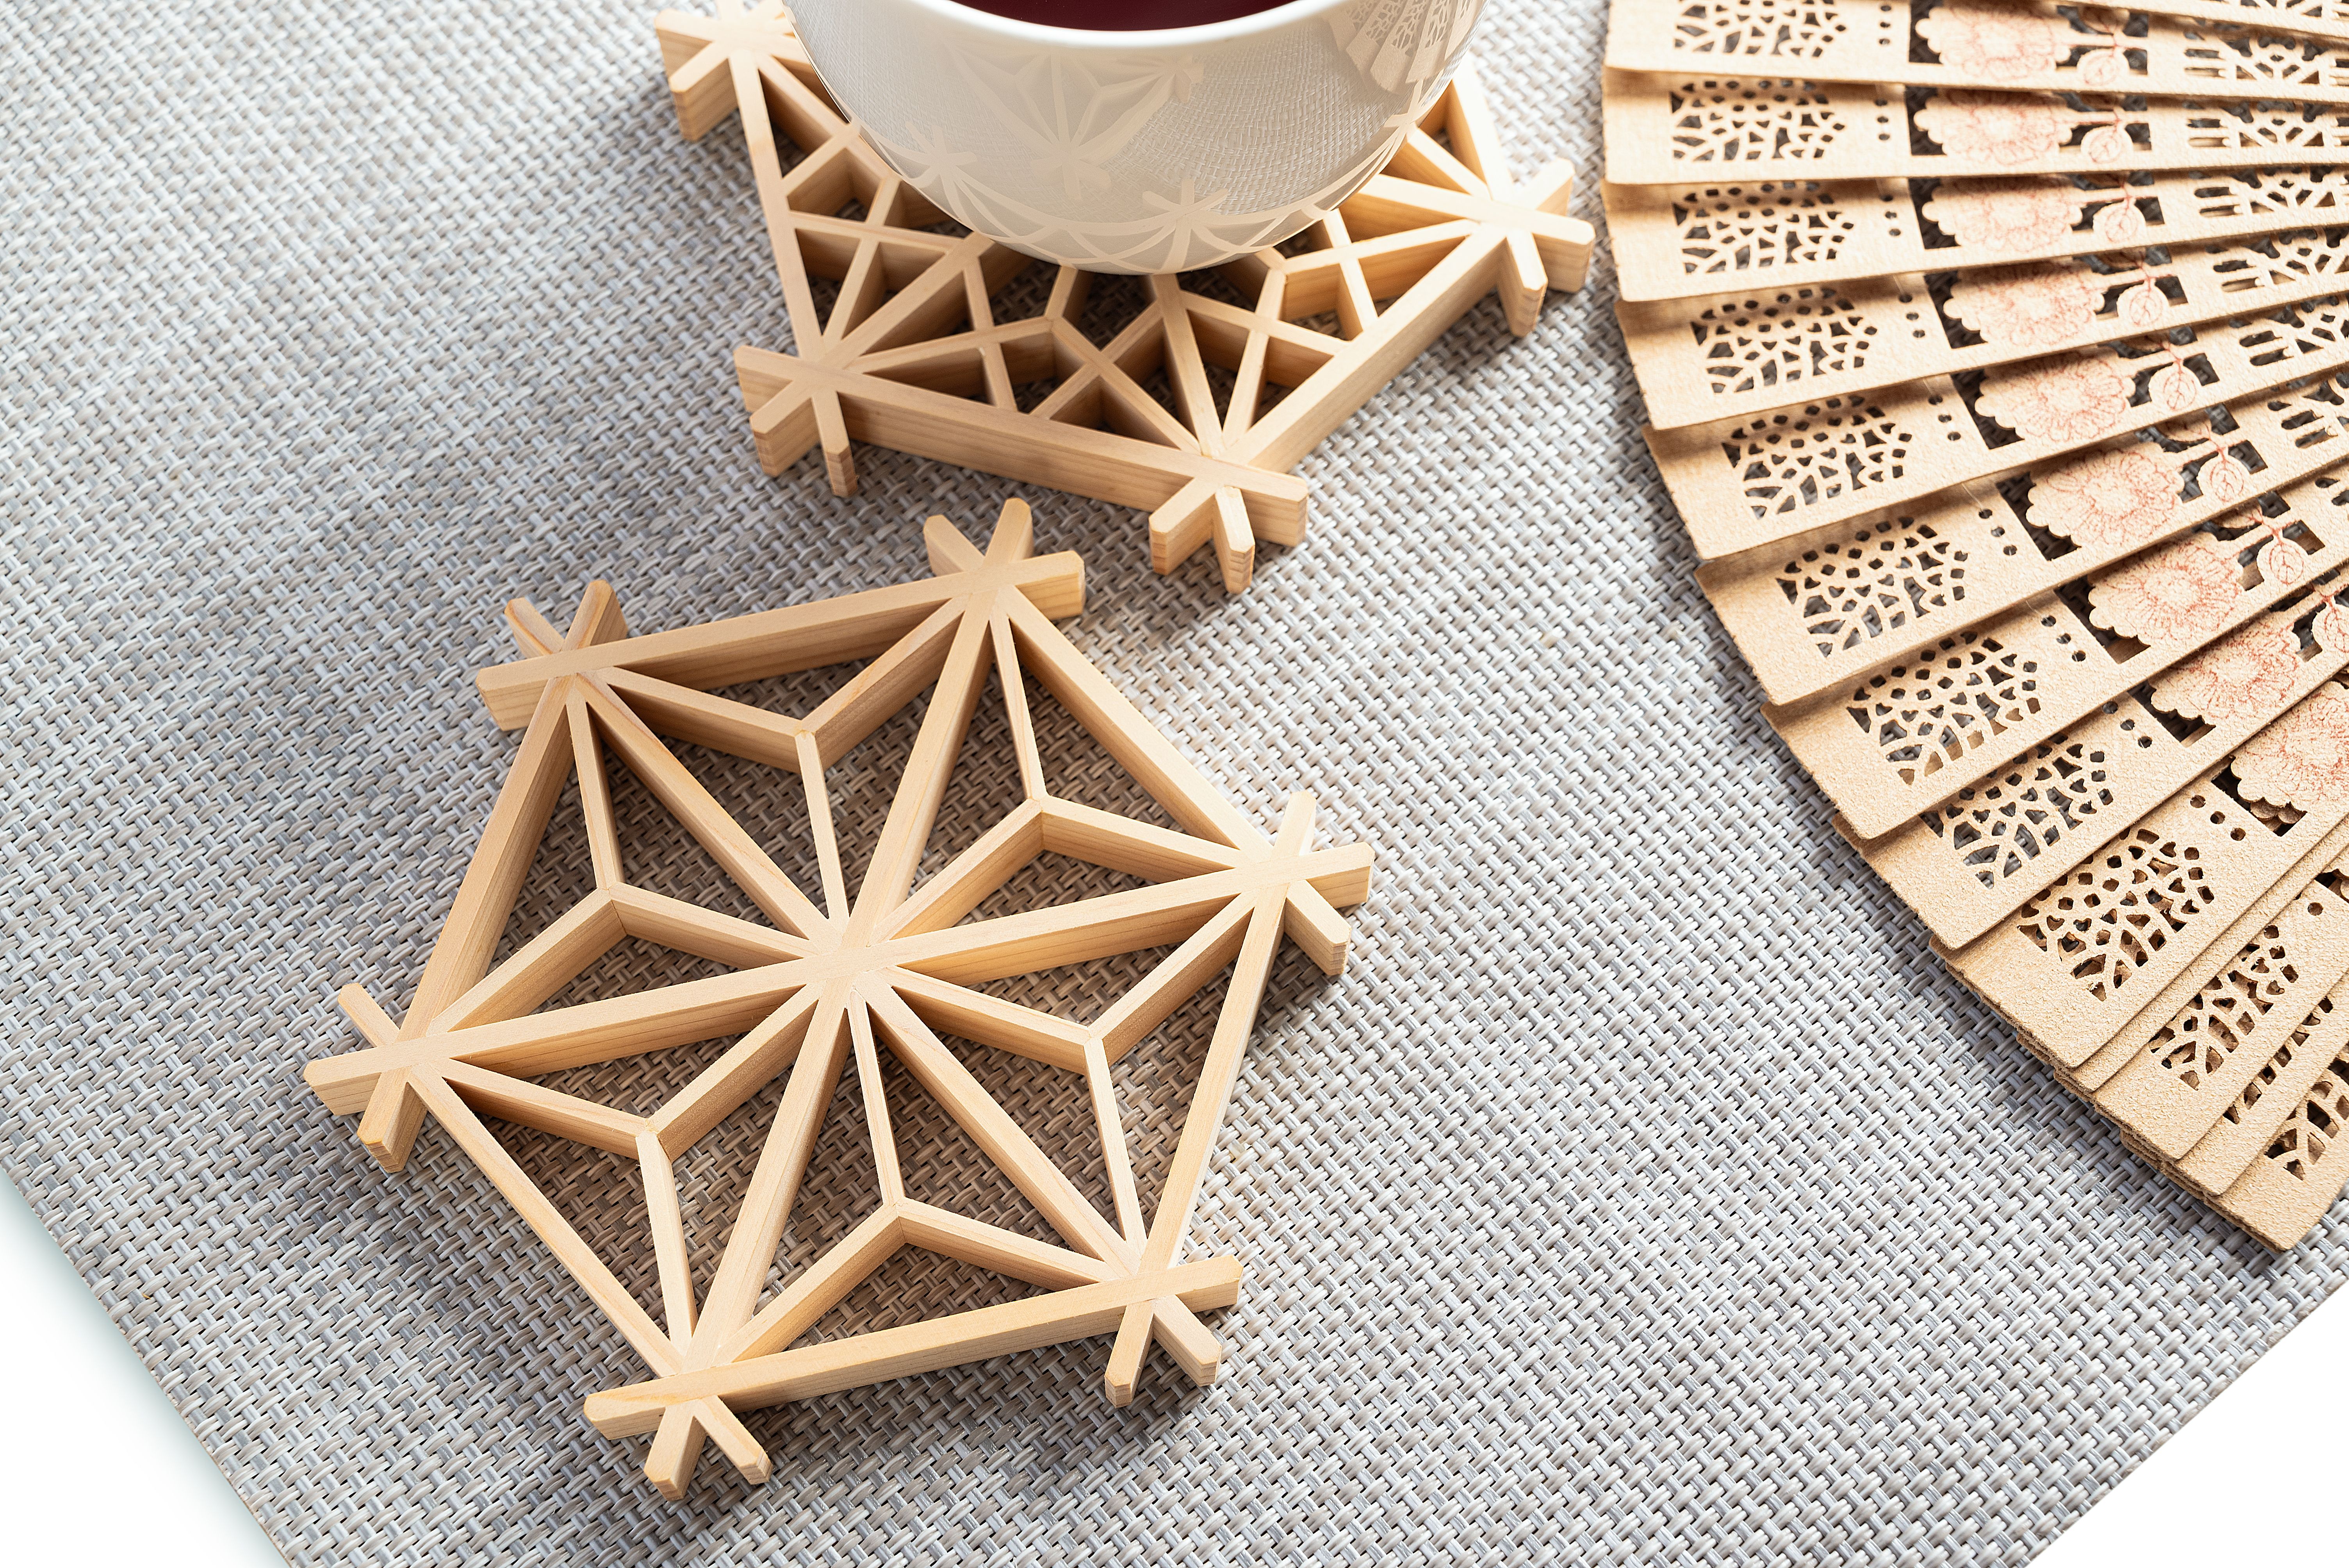
Cost: $10 to $15 | Time: 2 hours plus drying | Difficulty: Easy to medium
Pro Tip: Use a single accent color. One color, done well, looks more expensive than five colors done quickly.
9. Cork Coasters, Table Set
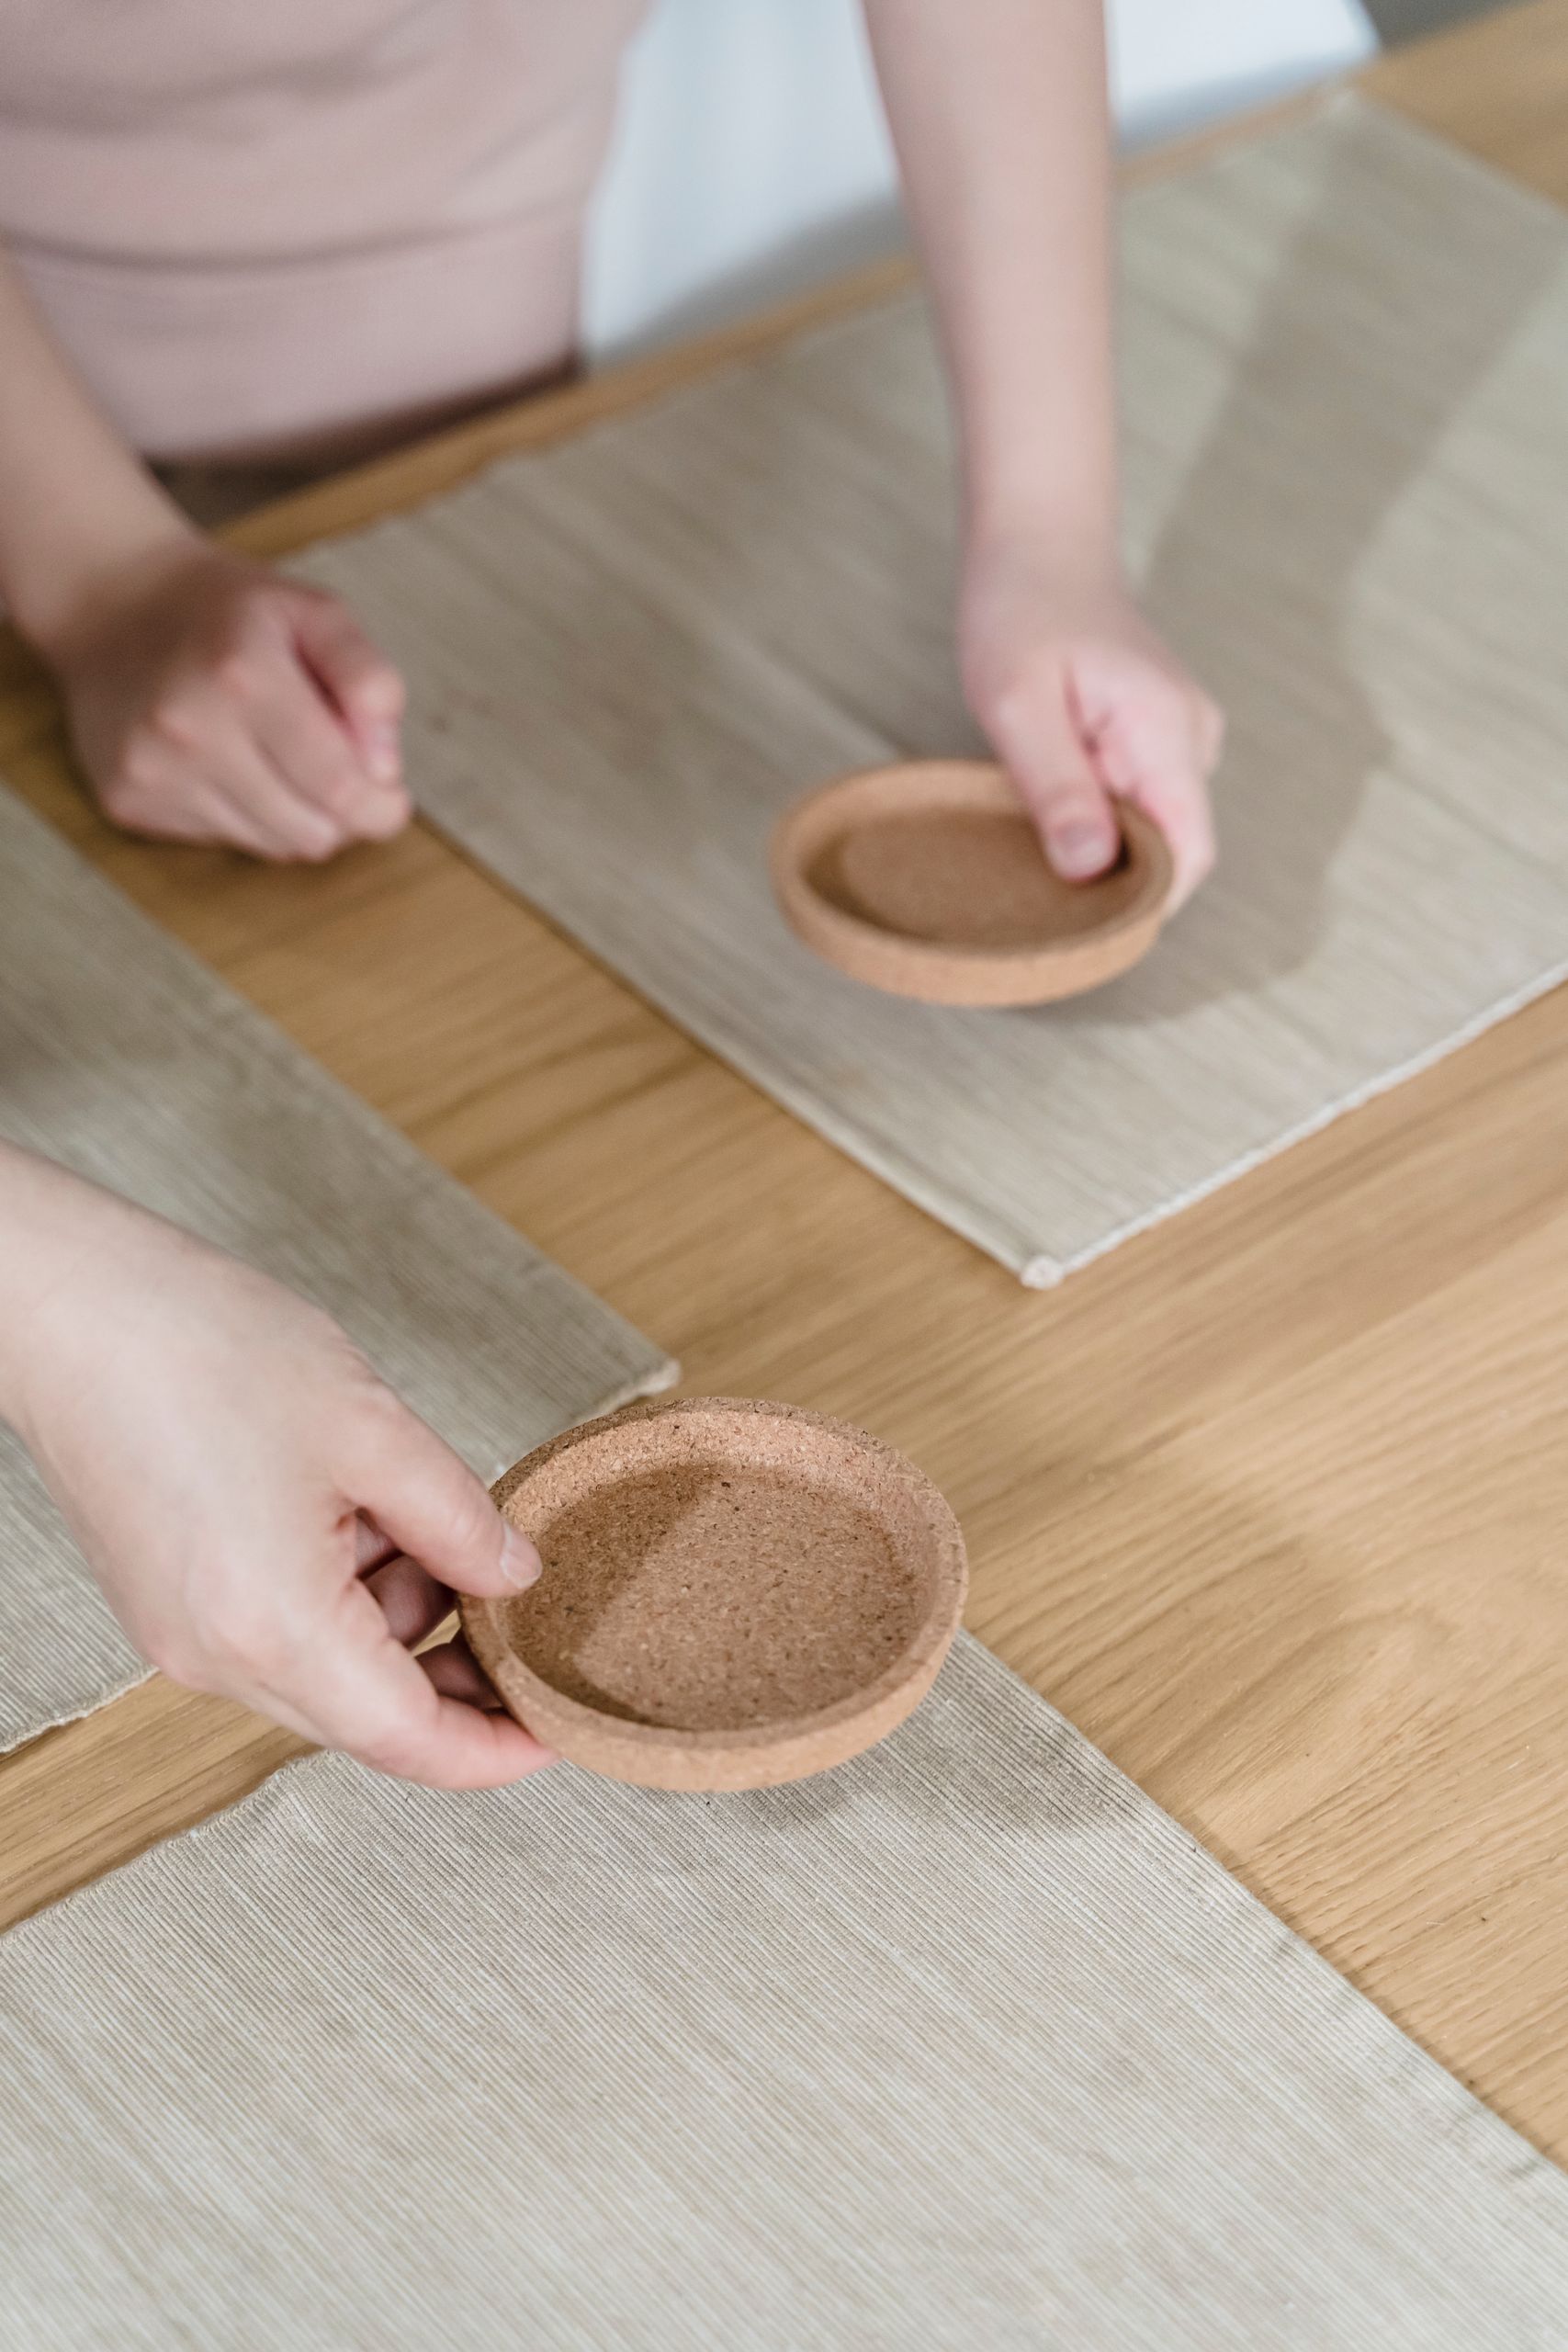
Cork coasters are the easiest project on this list and the one I recommend to absolute beginners. Buy a pack of cork tiles, cut them into squares or circles, and you are basically done: cork absorbs condensation, grips the table, and costs almost nothing. I dressed mine up with a stamped pattern using a potato stamp and fabric paint, which sounds silly and looks surprisingly good. The downside is that plain cork stains over time, especially with coffee, so seal yours with a clear cork sealer or embrace the patina. My oldest cork set has coffee marks that tell the story of two years of mornings, and I have grown fond of them.

Cost: $5 to $8 | Time: 30 minutes | Difficulty: Easy
Pro Tip: Cut cork with a sharp craft knife and a metal ruler. Scissors crush the edges and make them crumble.
10. Round Cork Coasters
Round cork coasters are my everyday pick for wine glasses, because the round shape fits a glass base perfectly and the cork grips so the glass never slides. I cut mine with a large round cutter, sanded the edges smooth, and left them completely plain, which suits our table. The simplicity is the appeal: they disappear under the glass and do their job without fuss. The downside is the same as all cork, staining, plus round cork can look a little plain next to fancier coasters, so I keep a set of painted ones for guests and these for us. Honestly, the plain ones get used ten times more.

Cost: $5 to $8 | Time: 20 minutes | Difficulty: Easy
Pro Tip: Trace around a mug with a pen before cutting. A template beats freehand circles every time.
11. Knitted Coasters
Knitted coasters are the coziest project here, and the one I make while watching TV. A simple garter stitch square in cotton yarn takes about an hour per coaster, and cotton is essential: acrylic yarn melts under a hot mug, which I learned the hard way with a coaster that fused to a cup. The knitted texture absorbs condensation beautifully and feels soft under a mug. The downside is washing: knitted coasters need regular washing or they smell like old coffee, so make them in cotton, wash them weekly, and keep a second set in rotation. They are the only coasters I own that feel like a hug.

Cost: $5 to $10 for cotton yarn | Time: 1 hour per coaster | Difficulty: Easy
Pro Tip: Use cotton yarn only, never acrylic. This is the one rule you cannot break with knitted coasters.
12. Crochet Coasters
Crochet coasters are faster than knitted ones and just as cozy. A single crochet circle takes about thirty minutes once you know the pattern, and the round shape suits mugs perfectly. I make mine in bright colors for summer and muted ones for winter, and swapping sets seasonally is a tiny joy. The same cotton-only rule applies, and the same washing routine, but crochet holds its shape better than knitting, which is why I prefer it for coasters. The downside is that crochet can look homemade in the bad way if your tension is uneven, so practice on one coaster first and keep it as your test piece.
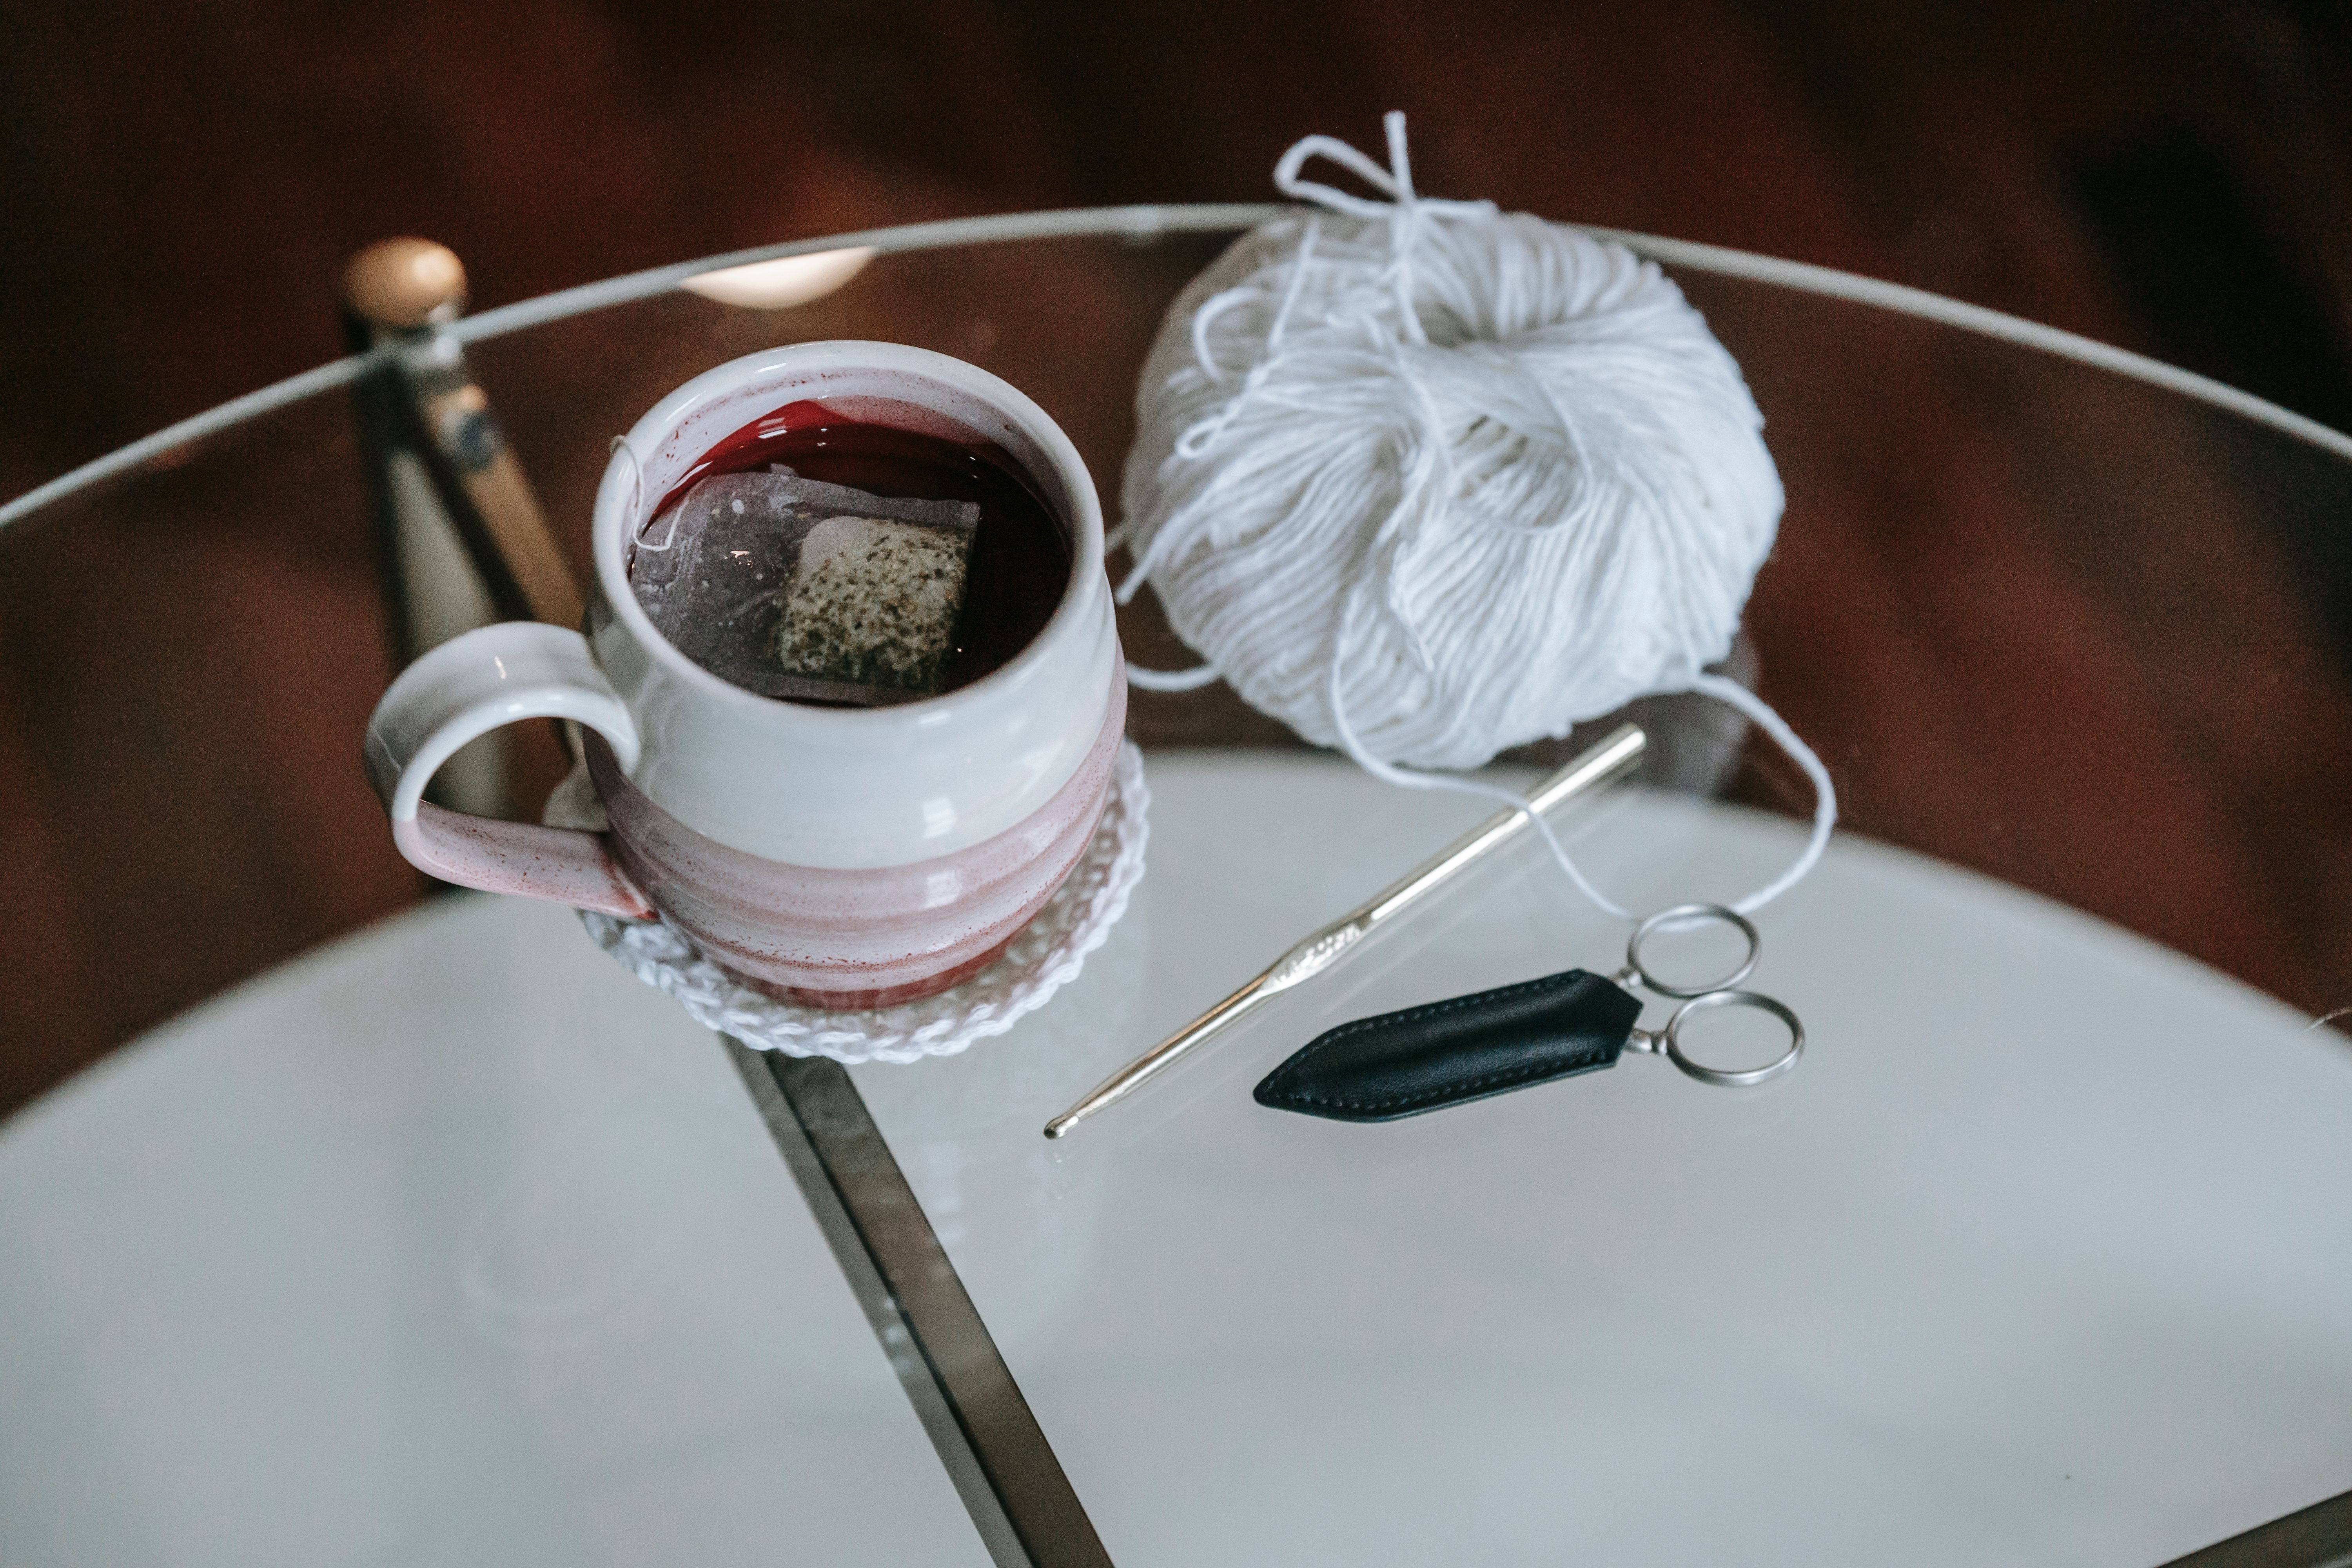
Cost: $5 to $10 for cotton yarn | Time: 30 minutes per coaster | Difficulty: Easy
Pro Tip: Block your finished coasters by pinning them flat and misting with water. Blocking turns a wobbly circle into a perfect one.
13. Crochet Mug Rug Coasters
Crochet mug rugs are oversized coasters with room for a mug and a biscuit, and they are the project that converted my husband to handmade coasters. The extra size means the biscuit never sits on the bare table, which is a small thing that matters every single day. I make mine rectangular with a simple stitch pattern and a contrasting border, and they take about an hour each. The downside is that mug rugs slide on smooth tables, so I sew a few stitches of non-slip shelf liner to the back, which fixes it completely. They are also the coaster most likely to be stolen by guests, so make extras.

Cost: $5 to $10 | Time: 1 hour per rug | Difficulty: Easy
Pro Tip: Make mug rugs slightly larger than you think. A mug plus a biscuit needs at least six by eight inches.
14. Ceramic Tile Coasters
Ceramic tile coasters are the most durable project on this list, and the easiest to make look professional. Buy plain white tiles from a hardware store, decorate them with alcohol inks or ceramic markers, and seal with a clear coat. The tile surface wipes clean, handles any heat, and never stains, which is why my tile set lives on the dining table for dinner parties. The downside is weight and breakability: tiles are heavy and they chip if dropped, so add thick felt pads to the bottom and store them flat. My first tile set chipped because I stacked them upright, and I have stored them flat ever since.
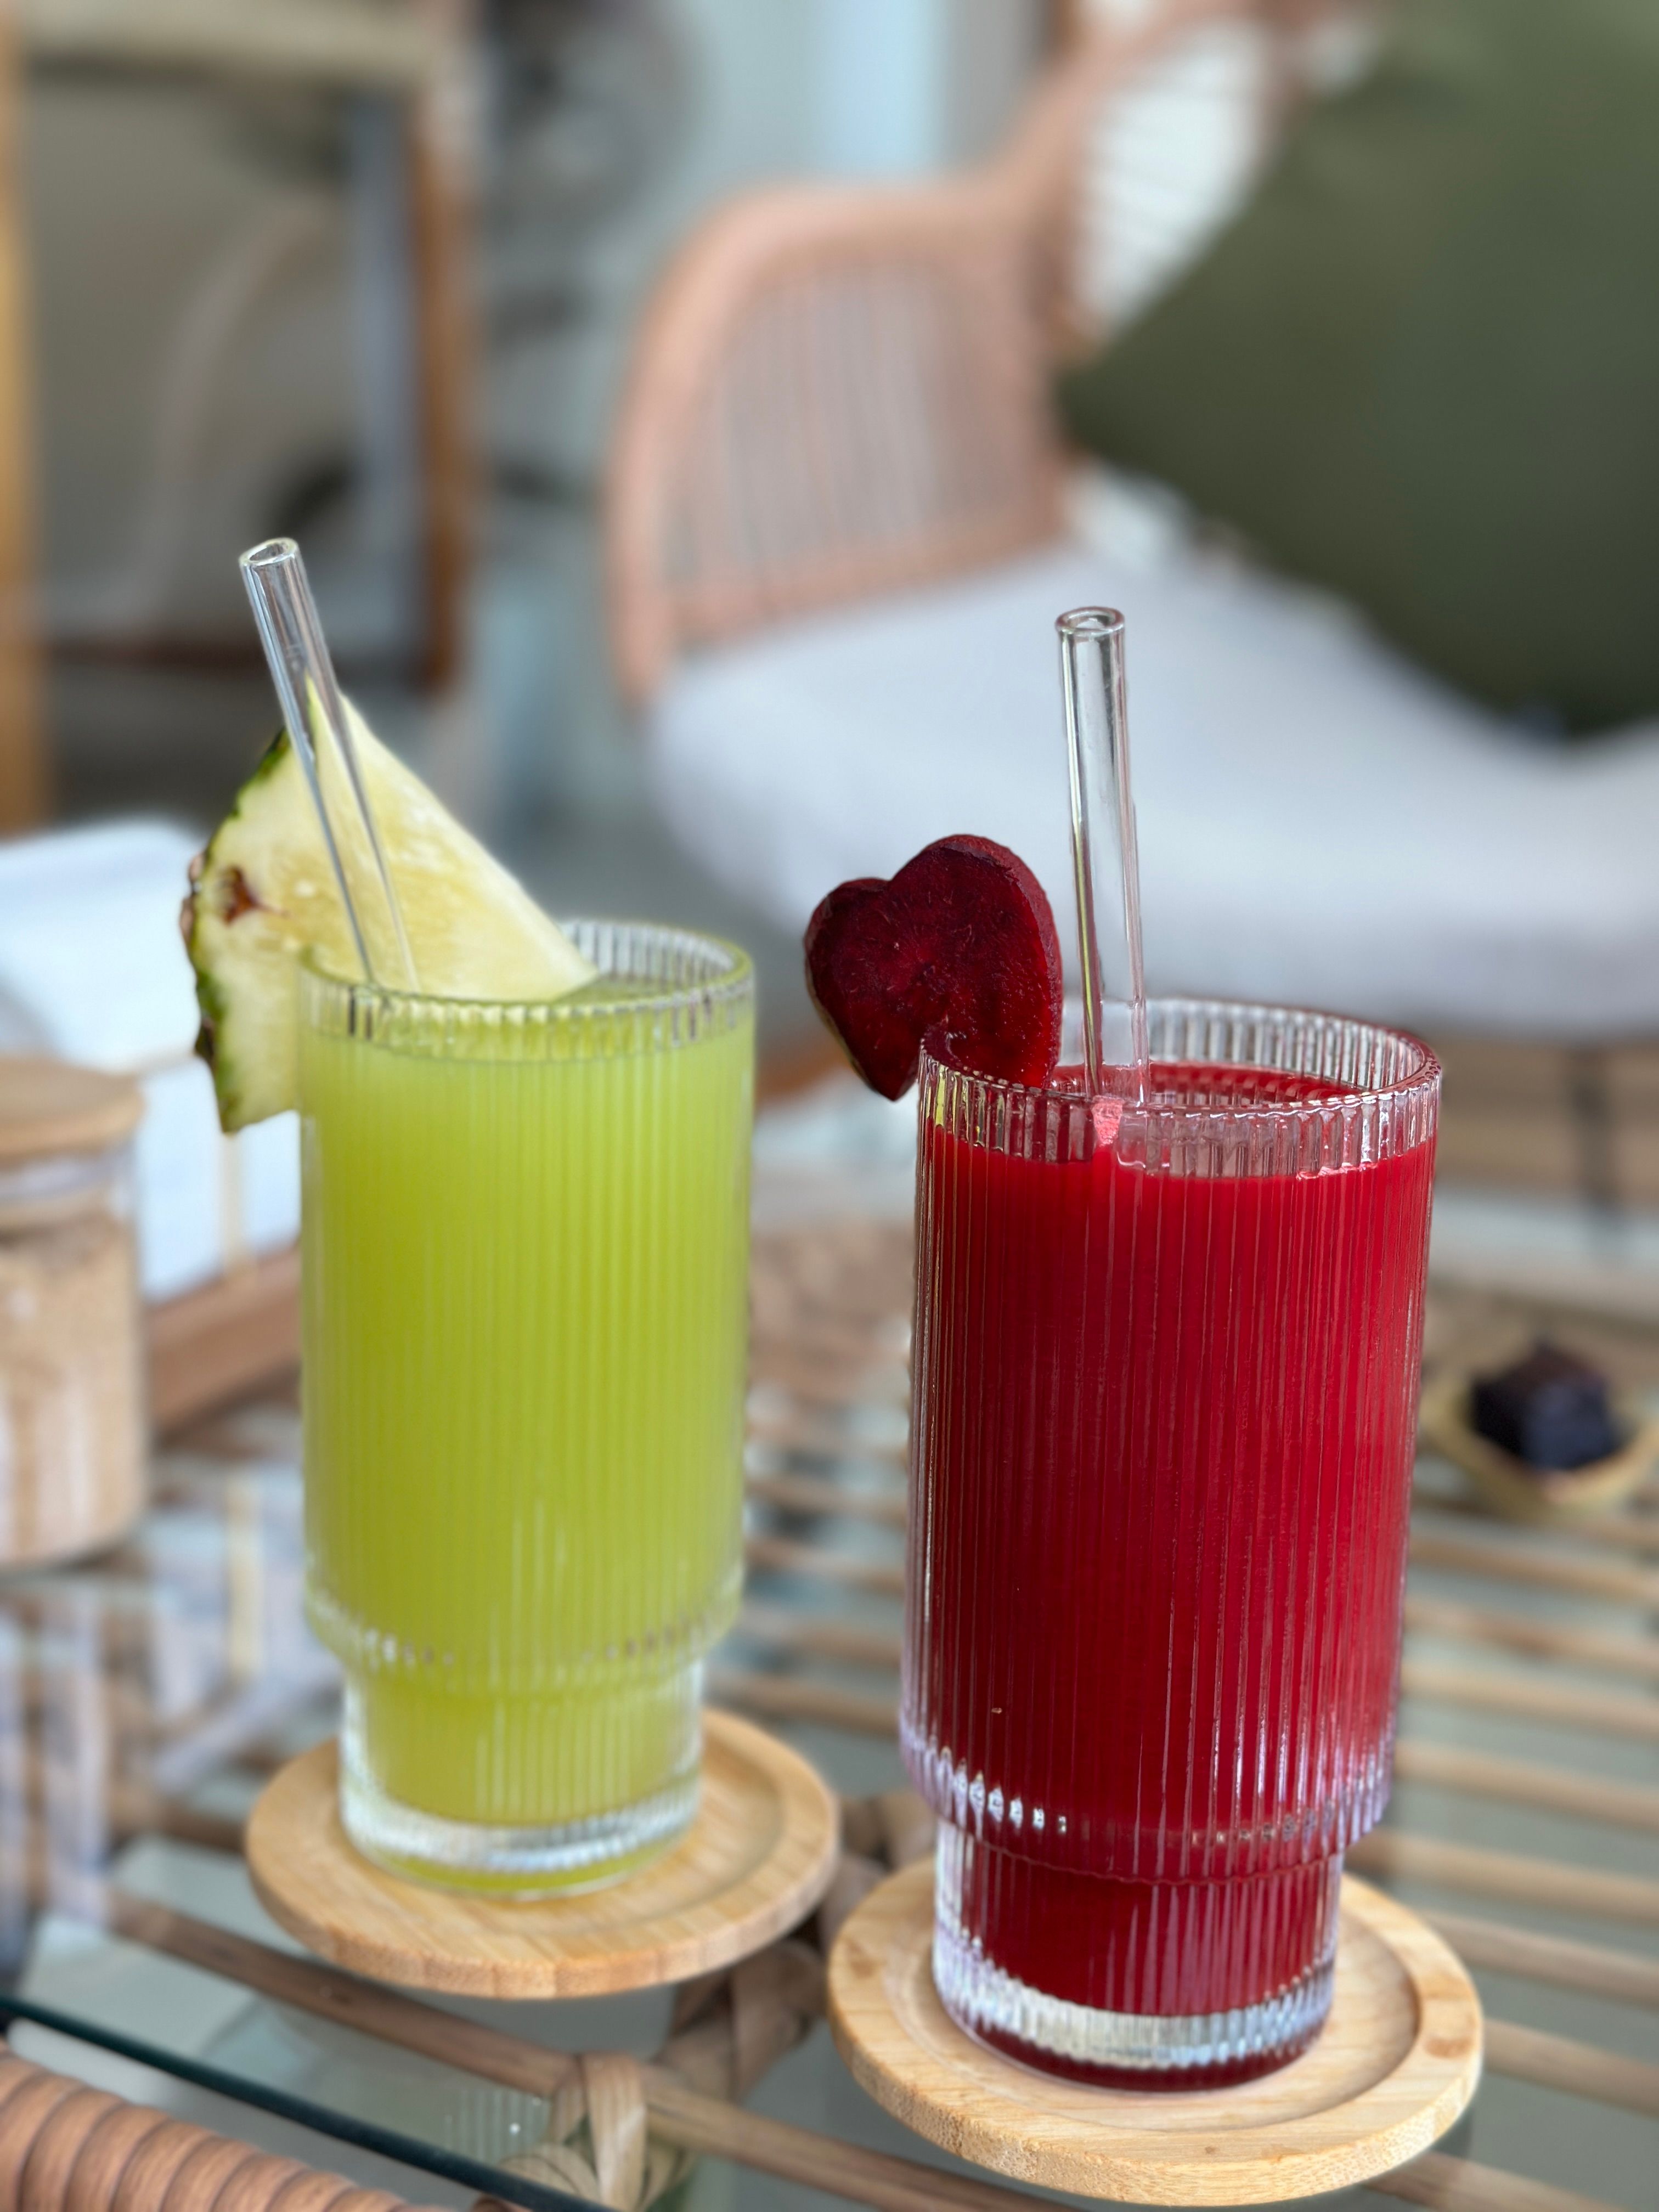
Cost: $8 to $12 for four tiles | Time: 1 hour plus sealing | Difficulty: Easy
Pro Tip: Use alcohol inks, not paint, on tile. Inks sink into the surface and will not peel under a hot mug.
15. Summer Drink Coasters
Summer drink coasters are my seasonal set, made for iced drinks and condensation. I use tile or sealed wood for these, because fabric coasters soak through in minutes with a sweating glass, and I paint them in bright citrus colors that make the table feel like summer. The key lesson from my first summer set was absorbency: a coaster that cannot handle a puddle is decoration, not a tool, so I test every summer coaster with a cold glass for an hour before calling it done. The downside is that bright colors fade in sunlight, so keep the set indoors or accept that the colors will soften over one summer.

Cost: $8 to $12 | Time: 1 hour plus drying | Difficulty: Easy
Pro Tip: Add a shallow groove or rim to summer coasters if you can. It catches condensation before it reaches the table.
16. Coffee Bar Coasters
Coffee bar coasters are the set that lives next to my coffee machine, and they are built for heat. I use thick wood slices sealed with three coats of heat-resistant varnish, because a fresh pour can hit temperatures that soften cheap sealers. My first coffee bar set bubbled under a French press, which taught me to check the heat rating on the varnish label, a detail I had never noticed before. The downside is that heat-resistant finishes take longer to cure, up to a week for full hardness, so make this set ahead of time and do not rush it onto the table.

Cost: $10 to $15 | Time: 1 hour plus a week of curing | Difficulty: Easy
Pro Tip: Test your sealer with your hottest mug before making the full set. One test mug saves four ruined coasters.
17. Tea-Time Coasters
Tea-time coasters are my quiet luxury: small, pretty, and always paired with a proper teapot. I made mine from thin wood slices with pressed dried leaves sealed under resin, which sounds fancy and is actually simple once you have done one resin pour. The leaves look like they are floating in glass, and guests always ask about them. The downside is that dried leaves are fragile before sealing, so handle them with tweezers, and the resin layer must be thin or the coaster gets too thick for a teacup to sit steadily. Thin pours, tweezers, and patience are the whole secret.
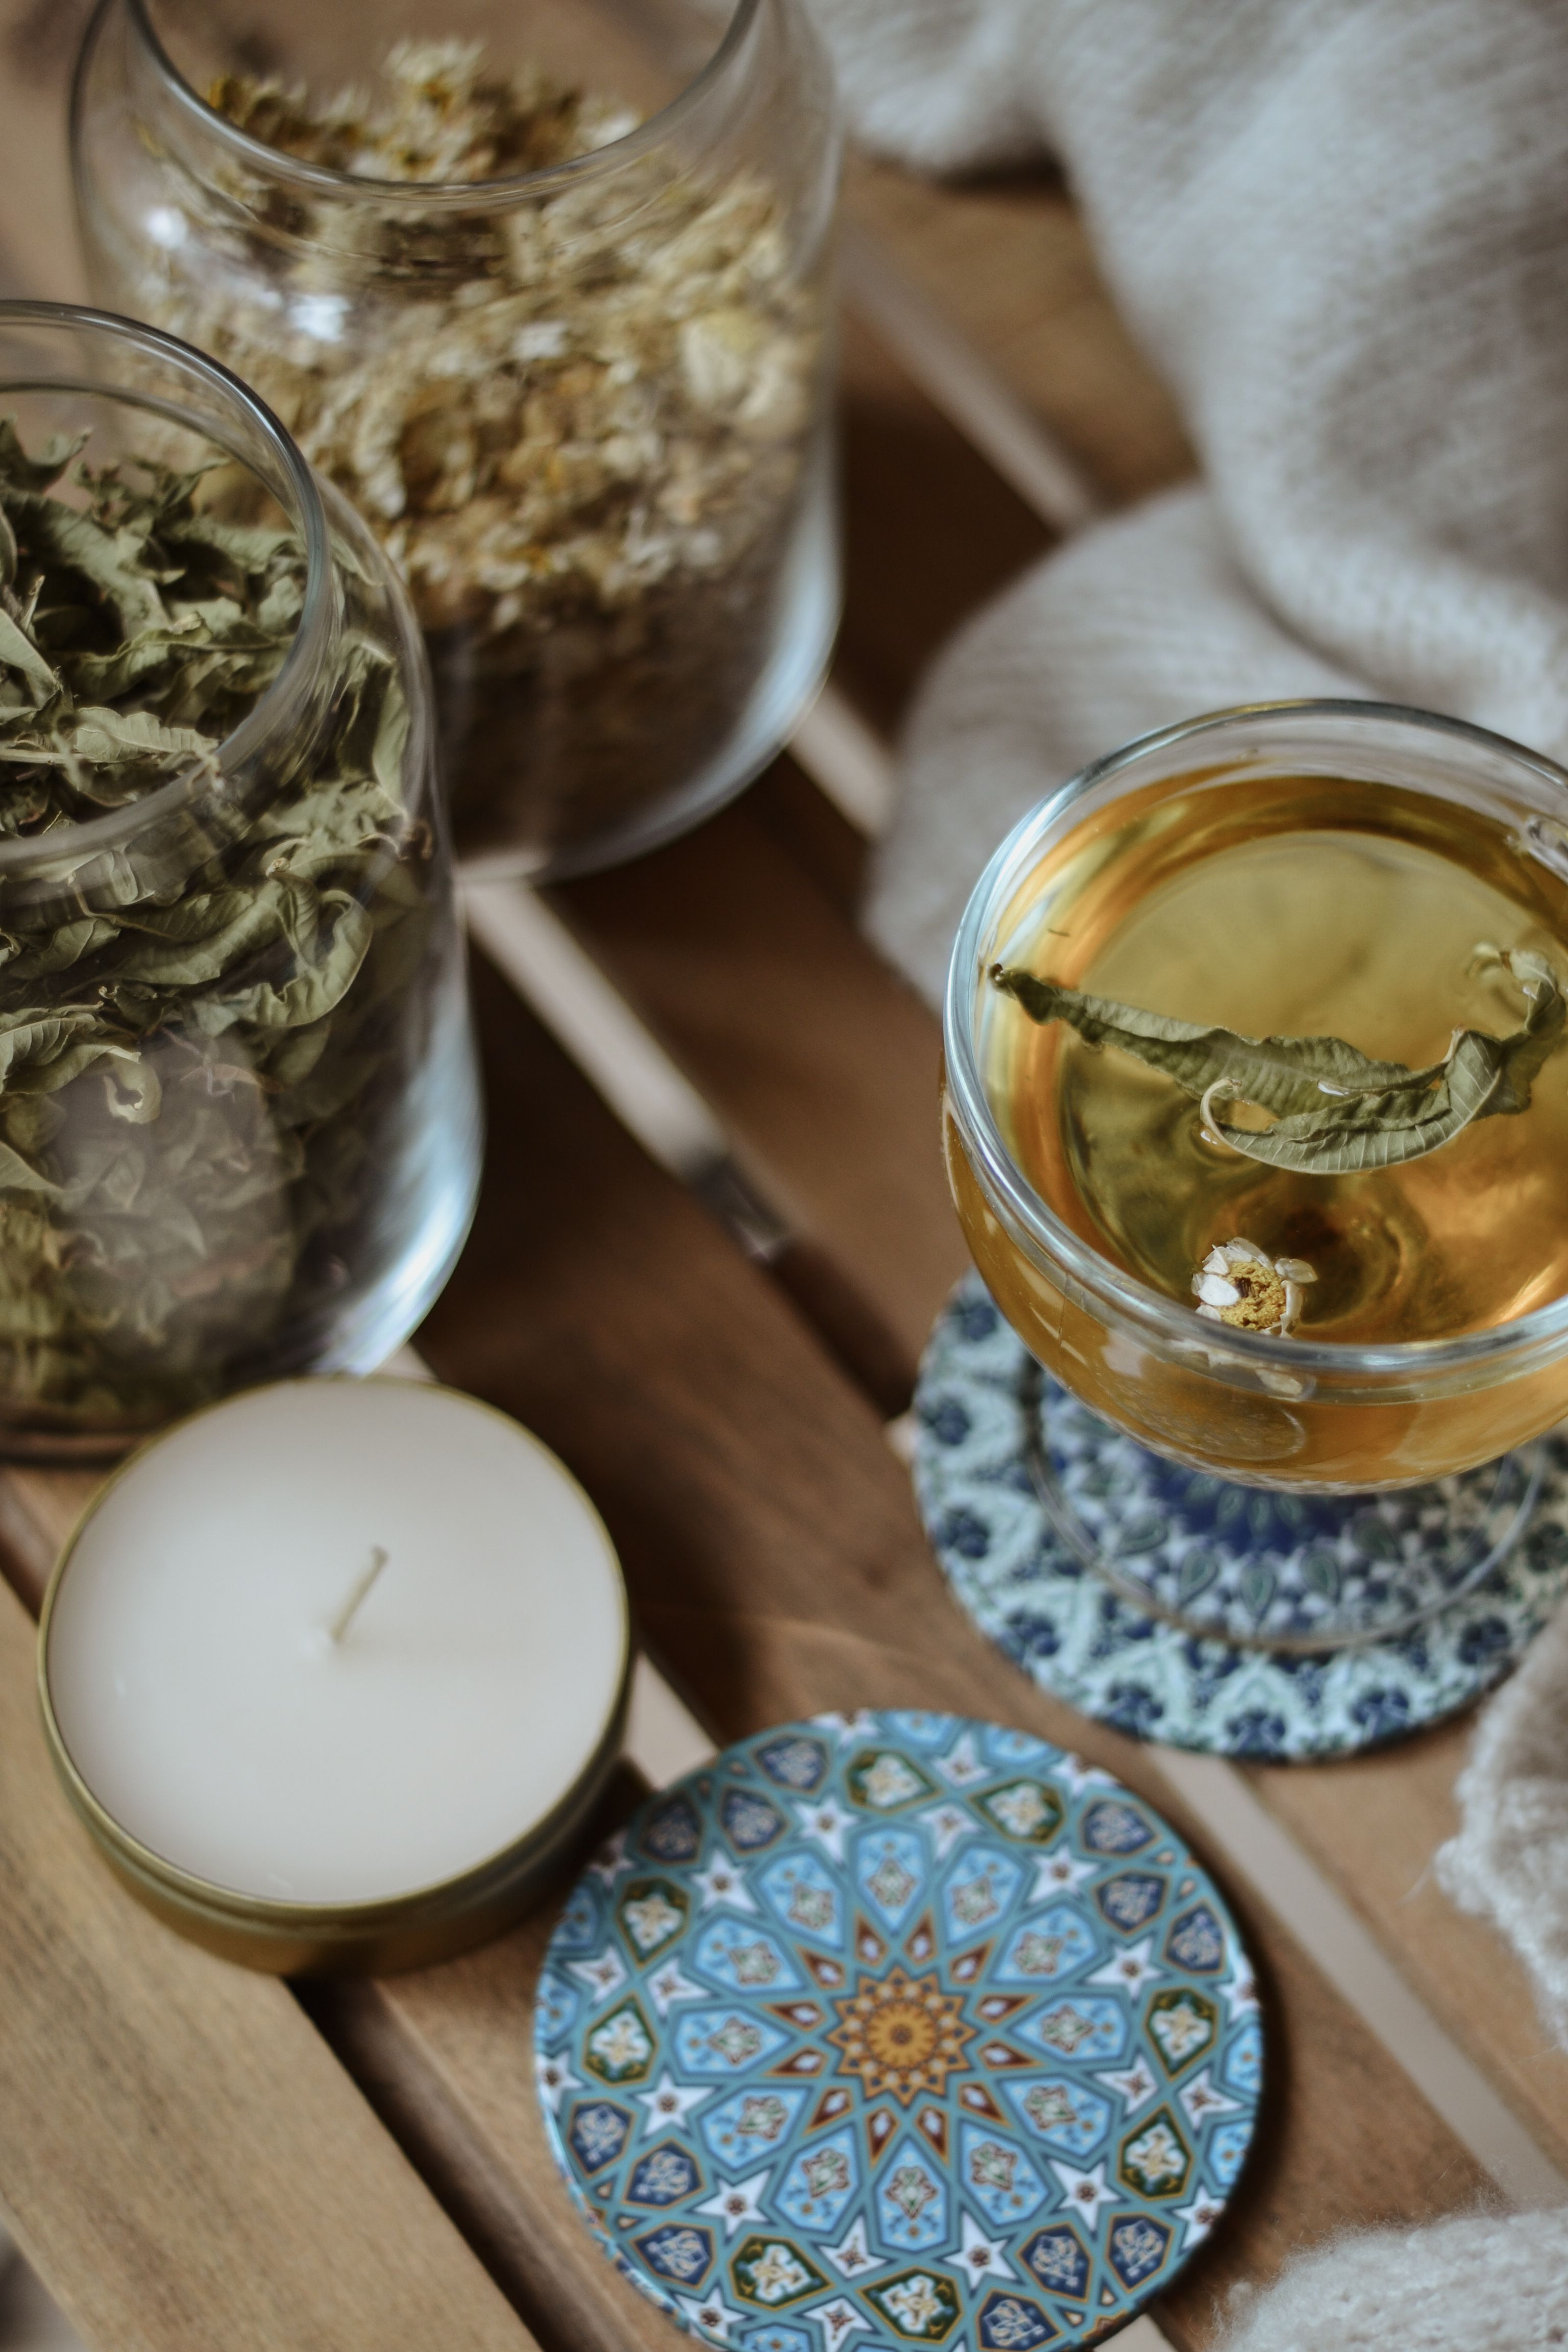
Cost: $15 to $20 | Time: 1 hour plus curing | Difficulty: Medium
Pro Tip: Press your leaves in a heavy book for a week before sealing. Flat leaves seal cleanly; curled ones trap air.
18. Iced Drink Coasters
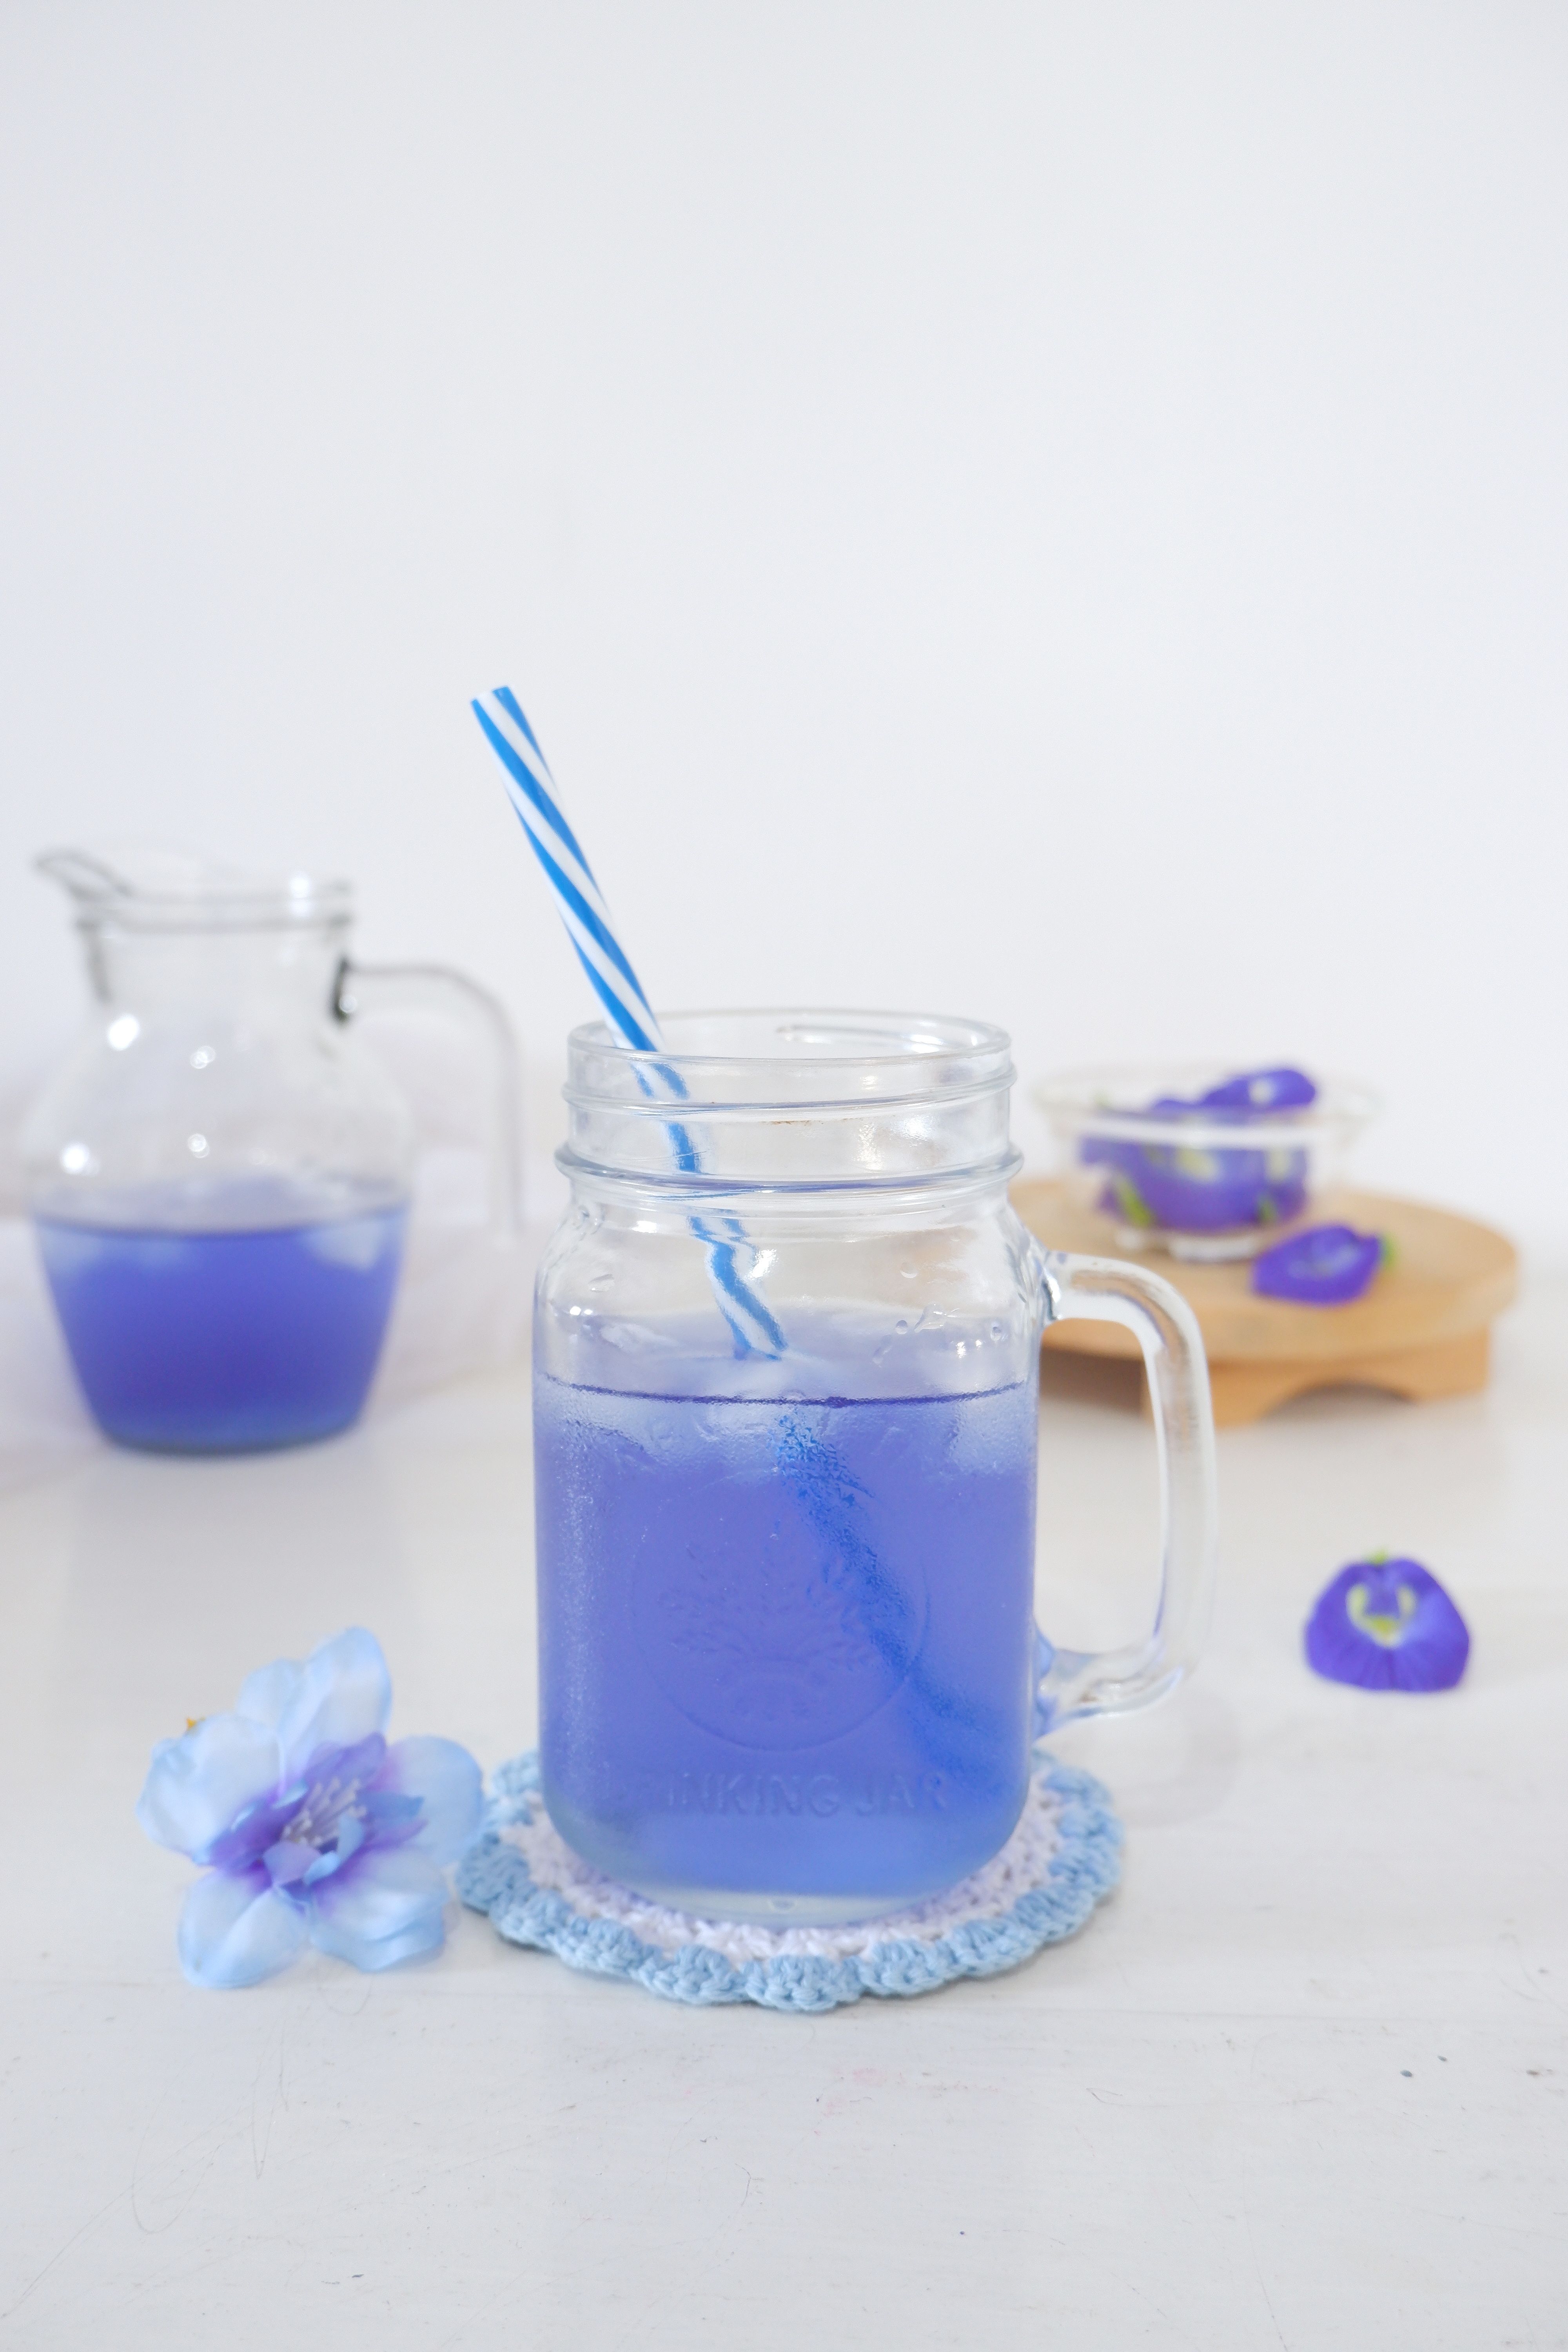
Iced drink coasters are the most-tested set in my house, because iced drinks are where coasters fail hardest. A sweating glass produces a surprising amount of water, and my first iced-drink coasters, made from thin felt, were soaked through in ten minutes. The fix was absorbent stone: unglazed ceramic or absorbent stone coasters that drink the condensation themselves. I buy blank absorbent stone coasters and decorate them with stencils, which gives me the handmade look with a professional core. The downside is that stone coasters are heavy and can scratch a table, so felt pads on the bottom are non-negotiable.
Cost: $10 to $15 for stone blanks | Time: 30 minutes | Difficulty: Easy
Pro Tip: Do not seal absorbent stone coasters. Sealer blocks the absorption that makes them work.
19. Citrus and Mint Coasters
Citrus and mint coasters are my summer party set, painted in lemon yellow and mint green with a simple citrus slice design. They are cheerful in a way that makes the whole table feel like a party, and they pair perfectly with lemonade and iced tea. I paint them on wood slices with acrylic pens, which give clean lines without brush skills, and seal them the usual way. The downside is that light colors show stains faster than dark ones, so these are a party set, not a daily set, and I accept that they will need repainting after a hard summer. Two of mine have already been repainted, and they look better the second time.

Cost: $10 to $15 | Time: 2 hours plus drying | Difficulty: Easy
Pro Tip: Paint citrus designs with pens, not brushes. Pens give you the clean segments that make citrus look right.
20. Coaster Gift Sets
Coaster gift sets are how I turn a simple project into a present people actually keep. I make four matching coasters, tie them with twine, and add a small card with care instructions, and the whole package looks like something from a boutique. The key is matching: gift sets should look like a set, so use the same material, the same colors, and the same finish for all four. My first gift set was four different experiments tied together, and it looked like a craft drawer, not a gift. The downside is time: a gift set takes four times the work of one coaster, so start a week before you need it, not the night before.

Cost: $10 to $20 for a set of four | Time: 3 to 4 hours total | Difficulty: Easy to medium
Pro Tip: Include care instructions on the card. “Wipe clean, do not soak” saves your gift from a well-meaning dishwasher.
Which Coaster Material Should You Choose?
| Material | Best for | Cost for 4 | Durability |
|---|---|---|---|
| Cork | Beginners, everyday use | Under $8 | Good, stains over time |
| Wood | Heat, classic look | $8 to $15 | Excellent when sealed |
| Resin | Gifts, wow factor | $20 to $30 | Excellent, waterproof |
| Fabric | Coziness, seasonal swaps | $5 to $10 | Good, needs washing |
| Tile and stone | Condensation, parties | $8 to $15 | Excellent, heavy |
Mistakes I Made (So You Don’t Have To)
Skipping the sealer. My first wooden coasters were beautiful for exactly one week, until a hot mug left a permanent ring on every single one. Seal everything, even cork, and test the sealer with your hottest mug before making the full set. For more beginner-friendly home projects, this related article on tote bags from old t-shirts uses the same seal-and-test mindset.
Using acrylic yarn for hot drinks. One acrylic coaster fused to the bottom of a mug, and I had to peel it off in pieces. Cotton only for anything that touches a hot drink. No exceptions, no matter how pretty the acrylic color is.
Making one coaster instead of a set. A single beautiful coaster is useless when four people sit down with drinks. Always make at least four, and make a test piece first so the set matches.
Frequently Asked Questions
What is the easiest DIY coaster idea for a beginner? Cork coasters, without question. Cut, optionally stamp, seal, and you are done in thirty minutes with no special tools and almost no way to fail.
How do I seal wooden coasters? Use three thin coats of clear varnish or food-safe oil, sanding lightly between coats, and let the final coat cure fully before use. For heat resistance, check the varnish label for a heat rating. For more wall-worthy DIY ideas, also read our paper wall decor ideas, which use the same seal-and-display approach.
Can I put handmade coasters in the dishwasher? No, never. Handmade coasters should be wiped clean with a damp cloth. The dishwasher destroys resin, warps wood, and unravels fabric. For storage ideas that keep your craft supplies tidy, read this next for storage baskets from old clothes.
Final Thoughts
The best DIY coaster ideas are the ones that survive your real life: hot coffee on Monday, iced tea in July, and a spaghetti-sauce incident nobody talks about. Start with cork if you are new, try resin when you want a wow factor, and always make four. Your table will thank you, your guests will ask where you bought them, and you will get to say the best possible sentence in crafting: I made them myself.