20 DIY Bookshelf Decor Ideas That Make Shelves Look Styled, Not Stuffed
For years my bookshelves looked like storage, not styling. Books were crammed in wherever they fit, and every spare inch collected clutter. These diy bookshelf decor ideas changed that, because I tested each one on my own shelves before writing about it.
I did not buy a new bookcase or hire anyone. I worked with the shelves I already had, a few baskets, plants, and things I found around the house.
How I picked and tested these: I tried each idea on my own living-room shelves for at least a week, lived with it, dusted around it, and took books in and out. If it fell over or looked messy after three days, I fixed it or left it out.
Key Takeaways
- Leave breathing room: about 60% books and 40% decor and empty space looks styled, not stuffed.
- Mix heights and textures with stacked books, baskets, plants, and one taller anchor piece per shelf.
- Put hidden storage low, pretty pieces at eye level, and trailing plants high.
- Start with what you own, then buy one or two pieces per shelf.
Quick answer: I find shelves look styled, not stuffed, when I leave about 60% books and 40% decor and empty space, mix heights and textures, and put hidden storage low and pretty pieces at eye level. I start with what I own, then add one or two pieces per shelf, such as a bookend, a stack, a plant, or a basket.
1. DIY Bookends That Actually Hold Their Books

I made my first pair from two old bricks I wrapped in linen fabric and glued to a thin wooden base. I measured the base at about 15 cm deep so it slid under the last two books, and the weight of the books did the real holding.
The trick is weight and grip. I added small felt pads underneath so the bookends did not scratch the shelf, and I kept them shorter than the tallest book beside them. My first try without a base toppled sideways, so I learned to test them by pulling a book out quickly, just like I would on a normal evening.
Pro Tip: Use one heavy, plain bookend and one decorative object, so the shelf looks collected rather than matched like a shop display.
Cost: $0–$12 | Time: 30 minutes | Difficulty: Easy
2. Stack Books Horizontally as Little Pedestals

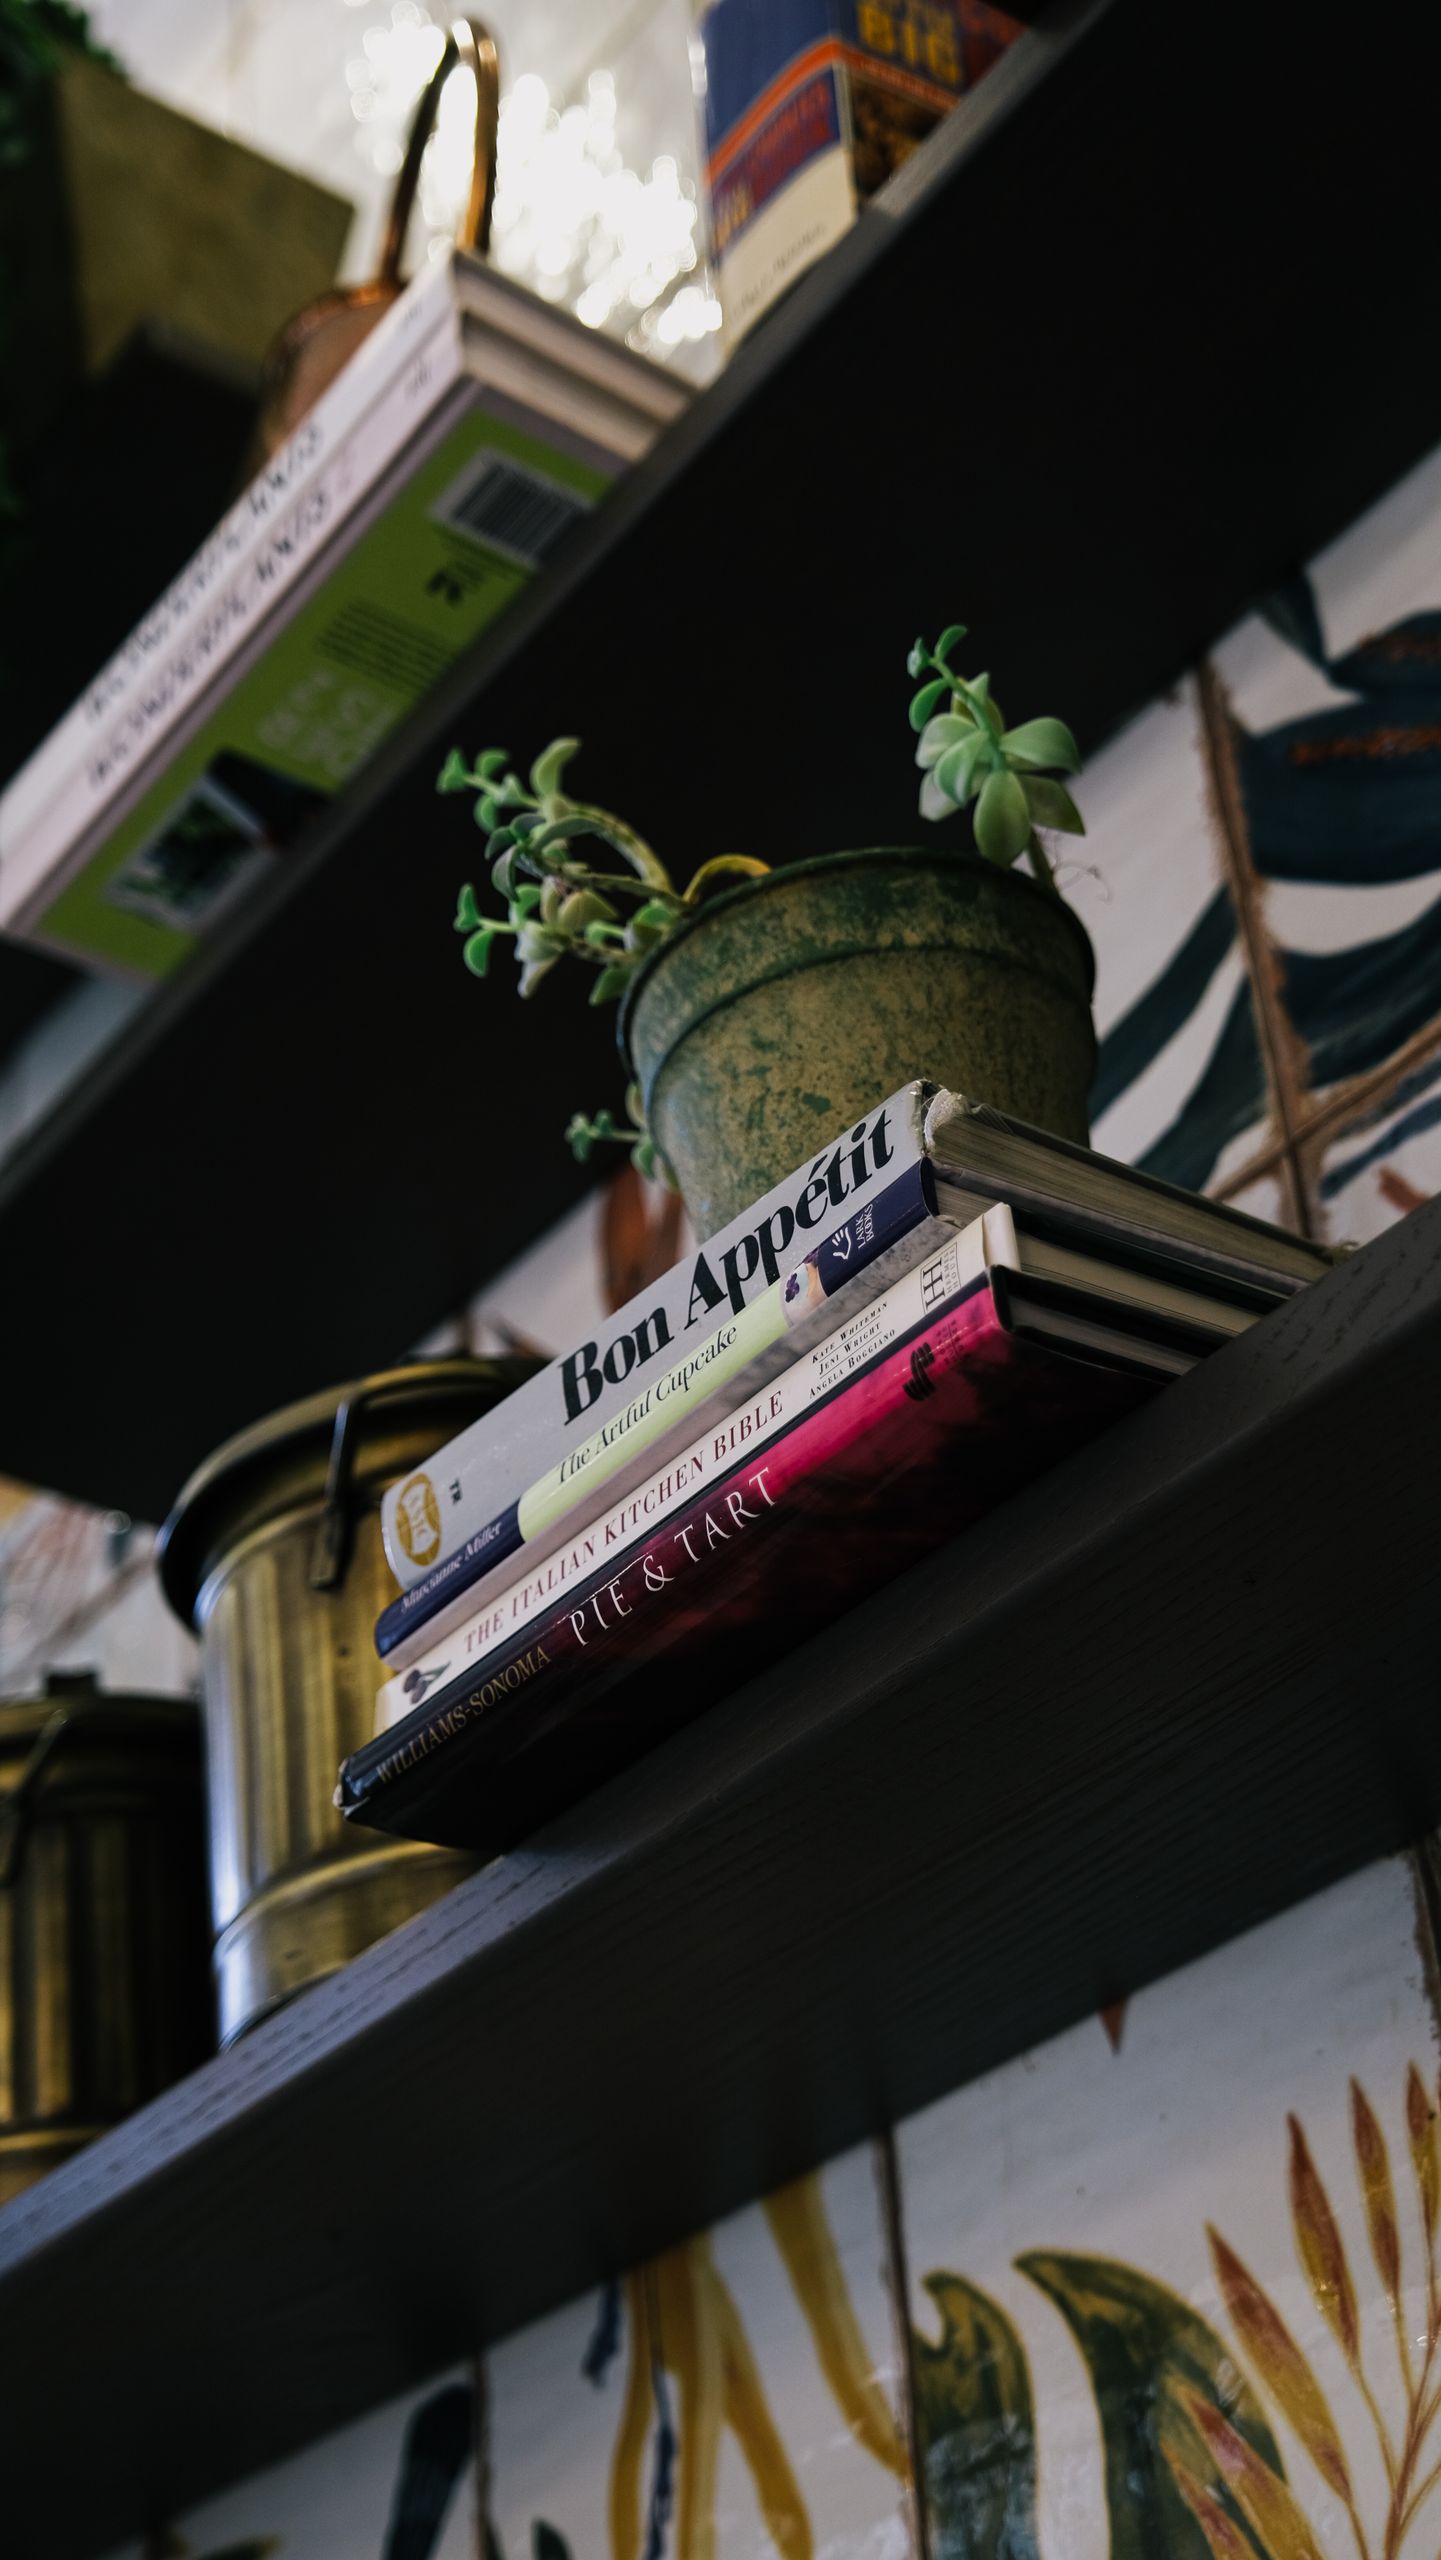
I broke up one long row of upright books by stacking four large hardcovers flat, then placing a small plant on top. Suddenly that shelf had height, a resting place for the eye, and a reason to pause.
This also solved a real problem: my oversized art books never fit upright. Stacked flat, they became useful instead of awkward. The honest downside is that the bottom book in the stack is hard to grab, so I only stack books I reread rarely, and I keep my current reads upright nearby.
Pro Tip: Keep stacks to three to five books, and leave at least 5 cm of clear space above them so the object on top does not feel squeezed.
Cost: $0 | Time: 10 minutes | Difficulty: Easy
3. Let a Trailing Plant Soften the Top Shelf

I put a pothos in a plain ceramic pot on the top shelf, and within weeks its vines were trailing down over the books below. It softened every hard straight line in the bookcase, and it made the whole unit feel alive rather than furniture-like.
The downside is real: one careless watering left a damp ring on a paperback, so now a small saucer lives under the pot permanently. I also trim the vines every month, because a plant that touches the floor starts looking messy instead of intentional, and it catches dust quickly.
Pro Tip: One trailing plant per bookcase is enough; two at most, placed at opposite ends so they do not compete.
Cost: $8–$20 | Time: 15 minutes | Difficulty: Easy
4. Hide the Mess in Woven Baskets on the Lower Shelves

My lower shelves used to hold chargers, remote controls, spare batteries, and a tangle of cables. I bought two seagrass baskets that fit with about 2 cm to spare on each side, labelled nothing, and simply tossed the clutter inside.
I learned to measure first, because my first basket was too tall and stuck out past the shelf edge. Baskets also hide things so well that I forgot where I put the spare remote, so now one basket is for electronics and the other is for craft bits, and I never mix them.
Pro Tip: Choose baskets in the same material family, even if the sizes differ, so the bottom row reads as one tidy band.
Cost: $12–$30 for two | Time: 20 minutes | Difficulty: Easy
5. Tuck Battery Fairy Lights Behind the Books

I ran a short battery strand along the back edge of one shelf, behind the books, and switched it on in the evening. The warm glow spilled between the spines and turned an ordinary bookcase into the cosiest corner of the room.
The honest downside is battery life: mine faded after about three weeks of nightly use, and the battery box was ugly until I hid it behind a basket. I also keep the lights away from paper lamp shades and candles, and I never leave them on when I leave the house.
Pro Tip: Hide the wire behind a row of books and let only the glow show; visible wires undo the magic instantly.
Cost: $6–$15 | Time: 20 minutes | Difficulty: Easy
6. Colour-Block Your Spines in Soft Groups

I sorted one bookcase into loose colour families — creams and whites, then blues and greens, then warm reds and browns — instead of a strict rainbow. The result looked calm and designed, not like a paint chart.
The downside is finding books: I now remember roughly where a book lives by colour, not by author, so I sometimes hunt for a title I know I own. To fix that, I kept my most-used reference books together by subject on a separate shelf, and colour-blocked only the display shelves.
Pro Tip: Turn one or two spines around so a plain page edge breaks up a loud colour block and gives the eye a rest.
Cost: $0 | Time: 45 minutes | Difficulty: Easy
7. Lean Framed Art and Photos Against the Back

I leaned a small framed family photo against the back of a shelf, in front of nothing and behind a short stack of books. It added a personal layer that no shop-bought ornament could match, and it broke up the straight line of spines.
My first attempt slid forward and knocked a candle over, so now I put a tiny non-slip pad under the frame and never lean glass directly against a wobbly shelf. I also keep framed pieces to one per shelf, because three frames together start looking like a hallway gallery crammed into a bookcase.
Pro Tip: Layer a small frame in front of a larger one, slightly off-centre, for depth without blocking the books behind.
Cost: $0–$10 | Time: 10 minutes | Difficulty: Easy
8. Use One Ceramic Vase With a Single Stem

I placed a handmade ceramic vase, about 20 cm tall, on a horizontal book stack with a single dried stem inside. It was the simplest vignette on my shelves, and visitors noticed it first.
Fresh flowers look lovely for a day, then droop and drop petals onto books, so I switched to dried stems and change them with the seasons. The downside is dust: a vase with a narrow neck is hard to clean inside, so I rinse it every time I swap stems and keep it away from the shelf edge.
Pro Tip: Match the vase colour to one colour already on that shelf, so it feels connected instead of random.
Cost: $8–$25 | Time: 10 minutes | Difficulty: Easy
9. Rest a Candle on a Stack of Books

I set a candle in a sturdy ceramic holder on top of three flat books, and it instantly made the shelf feel like a reading nook rather than storage. I never use a tall taper here, only a short, stable container candle.
Safety is the honest catch: a lit candle near paper needs respect. I only light it when I am in the room, I keep it at least 15 cm from any spine, and I blow it out before bed. An unlit candle still looks good, so on busy days I simply leave it unlit as decor.
Pro Tip: Put the candle on the top shelf or a high shelf, where it is visible but out of reach of small hands and wagging tails.
Cost: $5–$15 | Time: 5 minutes | Difficulty: Easy
10. Group Three Small Succulents Together

I grouped three small succulents in plain pots of different heights on one shelf, and they looked like a tiny garden instead of three lonely plants. Succulents suit shelves because they need little water and little light, and their chunky leaves add a sculptural shape next to flat books.
My first succulent died from overwatering, not neglect, because the pot had no drainage hole. Now every pot has drainage and a saucer, and I check the soil with my finger before watering. They also grow toward the light, so I turn the pots a quarter-turn each week to keep them even.
Pro Tip: Use odd numbers and pots in one colour family, so the group looks intentional even when the plants grow unevenly.
Cost: $12–$25 for three | Time: 20 minutes | Difficulty: Easy
11. Swap One Small Seasonal Vignette Each Season

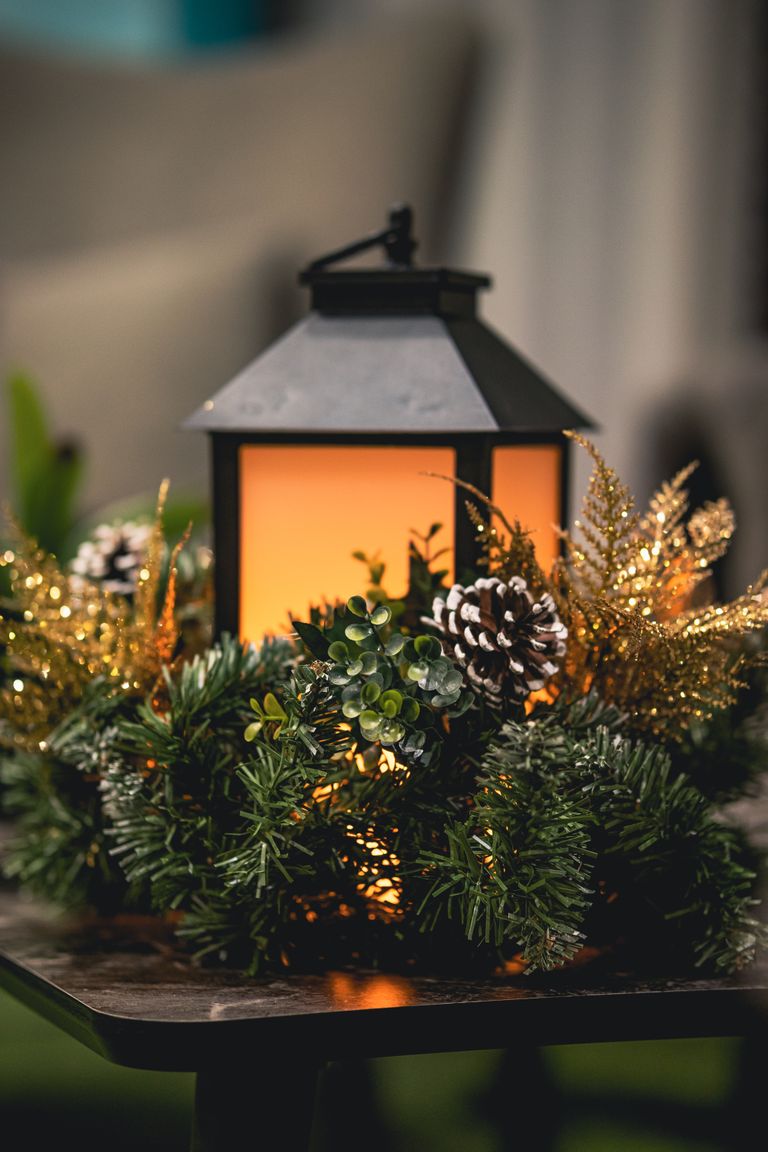
I keep one shelf corner free for a seasonal swap, and I change only that corner four times a year. In winter I add pine cones and a small candle; in spring I swap in a fresh stem and a lighter vase.
The trap I fell into was buying a box of seasonal decor every time, which filled a cupboard and cost more than the shelf was worth. Now I keep one small box per season, I reuse the same basket and candle holder, and I only swap the two or three smallest pieces. Less buying, same fresh feeling.
Pro Tip: Photograph each seasonal version on your phone, so next year you can recreate the one you loved without guessing.
Cost: $0–$10 per season | Time: 20 minutes | Difficulty: Easy
12. Label Plain Boxes for the Ugly but Useful Stuff

I covered old cardboard boxes in plain kraft paper, added a handwritten label, and lined them up on a middle shelf. Inside are instruction manuals, spare cables, and old magazines I cannot throw away yet.
My first labels were too vague — “stuff” helped no one — so I rewrote them plainly: cables, manuals, magazines. The downside is that labelled boxes invite overfilling, so I set a rule: if a box will not close neatly, something inside has to go before anything new goes in.
Pro Tip: Keep all boxes the same height on one shelf, even if their widths differ, for a calm, straight top line.
Cost: $5–$18 | Time: 40 minutes | Difficulty: Easy
13. Build a Tiny Travel Memento Vignette

I gathered three travel keepsakes — a small stone sculpture, a ticket stub in a tiny frame, and a postcard — and grouped them with two books from the same trip. That one shelf now tells a story every time I walk past it, and guests always ask about it.
The honest downside is sentiment: I wanted to display everything I brought home, and the shelf quickly looked cluttered. I chose the rule of three keepsakes per trip, and the rest stay in a memory box. Rotating one trip at a time keeps the shelf fresh and the story clear.
Pro Tip: Anchor a memento group with one taller piece at the back, so smaller items do not get lost behind the books.
Cost: $0–$10 | Time: 20 minutes | Difficulty: Easy
14. Face Kids’ Books Outward on One Low Shelf

On the lowest shelf of our family bookcase, I turned five picture books face-out, like a little bookshop display, with a soft toy tucked at one end. My youngest started choosing books herself instead of pulling whole rows down, and tidy-up became a game of putting the cover back in its spot.
Face-out books take more room, so only five fit where twelve spines used to live, and the rest stay spine-out on the shelf above. That trade-off is worth it for us, because the books on display actually get read, while the spine-out shelf holds the overflow and the books she has outgrown.
Pro Tip: Rotate the five face-out titles every week, and keep one firm favourite always in the middle for comfort.
Cost: $0–$12 | Time: 15 minutes | Difficulty: Easy
15. Line the Back With Peel-and-Stick Paper

I lined the back panel of one bookcase with peel-and-stick paper in a soft, subtle pattern, and it changed the whole unit without paint or tools. I measured each panel, cut the paper 1 cm oversize, and smoothed it from the centre outward to avoid bubbles.
Peel-and-stick paper is forgiving, but it is not magic: my first sheet wrinkled because I rushed, and I had to peel it off and start again. It also collects dust at the edges over time, so I press the edges down every few months and keep the pattern quiet, never busy, so the books stay the stars.
Pro Tip: Test one panel for a week before doing the whole bookcase, in case the pattern feels louder once books are back.
Cost: $10–$25 | Time: 1 hour | Difficulty: Medium
16. Follow the 60/40 Rule and Leave Breathing Room
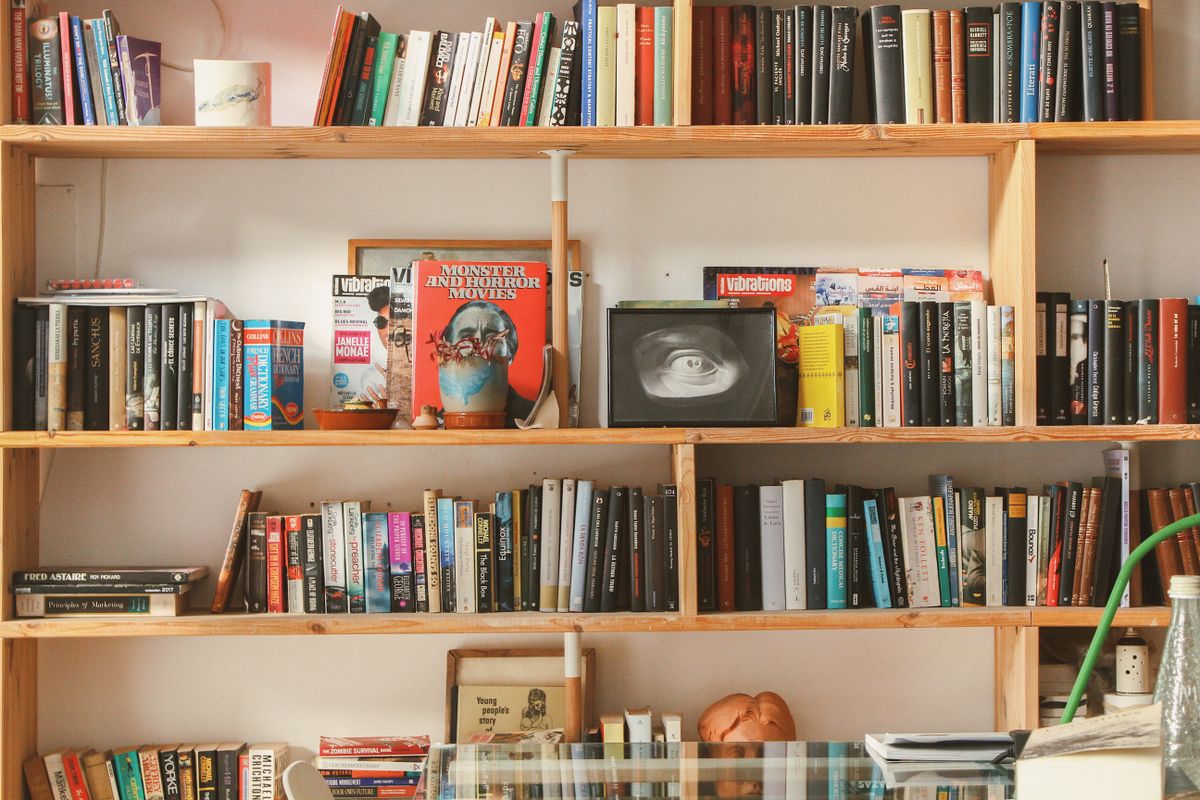
I emptied one bookcase completely, then put back only about 60% books and left the rest as decor and empty space. It felt wrong at first, like I was wasting shelves, but the room instantly looked calmer.
The downside is storage pressure: those extra books have to live somewhere, so I moved rarely-read titles to a cupboard shelf and kept only favourites and current reads on display. I also check the rule every few months, because new books creep in quietly and the shelves fill up again without me noticing.
Pro Tip: Leave at least one completely empty stretch, about a book-width wide, on every other shelf as a visual pause.
Cost: $0 | Time: 1 hour | Difficulty: Easy
17. Make a Small Currently-Reading Shelf

I set aside one shelf at arm height for the book I am reading now, the one I am about to start, and a small notebook. It stopped the nightly hunt through the whole bookcase.
The honest catch is that this shelf fills fast, because finished books linger and new books arrive. I clear it every Sunday: finished books go back to their proper shelf, and only two unread books are allowed to wait here. Without that weekly reset, the “current” shelf just becomes another cluttered shelf.
Pro Tip: Keep this shelf near your reading chair, not at the top of the bookcase, or you will stop using it.
Cost: $0–$8 | Time: 10 minutes | Difficulty: Easy
18. Style the Top of the Bookcase Like a Mantel

I treated the top of my bookcase like a mantel: one tall vase at one end, a stack of two art books in the middle, and a small plant at the other end. I kept the arrangement low enough that I could still reach it for dusting.
Tall pieces on top are a dust trap and a falling risk if the bookcase wobbles, so I secured the bookcase to the wall first and chose light, stable pieces. I also learned not to put anything fragile directly above the spot where I pull books out, because one bump can send it over the edge.
Pro Tip: Work in a triangle — tall, medium, low — and step back to the doorway to check the silhouette before you finish.
Cost: $0–$20 | Time: 20 minutes | Difficulty: Easy
19. Add a Small Clock and One Vintage Find

I found a small brass clock at a charity shop and placed it beside a stack of books with a tiny vintage teapot I already owned. Those two old pieces gave the whole shelf warmth and history, and they stopped the bookcase looking like it came straight from a catalogue.
Vintage pieces need care: the clock needed a new battery and a clean, and the teapot chips easily if knocked. I also avoid placing anything valuable where it can be grabbed by curious hands, and I dust vintage pieces gently, because harsh cleaning can strip their finish and their character.
Pro Tip: Pair one vintage piece with plain, modern books, so the old object stands out instead of competing with other antiques.
Cost: $5–$20 | Time: 15 minutes | Difficulty: Easy
20. Extend the Styling to the Wall Above the Bookcase

I hung two small framed prints above my bookcase, centred on the unit, and the whole wall suddenly felt finished. The bookcase no longer ended abruptly at the ceiling line; the art pulled the eye upward and tied the furniture to the room.
My first attempt hung the frames too high, and they floated disconnected from the shelves below, so I lowered them and the whole arrangement clicked. The downside is commitment: picture hooks leave holes, so I used a paper template on the wall first and lived with the taped outlines for a day before drilling anything.
Pro Tip: Keep the total width of the wall art narrower than the bookcase itself, so the arrangement feels anchored, not top-heavy.
Cost: $10–$30 | Time: 45 minutes | Difficulty: Medium
How These DIY Bookshelf Decor Ideas Compare
| Idea | Best For | Cost | Effort |
|---|---|---|---|
| Bookends and stacks | Instant structure | $0–$12 | Low |
| Plants and lights | Warmth and life | $6–$25 | Low |
| Baskets and boxes | Hiding clutter | $5–$30 | Low |
| Art, photos, and vintage finds | Personal character | $0–$30 | Low |
| Backing paper and wall art | A bigger transformation | $10–$30 | Medium |
Of all the diy bookshelf decor ideas here, if you only have an hour, start with stacks, baskets, and breathing room. For a weekend, add backing paper, lights, and wall art.
Mistakes I Made / What I Learned the Hard Way
1. I filled every inch. My first styled shelf had no empty space at all, and it looked like a shop window that had been overstocked. Removing a third made everything left look better.
2. I put pretty things where I could not reach them. A candle on the top shelf and a plant I had to climb to water both ended up neglected. Now daily-use pieces live at arm height, and only light, sturdy decor goes high.
3. I bought decor before measuring. Baskets that were too tall, frames that were too wide, and a vase that blocked a book all came from guessing. A tape measure and a phone photo of the empty shelf now save me from most bad buys.
4. I styled once and never revisited. Books arrived, plants grew, and the shelf slowly slid back into clutter.
Frequently Asked Questions
How do I style a bookshelf without buying anything new? Start by emptying one shelf, keeping the books you love, stacking some flat, turning a few face-out, and adding one plant, photo, or vase you already own. Empty space and grouping cost nothing and change the look most.
How many decorative objects should go on each shelf? Aim for one to three objects per shelf, plus books. One taller anchor, one medium piece, and empty space beat five small trinkets crowded together.
Are plants safe on a bookshelf with books? Yes, if every pot has drainage and a saucer, and you water plants in the sink, not on the shelf. Keep trailing vines trimmed.
How do I keep styled shelves tidy over time? Give every shelf a job — display, current reads, or hidden storage — and clear the currently-reading shelf weekly. A short monthly tidy stops clutter creeping back.
Final Thoughts
My shelves are not perfect, and they do not need to be. These diy bookshelf decor ideas work because they fit real life, not a showroom. They hold books I actually read, plants I can keep alive, and objects from trips and quiet evenings. That mix is what makes them feel styled rather than stuffed.
Pick one idea from this list today — a stack, a basket, or a plant — and try it for a week. Small, honest changes beat a full restyle you never finish.