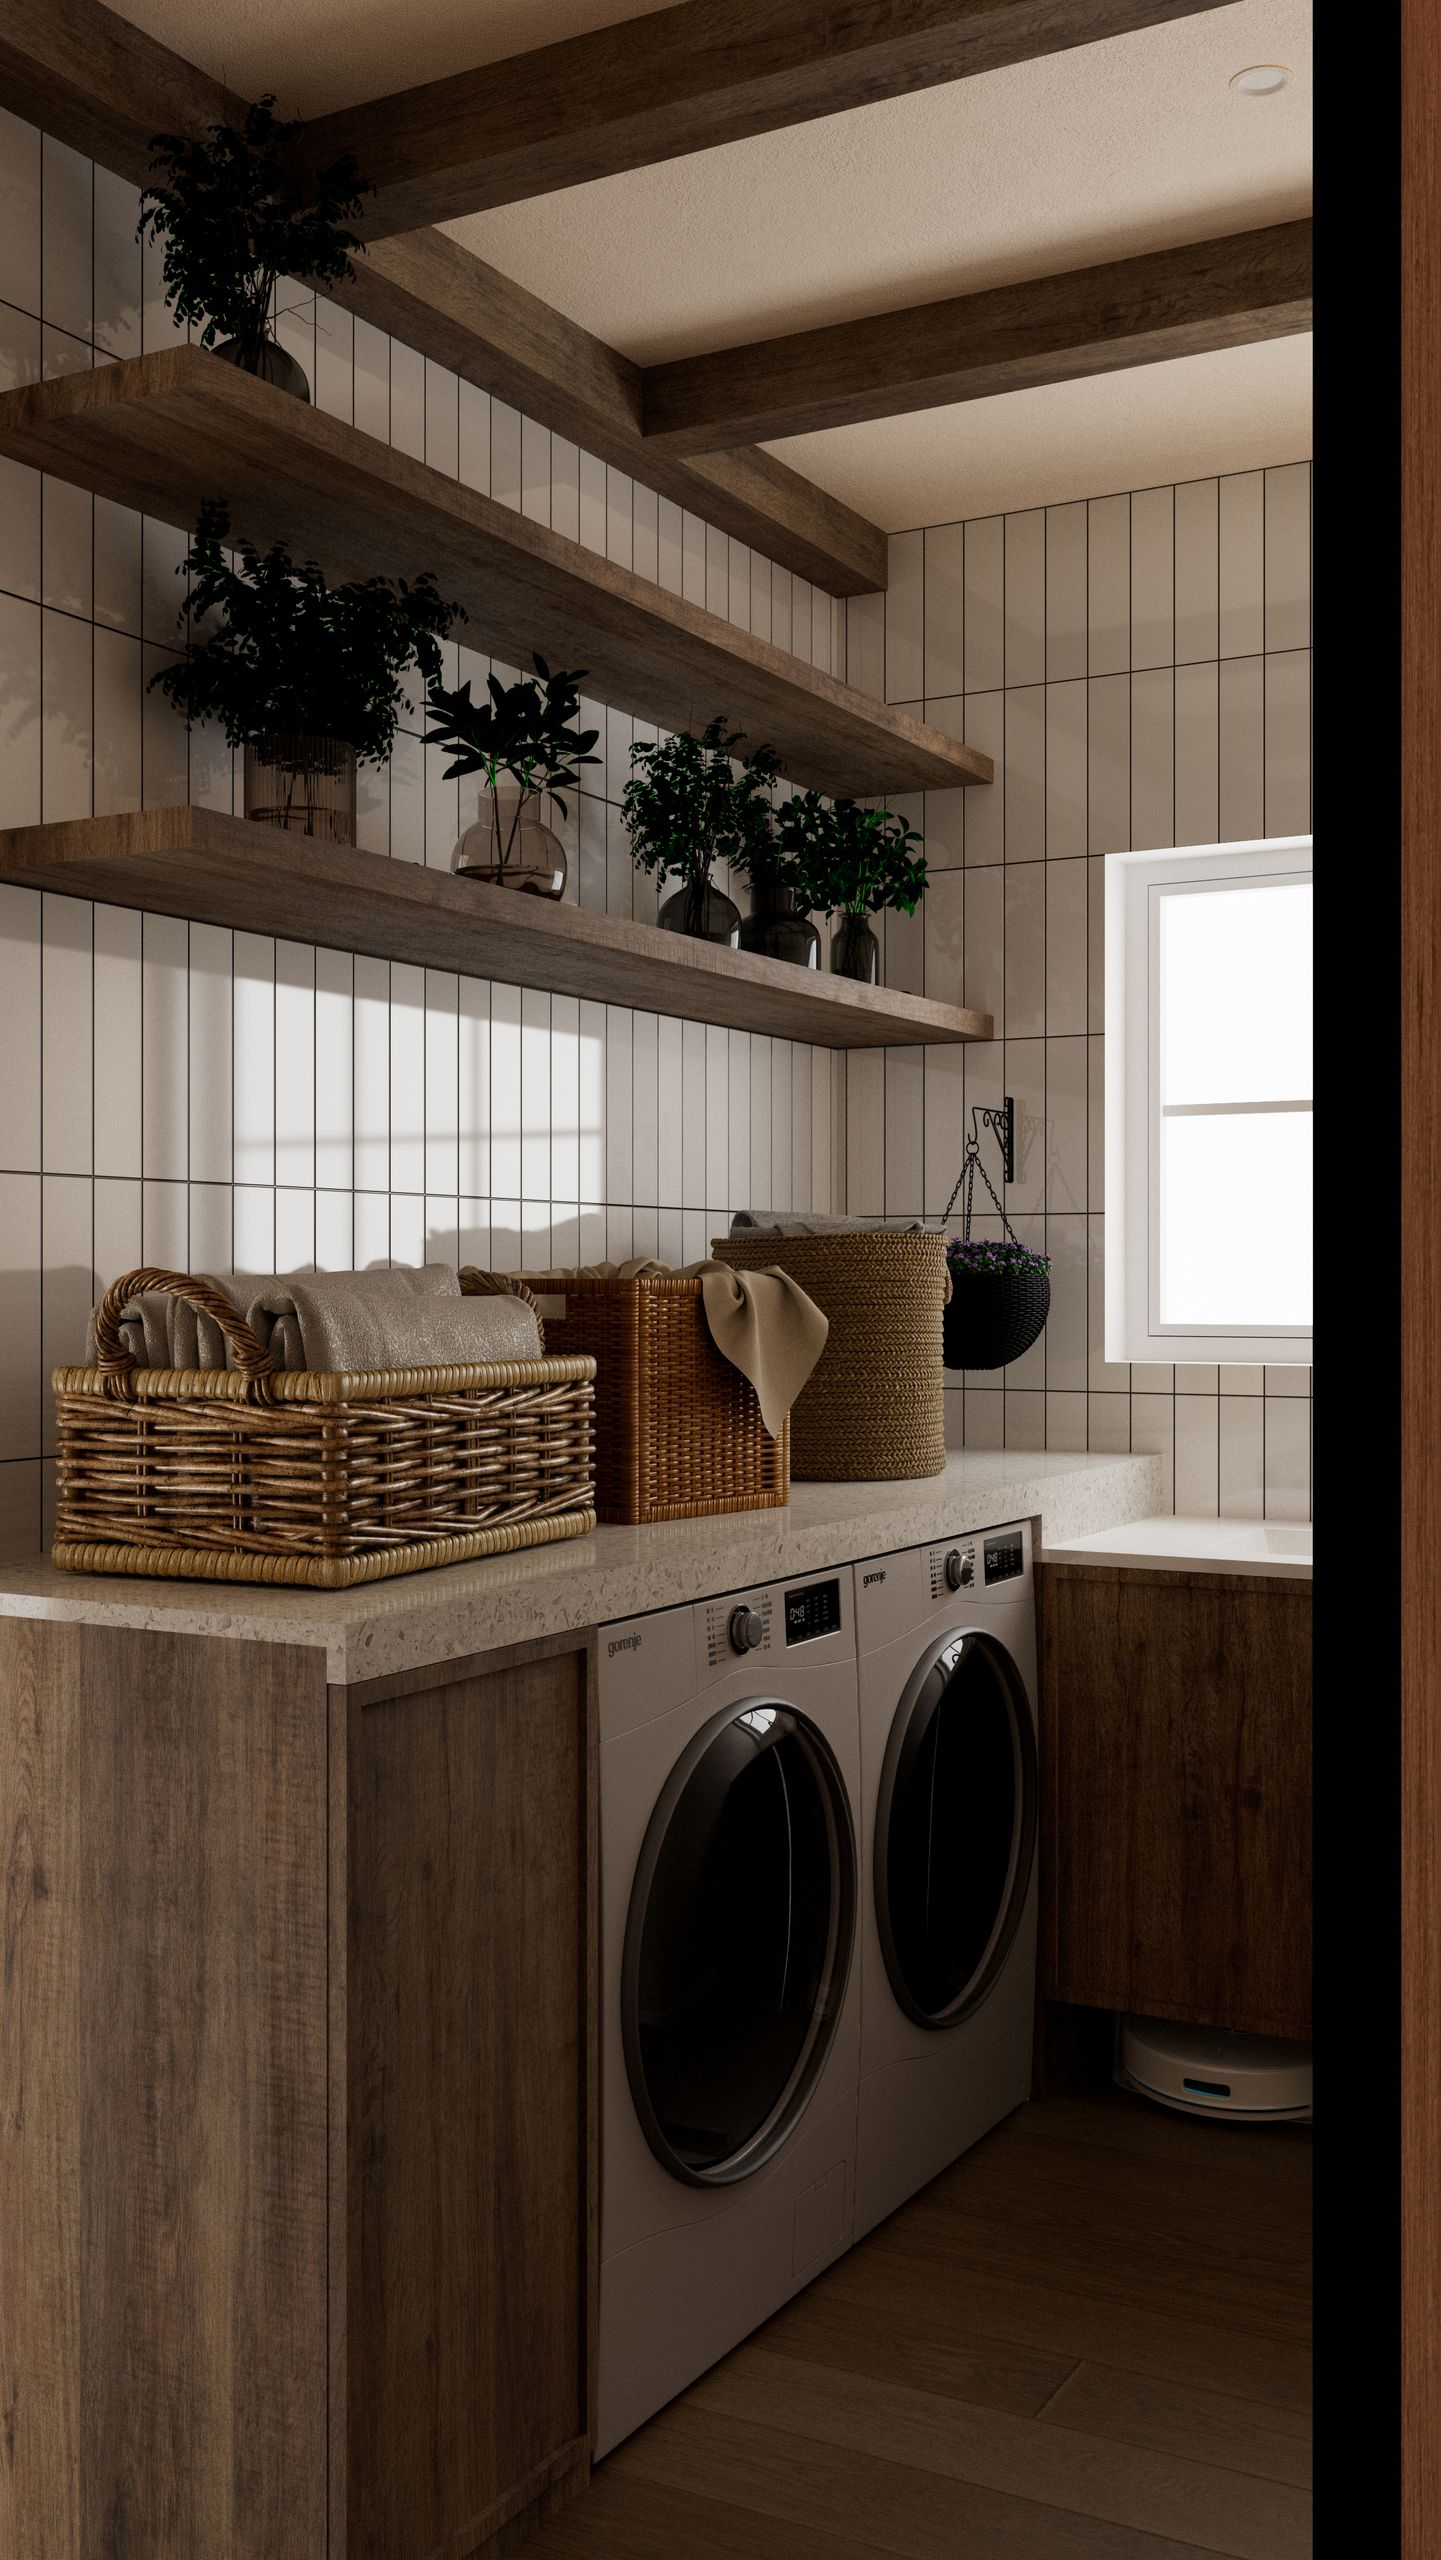
21 Laundry Room Organization Ideas for Small Spaces That Actually Work
These laundry room organization ideas are the ones I have actually lived with in my own small laundry room — a room barely six feet wide, with a stacked washer and dryer, one small window, and no linen closet to hide the mess.
I tried each idea for at least two full weeks of real laundry before it made this list. If a basket tipped over, a shelf sagged, or a system fell apart by wash day three, it did not make the cut.
I split the room into four small zones: wash, dry, fold, and store. Detergent lives by the washer, hangers by the dryer, and the folding surface sits in the middle. Most ideas here cost under $25, and the priciest one is the fold-down table at $50.
I picked these 21 ideas by one simple test: could I walk in with a full basket, sort, wash, dry, fold, and walk out without moving three other things first? If the answer was yes, it stayed. These small laundry room organization ideas work for laundry closets too, for rented homes, and for rooms that double as a mudroom or a pantry overflow.
Table of Contents
- A Folding Shelf Over the Machines
- A Wall-Mounted Drying Rack That Folds Flat
- One Basket Per Person, Labelled
- Detergent on a Lazy Susan
- A Slim Rolling Cart Between the Machines
- Hooks for the Ironing Board and Broom
- A Lost-Sock Basket on the Wall
- Clear Jars for Detergent Pods and Clips
- A Pegboard for Small Tools and Supplies
- Stackable Bins on a High Shelf
- A Retractable Clothesline Across the Room
- A Small Step Stool That Lives in the Corner
- A Stain Station in a Caddy
- Labels on Every Bin, Even the Ugly Ones
- A Wall File for Instruction Tags and Manuals
- A Tension Rod Under the Shelf for Hangers
- A Fold-Down Table for Sorting
- A Shoe Tray by the Door for Muddy Loads
- A Lint-Bin and a Small Trash Bin Side by Side
- A Weekly Wash Schedule on the Wall
- A Donate Bag That Is Always Half Full
Key Takeaways
- Give every item a home close to where you use it — detergent by the washer, hangers by the dryer.
- Go up, not out: shelves, hooks, and wall racks save floor space in a small laundry room.
- One basket per person stops the big mixed pile that nobody wants to fold.
- Clear bins and labels mean you can see what is running low in one glance.
- A folding surface, even a small one, changes laundry from a chore into a quick job.
- Renter-friendly ideas are marked in each section — no drilling needed for most of them.
- Keep a donate bag in the room so outgrown clothes leave the house instead of piling up.
1. A Folding Shelf Over the Machines

Image credit: Too Much Time
I put a simple pine board across the top of my stacked machines, and it became the hardest-working surface in the house. I fold straight from the dryer onto it, and the warm clothes never land on the floor again. I measured twice before I cut the board, leaving two inches of space at the back for the dryer vent hose.
The honest downside is dust. The shelf collects lint faster than any other surface in the room, and my first board warped slightly from the heat of the dryer. I now use a sealed board and wipe it down every Sunday, which takes about two minutes.
Pro Tip: Leave a one-inch gap at the front edge so you can still lift the washer lid or reach the dryer controls without moving the shelf.
Cost: $15–$35 | Time: 45 minutes | Difficulty: Easy
2. A Wall-Mounted Drying Rack That Folds Flat
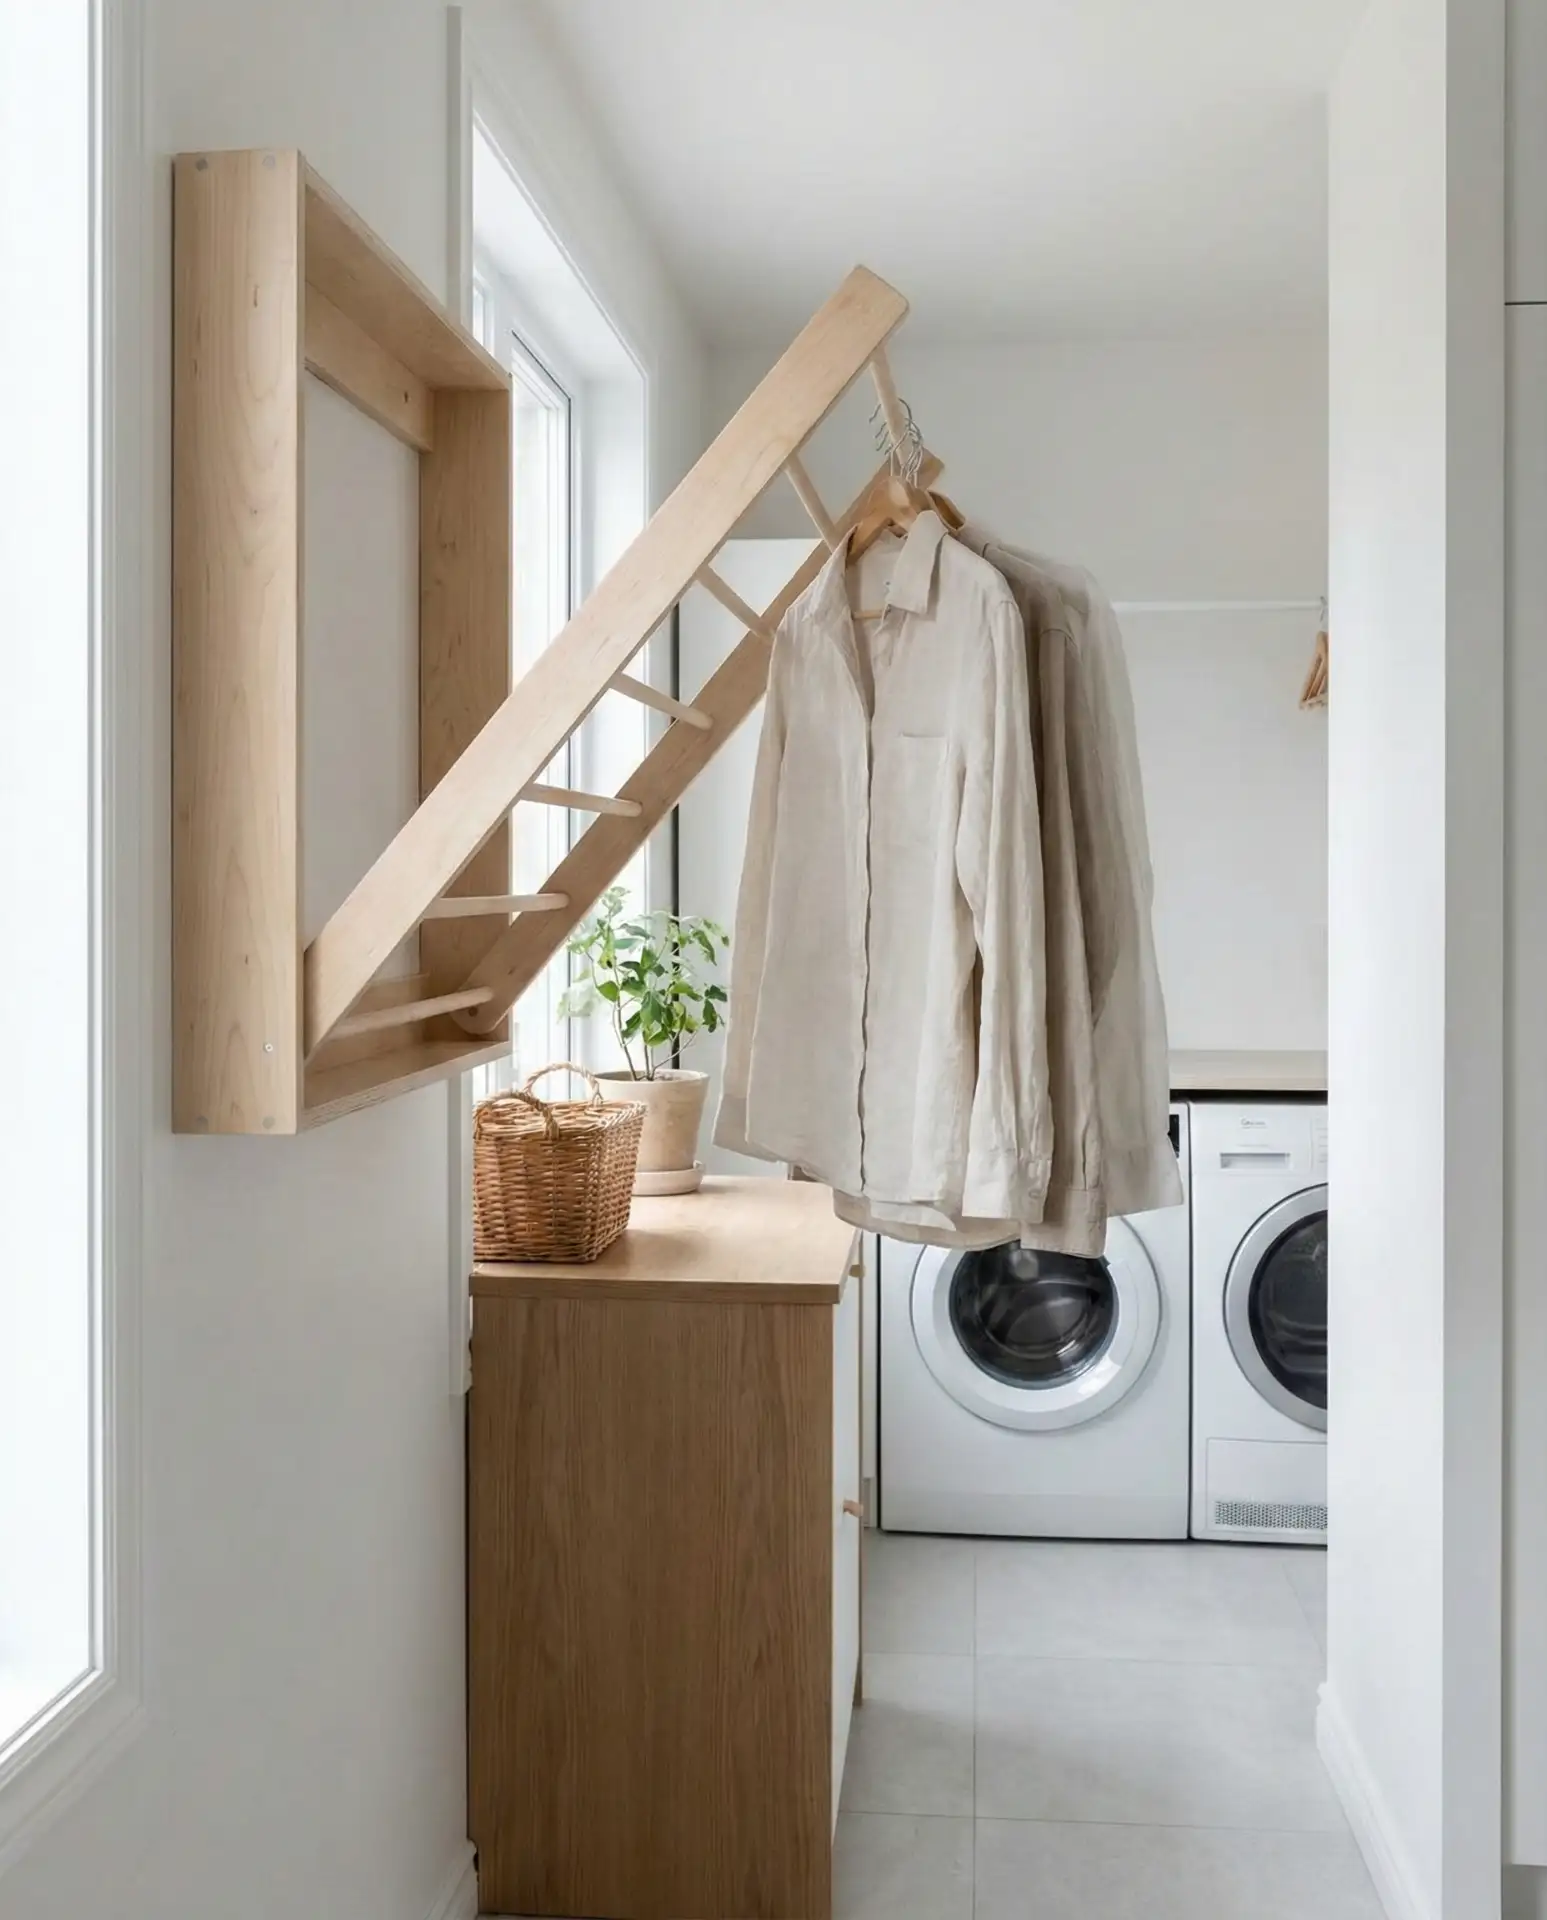
Image credit: Inspire Captions
My old freestanding drying rack ate half the floor and always had a wet towel draped over it. I replaced it with a wooden wall rack that folds flat against the wall when I am not using it. I hang delicates, gym clothes, and anything that should not go in the dryer, and the floor stays clear for the baskets.
The watch-out is weight. I overloaded the first rack with three wet towels and two pairs of jeans, and two of the dowels bent. I now keep heavy items to one per rung and save the rack for lighter pieces.
Pro Tip: Mount it at shoulder height, not above your head, or you will dread reaching up with wet clothes in your hands.
Cost: $20–$45 | Time: 30 minutes | Difficulty: Easy
3. One Basket Per Person, Labelled
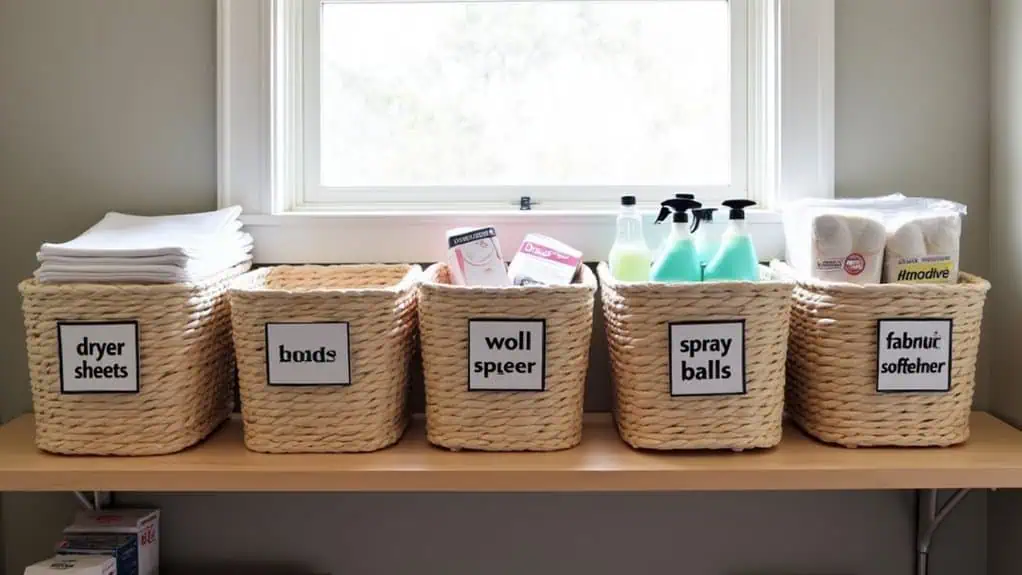
Image credit: The Interior Evolution
We used to have one giant basket, and folding it felt like sorting a lost-property box. Now each person in the house has their own slim basket, labelled with a name tag tied on with twine. Clean clothes go straight into the right basket, and everyone carries their own upstairs.
The downside is space. Four baskets take up more floor than one big one, and my first set was too wide for the gap beside the dryer. I switched to tall, narrow baskets that stack when they are empty, and the problem disappeared.
Pro Tip: Use a different colour per person as well as a label — children who cannot read yet can still find their own basket.
Cost: $5–$10 per basket | Time: 10 minutes | Difficulty: Easy
4. Detergent on a Lazy Susan

Image credit: Soft and Soulful
Detergent bottles, stain spray, and fabric softener used to fall over every time I reached for the one at the back. A small lazy Susan turntable on the shelf above the washer fixed it. I spin it, grab what I need, and nothing else moves.
The honest catch is size. My first turntable was too small for the tall detergent bottle, and the bottle tipped off the edge twice. I now use a ten-inch turntable with a low rim, and I keep the tall bottle in the centre.
Pro Tip: Put the most-used bottle at the front of the turntable so one small spin brings it to you.
Cost: $8–$15 | Time: 5 minutes | Difficulty: Easy
5. A Slim Rolling Cart Between the Machines
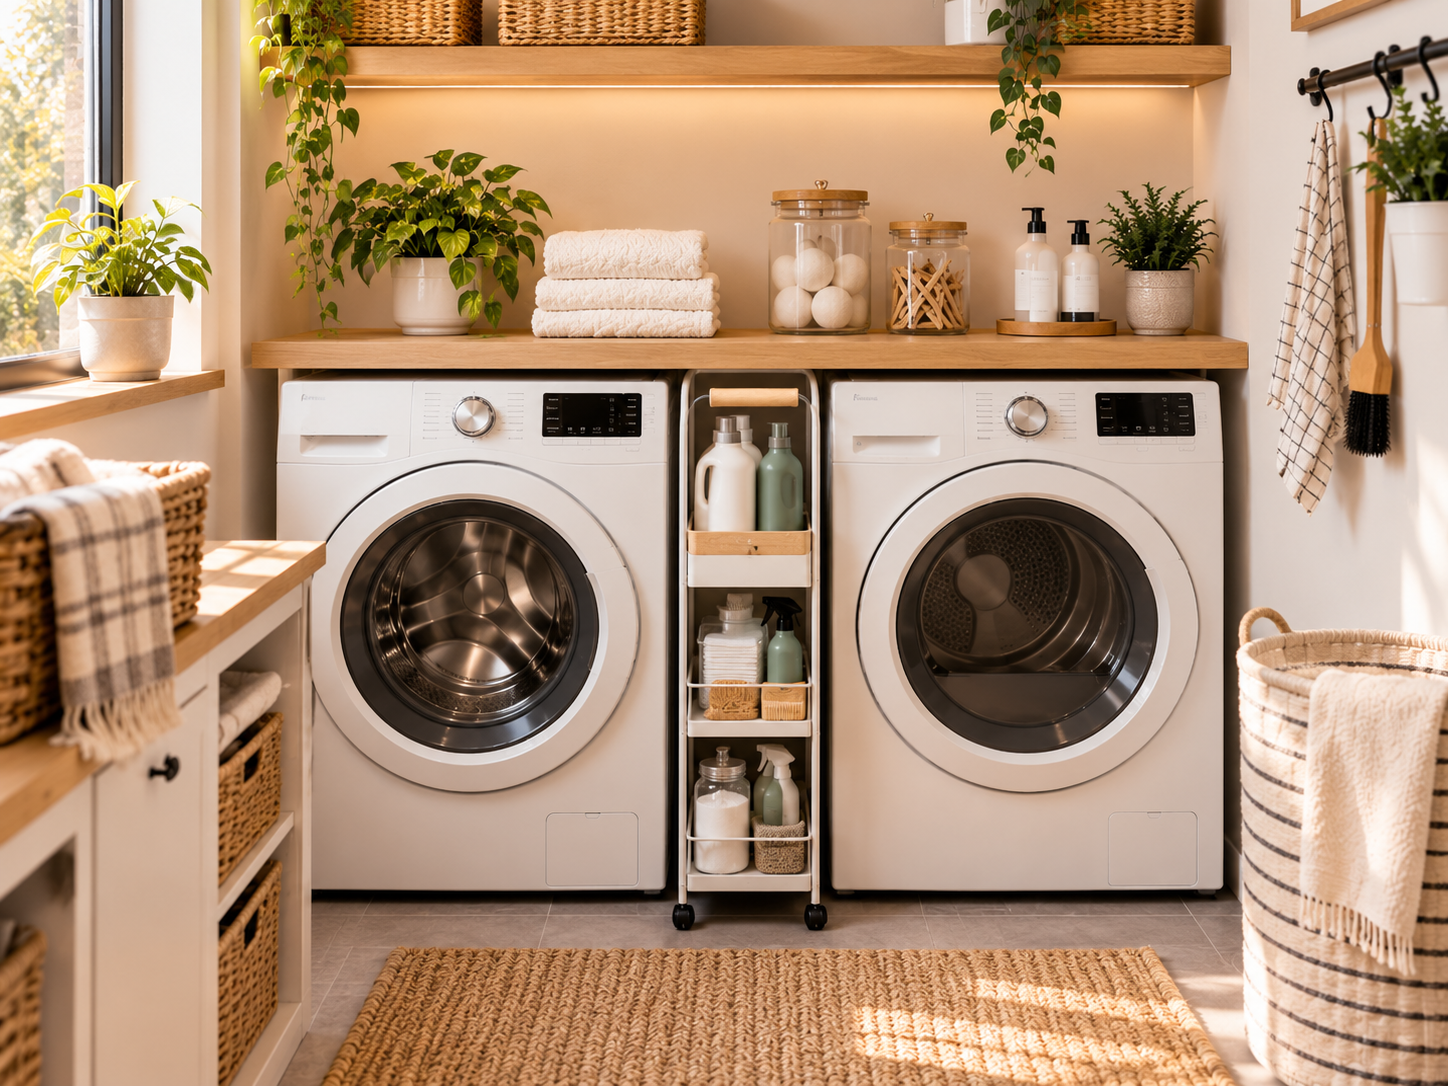
Image credit: Spacelya
There was a four-inch gap between my washer and the wall, and it collected dust bunnies and lost socks. A slim rolling cart now fills that gap perfectly. It holds detergent pods, dryer sheets, and a small brush, and I pull it out like a drawer when I need something.
The downside is that the cart can get stuck if the floor is uneven. Mine jammed on a small bump in the tile the first week. I added two tiny felt pads under the wheels, and it rolls smoothly now.
Pro Tip: Measure the gap at the top and the bottom — walls are rarely straight, and a cart that fits at the top may not fit at the bottom.
Cost: $20–$35 | Time: 10 minutes | Difficulty: Easy
6. Hooks for the Ironing Board and Broom

Image credit: RylexOnLine
My ironing board used to lean against the wall and fall over at least once a week, usually onto the dryer. Two strong wall hooks now hold it flat against the wall, with the broom and dustpan hanging beside it. The floor is clear, and I can actually reach the board without a wrestling match.
The watch-out is the hook strength. My first adhesive hooks peeled off the painted wall after a month, taking a small patch of paint with them. I switched to screw-in hooks, which hold the weight without any trouble.
Pro Tip: Hang the ironing board with the pointed end down — it is easier to lift off the hooks that way.
Cost: $5–$12 | Time: 15 minutes | Difficulty: Easy
7. A Lost-Sock Basket on the Wall
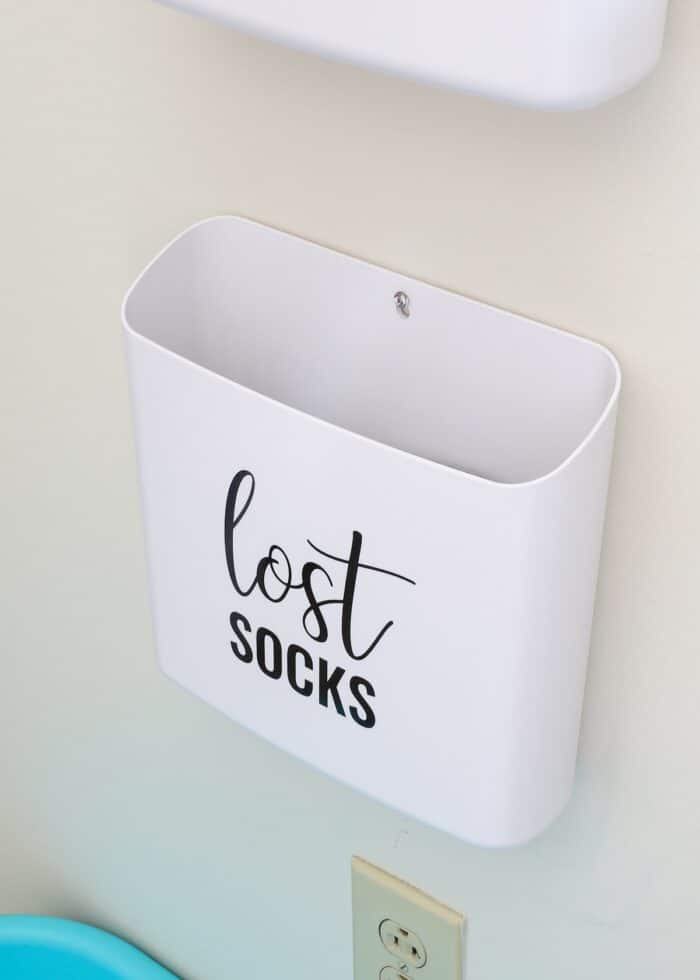
Image credit: The Homes I Have Made
Every wash produced at least one lonely sock, and they used to pile up on top of the dryer until I threw them away in frustration. A small wall basket by the door now catches them all. When its partner turns up in a later wash, I match them on the spot.
The honest downside is that the basket fills up faster than you think. Mine was overflowing within a month, and half the socks had been single for so long that nobody remembered them. I now empty it on the first Sunday of every month and donate the true orphans.
Pro Tip: Keep a small peg or clip inside the basket for pairs you have matched but not yet put away.
Cost: $5–$10 | Time: 10 minutes | Difficulty: Easy
8. Clear Jars for Detergent Pods and Clips

Image credit: MomsKoop
I used to keep detergent pods in their bulky box and pegs in a torn bag, and I never knew when I was running low until the box was empty. Clear glass jars on the shelf changed that. I can see the level at a glance, and the jars look far tidier than the original packaging.
The watch-out is safety. Pods look like sweets to small children, and a glass jar on a low shelf is a risk. I keep the pod jar on the highest shelf, out of reach, and I use a jar with a tight screw lid, never an open tub.
Pro Tip: Keep the original product label inside the jar, tucked behind the pods, so you always have the instructions and safety warnings to hand.
Cost: $8–$18 for a set of jars | Time: 10 minutes | Difficulty: Easy
9. A Pegboard for Small Tools and Supplies

Image credit: Suite101
A small pegboard above the folding shelf holds scissors, a lint roller, a stain brush, and a measuring cup for detergent. Everything is visible, everything has a hook, and I no longer dig through a drawer to find the one thing I need. I painted mine the same colour as the wall so it blends in.
The downside is that pegboard hooks slip out if you bump them. I lost a pair of scissors behind the machines twice before I learned to use locking hooks. They cost a little more, but they stay put.
Pro Tip: Trace the outline of each tool on the pegboard with a pencil so you can see at once if something is missing.
Cost: $15–$30 | Time: 40 minutes | Difficulty: Easy
10. Stackable Bins on a High Shelf

Image credit: Delviora
The top shelf in my laundry room was a graveyard of half-used bottles and old rags. Stackable clear bins now divide it into zones: one for cleaning cloths, one for spare pegs, one for out-of-season laundry supplies. I pull down one bin at a time instead of knocking everything over.
The honest catch is reaching them. I am not tall, and the top shelf was a stretch even with a step stool. I keep only light, rarely used items up there, and everything heavy stays at waist height. Safety first — a falling bin of detergent is no joke.
Pro Tip: Label the front of each bin in large letters so you can read it from the floor without climbing up to check.
Cost: $12–$25 for a set | Time: 15 minutes | Difficulty: Easy
11. A Retractable Clothesline Across the Room
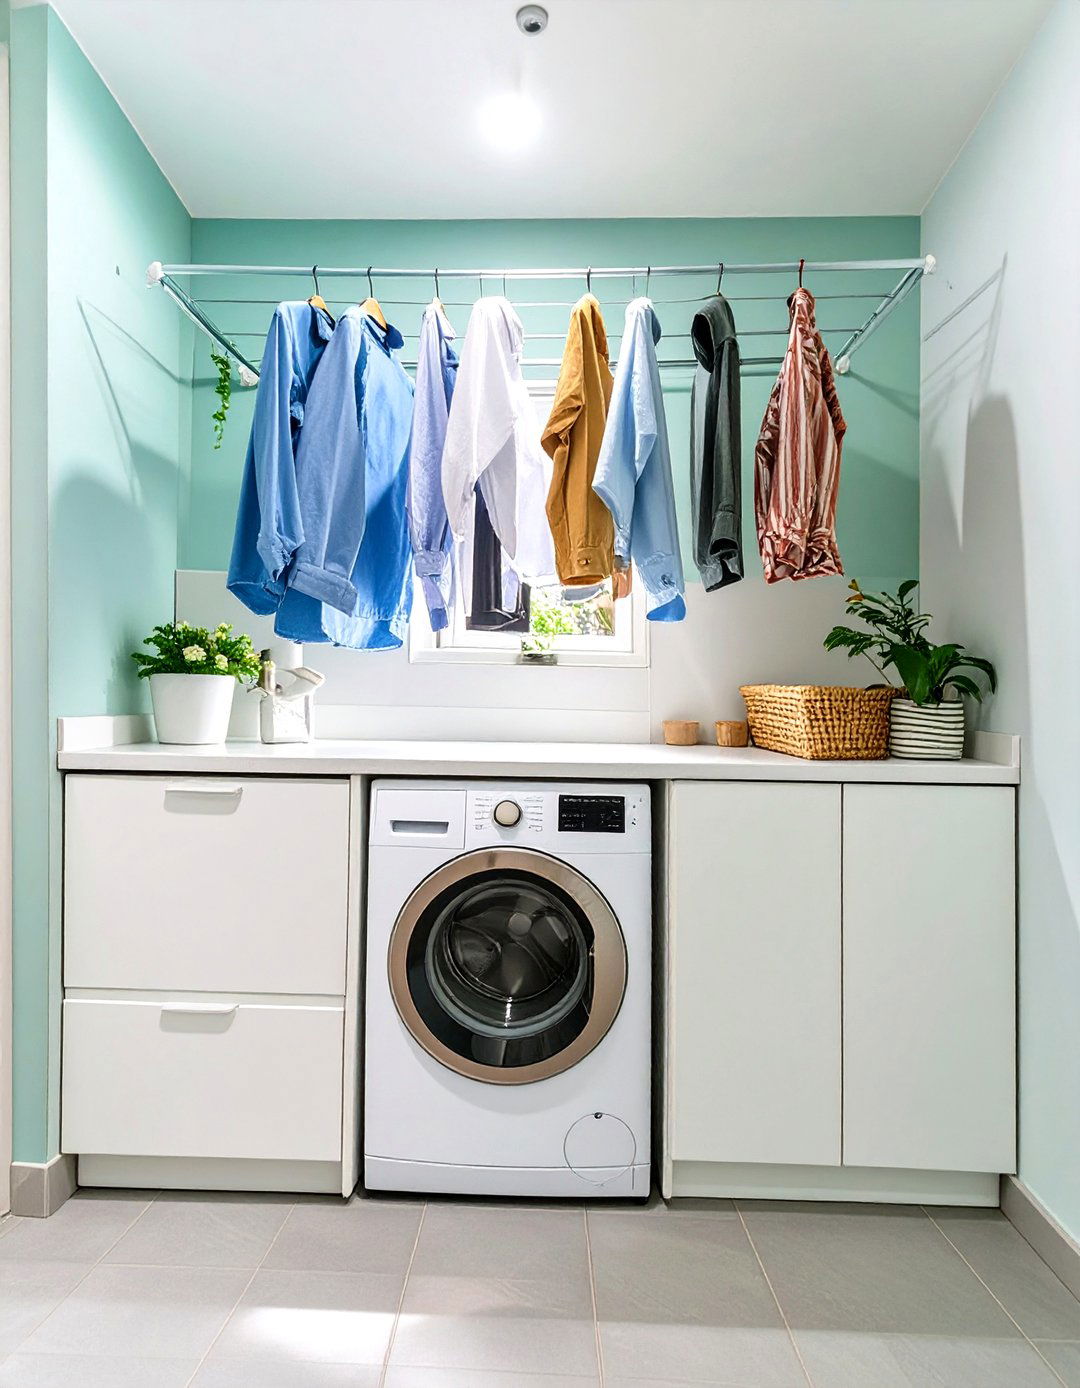
Image credit: We Love Home Blog
On rainy days, when the outdoor line is useless, a retractable clothesline across my laundry room saves the day. I pull it out, hang the wet clothes, and retract it when they are dry. It holds a full load of light clothes, and it disappears when I do not need it.
The downside is sag. My first line sagged in the middle under a load of wet towels, and the towels touched the floor. I now hang only light items on it and save heavy towels for the wall rack.
Pro Tip: Install the line at a height where the longest item — a pair of trousers, for example — clears the floor by at least two inches.
Cost: $10–$20 | Time: 20 minutes | Difficulty: Easy
12. A Small Step Stool That Lives in the Corner
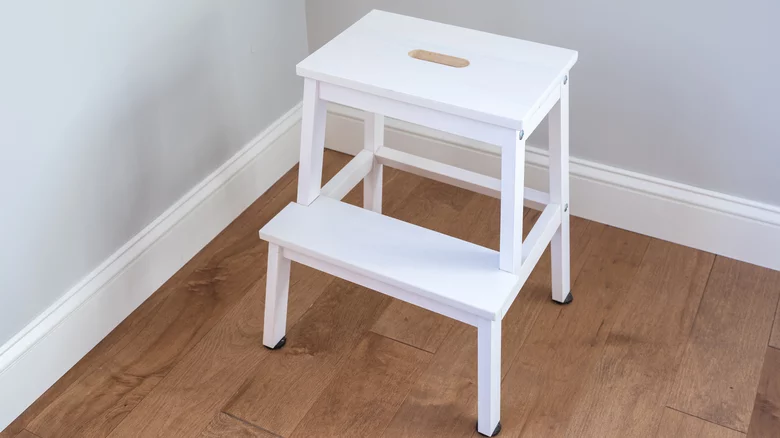
Image credit: House Digest
I resisted buying a step stool for years, telling myself I could reach everything. I could not. A small folding stool now lives in the corner of the laundry room, and I use it every single week to reach the top shelf and the high hooks. It folds flat and hangs on a hook when I am done.
The watch-out is stability. A cheap stool wobbled under me the first time I stood on it with a full bin in my hands. I replaced it with a sturdier one with rubber feet, and I never stand on the top step.
Pro Tip: Choose a stool with a handle cut into the top — it is much easier to carry with one hand while you hold a basket with the other.
Cost: $15–$30 | Time: 5 minutes | Difficulty: Easy
13. A Stain Station in a Caddy

Image credit: Clutter Keeper
Stains used to get tossed in the wash and hoped for the best, which rarely worked. A small caddy now sits on the shelf with stain spray, a soft brush, white vinegar, and a clean cloth. When something gets stained, I treat it right there before it goes in the machine, and the success rate is far higher.
The honest downside is that the caddy can become a dumping ground for random bottles. Mine collected three half-empty sprays and a dried-out cloth within a month. I now check it every Sunday and throw out anything empty or dried up.
Pro Tip: Keep a small printed card in the caddy with the basic stain rules: cold water for blood, never rub a stain, treat it before it dries.
Cost: $10–$20 | Time: 10 minutes | Difficulty: Easy
14. Labels on Every Bin, Even the Ugly Ones

Image credit: Suite101
I used to think labels were only for pretty pantries, but they changed my laundry room more than any shelf did. Every bin, basket, and jar has a label — even the old plastic tub that holds rags. My family finally puts things back where they belong because they can read where they belong.
The catch is that cheap paper labels peel off in a damp room. My first set curled and fell off within weeks. I now use waterproof labels or a label maker, and they have lasted over a year without peeling.
Pro Tip: Label the shelf itself as well as the bin, so the bin goes back to the same spot every time.
Cost: $5–$15 | Time: 20 minutes | Difficulty: Easy
15. A Wall File for Instruction Tags and Manuals

Image credit: I Dreamed This
Washer manuals, care tags I cut off jumpers, and the little card that came with the dryer all used to live in a drawer I never opened. A simple wall file by the door now holds them all in one place. When the washer flashes an error code, I can check the manual in thirty seconds instead of searching online.
The downside is that the file fills up with papers I will never need again. I once found a manual for a washer we replaced three years ago. I now clear the file every six months and keep only the current machines and the most useful care cards.
Pro Tip: Add a small pocket at the front for the one page you use most — in my house, that is the stain-treatment chart.
Cost: $8–$15 | Time: 10 minutes | Difficulty: Easy
16. A Tension Rod Under the Shelf for Hangers

Shirts that need hanging used to drape over the dryer door and slide off onto the floor. A tension rod fitted under the shelf above the machines now holds a row of hangers. I take a shirt straight from the dryer, hang it, and it stays wrinkle-free until I put it away.
The honest catch is weight. A tension rod is not a wardrobe rail, and mine slipped down once under the weight of six wet shirts. I now hang only light, dry shirts on it, and I check the tension every month.
Pro Tip: Use slim velvet hangers — they grip the clothes and take up half the space of chunky plastic ones.
Cost: $5–$12 | Time: 10 minutes | Difficulty: Easy
17. A Fold-Down Table for Sorting

Image credit: Coohom
My laundry room had no surface for sorting at all until I fitted a small fold-down table on the wall opposite the machines. I pull it down to sort lights and darks, fold it back up when I am done, and the room feels twice as big. It is renter-friendly too, if you use strong brackets and fill the holes later.
The downside is that a fold-down table becomes a dumping ground if you leave it down. Mine collected mail, keys, and a half-finished craft project within a week. I now fold it up the moment I finish sorting, every single time.
Pro Tip: Keep the table clear by rule: nothing lives on it overnight, not even a basket.
Cost: $25–$50 | Time: 1 hour | Difficulty: Moderate
18. A Shoe Tray by the Door for Muddy Loads

Muddy shoes and sports kits come straight into my laundry room, and the floor used to show it. A low shoe tray by the door now catches the mud, the grass, and the drips. Shoes stay in the tray, dirty kits go straight into the machine, and the clean floor stays clean.
The watch-out is smell. A tray full of damp sports shoes can smell awful by day two. I sprinkle a little baking soda in the tray once a week and air the shoes outside when I can.
Pro Tip: Choose a tray with a raised edge and a wipe-clean surface — flat mats just let the mud spread.
Cost: $8–$18 | Time: 5 minutes | Difficulty: Easy
19. A Lint-Bin and a Small Trash Bin Side by Side

Image credit: Passionate Penny Pincher
Lint from the dryer used to end up on the floor, in my pocket, or balanced on top of the machine. A small bin for lint and a second small bin for trash now sit side by side by the dryer. I clean the lint filter, drop the lint in the bin, and empty both bins once a week.
The honest downside is that the bins are small and fill up fast, especially in a house with pets. I empty the lint bin after every two or three loads now, and I keep a spare bag nearby so it never overflows.
Pro Tip: Line the trash bin with a small bag so emptying it takes ten seconds, not a scrub.
Cost: $6–$14 for both | Time: 5 minutes | Difficulty: Easy
20. A Weekly Wash Schedule on the Wall

Image credit: Outlines of the Heart
We used to wash whenever the basket overflowed, which meant three loads on Sunday and none all week. A simple weekly schedule on the wall now divides the work: towels on Monday, bedding on Wednesday, darks on Friday, and a catch-up load on Saturday. Everyone knows what day is theirs, and the mountain never builds up.
The catch is that life does not follow a schedule. A sick child or a muddy football kit will always break the plan, and that is fine. The schedule is a guide, not a rule — I move a load, I do not skip it entirely.
Pro Tip: Write the schedule on a small whiteboard so you can move a load without rewriting the whole week.
Cost: $5–$12 | Time: 10 minutes | Difficulty: Easy
21. A Donate Bag That Is Always Half Full
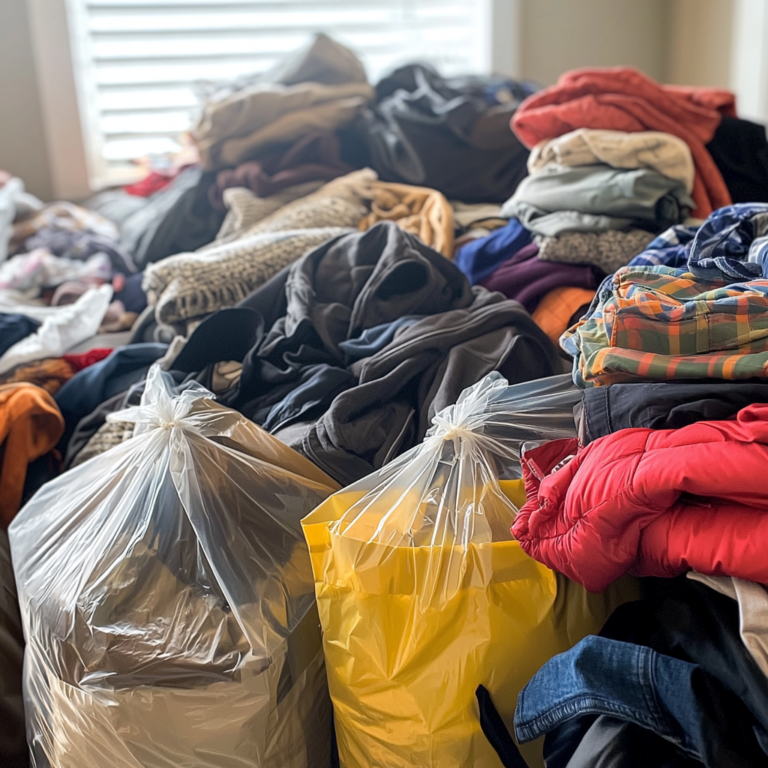
Image credit: Clothes Aid
The best laundry room organization idea in this whole list is also the simplest: a donate bag that lives in the laundry room, always open, always half full. When I fold clothes and find something outgrown, stained beyond saving, or simply never worn, it goes straight into the bag. When the bag is full, it goes to the charity shop that same week.
The honest downside is that the bag can become a second wardrobe if I never take it away. I once found a bag that had been sitting there for three months, full of clothes my daughter had outgrown twice over. Now I set a phone reminder for the first Saturday of every month: bag out, no excuses.
Pro Tip: Keep a second, smaller bag for rags — old towels and stained T-shirts make excellent cleaning cloths before they are thrown away.
Cost: $0–$5 | Time: 5 minutes | Difficulty: Easy
Mistakes I Made (So You Don’t Have To)
Buying matching bins before measuring. I bought a beautiful set of six matching bins, brought them home, and discovered they were half an inch too wide for my shelves. Measure the shelf first, then buy the bins — not the other way round.
Storing heavy detergent on the top shelf. I kept the big detergent bottle up high to save counter space, and one day it slipped while I was reaching for it. It landed on the dryer, dented the top, and spilled everywhere. Heavy things live at waist height now, always.
Overloading every hook and rack. I treated every hook like it could hold anything, and I paid for it with bent dowels, slipped tension rods, and a fallen ironing board. Every hook has a limit — check it before you hang something heavy on it.
Leaving the donate bag too long. A donate bag that never leaves the house is just another pile of clutter in a different bag. Set a date, take it out, and enjoy the empty space it leaves behind.
Which Laundry Room Organization Idea Should You Try First?
| Idea | Best For | Cost | Effort |
|---|---|---|---|
| Folding shelf over the machines | Small rooms with no counter | $15–$35 | Low |
| One basket per person | Families with mixed laundry | $5–$10 each | Low |
| Detergent on a lazy Susan | Crowded shelves | $8–$15 | Low |
| Slim rolling cart | Narrow gaps | $20–$35 | Low |
| Wall-mounted drying rack | No floor space | $20–$45 | Low |
| Donate bag | Clutter that never leaves | $0–$5 | Low |
Frequently Asked Questions
How do I organize a small laundry room with no storage?
If you are wondering how to organize a laundry room with no storage at all, start with the walls, not the floor. Add a shelf over the machines, hooks for the ironing board, and a wall-mounted drying rack. Then give every item one home close to where you use it. Small laundry room organization ideas work best when you go up — shelves and hooks save far more space than another floor basket.
What is the best way to organize a laundry room on a budget?
Labels, one basket per person, and a donate bag cost almost nothing and change the room more than new furniture. Add a lazy Susan and clear jars next, then a folding shelf when you can. Most of the laundry room storage ideas in this guide cost under $25 each.
How do I organize a laundry closet?
A laundry closet needs the same system in a smaller space: a shelf over the machines, a tension rod for hangers, and a slim rolling cart for supplies. Keep the door clear, use the back of the door for hooks, and do not store anything on the floor that you need every day. Laundry closet organization ideas work best when the closet holds only laundry — move anything else out first.
Where should I store detergent in a small laundry room?
Store detergent at waist height, close to the washer, on a lazy Susan or in a slim cart. Keep pods in a clear jar with a tight lid on a high shelf, out of reach of small children. Never store heavy detergent bottles on a top shelf — they are hard to lift down safely and can spill.
How often should I declutter the laundry room?
Do a quick five-minute check every Sunday and a full clear-out every three months. Empty the lost-sock basket, take the donate bag to the charity shop, and throw out empty bottles. Small laundry room ideas only keep working if the system is checked regularly.
Final Thoughts
A small laundry room does not need a renovation to work well. It needs a folding surface, a home for every bottle and basket, and a habit of putting things back where they belong. I started with one shelf and one basket per person, and the room slowly became the easiest room in the house to keep tidy.
Start with the idea that solves your biggest frustration — the pile on the floor, the falling bottles, or the lost socks — and add one more idea each week. By the end of the month, your laundry room will feel bigger, calmer, and far easier to use, even if the room itself has not grown by a single inch.