20 Halloween Dessert Table Ideas That Steal the Party
I have built more Halloween dessert tables than I can count, and the ones guests remember are never the fanciest ones. They are the tables where every treat looks like it belongs to the same spooky story. These halloween dessert table ideas are the ones that worked at my own parties, with real kids, real sugar rushes, and real crumbs on the floor.
How I picked and tested these: I built each of these tables at home before I wrote about them, served them to family and friends, and watched what disappeared first and what sat untouched. If a dessert melted, toppled, or confused my guests, I fixed it or left it out.
What I learned is simple: mix one big centrepiece with small grab-and-go treats, keep flavours familiar, and leave room for a little mess. A dessert table should feel generous, not perfect.
If you are planning the savoury side too, this Related article will help you round out the whole party menu.
Key Takeaways
- One centrepiece cake or tower plus small grab-and-go treats makes the table look full without extra work.
- Keep flavours familiar: chocolate, pumpkin, caramel, and vanilla always beat strange novelty flavours.
- Use different heights with cake stands, crates, and jars so the table looks styled from across the room.
- Label anything with nuts, dairy, or gluten so guests with allergies can relax and enjoy the party.
- Build the table the night before where you can, and add anything creamy or melty just before guests arrive.
1. Graveyard Chocolate Cake
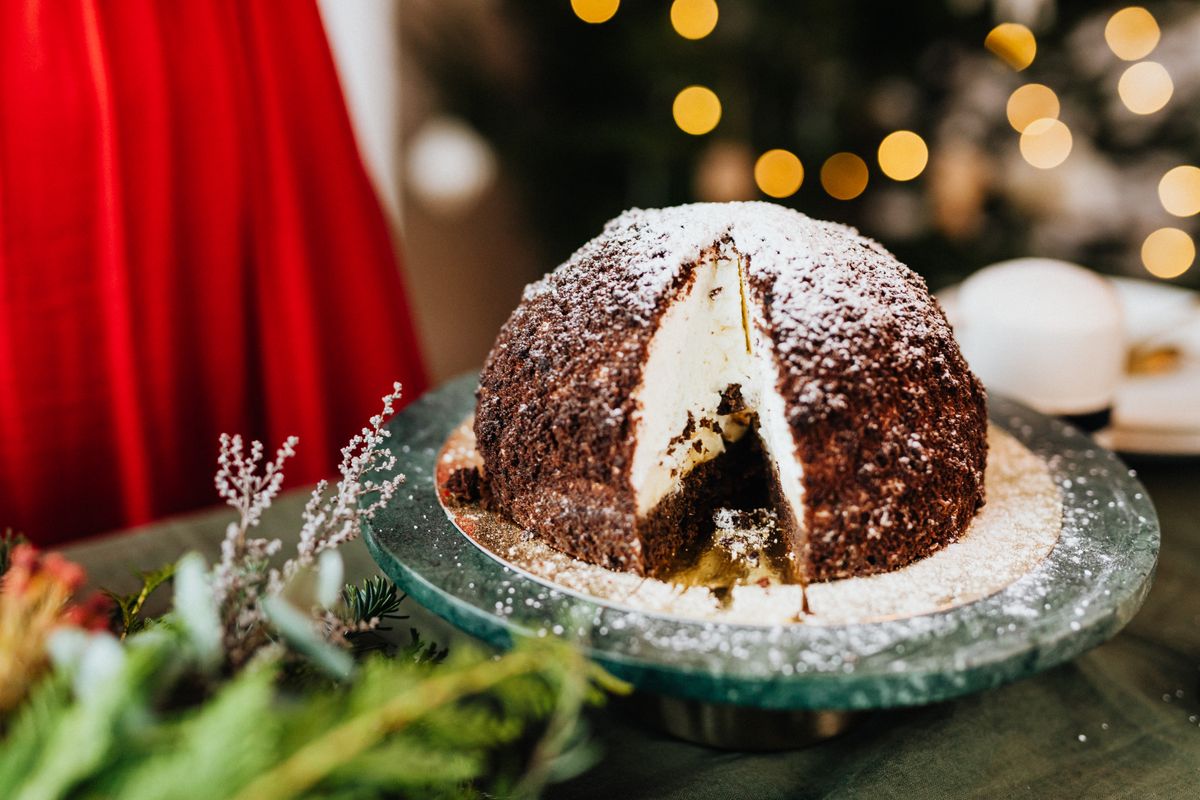
I bake a 9 by 13 inch chocolate cake, frost it with chocolate buttercream, and crush about 20 chocolate sandwich cookies over the top for dirt. Rectangular cookies pushed upright become tombstones, and I write RIP on them with white icing. A few gummy worms poking out of the crumbs finish the graveyard look.
The first time I made this, my nephew rearranged all the tombstones into a crooked row and it looked even better. The honest downside is that the cookie dirt goes soft after a few hours, so I sprinkle it on just before the party starts.
Pro Tip: Chill the frosted cake for 30 minutes first so the cookie crumbs stick instead of sliding off.
Cost/Time/Difficulty: About $12 | 1 hour 15 minutes | Easy.
2. Ghost Meringue Cupcakes

I start with vanilla or chocolate cupcakes and pipe tall swirls of white buttercream on top. Two mini chocolate chips become eyes, and a slightly larger one makes a surprised mouth. A dozen cupcakes takes me about 20 minutes to decorate once they are cool, and kids love helping with the faces.
My daughter once gave every ghost a different expression, and guests spent ages choosing their favourite. The downside is that tall buttercream swirls wilt in a warm room, so I keep the tray away from the fireplace and sunny windows.
Pro Tip: Use a large round piping tip and pull straight up for a ghostly point.
Cost/Time/Difficulty: About $10 a dozen | 45 minutes | Easy.
3. Pumpkin Patch Brownies

I bake fudgy brownies in a 9 by 13 inch pan, cut them into squares, and top each one with a small orange candy pumpkin or a piped orange frosting swirl. A thin pretzel stick pushed into the top becomes the stem. Arranged close together on a dark tray, they look like a little pumpkin patch.
At a school party, these brownies vanished before the cupcakes did, which surprised me. The downside is that candy pumpkins slide off warm frosting, so I always let the brownies cool completely before decorating.
Pro Tip: Line the pan with parchment with overhanging edges so the whole brownie slab lifts out cleanly.
Cost/Time/Difficulty: About $8 | 50 minutes | Easy.
4. Spiderweb Sugar Cookies

I bake round sugar cookies, flood them with white royal icing, and while it is still wet I pipe three black circles on top. Then I drag a toothpick from the centre outward in eight lines, which pulls the circles into a web. A plastic spider or a candy spider on a few cookies completes the effect.
The first batch I made had webs that blurred because my icing was too thin, so now I test one cookie before flooding the rest. The downside is that royal icing needs 8 hours to set hard, so these are a make-the-day-before cookie.
Pro Tip: Work on five cookies at a time so the icing stays wet enough to drag into webs.
Cost/Time/Difficulty: About $9 for two dozen | 1 hour plus drying | Medium.
5. Candy Corn Parfaits

I layer orange jelly, whipped cream, and yellow pudding in small clear cups, then top each one with a few pieces of candy corn. The layers match candy corn colours, and the clear cups show the stripes off beautifully. I use 4 ounce cups so they feel like a treat, not a full dessert.
I served these at a party where several adults said they were the prettiest thing on the table. The downside is that the whipped cream layer weeps if the parfaits sit out too long, so I chill them until serving time.
Pro Tip: Pipe the layers with a zip-top bag for clean, even stripes.
Cost/Time/Difficulty: About $10 for 12 cups | 30 minutes plus chilling | Easy.
6. Witch Hat Cupcakes

I frost chocolate cupcakes with purple or orange buttercream, then press an upside-down chocolate-dipped ice cream cone on top as the hat. A thin band of frosting around the base and a small square of yellow fondant make the buckle. They look complicated, but each one takes under two minutes once the cupcakes are baked.
My sister laughed when one hat slid sideways and looked drunk; honestly, it was the night’s most photographed cupcake. The downside is that the cones go soft quickly, so I assemble these no more than two hours before the party.
Pro Tip: Use a dab of melted chocolate as glue between the cone and the frosting.
Cost/Time/Difficulty: About $12 a dozen | 1 hour | Easy.
7. Mummy Cake Pops

I crumble a baked chocolate cake, mix it with about half a cup of frosting, and roll the mixture into balls. After chilling them, I dip each ball in melted white chocolate and drizzle more white chocolate back and forth across the top for bandages. Two candy eyes finish each mummy.
I once skipped the chilling step and watched the pops slide right off their sticks, which taught me patience fast. The downside is that cake pops are fiddly, so I only make them when I have a quiet hour and a good podcast on.
Pro Tip: Dip the stick in melted chocolate before inserting it so it anchors firmly.
Cost/Time/Difficulty: About $10 for 20 pops | 1 hour 30 minutes | Medium.
8. Caramel Apple Dipping Station

I set out sliced apples on a board next to a warm bowl of caramel sauce, plus small bowls of crushed cookies, chopped nuts, sprinkles, and mini chocolate chips. Guests dip and decorate their own slices, which keeps everyone busy and means I am not stuck slicing apples all night. I use firm apples like Granny Smith so the slices stay crisp.
The kids at my last party treated this like an art project and proudly showed me every creation. The downside is that sliced apples brown within an hour, so I toss them in a little lemon juice first.
Pro Tip: Keep the caramel in a small slow cooker on warm so it stays dippable all evening.
Cost/Time/Difficulty: About $14 | 25 minutes | Easy.
9. Monster Donut Wall

I hang glazed and frosted donuts on small pegs on a board, then add candy eyes to turn them into monsters. Green frosting with one big eye, purple frosting with three eyes, and chocolate frosting with fangs made from white chocolate chips all work. Guests pull a donut straight off the wall, which always gets a laugh.
My first donut wall was a foam board and wooden dowels, costing under five dollars. The downside is that donuts dry out fast in open air, so I hang them as late as possible and keep spares covered.
Pro Tip: Buy plain glazed donuts and tint your own frosting so the colours match your table theme.
Cost/Time/Difficulty: About $15 for 24 donuts | 40 minutes | Easy.
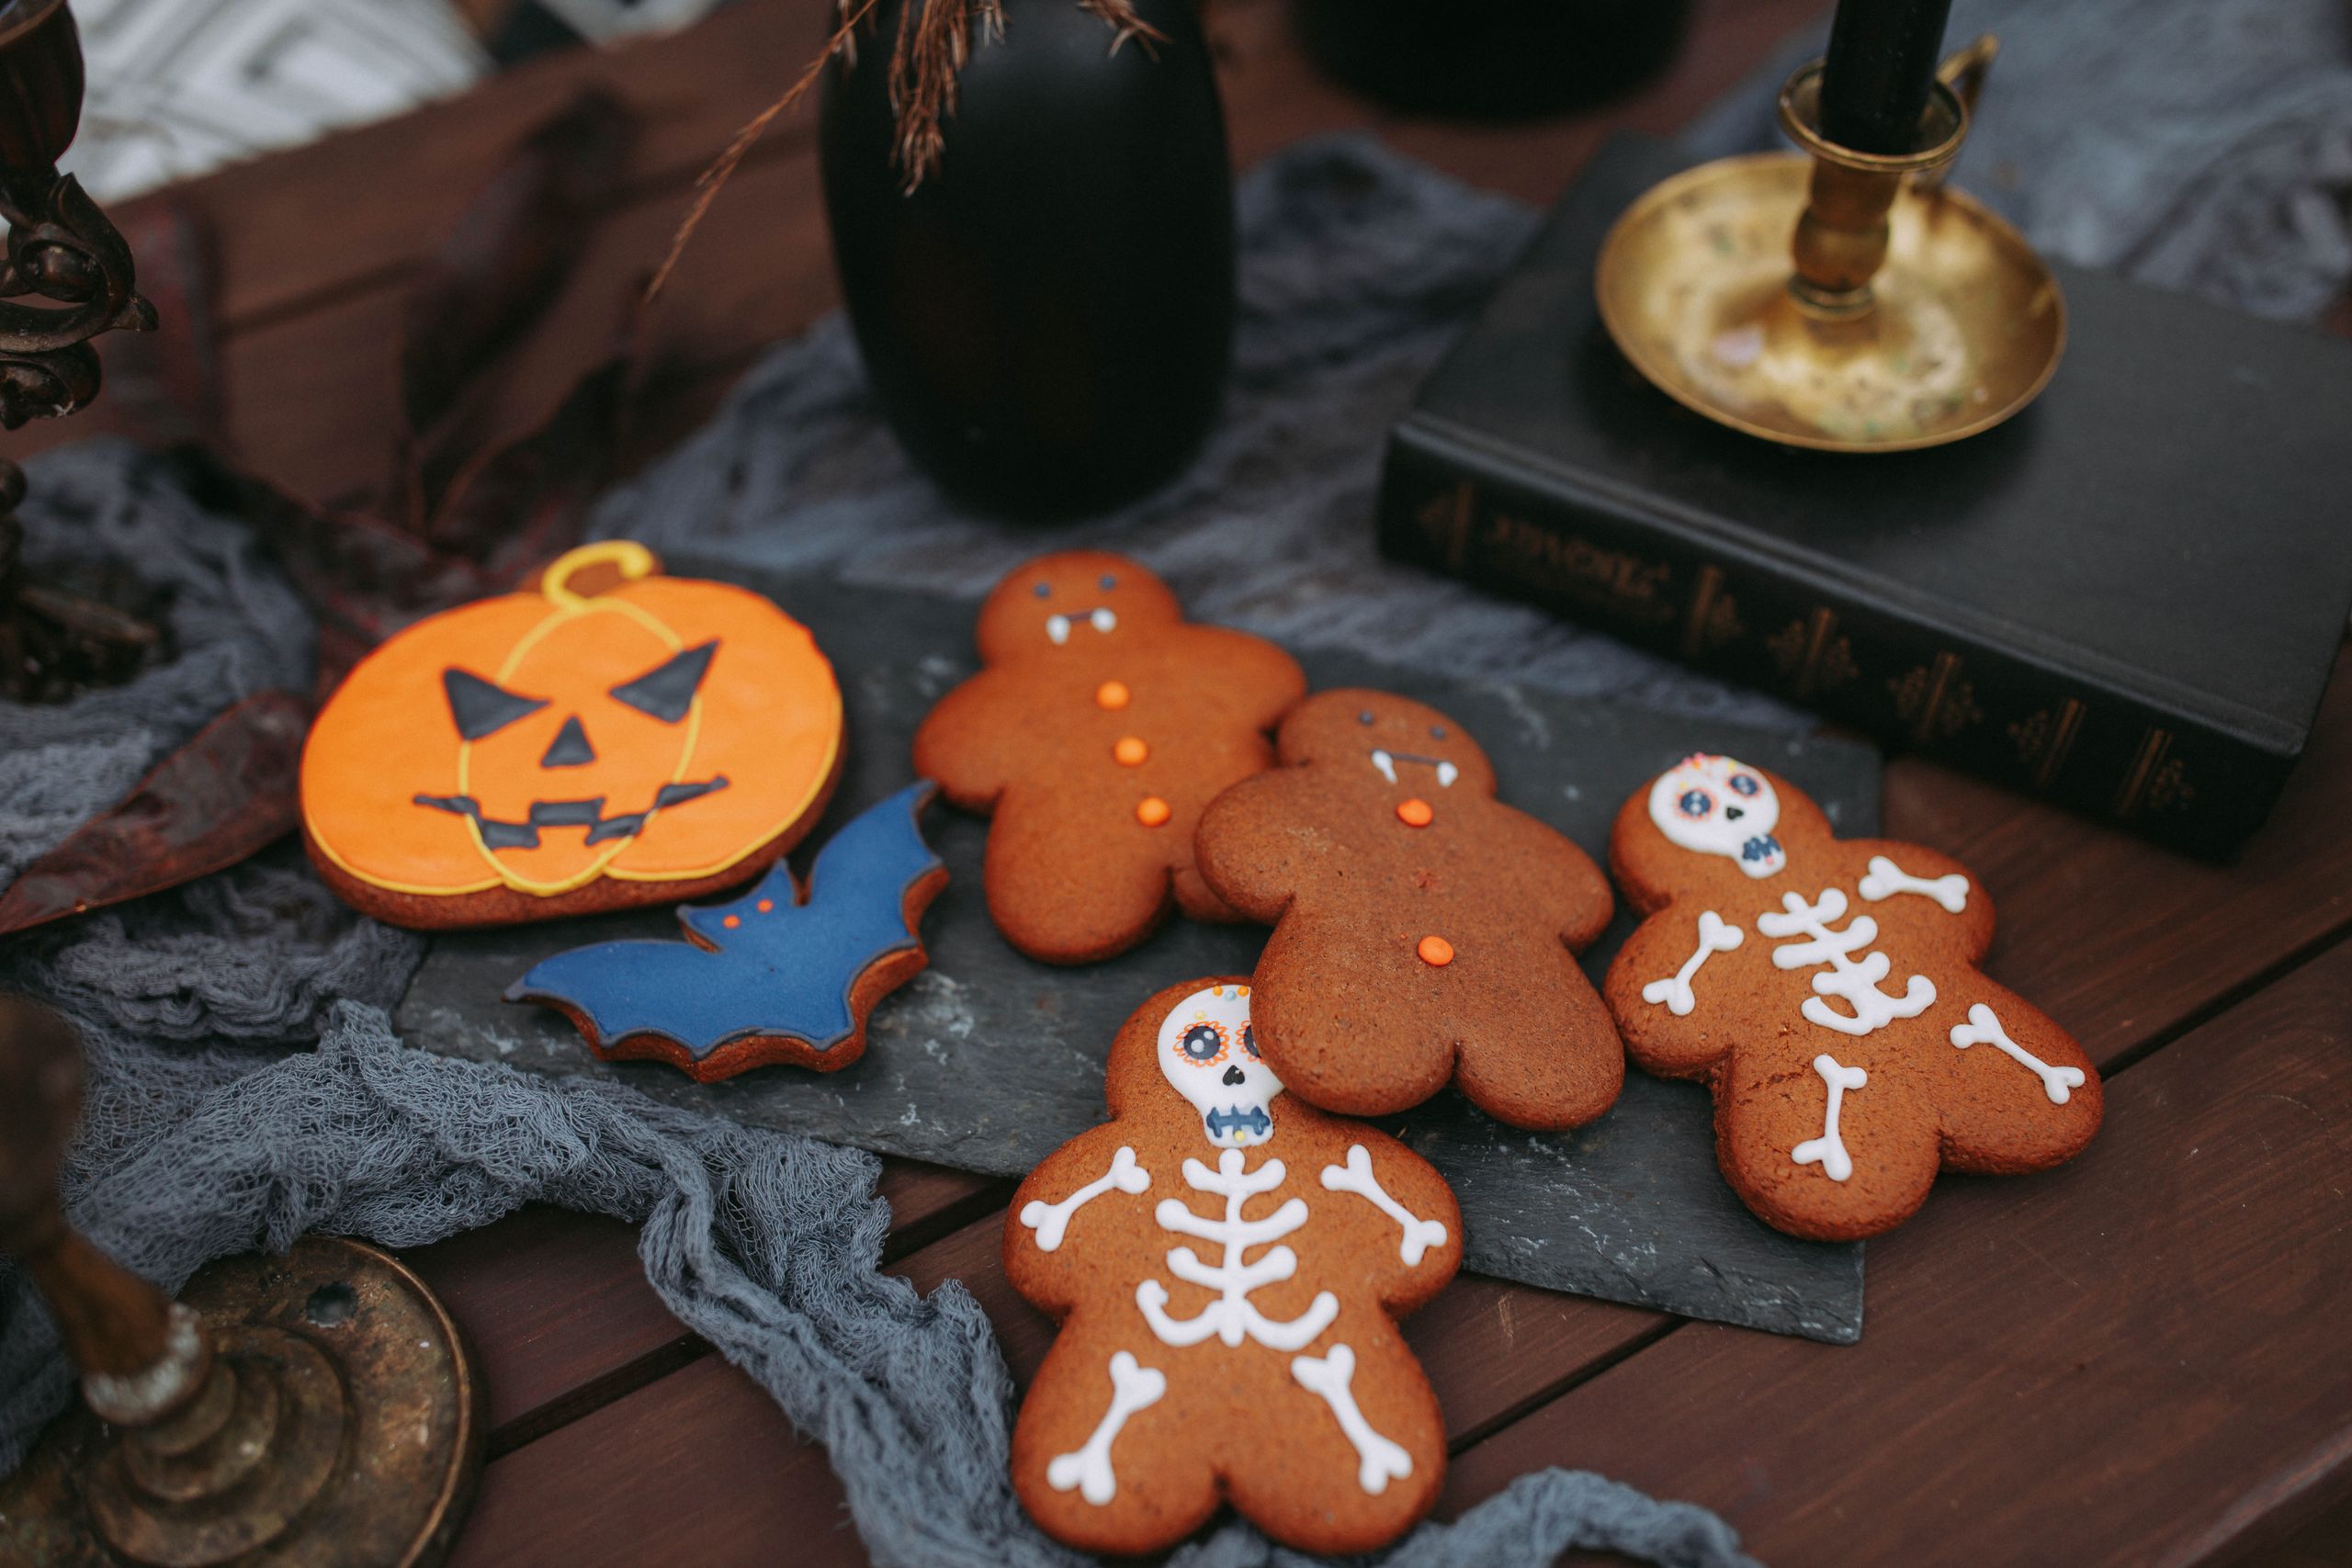
10. Coffin and Pumpkin Cookies

I bake gingerbread-style cookies in pumpkin, ghost, and coffin shapes, then decorate them with orange, white, and black royal icing. The coffins get a simple cross or RIP, the pumpkins get ridges and a green stem, and the ghosts get two dot eyes. Arranged on a wooden board, they look like a tiny Halloween parade.
These were the cookies my mother asked me to make again this year, which is high praise in our house. The downside is that shaped cookies take real decorating time, so I bake them two days ahead and ice them the day before.
Pro Tip: Chill the cut dough for 15 minutes before baking so the shapes hold their edges.
Cost/Time/Difficulty: About $9 for two dozen | 1 hour 30 minutes plus drying | Medium.
11. Chocolate-Dipped Strawberry Ghosts
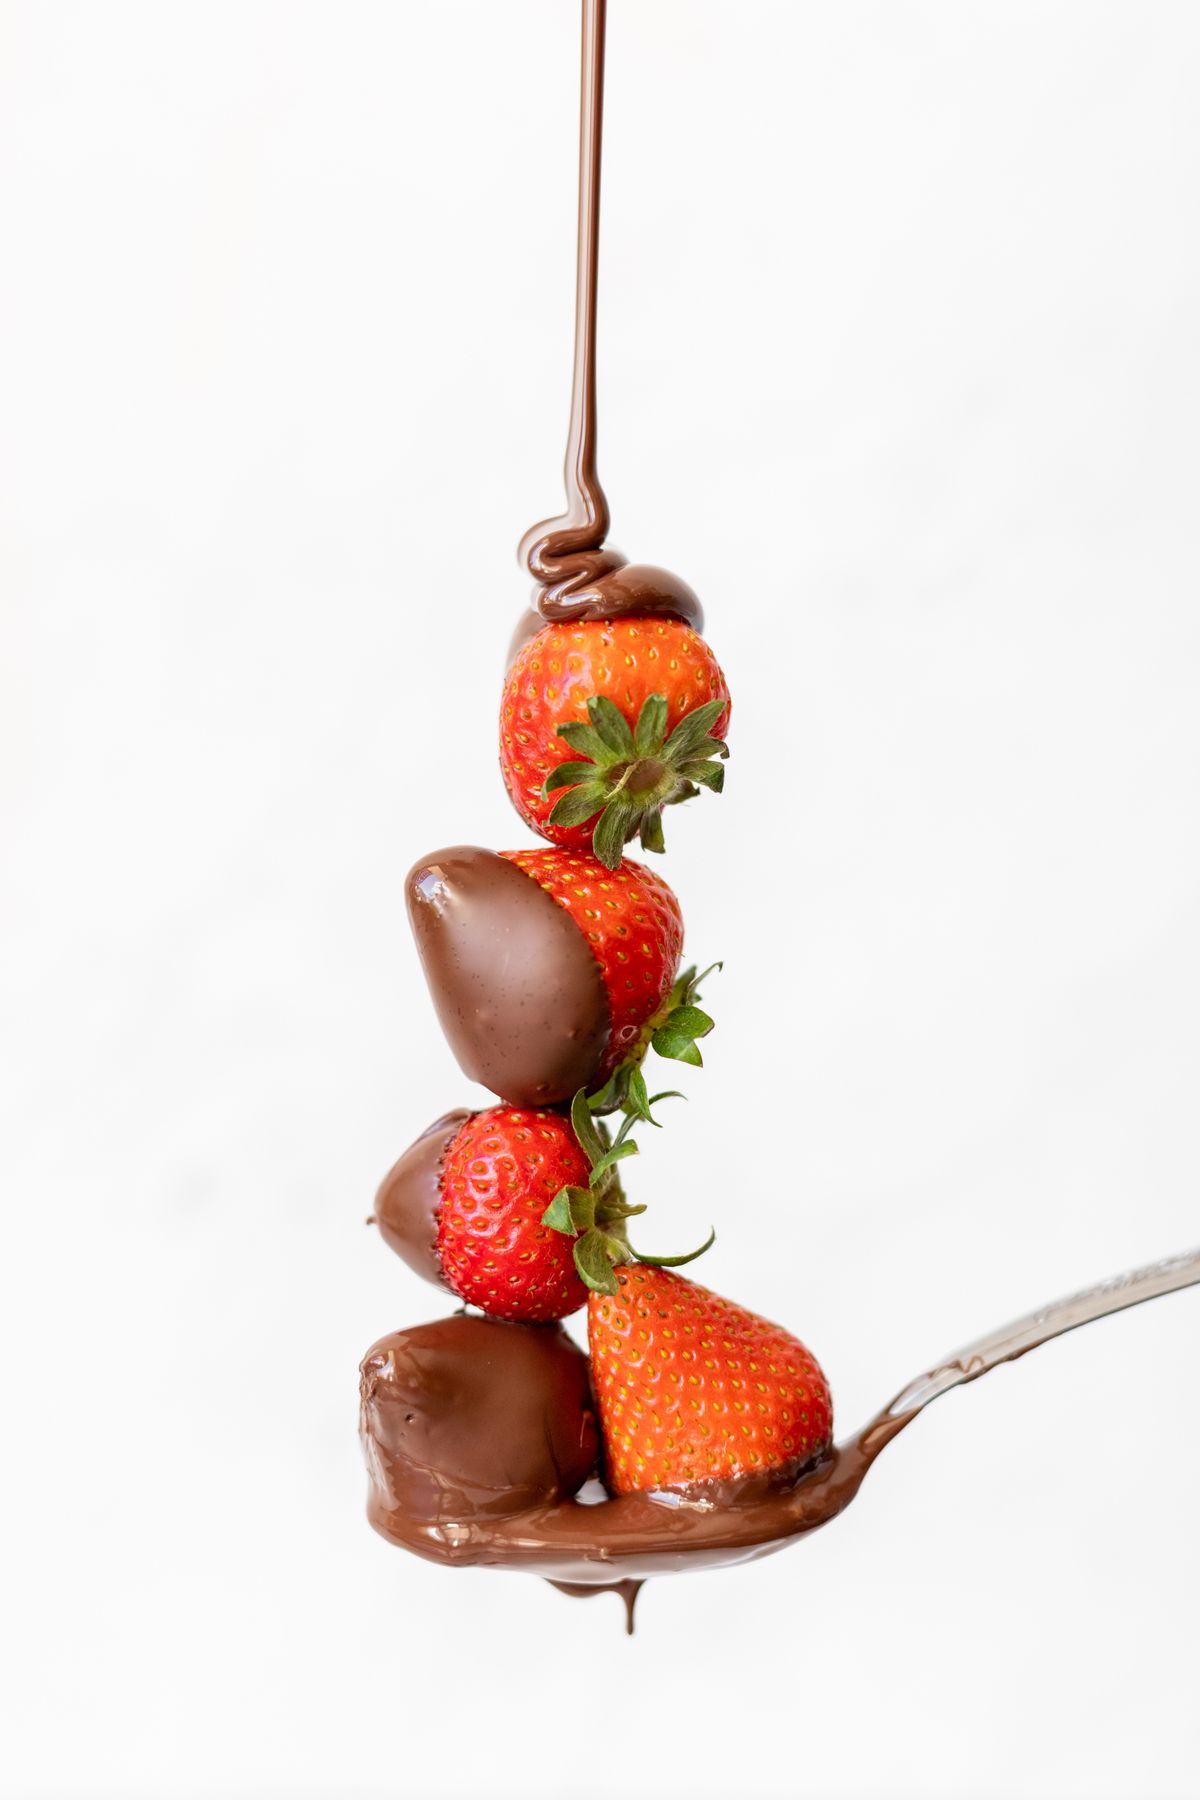
I dip dry, room-temperature strawberries in melted white chocolate, letting a little drip down to look like a ghostly sheet. Once the coating sets, I add two mini chocolate chip eyes and a tiny mouth. They taste like chocolate-covered strawberries with a costume on, which is exactly the point.
I learned the hard way that even one drop of water in the chocolate makes it seize into a grainy mess. The downside is that these only keep for about a day in the fridge, and the chocolate can crack if they get too cold.
Pro Tip: Let dipped strawberries set on parchment, not wax paper, so they release cleanly.
Cost/Time/Difficulty: About $11 for 20 | 40 minutes | Easy.
12. Pumpkin Pie Slice Bar
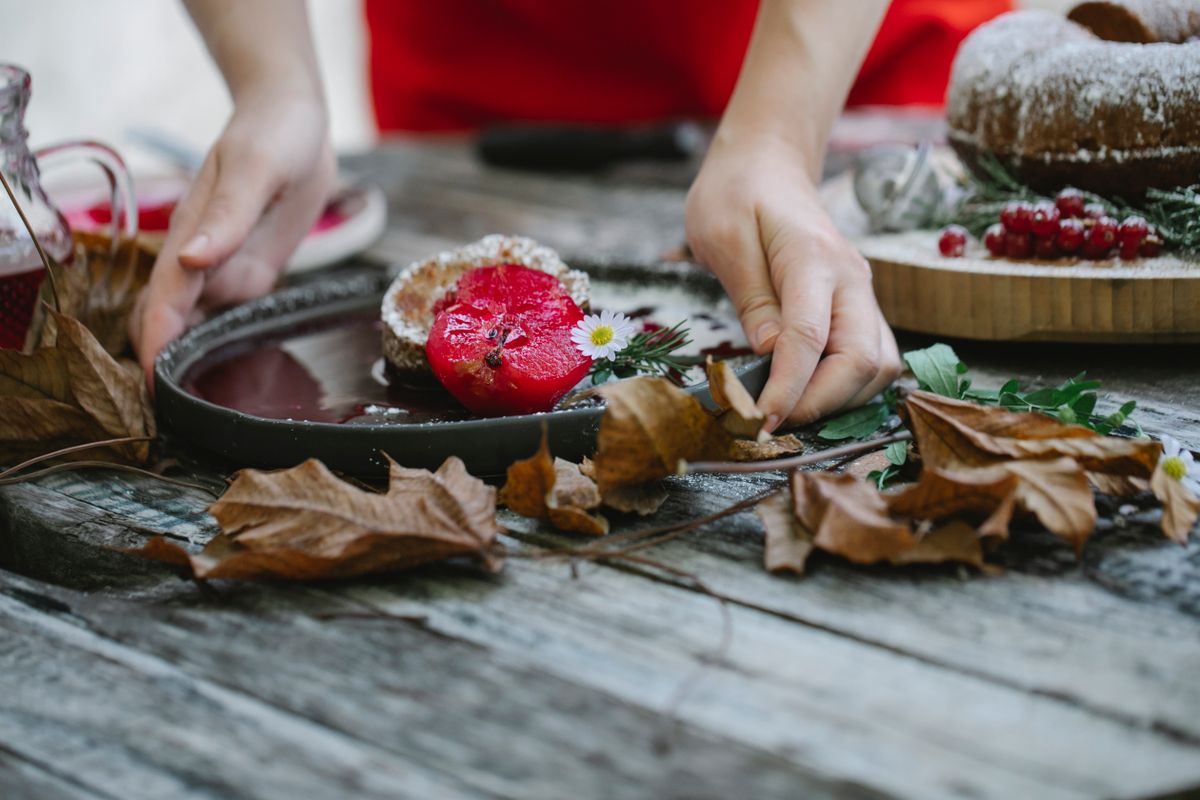
I bake two pumpkin pies, cut each into eight thin slices, and stand them on a long board with a bowl of whipped cream and a shaker of cinnamon. Guests take a slice instead of me serving a whole pie, which keeps the line moving. I use canned pumpkin puree, not pie filling, so I control the sweetness and spice.
At our family party, my uncle took three slices and declared this the only civilised way to serve pie. The downside is that thin slices fall apart if the pie is still warm, so I bake and chill the pies the day before.
Pro Tip: Run the knife under hot water between cuts for clean, photo-ready slices.
Cost/Time/Difficulty: About $12 for two pies | 1 hour 15 minutes plus chilling | Easy.
If drinks are on your list too, this Also read pairs perfectly with a dessert table for a family party.
13. Apothecary Candy Jars
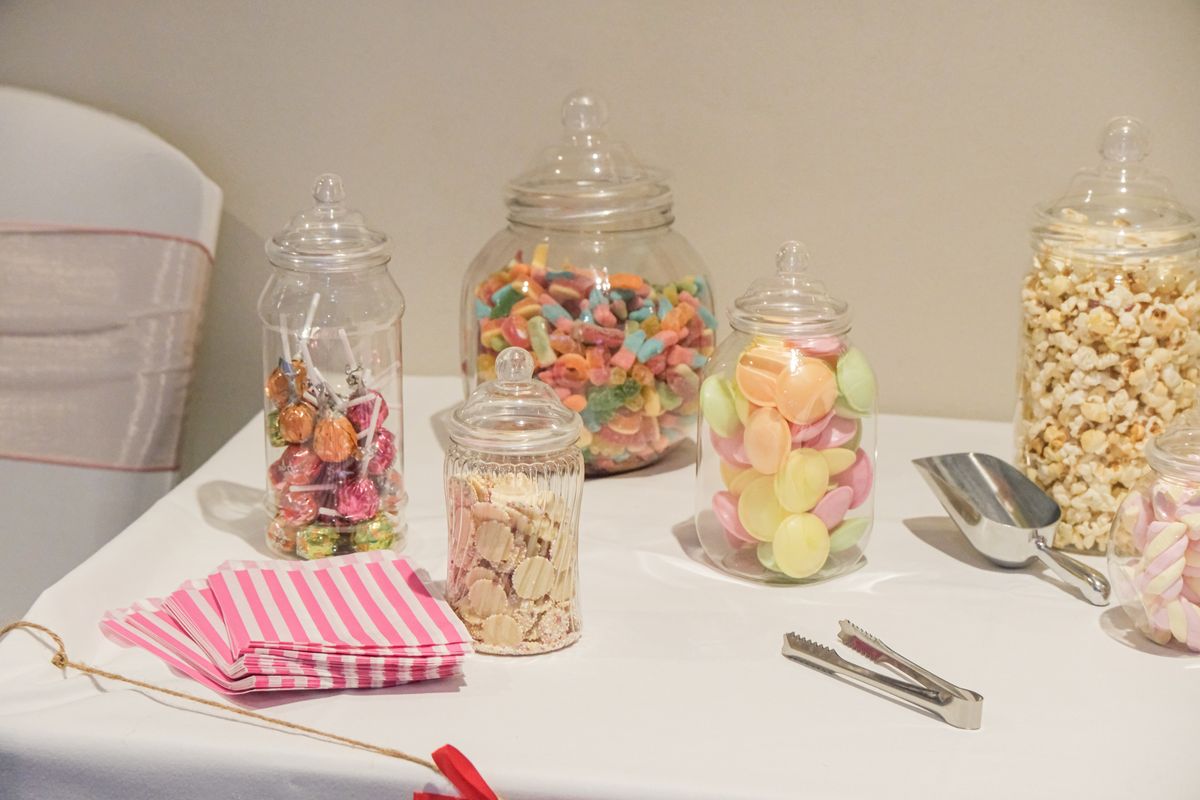
I fill tall glass jars with candy corn, gummy worms, black liquorice, orange jelly beans, and chocolate eyeballs, then label them with spooky names like Witches Teeth and Dragon Eyes. A few scoops and small bags let guests help themselves. The jars add height and colour, so the table looks full even before the baked treats go out.
I reuse the same jars yearly and just swap the labels. The downside is that open jars and small children are a messy combination, so I keep the jars at the back and the scoops at the front.
Pro Tip: Put the brightest candy in the tallest jar at the centre so it draws the eye first.
Cost/Time/Difficulty: About $18 for five jars | 20 minutes | Easy.
14. Spiderweb Cheesecake

I bake a plain vanilla cheesecake, chill it overnight, and top it with a thin layer of dark chocolate ganache. Then I pipe concentric circles of white chocolate on top and drag a toothpick from the centre outward to make a web. A plastic spider on top is optional, but guests always notice it.
This is the dessert the adults at my parties ask about most, probably because it looks so much fancier than it is. The downside is that cheesecake cracks if it cools too fast, so I turn the oven off and leave the door ajar for an hour.
Pro Tip: Bake the cheesecake in a water bath for the smoothest, crack-free top.
Cost/Time/Difficulty: About $14 | 1 hour 15 minutes plus overnight chilling | Medium.
15. Eyeball Chocolate Truffles
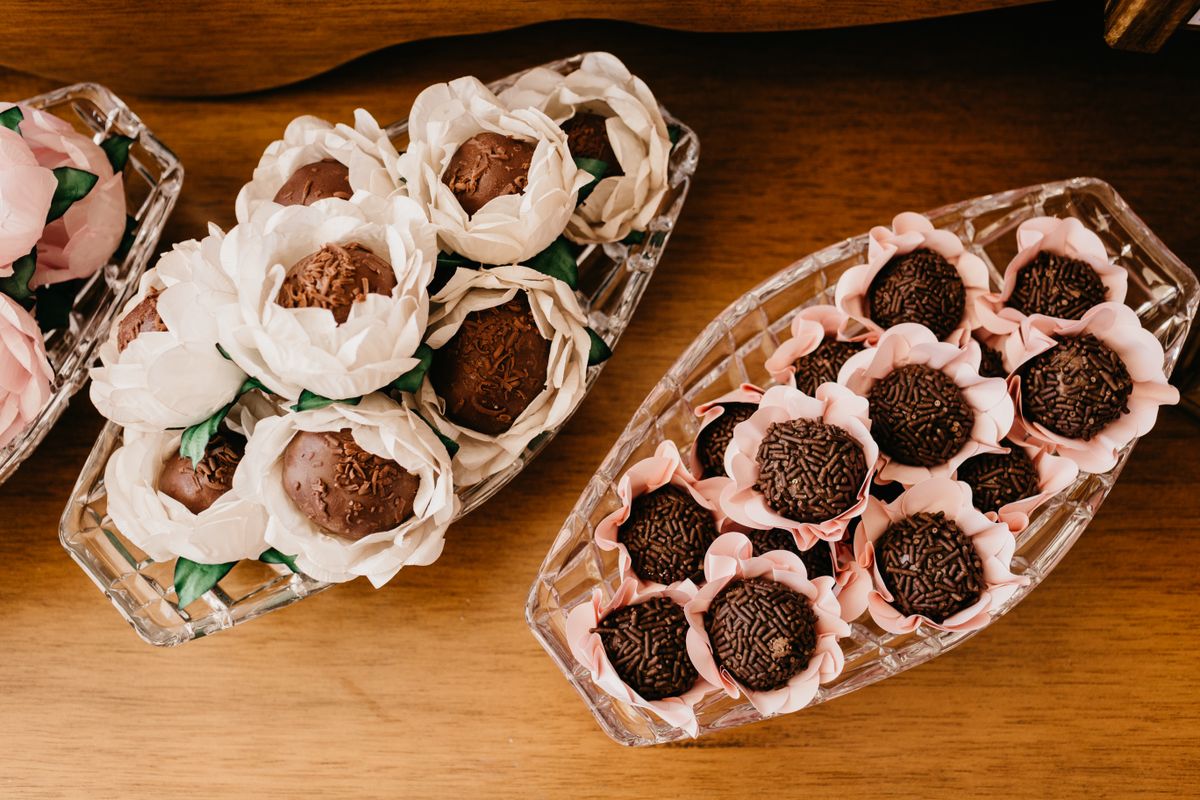
I roll chocolate ganache into small balls, chill them, and dip them in white chocolate. Then I press a coloured candy into the centre and pipe a thin red squiggle around it with red icing to look like a bloodshot vein. They are rich, so I make them small, about the size of a large marble.
My friends dared each other to eat the bloodshot ones first, which made them the hit of the table. The downside is that ganache truffles melt fast in warm hands, so I keep the tray chilled and refill it in small batches.
Pro Tip: Wear thin gloves while rolling so the ganache stays smooth and does not melt.
Cost/Time/Difficulty: About $10 for 24 | 1 hour plus chilling | Medium.
16. Cauldron Popcorn Mix
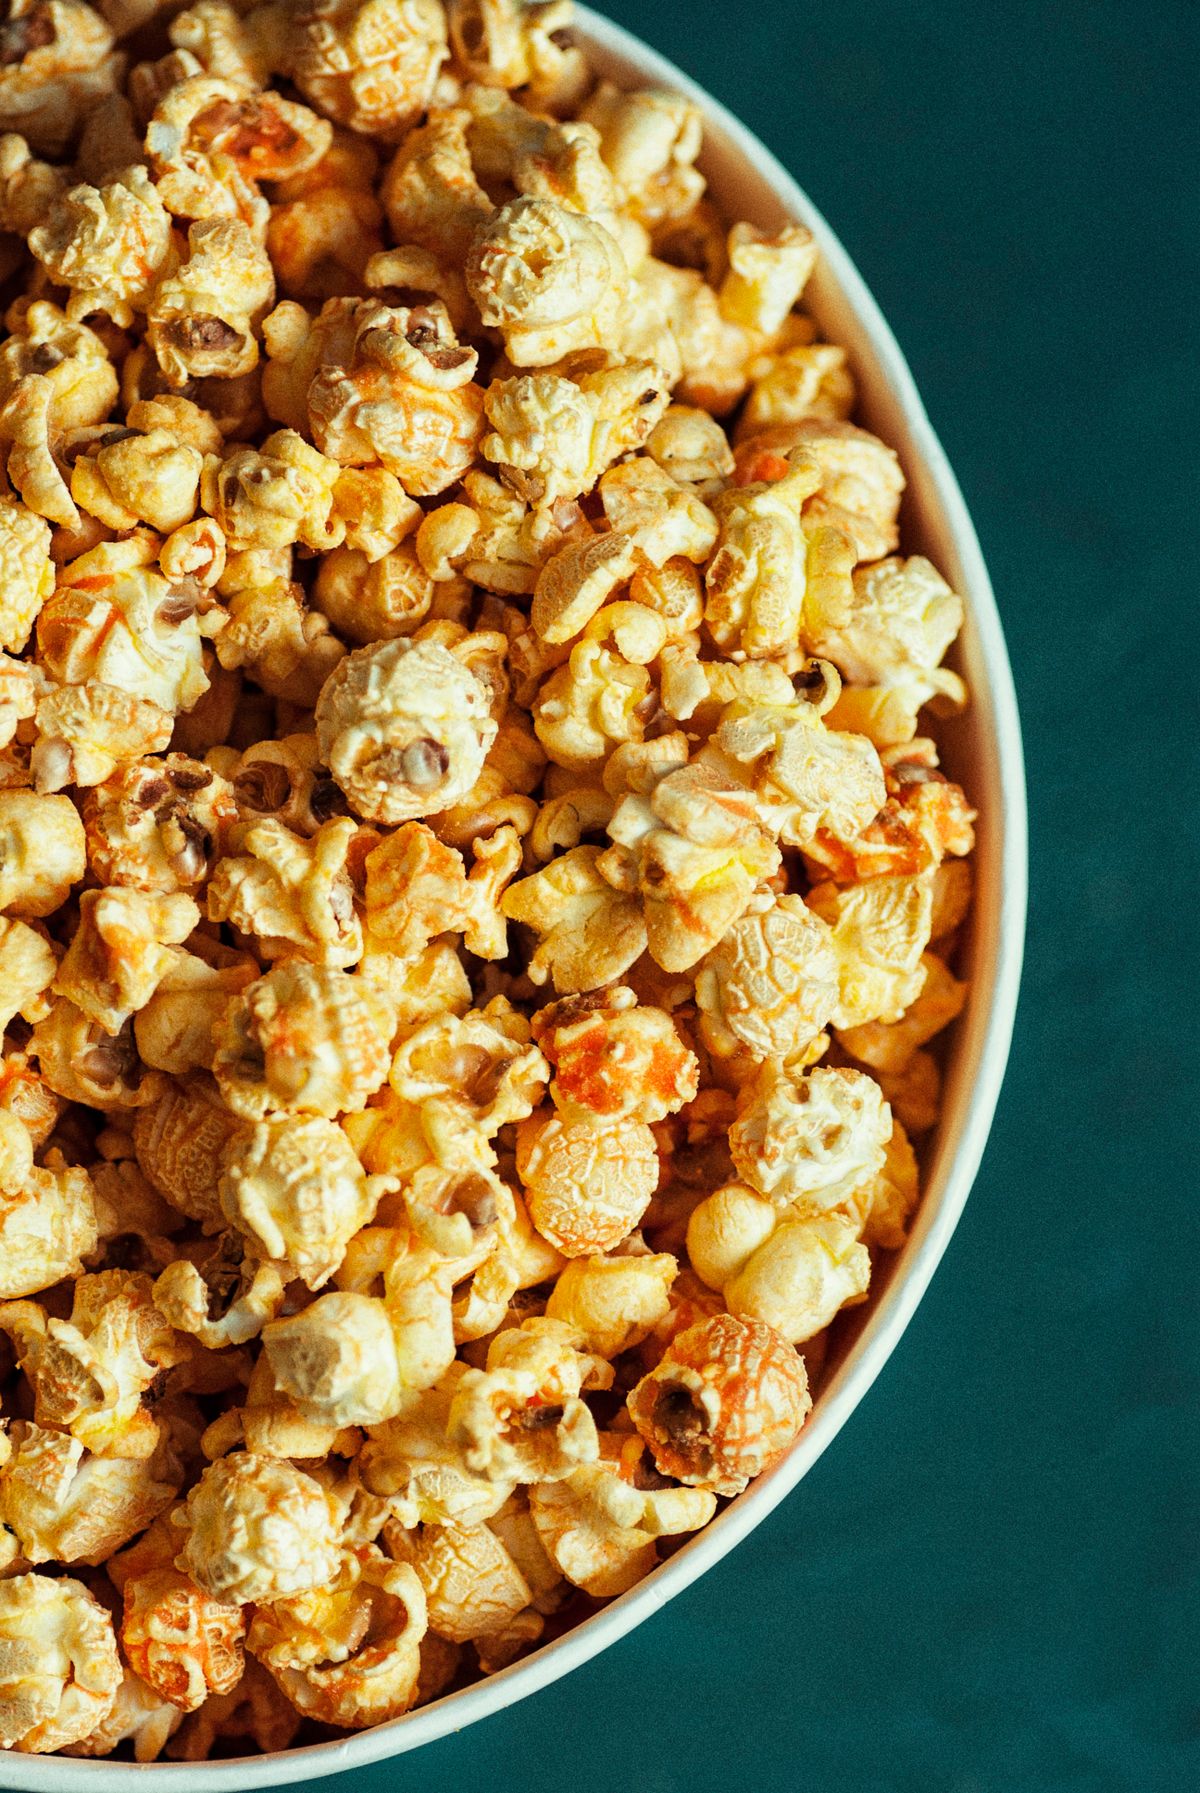
I toss air-popped popcorn with melted white chocolate, orange and black sprinkles, candy corn, and mini pretzels, then spread it on a tray to set. Once it is firm, I break it into chunks and pile it into a black cauldron or a large black bowl. It gives guests something salty-sweet to nibble between the richer desserts.
This is my emergency dessert when I realise I have invited more people than I planned for, because one batch stretches a long way. The downside is that it goes stale within a day, so I make it the morning of the party.
Pro Tip: Add the sprinkles while the chocolate is still wet or they will bounce right off.
Cost/Time/Difficulty: About $8 for a big bowl | 20 minutes | Easy.
17. Witches Brew Hot Chocolate Bar

I keep a pot of hot chocolate warm and set out marshmallows, whipped cream, chocolate shavings, candy eyes, and green-tinted white chocolate spoons. Guests build their own spooky mug, and the green spoons melting into the chocolate always get a reaction. I use whole milk and real chocolate for a thick, rich base.
On a cold October night, this bar kept my guests gathered in the kitchen long after the other desserts were cleared. The downside is that it needs someone to keep the pot warm and topped up, so I use a slow cooker and check it every half hour.
Pro Tip: Tint the spoons with food colouring a day ahead so they set completely firm.
Cost/Time/Difficulty: About $12 | 30 minutes | Easy.
18. Brownie Sundae Bar
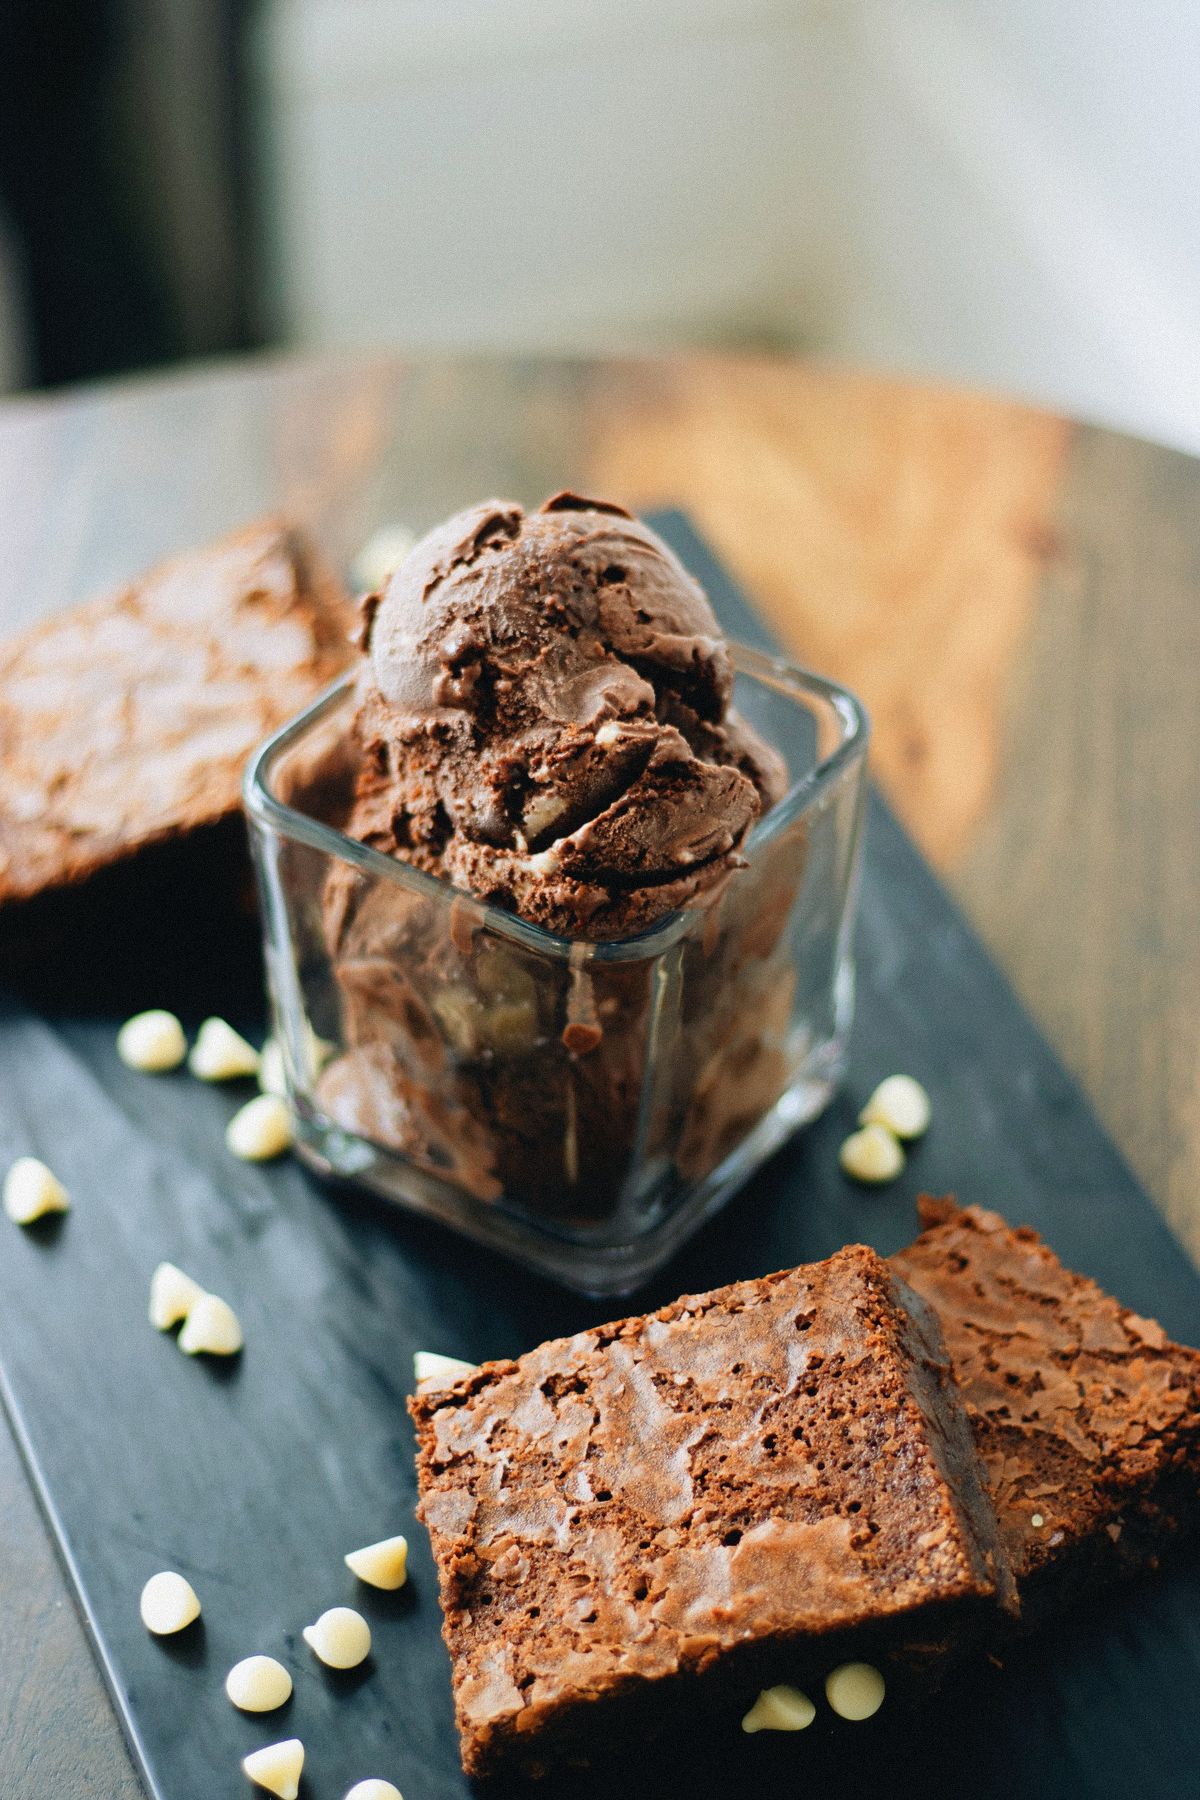
I cut warm brownies into small squares and set them next to vanilla ice cream, hot fudge, caramel sauce, crushed cookies, and gummy worms. Guests build their own graveyard sundaes, and the gummy worms poking out of the fudge are always a hit. I bake the brownies that morning so they are still slightly warm at party time.
The first time I tried this, the ice cream melted within twenty minutes, so now I keep tubs in a bowl of ice. The downside is that this bar needs freezer space and a bit of supervision, so it suits smaller parties best.
Pro Tip: Scoop the ice cream into cups ahead of time and freeze them on a tray for fast serving.
Cost/Time/Difficulty: About $16 | 45 minutes | Easy.
19. Ghost Cotton Candy Clouds
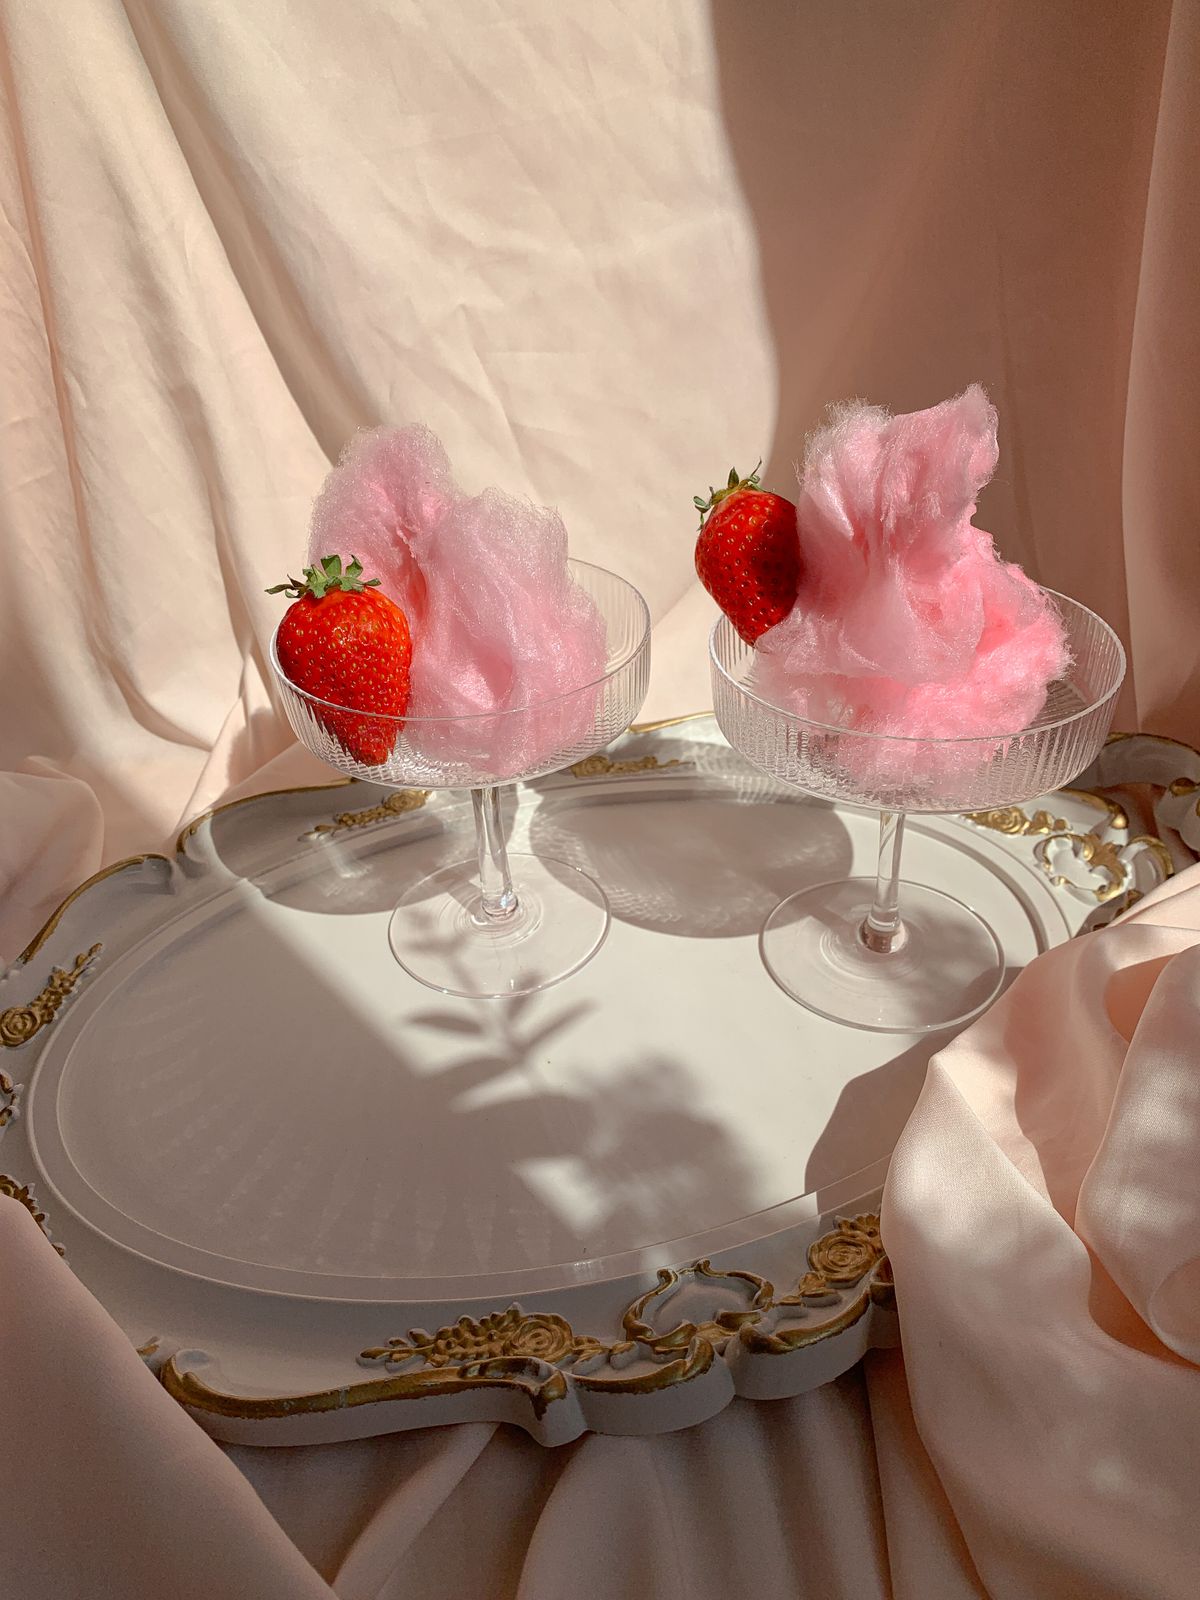
I buy plain white cotton candy, pull it into fluffy ghost shapes, and press on two black candy eyes. I stand the ghosts in tall glasses or lay them on a dark tray, where they look like a little cloud of spirits. They cost almost nothing and add instant height and drama to the table.
I added these on a whim one year and children went straight for them. The downside is real, though: cotton candy melts in humidity and collapses if it touches anything damp, so I shape it at the last possible minute.
Pro Tip: Keep cotton candy in a dry, closed container until the moment guests arrive.
Cost/Time/Difficulty: About $6 | 15 minutes | Easy.
20. Tiered Dessert Tower Centrepiece
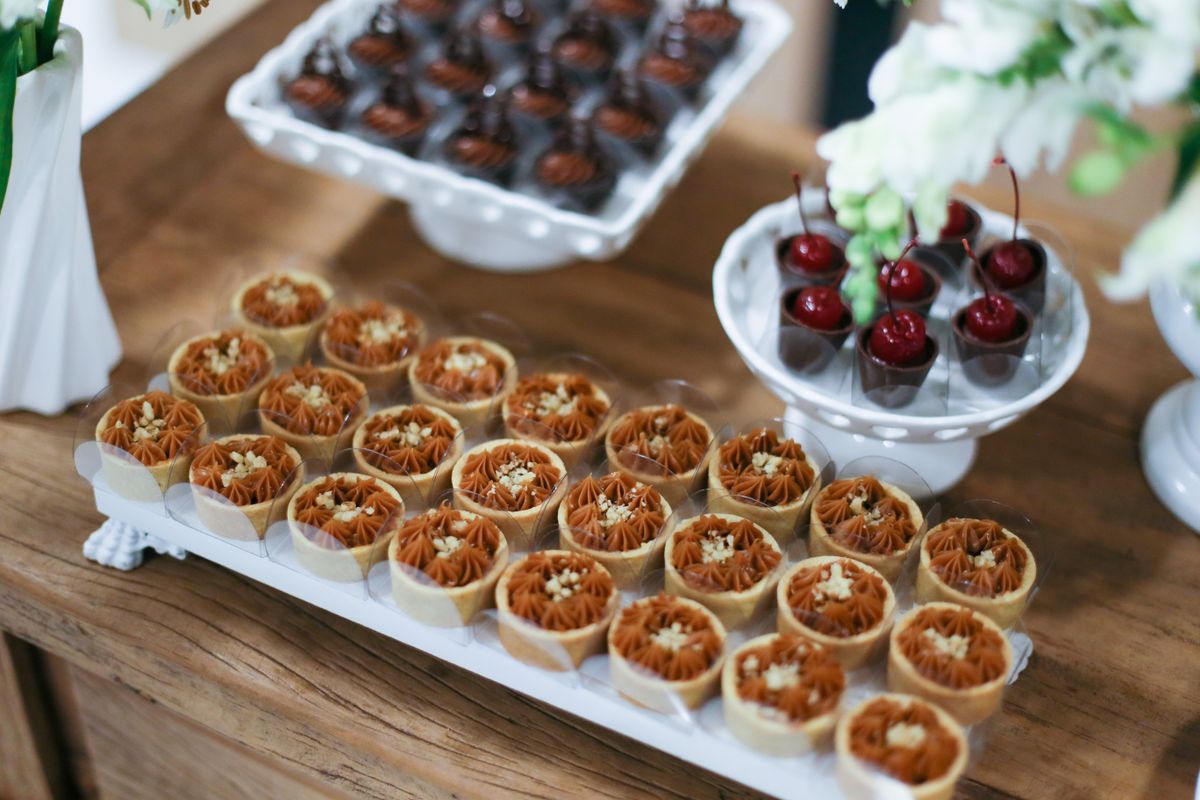
I stack a three-tier stand with mini cupcakes on top, cookies in the middle, and brownie bites on the bottom, then tuck mini pumpkins and black paper bats around the base. The tower becomes the centrepiece, so the rest of the table can stay simple. I build it last, once every other dessert is ready, so nothing gets squashed.
This tower saved a party where I had run out of table space, because it holds about forty treats in one small footprint. The downside is that a tall tower is easy to bump, so I place it against the wall and never at the table corner.
Pro Tip: Put the heaviest treats on the bottom tier and the lightest on top for stability.
Cost/Time/Difficulty: About $20 using treats above | 20 minutes to assemble | Easy.
Halloween Dessert Table Ideas at a Glance
| Idea | Best For | Prep Time | Cost |
|---|---|---|---|
| Graveyard Chocolate Cake | Centrepiece | 1 hour 15 minutes | $12 |
| Ghost Meringue Cupcakes | Kids | 45 minutes | $10 |
| Candy Corn Parfaits | Pretty individual servings | 30 minutes | $10 |
| Caramel Apple Station | Interactive fun | 25 minutes | $14 |
| Spiderweb Cheesecake | Adults | Overnight | $14 |
| Tiered Dessert Tower | Small spaces | 20 minutes | $20 |
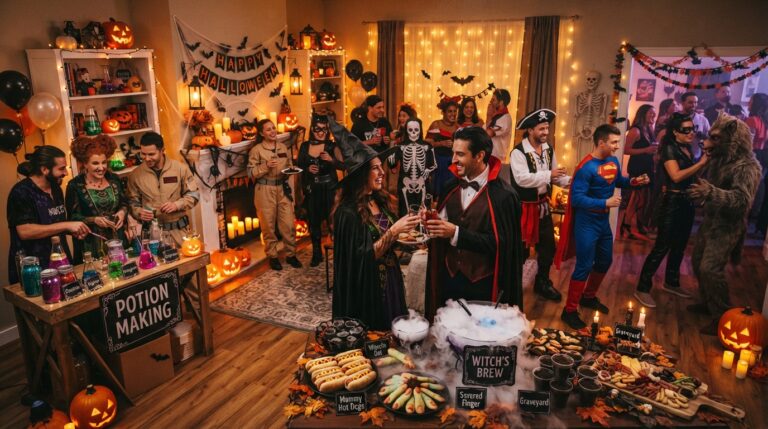
Use this table to pick your mix: one centrepiece, two or three easy treats, and one interactive station is plenty. These halloween dessert table ideas work best when you do not try to make all twenty at once.
Mistakes I Made / What I Learned the Hard Way
Building everything on party day. I once tried to bake, frost, and decorate eight desserts in one day and ended up frosting a cake while guests were ringing the doorbell. Now I bake two days ahead, decorate the day before, and only assemble on party day.
Forgetting the labels. At one party, a guest with a nut allergy had to skip half the table because nothing was labelled. I felt terrible, and now every dessert gets a small card listing nuts, dairy, and gluten.
Putting chocolate near the heat. I placed a truffle tray beside a lit fireplace and came back to a puddle of chocolate. Keep anything chocolate or frosted on the cool side of the room, away from candles and heaters.
Making everything huge. My first table had only large cakes and pies, and guests took tiny slices of each and left the rest. Small, grab-and-go portions disappear faster, waste less, and let everyone try more flavours.
Frequently Asked Questions
How many desserts do I need for a Halloween party? For 20 guests, plan four to six dessert types and about four small pieces per person if dessert is the main event. One centrepiece plus a few finger treats is plenty, and these halloween dessert table ideas are designed to mix and match.
Can I make Halloween desserts ahead of time? Yes. Cookies, brownies, and candy jars keep for days, and cheesecake actually improves overnight. Save anything with whipped cream, fresh fruit, or cotton candy for the day of the party.
How do I keep a dessert table from looking messy? Use matching black, orange, and white serving pieces, group treats by type, and refill small platters often instead of putting everything out at once. A few mini pumpkins between platters hide the gaps beautifully.
What is the easiest Halloween dessert table for beginners? Start with the graveyard cake, pumpkin patch brownies, candy jars, and popcorn mix. All four need basic baking skills, cost under $50 together, and look impressive with very little decorating experience.
Final Thoughts
My favourite Halloween dessert tables were never the priciest ones. They were the ones where I picked treats I enjoyed making, gave them silly names, and let guests dig in without worrying about perfection.
Pick one centrepiece, two easy bakes, and one fun station from this list, and your table will steal the party. And if you want ideas for the younger guests too, this Read this next will help you plan the rest of the night.