20 Kids Artwork Storage Ideas That Keep the Fridge Clear
Our fridge used to look like a paper avalanche. Every drawing and glitter-covered masterpiece went straight onto the door, until I could not find the school calendar underneath it all. That was when I started testing real kids artwork storage ideas in my own home, instead of just pinning everything up and hoping for the best.
How I picked these systems: I only included ideas I have actually used at home, kept for at least a month, and could maintain on a busy school night. If a system needed constant tidying, expensive supplies, or a whole spare room, it did not make the list.
Below, in these kids artwork storage ideas, you will find display and hidden storage. Some celebrate art for a season, others tuck it away for years. Pick one display, one long-term store, and one rule for what leaves the house.
Key Takeaways
- Give artwork a display home that is not the fridge.
- Pair every display with a storage home.
- Sort by child and year, and label everything.
- Photograph or scan favourites before recycling.
- Rotate: when a new piece goes up, an old one comes down.
1. The Large Art Portfolio Binder

I bought one large, zippered portfolio for each child, sized for their biggest school paintings. Pieces slide in flat, newest at the front, so the portfolio tells the story of the school year in order. Folding is the enemy here: folded paintings crack along the crease and never lie flat again.
At year end, we pick five favourites to display, and the rest stay filed or move to recycling. My daughter loves being part of that choice. The honest downside is weight: a full portfolio gets heavy, so I keep ours flat on a high shelf.
Pro Tip: Slip a label inside the front pocket with your child’s name and school year.
Cost / Time / Difficulty: Low to moderate cost; 10 minutes to set up; easy.
2. The Display Wire With Clips

A wire strung across our hallway changed everything. I fixed two small hooks at child height, pulled the wire taut, and added wooden clips. New artwork goes up in seconds, with no tape marks on the wall and no magnets sliding down the fridge. The kids swap their own pieces, which makes them feel proud rather than managed.
I limit the wire to eight pieces, so the display stays cheerful instead of chaotic. When a ninth arrives, an older one comes down for storage or photographing. The downside is that heavy, wet, or three-dimensional pieces can sag, so those go on a shelf instead.
Pro Tip: Use two wires, one per child, to avoid arguments about the best spot.
Cost / Time / Difficulty: Low cost; 20 minutes to hang; easy.
3. The Front-Loading Gallery Frame

This frame looks ordinary, but it opens from the front and stores up to fifty sheets behind the displayed piece. I hung one in our hallway per child, and swapping art takes less than a minute. Visitors assume the displayed drawing is a prized, permanent piece, which makes the kids beam.
I rotate the front piece every two weeks, or whenever a truly special drawing comes home. The older sheets stay tucked safely inside, away from dust and little fingers. The downside is price: these cost more than a basic frame, and deeper ones stick out further than I expected.
Pro Tip: Date the back of each stored sheet in pencil before sliding it in.
Cost / Time / Difficulty: Moderate cost; 15 minutes to hang; easy.
4. The Annual Photo Book

Every summer, I photograph the year’s best twenty pieces and turn them into a printed photo book. I lay each piece flat in daylight, photograph it straight from above, and crop out the table edges. The book sits on our living-room shelf and actually gets opened, especially when grandparents visit.
My youngest loves flipping through her kindergarten book and telling me the story behind every picture. The downside is that print cannot show glitter, texture, or chunky collage properly, so I still keep a few originals. It also takes a couple of evenings to lay out.
Pro Tip: Add one caption per page with the child’s age and what they said about the picture.
Cost / Time / Difficulty: Moderate cost; a few evenings; easy.
5. The Phone-Scan Archive

Before anything gets recycled, it gets scanned with my phone. I keep a plain white board by the back door, and artwork goes on it for a quick, straight photo in good light. Scans go into folders named by child and year, backed up to cloud storage monthly. This habit alone freed up two whole boxes.
The kids do not mind, because they know the picture survives even when the paper does not. I learned to scan before a piece gets folded into a school bag, because creases and snack stains show up forever. The downside is discipline: skip a week, and the pile returns fast.
Pro Tip: Scan in batches every Sunday evening, while school bags are being packed.
Cost / Time / Difficulty: Free; 10 minutes a week; easy.
6. The Digital Slideshow Frame
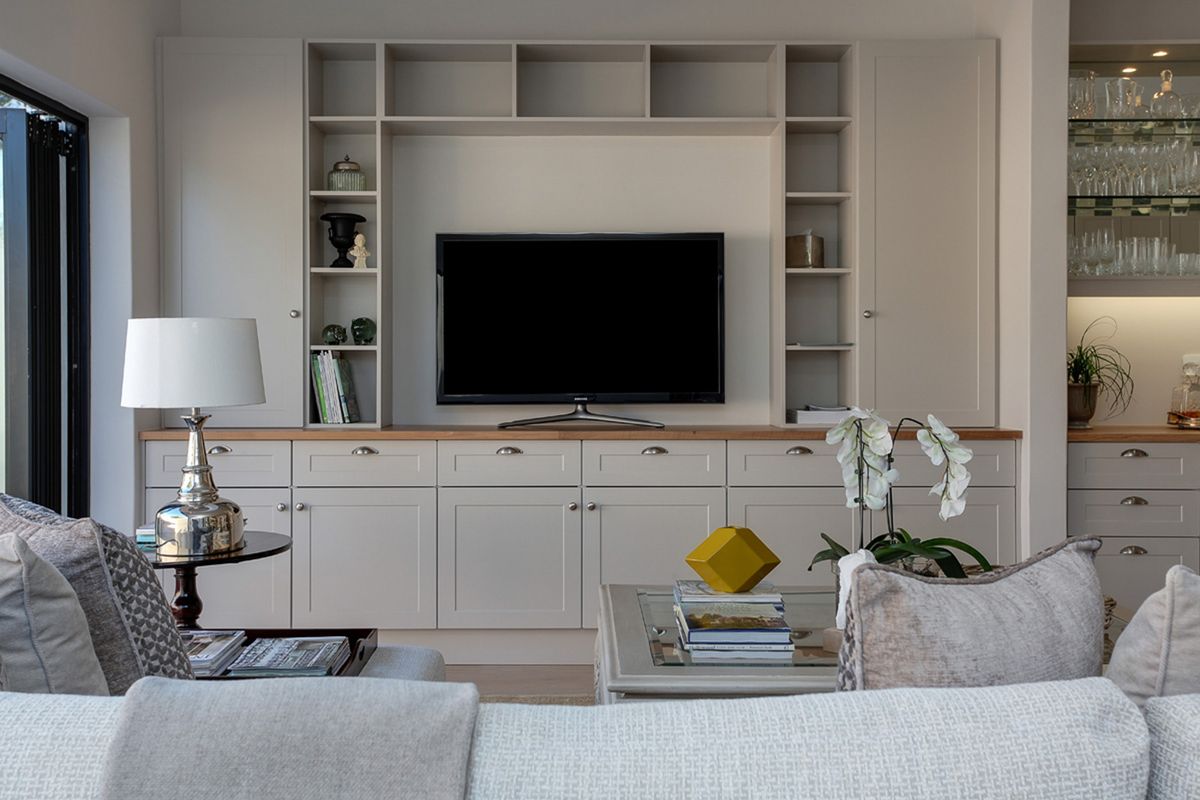
Our digital frame cycles through scanned artwork and has quietly replaced the fridge as the place everyone looks. I load favourites, set it to change every thirty seconds, and the kids rush to see whose drawing appears next.
I keep the slideshow to about forty images, so it never feels endless. The downside is that screens need power and occasional updates, and a frame that loses Wi-Fi can freeze on one picture. I still print the very best pieces, because a screen cannot replace holding the original.
Pro Tip: Keep a separate folder for each year, so you can swap the whole slideshow in January.
Cost / Time / Difficulty: Moderate cost for the frame; 30 minutes to load; easy.
7. The Clipboard Wall

I screwed a row of six plain clipboards to the playroom wall, three per child, and the effect is an instant gallery. A child can unclip yesterday’s drawing and clip up today’s in seconds, with no tape, pins, or damaged walls. Because the boards are at their height, the kids genuinely manage this display themselves.
The row looks tidy because every piece is roughly the same size, even when the art itself is gloriously messy. The downside is that clipboards hold one sheet each, so thick paintings or curled paper can pop out. I use a second clip at the bottom for stubborn pieces.
Pro Tip: Paint the clipboards one colour per child to make ownership obvious.
Cost / Time / Difficulty: Low cost; 30 minutes to hang; easy.
8. The Magnetic Display Board

A magnetic board on a cabinet side gave us a fridge-like display without fridge clutter. I mounted it where the light is good, with strong, flat magnets that will not slide. The kids arrange mini-exhibitions, and the kitchen door stays clear.
This works best for light paper, because heavy card and layered collages need stronger magnets than the cute ones. I also keep the board away from the stove, after one masterpiece picked up a faint cooking smell. The downside is that magnets go missing constantly, so I keep spares in a small jar nearby.
Pro Tip: Use a different magnet colour for each child to settle “whose turn” debates.
Cost / Time / Difficulty: Low to moderate cost; 20 minutes to mount; easy.
9. The Accordion File Sorted by Year

For smaller pieces and certificates, an expanding accordion file is my quiet hero. Each section is labelled with a month or school term, and pieces go in flat, in order. It lives in the hallway cupboard, takes up very little room, and I can pull out exactly one term without dragging a giant box into the living room.
I started this after a big box of unsorted art became impossible to search. The downside is size: larger pieces need a portfolio instead. It also bulges if overfilled, so I empty it into a bigger box each summer.
Pro Tip: Write the school year on the outside in large letters, not just on a tiny tab.
Cost / Time / Difficulty: Low cost; 10 minutes to label; easy.
10. The Flat Under-Bed Art Boxes

Flat, shallow boxes that slide under a bed are perfect for oversized art that will not fit in a binder. I use one box per child, lined with plain tissue paper, stacking pieces with the largest at the bottom. Nothing gets crushed, and the boxes use space that would otherwise sit empty.
I label the end of each box, so I can see whose it is without pulling it fully out. The downside is dust: under-bed boxes need lids, and I wipe ours twice a year. Clearing space for them was easier after reading a Related article on small-room storage.
Pro Tip: Put tissue between painted pieces so paint never sticks to the next sheet.
Cost / Time / Difficulty: Low cost; 20 minutes to fill; easy.
11. Rolled Storage for Oversized Pieces

Some pieces are too big to store flat, especially long banners and poster-sized paintings. For those, I roll them gently around a cardboard tube, painted side facing out, and slip them into a tall tube in the cupboard. Rolling beats folding every time: a roll can be flattened later, while a fold leaves a permanent line.
I label each tube with masking tape, noting the child’s name, year, and contents. The downside is that rolled art needs time to relax flat again before framing, so I unroll prized pieces a day early. Thick, glued collages should never be rolled, as glued pieces can crack or pop off.
Pro Tip: Never use a rubber band directly on artwork; wrap the roll in tissue first.
Cost / Time / Difficulty: Low cost; 5 minutes per piece; easy.
12. The Washi-Tape Gallery Wall

Washi tape frames are my favourite low-commitment gallery. I tape a simple border around each drawing directly on the wall, and the whole wall looks intentional, even when the art is delightfully chaotic. When a piece comes down, the tape peels off without taking paint with it.
I keep this gallery to one hallway wall, in two neat rows, so it feels like an exhibition rather than a takeover. My kids choose which pieces go up, and they love picking tape colours to match their art. The downside is grip: washi tape can loosen in a steamy hallway or above a radiator, so I check corners every few weeks.
Pro Tip: Use one tape colour per row to give the wall a calm, finished look.
Cost / Time / Difficulty: Low cost; 30 minutes to arrange; easy.
13. The Picture Ledge Rotation
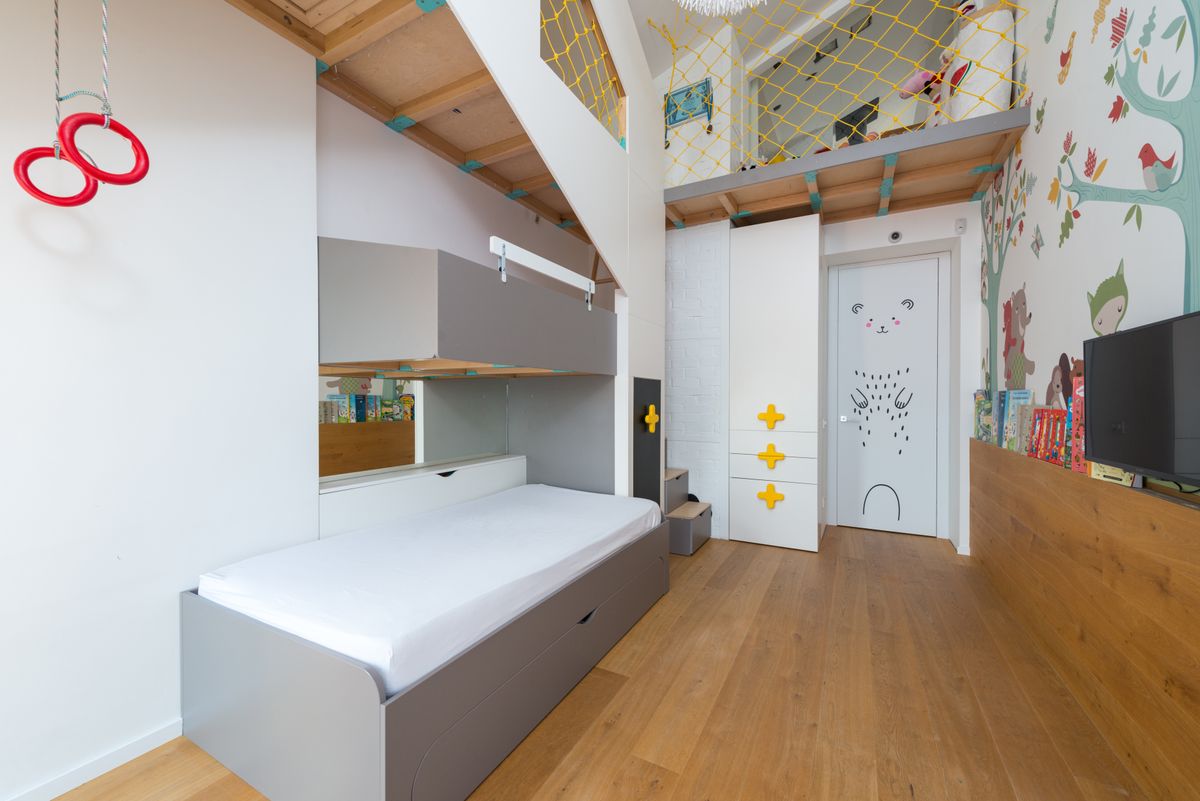
A narrow picture ledge in the hallway holds framed and unframed art, leaning against the wall. I prop up three or four favourites, overlap them slightly, and swap them whenever a new favourite arrives. It looks like a real gallery shelf, but nothing is nailed through the artwork, and kids can rearrange it without tools.
This is my display for pieces too precious for clips but not ready for a permanent frame. The downside is dust, and a bump from a passing school bag can send everything sliding. I added a small lip at the front and keep the ledge out of the main traffic path.
Pro Tip: Put the largest piece at the back and smaller pieces in front, like a layered display.
Cost / Time / Difficulty: Low to moderate cost; 30 minutes to fit; easy.
14. The Shadow Box for 3D Art

Not all artwork is flat. Clay models, button collages, and sculptures need a shadow box, a deep frame that gives them room to breathe. I mounted one per child in the playroom, each holding a single, special three-dimensional piece. It stops fragile work from being knocked off a shelf and turns it into something the family notices.
I rotate the contents twice a year, and retired pieces go into a padded keepsake box. The downside is space: shadow boxes are deep, so they suit one or two star pieces, not a whole collection. They also show dust through the glass, so I clean ours with a dry cloth monthly.
Pro Tip: Back the piece with a plain colour so the sculpture, not the background, gets attention.
Cost / Time / Difficulty: Moderate cost; 20 minutes to mount; easy.
15. Laminated Placemats From Favourite Art

One favourite way to keep art in daily use is to laminate a favourite drawing into a placemat. I photocopy the original first, laminate the copy, and the original stays safe in a portfolio. The kids eat dinner on their own artwork, and visitors always comment on it, which makes the young artists incredibly proud.
I made four placemats, two per child, and they have lasted through countless spaghetti nights. The downside is that lamination is permanent, so I never laminate an original I would regret losing. It only suits flat, sturdy drawings, not glitter-heavy pieces that shed everywhere.
Pro Tip: Round the laminated corners so they do not scratch the table or poke little hands.
Cost / Time / Difficulty: Low cost; 20 minutes per placemat; easy.
16. The Hanging File Crate
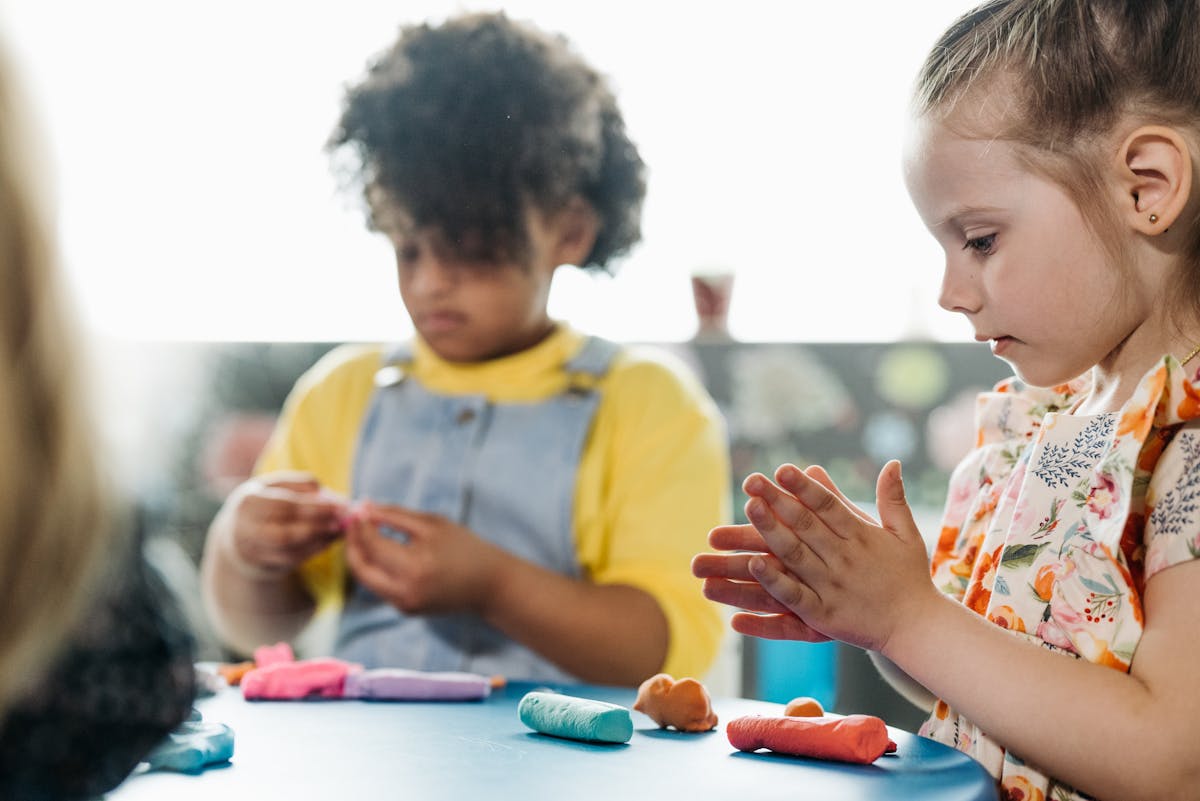
A crate with hanging files works like a filing cabinet for kids’ art. Each file is labelled by theme: animals, family, school projects, and seasonal art. When a new piece comes home, it takes seconds to drop it into the right file, and finding a specific drawing later is genuinely easy, which surprised me after years of box chaos.
I keep the crate in the hallway cupboard, files standing upright so nothing bends at the bottom. The downside is that hanging files are sized for paper, so oversized art still needs a portfolio. The crate also gets heavy when full, so I archive older files into a box every summer.
Pro Tip: Let each child pick their own file colours; they will use a system they helped design.
Cost / Time / Difficulty: Low cost; 20 minutes to set up; easy.
17. The Spiral-Bound Art Book

For a child’s best drawings of the year, I sometimes have them spiral-bound into a proper book at a local print shop. I scan the originals, print them on sturdy paper, and add a cover with the child’s name and year. The result feels like a real published book, and it is the gift grandparents ask for most.
Binding protects pages from tearing and makes the collection easy to flip through on the sofa. The downside is that you must choose pieces in advance, because adding pages later is awkward. I also keep the originals, because a bound copy, however lovely, is not the first drawing.
Pro Tip: Leave one blank page at the end for the child to write what they remember about that year.
Cost / Time / Difficulty: Low to moderate cost; an afternoon to prepare; easy.
18. The One-Per-Year Keepsake Box
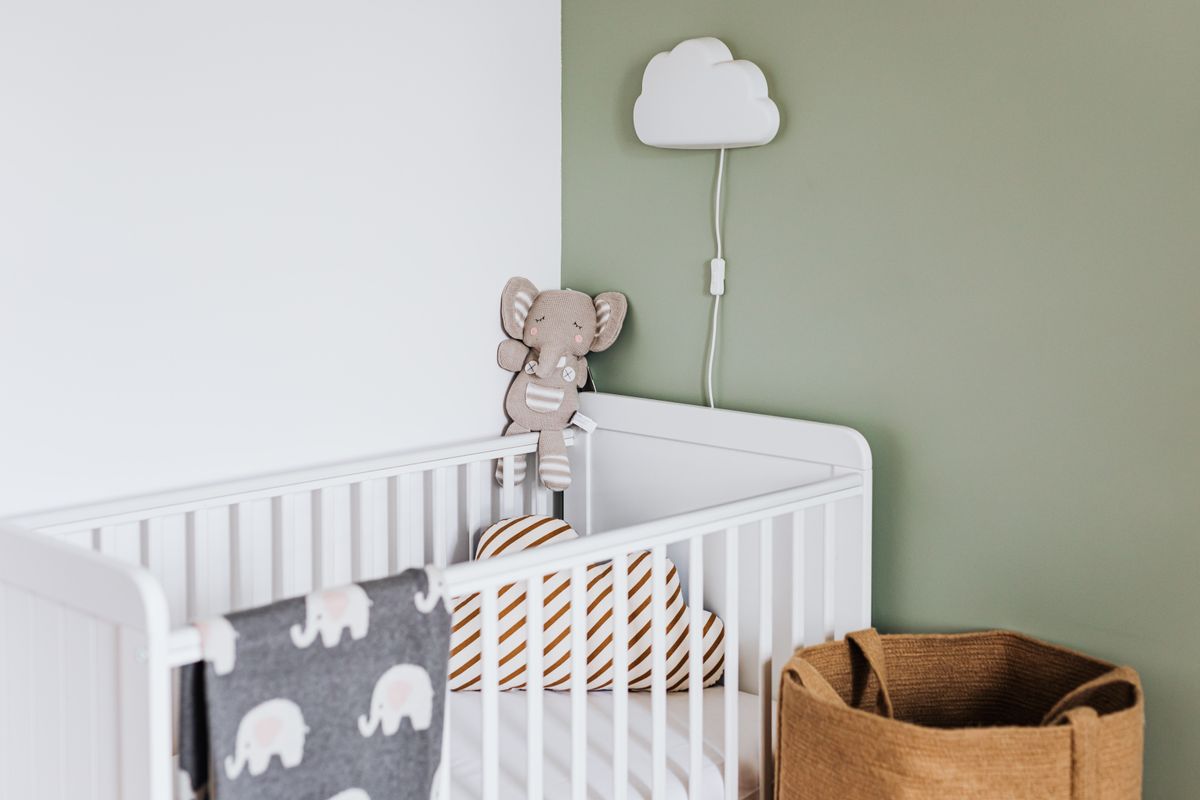
This is my strictest rule, and the one that saves the most space. Each child gets one keepsake box, and each year they choose just one piece to keep in it forever. The box holds the piece, plus a short note about why it mattered. Everything else is displayed, scanned, photographed, or recycled.
Choosing only one piece sounds harsh, but my kids take it seriously and proudly, and the box stays meaningful instead of becoming another dumping ground. The downside is that some years produce two equally loved pieces, and we have had genuine debates. When that happens, the runner-up goes in the photo book.
Pro Tip: Photograph the child holding their chosen piece each year; the photo becomes a keepsake too.
Cost / Time / Difficulty: Low cost; 30 minutes a year; easy.
19. The Art Cart With Labeled Folders
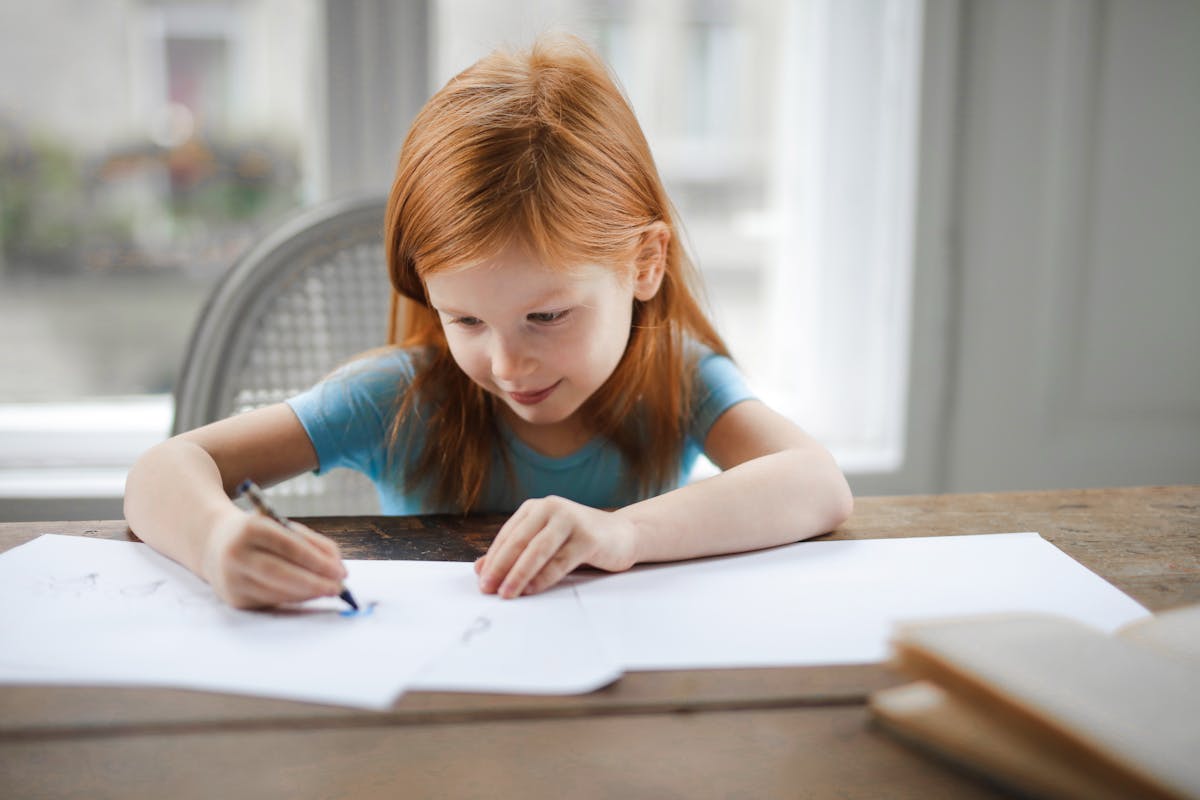
A rolling art cart is where new artwork lands first in our house, before it is sorted. The top tray holds this week’s arrivals, and lower trays hold labelled folders per child, plus pens and tape for sorting. I wheel it to the table on Sunday, sort everything in one go, and roll it away again.
This gives incoming paper a proper home, instead of the kitchen counter. Without an “inbox,” art spreads everywhere within days. The downside is that a cart becomes a permanent pile if you skip the weekly sort. An Also read guide on craft supplies helped me reorganise its lower trays.
Pro Tip: Empty the top tray completely every week, even if some pieces go straight to recycling.
Cost / Time / Difficulty: Low to moderate cost; 15 minutes a week; easy.
20. The Seasonal Hallway Swap
Finally, I keep one hallway wall for seasonal swaps. In autumn, leaves and harvest drawings go up; in winter, snow scenes take over; in spring, flowers appear. The kids love anticipating the change, and the house feels decorated without buying anything new. Old seasonal pieces return to their year folders.
This rotation stops the “everything, everywhere, forever” problem, because every display has an end date built in. I mark swap dates on our family calendar, so nobody is surprised when a favourite comes down. The downside is storage: seasonal pieces need their own folder, or they get mixed into the general pile and lost.
Pro Tip: Keep seasonal art in one clearly labelled folder per season, not mixed with year files.
Cost / Time / Difficulty: Free; 20 minutes per season; easy.
Kids Artwork Storage Ideas: Quick Comparison
Use this table to pick your starting system: most homes need one display and one storage idea.
| System | Best For | Cost | Effort |
|---|---|---|---|
| Portfolio binder | Flat, oversized art | Low to moderate | Low |
| Display wire | Fast, frequent swaps | Low | Low |
| Front-loading frame | One star piece at a time | Moderate | Low |
| Photo book | Sharing with family | Moderate | Medium |
| Scan archive | Saving space long-term | Free | Low, weekly |
| Clipboard wall | Kids managing it themselves | Low | Low |
| Under-bed boxes | Large, flat pieces | Low | Low |
| Keepsake box | One treasure per year | Low | Low, yearly |
Mistakes I Made / What I Learned the Hard Way
Keeping everything. In our first year, I kept every piece, and we ended up with boxes I was afraid to open. Now I keep the best, scan the rest, and recycle without guilt.
Using tape on painted walls. Regular tape pulled paint off our hallway wall. Washi tape, clips, wires, and frames are kinder to walls and make swapping art far easier.
Skipping labels. An unlabelled box is almost useless five years later, because nobody remembers which year or child it belonged to. I now label each piece with name, year, and age.
Storing art in the attic. Heat, damp, and dust faded our earliest pieces. Art now lives in cool, dry rooms, away from radiators, with the pieces I care most about scanned as backup.
Frequently Asked Questions
How many pieces of kids’ art should I keep? Keep pieces that make you or your child smile instantly, plus one star piece per year. Scan the rest before recycling.
How do I store large paintings without folding them? Use a large portfolio, a flat under-bed box, or roll very large pieces around a tube, painted side out. Never fold a painting you want to keep.
What is the easiest way to display art without damaging walls? A wire with clips, clipboards, washi tape, or a picture ledge all avoid nails and heavy tape. Choose one your kids can manage themselves.
What would you do differently if you started again? I would label everything from day one, scan weekly, and set a one-in, one-out rule immediately.
Final Thoughts
You do not need a perfect system, just one your family will actually use — and that is the heart of these kids artwork storage ideas. Start with a display your kids can manage, a storage box or folder for the rest, and a weekly scan habit for the pieces you love most. That trio finally cleared our fridge, and it has stayed clear ever since.
If you want to go further, give the whole room the same treatment. A Read this next guide to craft-room organisation helped me set up a sorting station, so new artwork has a home from the moment it arrives.