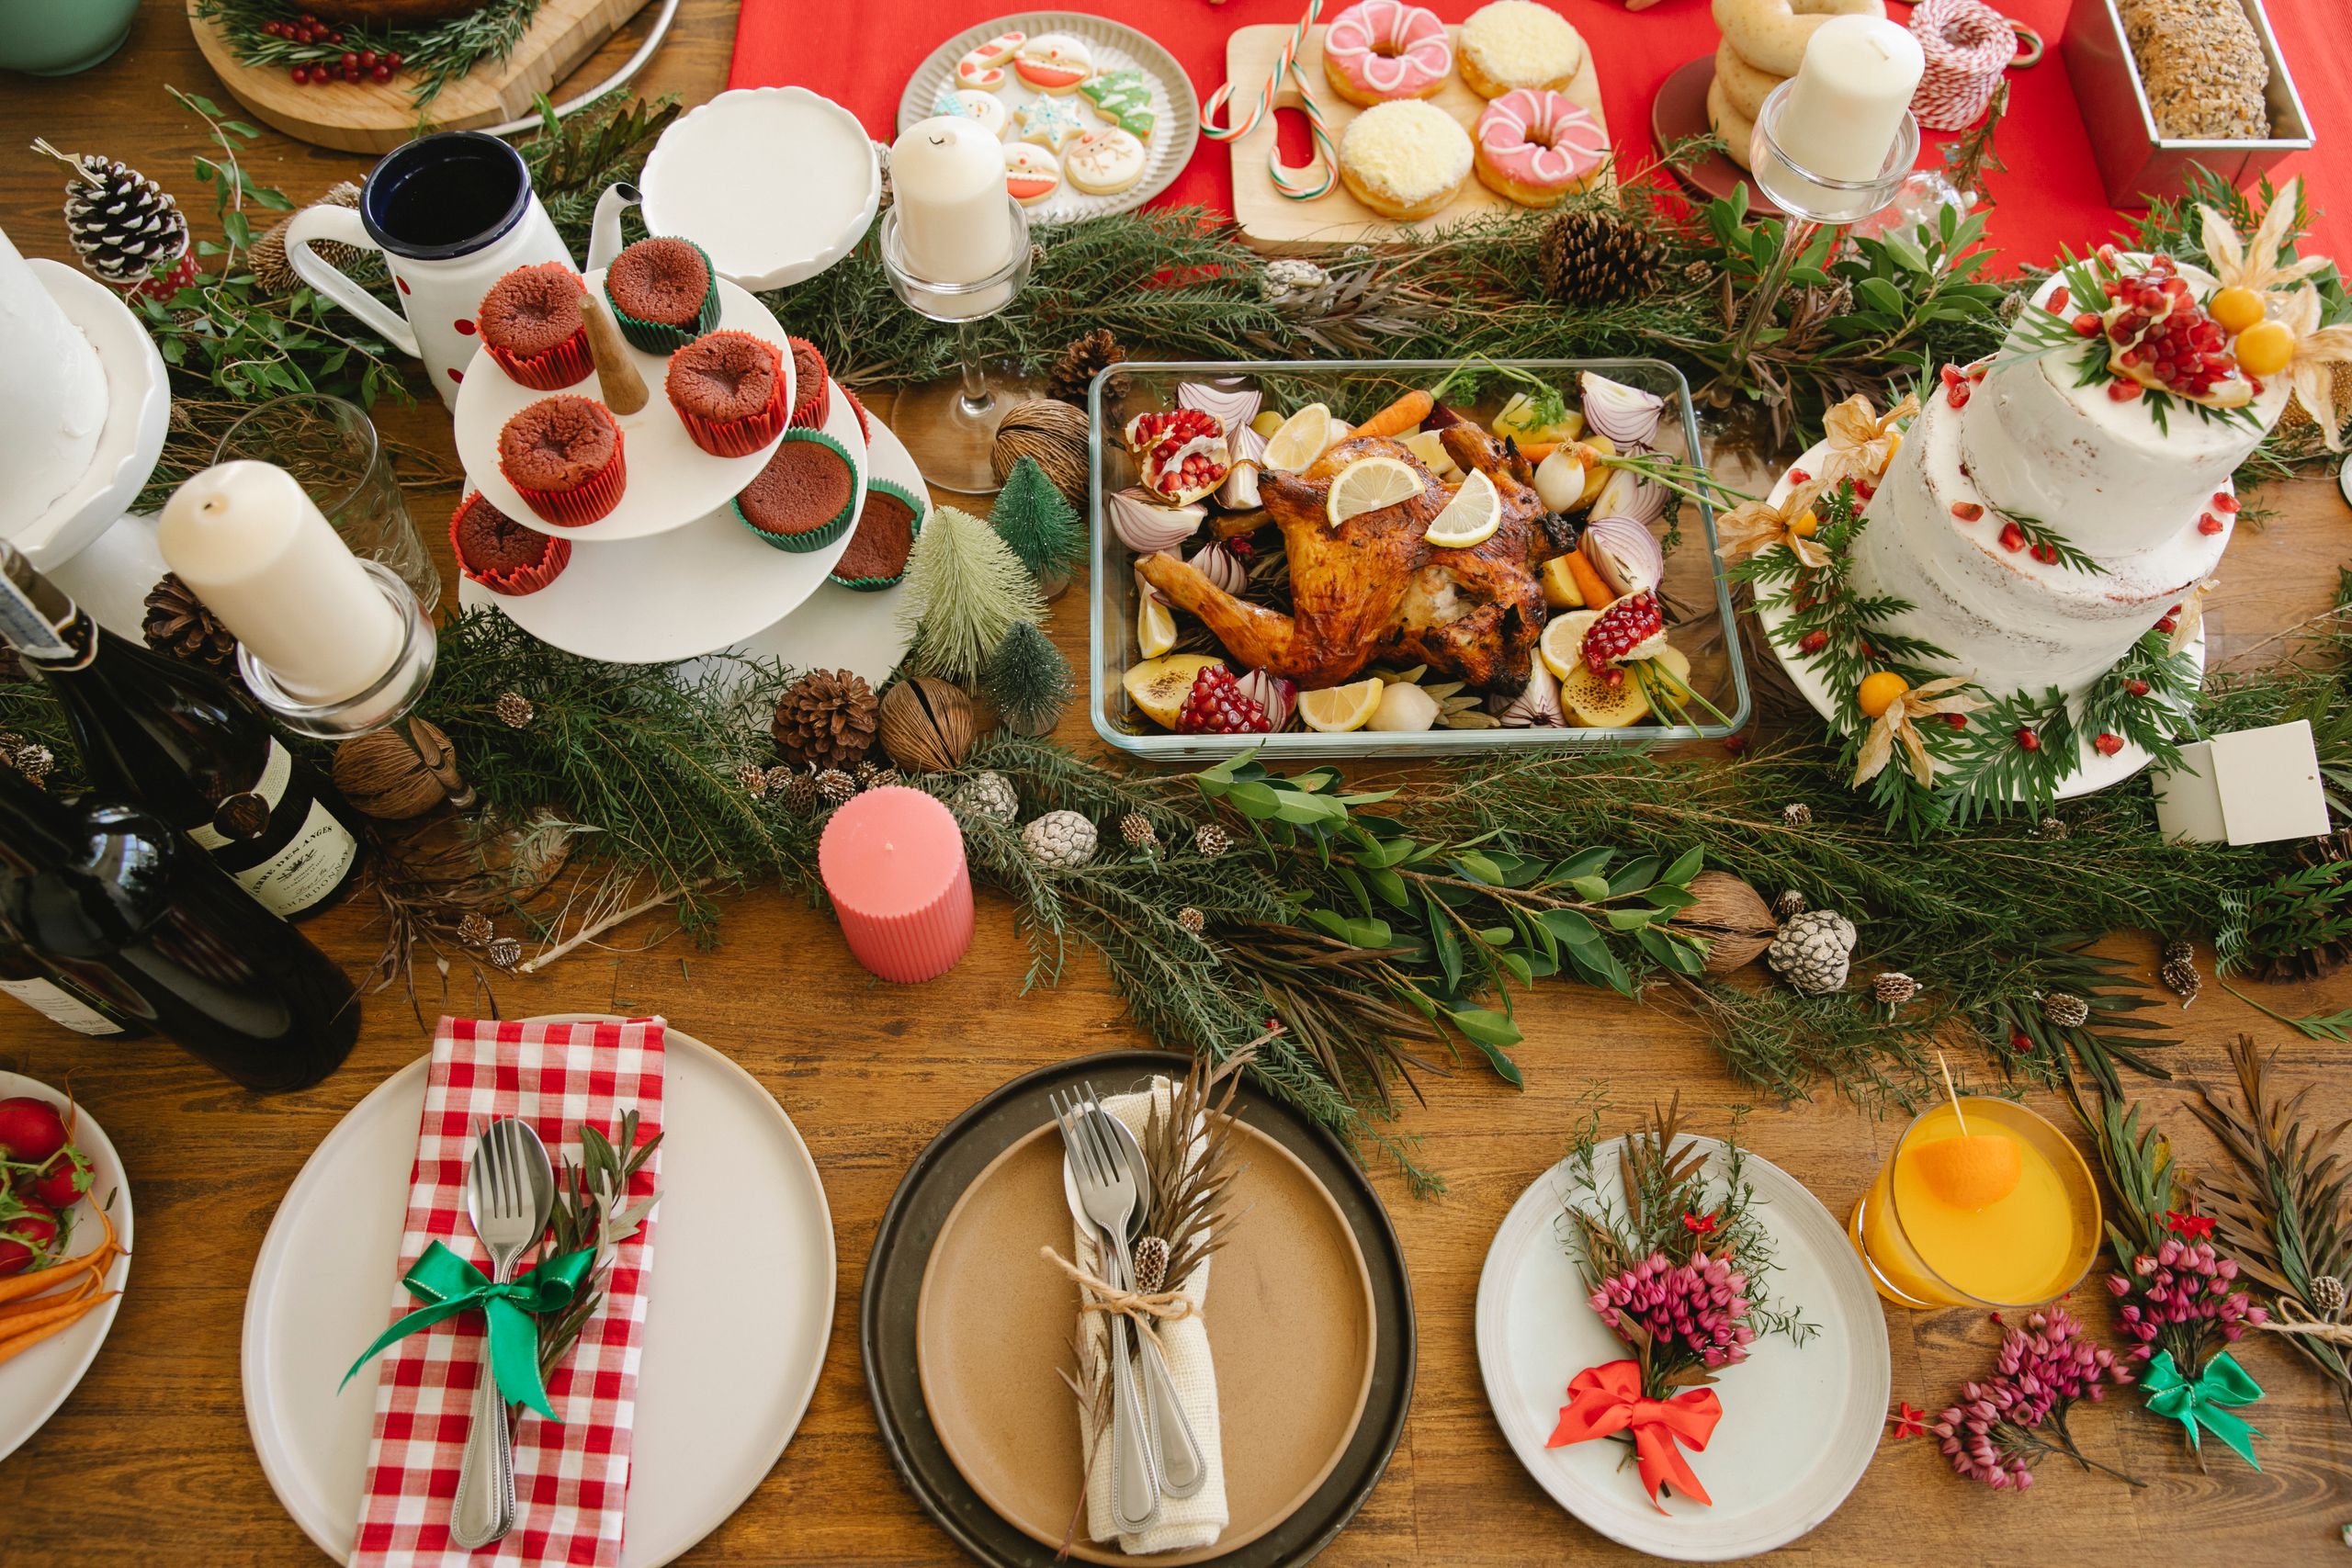
Christmas Tablescape Ideas
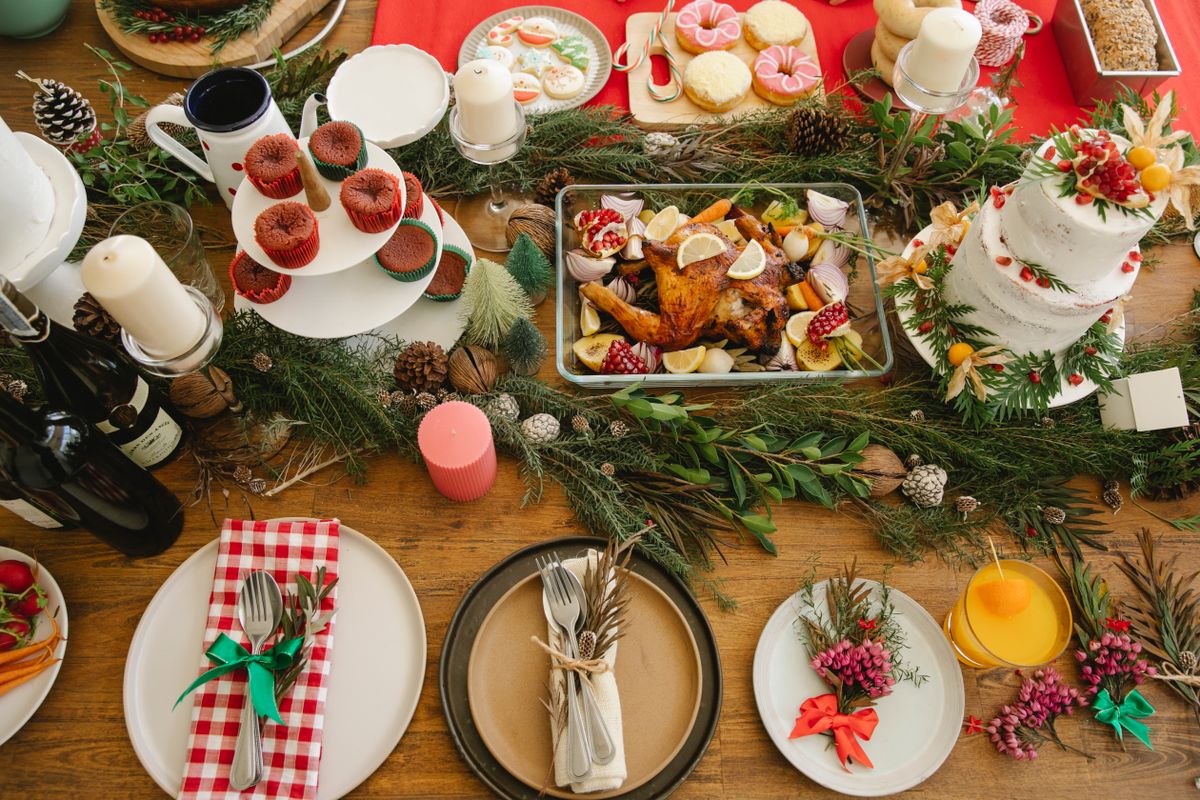
I have set a Christmas table in this house for fourteen years now, and I can tell you honestly that the prettiest tables were rarely the most expensive ones. These christmas tablescape ideas are the ones I have actually tried, lived with through a long dinner, and cleared up afterwards, so I know which ones survive gravy spills, candle wax, and a very enthusiastic eight-year-old. I picked them by one simple test: I set each table a full day early, sat down in every chair, and checked that I could see the person opposite me, reach the salt, and put my elbows down without knocking anything over. If a look failed that test, it did not make this list, no matter how beautiful it photographed.
Key Takeaways
- Build your tablescape in layers: cloth, runner, greenery, then plates, so nothing wobbles.
- Keep the centerpiece below eye level, or use tall, slim candlesticks guests can see past.
- Real greenery smells wonderful but sheds; faux greenery survives the whole week with zero cleanup.
- Set the table the day before and light the candles only when guests sit down.
- One strong colour story beats five competing ones every single time.
17 Christmas Tablescape Ideas I Have Actually Set
1. The Classic Red and Gold Christmas Tablescape
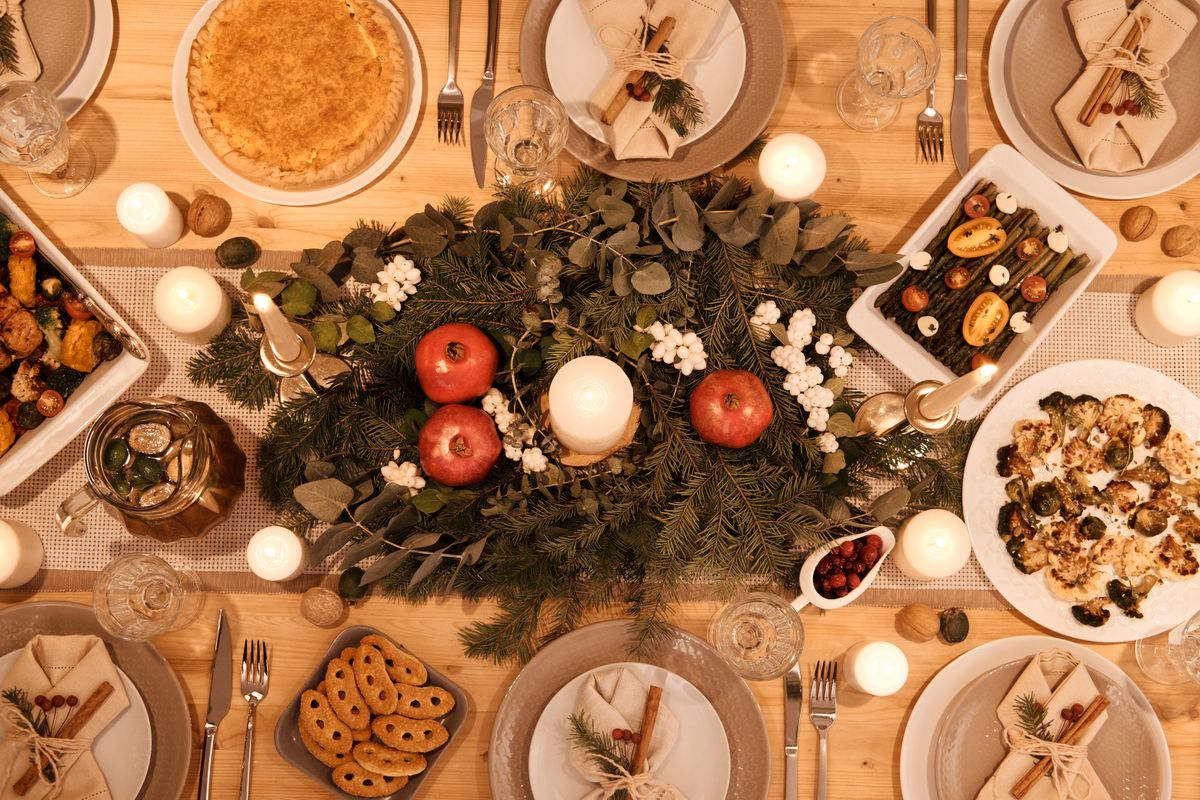
This is the table my mother always set, and it is still the one I return to when I want the room to feel instantly like Christmas. I start with a plain ivory cloth, then a deep red runner down the centre, gold chargers under white dinner plates, and a simple sprig of pine tucked into each gold napkin ring. The first time I did it in my own dining room, I spent almost an hour fussing over the runner until my husband pointed out that nobody would measure it, and he was right. It took me about forty minutes in total, and the gold chargers I bought years ago have been reused at least a dozen times. The downside is real, though: red fabric can bleed in the wash, so I always wash that runner on its own in cold water.
Cost: $25–$60 if you already own plates | Time: 40 minutes | Difficulty: Easy
Pro Tip: Lay the runner first and centre it by measuring from each end to the table edge; an off-centre runner is the one thing guests always notice.
2. Fresh Greenery Runner Down the Middle
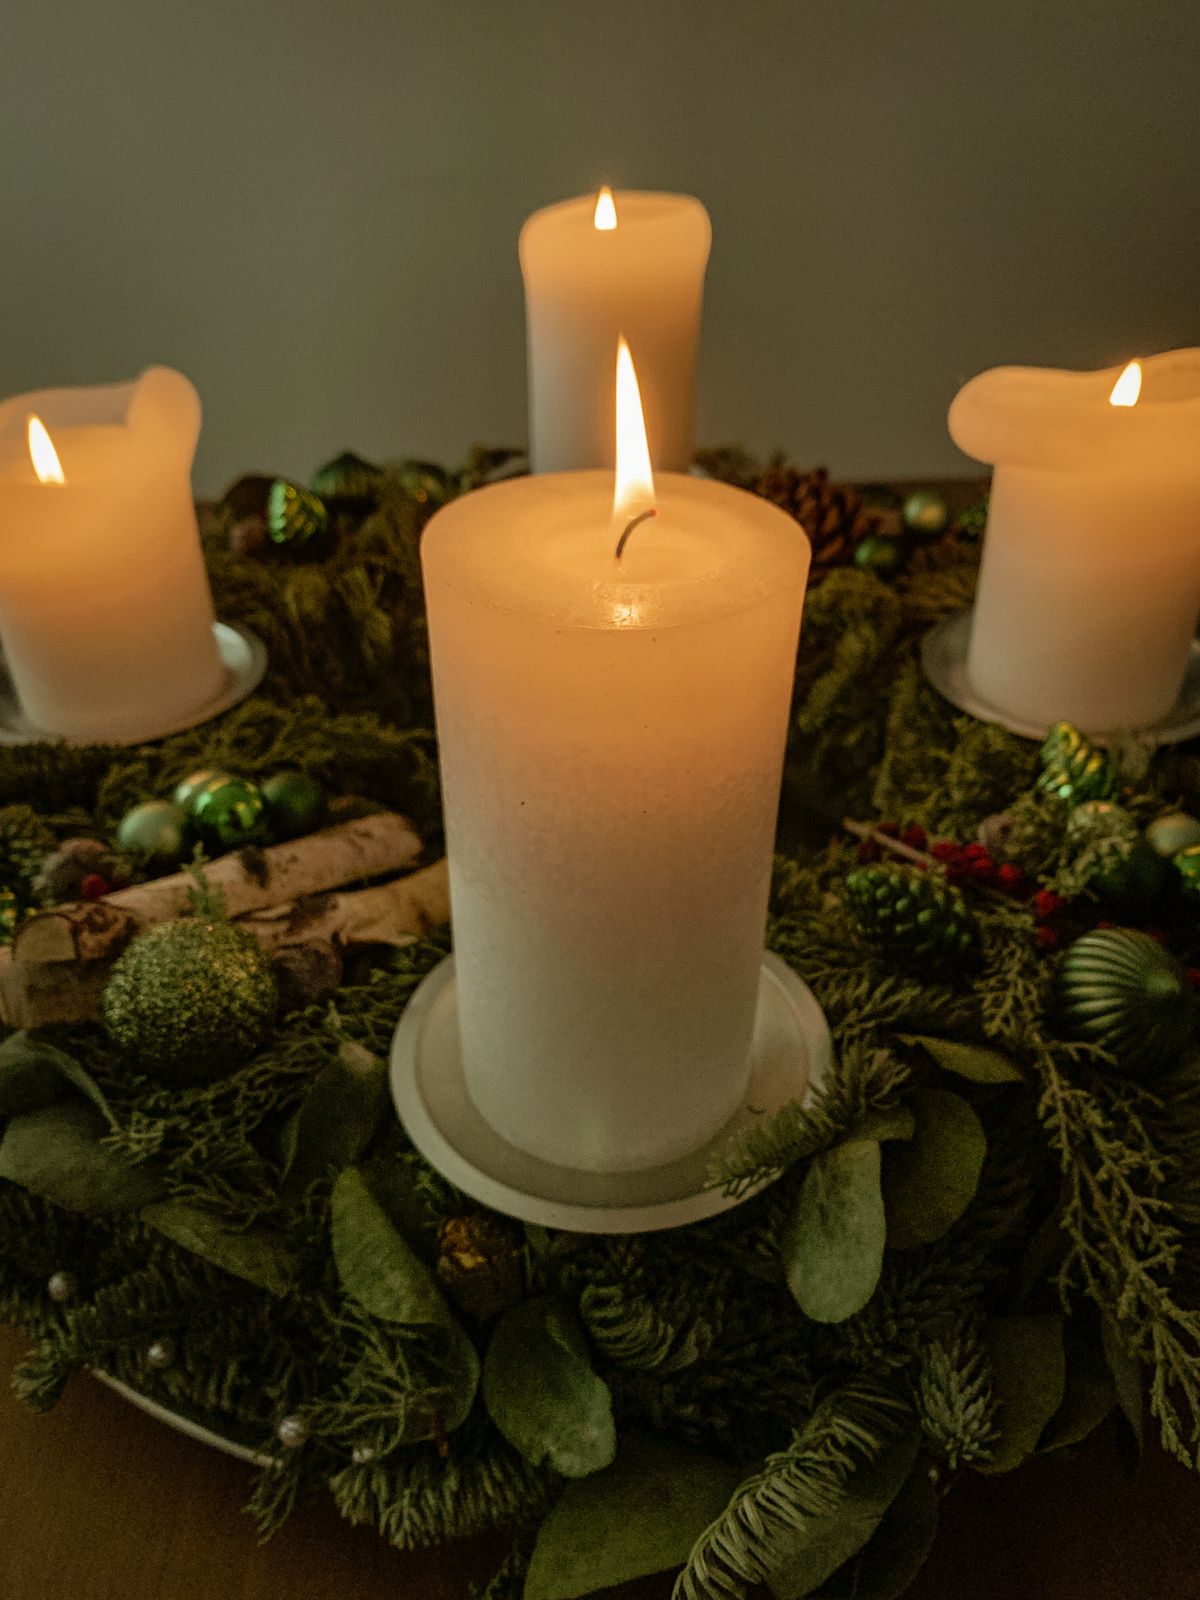
Instead of a fabric runner, I laid cedar and pine branches straight down the middle of a bare wooden table, weaving in a few pinecones and battery fairy lights. I cut the branches from a neighbour’s trimmings, trimmed them to about eighteen inches long, and overlapped them so no bare wood showed. It smelled like walking into a forest, and I loved it so much I left it up for four days. The honest watch-out is the mess: by day three, needles were all over the plates, and I was sweeping twice a day. It also cost me nothing but an afternoon, which is hard to beat, but I would not do it on a white cloth ever again.
Cost: $0–$15 | Time: 45 minutes | Difficulty: Easy
Pro Tip: Put a strip of brown parcel paper under the greenery first; it catches needles and lifts away in one piece.
3. Rustic Wood and Candlelight
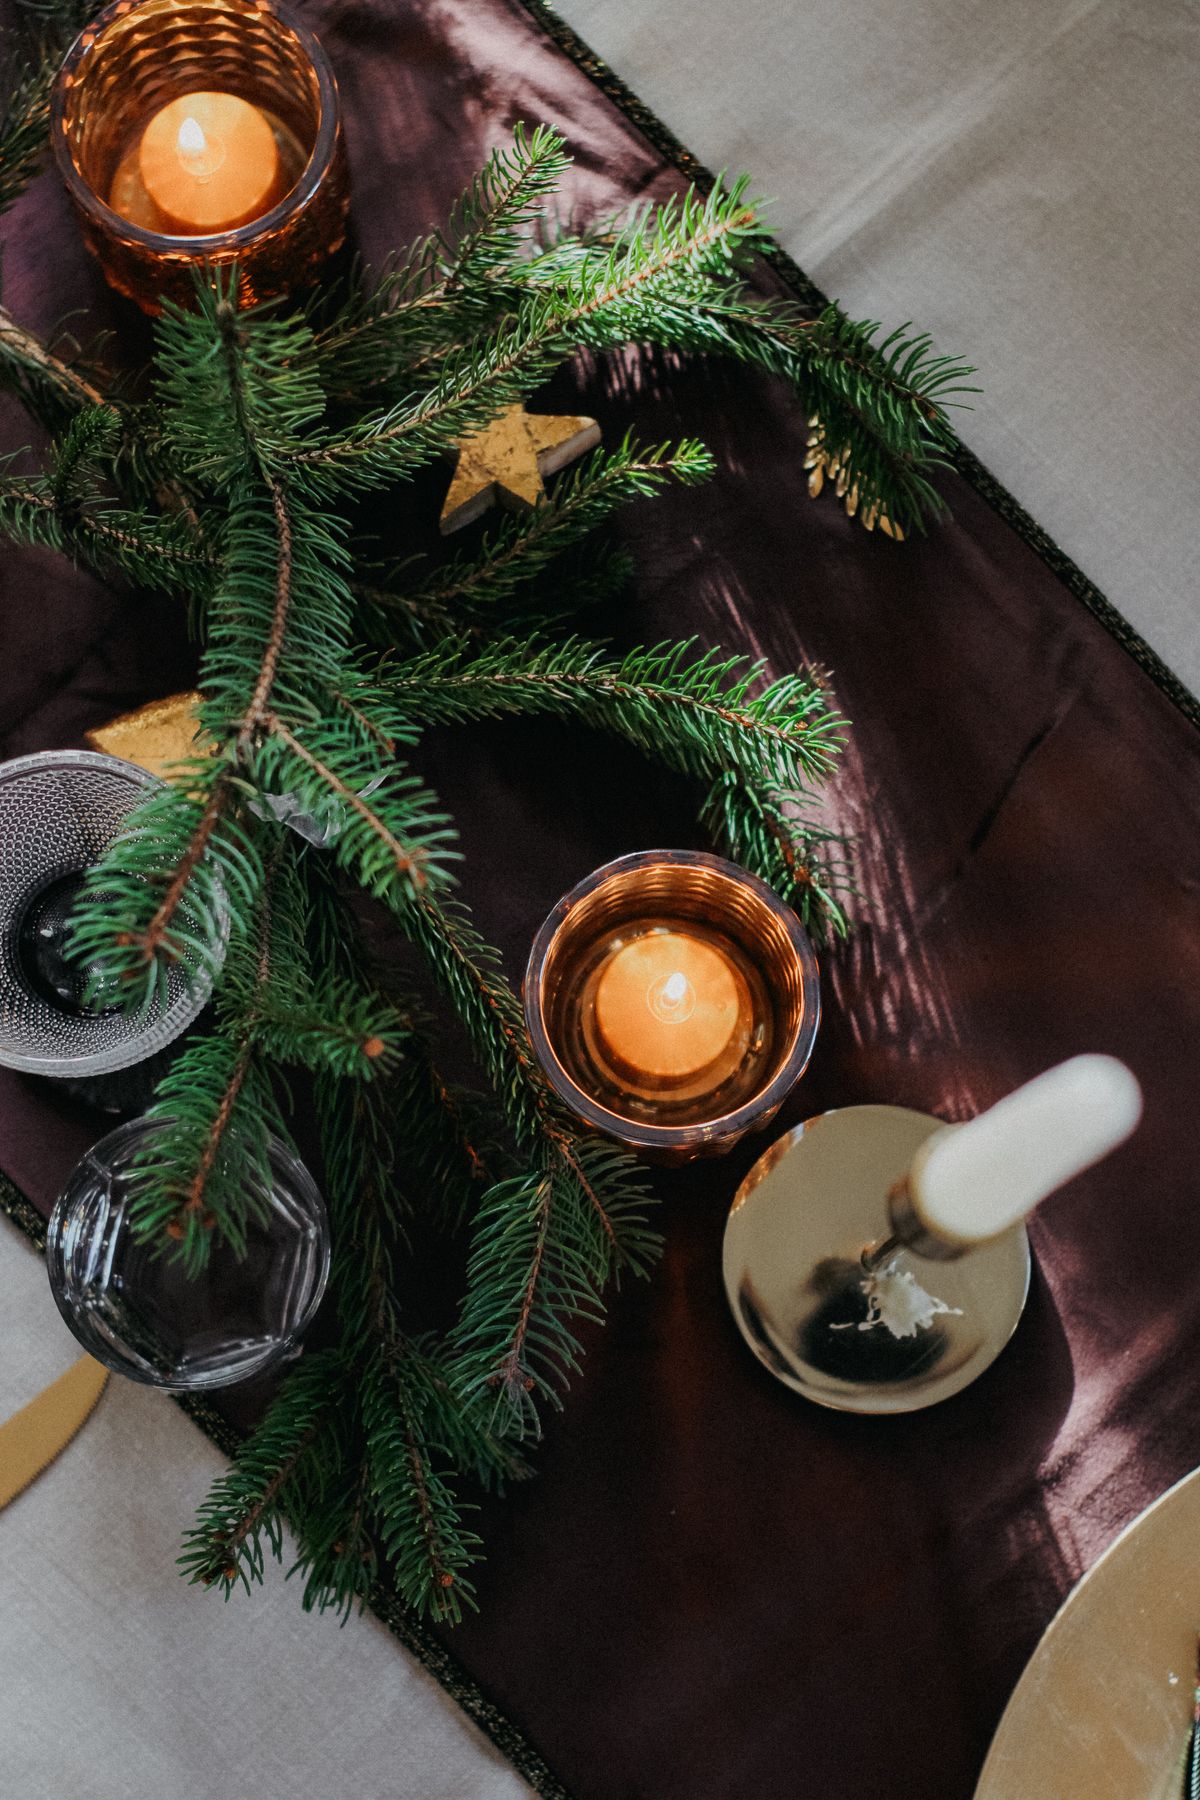
For a quieter Christmas Eve with just family, I skipped the cloth entirely and used our scratched farmhouse table as the star. I set out cream stoneware plates, linen napkins tied with plain twine, and a row of pillar candles in glass hurricanes of different heights. I remember lighting them at six o’clock and watching the whole room soften; my daughter said it looked like a restaurant, which was high praise indeed. It took only half an hour because there was so little to arrange. The downside is that candle wax found its way onto the wood despite the hurricanes, and I spent the next morning scraping it off with a butter knife, so keep a tray under every candle.
Cost: $15–$40 | Time: 30 minutes | Difficulty: Easy
Pro Tip: Use hurricanes or deep holders for every open flame, and never leave a lit table unattended, even for a quick trip to the kitchen.
4. All-White Winter Wonderland
One year I went entirely white: white cloth, white plates, white candles, and a dusting of fake snow along a silver tray of pinecones I had sprayed white. I added clear glass baubles in a footed bowl, and the whole table glowed under the dining room light. It photographed beautifully, and guests kept saying how calm it felt after the chaos of the rest of the house. The practical truth is that white shows every single splash, and by dessert there was a cranberry mark on the cloth that I spotted from across the room. It washed out with cold water and a bit of patience, but if you have small children or red wine in abundance, keep a stain remover within reach.
Cost: $20–$50 | Time: 50 minutes | Difficulty: Easy
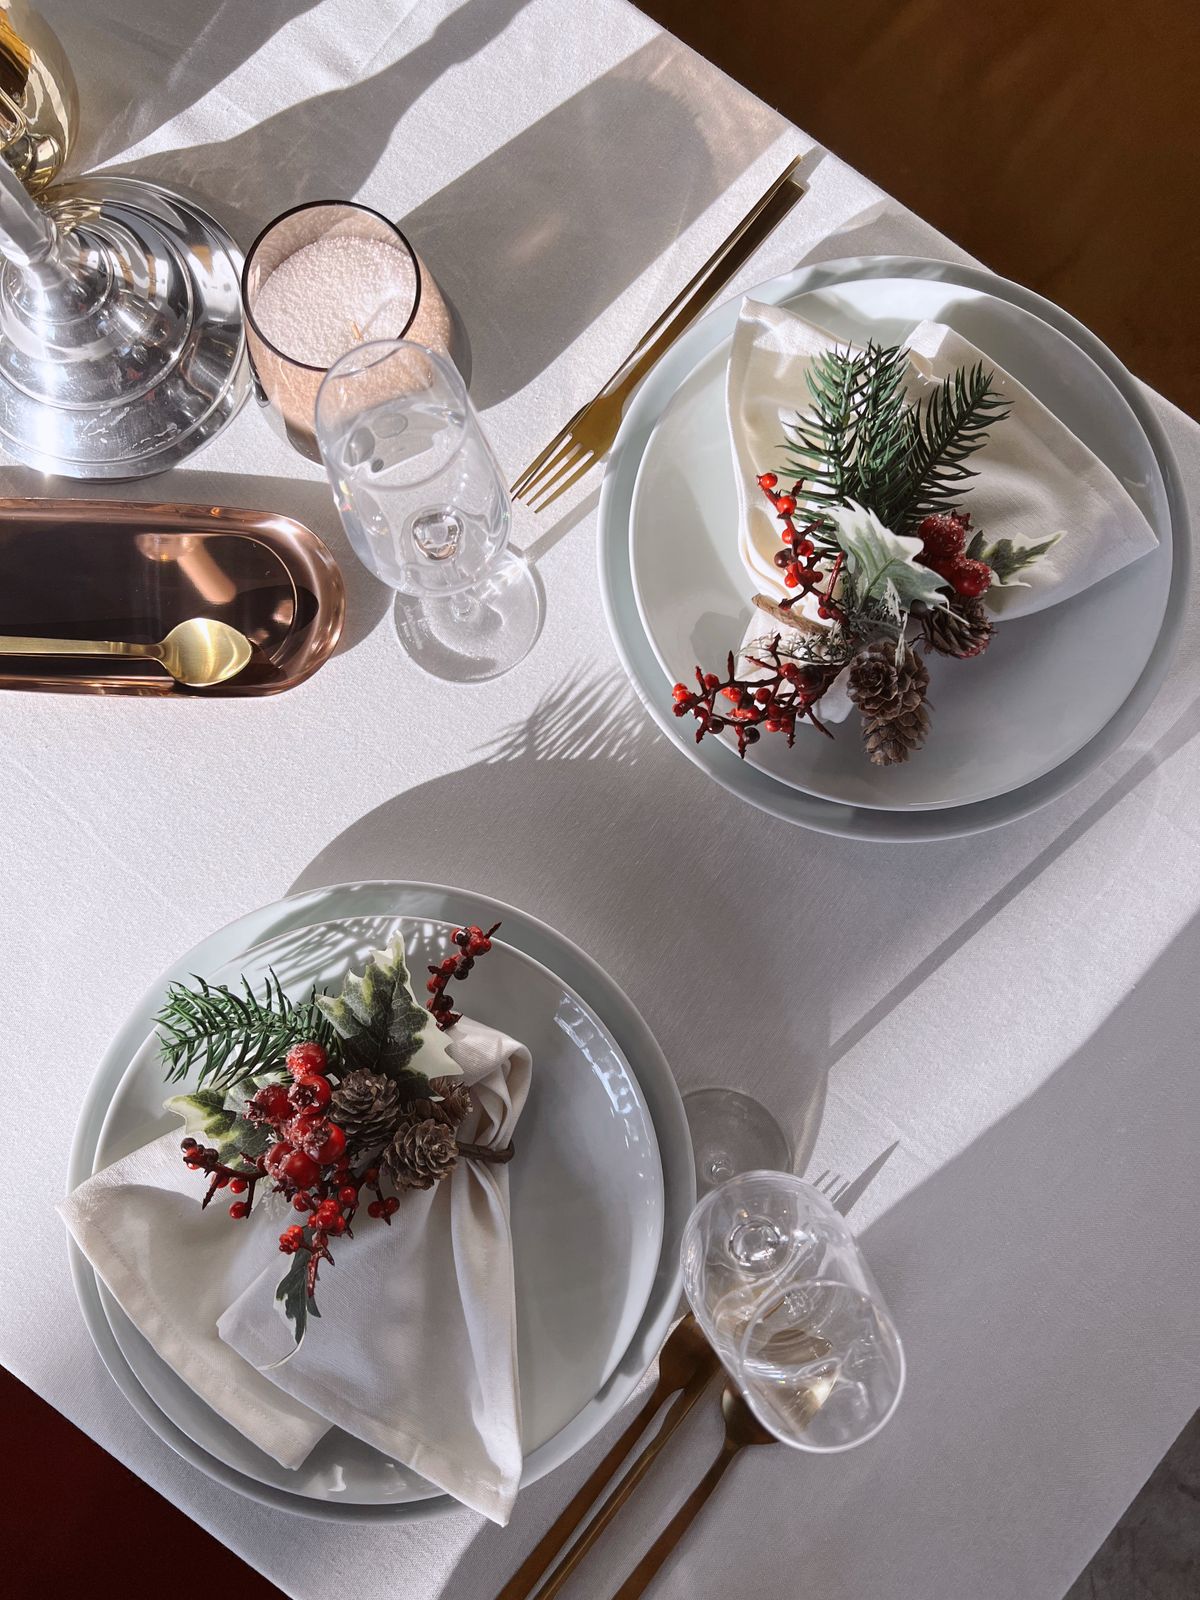
Pro Tip: Mix textures, matte linen with glossy glass and frosted baubles, so an all-white table looks layered rather than flat.
5. Gold Accents on a Dark Green Cloth
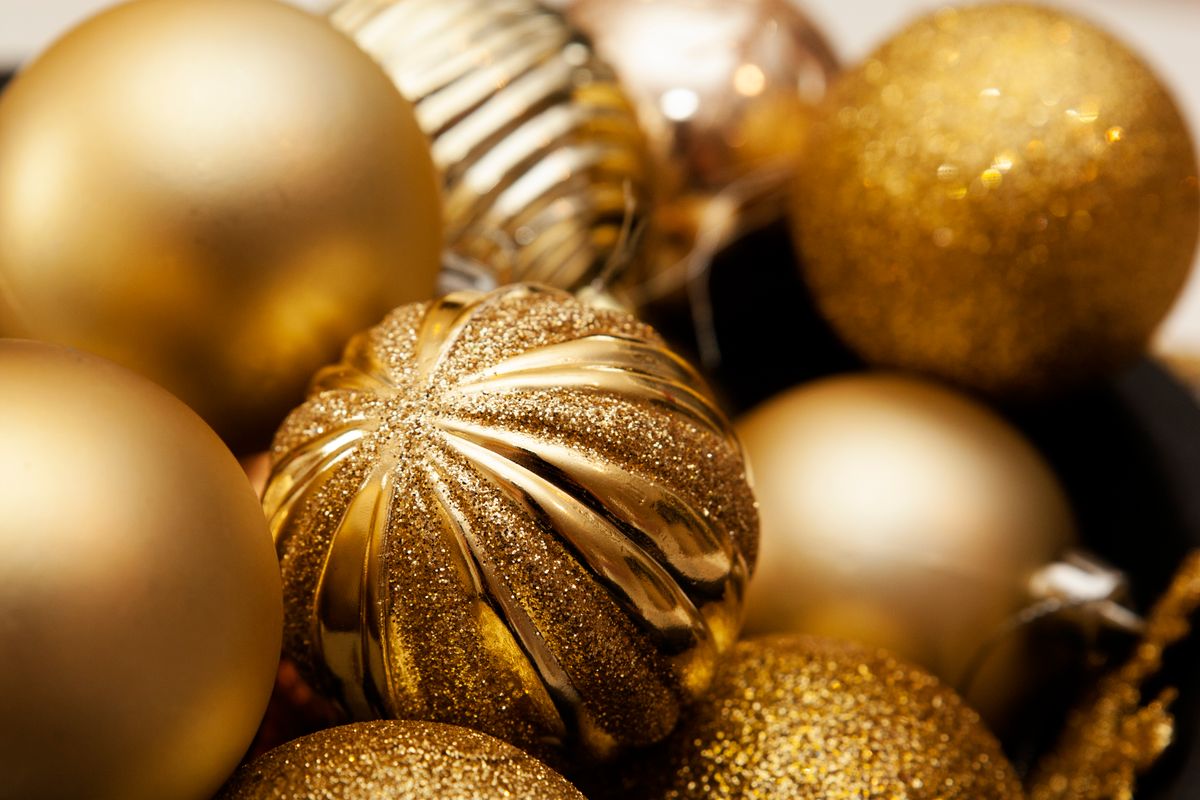
Dark green is my secret weapon because it hides stains and makes gold look expensive. I used a deep green cloth, gold-rimmed glasses I had picked up at a charity shop, and small gold ornaments scattered between the place settings like confetti. I set this table for a Boxing Day lunch, and it took me about thirty-five minutes because the colour did most of the work. My honest complaint is that gold ornaments roll: one ended up in someone’s soup, which we all laughed about, but I now use slightly larger ornaments or tuck them into the greenery so they stay put. It is a forgiving look, and it still feels special without being fussy.
Cost: $20–$45 | Time: 35 minutes | Difficulty: Easy
Pro Tip: Keep gold to three elements, chargers, napkin rings, and ornaments, and let everything else stay plain.
6. Pinecone and Candle Centrepiece in a Tray
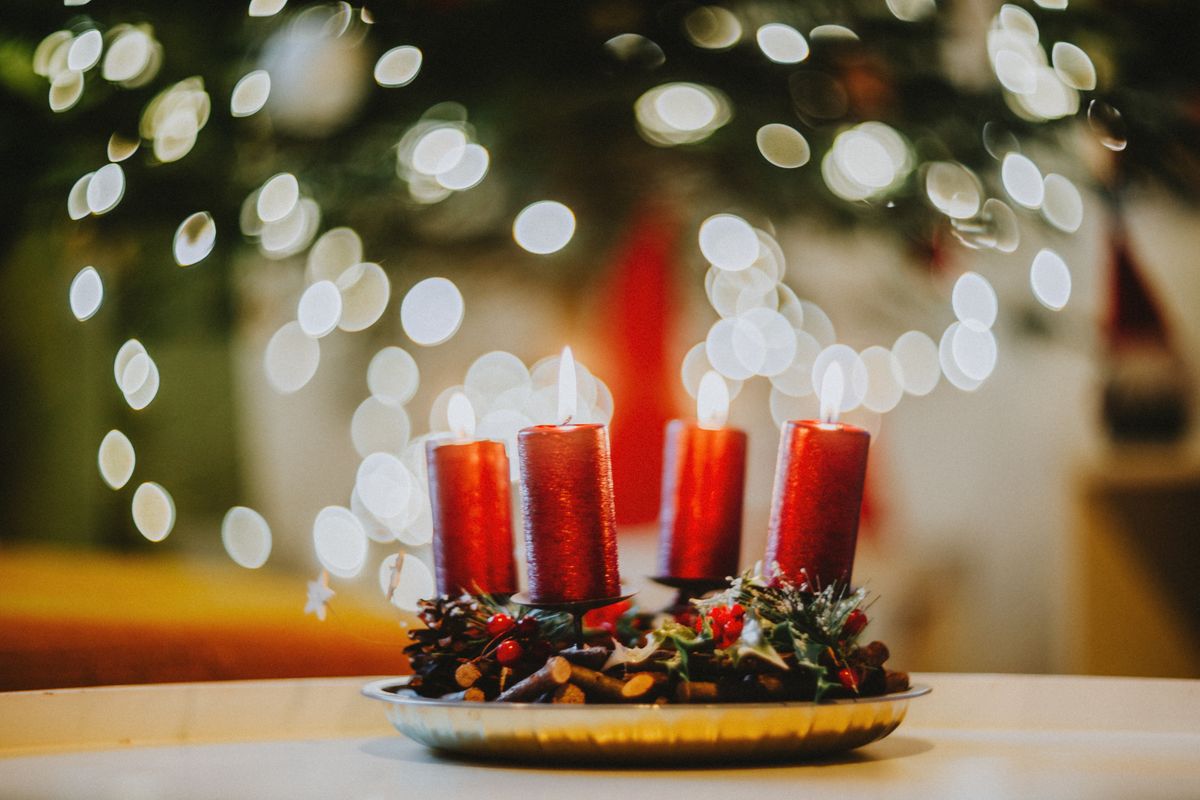
Containing the centrepiece in a tray changed everything for me, because I could lift the whole thing off when it was time to serve the turkey. I filled a long wooden tray with pinecones, three pillar candles, and a handful of cinnamon sticks, then set it in the middle of the table. It looked finished in ten minutes, and when the food arrived, I simply moved the tray to the sideboard. The watch-out is height: my first version had candles so tall that guests had to lean around them to talk, so I switched to shorter pillars and it worked perfectly. I have reused that same tray for three Christmases now, swapping only the greenery.
Cost: $10–$30 | Time: 20 minutes | Difficulty: Easy
Pro Tip: Choose a tray at least two inches shorter than your table width on each side, so plates and elbows never collide with it.
7. Place Cards Tucked Into Mini Wreaths
I made tiny wreaths from rosemary sprigs tied into circles with twine, then tucked a handwritten name card into each one at every place setting. The rosemary smelled wonderful when guests picked them up, and several people took theirs home, which felt like a small gift. It took me a full evening in front of the television to make twelve of them, so it is not a last-minute idea, and that is the honest cost: time, not money. One wreath unravelled mid-dinner because I had tied it too loosely, so I now double-knot every one and test it with a gentle tug before the table is set.
Cost: $5–$15 | Time: 90 minutes for 12 | Difficulty: Medium
Pro Tip: Make the wreaths the night before and store them flat in a sealed container so the rosemary stays fresh.
8. Layered Plates With a Festive Charger
Sometimes the simplest upgrade is layering: a charger, a dinner plate, and a smaller salad plate, each in a slightly different tone. I used woven placemats, gold chargers, white dinner plates, and a patterned salad plate I already owned, and suddenly an ordinary set of dishes looked deliberate. I set this table in under thirty minutes, and it was the easiest of all my christmas tablescape ideas to clear, because the layers just stacked. The downside is storage: chargers are bulky, and mine live in a box on top of the wardrobe for eleven months of the year. If you are short on storage, borrow chargers or skip them and layer a cloth napkin under the plate instead.
Cost: $15–$40 | Time: 30 minutes | Difficulty: Easy
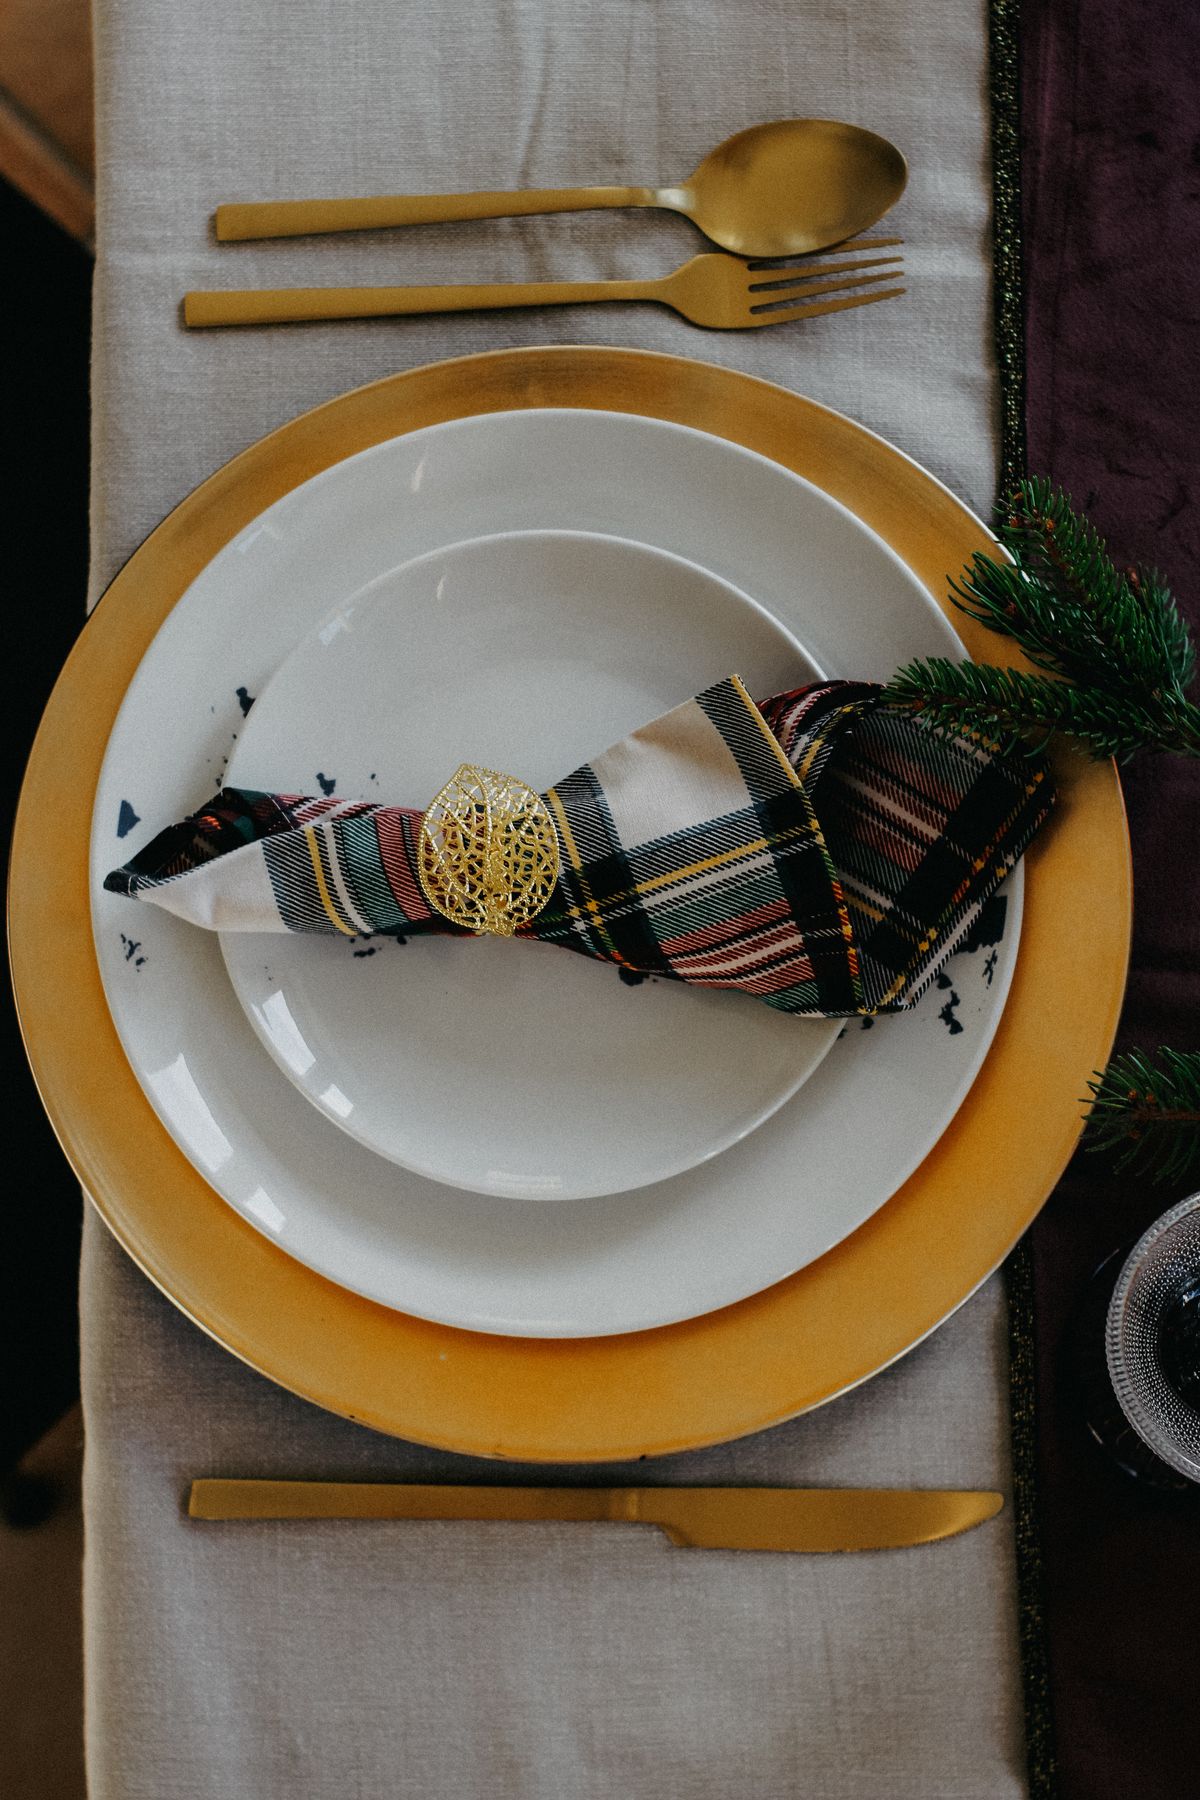
Pro Tip: Keep the charger larger than the dinner plate by at least an inch all round, or the layering looks accidental.
Also read: 17 Christmas Napkin Folding Ideas for napkin folds that pair beautifully with a layered place setting.
9. Ornaments in a Footed Bowl
When I am short on time, I fill a footed glass bowl with shatterproof ornaments in two colours and set it in the centre with a few sprigs of greenery around the base. It takes five minutes, it uses ornaments that would otherwise stay in a box, and it reflects the candlelight beautifully. I did this one Christmas morning when unexpected guests were coming for lunch, and it saved the table. The watch-out is that glass bowls show dust and fingerprints, so I wipe it with a dry cloth right before guests arrive, and I use shatterproof ornaments only, because a glass ornament rolling off a table is a disaster I have already lived through once.
Cost: $0–$20 | Time: 10 minutes | Difficulty: Easy
Pro Tip: Stick to two ornament colours plus greenery; three or more starts to look like the tree exploded onto the table.

10. Red Berry Branches in Tall Vases
For a tall, dramatic look that still lets guests talk, I put faux red berry branches in three slim vases of different heights down the centre of the table. Because the stems are thin, you can see straight through them, which solves the usual tall-centrepiece problem. I bought the branches on sale after Christmas one year, so they cost very little, and they have lasted five seasons without fading. The honest downside is that faux berries can look shiny and fake up close, so I mix in a few real pine sprigs at the base to fool the eye. It takes about fifteen minutes, and it works on a table of any length because you just add or remove a vase.
Cost: $10–$25 | Time: 15 minutes | Difficulty: Easy
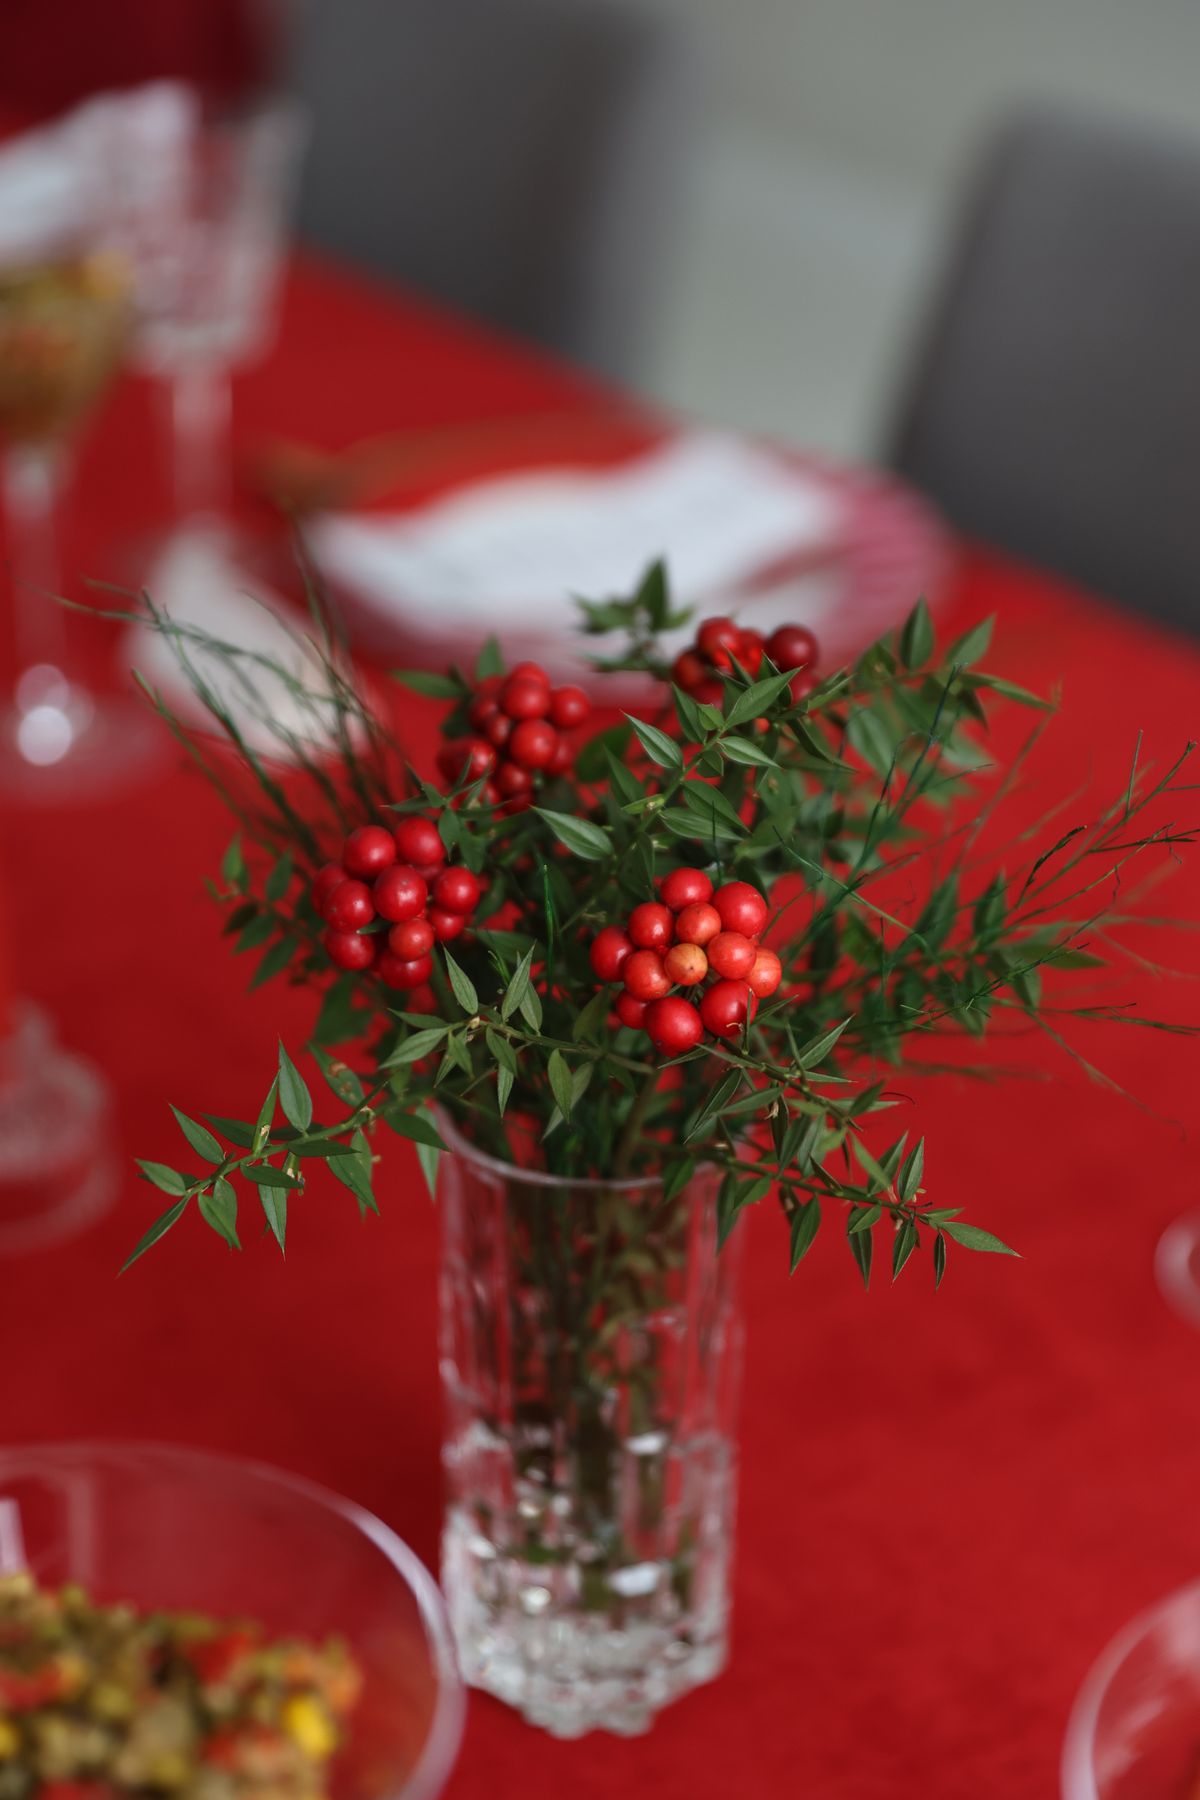
Pro Tip: Keep the tallest vase under fourteen inches if guests sit across from each other, or conversations will suffer.
11. A Kid-Friendly Table That Still Looks Good
When children eat at the main table, I swap the good cloth for a wipeable one, use sturdy coloured plates, and put a small paper activity sheet and a few crayons at each child’s place. The first year I did this, I braced myself for chaos, but the children were actually calmer because they had something to do while adults talked. It took me twenty minutes, and cleanup was a single wipe instead of a stain-removal project. The downside is that it does look a little less elegant, and I accept that trade happily: a relaxed table beats a perfect one. I keep the adult end of the table a touch dressier, with proper glasses and a candle, so it still feels like Christmas.
Cost: $10–$25 | Time: 20 minutes | Difficulty: Easy
Pro Tip: Put the children’s cups with lids on the table, even for older kids; one tipped juice glass can end a beautiful tablescape in seconds.
12. Candlelight Only, No Overhead Light
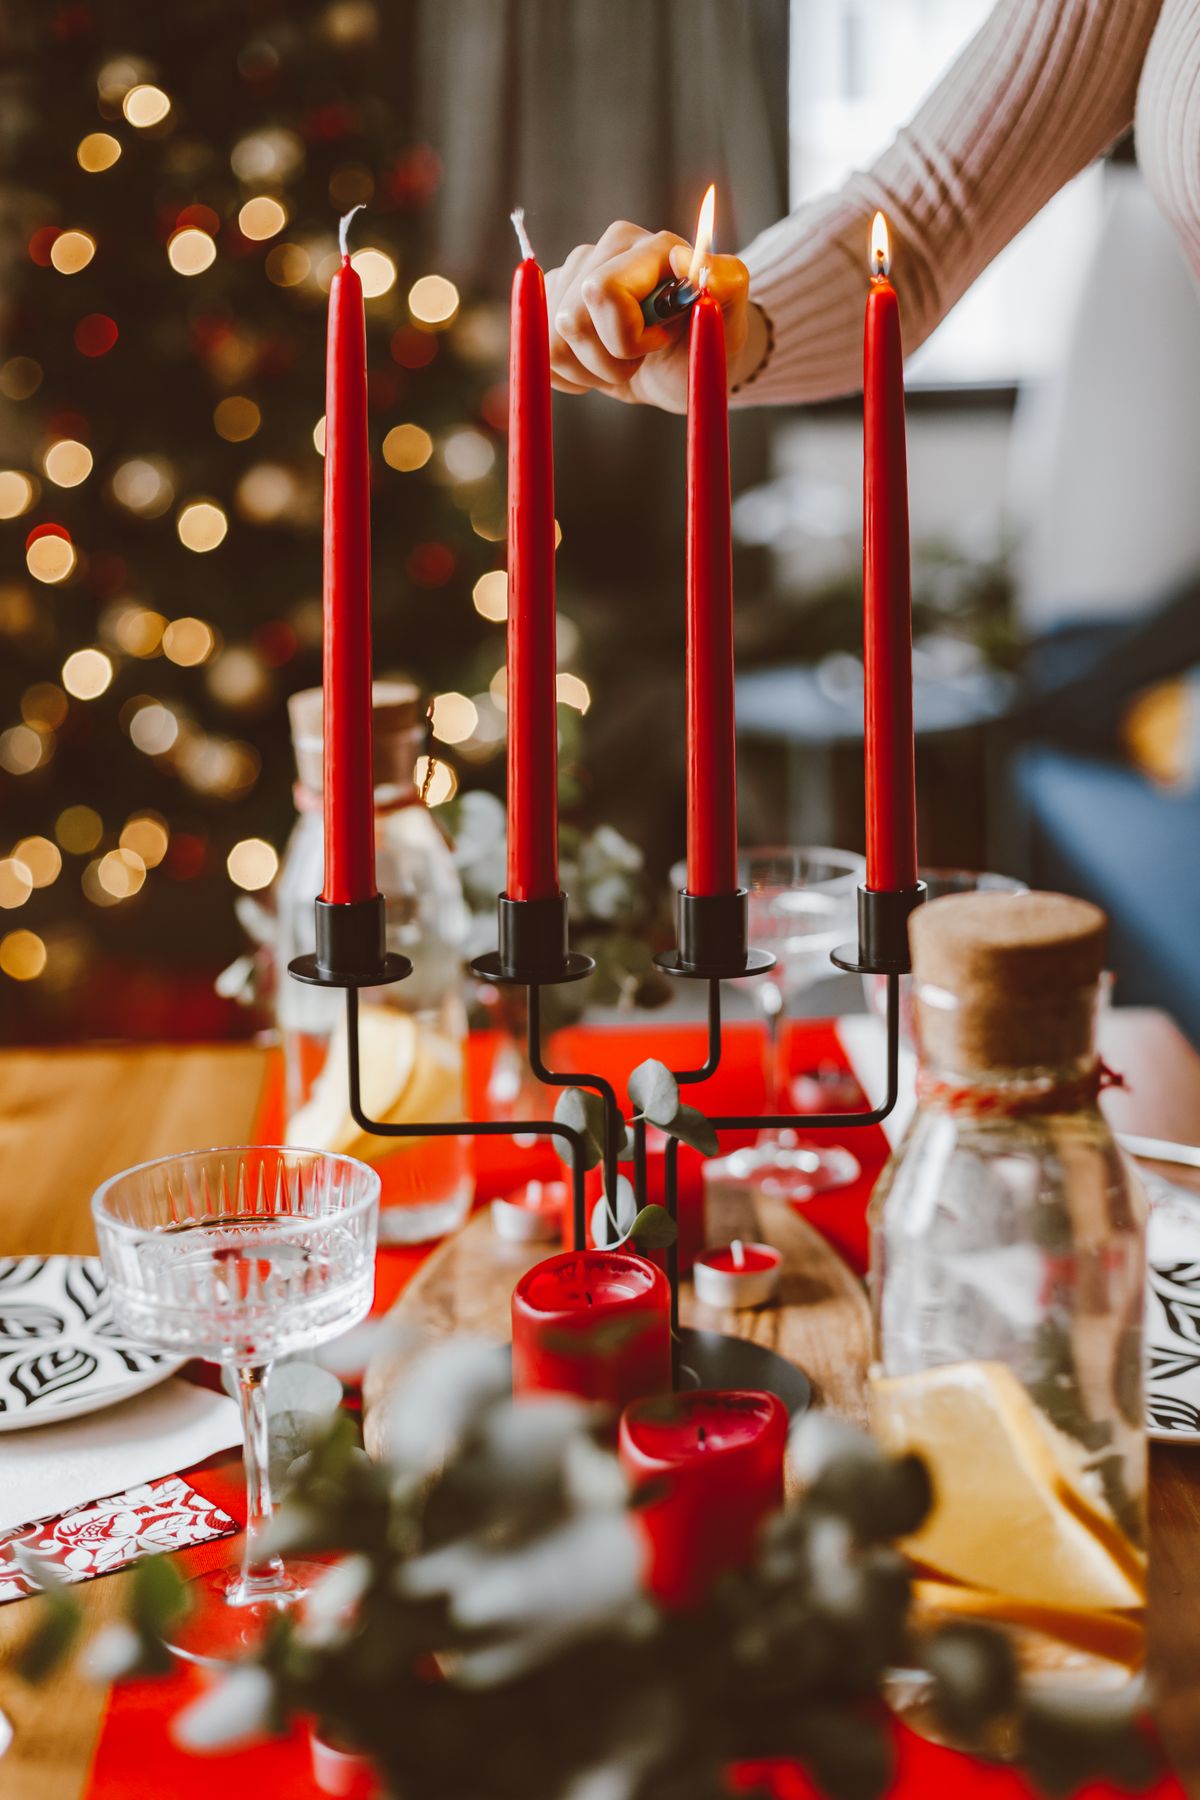
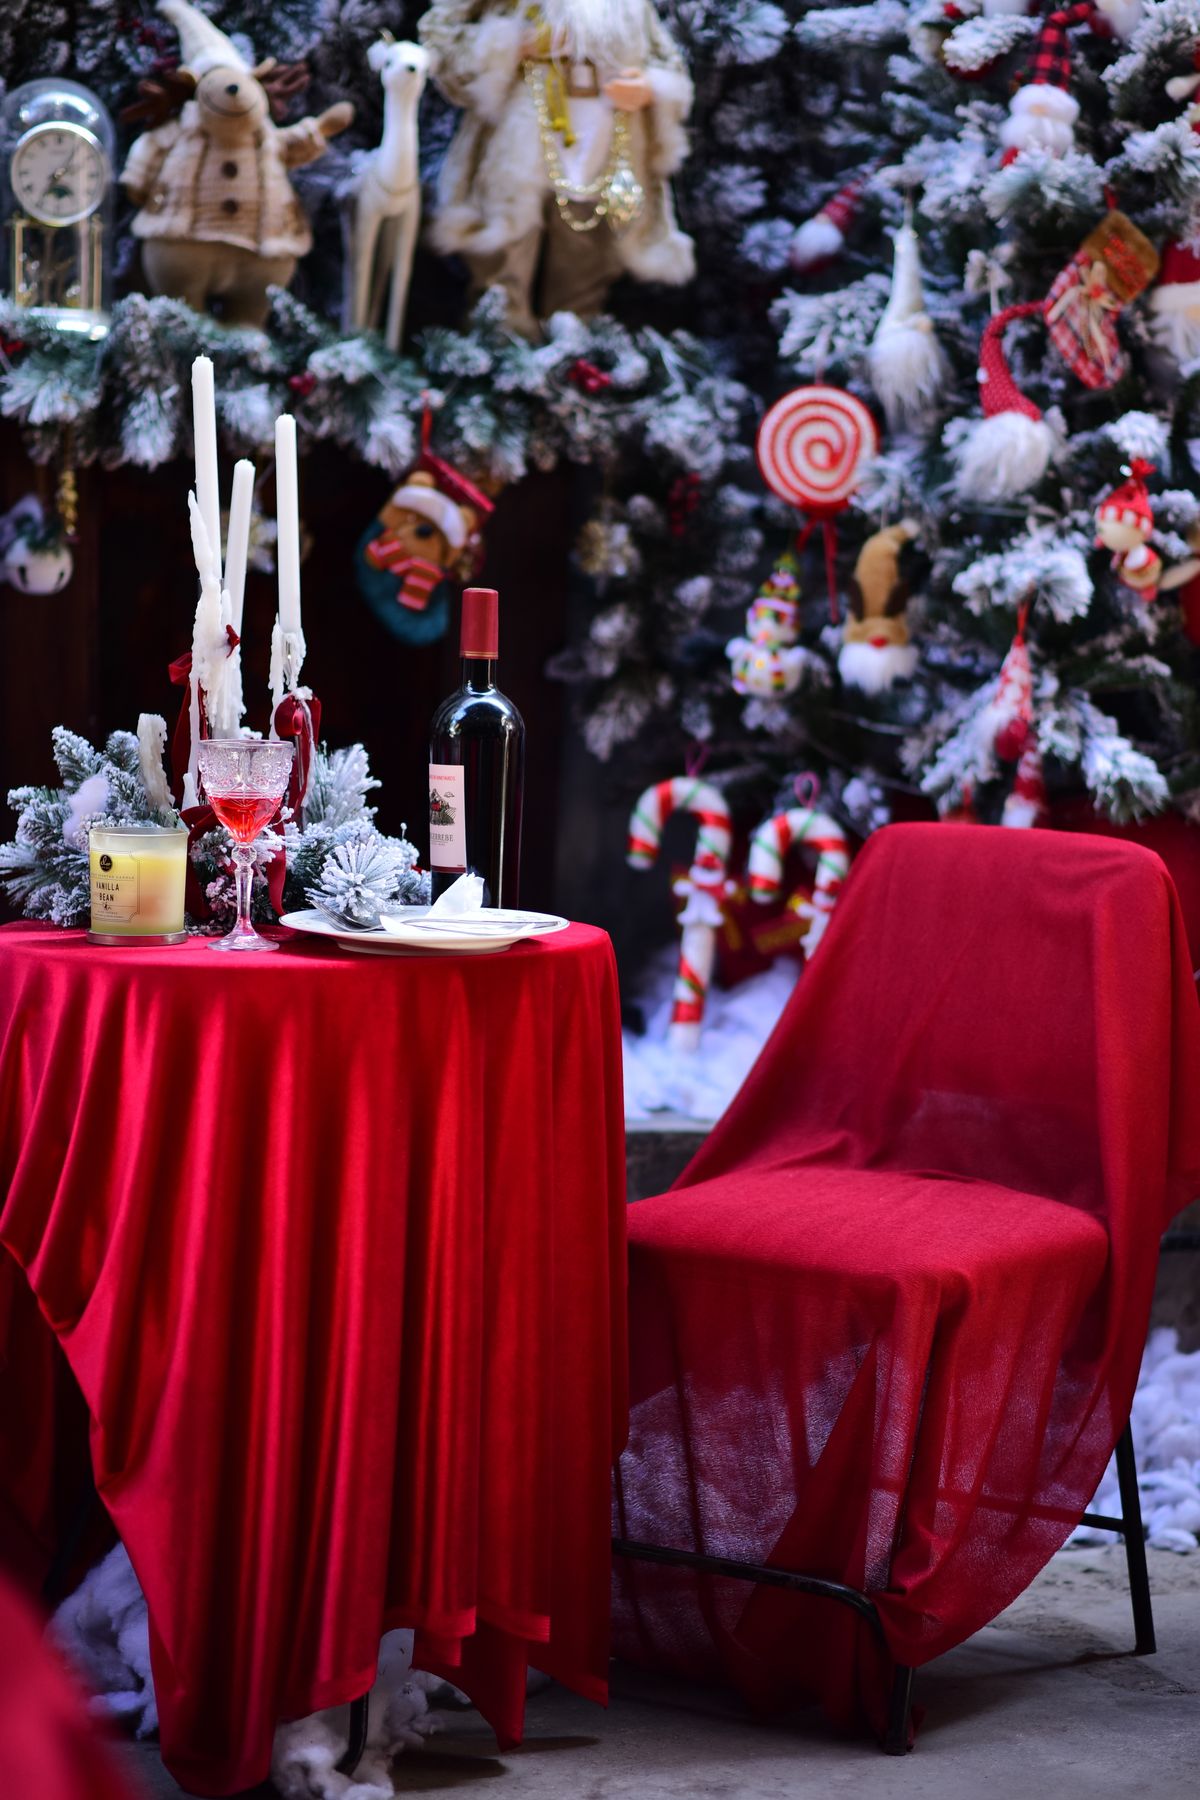
One Christmas Eve, our dining room bulb blew just before dinner, and I ended up serving by candlelight alone. It was so beautiful that I have repeated it deliberately ever since: I dim the overhead light, light every candle on the table, and let the room glow. I use a mix of pillar candles and tea lights in glass holders, about twelve in total for a table of eight, and the whole room feels softer and more forgiving. The watch-out is practical: guests need enough light to see their food, so I always leave one low lamp on in the corner, and I count candles before and after dinner to make sure none has been knocked into a napkin.
Cost: $10–$25 | Time: 15 minutes | Difficulty: Easy
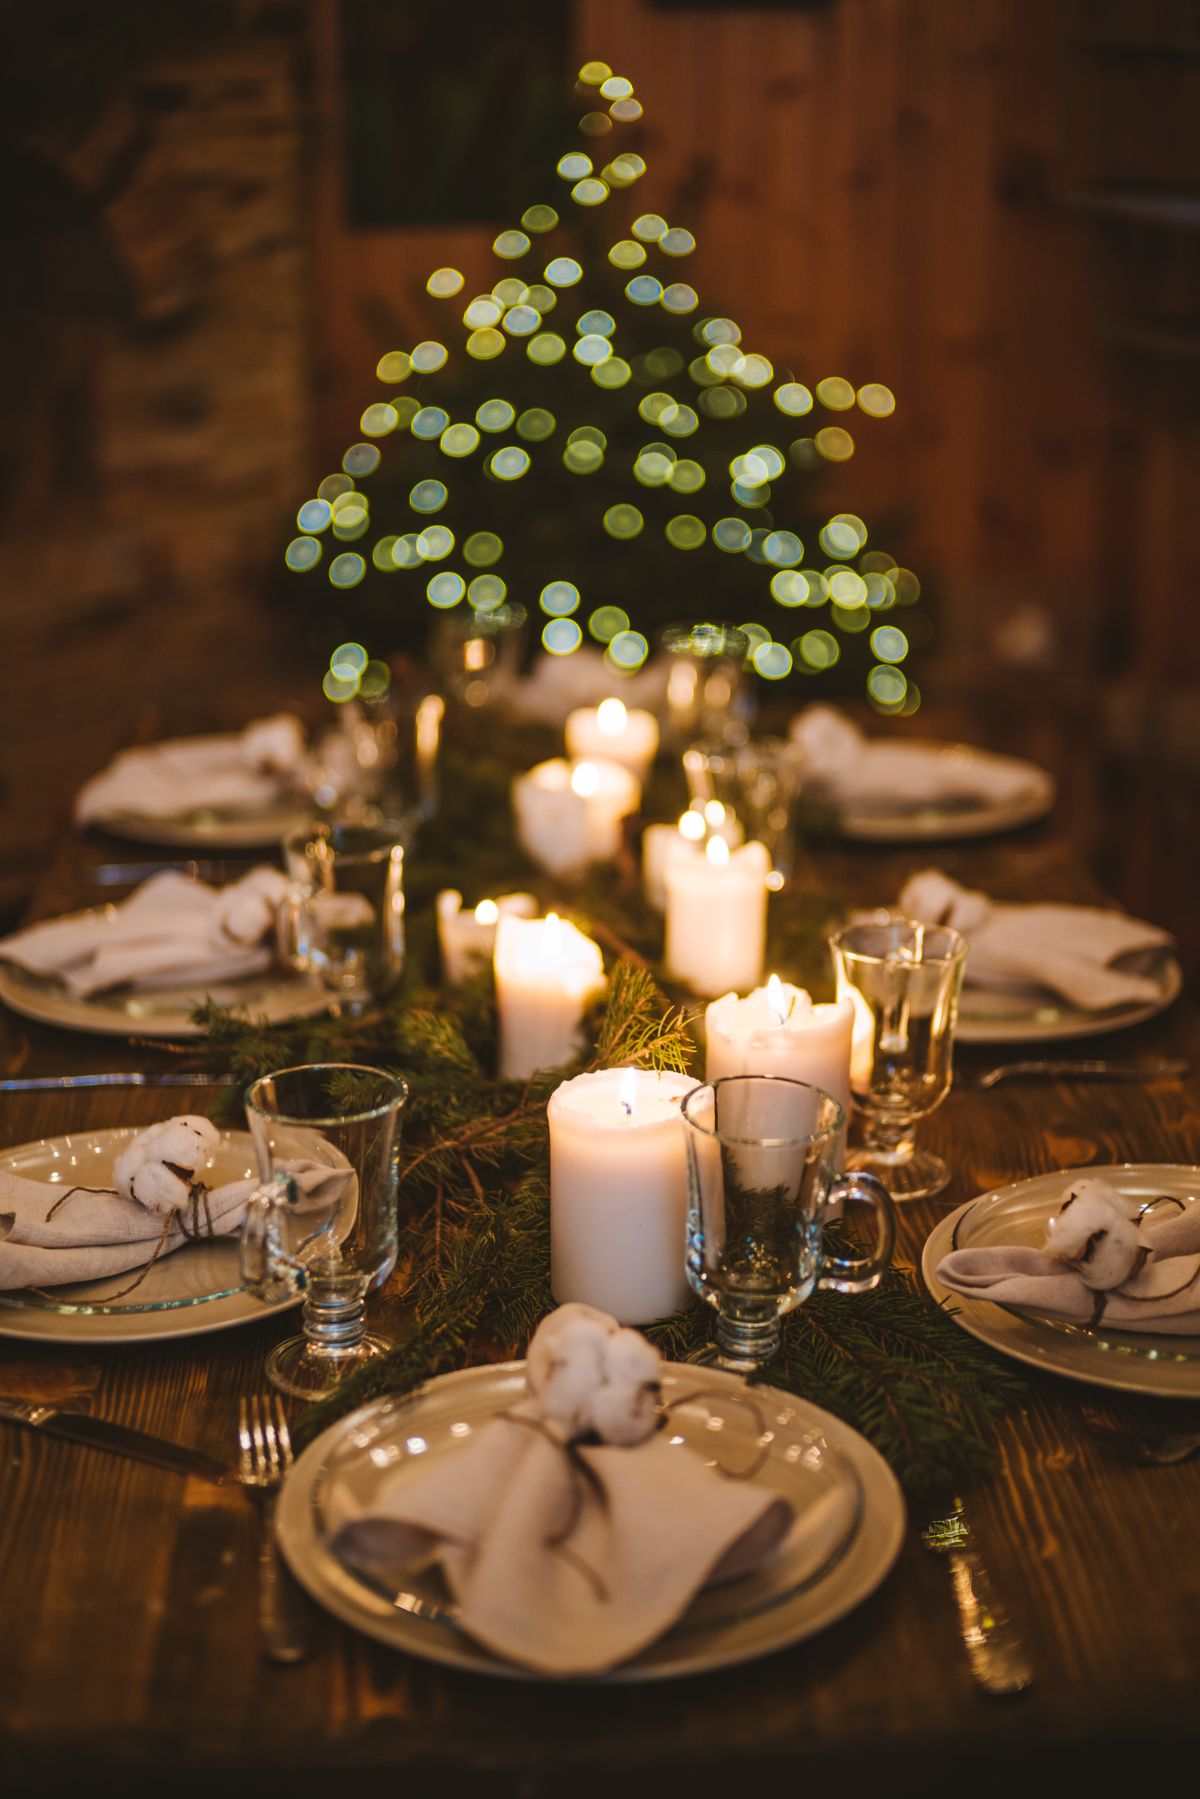
Pro Tip: Light candles in the kitchen first to check they all burn evenly, then carry them to the table already lit.
13. Natural Pinecone Place Settings
I collected pinecones on a November walk, baked them at a low heat to kill any bugs, and used one at each place setting with a name tag tied on with twine. It cost nothing, it looked charming against plain linen napkins, and guests loved taking them home. The whole project took an afternoon including the walk, though the baking and cooling added about two hours of waiting. The downside is that pinecones are dusty and a little sappy, so I never put them directly on a good cloth; a small square of kraft paper under each one solves it. If you skip the baking step, you may find a tiny visitor later, and I speak from unfortunate experience.
Cost: $0–$10 | Time: 2 hours including baking | Difficulty: Easy
Pro Tip: Bake pinecones at 200°F for about 30 minutes on a foil-lined tray, then let them cool completely before handling.
14. Mix-and-Match Vintage Plates
Over the years I have inherited odd plates from relatives, and one Christmas I stopped hiding them and set a deliberately mismatched table: every place had a different patterned plate, tied together by the same cream napkin and gold cutlery. Guests spent the first ten minutes comparing patterns and telling stories about their own family dishes, which was the best dinner conversation we had all year. It cost me nothing, and it took no longer than a normal setting. The honest downside is that mismatched plates can look messy rather than charming if the colours clash wildly, so I keep them all within a blue-and-white or red-and-cream family and let the patterns vary instead.
Cost: $0 | Time: 25 minutes | Difficulty: Easy
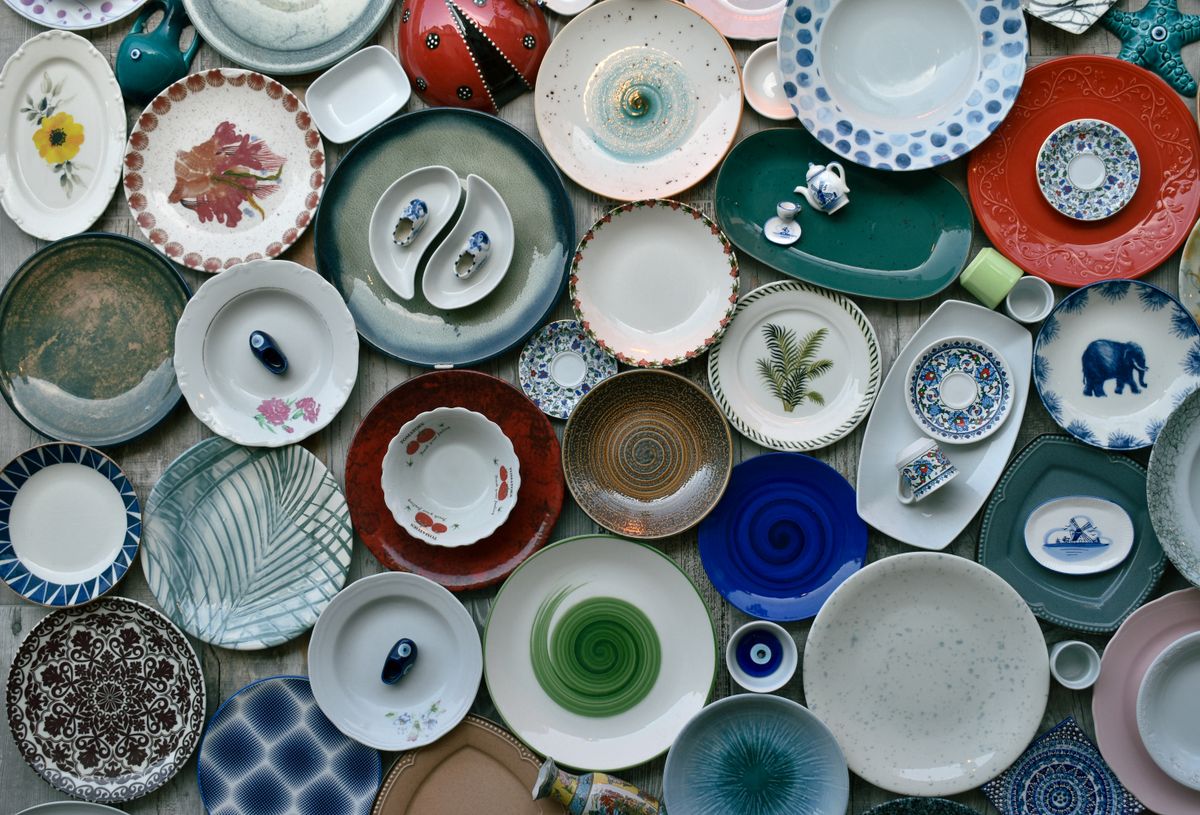
Pro Tip: Use identical glasses and cutlery for everyone; matching the small things makes mismatched plates look intentional.
15. A Long Low Garland With Fairy Lights
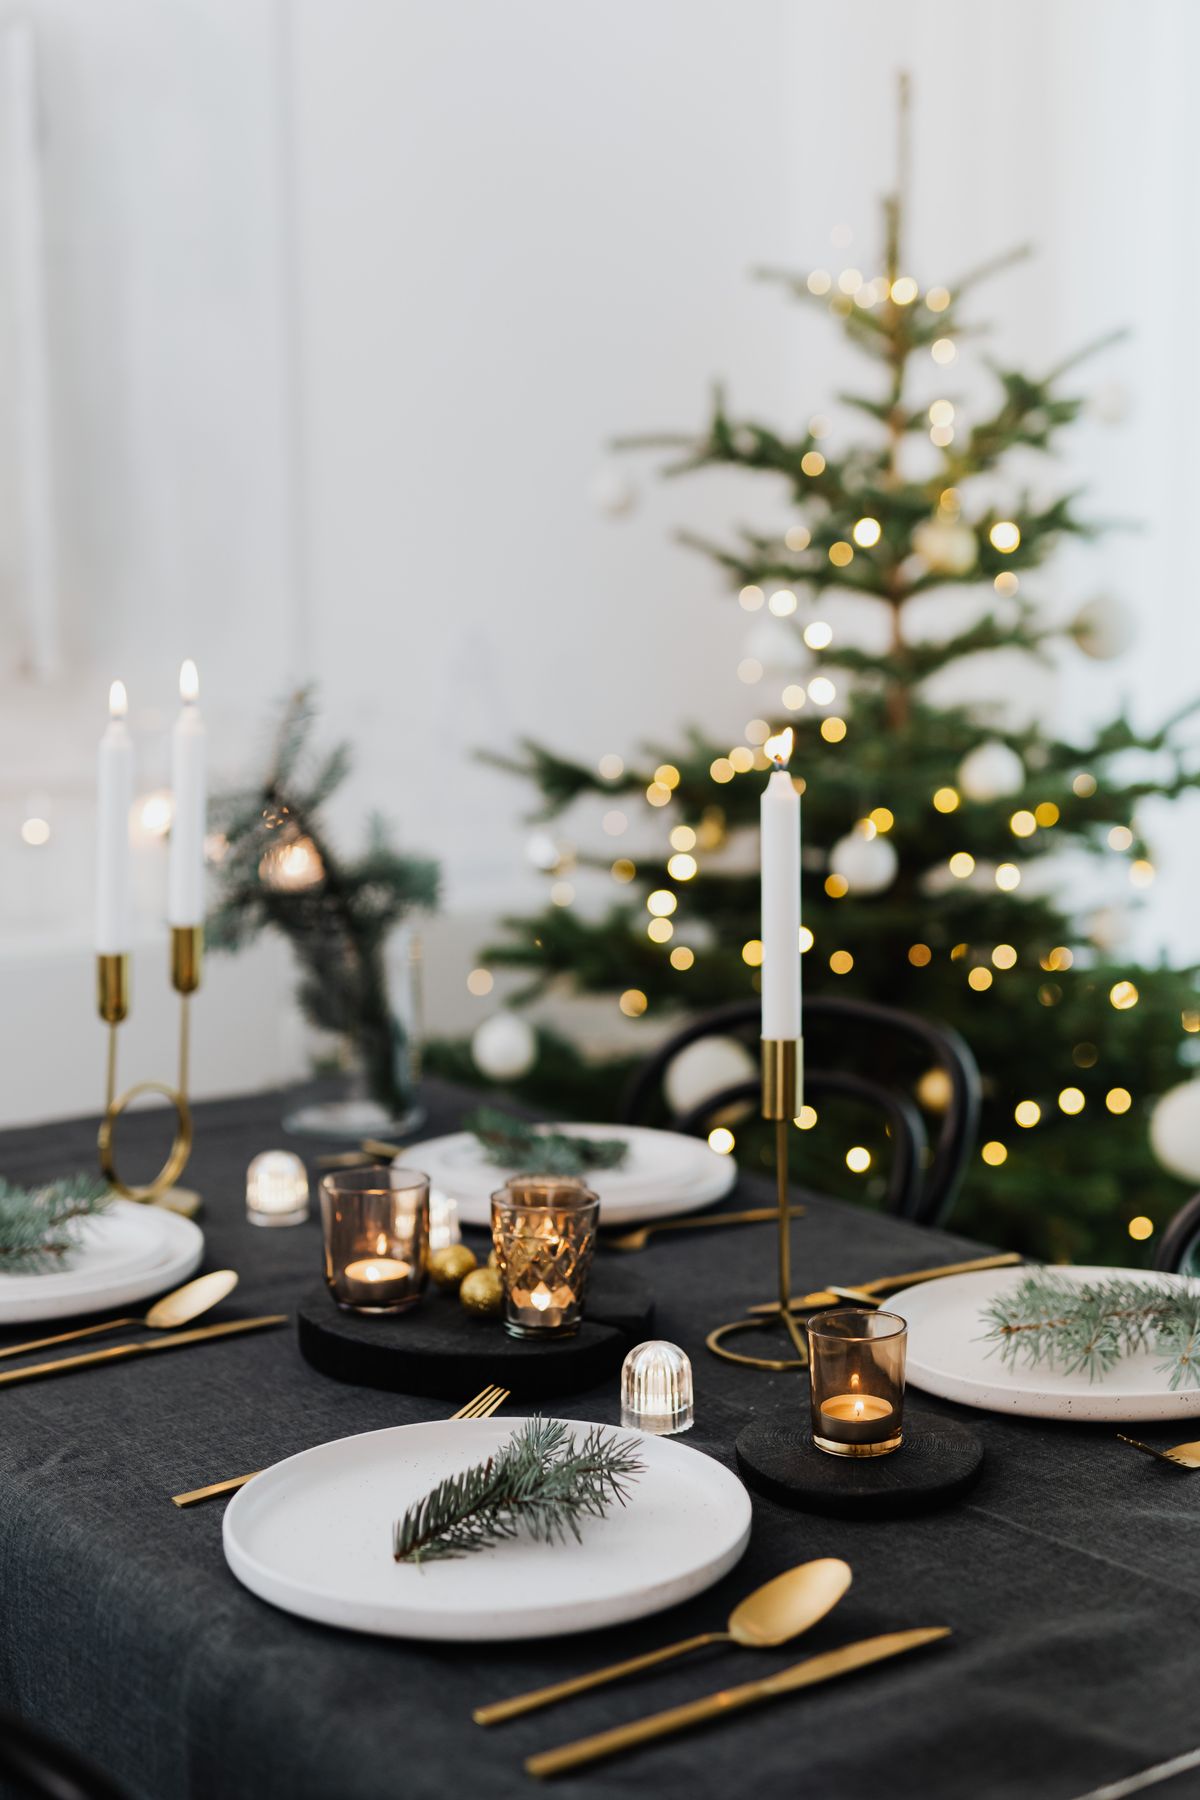
For a long table, I run a faux pine garland down the centre, tuck battery fairy lights through it, and add a few ornaments and pinecones along its length. I did this for a party of fourteen, and it was the only centrepiece that worked at that scale without costing a fortune or blocking anyone’s view. It took about forty minutes to fluff and arrange, and the lights made the whole room feel warm once it got dark. The watch-out is the battery pack: mine died halfway through dinner the first year, so I now use fresh batteries and a timer pack, and I test the lights the night before. Faux garland also sheds plastic needles over time, so I shake it outside before bringing it in.
Cost: $15–$35 | Time: 40 minutes | Difficulty: Easy
Pro Tip: Fluff the garland branches outward before you add lights; a flat garland looks thin no matter how many ornaments you add.
16. Personal Photo Place Markers
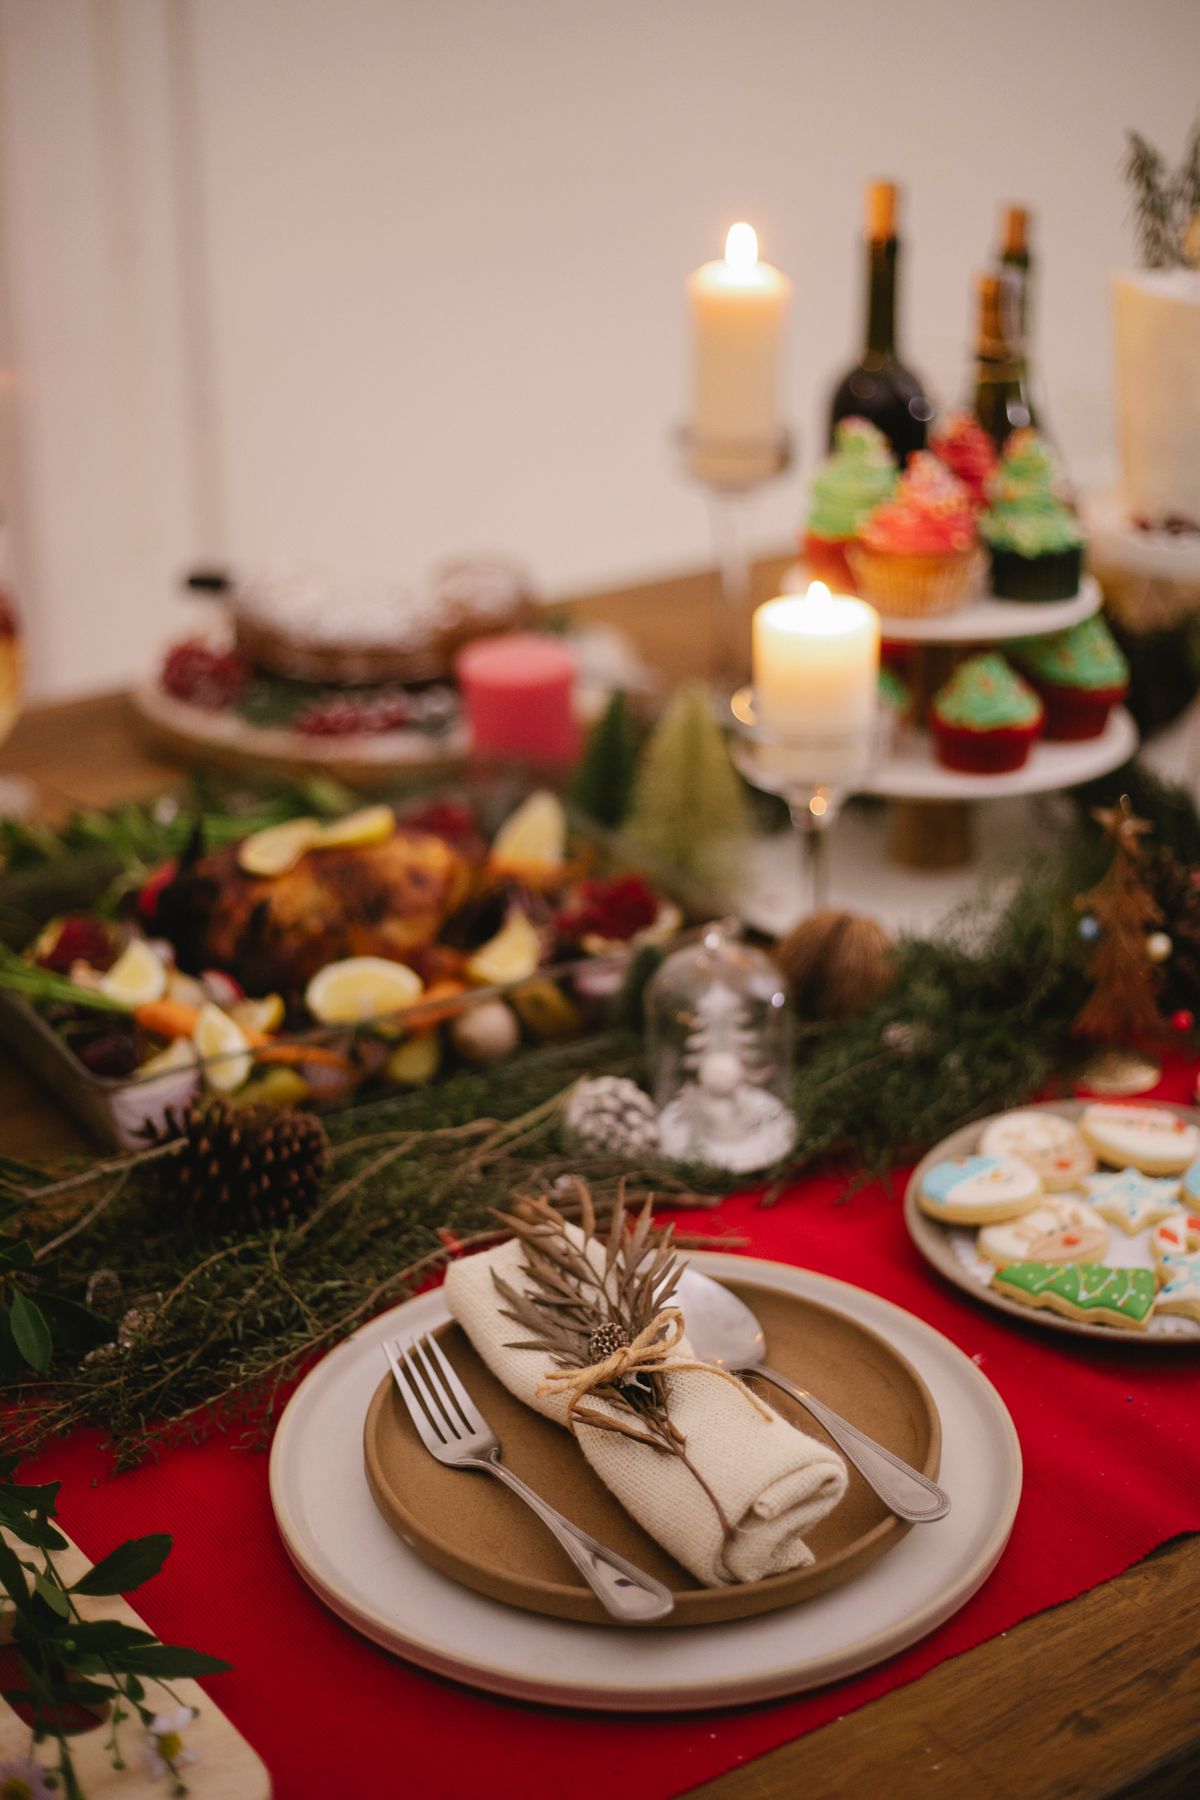
One year, instead of name cards, I printed small photos of each guest and propped them against the water glass at every place. People laughed, swapped photos, and took them home as keepsakes, and it solved the awkward question of where everyone should sit. It took me an evening to print and trim them, and I used plain card stands I already had. The downside is that it only works if you know your guest list well in advance and have a decent photo of everyone; a blurry phone screenshot does not flatter anyone. I also learned to print two copies of each, because one always gets splashed or taken by the wrong person.
Cost: $5–$15 | Time: 60 minutes | Difficulty: Easy
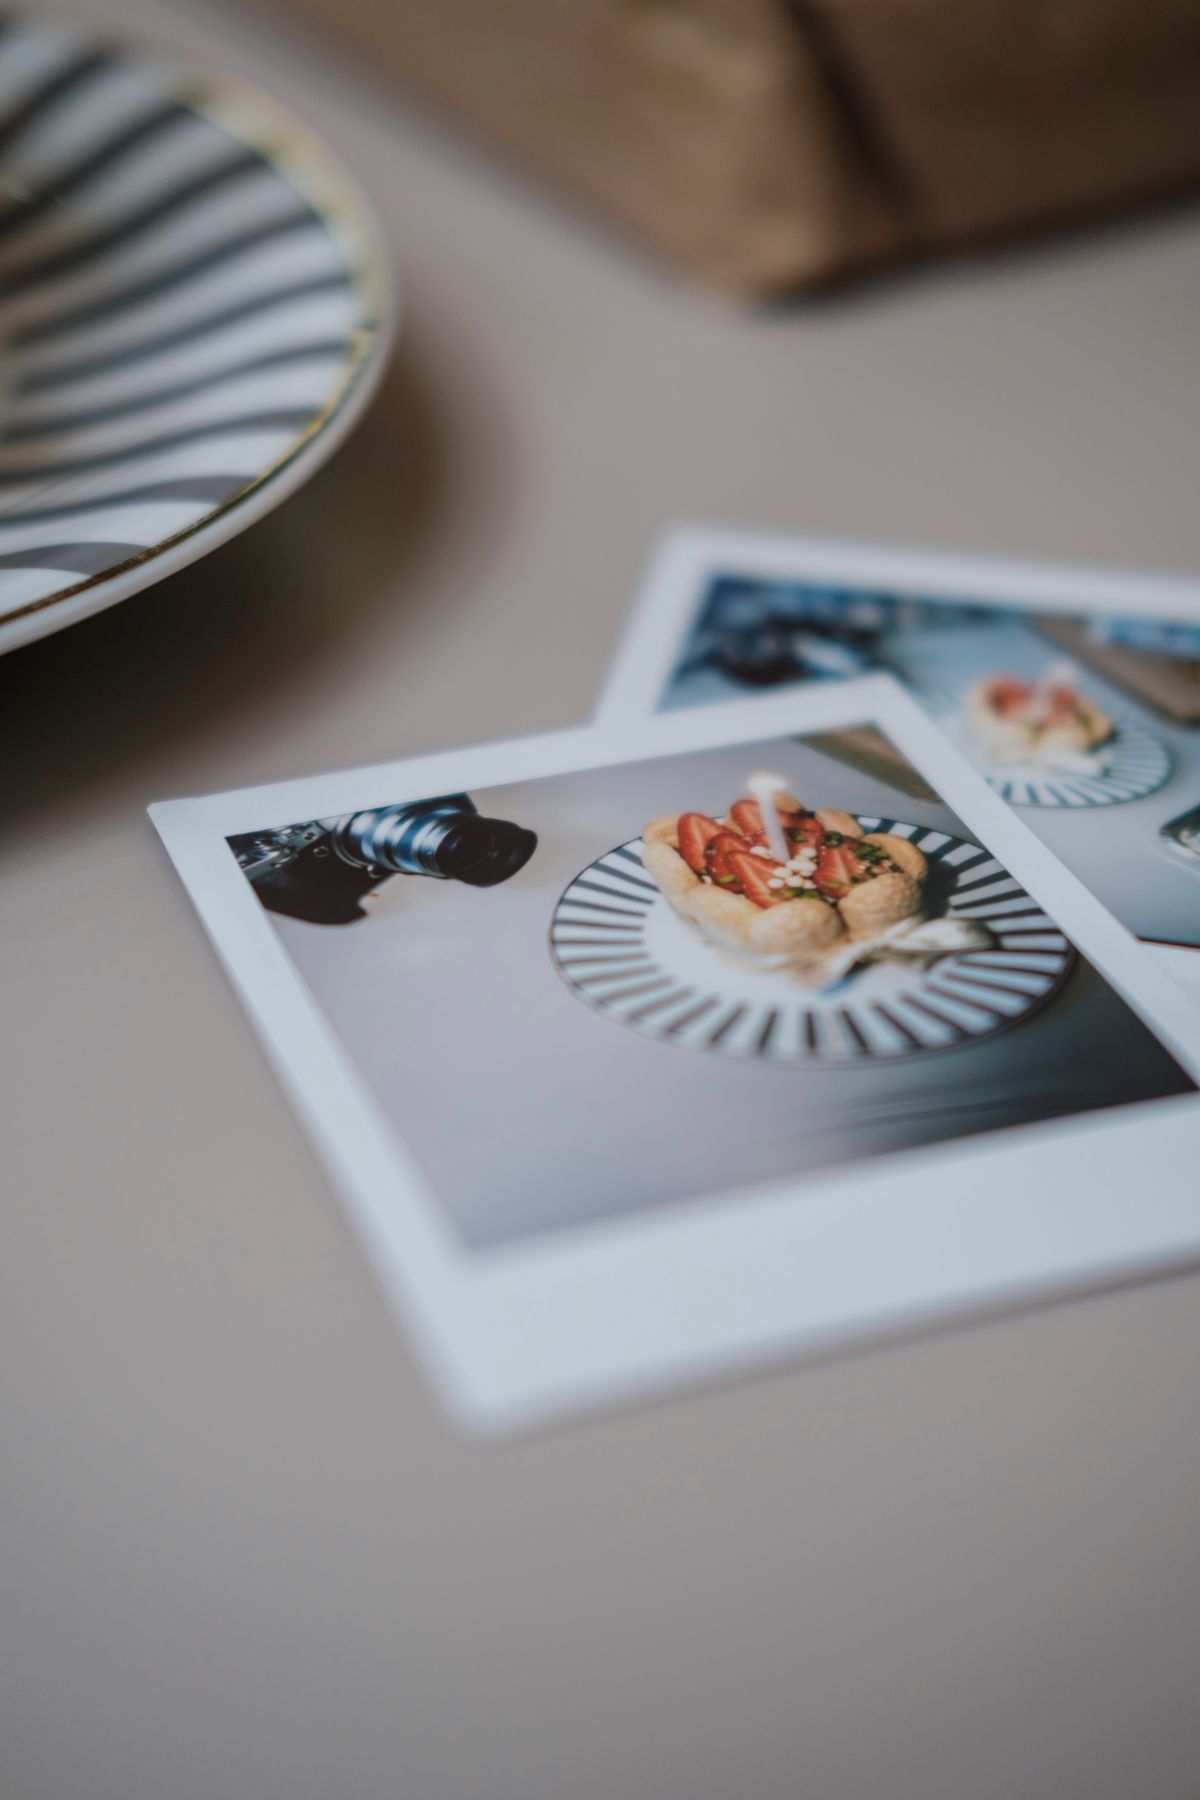
Pro Tip: Print photos in black and white for a classic look that matches any colour scheme.
Related article: 21 Christmas Tree Decorating Ideas if you want the tree and the table to feel like they belong together.
17. The Night-Before Table (My Christmas Tablescape Ideas Finale)
My final idea is not a look at all, but a habit: set the entire table the night before, candles unlit, glasses upside down to stay dust-free, and napkins folded. On Christmas morning, all I do is flip the glasses, light the candles, and add fresh greenery. I started this after one frantic morning when I was setting the table while the turkey was already resting, and I have never gone back. It takes the same total time, but it moves the stress to the evening before, when I actually enjoy it with a cup of tea. The only watch-out is pets and small children: I cover the table with a clean sheet overnight if the cat is feeling curious, which she usually is.
Cost: $0 | Time: 45 minutes the night before | Difficulty: Easy
Pro Tip: Take a photo of the finished table the night before; if anything gets disturbed, you can reset it in minutes.
Mistakes I Made (So You Don’t Have To)
1. A centrepiece taller than my guests’ heads. My first Christmas table had a huge floral arrangement in the middle, and my sister and I shouted at each other around it all evening. Now nothing solid goes above eye level, and tall things are always slim enough to see through.
2. Scented candles next to the food. I once used strongly scented pine candles, and by the main course, the turkey tasted faintly of air freshener. I use unscented candles on the table now and save scented ones for the hallway.
3. Setting the table on Christmas morning. Doing it while cooking meant rushing, forgetting the salt, and laying one place setting short. Setting it the night before is the single biggest stress-saver I know.
4. Buying everything new every year. I used to buy a whole new theme each December, which cost a fortune and filled the loft with boxes. Now I buy one new element a year and reuse the rest, and the table looks better for it.
Which Tablescape Should You Choose?
| Look | Best For | Cost | Effort |
|---|---|---|---|
| Red and gold classic | Traditional family dinner | $25–$60 | Medium |
| Fresh greenery runner | A fragrant, natural feel | $0–$15 | Medium |
| Rustic candlelight | Small, quiet evenings | $15–$40 | Low |
| All-white winter | A calm, elegant room | $20–$50 | Medium |
| Tray centrepiece | Easy serving and clearing | $10–$30 | Low |
| Garland with lights | Long tables, big parties | $15–$35 | Medium |
| Kid-friendly table | Families with young children | $10–$25 | Low |
Frequently Asked Questions
How far in advance can I set a Christmas table?
I set mine the night before, with glasses upside down and candles unlit. Fresh greenery goes on the morning of the dinner so it does not dry out, and I add any fresh flowers at the last minute.
How do I keep a centrepiece from blocking conversation?
Keep solid pieces below eye level when you are seated, or use slim vases and bare branches you can see through. Before guests arrive, sit in every chair and check that you can see the person opposite you.
How long did your fresh greenery tablescape actually last?
About four days before it looked tired, with needles dropping from day three. If you need a table to last a full week, use faux greenery and add a few fresh sprigs only on the day itself.
What would you do differently next Christmas?
I would buy fewer new decorations and spend the money on better candles and a cloth I truly love. The table I enjoyed most was the simplest one, and I keep relearning that lesson every year.
Read this next: 21 Christmas Mantel Decor Ideas to carry the same look from the table to the fireplace.
Final Thoughts
A Christmas tablescape does not need to be perfect to be memorable. The tables my family talks about years later were not the most polished ones; they were the ones where everyone could see each other, reach the food, and relax. Pick one idea from this list, set it the night before, light the candles when guests sit down, and then stop fussing and enjoy your own dinner. That is the whole secret, and it has never failed me yet.