18 DIY Wall Decor Ideas With Paper That Look Far From Flimsy
Paper gets dismissed as flimsy, but on a wall it can look soft, sculptural, and surprisingly expensive. These diy wall decor ideas with paper are the ones I made, hung, and lived with, and I kept only the ones that did not curl, fade, or fall down within a month.
How I picked these: I made each piece myself, hung it in a real room, and checked it after two weeks of sun, steam, and everyday life. I kept a project only if it still looked intentional after that test, and every idea below tells you what it cost, how long it took, and where it went wrong.
Key Takeaways
- Use thick paper or cardstock for wall pieces, or they will curl within days.
- Hang paper away from direct sun and steam, or colours will fade fast.
- Test your hanging method on one piece before you commit to a whole wall.
- Layer paper for depth, flat single sheets usually look thin from across a room.
- Keep paper decor indoors, it is not made for porches or bathrooms.
18 DIY Wall Decor Ideas With Paper
1. The Paper Flower Wall
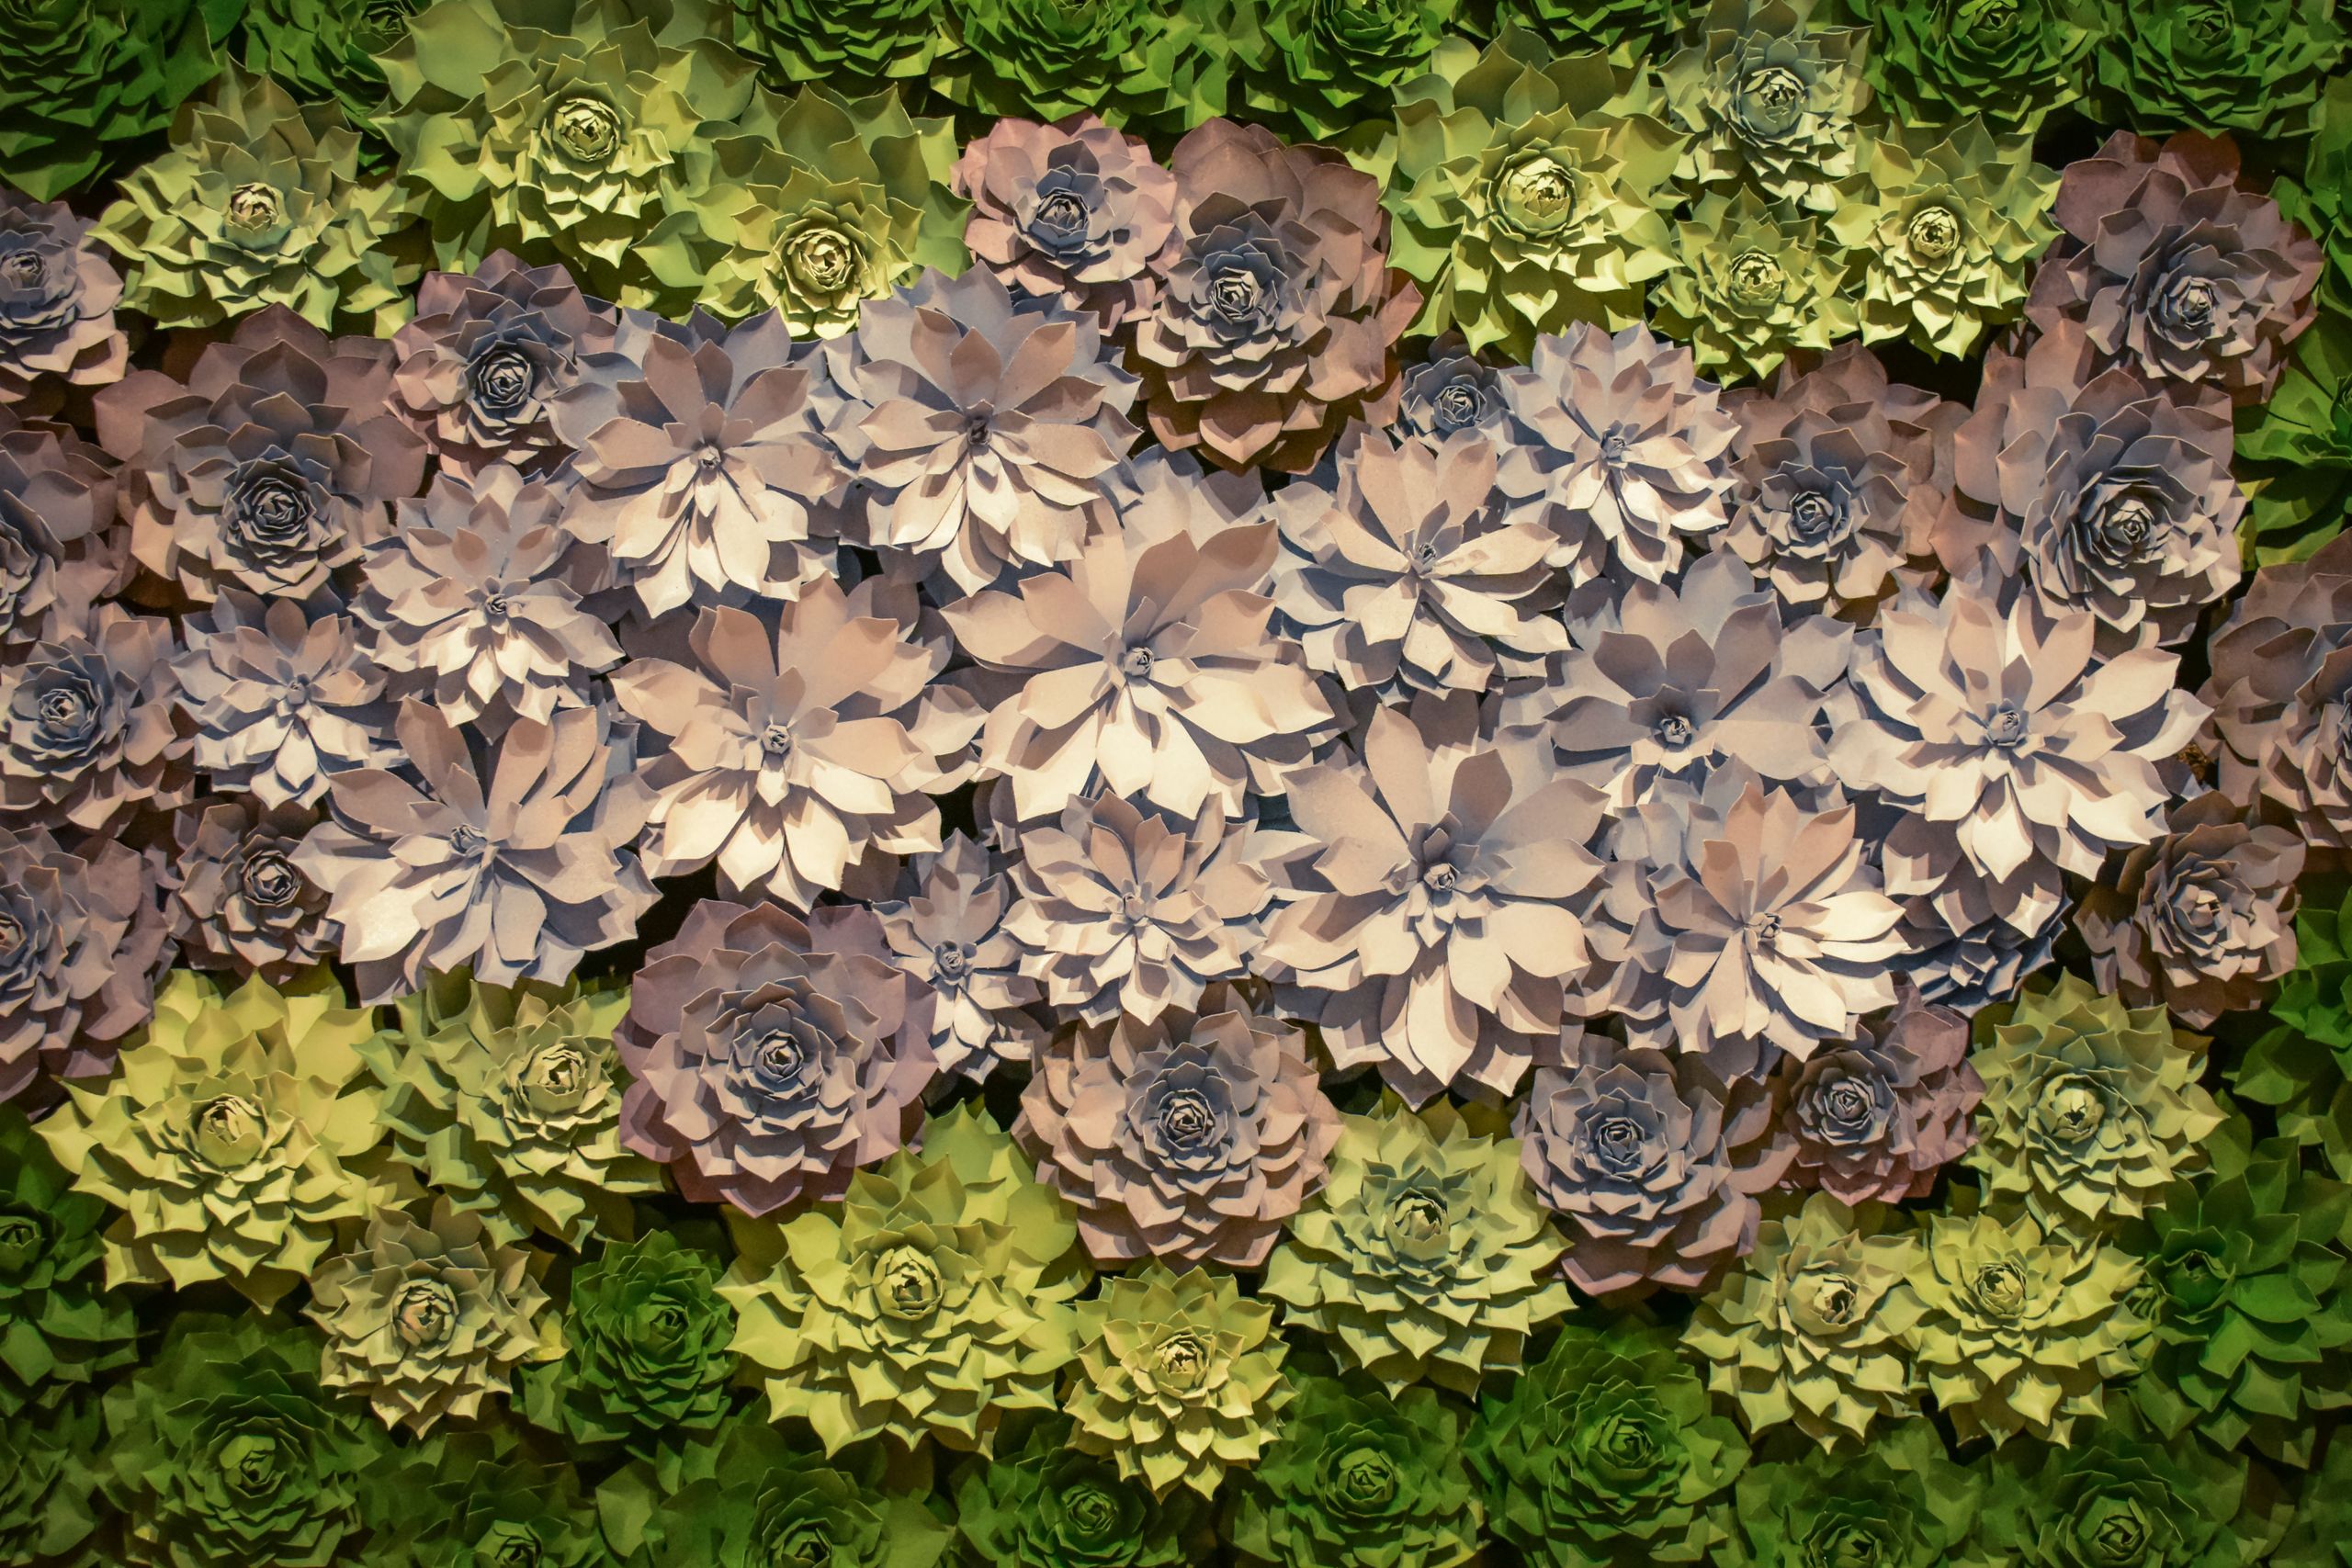
I made large paper flowers from cardstock, folding and curling each petal by hand, then arranging five flowers in a cluster on my living room wall. I used a simple petal template, hot glue for assembly, and command strips for hanging, so no holes were needed.
The downside is dust. My first flowers collected dust in the folds within a month, so I now dust them with a dry microfibre cloth weekly. They still look fresh after six months, and guests always ask if they are real.
Pro Tip: Dust paper flowers weekly with a dry cloth, or dust settles into every fold.
Cost / Time / Difficulty: $8 to $15 for five flowers | 3 hours | Medium

2. The Paper Butterfly Swarm
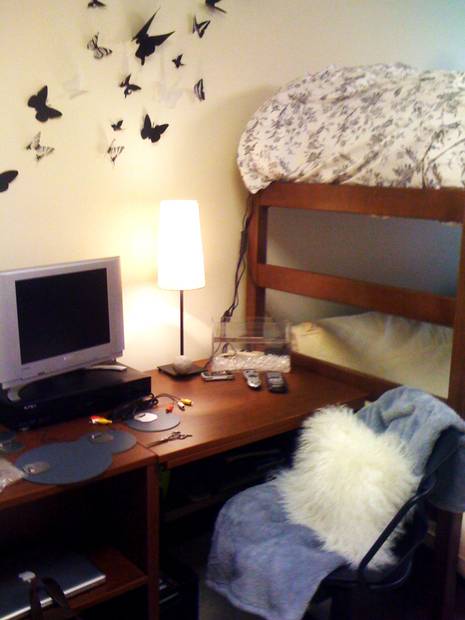
I cut butterflies from coloured cardstock, folded their wings slightly upward, and stuck them to the wall in a rising swarm pattern. I used foam adhesive dots, which hold the wings out from the wall and create shadows that make the swarm look alive.
The downside is falling butterflies. My first swarm lost three butterflies in a week because I used plain tape, so I switched to foam dots and tested one overnight. No butterflies have fallen since, and the swarm still climbs the stairwell wall.
Pro Tip: Use foam adhesive dots, not tape, so paper butterflies stay up and their wings stand out.
Cost / Time / Difficulty: $5 to $10 for twenty butterflies | 2 hours | Easy
3. The Geometric Paper Wall Art
I folded cardstock into geometric shapes, triangles and diamonds, and arranged them in a grid on a backing board. I used three shades of the same colour, kept the spacing even with a ruler, and framed the board for a finished look.
The downside is spacing drift. My first grid drifted out of line because I eyeballed it, so I drew a light pencil grid on the backing first and erased it after gluing. The finished piece looks precise, like a print, not a craft project.
Pro Tip: Draw a light pencil grid on the backing first, or a geometric layout will drift.
Cost / Time / Difficulty: $6 to $12 per piece | 2 hours | Medium

4. The Paper Leaf Garland
I cut leaves from green and gold cardstock, strung them on twine with small gaps, and hung the garland across a mantel. I used a leaf template, folded each leaf down the middle for dimension, and spaced them by hand.
The downside is tangling. My first garland tangled in storage because I coiled it loosely, so I now wrap it around a piece of cardboard for storage. It unrolls cleanly every time, and I reuse it each autumn.
Pro Tip: Store paper garlands wrapped around cardboard, or they will tangle in a drawer.
Cost / Time / Difficulty: $4 to $8 per garland | 1 to 2 hours | Easy

5. The Framed Paper Quote
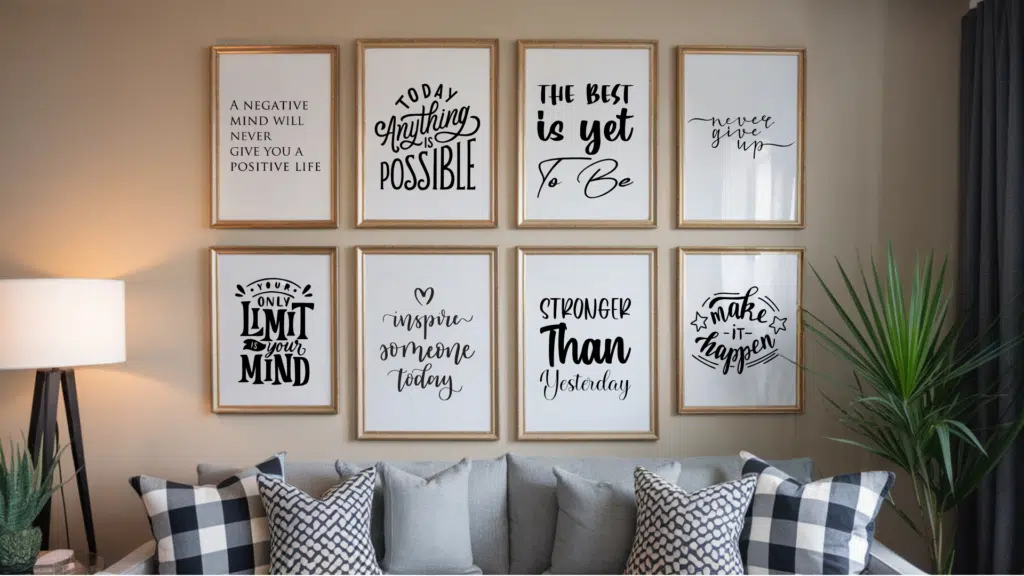
I printed a favourite quote in large type, mounted it on coloured cardstock, and framed it in a simple wooden frame. I chose a short quote, kept the type large and centred, and left plenty of white space so the words could breathe.
The downside is glare. My first frame had reflective glass that made the quote unreadable in daylight, so I switched to non-glare glass. The quote now reads from across the room, even in bright sun.
Pro Tip: Use non-glare glass for framed paper quotes, or daylight will hide the words.
Cost / Time / Difficulty: $8 to $15 per frame | 30 minutes | Easy
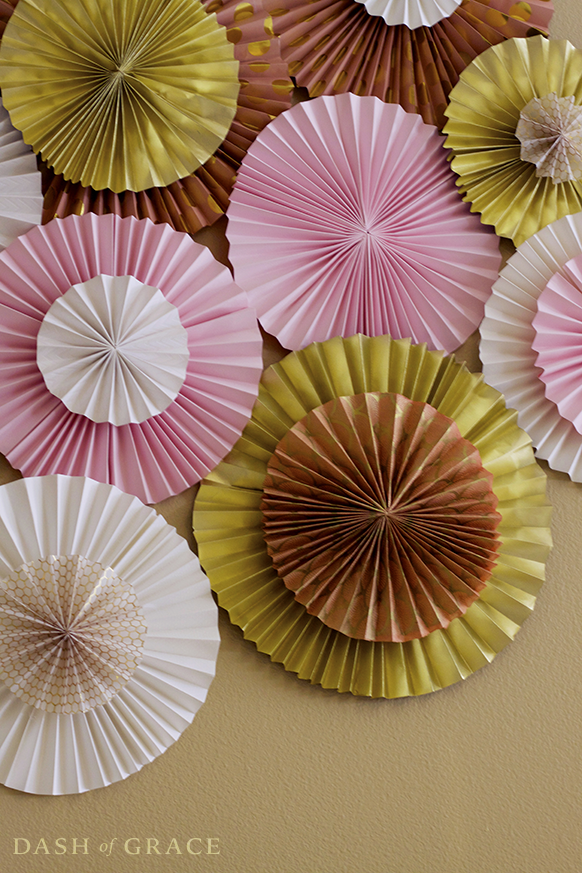
6. The Paper Fan Wall
I folded large sheets of paper into fans, glued them in a circle, and arranged three fans of different sizes on a wall. I used patterned scrapbook paper, folded each sheet accordion-style, and secured the centre with a dab of hot glue.
The downside is flattening. My first fans collapsed because the glue was too weak, so I reinforced the centre with a small cardboard disc on the back. They have stayed open for a year, and the wall looks like a boutique display.
Pro Tip: Reinforce paper fans with a small cardboard disc on the back, or they will collapse.
Cost / Time / Difficulty: $5 to $10 for three fans | 1 hour | Easy
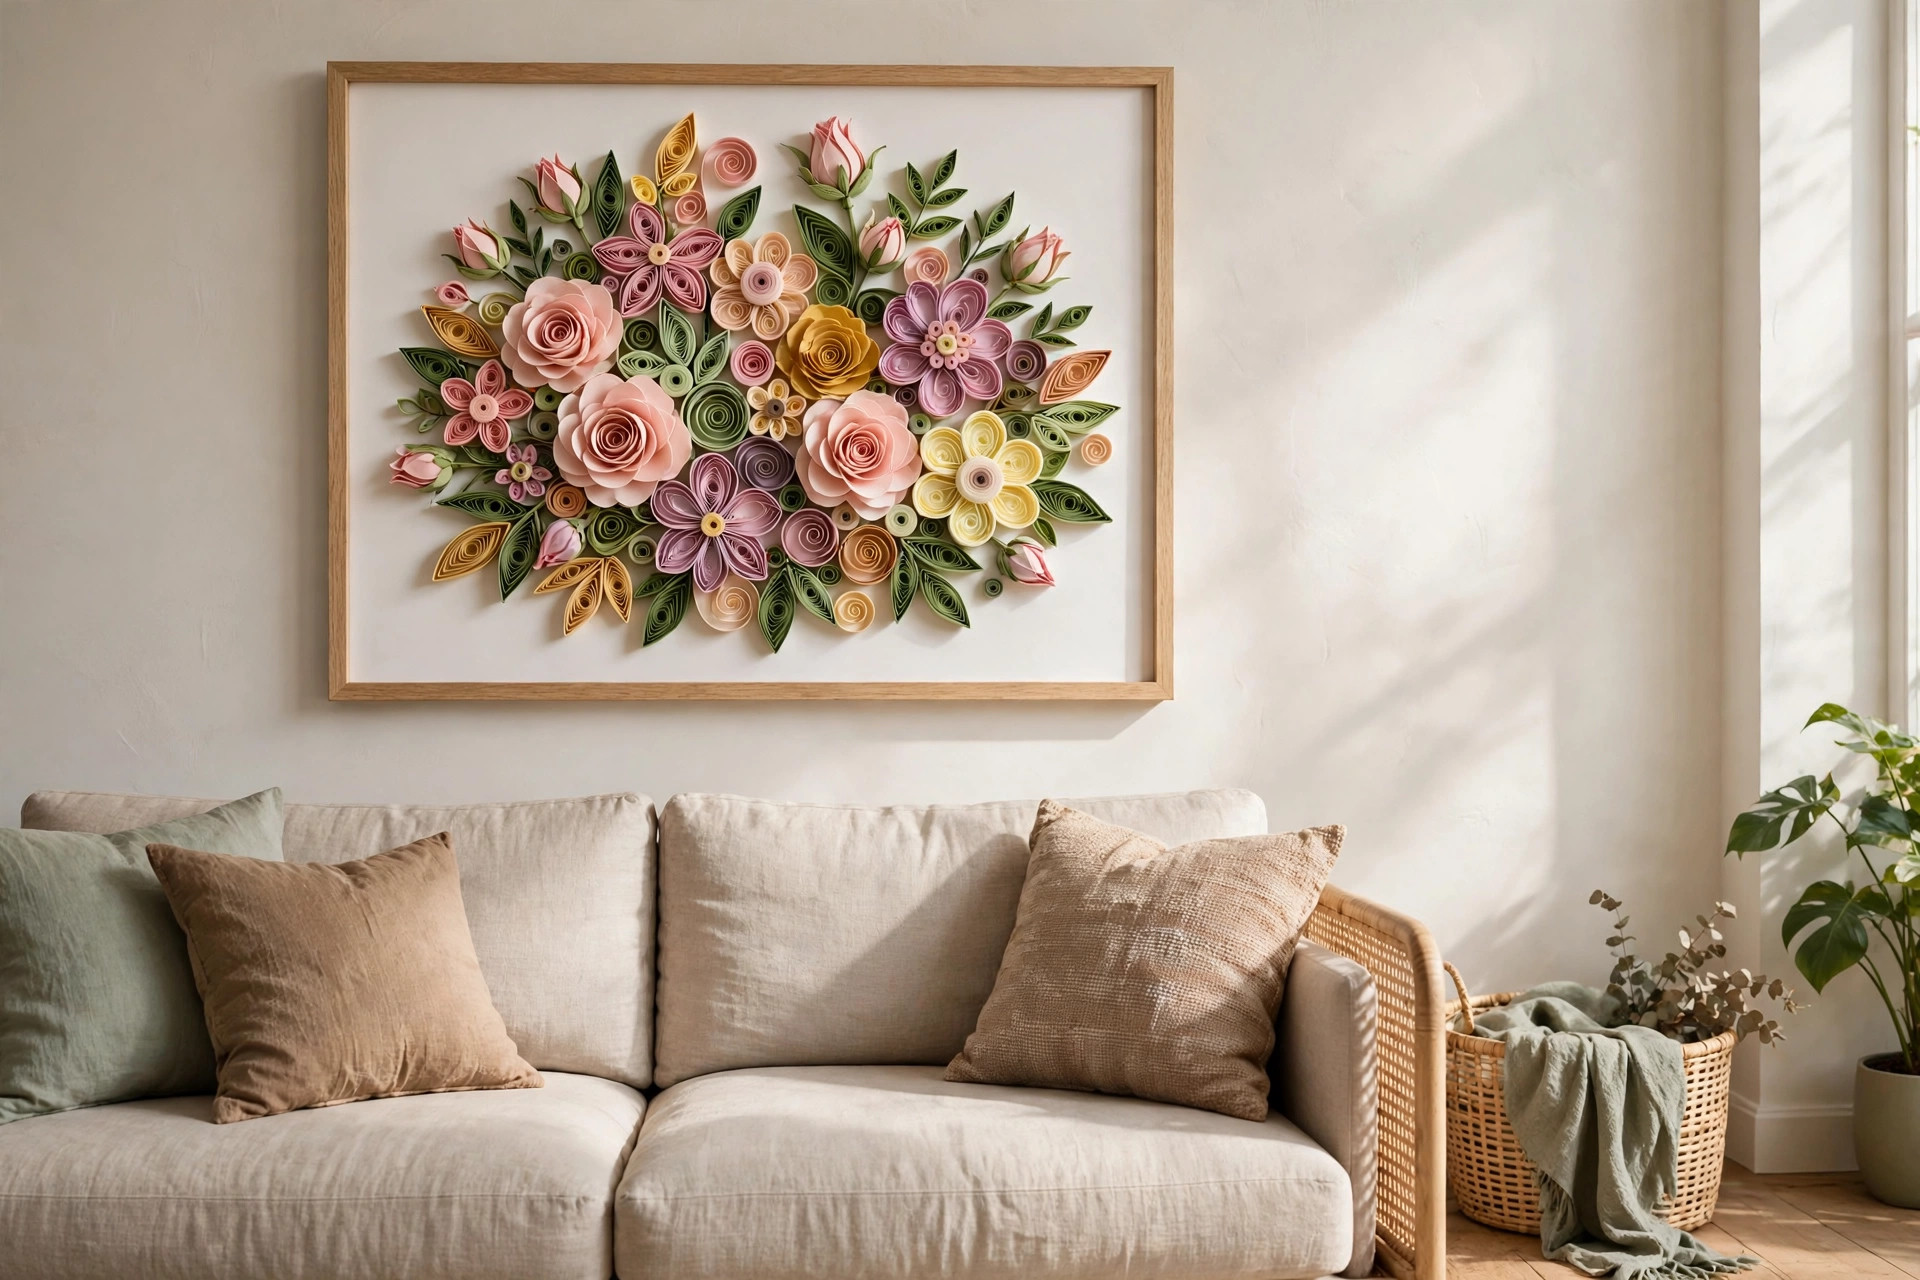
7. The Paper Quilling Wall Art
I rolled thin paper strips into coils, shaped them into flowers and leaves, and glued them onto a backing board in a wreath shape. I used a quilling tool for even coils, worked in sections, and sealed the finished piece lightly with clear spray.
The downside is time. My first quilling piece took twice as long as I expected because I rolled each coil by hand without a tool, so I bought a simple quilling needle. It halved the time, and the coils came out far more even.
Pro Tip: Buy a quilling needle, or hand-rolling every coil will double your time and tire your fingers.
Cost / Time / Difficulty: $6 to $12 per piece | 3 hours | Medium
8. The Paper Cut Silhouette
I cut a silhouette design from black cardstock with a craft knife, mounted it on white paper, and framed it. I used a simple tree design first, cut slowly on a cutting mat, and kept the knife sharp so lines stayed clean.
The downside is tearing. My first silhouette tore at a thin branch because I rushed the cut, so I now cut slowly and replace the blade often. A sharp blade matters more than a steady hand, in my experience.
Pro Tip: Replace craft knife blades often, or paper silhouettes will tear at thin lines.
Cost / Time / Difficulty: $4 to $8 per piece | 1 to 2 hours | Medium
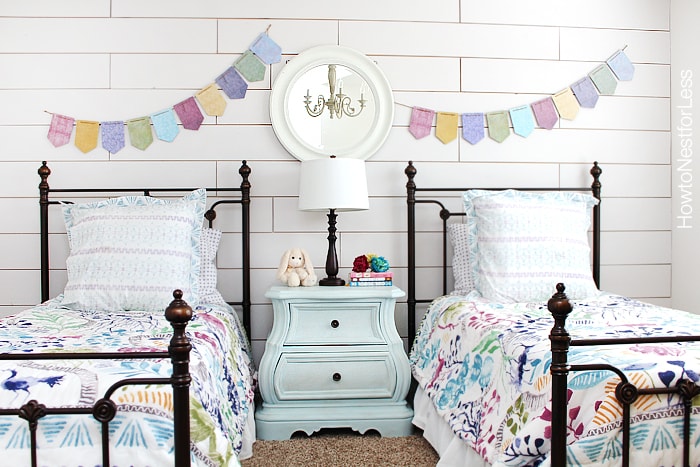
9. The Paper Bunting Wall
I cut triangles from patterned paper, glued them to twine, and hung the bunting across a bedroom wall. I used double-sided paper so both sides looked finished, spaced the triangles evenly, and hung the twine with small hooks.
The downside is sagging. My first bunting sagged in the middle because the twine was too long, so I shortened it and added a middle hook. It now hangs in a gentle, even curve, not a droop.
Pro Tip: Add a middle hook for any paper bunting longer than four feet, or it will sag.
Cost / Time / Difficulty: $4 to $8 per bunting | 1 hour | Easy
10. The Paper Mosaic Wall
I cut small squares from coloured paper, arranged them in a mosaic pattern on a board, and glued them in place. I used a simple gradient from dark to light, worked row by row, and sealed the finished mosaic with clear spray.
The downside is alignment. My first mosaic drifted because I started in the middle, so I now start at a corner and work outward in rows. The gradient stays clean, and the piece looks like tile from a distance.
Pro Tip: Start a paper mosaic at a corner and work in rows, or the pattern will drift.
Cost / Time / Difficulty: $5 to $10 per piece | 2 to 3 hours | Medium
11. The Paper Flower Frame
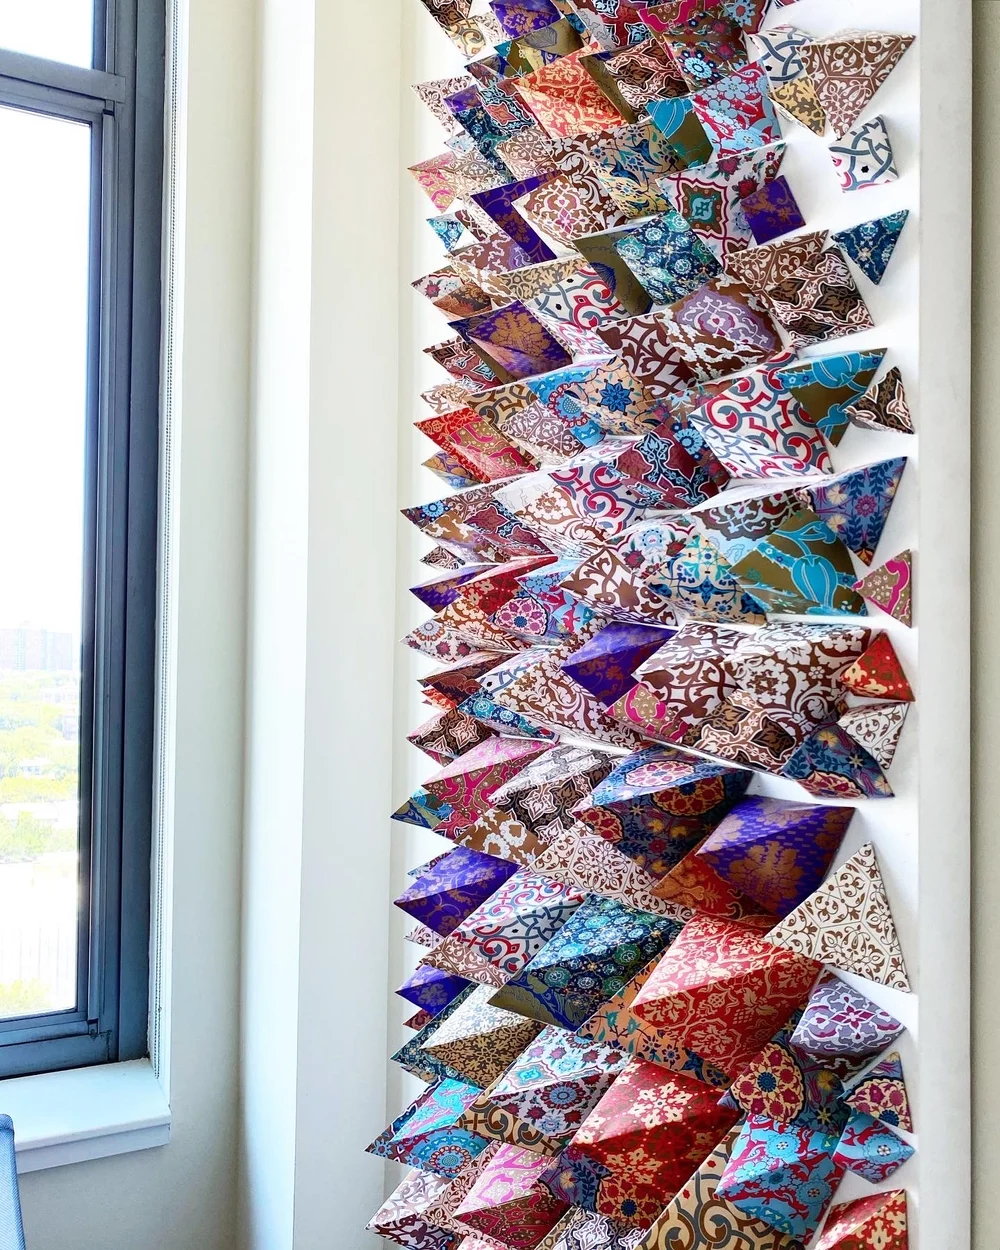
I glued small paper flowers around a plain frame, creating a floral border for a photo or mirror. I used three flower sizes, glued them in clusters at the corners first, then filled the gaps.
The downside is weight. My first frame was too heavy for a command strip because the flowers added bulk, so I hung it from a nail into a stud instead. It has stayed put, and the photo inside still leads.
Pro Tip: Hang a paper flower frame from a nail into a stud, not a command strip alone.
Cost / Time / Difficulty: $6 to $12 per frame | 2 hours | Medium

12. The Paper Star Wall
I folded paper stars from gold and white paper, strung them on twine, and hung them in a cluster on a wall. I used a simple star fold, made stars in two sizes, and hung them at different lengths for depth.
The downside is unfolding. My first stars opened up because I did not glue the final fold, so I now add a tiny dab of glue at the last fold. They have stayed closed for months, even in a drafty hallway.
Pro Tip: Glue the final fold of every paper star, or it will open up in a draft.
Cost / Time / Difficulty: $4 to $8 for ten stars | 1 to 2 hours | Easy

13. The Paper Wreath Wall
I made a wreath from rolled paper cones, gluing them in a circle on a cardboard ring, and hung it on a wall. I used patterned paper, rolled each cone tightly, and glued them in overlapping rows.
The downside is gaps. My first wreath had bare cardboard showing between cones, so I rolled extra cones and filled every gap before hanging. The finished wreath looks full and lush, not patchy.
Pro Tip: Roll extra paper cones, and fill every gap, or a paper wreath will look patchy.
Cost / Time / Difficulty: $5 to $10 per wreath | 2 hours | Medium

14. The Paper Photo Wall
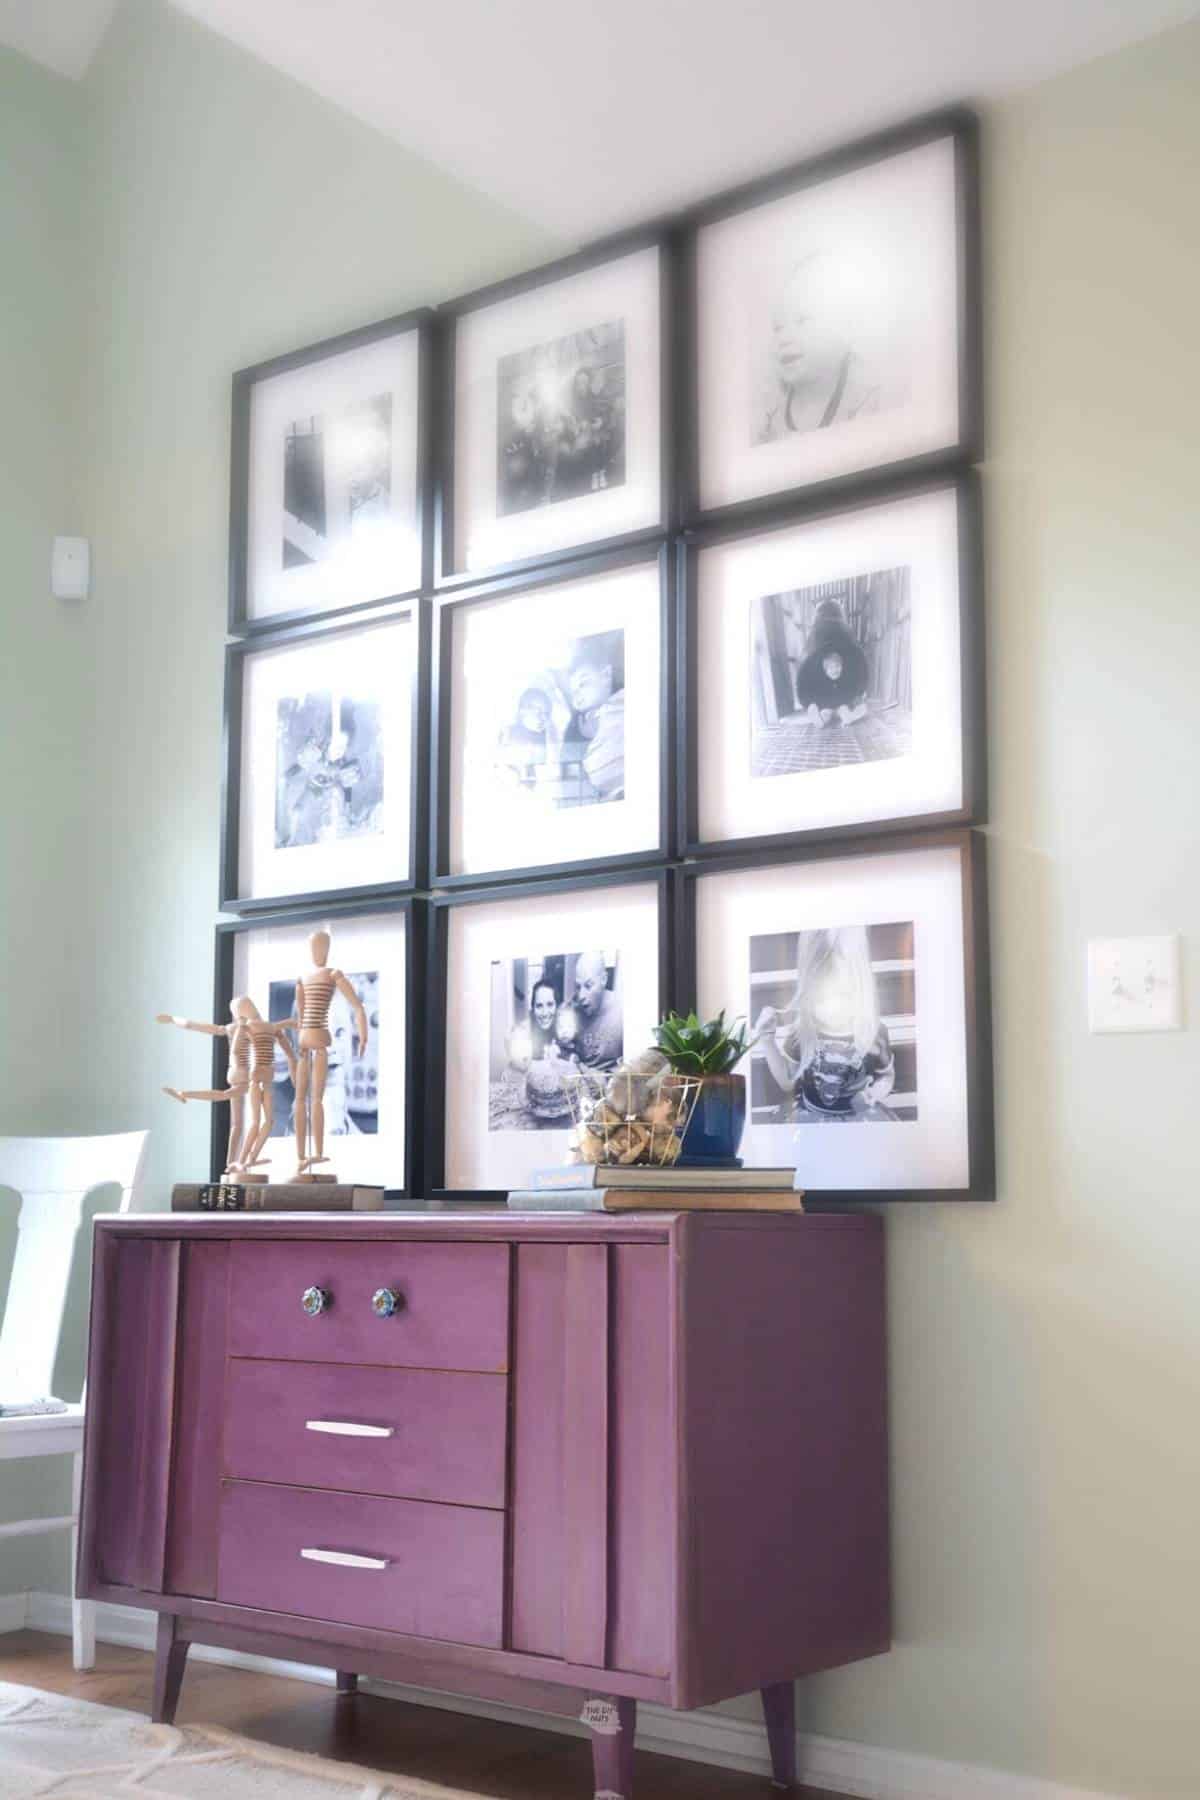
I printed photos in black and white, mounted them on coloured cardstock, and arranged them in a grid on a wall. I used the same size for every photo, kept the spacing even, and hung them with command strips for easy rearranging.
The downside is fading. My first photo wall faded in direct sun within months, so I moved it to a shaded wall and used archival prints. The prints have kept their contrast for a year since.
Pro Tip: Hang paper photo walls on shaded walls, and use archival prints, or sun will fade them.
Cost / Time / Difficulty: $10 to $20 for twelve photos | 2 hours | Easy
15. The Paper Lantern Wall
I made paper lanterns from coloured paper, folding and gluing them into shapes, and hung them from a wall bracket with battery lights inside. I used battery lights only, never real candles, and I kept the lanterns away from curtains.
The downside is heat, even from battery lights. My first lanterns yellowed slightly because I left the lights on all day, so I now use a timer for six hours in the evening only. They glow softly without yellowing.
Pro Tip: Use battery lights on a timer for paper lanterns, never leave them on all day.
Cost / Time / Difficulty: $6 to $12 for three lanterns | 1 to 2 hours | Easy

16. The Paper Heart Wall
I cut hearts from red and pink cardstock, folded them slightly for dimension, and arranged them in a heart shape on a wall for Valentine’s season. I used foam dots for depth, spaced them evenly, and removed them after the season without wall damage.
The downside is residue. My first hearts left foam dot residue on painted walls, so I tested one dot overnight before committing to a whole wall. The tested dots came off cleanly, and the wall stayed perfect.
Pro Tip: Test one foam dot overnight on your wall paint before hanging a whole paper display.
Cost / Time / Difficulty: $4 to $8 for twenty hearts | 1 hour | Easy

17. The Paper Branch Wall
I attached paper leaves to a real branch, mounted the branch on a wall with brackets, and let the leaves drape naturally. I used a sturdy branch I found outdoors, cleaned and dried it first, and glued leaves in clusters, not evenly spaced.
The downside is shedding leaves. My first branch shed leaves because I glued them lightly, so I now glue each leaf with a generous dab and let it dry fully before hanging. No leaves have fallen since, even when the door slams.
Pro Tip: Glue paper leaves generously and let them dry fully before hanging a branch display.
Cost / Time / Difficulty: $5 to $10 per branch | 1 to 2 hours | Easy

18. The Paper Calendar Wall
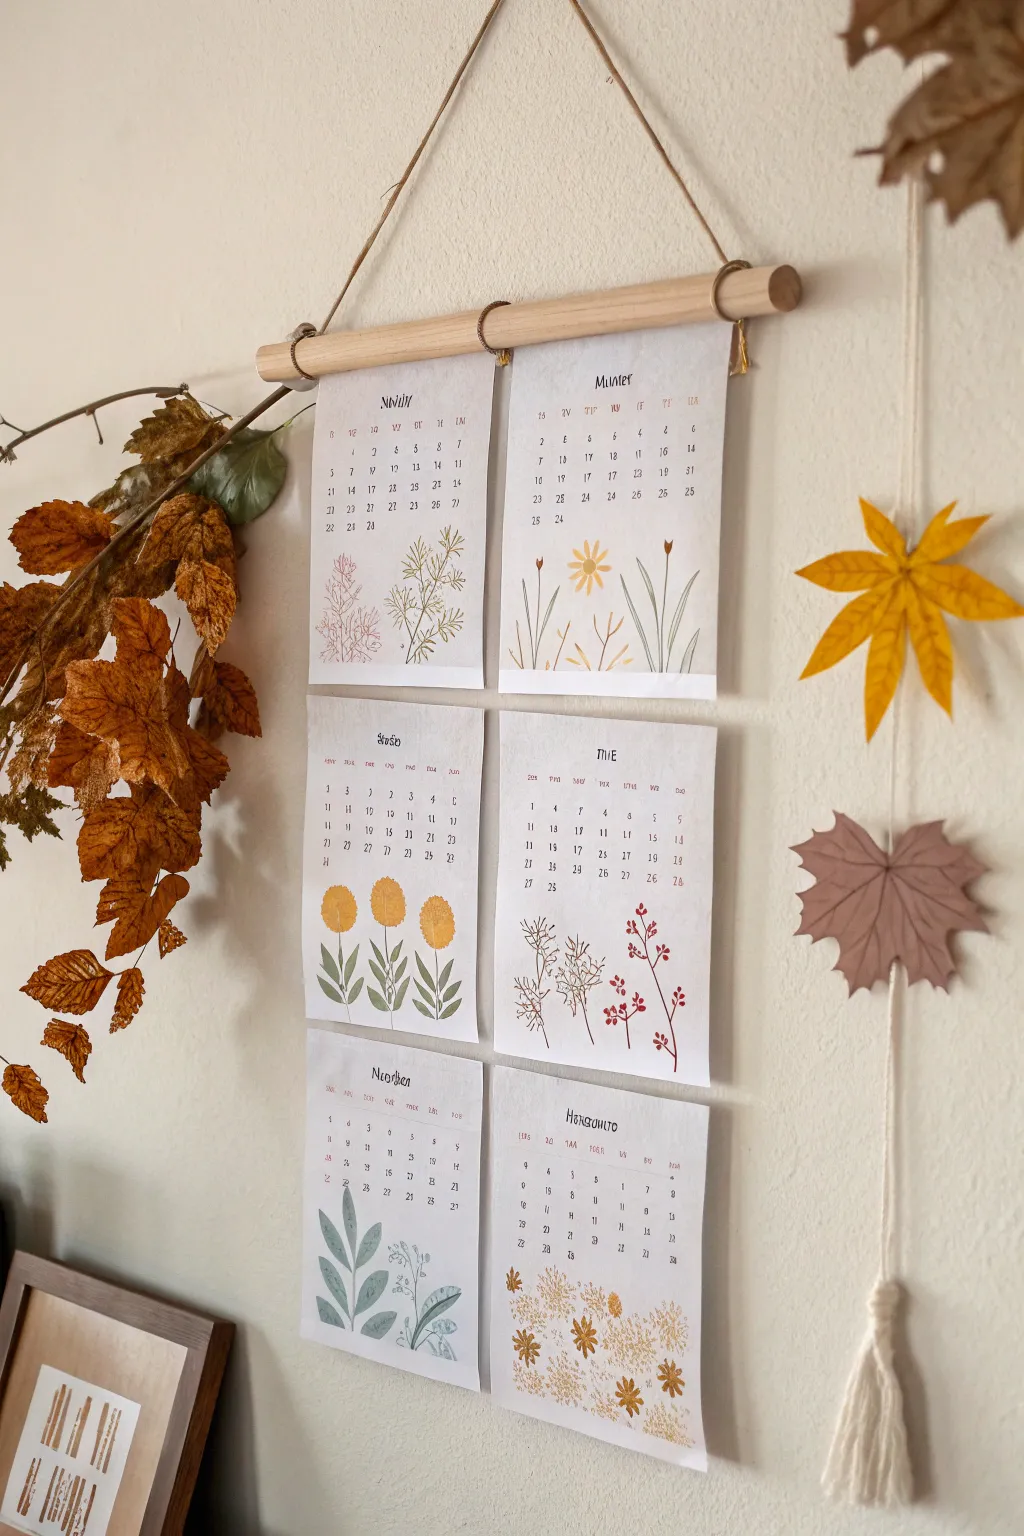
I made a wall calendar from cardstock, with a pocket for each month and small paper tabs for dates. I used a large backing board, glued twelve pockets in rows, and filled them with printed month cards I could swap out.
The downside is bulk. My first calendar was too heavy for command strips because of the pockets and cards, so I hung it from two nails into studs. It functions as decor and as a real calendar, which is why it has stayed up all year.
Pro Tip: Hang a paper pocket calendar from nails into studs, not command strips alone.
Cost / Time / Difficulty: $8 to $14 per calendar | 3 hours | Medium
Comparison Table
| Project | Best For | Cost | Effort |
|---|---|---|---|
| Paper flower wall | Living rooms | $8 to $15 | Medium |
| Paper butterfly swarm | Stairwells | $5 to $10 | Easy |
| Geometric paper art | Modern rooms | $6 to $12 | Medium |
| Paper quilling art | Detailed decor | $6 to $12 | Medium |
| Paper photo wall | Hallways | $10 to $20 | Easy |
| Paper fan wall | Budget decor | $5 to $10 | Easy |
Mistakes I Made (So You Don’t Have To)
I used thin printer paper for my first wall flowers, and they curled within days. Use cardstock for anything that will hang on a wall, or it will not survive a week.
I hung paper art in direct sun, and the colours faded in a season. Keep paper away from sunny windows and steamy bathrooms, or accept fading as part of the look.
I used plain tape for paper butterflies, and they fell down within days. Foam adhesive dots hold better and create shadow depth, which is half the effect.
I started a geometric layout by eye, and it drifted out of line. Draw a light pencil grid first, even for a simple pattern, and erase it after gluing.
FAQ
How long does paper wall decor last?
Mine lasts a year or more indoors, away from sun and steam, if dusted lightly. In sunny or steamy rooms, expect months, not years, and plan to refresh it.
What would you do differently on your first project?
I would start with paper butterflies, not a large flower wall. Butterflies teach cutting, folding, and hanging in one easy project, and mistakes are cheap to replace.
Is paper wall decor safe for rented homes?
Yes, if you use command strips or foam dots and test one first. I have removed every piece in this list without wall damage, except one untested foam dot that left residue, which is why I test now.
Final Thoughts
Paper wall decor works when you treat paper like a real material, not a throwaway one. Thick cardstock, even spacing, and a hanging method you have tested will carry a simple cut-out further than any expensive frame. Start with butterflies, learn your wall, and then go bigger.
Related article: Easy DIY Christmas Decorations
Also read: DIY Halloween Decoration Ideas
Read this next: Ingenious Upcycling Ideas