18 Bathroom Cabinet Organization Ideas for Small Bathrooms That Stay Neat
Introduction
My bathroom cabinet is a mirrored wall cabinet, 50 cm wide, with two shelves, in a bathroom with no spare storage. These bathroom cabinet organization ideas are the ones I tested there over a year, keeping only systems that survived morning rushes, steam, and two people sharing one cabinet.
How I picked these: I kept only ideas that fit a standard wall cabinet, that I could set up in under an hour, that cost under $25 unless I say otherwise, and that were still neat a month later. I skipped systems that needed a bigger cabinet, that rusted in steam, or that fell over when I opened the door fast.
Key Takeaways
- Clear, small bins beat one big basket, because you can pull one bin out without emptying the cabinet.
- Daily things go at eye level, rarely used things go high, and heavy bottles go low.
- Steam is the enemy, so use plastic, not cardboard or untreated wood, inside a bathroom cabinet.
- Label bins, even small ones, or the cabinet will drift back to chaos in a month.
18 Bathroom Cabinet Organization Ideas
1. Small Clear Bins, One Per Person
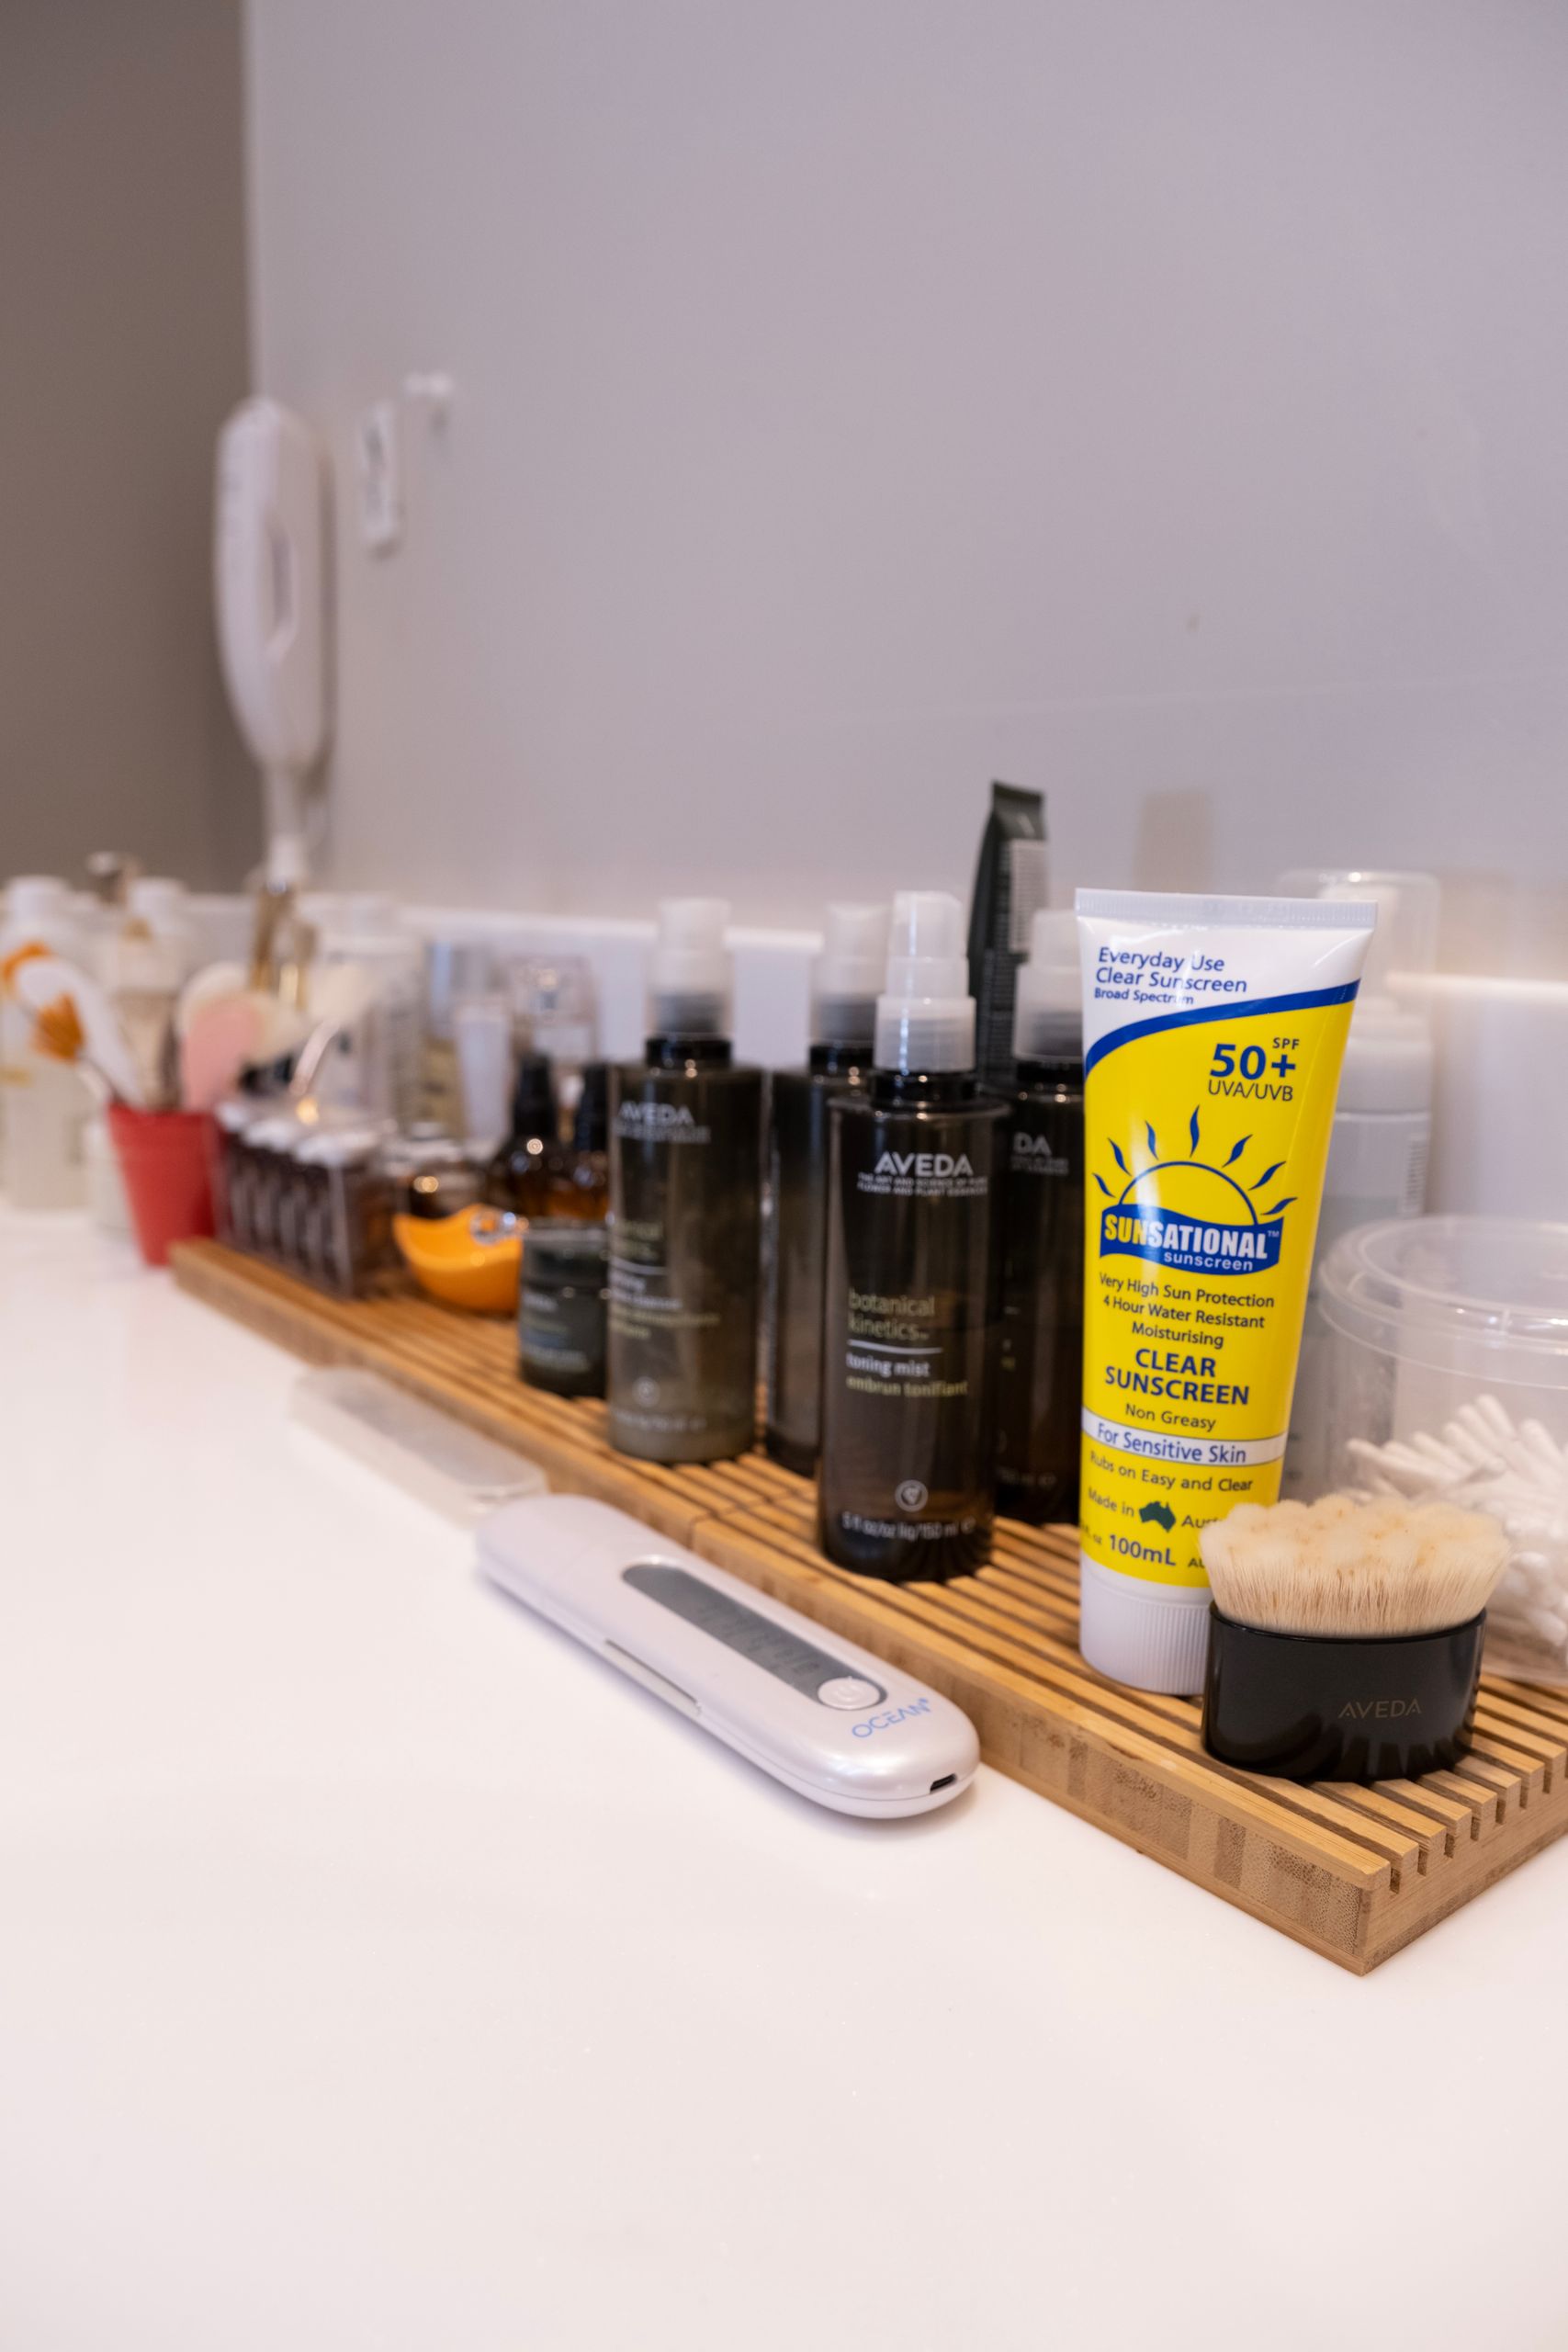
I bought two small clear bins, about 20 cm by 12 cm, one for me and one for my partner, and put our daily things in them. I can pull my bin out, use what I need, and slide it back, without knocking my partner’s things over. It ended the morning argument about whose cream was whose, which is worth more than the bins cost.
The downside is that bins take a little space at the sides, so I measure the cabinet before buying, and I buy bins with handles for easy pulling.
Pro Tip: Choose bins with a lip, not flat trays, or small bottles will slide out when you pull.
Cost: $8-$14 for two | Time: 15 minutes | Difficulty: Easy

2. A Door Rack for Flat Things
I hung a thin wire rack on the inside of the cabinet door for flat things, like cotton pads, hair ties, and small packets. It uses dead space, it frees a shelf, and I can see everything without opening a bin. I fixed it with adhesive hooks rated for bathrooms, and it has held for eight months without falling, even in steam.
The downside is that a door rack adds weight, so I put only light things on it, never heavy bottles.
Pro Tip: Put cotton pads and hair ties on a door rack, they are light, flat, and you use them daily.
Cost: $8-$15 | Time: 10 minutes | Difficulty: Easy

3. A Daily Basket for Morning Rush
I put a small basket on the middle shelf with only my morning things: toothbrush, toothpaste, moisturiser, and deodorant. I grab the basket, I do my routine, and I put it back, without opening three bins. It saves me five minutes every morning, which adds up to half an hour a week, and that is why I love it.
The downside is that a daily basket can creep, so I check it monthly and remove anything that is not daily.
Pro Tip: Keep the daily basket at eye level, not on the top shelf, or mornings will stay chaotic.
Cost: $5-$10 | Time: 10 minutes | Difficulty: Easy
4. A Lazy Susan for Bottles
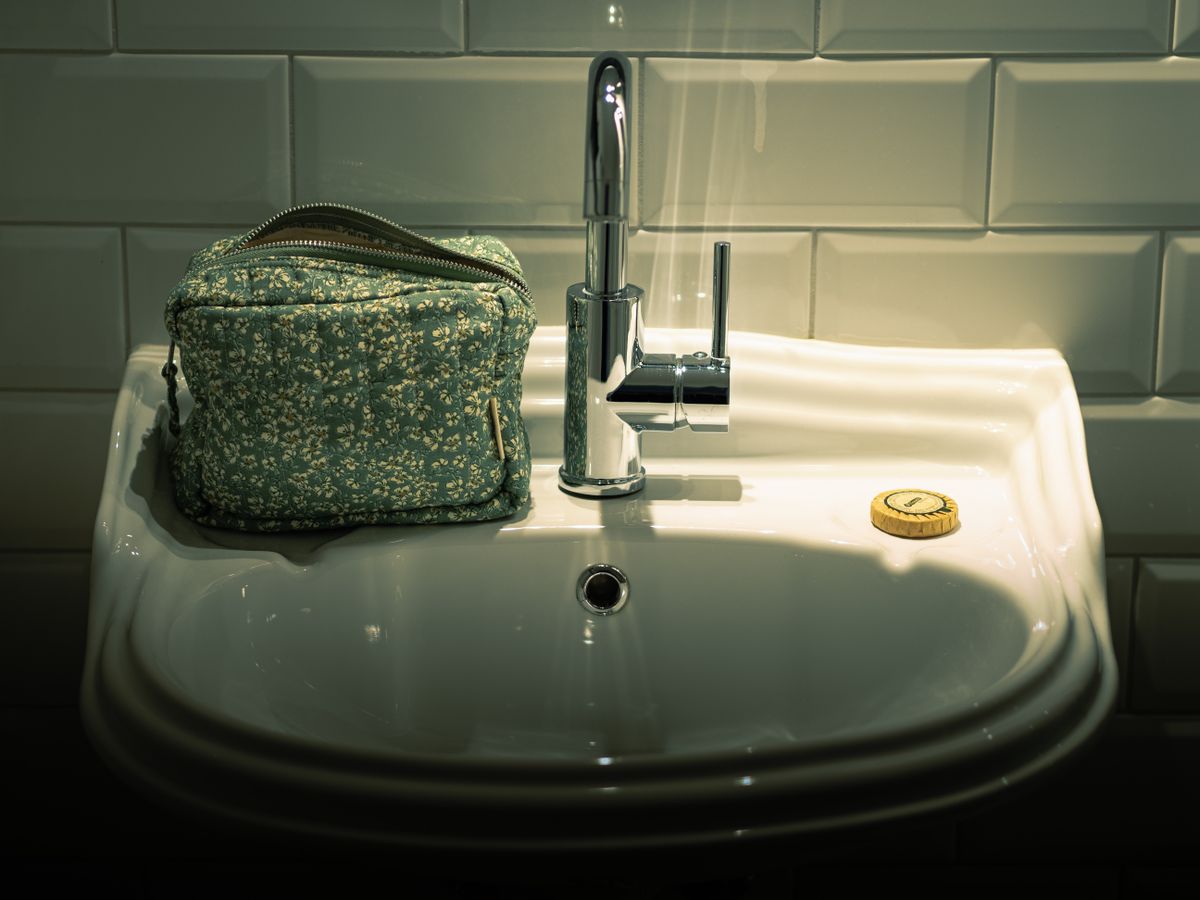
I put a small turntable, 20 cm wide, on the bottom shelf for bottles, like shampoo, conditioner, and lotions I keep in the cabinet. I spin it, I grab what I need, and I spin it back, without reaching past three bottles. It stopped me knocking bottles over, which used to happen weekly in my old system.
The downside is that a turntable wastes corners, so I use it only on a wide shelf, not a narrow one, and I put only bottles, not small tubes, on it.
Pro Tip: Put the turntable on a non-slip mat, or it will slide when you spin it with wet hands.
Cost: $8-$12 | Time: 5 minutes | Difficulty: Easy
5. Stackable Small Drawers Inside the Cabinet
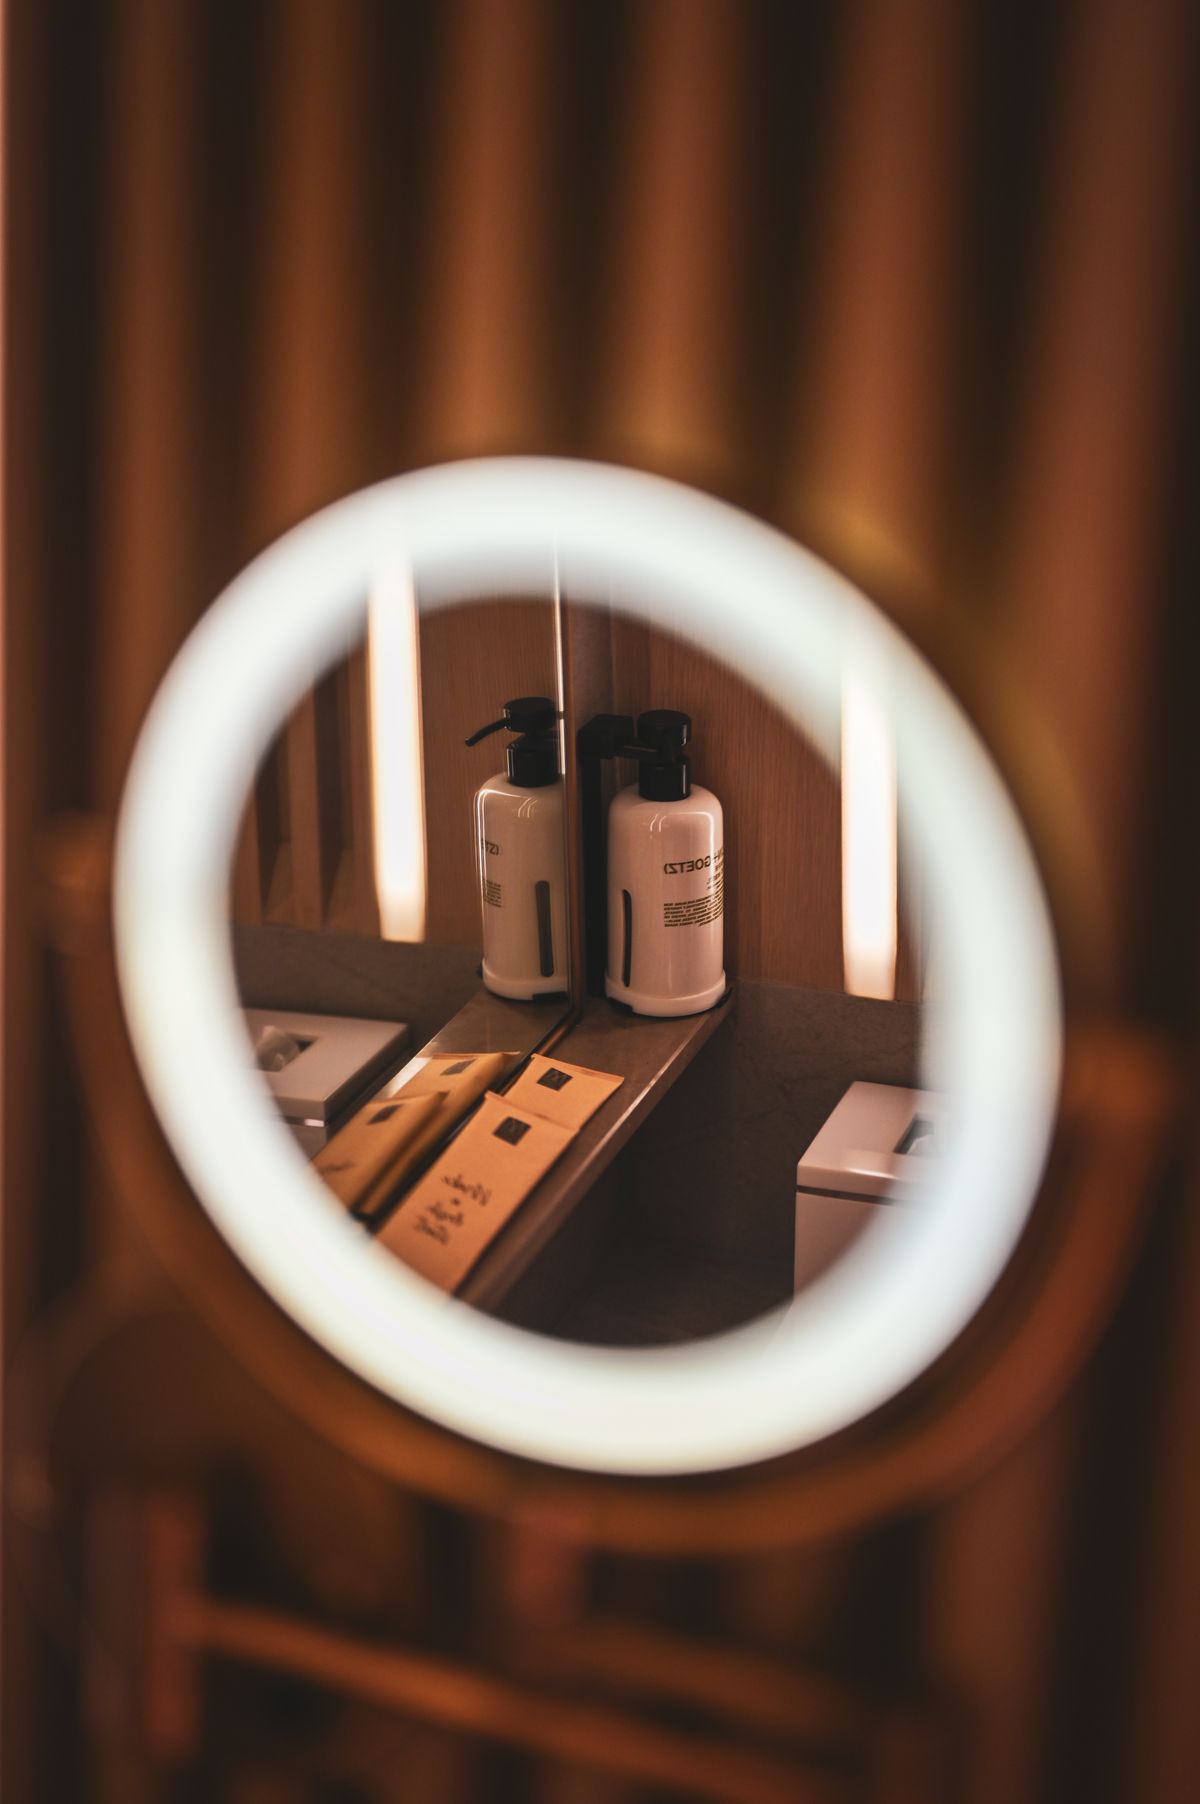
I put a small stackable drawer unit, two drawers high, inside the cabinet for tiny things, like bobby pins, safety pins, and medicine. It stops tiny things getting lost at the back, and I can pull a drawer out without emptying the shelf. I bought a plastic unit, not cardboard, because cardboard goes soft in steam in a week.
The downside is that drawers take vertical space, so I use them only for tiny things, not for bottles, or I lose a whole shelf.
Pro Tip: Label each drawer, even if it seems obvious, because in a month you will forget which drawer holds what.
Cost: $10-$18 | Time: 10 minutes | Difficulty: Easy
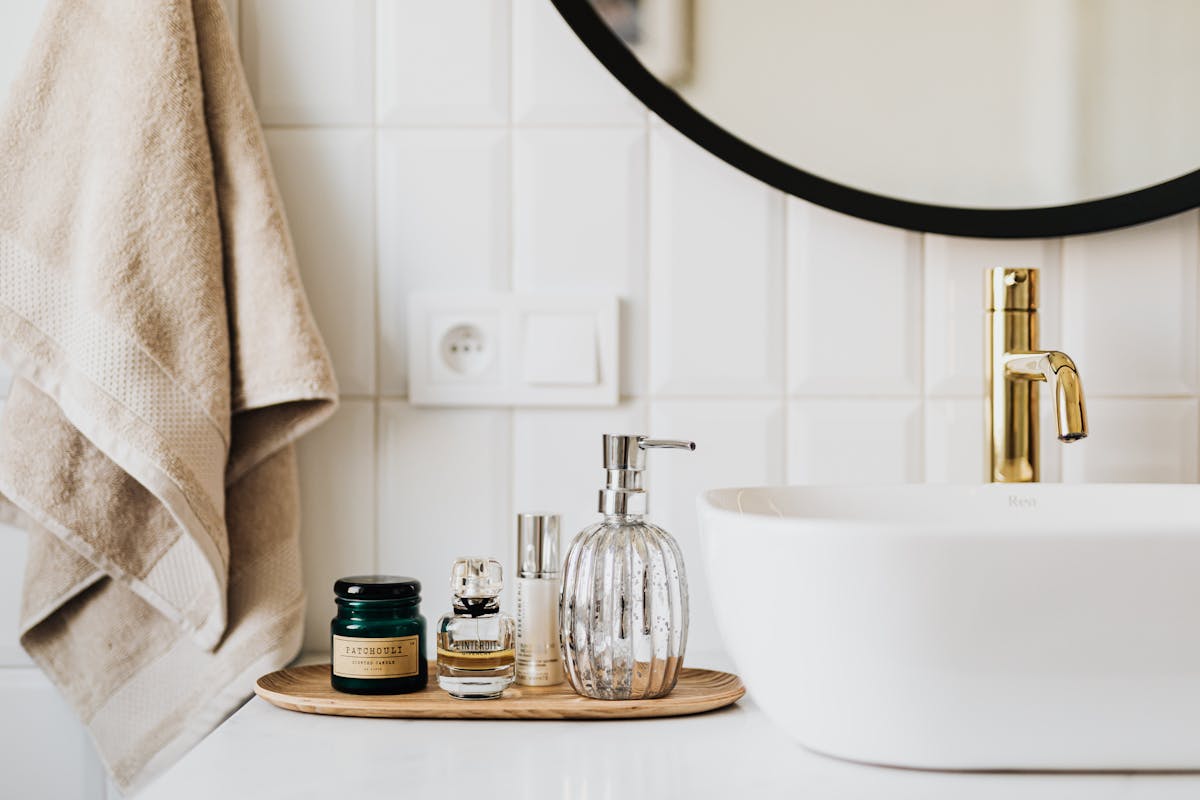
6. A Magnetic Strip for Bobby Pins
I stuck a small magnetic strip inside the cabinet door for bobby pins and hair clips, which used to disappear into every corner. Now they stick to the strip, I can see them, and I grab one in seconds. It cost $3, it took five minutes, and it is the cheapest change that made the biggest difference in my mornings.
The downside is that a magnetic strip holds only metal things, so plastic clips still need a bin, and I keep those in the daily basket.
Pro Tip: Put the magnetic strip at eye level on the door, not at the bottom, or you will be bending every morning.
Cost: $3-$6 | Time: 5 minutes | Difficulty: Easy

7. A First Aid Bin, Separate and Labelled
I put all first aid things, plasters, antiseptic, pain relief, and a thermometer, in one labelled bin on the top shelf, where kids cannot reach easily but adults can. It stops first aid things mixing with daily things, and in an emergency I grab one bin, not five packets. I check it every three months and replace anything expired.
The downside is that a first aid bin on a high shelf is hard to reach in a real emergency, so I keep a small plaster pack in the daily basket too, for minor cuts.
Pro Tip: Label the first aid bin in large letters, in an emergency you do not want to read small print.
Cost: $5-$10 for one bin | Time: 15 minutes | Difficulty: Easy

8. A Hair Tools Holder, Heat-Safe
I put a heat-safe holder inside the cabinet door for my hair dryer and straightener, using a holder rated for heat, not a plastic bag. It stops hot tools burning the cabinet shelf, and it keeps cords tidy, which used to tangle with everything. I wait for tools to cool for five minutes before putting them away, which is a habit I learned after a melted bottle cap.
The downside is that a holder takes door space, so I use it only if I have a spare door, not if the door already has a rack.
Pro Tip: Never put a hot tool straight into a closed cabinet, wait five minutes, or the heat will warp plastic bins.
Cost: $10-$18 | Time: 10 minutes | Difficulty: Easy
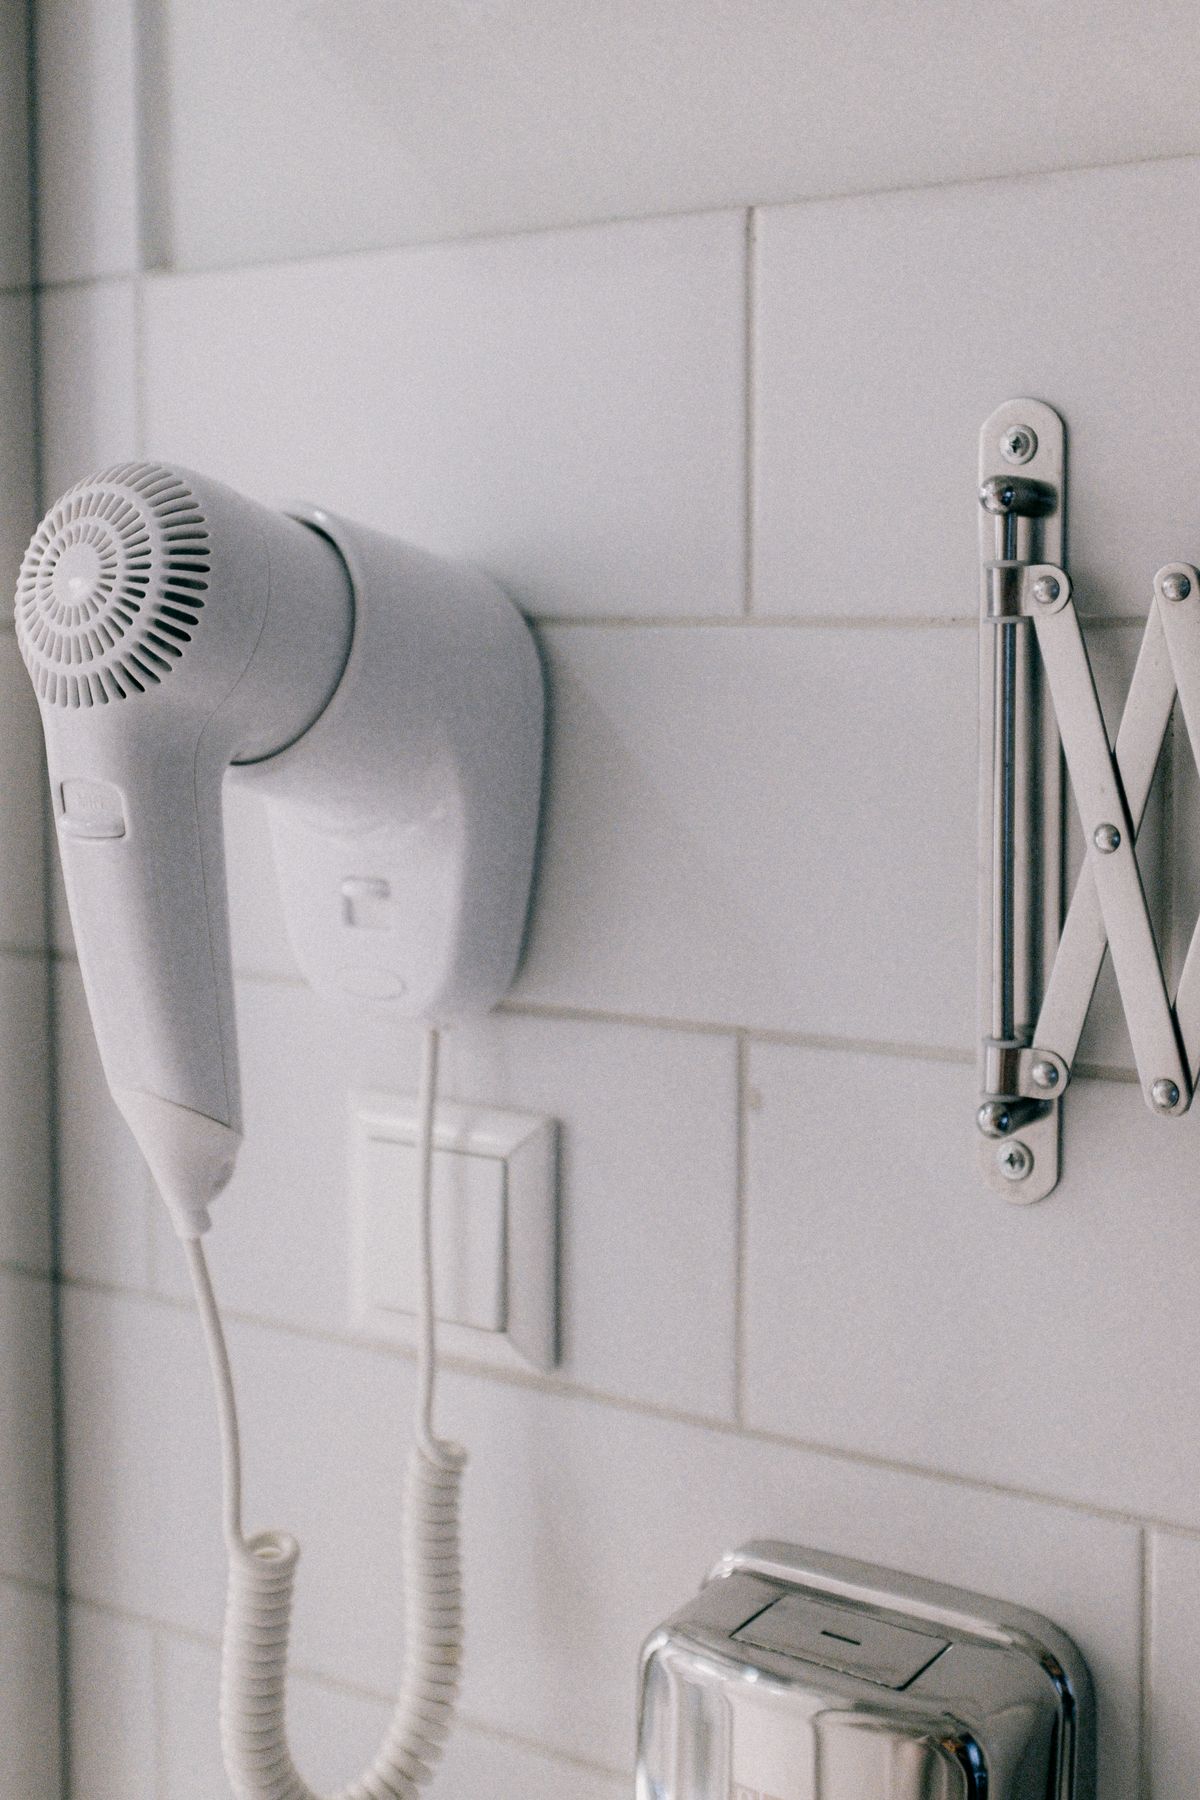
9. A Small Tray for Jewellery You Wear Daily
I put a small tray on the middle shelf for the jewellery I wear daily, a ring, earrings, and a watch, so I do not lose them on the bathroom counter. It is not a jewellery box, it is a landing tray, and I empty it into my jewellery box once a week. It stopped me losing an earring down the sink, which happened twice before I bought the tray.
The downside is that a tray can fill with random things, so I check it weekly and remove anything that is not jewellery.
Pro Tip: Put the tray near the mirror, you will use it when you take jewellery off to wash your face.
Cost: $5-$10 | Time: 5 minutes | Difficulty: Easy
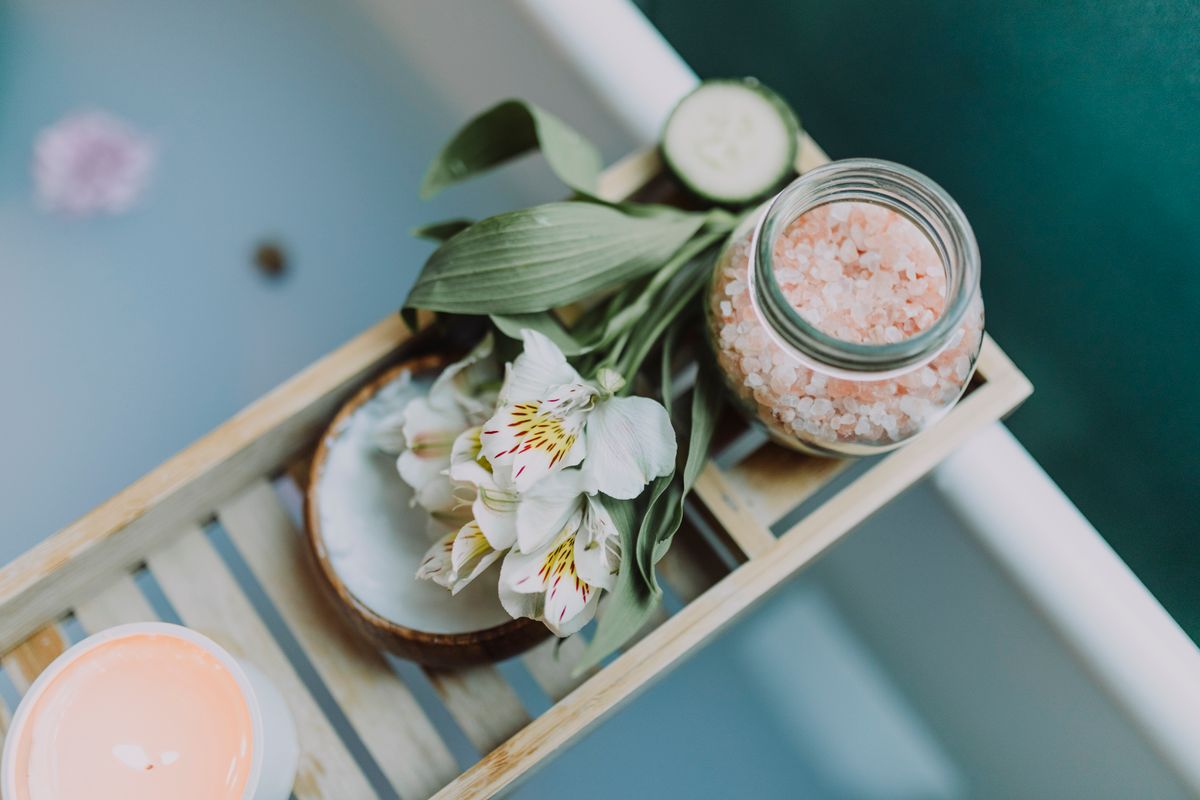
10. A Medicine Bin, Out of Children’s Reach
I put all medicines in one bin on the top shelf, with a child-resistant lid, and I label it clearly. It keeps medicines away from daily things and away from kids, and I can check expiry dates in one place. I do not keep medicines in a bathroom cabinet if they need a cool, dry place, I check the label, and I move heat-sensitive ones to a bedroom drawer.
The downside is that a top shelf is hard to reach, so I keep a step stool in the bathroom, hooked on the wall, for the top shelf.
Pro Tip: Check medicine expiry every three months, and take expired medicine to a pharmacy, do not bin it.
Cost: $5-$10 for one bin | Time: 15 minutes | Difficulty: Easy

11. A Cotton Pad Dispenser, Not a Bag
I put cotton pads in a small clear dispenser, like a tall jar with a lid, instead of a crumpled bag. It looks tidy, it keeps pads dry, and I can see when I am running low. I refill it from a bulk bag once a month, which takes two minutes, and I keep the bulk bag in a linen cupboard, not in the cabinet.
The downside is that a dispenser takes shelf space, so I use a slim one, about 8 cm wide, not a wide jar.
Pro Tip: Put the dispenser at the front of the shelf, you use cotton pads daily and you do not want to reach past bottles.
Cost: $5-$10 | Time: 5 minutes | Difficulty: Easy
12. A Small Bin for Empty Bottles, to Recycle
I put a small bin, or even a bag, at the bottom of the cabinet for empty bottles, to recycle. It stops empty bottles cluttering the shelves, and I empty it once a week when I take the recycling out. I learned this after finding three empty shampoo bottles taking up a whole shelf for a month.
The downside is that an empty-bottle bin can fill with half-empty bottles, so I check it weekly and only keep truly empty ones.
Pro Tip: Rinse empty bottles before putting them in the bin, or the cabinet will smell of old shampoo.
Cost: $0-$5 | Time: 5 minutes | Difficulty: Easy
13. A Hanging Pocket Organizer on the Door
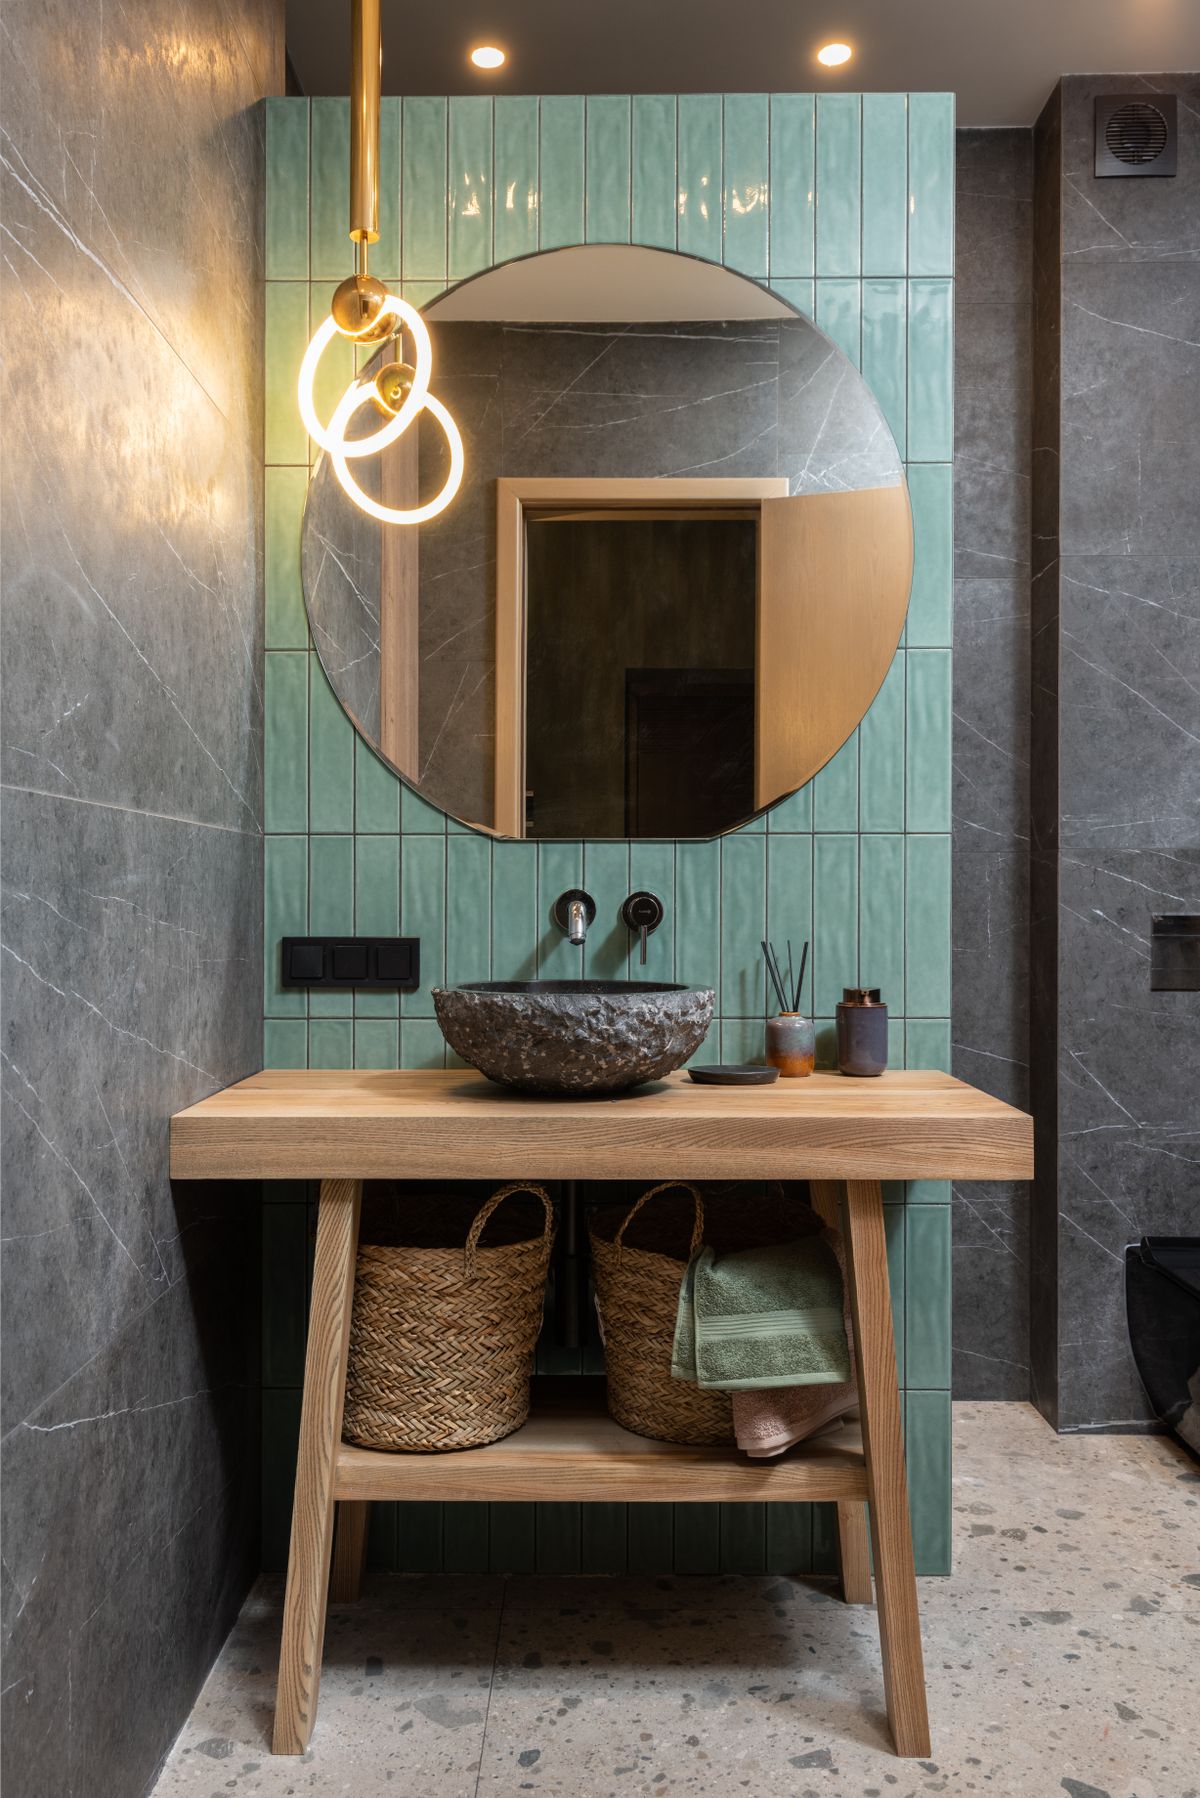
I hung a small pocket organizer, with three pockets, on the inside of the cabinet door for small tubes, like lip balm, hand cream, and eye drops. It uses door space, it keeps tubes upright, and I can see them all at once. I bought a plastic one, not fabric, because fabric goes damp in a bathroom.
The downside is that pockets can stretch, so I put only light tubes in them, never heavy bottles.
Pro Tip: Put daily tubes in the top pocket, weekly tubes below, or you will be hunting every morning.
Cost: $8-$14 | Time: 10 minutes | Difficulty: Easy

14. A Shelf Liner, to Protect and to Clean Easily
I put a non-slip shelf liner on each cabinet shelf, cut to size, so bottles do not slide and spills do not stain the shelf. I can lift the liner out, wash it, and put it back, which takes five minutes, instead of scrubbing a stained shelf. I chose a clear liner, so the cabinet still looks light, not dark.
The downside is that liners can curl at the edges, so I cut them exactly to size and press them down firmly.
Pro Tip: Wash liners monthly, or they will smell of old products, especially in a steamy bathroom.
Cost: $5-$10 | Time: 15 minutes | Difficulty: Easy

15. A Separate Bin for Cleaning Products, Labelled
I put bathroom cleaning products in a separate bin, on the bottom shelf, labelled Cleaning, so they never mix with skin products. It stops me grabbing a cleaning spray thinking it is a facial mist, which happened once and taught me a lesson. I keep the bin low, because cleaning bottles are heavy, and I keep it closed, because sprays leak.
The downside is that cleaning products take a whole shelf, so I keep only two or three in the cabinet, and the rest in a utility cupboard.
Pro Tip: Never store cleaning products above face products, a leak will drip down and ruin everything below.
Cost: $5-$10 for one bin | Time: 10 minutes | Difficulty: Easy

16. A Small Mirror Inside the Door, for Close Work
I stuck a small magnifying mirror inside the cabinet door, for plucking eyebrows and checking makeup, which I used to do hunched over the main mirror. It is at eye level, it is close, and it folds flat when I close the door. I bought one with a suction cup, not glue, so I can move it if I change my mind.
The downside is that a door mirror adds weight, so I use a small one, about 15 cm wide, not a large one.
Pro Tip: Put the mirror on the door you open most, not the door you rarely open, or you will forget it exists.
Cost: $8-$15 | Time: 5 minutes | Difficulty: Easy
17. A Weekly Five-Minute Cabinet Reset
Every Sunday, I spend five minutes putting things back in their bins, wiping one shelf, and throwing away empties. It stops the cabinet drifting back to chaos, and it is faster than a monthly deep clean, which used to take an hour and which I kept putting off. I do it while waiting for the shower to warm up, so it does not feel like a chore.
The downside is that it only works if you do it weekly, so I tie it to Sunday morning, not to a reminder I will ignore.
Pro Tip: Reset one shelf per week if five minutes feels too much, in a month the whole cabinet will be done.
Cost: $0 | Time: 5 minutes weekly | Difficulty: Easy
18. A Simple Cabinet System That Survives Steam and Rush
My final system is simple: two person bins, one daily basket, one door rack, labels, and a weekly reset. That is it. I tried a complicated system with colour-coded bins for every product type, and it lasted two weeks, because it was too much work in a steamy bathroom at 7 am. Simple systems survive, complicated ones do not, and that is the most important bathroom cabinet organization ideas lesson I have learned.
The downside is that a simple system looks less impressive in photos, but it is the one you will still be using in a year, which is what matters.
Pro Tip: If a system takes more than five minutes a week to maintain, simplify it until it does.
Cost: $25-$40 total | Time: 1 hour to set up | Difficulty: Easy
Comparison Table
| System | Best for | Cost | Effort |
|---|---|---|---|
| Person bins | Shared cabinets, morning rush | $8-$14 | Low |
| Door rack | Flat, light things, dead space | $8-$15 | Low |
| Daily basket | Morning routine, five minutes saved | $5-$10 | Low |
| Lazy Susan | Bottles, no reaching past others | $8-$12 | Low |
| Simple system overall | Staying neat a month later | $25-$40 | Low |
Mistakes I Made (So You Don’t Have To)
First, I used cardboard boxes in a steamy bathroom and they went soft in a week, so now it is plastic only. Second, I put heavy bottles on a door rack and the door sagged, so now heavy things go low on a shelf. Third, I mixed cleaning products with face products and grabbed the wrong spray once, so now cleaning has its own labelled bin, low down. Fourth, I built a complicated colour-coded system that lasted two weeks, so now I keep it simple, with a weekly five-minute reset.
FAQ
How long did your cabinet system actually stay neat?
The person bins, daily basket, and labels system has stayed neat for over a year, with a five-minute weekly reset. The complicated system I tried before lasted two weeks, so simplicity was the difference.
What would you do differently in a cabinet with no door?
I would skip the door rack and magnetic strip, and use small bins, a lazy Susan, and stackable drawers instead. The zones and labels still work, even without a door.
Is it safe to keep medicines in a bathroom cabinet?
Check the label first, some medicines need a cool, dry place and a steamy bathroom is not that. I keep heat-sensitive medicines in a bedroom drawer, and only everyday, heat-tolerant medicines in the bathroom cabinet, in a labelled bin on the top shelf.
Final Thoughts
A bathroom cabinet does not need to be bigger, it needs small clear bins, a daily basket, labels, and a system you will maintain in steam and in a rush. Start with one bin per person, add a door rack for flat things, and do a five-minute reset on Sunday. That is the bathroom cabinet organization ideas approach that has kept my 50 cm cabinet neat for over a year, and I hope it does the same for yours.
Related article: Bathroom Storage Ideas
Also read: Bathroom Towel Storage Ideas
Read this next: Storage Ideas for Small Spaces