20 Felt Craft Ideas for Beginners
If you have ever wanted to try sewing but felt nervous about fraying fabric and complicated patterns, these felt craft ideas are the kindest place I know to start.
I tested every project below as a beginner would, with basic tools, no fancy machine skills, and honest notes on what tripped me up, so you can skip my mistakes and go straight to the satisfying part.
Felt does not fray, it holds its shape, and it forgives wobbly stitches, which is why I recommend it to every friend who says they are not crafty. These felt craft ideas prove that point, one small project at a time. If you want a simpler starting point, this Related article is a good warm-up.
Key Takeaways
- Start with no-sew or simple running-stitch projects before trying plush toys.
- Buy medium-weight felt sheets in mixed colours: they cut cleanly and hold their shape.
- Stitch keychains and bags rather than gluing them, because they need to survive daily use.
- Keep a felt scrap box: small pieces are perfect for flowers, leaves, and applique.
20 Felt Craft Ideas for Beginners to Try
1. Felt Stash and First Cuts

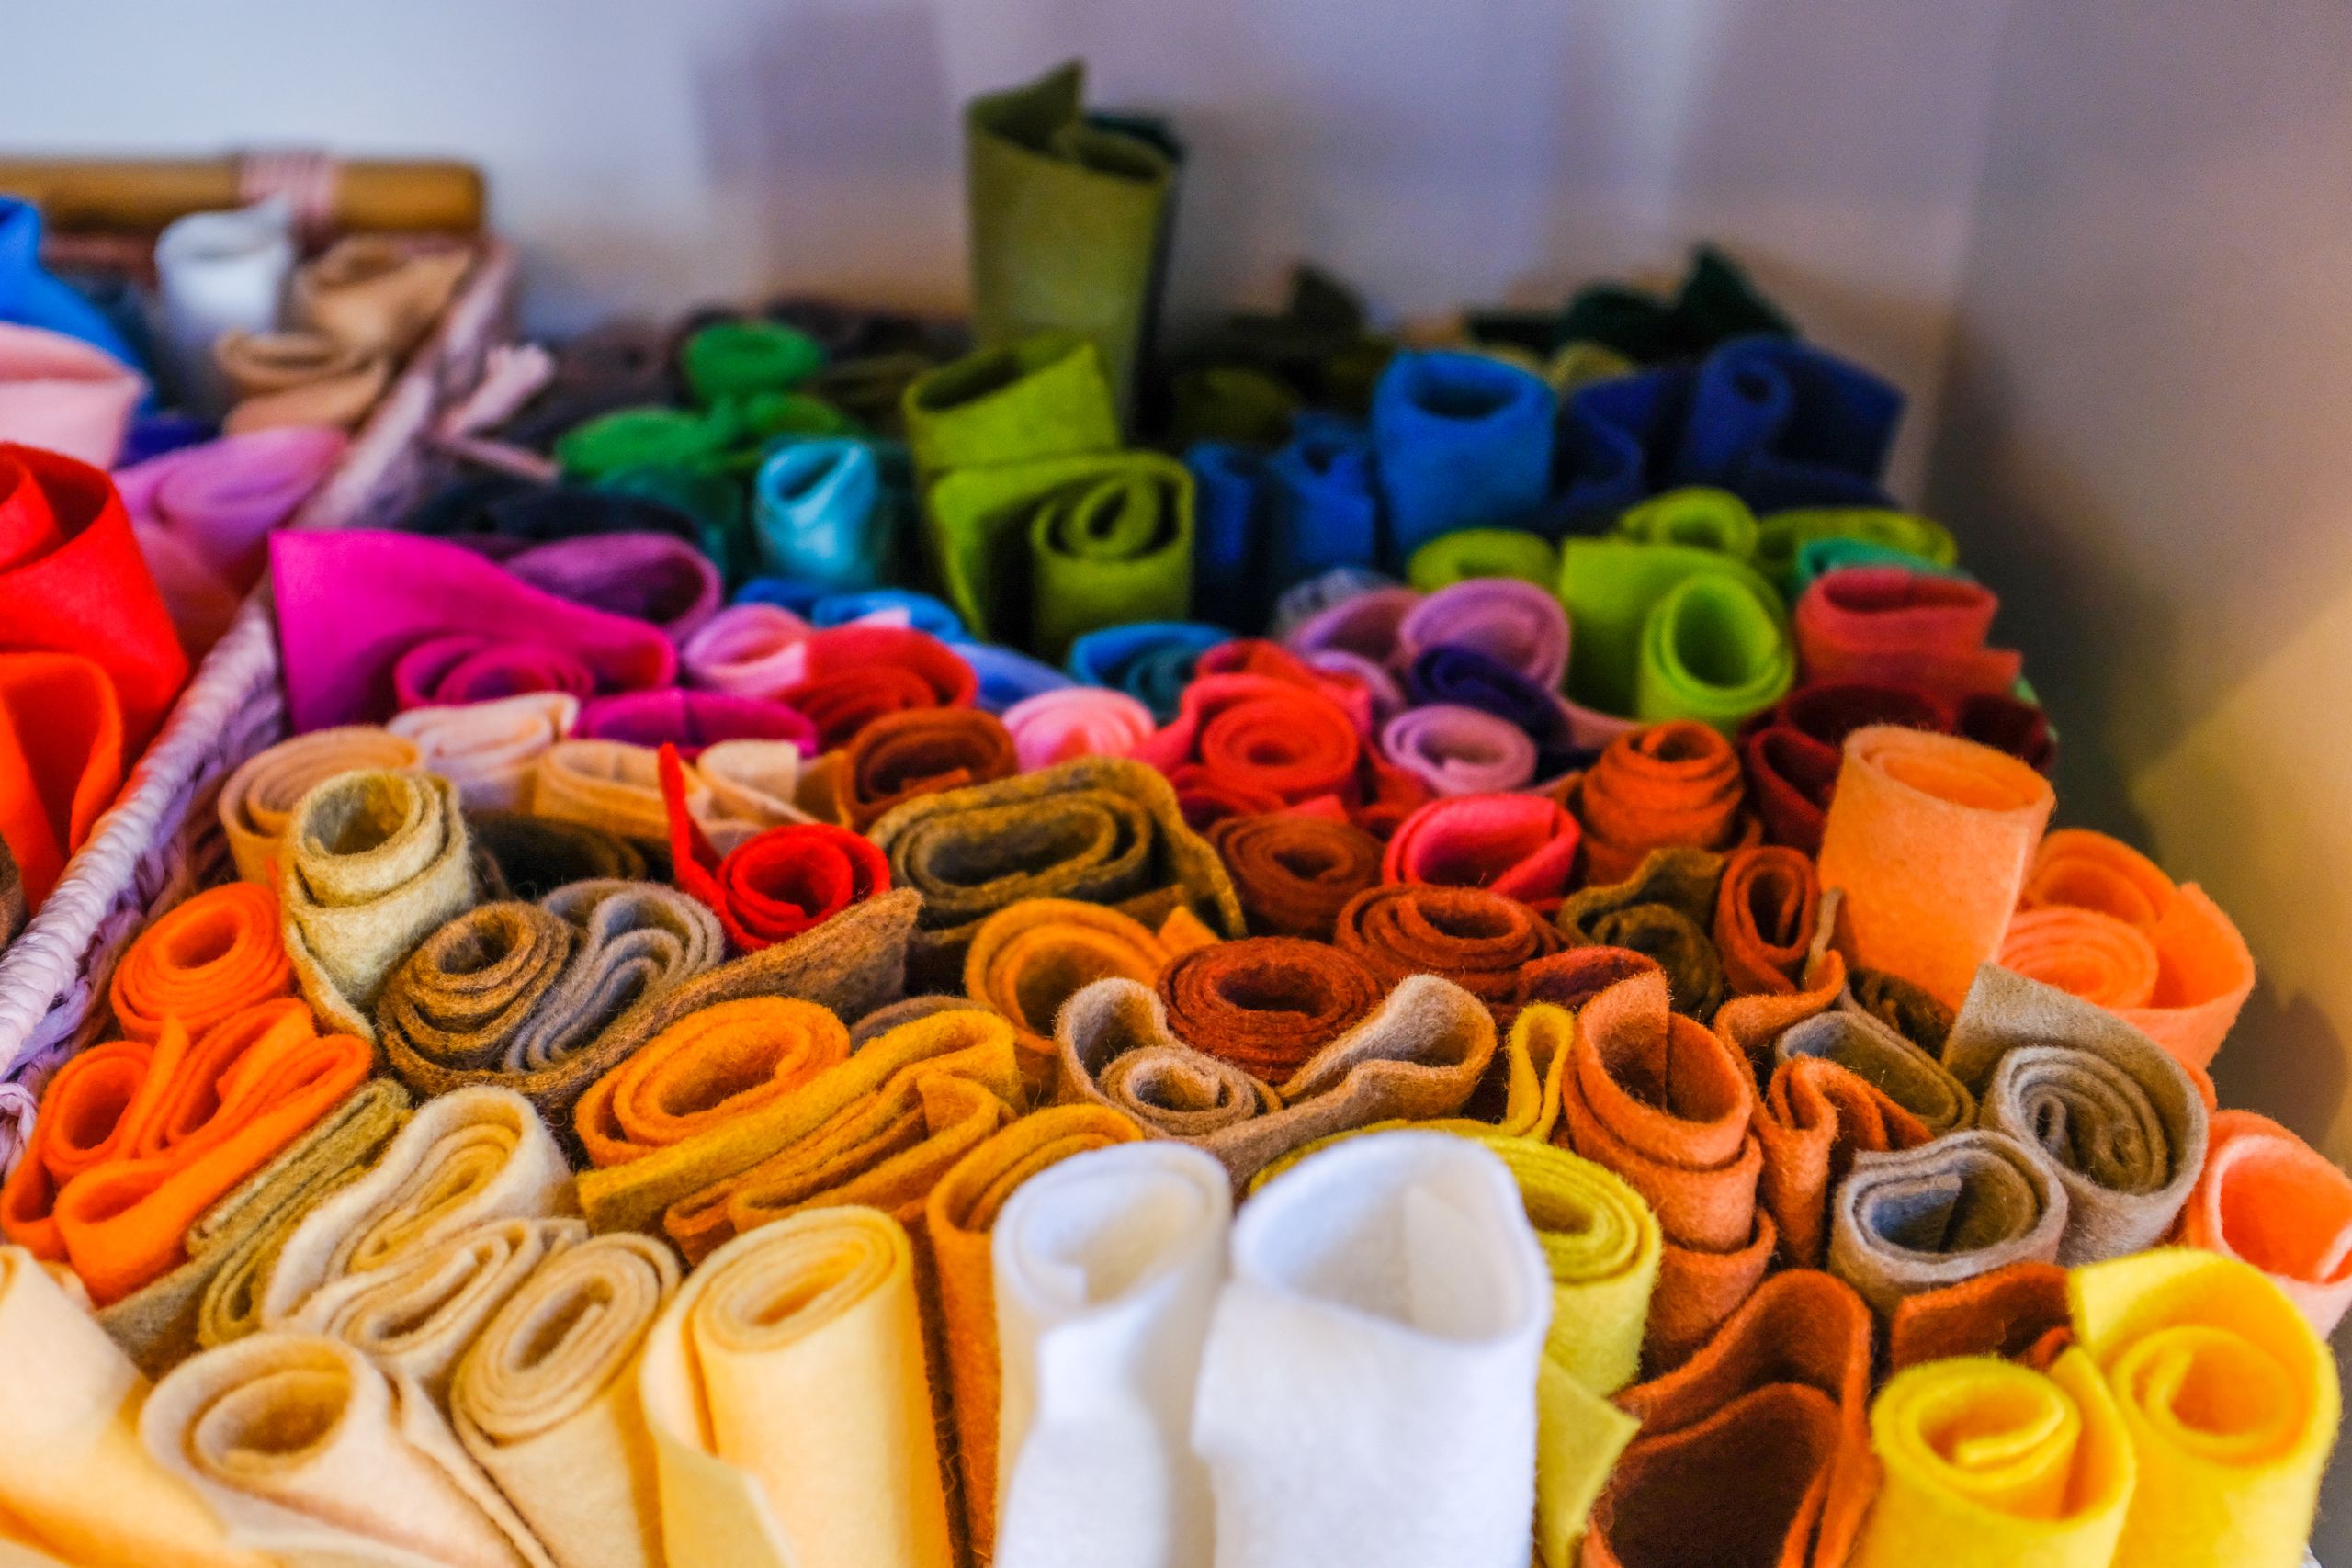
You need a pack of mixed felt sheets, sharp fabric scissors, and a pencil for tracing. I start every beginner by cutting simple squares and circles from felt, because felt does not fray and mistakes still look tidy. I trace shapes on the back, cut just inside the line, and sort pieces by colour. I lay out every cut piece before gluing anything, so nothing ends up upside down or in the wrong place.
My first felt session felt suspiciously easy after years of sewing fabric that unravelled, and I wished I had started with felt much sooner.
Felt sheets vary in thickness, so I avoid the thinnest craft felt for anything that needs to hold its shape.
Cost: $6 | Time: 25 minutes | Difficulty: Easy
2. Simple Felt Roses

You need red or pink felt, scissors, a glue gun or fabric glue, and a pin back if you want a brooch. I cut a spiral from a felt circle, roll it tightly from the outside in, and glue the base so the petals stay open. I add two green felt leaves for a finished look. I keep a small spare pile of the same paper or felt beside me, because one miscut should never end a project.
My first rose was lopsided, but once I glued it to a card it looked deliberately rustic, and I have made dozens since.
Hot glue burns are the main risk here, so beginners should use fabric glue and wait patiently for it to set.
Cost: $5 | Time: 30 minutes | Difficulty: Easy
3. Felt Flower Brooch

You need white and yellow felt, a needle, thread, scissors, and a brooch pin. I cut five white petals and one yellow centre, stitch them together with a few running stitches, and sew a pin to the back. I keep the stitches small but visible for a handmade look. I do the trickiest cut or stitch first while everyone is still fresh, and save the easy decorating for last.
I wore my first felt brooch to a craft market and three people asked where I bought it, which still makes me smile.
Brooch pins can snag jumpers, so I add a small felt backing circle to cover the pin hinge.
Cost: $4 | Time: 35 minutes | Difficulty: Easy
4. Felt Leaf Garland

You need green felt in two shades, scissors, thread, and a needle. I cut leaf shapes in two sizes, stitch a simple vein down the centre of each, and string them onto thread with small gaps. I hang the garland along a shelf for a soft, natural look. I photograph the finished piece before it gets played with, because the best ones rarely survive the week intact.
I made this garland for autumn and it stayed up through winter because it suited every season after it.
Leaves curl if the felt is too thin, so I use medium-weight felt and press the finished garland under a book overnight.
Cost: $5 | Time: 40 minutes | Difficulty: Easy
5. Felt Owl Plush

You need brown, cream, and orange felt, stuffing, a needle, thread, and buttons or felt circles for eyes. I cut two owl body shapes, stitch the eyes and beak onto the front piece, then blanket-stitch the edges together, leaving a gap to add stuffing. I close the gap and add small wings. I lay out every cut piece before gluing anything, so nothing ends up upside down or in the wrong place.
My owl’s eyes ended up slightly wonky and he looked even cuter for it, which taught me that perfect is not the goal here.
Overstuffing makes the owl round and hard to stitch closed, so I fill it loosely and add more only if needed.
Cost: $7 | Time: 60 minutes | Difficulty: Medium
6. Felt Bunny Decoration

You need pastel felt, stuffing, a needle, thread, and a ribbon loop for hanging. I cut two bunny shapes with long ears, stitch the face onto the front, and join the pieces with a running stitch, adding a little stuffing for softness. I sew a ribbon loop at the top. I keep a small spare pile of the same paper or felt beside me, because one miscut should never end a project.
I hung my bunny on a bedroom door and it became the decoration my daughter reaches for first every spring.
Long ears flop and fray at the tips if cut too narrow, so I make ears at least 2 centimetres wide.
Cost: $6 | Time: 50 minutes | Difficulty: Medium
7. Felt Duck Figures

You need yellow, orange, and white felt, stuffing, a needle, and thread. I cut a rounded duck body, a small orange beak, and two feet, stitch the face first, then join the body pieces and stuff lightly. I sit the ducks in a row on a shelf. I do the trickiest cut or stitch first while everyone is still fresh, and save the easy decorating for last.
I made a family of ducks for a craft fair and they sold out before lunch, which was the moment I took felt seriously.
Small beaks are fiddly to stitch, so I glue tiny pieces first and stitch over them once the glue is dry.
Cost: $6 | Time: 55 minutes | Difficulty: Medium
8. Felt Butterfly Ornaments

You need bright felt, embroidery thread, beads, scissors, and ribbon for hanging. I cut two wing shapes, stitch a simple border with contrasting thread, and add a bead body in the centre. I hang them from ribbon loops on a branch or hoop. I photograph the finished piece before it gets played with, because the best ones rarely survive the week intact.
My butterflies caught the light on a winter window and looked far more expensive than the felt they came from.
Beads slip off thin thread, so I double the thread and knot it twice before adding any beads.
Cost: $6 | Time: 45 minutes | Difficulty: Medium
9. Mini Felt Boot Ornaments

You need red, green, and white felt, embroidery thread, scissors, and ribbon. I cut two boot shapes, stitch a white cuff across the top, and join the pieces with a blanket stitch. I add a tiny star or button for decoration. I lay out every cut piece before gluing anything, so nothing ends up upside down or in the wrong place.
I made a dozen of these one December evening and they became our tree’s most complimented ornaments that year.
Boots look best in pairs, so I cut both shapes at once by folding the felt in half before cutting.
Cost: $5 | Time: 40 minutes | Difficulty: Easy
10. Felt Stocking Ornaments with Lace Trim

You need felt, lace trim, thread, scissors, and a ribbon loop. I cut a small stocking shape, stitch lace along the cuff, and join the front and back with a running stitch. I keep the stocking small enough to hang on a tree branch. I keep a small spare pile of the same paper or felt beside me, because one miscut should never end a project.
My grandmother loved lace, so I made her a set of these and she hung them in her hallway all year round.
Lace trim frays when cut, so I seal the cut edge with a tiny dot of fabric glue before stitching.
Cost: $6 | Time: 45 minutes | Difficulty: Medium
11. Felt Alphabet Letters: Create

You need colourful felt, scissors, a needle, and thread or fabric glue. I cut chunky letter shapes, back each one with a second layer for stiffness, and stitch or glue the layers together. I display a short word on a shelf or pin board. I do the trickiest cut or stitch first while everyone is still fresh, and save the easy decorating for last.
I spelled out my daughter’s name for her bedroom and she learned the letters by rearranging them daily.
Thin letters bend and flop, so I always double-layer felt letters meant for display.
Cost: $5 | Time: 40 minutes | Difficulty: Easy
12. Felt Alphabet Set for Kids

You need a full felt pack, letter templates, scissors, and a storage pouch. I trace each letter onto felt, cut carefully around curves, and store the set in a pouch for quiet play. I start with vowels and the letters of the child’s name. I photograph the finished piece before it gets played with, because the best ones rarely survive the week intact.
My son learned his name letters by fishing them out of a felt pouch, which beat every flashcard we owned.
Cutting 26 letters takes longer than expected, so I split it across two sessions and keep the templates safe.
Cost: $8 | Time: 90 minutes | Difficulty: Medium
13. Felt Word Banner: Wonder

You need felt letters, a backing strip of felt, thread, and two dowels or ribbon for hanging. I stitch felt letters onto a long backing strip, add a border stitch along the edges, and hang the banner with ribbon. I choose a short, happy word for a first banner. I lay out every cut piece before gluing anything, so nothing ends up upside down or in the wrong place.
I hung a wonder banner over my desk and it still makes me pause and smile on busy mornings.
Long banners sag in the middle, so I add a small dowel at the top and bottom to keep them straight.
Cost: $7 | Time: 60 minutes | Difficulty: Medium
14. Felt Keychain with Beads

You need felt scraps, beads, thread, scissors, and a keyring finding. I cut a small felt shape, stitch a border, add a few beads along the edge, and attach it to a keyring with a loop of strong thread. I keep the shape simple for a first keychain. I keep a small spare pile of the same paper or felt beside me, because one miscut should never end a project.
I made one for my keys and it has survived two years of bags, pockets, and being dropped on concrete.
Keychains take a beating, so I stitch, never just glue, anything that will hang from keys.
Cost: $4 | Time: 30 minutes | Difficulty: Easy
15. Felt Bag with Floral Design

You need two large felt rectangles, a needle, strong thread, scissors, and a felt flower for decoration. I stitch the two rectangles together along three sides with a running stitch, fold the top edge down, and sew on handles cut from felt. I add a felt flower to the front pocket area. I do the trickiest cut or stitch first while everyone is still fresh, and save the easy decorating for last.
I carried my first felt bag to a market and it held far more than I expected without stretching out of shape.
Felt handles stretch under heavy loads, so I double-layer them and keep the bag for light shopping only.
Cost: $8 | Time: 70 minutes | Difficulty: Medium
16. Felt Ball Garland

You need ready-made felt balls, strong thread, and a large needle. I thread felt balls onto strong thread, spacing them evenly, and knot the thread after every fifth ball so they stay put. I drape the garland along a mantel or doorway. I photograph the finished piece before it gets played with, because the best ones rarely survive the week intact.
I made a rainbow garland for a birthday and it has been reused for at least six parties since, which is excellent value.
Felt balls roll everywhere during threading, so I work in a tray and thread them in colour order.
Cost: $9 | Time: 35 minutes | Difficulty: Easy
17. Felt Ball Wreath

You need felt balls, a foam or cardboard wreath base, and a glue gun or strong fabric glue. I glue felt balls tightly around the wreath base, working in colour blocks, and fill gaps with smaller balls. I add a ribbon loop and hang it on an inside door. I lay out every cut piece before gluing anything, so nothing ends up upside down or in the wrong place.
My wreath looked patchy halfway through and I nearly gave up, but filling the gaps with small balls saved it completely.
Glue guns burn fingers fast, so beginners should use fabric glue and accept a longer drying time.
Cost: $12 | Time: 60 minutes | Difficulty: Medium
18. First Stitches on a Machine

You need felt scraps, a sewing machine, thread, and a seam ripper for mistakes. I practise straight lines on felt scraps first, because felt feeds smoothly and does not pucker like thin fabric. I sew slow, short seams and check the tension after every line. I keep a small spare pile of the same paper or felt beside me, because one miscut should never end a project.
My first machine seams on felt looked neat enough to show off, which gave me the confidence to try a real project next.
Machines eat small felt pieces, so I always start stitching on a scrap leader piece before the real felt.
Cost: $0 | Time: 30 minutes | Difficulty: Easy
19. Felt Sewing Kit and Supplies

You need felt sheets, needles, thread in mixed colours, scissors, pins, and a cutting mat. I lay out all supplies on a cutting mat, sort thread by colour, and pack the kit into a zip pouch so nothing gets lost. I include a needle book made from a folded felt square. I do the trickiest cut or stitch first while everyone is still fresh, and save the easy decorating for last.
I built my kit slowly over a month and it is still the box I reach for whenever a quick handmade gift is needed.
Needles vanish into felt scraps easily, so I keep a magnetic pin dish beside the kit at all times.
Cost: $10 | Time: 25 minutes | Difficulty: Easy
20. Felt Dog Figurine

You need brown, cream, and pink felt, stuffing, a needle, thread, and small beads for eyes. I cut a sitting dog shape in two layers, stitch the ears and spots onto the front, then join the pieces and stuff lightly. I sit the finished dog on a shelf beside real photos. I photograph the finished piece before it gets played with, because the best ones rarely survive the week intact.
I made a felt version of a friend’s dog and she laughed, then cried a little, and now it sits on her desk at work.
Tiny felt pieces are easy to lose, so I cut and stitch one feature at a time instead of cutting everything first.
Cost: $7 | Time: 55 minutes | Difficulty: Medium
Before you pick a favourite, this Also read pairs well with a quiet afternoon craft session.
Comparison Table
| Craft | Best Age | Mess Level | Best For |
|---|---|---|---|
| Felt Roses | All ages | Low | Brooches and cards |
| Felt Owl Plush | 10+ | Medium | Gifts |
| Felt Alphabet Set | 5+ with help | Low | Learning play |
| Felt Bag | 12+ | Medium | Everyday use |
| Felt Ball Garland | All ages | Low | Party decor |
Mistakes I Made (So You Don’t Have To)
I once bought the cheapest, thinnest felt I could find and watched my owl flop like a pancake. Medium-weight felt costs a little more and holds its shape, which matters more than saving a few coins.
I glued a keychain together in a hurry and it fell apart in my bag within a week. Anything that will be pulled, dropped, or carried needs stitches, not just glue.
I cut all 26 alphabet letters in one sitting and ended up with sore hands and wonky Zs. Splitting big cutting jobs across two days keeps the work enjoyable and the letters neat.
I used a hot glue gun for my first felt flowers and burned two fingers before lunch. Fabric glue is slower, but it keeps beginners safe and still holds felt well.
Frequently Asked Questions
What is the best felt for beginners?
Medium-weight craft felt sheets are best for beginners. They cut cleanly, do not fray, and hold their shape for ornaments, flowers, and simple plush toys.
Do I need a sewing machine for felt craft ideas?
No, most felt craft ideas work beautifully by hand with a running stitch or blanket stitch. A machine only speeds up larger projects like bags.
How do I wash felt crafts?
Spot-clean felt with a damp cloth and mild soap, then let it air-dry flat. Most felt ornaments and plush toys should not go in a washing machine.
Where should beginners buy felt?
Start with a mixed pack of felt sheets from a craft shop, plus a few spools of thread in matching colours. You do not need wool felt until you are making items to sell.
Final Thoughts
If you are starting today, make felt roses, a leaf garland, and a keychain first, because together they teach cutting, rolling, stitching, and beading without any single project feeling hard. And when you are ready for another project, this Read this next is next on my list.
Felt has a wonderful way of turning I cannot sew into look what I made, and I hope these twenty projects give you that same happy surprise I felt with my very first lopsided rose.