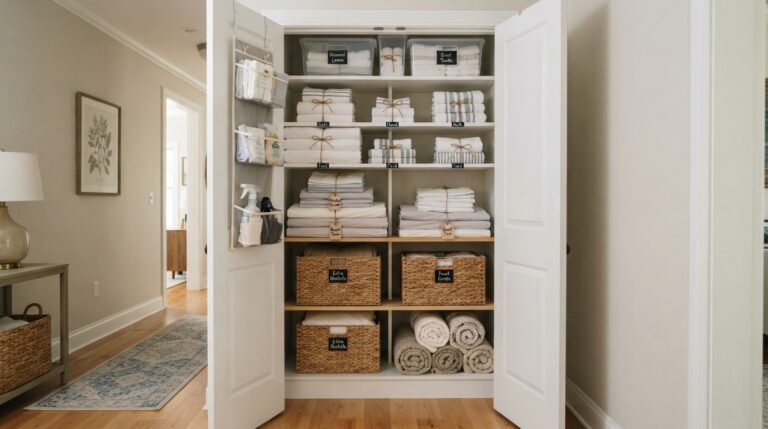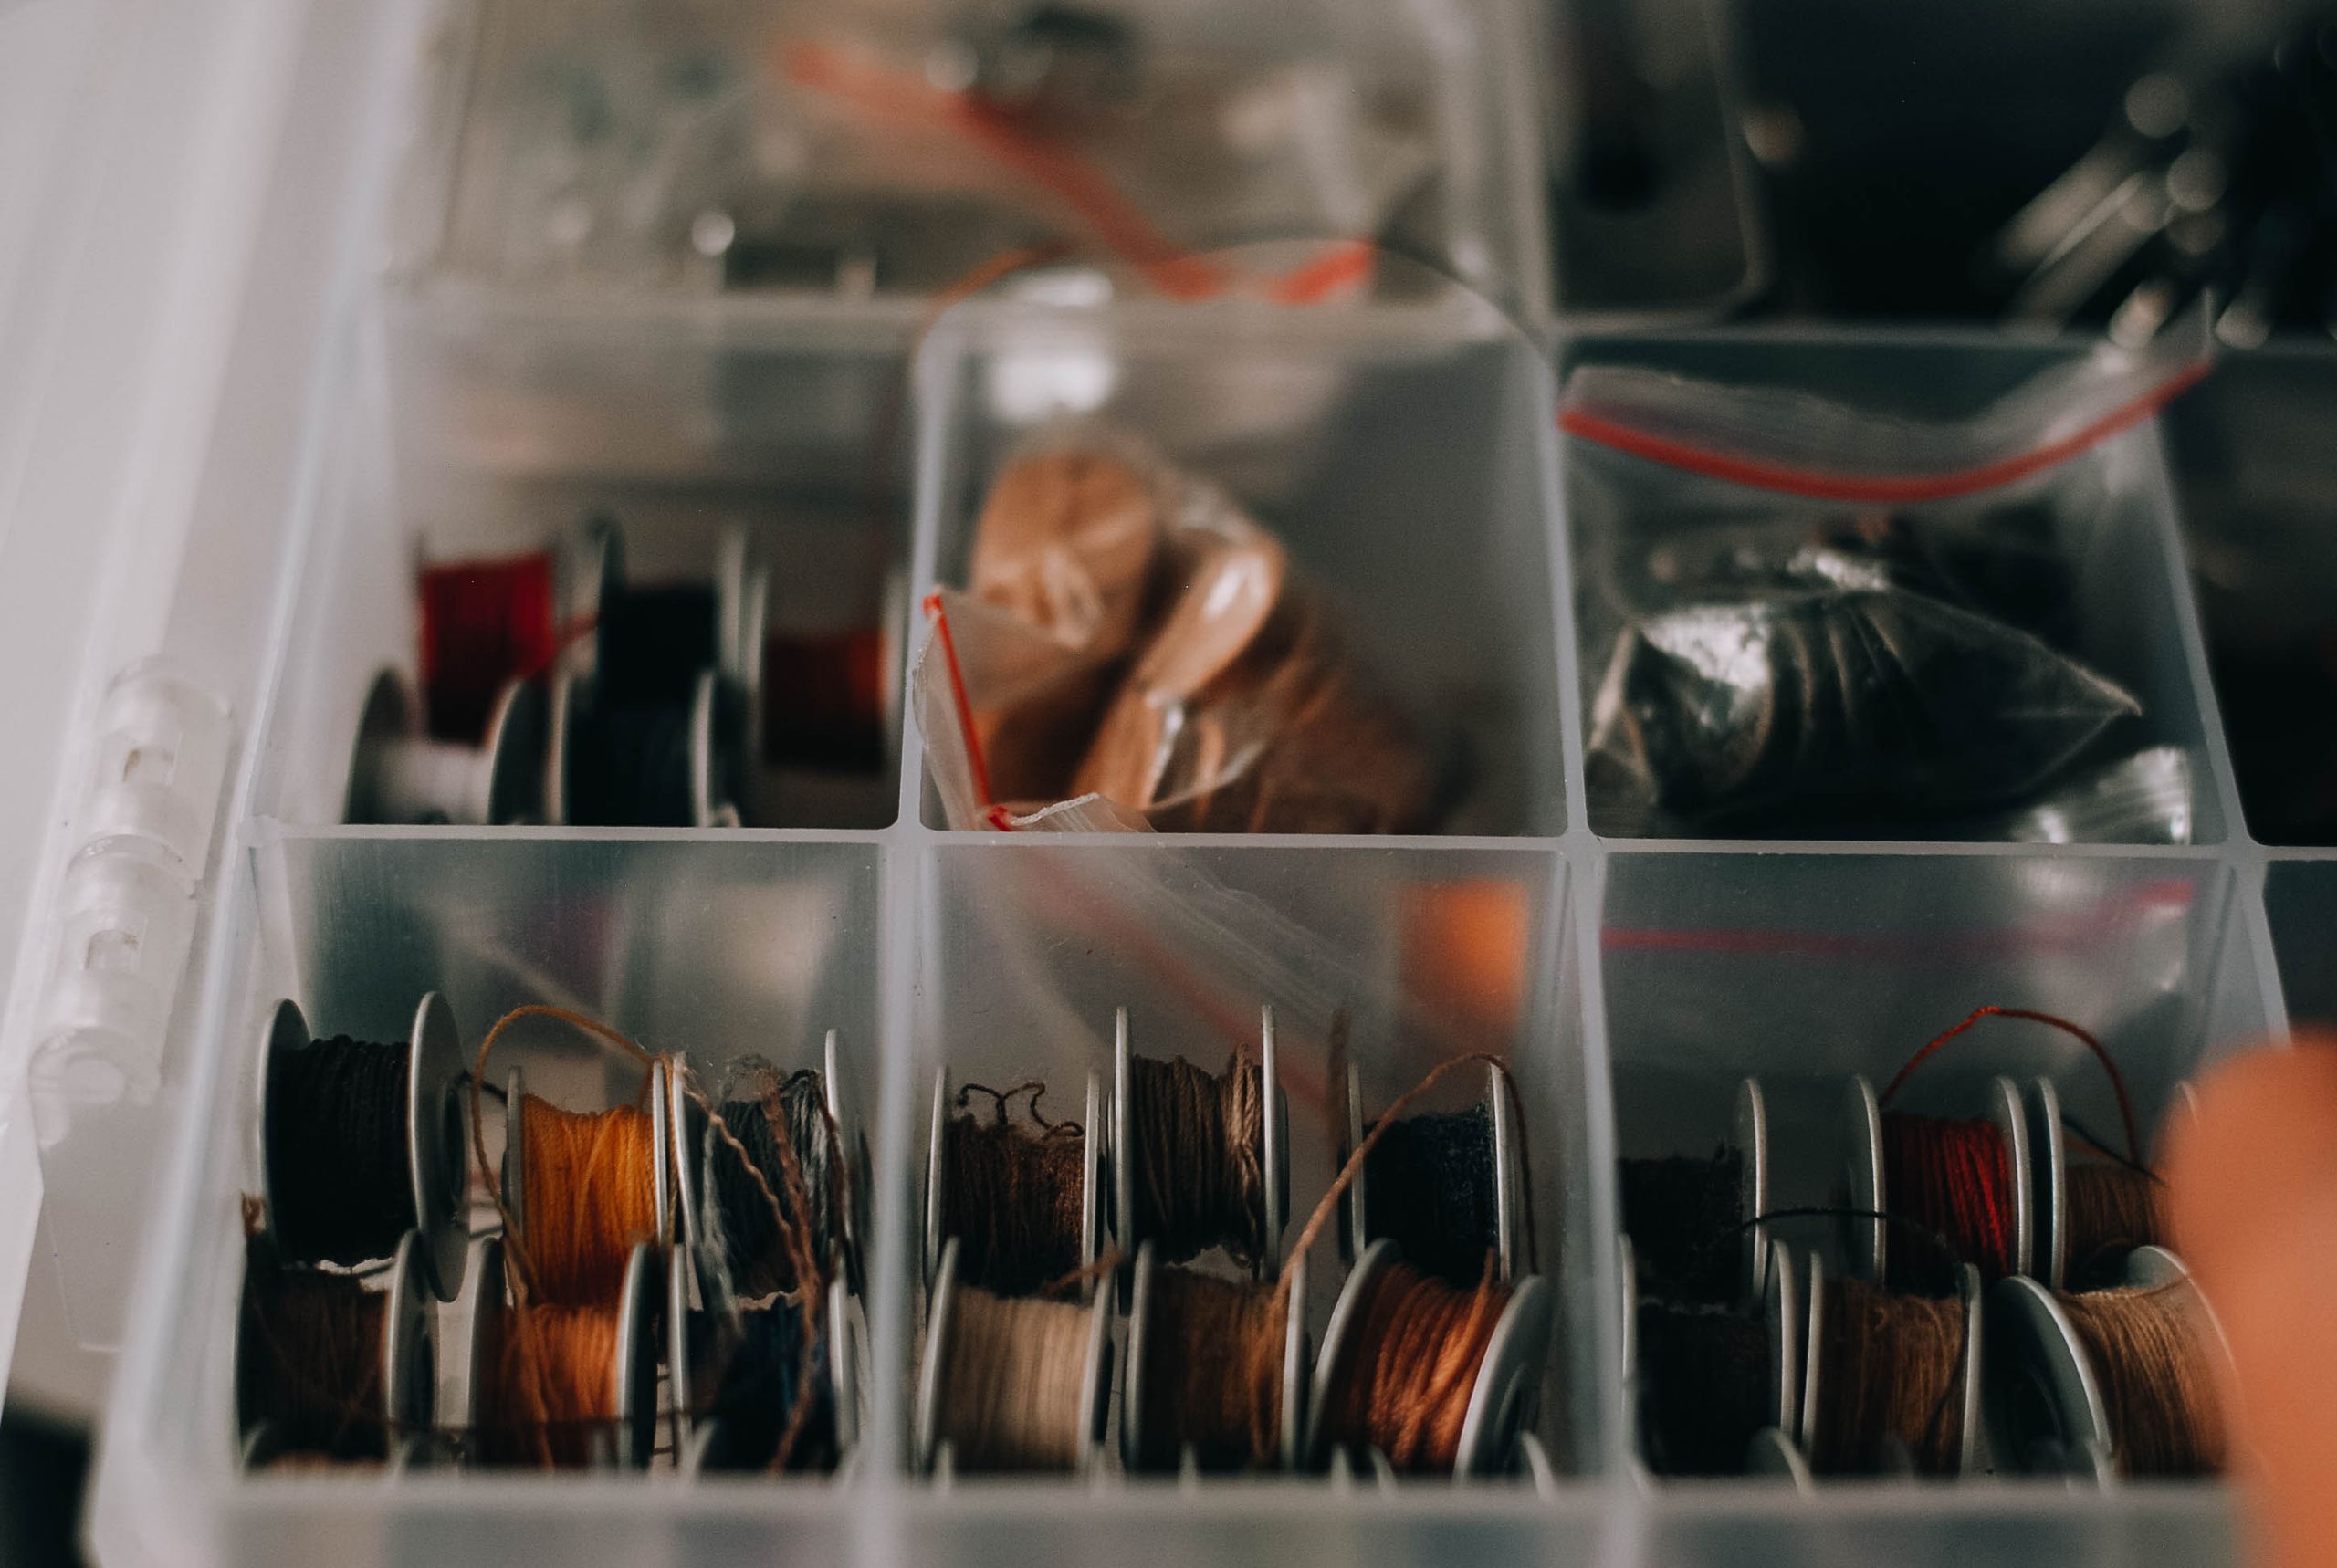
22 Craft Room Organization Ideas
My craft room used to be the one room I closed the door on before guests arrived, because every surface held half-finished projects. These craft room organization ideas are the systems that finally made it a room I actually want to work in. I picked them the same way I pick craft supplies: only after testing each one through at least two real projects.
I measured my shelves, sorted every supply into categories, and lived with each setup before calling it a keeper. Below are the ideas that survived, with honest costs, the mistakes I made along the way, and the exact habits that keep the room tidy now.
Key Takeaways
- Sort by project and category first, then buy containers to fit what remains.
- Clear containers beat pretty opaque ones, because you use what you can see.
- Daily tools belong within arm’s reach; only rarely used supplies go high or hidden.
- A rolling cart and a weekly reset keep even a shared table usable.
Related article: craft supply storage ideas
1. Put Daily Tools on a Pegboard Wall
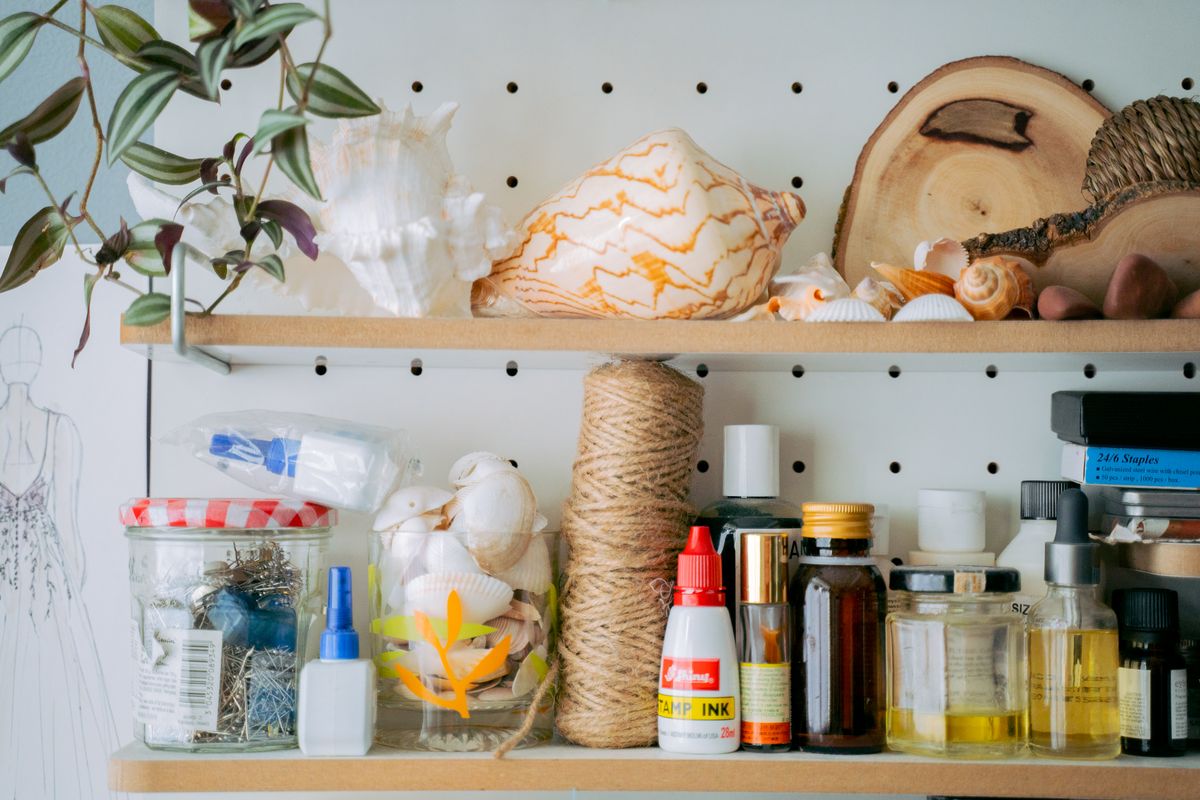
A pegboard above my desk holds the tools I reach for constantly: scissors, rulers, rotary cutters, and tape. I outlined each tool’s spot in marker once, which sounds fussy but means I notice instantly when something is missing. The board freed an entire desk drawer overnight.
I mounted it with a French cleat so it can come down without wall damage, which mattered in a rental. Hooks and small baskets clip on and off, so the layout changes as my projects change. The downside is that a loaded pegboard looks busy, so I keep only daily tools there and store the rest in closed bins.
Pro Tip: Trace tool outlines on the pegboard so everything has a visible home and put-away takes seconds.
Cost: $20–$45 | Time: 1–2 hours | Difficulty: Medium
2. Sort Small Notions Into Clear Jars

Buttons, beads, and findings used to live in one junk drawer where nothing was findable. Clear jars on a shelf changed everything: I sort by type and color, and I can see at a glance when I am running low on white buttons or gold clasps. The jars look cheerful lined up together, which is a bonus.
I standardized on one jar size so they stack and sit evenly, after years of mismatched containers that never lined up. Small jars go on a narrow shelf right above my desk. The downside is that jars tempt you to keep things you will never use, so once a year I empty each jar and return only what I touched in the past twelve months.
Pro Tip: Put a small label on the bottom of each jar too, so you can identify it when it is sitting on a high shelf.
Cost: $1–$3 per jar | Time: 1 hour | Difficulty: Easy
3. Keep a Rolling Cart for the Current Project

My rolling cart is the hardest-working thing in my craft room. It holds only the supplies for whatever I am making right now, and it wheels to the table when I work and tucks beside the desk when I do not. Because the cart is small, I cannot pile it with unrelated things without noticing.
I set it up with three tiers: tools on top, materials in the middle, and the project itself at the bottom. When a project ends, the cart gets emptied before the next one starts, which is the rule that keeps it useful. The downside is that carts roll away on uneven floors, so I lock the wheels every time I park it.
Pro Tip: Empty the cart completely between projects, or it quietly becomes another storage shelf.
Cost: $30–$60 | Time: 30 minutes | Difficulty: Easy
4. Rack Thread Spools by Color

Thread spools in a box were a tangled mystery, and I kept buying colors I already owned. A wall-mounted spool rack sorted by color family fixed that: I can see every shade at once, and matching thread to fabric takes seconds instead of ten minutes of digging. I arranged mine from light to dark within each color.
I started with a small rack and added a second row only when the first filled up, which kept me from overbuying storage. The rack sits right beside my sewing machine, so thread is always within reach. The downside is that dust settles on exposed spools, so I cover the rack with a light cloth when I am between sewing stretches.
Pro Tip: Store a needle and a small pair of snips on the rack itself so thread changes never require a drawer trip.
Cost: $15–$30 | Time: 45 minutes | Difficulty: Easy
5. Basket Yarn by Color and Weight

Yarn used to live in three bulging bags that I dreaded opening, because pulling one skein out unraveled three others. Now each color family has its own basket, and bulky yarn sits separately from fine yarn so nothing gets crushed. I can pull a basket down, pick what I need, and put it back in under a minute.
I chose baskets with lids after my cat claimed a ball of wool as a toy one memorable evening and I spent an hour re-winding it. Baskets breathe better than plastic boxes, which matters for wool, but they do collect dust, so I shake mine out on the porch every month or so. The honest downside is that baskets hide quantities, so I keep a simple count list inside each lid.
Pro Tip: Tuck the yarn label and your needle size into a small zip bag inside the basket so dye lots always match.
Cost: $12–$25 per basket | Time: 1 hour | Difficulty: Easy
6. Store Paper Upright in a File Sorter

Scrap paper is useful until it becomes a leaning tower on my desk, so I stand mine upright in a desktop file sorter, sorted by color family with patterned paper in its own section. Upright storage means I can flip through pieces like files and pull one out without disturbing the rest, and I can see when a color is running low.
I keep only pieces bigger than my hand; anything smaller goes straight into recycling, a rule I made after keeping a box of tiny scraps for two years and using none of them. This one change freed an entire desk drawer. The downside is that tall paper can flop forward, so I keep a bookend at the front of the sorter.
Pro Tip: Keep a small use-first section at the front for odd-sized offcuts so they get used instead of hoarded.
Cost: $10–$20 | Time: 30 minutes | Difficulty: Easy
7. Build a Paint Station With Jars of Brushes

Paint brushes rolling around a drawer bent their tips and lost their shape, so I moved them into jars, bristles up, sorted by size and type. Watercolor rounds live in one jar, flats in another, and detail brushes in a small third jar. I can grab the right brush without thinking now, and tips stay straight.
I keep a jar of clean water and a rag beside the station, because brushes last years longer when they are rinsed right after use instead of at the end of the day. My one regret is using a jar that was too tall at first, which made short brushes disappear inside it. The downside is that jars collect paint drips, so I wipe the station down weekly.
Pro Tip: Never store brushes bristle-down in a jar, even briefly, or the tips will bend permanently.
Cost: $5–$15 for jars | Time: 20 minutes | Difficulty: Easy
8. Shelve Fabric by Color, Not by Project

I used to store fabric by project, which meant half-used pieces got buried in bags I never reopened. Shelving fabric by color instead, folded into uniform rectangles, lets me shop my own stash before buying anything new. I fold each piece to the same width so the shelves look calm and nothing topples.
Large cuts go on deeper shelves and small cuts in labeled bins below, which keeps the system from collapsing under its own weight. I refold after every project, which takes ten minutes and saves me from re-sorting later. The downside is that fabric fades in sunlight, so my shelves sit on the wall opposite the window, never beside it.
Pro Tip: Wrap fabric around comic-book boards for a shop-like look that also stops folds from creasing.
Cost: $0–$20 for boards | Time: 2 hours | Difficulty: Easy
9. Set Up a Dedicated Sewing Station

For years I dragged my sewing machine out of a closet for every project, which meant I sewed less and less. Giving it a permanent corner, with the machine on a sturdy table, thread rack beside it, and a small cutting area next to that, changed how often I sew. Now I sit down for twenty minutes instead of planning a whole production.
I keep the machine covered when not in use, because craft-room dust is relentless, and I store bobbins in a labeled tin right beside it. The station took one weekend to set up and has paid for itself in finished projects. The downside is that a permanent station eats floor space, so I chose a fold-down table for the cutting area.
Pro Tip: Keep your machine’s manual and a spare needle pack in the table drawer, not in another room.
Cost: $0–$80 for a table | Time: 2 hours | Difficulty: Easy
10. Give Cutting Tools Their Own Zone

Rotary cutters, fabric scissors, and rulers used to migrate all over my craft room, and I wasted minutes hunting for them mid-project. A single cutting zone, with a mat on the table and tools hanging on a small rail above it, ended the wandering. Everything I need to cut is in one place, and it stays there.
I learned to keep fabric scissors separate from paper scissors after one careless afternoon dulled my best pair, and now they are labeled with tape. The cutting mat lives flat on the table permanently, which protects the tabletop too. The downside is that a dedicated zone tempts you to leave cut scraps everywhere, so I keep a small bin right beside the mat.
Pro Tip: Label fabric scissors with a ribbon on the handle so nobody borrows them for paper, ever.
Cost: $10–$25 for a rail and hooks | Time: 30 minutes | Difficulty: Easy
11. Use One-Size Project Bins With Labels

Each of my active projects now lives in its own bin, with the pattern, fabric, and notions together, so I can pick up where I left off without hunting. I standardized on one bin size after years of mixed boxes that never stacked properly, and that single decision made my shelves look twice as tidy overnight.
The label on the short end names the project and the next step, which matters when I return after a month away. I keep a spare empty bin on the shelf too, because a new project always arrives before I have made room for it. The downside is that bins hide unfinished projects, so I cap myself at four active bins at once.
Pro Tip: Write the next step on the label, not just the project name, so restarting takes no thought at all.
Cost: $2–$5 per bin | Time: 1 hour | Difficulty: Easy
Also read: fabric storage ideas
12. Add a Small-Parts Drawer Unit

Clasps, jump rings, eye pins, and brads are too small for jars and too fiddly for bins, so they live in a small drawer unit with about a dozen shallow drawers. Each drawer is labeled, and the unit sits on my desk where I can pull a drawer out like a tiny shop counter. I bought mine secondhand and it has outlasted three reorganizations of the rest of the room.
The drawers tempt you to keep things you will never use, so once a year I empty each drawer onto a tray and return only what I have touched in the past twelve months. Lining drawers with a scrap of felt stops tiny metal findings from sliding and rattling. The downside is that the unit takes desk space, so I wall-mounted mine above the desk.
Pro Tip: Line drawers with felt so tiny metal findings do not slide and rattle every time you open a drawer.
Cost: $15–$30 | Time: 1 hour | Difficulty: Easy
13. Run Open Shelves for Jars and Baskets
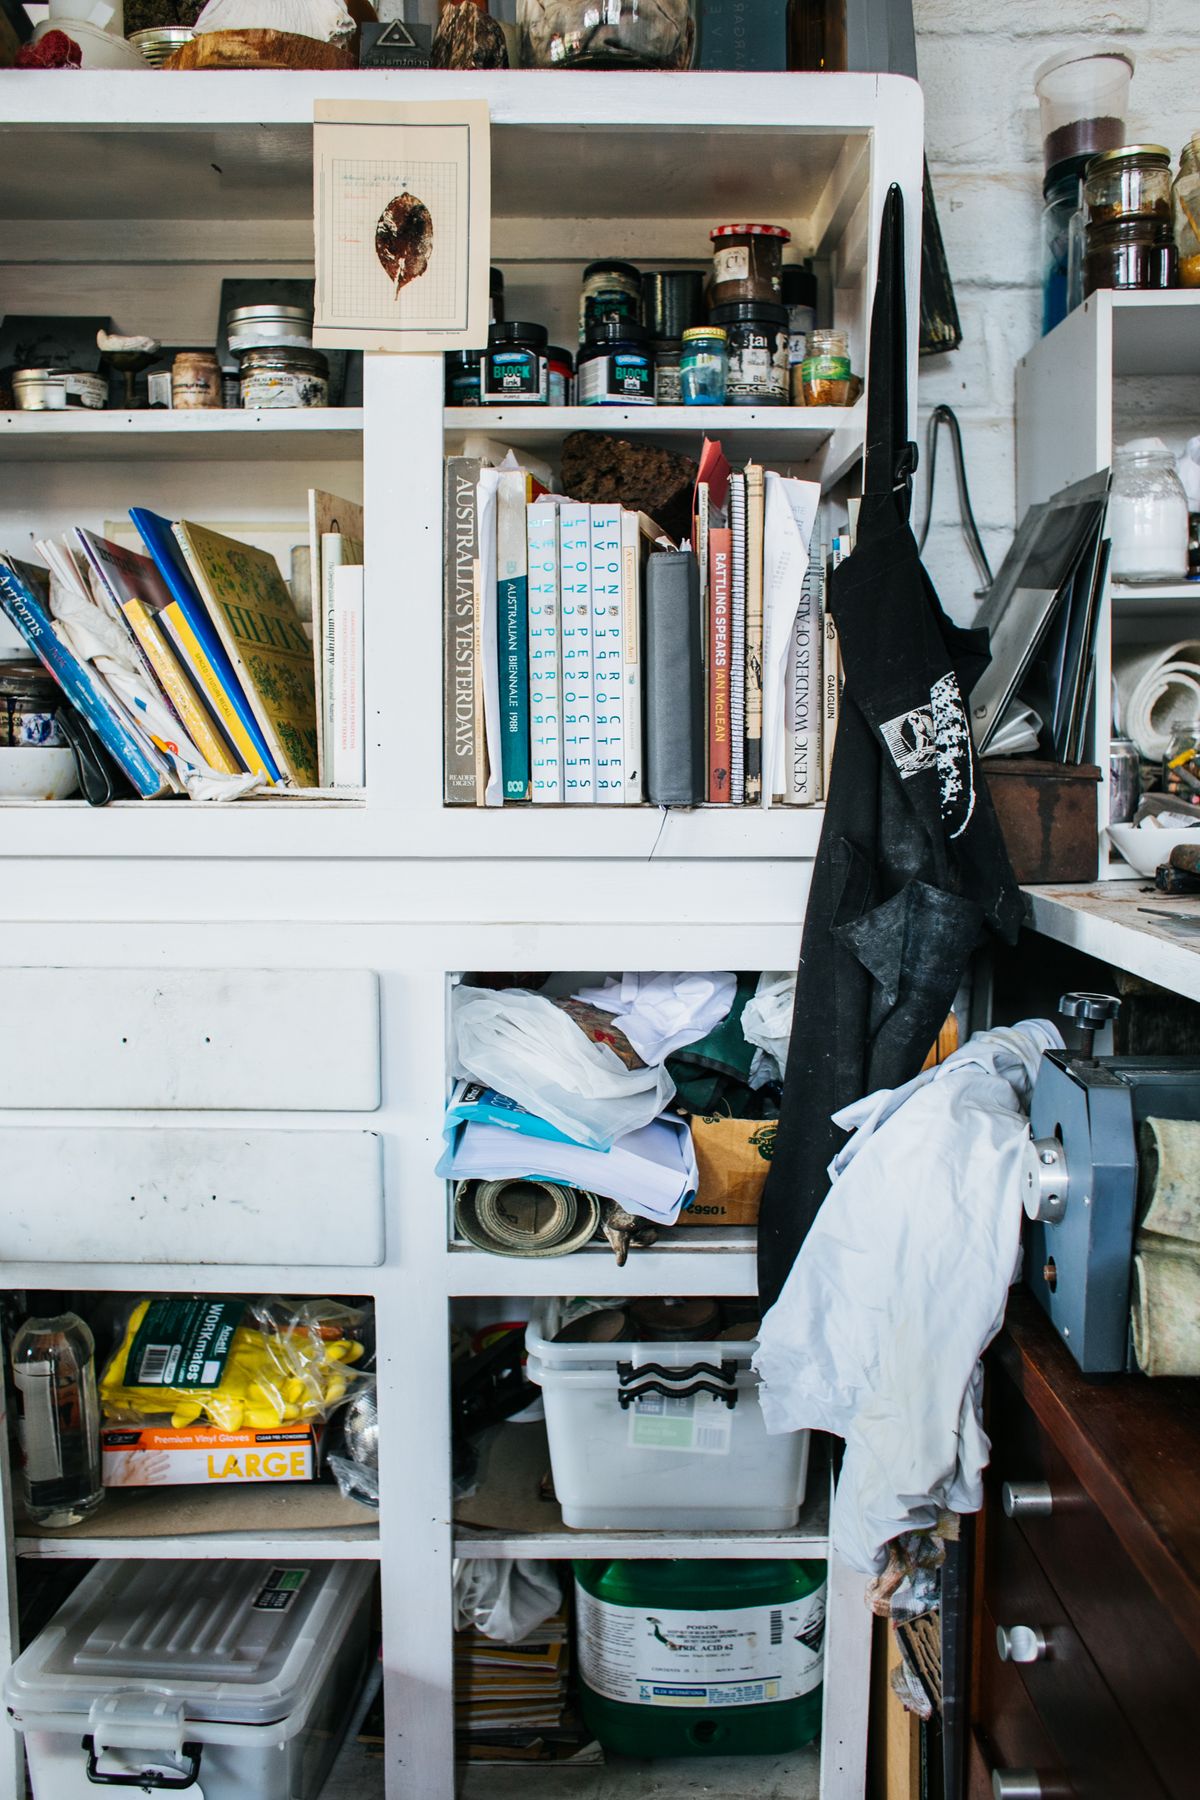
Open shelves above my desk hold jars, baskets, and the supplies I reach for weekly, and they work because everything is visible. I grouped shelves by craft, with sewing on one, paper crafts on another, and painting supplies on the third, so I never hunt across the room mid-project. The shelves are deep enough for jars but shallow enough that nothing hides behind anything else.
I dust them every two weeks, which is the real price of open storage, and I keep rarely used items in closed boxes elsewhere. The first shelves I installed were too deep and became caves, so I replaced them with 10-inch boards. The downside is visual noise, but for a working craft room, visibility beats tidiness.
Pro Tip: Keep shelves 10 to 12 inches deep for craft supplies, or the back row becomes a forgotten zone.
Cost: $25–$60 for shelves | Time: 2 hours | Difficulty: Medium
14. Cup Your Pens, Pencils, and Markers

Pens and pencils used to live in three mugs, two drawers, and a zip bag, which meant I owned twelve black pens and could never find one. Now every writing tool lives in cups on my desk, sorted by type: colored pencils together, markers together, and everyday pens in their own cup. I purged duplicates ruthlessly to get there.
I test every pen before it earns a cup spot, because dead pens are the main reason cups overflow. The cups sit at the back of the desk so they do not eat work space, and tall cups keep long brushes upright too. The downside is that cups fill up again fast, so I do a five-minute pen test on the first of every month.
Pro Tip: Keep one small cup just for tools in current use, so the main cups stay sorted instead of becoming junk cups.
Cost: $0–$12 for cups | Time: 30 minutes | Difficulty: Easy
15. Use the Craft Closet Door for Pockets

The inside of my craft closet door holds a clear pocket organizer, and it is prime real estate I wasted for years. Pockets hold glue sticks, tape, markers, stencils, and the small tools that otherwise vanish into drawers. Because the pockets are clear, I find things without opening anything, and because the door closes, the room still looks tidy.
I hung it with two over-door hooks and it has held for three years without a single fall. One warning: do not overload the bottom pockets, or the whole thing swings when you open the door and small items migrate. I reserve the top row for weekly tools and the bottom row for backups, which keeps the weight balanced.
Pro Tip: Reserve the top row for things you use weekly and the bottom row for backups, so the weight stays balanced.
Cost: $10–$18 | Time: 15 minutes | Difficulty: Easy
16. Lay Scrapbook Paper Flat in Stacks

Scrapbook paper curled and bent when I stored it upright in a bag, so I switched to flat storage in shallow stacks, sorted by color and theme. Each stack sits in a labeled tray, and I can lift a whole theme out at once when I start a page. The paper stays flat, which means my pages lie flat too.
I keep specialty papers, like vellum and foil, in their own stack with tissue between sheets so they do not stick or scratch. The trays stack on a shelf and slide out like drawers, which took one afternoon to set up. The downside is that flat storage eats shelf space, so I cap my paper stash at what fits in six trays and use up old stock first.
Pro Tip: Slip a sheet of tissue between foil and vellum pages so they never stick together in storage.
Cost: $3–$6 per tray | Time: 1 hour | Difficulty: Easy
17. Build a Bead Station With Trays

Beadwork needs a station, not a box, because one spilled container can ruin an afternoon. My bead station is a shallow tray with a lip, a bead mat that stops rolling, and small sorted containers for the colors I am using. When I finish, the whole tray slides onto a shelf with the project intact.
I sort beads by size first and color second, because a mixed-size pile is useless even when the colors are right. The tray’s lip has saved me from at least three spills that would have scattered seed beads across the carpet. The downside is that a station takes table space, so I use a lap tray when the main table is busy.
Pro Tip: Work on a bead mat with a raised edge, and keep a small flashlight nearby for finding dropped beads.
Cost: $10–$25 | Time: 30 minutes | Difficulty: Easy
18. Make a Kids’ Craft Corner at Their Height

Kids’ supplies mixed with mine meant lost scissors and glitter in everything, so I gave the kids their own corner at their height, with washable supplies only. A low table, a small cart, and labeled bins they can reach turned craft time from chaos into something they can start themselves. They take pride in putting things back now.
Sharp tools and small parts live on my high shelf, never in the kids’ corner, which is a rule I never bend. The kids’ cart holds crayons, safety scissors, glue sticks, and paper, and nothing else. The downside is that kids’ supplies multiply fast, so I audit their corner monthly and pass along what they have outgrown.
Pro Tip: Give kids their own clearly marked cart at their height, with washable supplies only, and keep sharp tools separate.
Cost: $20–$40 | Time: 1 hour | Difficulty: Easy
19. Keep a Drying Rack for Painted Pieces

Wet paintings used to take over my whole table, because I had nowhere to put them while they dried. A small folding drying rack, the kind with mesh shelves, now sits beside my desk, and painted pieces dry there without touching anything. I can keep working on the table while yesterday’s pieces dry safely.
I learned this after smudging a nearly finished watercolor by stacking it under another sheet, which still stings. The rack folds flat when I am not painting, so it does not eat permanent space. The downside is that dust settles on drying pieces, so I drape a light cloth over the rack when the room sits unused for days.
Pro Tip: Label each drying shelf with a small clip and a sticky note so you never stack a wet piece by mistake.
Cost: $15–$30 | Time: 10 minutes | Difficulty: Easy
20. Pack a Grab-and-Go Project Basket

I craft at a friend’s house most months, and for a long time I packed supplies in a shopping bag and forgot something every trip. Now I keep a dedicated basket packed with the basics: scissors, needles, a small cutting mat, tape, and a pouch of current project supplies. The basket lives by the door, ready to grab.
When I come home, everything goes straight back into the basket instead of spreading across the house. It took one evening to assemble and has saved me from at least a dozen forgotten-scissors trips. The downside is weight, so I keep it to true essentials and leave the heavy stash at home, which keeps the basket genuinely portable.
Pro Tip: Keep a printed checklist in the basket’s front pocket so repacking after a trip takes two minutes, not twenty.
Cost: $15–$30 | Time: 30 minutes | Difficulty: Easy
21. Choose a Desk With Drawers You Can Label

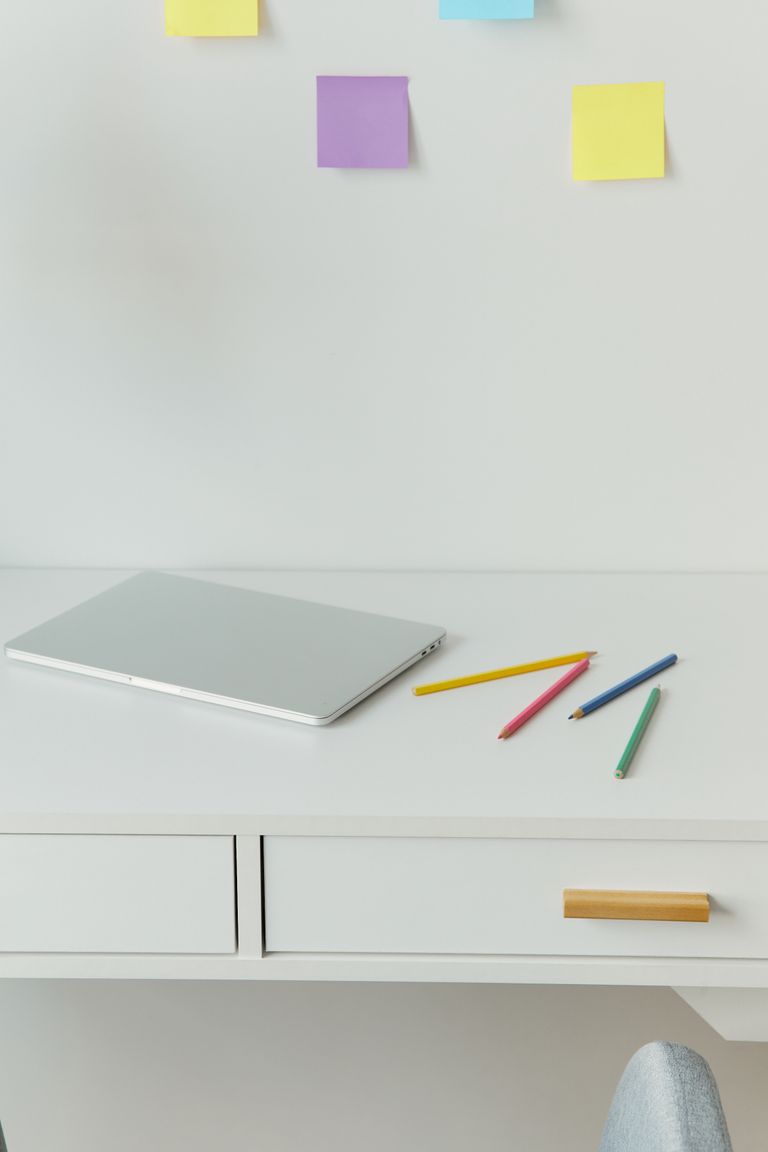
A craft desk with drawers beats a plain table, because drawers hide the visual noise that makes a room feel chaotic. I labeled every drawer, with one for adhesives, one for cutting tools, one for paper, and one for works in progress, so I can find things without opening four drawers. The labels face me, not the wall, which took one embarrassing week to fix.
I keep the desktop clear except for the current project, which is the rule that makes the whole system work. Deep drawers hold bulky items, shallow ones hold small tools. The downside is that drawers hide clutter, so I empty and audit one drawer a month on rotation, and the system has stayed honest for over a year.
Pro Tip: Audit one drawer a month on rotation, so no drawer quietly becomes a junk drawer again.
Cost: $0–$120 for a desk | Time: 1 hour | Difficulty: Easy
22. Basket Your Yarn Stash by Project

Not every storage solution needs to look like storage, and my yarn baskets prove it. A big basket by my chair holds the yarn I am actually knitting with, plus the pattern and needles, and it looks like part of the room rather than a craft explosion. I chose a basket with a lid so nothing unravels between sessions.
Each basket holds one project, so I never mix yarns from different sweaters, and the pattern card sits on top where I can see it. I keep a spare empty basket on the shelf too, because a new project always arrives before I have finished the last one. The downside is that baskets hide how much yarn you own, so I count skeins when I start a project.
Pro Tip: Keep one basket per project, not per color, so yarn never migrates between half-finished sweaters.
Cost: $12–$25 per basket | Time: 20 minutes | Difficulty: Easy
Craft Room Organization Ideas at a Glance
| Idea | Best for | Cost | Effort |
|---|---|---|---|
| Pegboard wall | Daily tools above a desk | $20–$45 | Medium |
| Clear jars | Small notions and beads | $1–$3 each | Low |
| Rolling cart | Small spaces, shared tables | $30–$60 | Low |
| Thread spool rack | Sewists | $15–$30 | Low |
| Yarn baskets | Knitters and crocheters | $12–$25 each | Low |
| Project bins | Several projects at once | $2–$5 each | Low |
| Kids’ craft corner | Families sharing the room | $20–$40 | Low |
Mistakes I Made (So You Don’t Have To)
Mistake 1: I bought matching containers before I sorted anything, and ended up with beautiful boxes in the wrong sizes. Sort first, measure second, buy last.
Mistake 2: I stored everything in opaque boxes because they looked tidy, then bought duplicates of things I already owned. Clear beats pretty every time.
Mistake 3: I put my most-used tools on a high shelf to keep the desk clear, then stopped using them because reaching felt like a chore. Daily tools belong within arm’s reach.
Mistake 4: I skipped labels for months, convinced I would remember what was where. I did not, and neither will you.
Frequently Asked Questions
How do I start organizing a craft room without buying anything first?
Start by sorting, not shopping. Empty one shelf, group like items, and throw away dried-out glue, broken tools, and scraps untouched for a year. Then measure what is left and use jars and boxes you already own for a week before buying anything.
How do I organize a craft room in a small space?
Go vertical with shelves and a pegboard, use a rolling cart instead of a cabinet, and keep only daily tools on the desk. A shared table works if each project lives in its own bin.
How do I keep a craft room organized long-term?
Use a ten-minute weekly reset, enforce one-in, one-out for supplies, and photograph each tidy shelf so you have a target to restore.
Should I sort craft supplies by craft or by project?
Sort bulk supplies by craft and active work by project, with one bin per project. That split keeps the stash findable and current work portable.
Final Thoughts
Good craft room organization is not about a perfect room; it is about finding what you need in under a minute and having a clear surface to work on. Of all the craft room organization ideas I have tried, the ones that survived are the ones that made putting things away easier, not prettier. Start with the jars and the project bins, add a pegboard when you are ready, and let the system grow with your stash instead of fighting it.
Pick the one idea that fixes your biggest daily annoyance, live with it for two projects, and then add the next. That slow, tested pace is how my craft room finally stayed tidy, and it is how yours will too.
Read this next: home office organization ideas