18 Clay Pot Craft Ideas for Adults That Look Store-Bought
A plain terracotta pot costs less than a coffee, and that is exactly why I love it. These clay pot craft ideas are the ones I actually made in my garage and on my kitchen table, not just saved on a board, and I kept only the ones that still looked good a month later.
How I picked these: I made each pot myself, used it for a real plant or a real shelf, and watched what chipped, faded, or fell apart. I kept a project only if a guest could not tell it was homemade at first glance, and every idea below tells you what it cost, how long it took, and where it went wrong.
Related article: Macrame Craft Ideas for Beginners
Key Takeaways
- Seal terracotta inside and out before you plant in it, or paint will peel within weeks.
- Two thin coats of paint always beat one thick coat on a porous pot.
- Let each layer dry fully, even when you are impatient to finish.
- A drainage hole and a saucer matter more than any decoration.
- Start with one cheap pot to test a technique before you buy a whole set.
18 Clay Pot Craft Ideas for Adults
1. The Classic Painted Terracotta Pot
I painted a standard 6-inch terracotta pot with two coats of outdoor acrylic in a warm cream, then added one thin sage stripe near the rim. I cleaned the pot first, let it dry overnight, and brushed the paint on with a flat 1-inch brush, working around the pot in steady strokes.
The downside is that terracotta drinks paint. My first pot needed a third coat because the colour looked patchy in daylight, and I learned to prime with a white base coat first. That pot now holds a pothos on my windowsill and still looks fresh.
Pro Tip: Prime with white acrylic first, even under a dark colour, so the final shade stays true.
Cost / Time / Difficulty: $3 to $6 per pot | 1 hour plus drying | Easy
2. The Whitewashed Farmhouse Pot
I dry-brushed white chalk paint over a terracotta pot, wiping most of it off so the orange-brown showed through in patches. I used a stiff brush, barely any paint, and long strokes from rim to base, which gave it that soft, aged farmhouse look without any sanding.
The downside is that whitewash shows dirt fast. My first pot sat by the back door and looked grey within a month, so I moved it indoors and sealed it with clear matte spray. Indoors, it has stayed pretty for over a year.
Pro Tip: Seal whitewashed pots with clear matte spray, or the finish will rub off when you water the plant.
Cost / Time / Difficulty: $4 to $7 per pot | 45 minutes plus drying | Easy
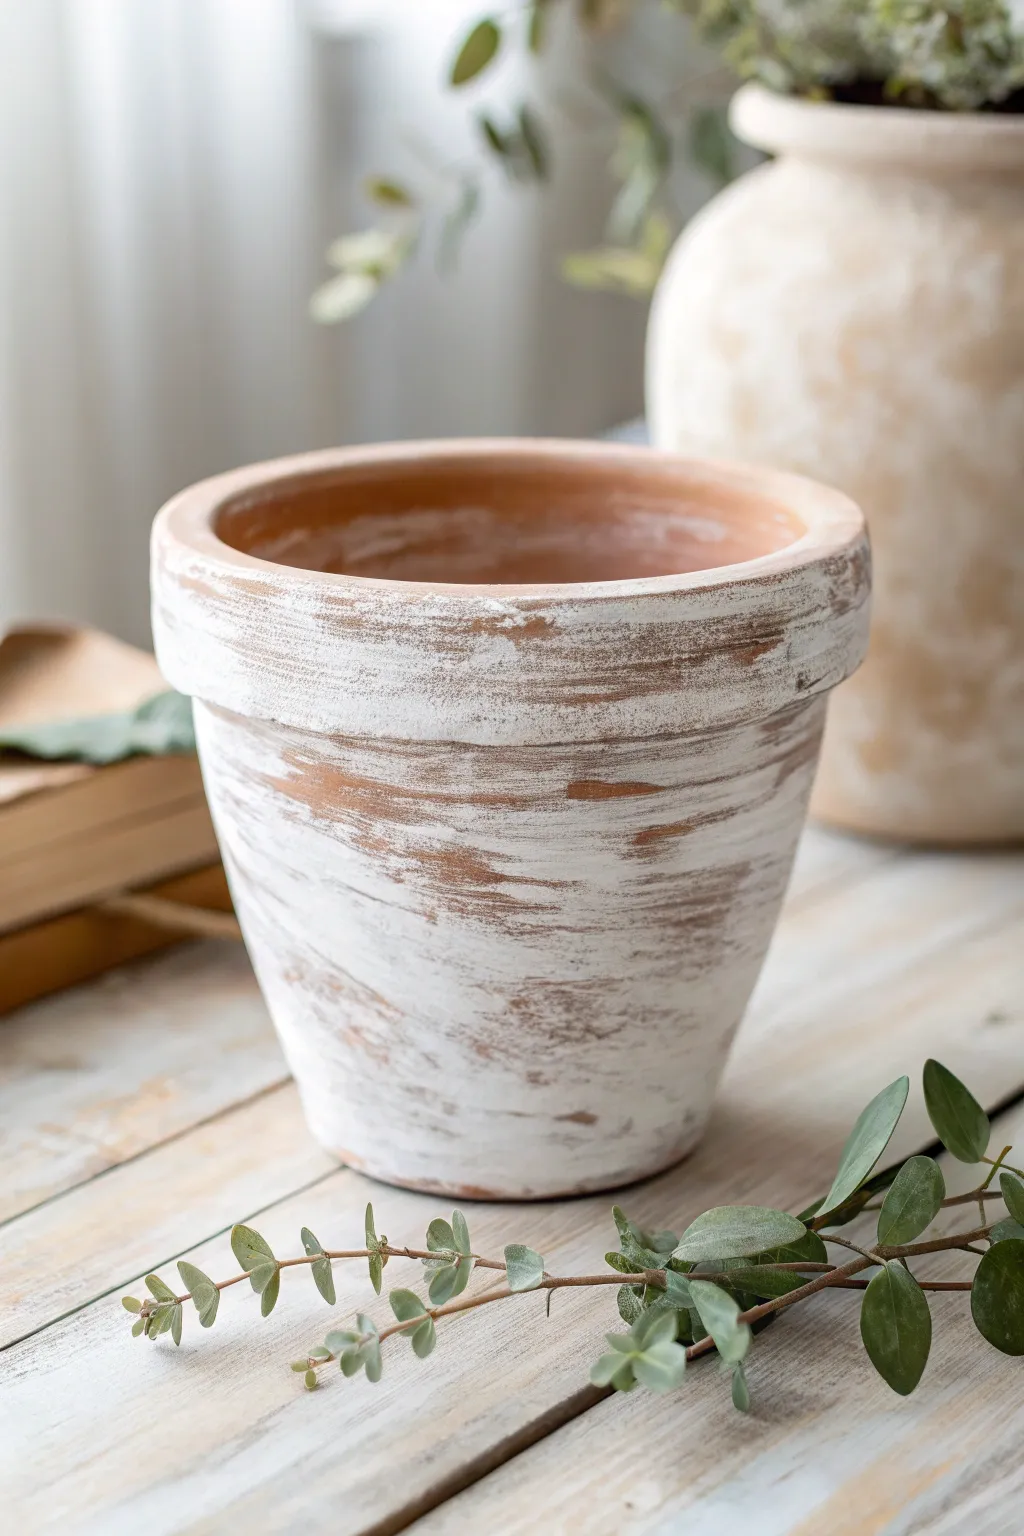
Image credit: https://casolia.com/terracotta-pot-painting-ideas/
3. The Herb Pot Set
I made a set of three 4-inch pots for basil, mint, and parsley, painting each one a different soft colour and labelling it with a small wooden plant marker. I drilled no new holes, since the pots already had drainage, and I set them on a long tray by the kitchen window.
The downside is mint. My mint outgrew its pot in six weeks and crowded the basil, so now I keep mint in its own pot on a separate saucer. The set still works, and I snip herbs for dinner three or four times a week.
Pro Tip: Give mint its own pot, or it will take over any shared tray or planter.
Cost / Time / Difficulty: $9 to $15 for a set of three | 2 hours | Easy

Image credit: https://inforeasyhome.com/craft-ideas-to-build-a-legit-side-hustle-from-home
4. The Mosaic Tile Pot
I glued small broken tiles and glass gems around a 8-inch pot in a random pattern, leaving tiny gaps, then grouted it the next day. I used waterproof tile adhesive, worked in sections so the pieces did not slide, and wiped the grout off the tile faces before it hardened.
The downside is weight. My finished pot weighed almost twice as much as a plain one, and I dropped it once while moving it. The grout cracked in one spot, which I patched with a dab of fresh grout. Now it stays in one place on the patio table.
Pro Tip: Grout in the shade, not in hot sun, or it dries too fast and cracks.
Cost / Time / Difficulty: $10 to $18 per pot | 3 hours over two days | Medium
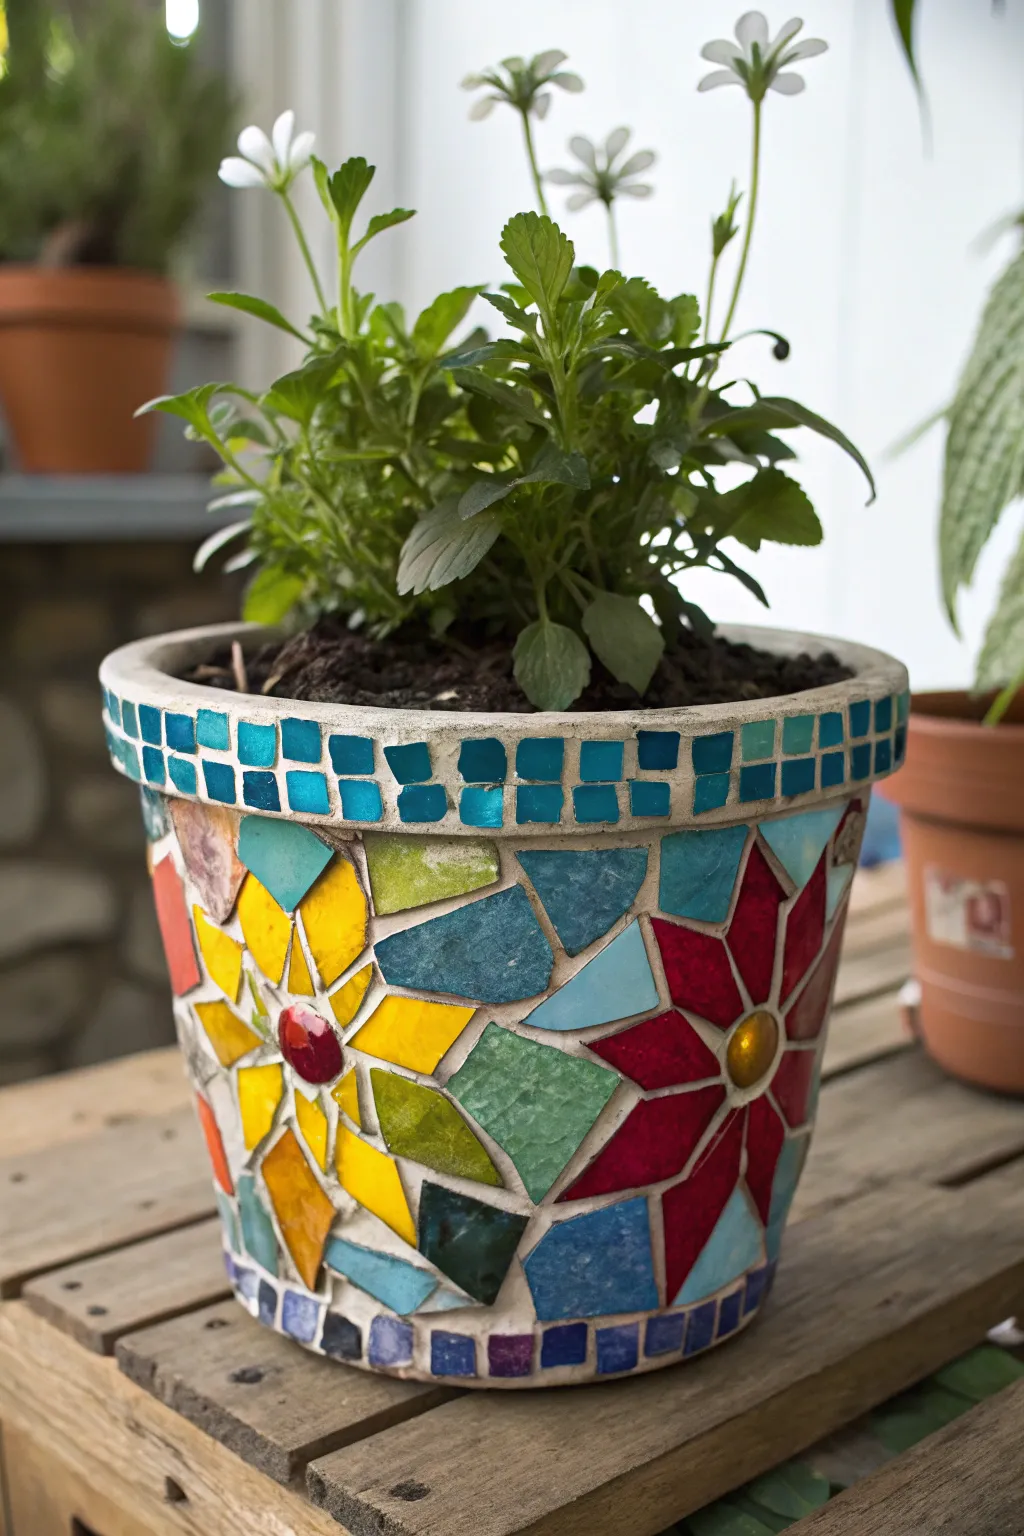
Image credit: https://modernandmellow.com/blog/pot-ideas-mothers-day/
5. The Chalkboard Label Pot
I painted the front of a terracotta pot with two coats of chalkboard paint, leaving the rest terracotta, then wrote the plant name in chalk. I used a small foam roller for a smooth finish, waited a full day between coats, and cured the chalkboard surface by rubbing chalk over it before first use.
The downside is that chalk smudges when you water. My first label blurred after one enthusiastic watering can session, so I now write the label on the side away from the spout. It is still the easiest way to relabel a pot when I swap plants.
Pro Tip: Cure chalkboard paint with a full chalk rub first, or your first writing will stain permanently.
Cost / Time / Difficulty: $5 to $8 per pot | 1 hour plus a day of curing | Easy
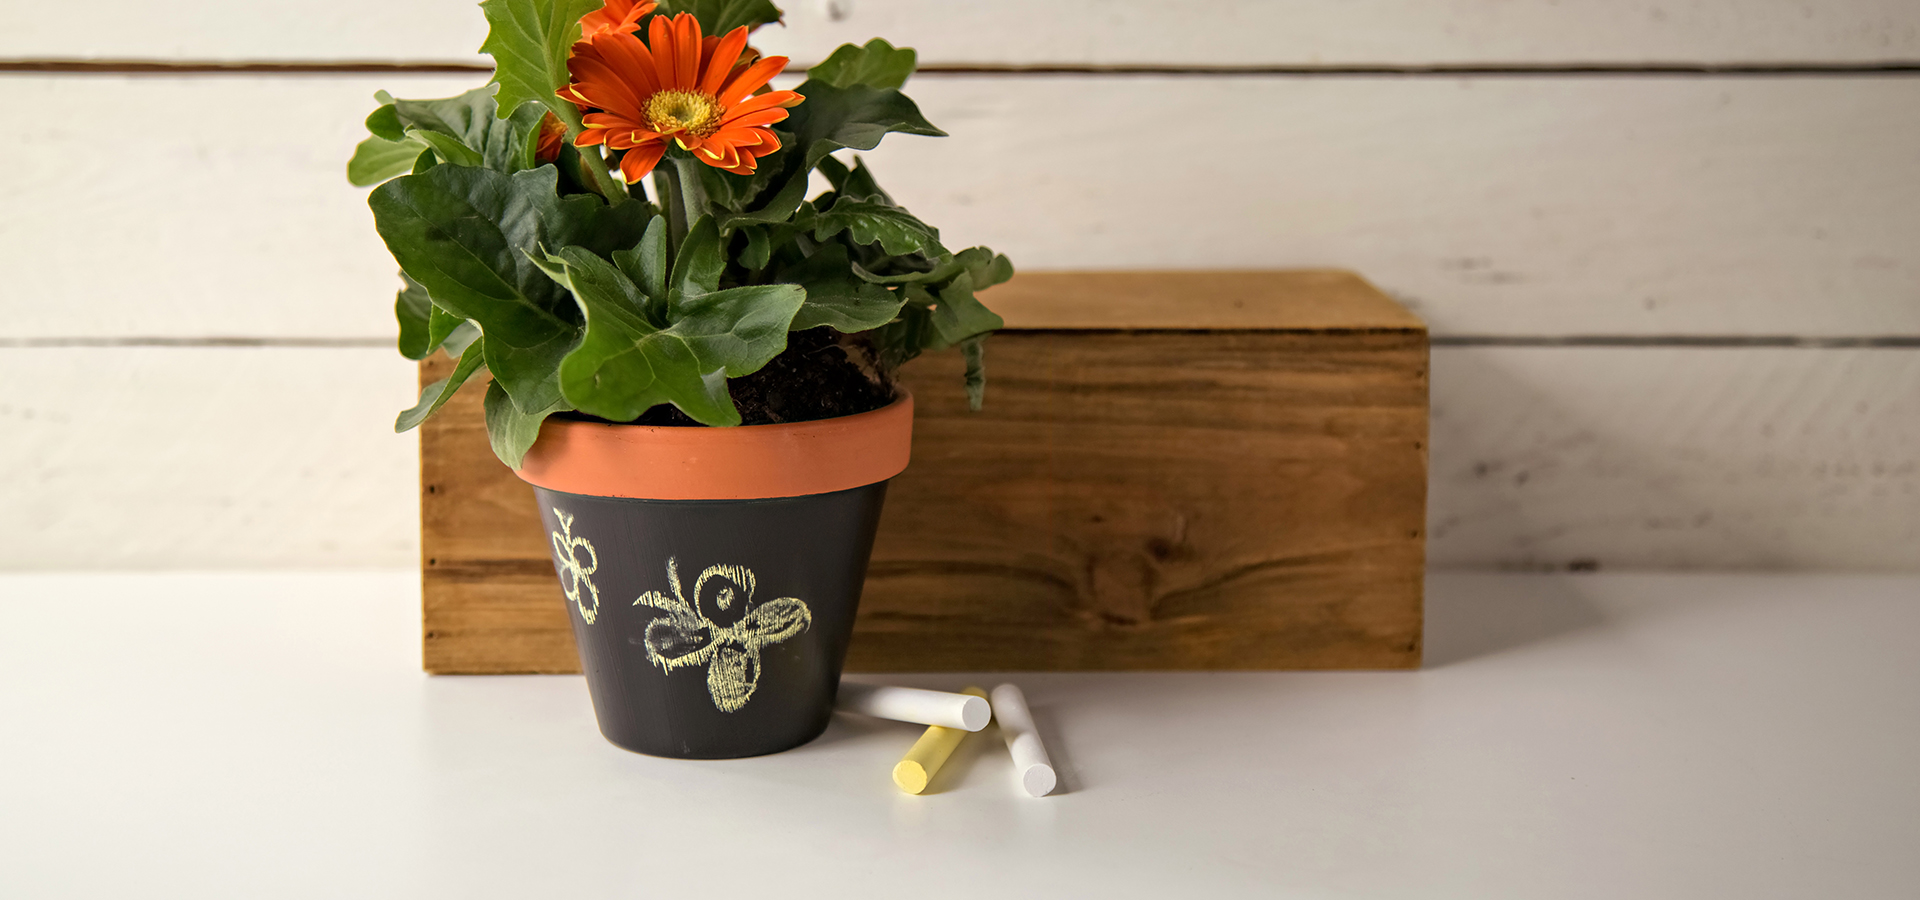
Image credit: https://goodtobehomemag.com/decor/decor-diy/colorful-chalkboard-pots/?ts&cb
6. The Rope-Wrapped Pot
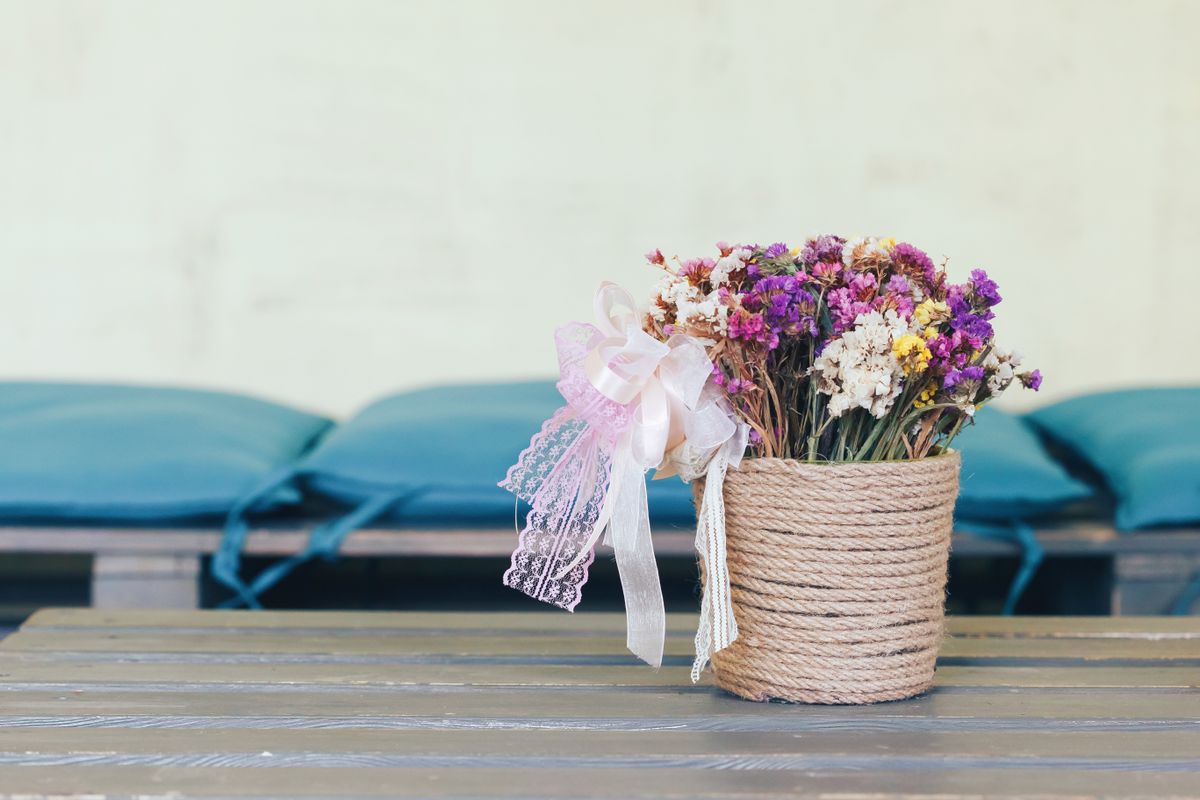
I wrapped a 6-inch pot in natural cotton rope from the base upward, gluing each round with hot glue as I went. I kept the rope tight and even, pressed each round against the last, and finished with a small knot tucked under the rim.
The downside is hot glue burns. I burned two fingertips on my first pot because I pressed the rope down too soon after gluing. A wooden skewer to press the rope changed everything, and my second pot came out neater and pain-free.
Pro Tip: Press rope down with a wooden skewer, never your fingers, right after hot glue.
Cost / Time / Difficulty: $6 to $10 per pot | 1 hour | Easy
7. The Gold-Dipped Pot
I dipped the bottom third of a white-painted pot into gold metallic paint, then set it upside down to dry on a rack. I taped a clean line above the dip zone, used a deep jar so the paint reached evenly, and removed the tape while the paint was still slightly tacky.
The downside is drips. My first dip ran down one side because I held the pot at an angle, so I redid it with a slower, steadier lift. The finished pot looks far more expensive than it was, and it holds a small fern on my desk.
Pro Tip: Tape your dip line twice, and lift the pot straight up, slowly, to avoid drips.
Cost / Time / Difficulty: $5 to $9 per pot | 45 minutes plus drying | Easy
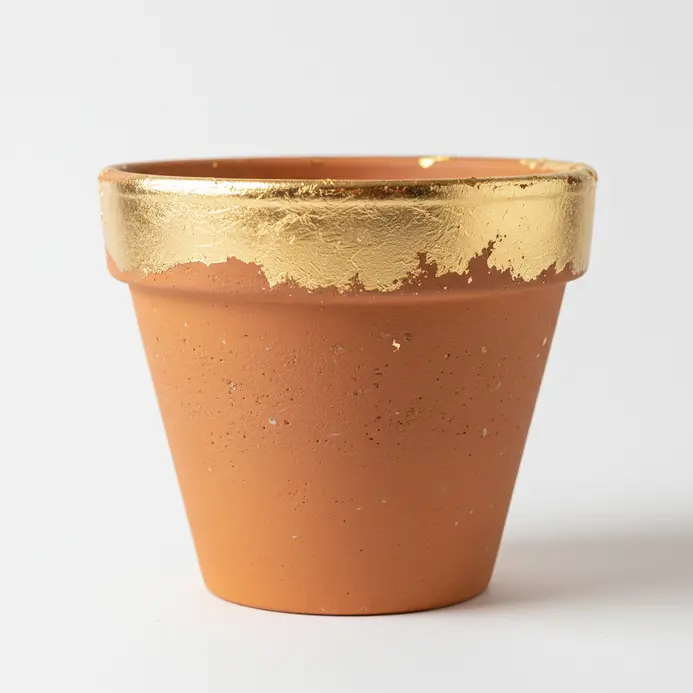
Image credit: https://www.artistichaven.com/aesthetic-terracotta-pot-painting/
8. The Fairy Garden Pot
I built a tiny fairy garden in a wide, shallow terracotta bowl, using small pebbles for a path, moss for grass, and a miniature wooden house I already owned. I planted two tiny succulents, added a pinch of fine gravel, and kept the whole scene low so it read as one little world.
The downside is overwatering. My first fairy garden drowned because the bowl had no drainage hole, so I drilled one carefully with a masonry bit and added a saucer. Now I water with a small spoon, a little at a time.
Pro Tip: Drill a drainage hole before you build anything inside a pot, or the garden will rot.
Cost / Time / Difficulty: $12 to $20 per garden | 2 hours | Medium

Image credit: https://casolia.com/unique-clay-flower-pot-ideas/
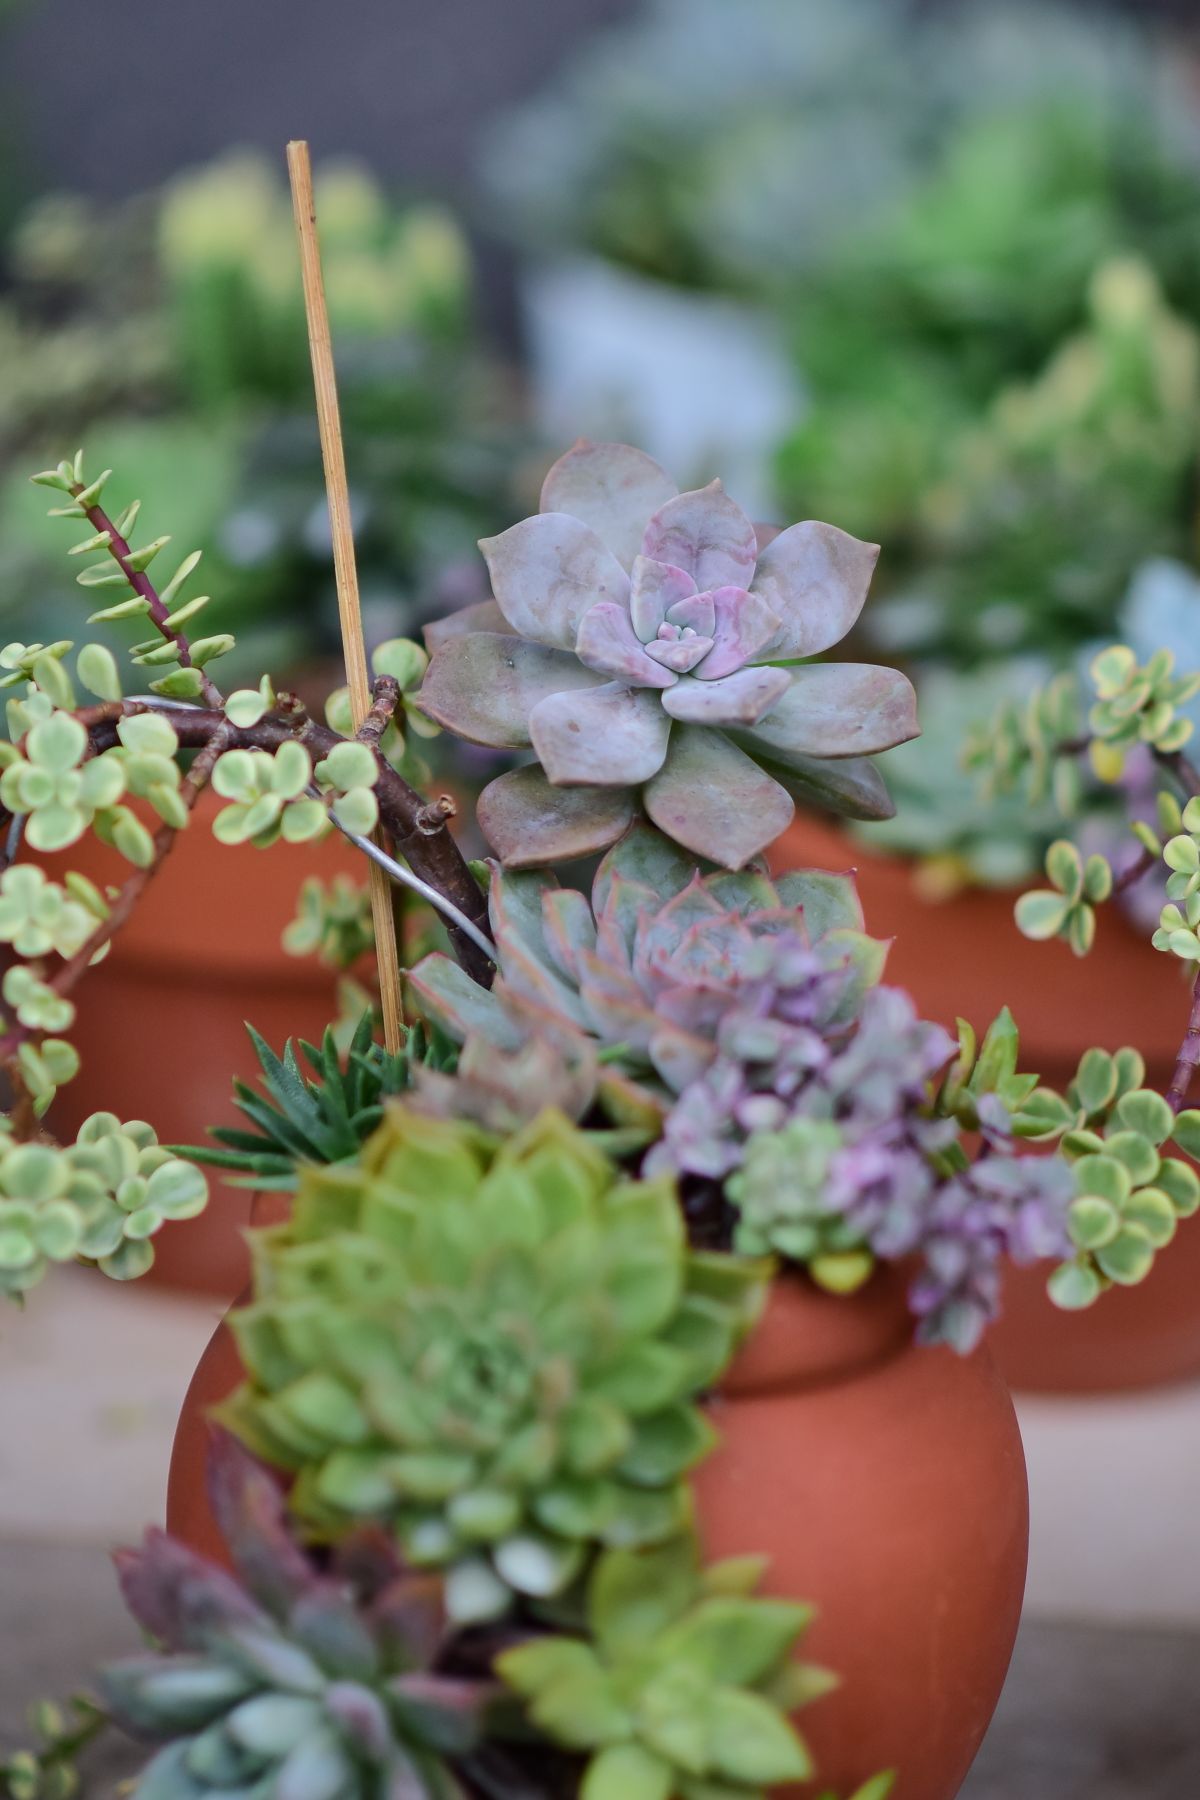
9. The Succulent Trio Pot
I planted three small succulents in one wide pot, spacing them like a triangle and filling the gaps with fine gravel. I used cactus soil, not regular potting mix, and I watered only when the soil felt dry two inches down.
The downside is that succulents grow at different speeds. My fastest one shaded the slowest within two months, so I repotted the slow one into its own pot. The trio still looks intentional, and I check the soil weekly instead of guessing.
Pro Tip: Use cactus soil and a pot with drainage for succulents, or roots will rot in regular mix.
Cost / Time / Difficulty: $10 to $16 per pot | 1 hour | Easy
10. The Hanging Clay Pot
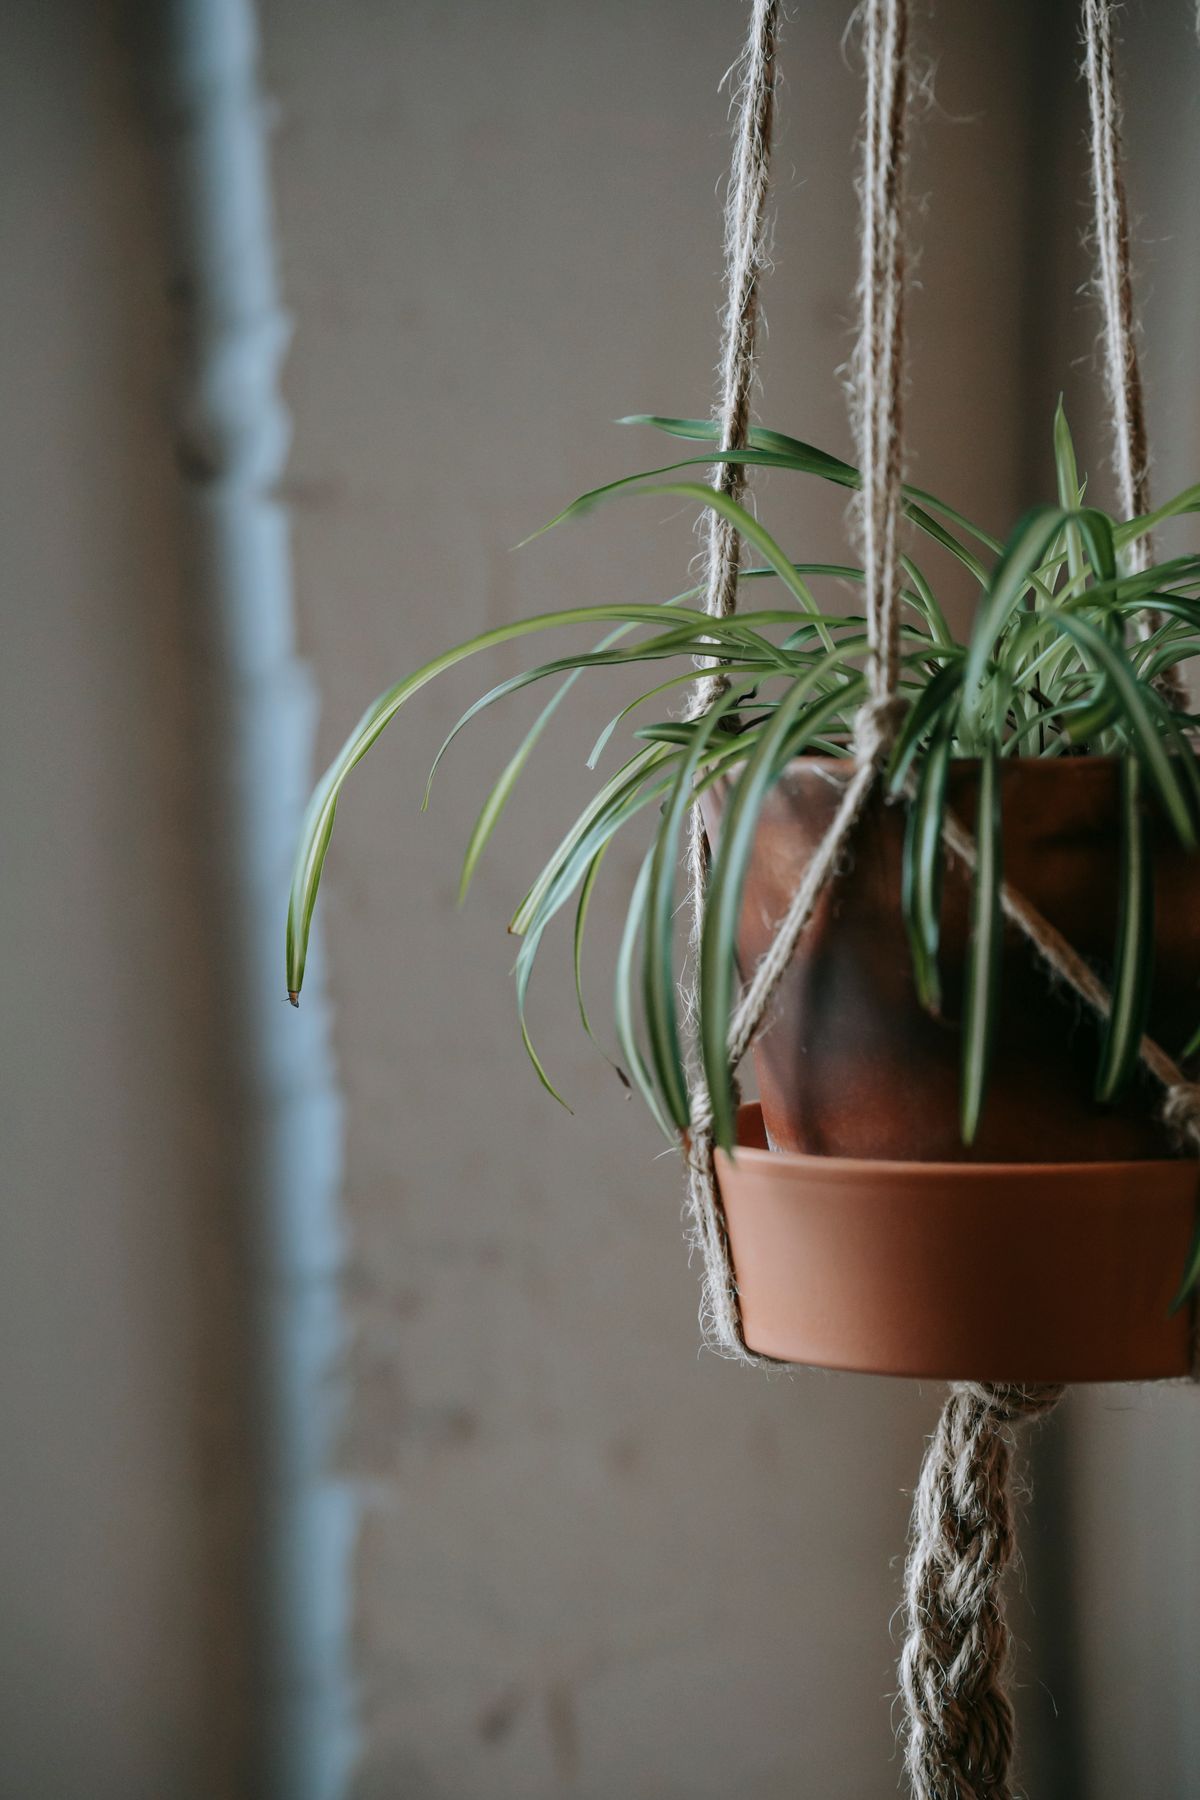
I hung a small terracotta pot from a macrame-style cotton hanger I knotted myself, using three strands of cord and a wooden ring. I measured the pot first, knotted the holder to fit snugly, and hung it from a ceiling hook rated for the weight.
The downside is weight when watered. My first hanging pot sagged after watering because the hook was only rated for decoration, so I swapped it for a proper plant hook screwed into a joist. It has not moved since, and the plant gets better light up high.
Pro Tip: Hang only from a hook screwed into a joist, and weigh the pot after watering, not before.
Cost / Time / Difficulty: $8 to $14 per hanging pot | 1 to 2 hours | Medium
Also read: Pressed Flower Craft Ideas
11. The Pot Candle Holder
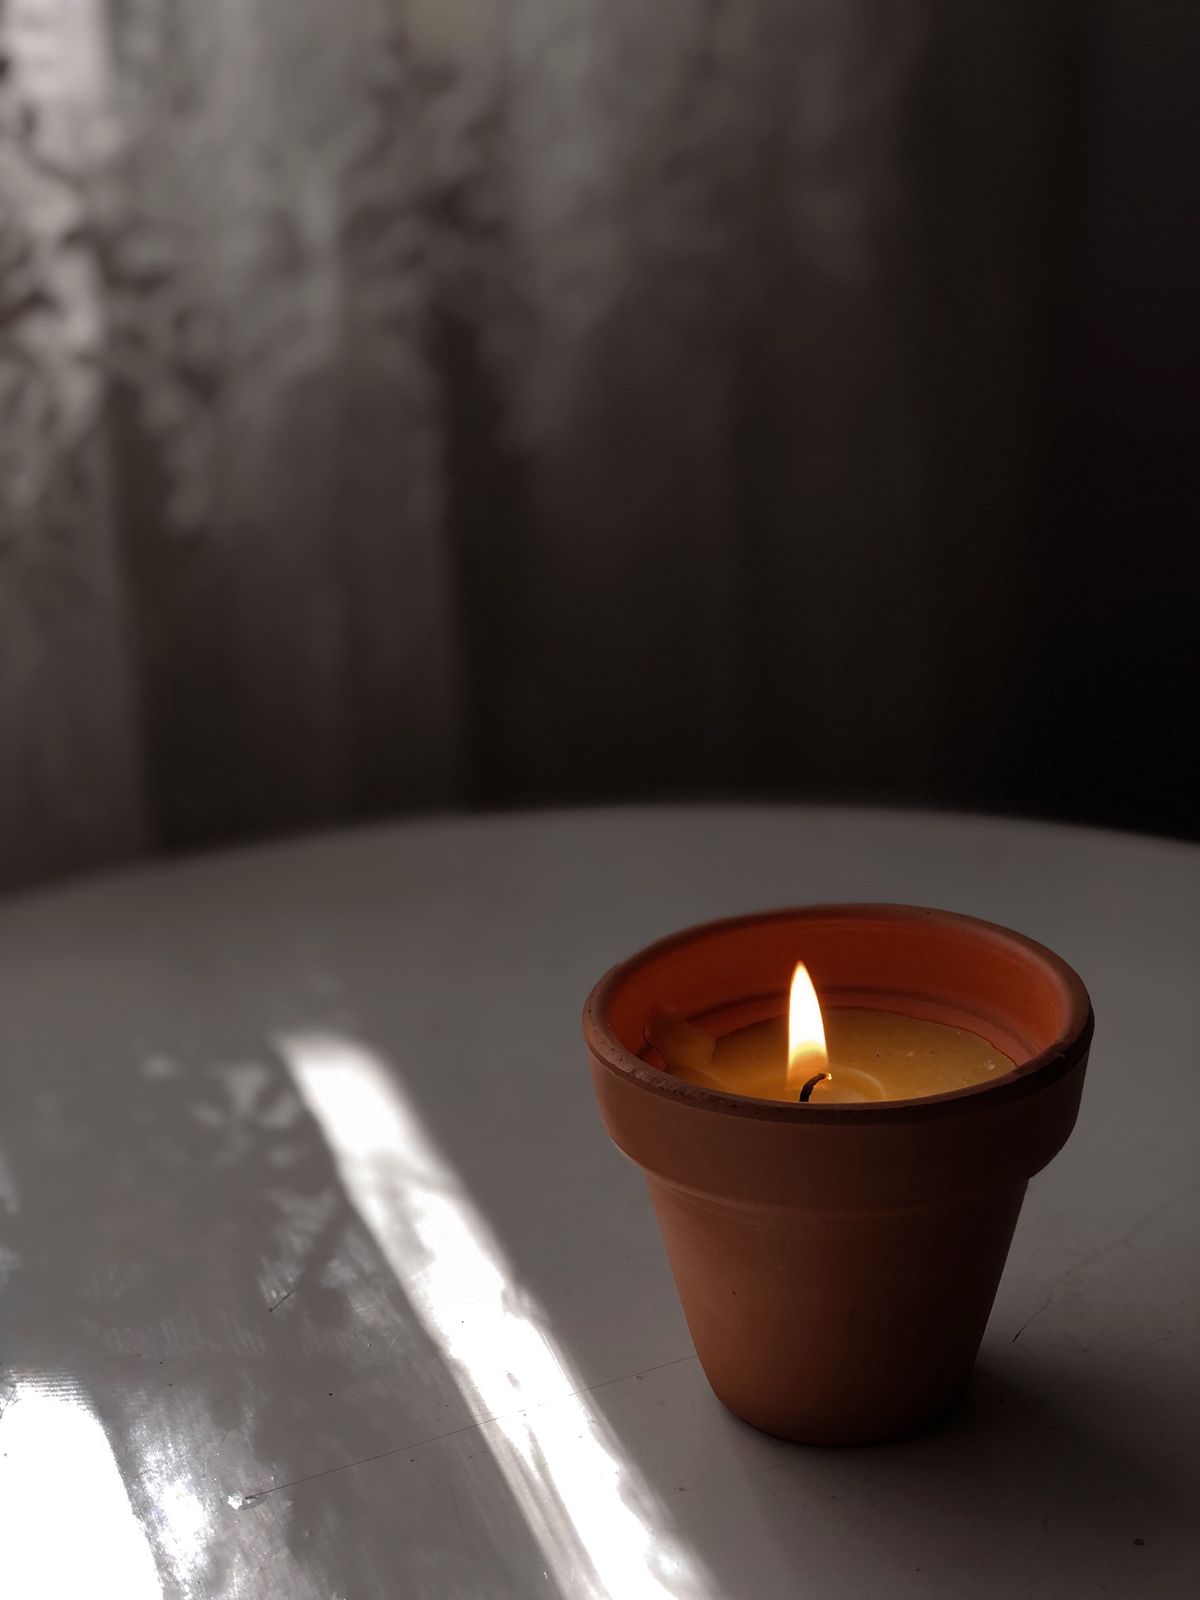
I turned a small terracotta pot upside down, set a pillar candle on its flat base, and wrapped twine around the rim for a rustic look. I used a battery candle for safety indoors, and a real pillar candle only outside on a stone tray, away from curtains.
The downside is heat. A real candle scorched the twine on my first test, so I switched to battery candles indoors without hesitation. The look is the same from across the room, and I sleep better for it.
Pro Tip: Use battery candles in any pot holder with twine, fabric, or dried flowers nearby.
Cost / Time / Difficulty: $4 to $8 per holder | 30 minutes | Easy
12. The Vintage Label Pot
I printed vintage-style plant labels on sticker paper, cut them out, and stuck one on each pot, then sealed the label with clear spray. I kept the labels small, centred, and in the same font family, which made a mixed set of pots look like a deliberate collection.
The downside is peeling. My first labels curled at the edges after watering splashed them, so I sealed them twice and kept the label away from the soil line. Sealed labels have lasted a full season on my porch.
Pro Tip: Seal paper labels twice with clear spray, and keep them above the soil line.
Cost / Time / Difficulty: $3 to $6 per pot | 1 hour | Easy

Image credit: https://www.farmingtonhillsinn.com/blog/post/label-your-plants-with-chopsticks
13. The Ombre Painted Pot
I painted a pot in three shades of the same colour, darkest at the base and lightest at the rim, blending each band while the paint was still damp. I used a sponge for the blends, worked quickly, and stepped back often to check the gradient from a few feet away.
The downside is over-blending. My first attempt turned into one muddy middle colour because I kept going back over it, so I learned to blend once and stop. The second pot has a clean, soft gradient that guests always ask about.
Pro Tip: Blend each colour band once with a damp sponge, then stop, or the gradient turns muddy.
Cost / Time / Difficulty: $4 to $8 per pot | 1 hour plus drying | Medium

Image credit: https://www.garden.eco/painting-flower-pots-ideas
14. The Clay Animal Pot
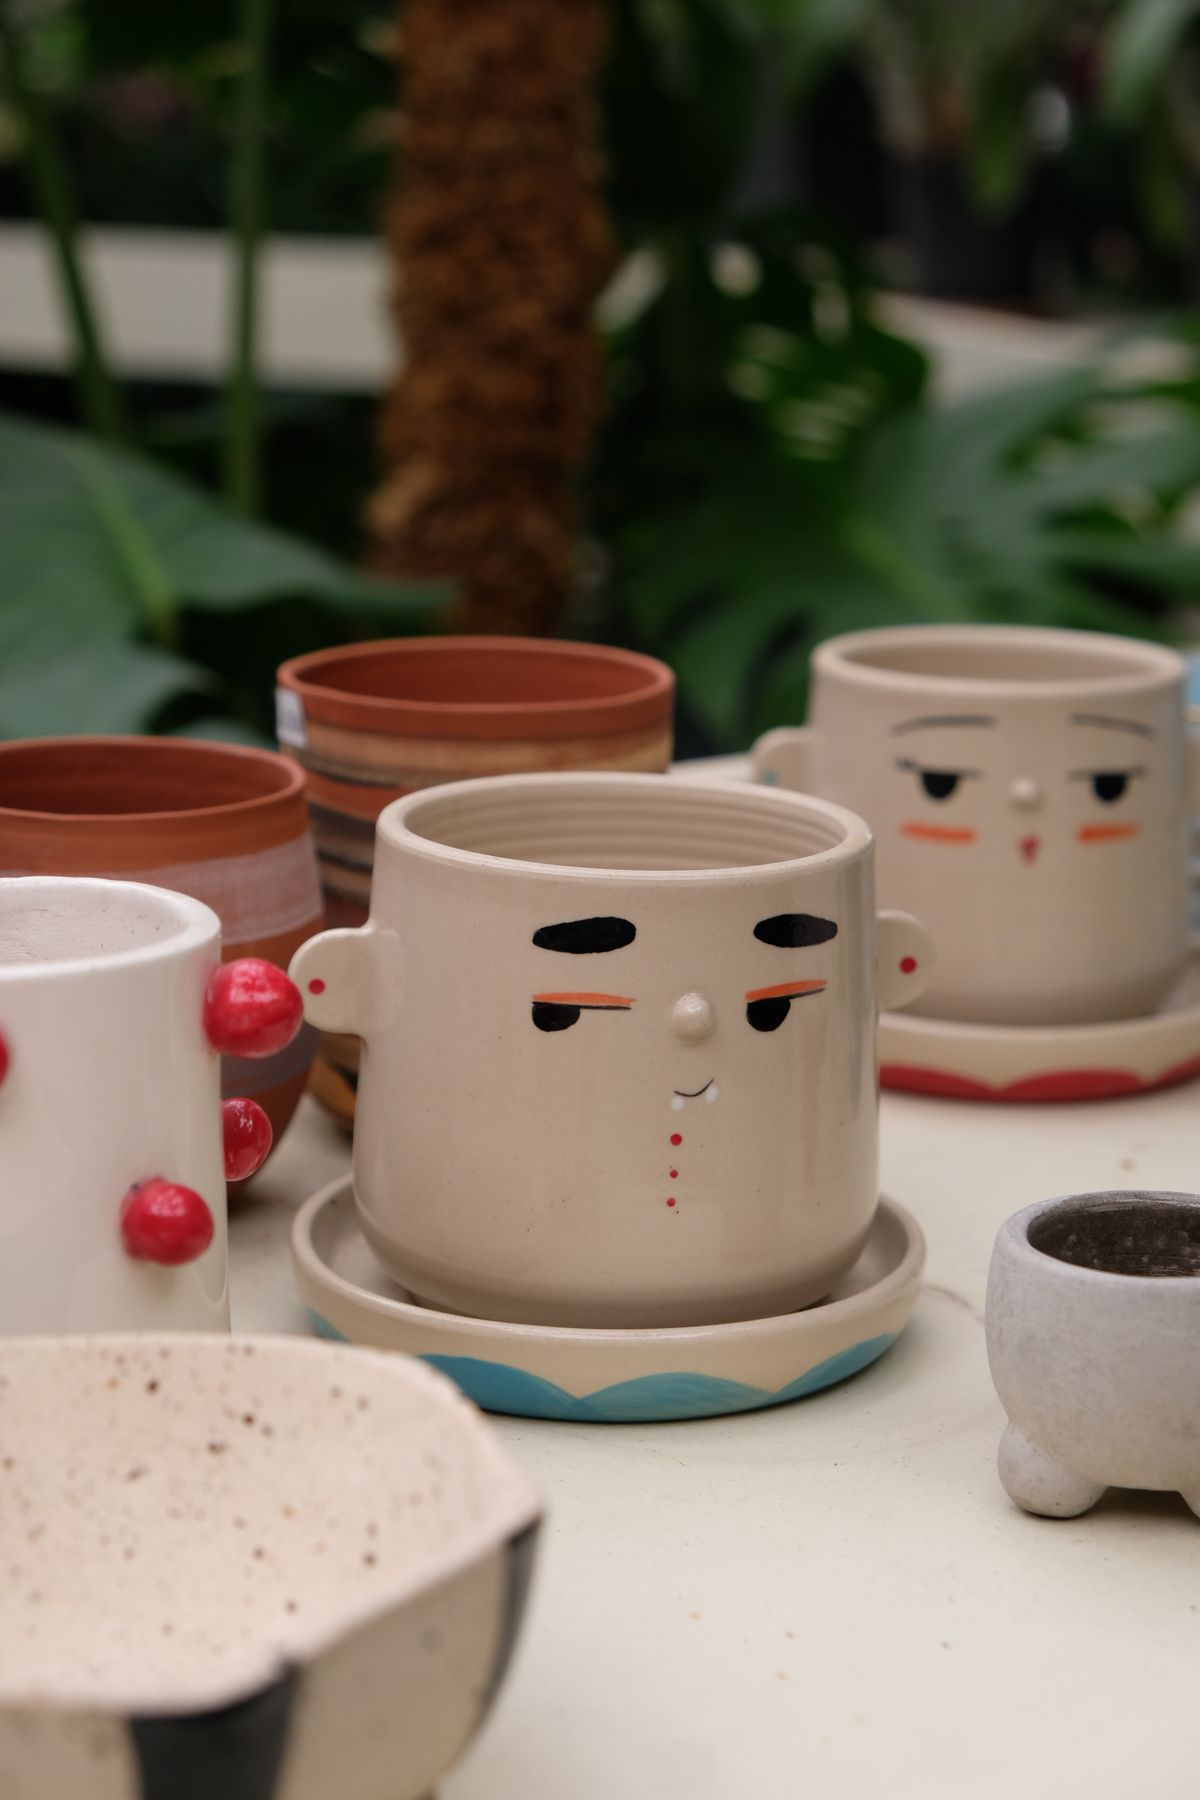
I shaped small ears and a face from air-dry clay, glued them to a painted pot, and painted the whole thing to match. I used a fox first, with pointed ears and a white belly patch, and I let the clay pieces dry fully before gluing, or they sagged.
The downside is fragility. My first fox ear snapped off when I knocked the pot against the sink, so I now glue ears with a wider base and handle animal pots gently. They are shelf pots, not everyday watering-can pots, in my house.
Pro Tip: Give glued clay pieces a wide base and a full day to dry before handling the pot.
Cost / Time / Difficulty: $5 to $10 per pot | 2 hours over two days | Medium
15. The Tiered Pot Stand
I stacked three pots of decreasing size on a metal stand, planting trailing plants in the top pot and upright herbs below. I measured the stand first, chose pots that fit the rings without wobbling, and watered from the top down so excess drained through.
The downside is top-heaviness. My first stand tipped in a gust on the patio, so I moved it against a wall and put the heaviest pot at the bottom. It has survived two windy months since, and the trailing plants now reach the middle tier.
Pro Tip: Put the heaviest pot at the bottom of any tiered stand, and place it against a wall outdoors.
Cost / Time / Difficulty: $18 to $30 for stand and pots | 1 hour | Easy
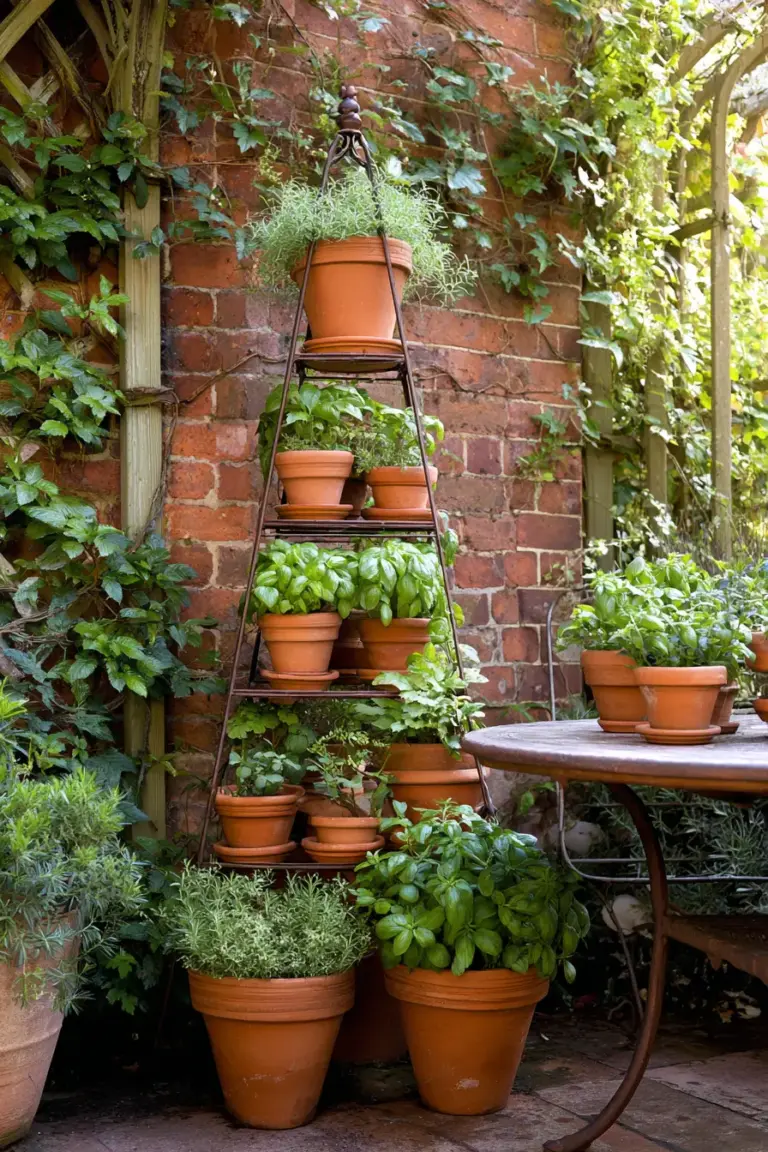
Image credit: https://mydecoridea.com/outdoor-planter-ideas/
16. The Pot Shelf Display
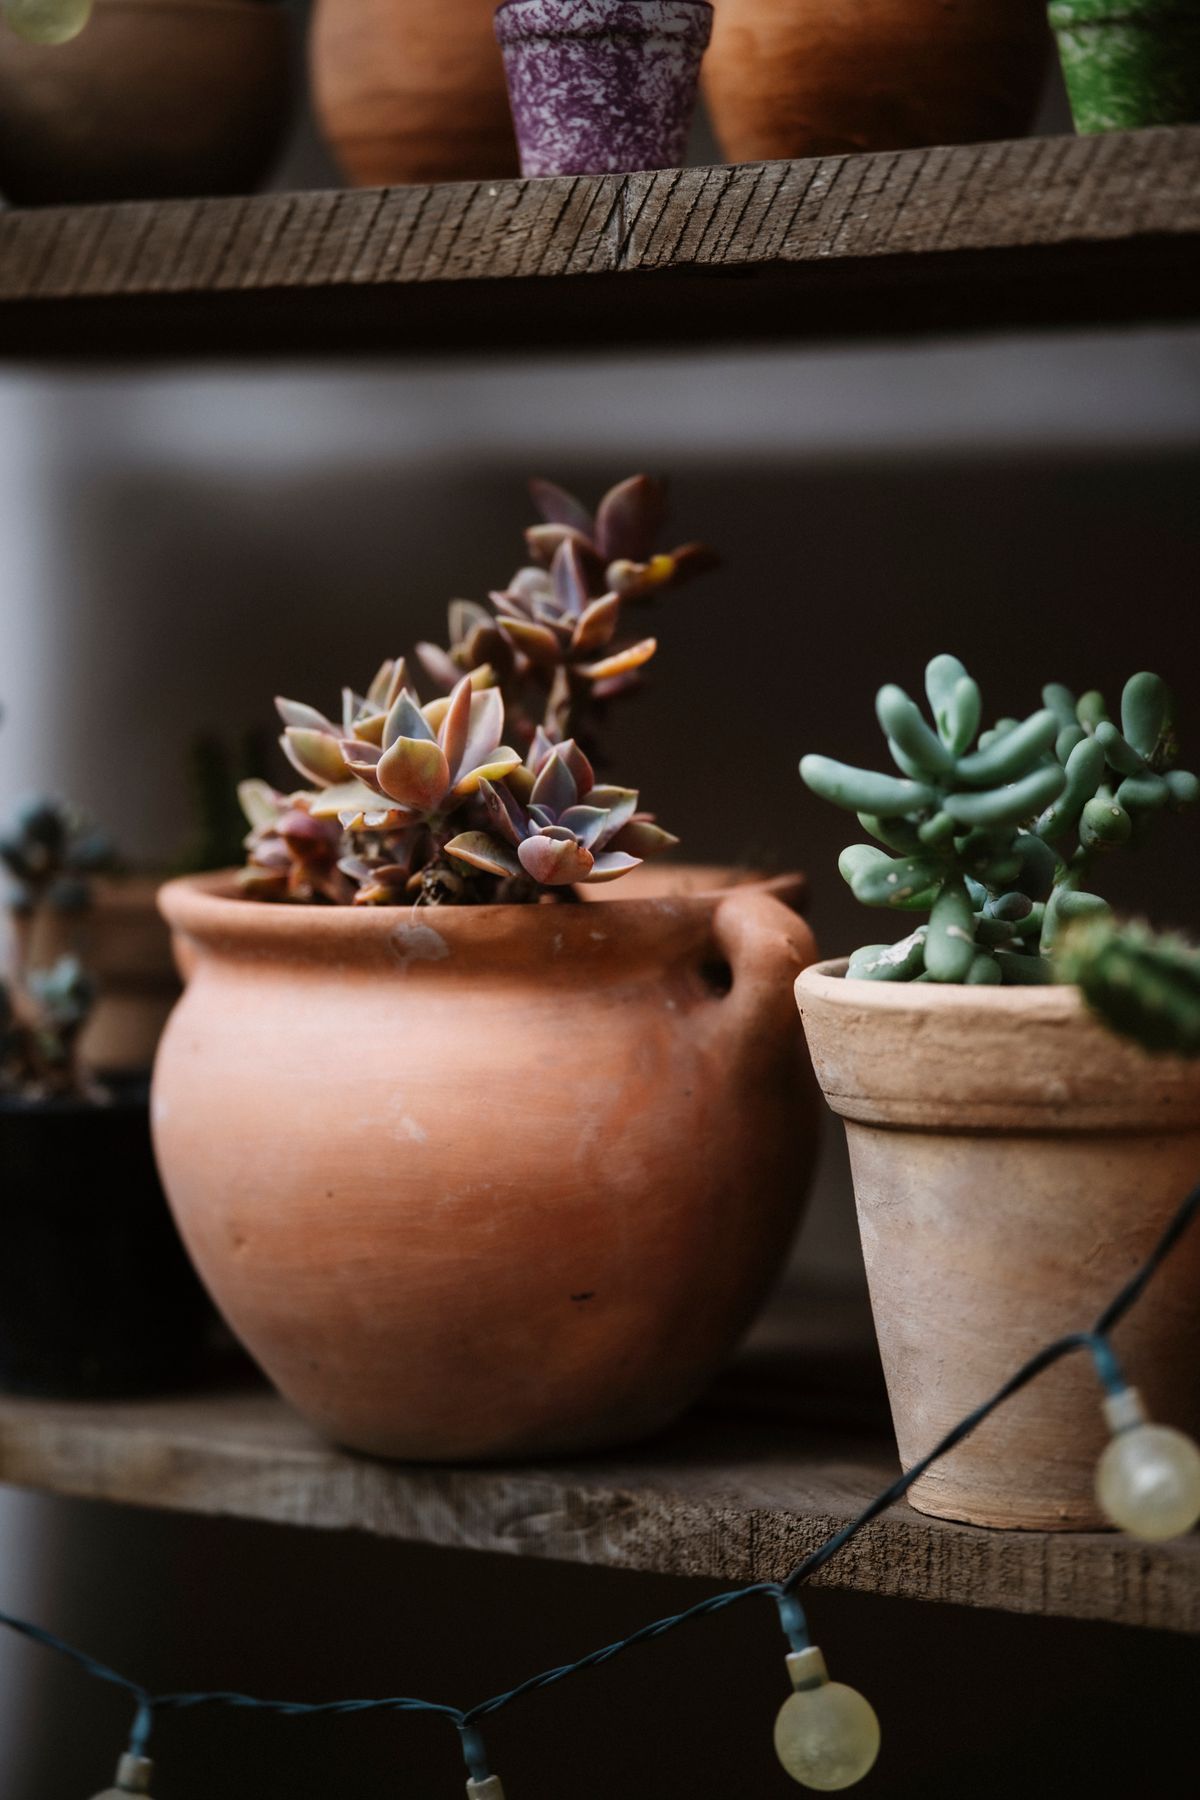
I lined up five painted pots on a single wooden shelf, mixing heights and colours but keeping the same paint finish. I spaced them unevenly on purpose, tallest at one end, and I left breathing room between pots so each plant got light.
The downside is watering mess. My first display stained the shelf because I watered in place, so I now lift each pot to the sink, water, drain, and return it. The shelf stays clean, and the display looks like a shop window.
Pro Tip: Water pots at the sink, never on a wooden shelf, or you will stain the wood.
Cost / Time / Difficulty: $15 to $25 for five pots | 2 hours | Easy
17. The Fairy Light Pot
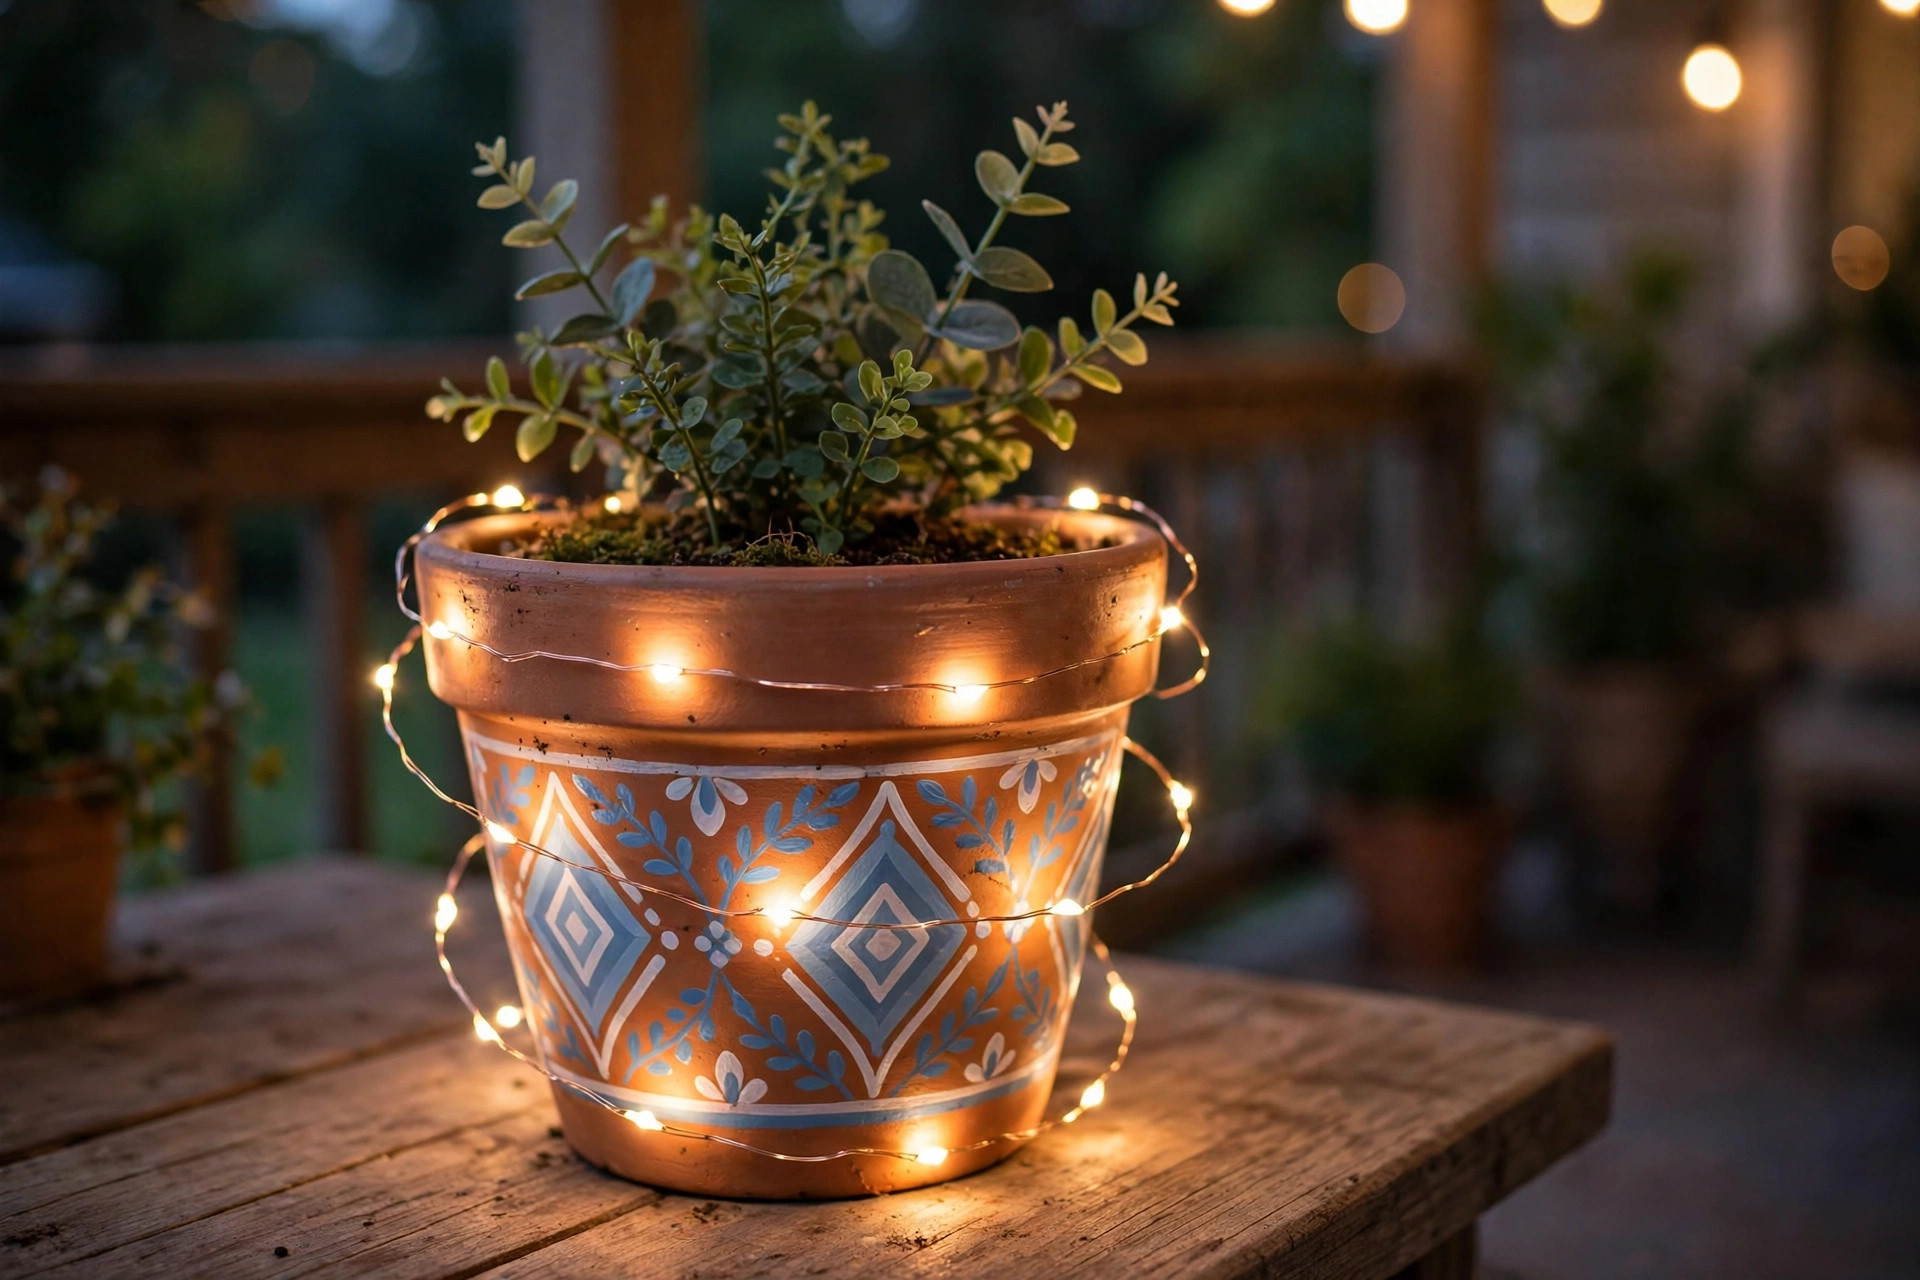
I wrapped warm-white fairy lights around a painted pot, tucking the battery pack behind it, and set it on my porch table for evenings. I used battery lights with a timer, so they switched off by themselves, and I kept the lights outside the soil, not buried in it.
The downside is battery life. My first set died in a week because I left it on all night, so the timer setting matters more than the lights themselves. With a six-hour timer, one set of batteries lasts me about a month.
Pro Tip: Choose fairy lights with a built-in timer, or you will change batteries constantly.
Cost / Time / Difficulty: $6 to $12 per pot | 30 minutes | Easy
18. The Gift-Ready Pot
I made a gift pot by painting it soft green, planting a small pothos, and tying a ribbon and a handwritten tag around it. I chose a plant that tolerates low light, included a tiny care card, and wrapped the pot in tissue so the paint did not scuff in transit.
The downside is timing. My first gift pot sat in a hot car for an afternoon and wilted, so I now deliver plants in the morning or evening, never at midday in summer. The recipient still has that pothos, now trailing over a bookshelf.
Pro Tip: Deliver a gifted plant in the morning or evening in summer, never after hours in a hot car.
Cost / Time / Difficulty: $8 to $14 per gift pot | 1 hour | Easy

Image credit: https://succulentgardenweb.com/wrapping-zz-plant-with-aluminum-foil/
Comparison Table
| Project | Best For | Cost | Effort |
|---|---|---|---|
| Painted terracotta pot | Beginners, any room | $3 to $6 | Easy |
| Herb pot set | Kitchen windows | $9 to $15 | Easy |
| Mosaic tile pot | Patios, gifts | $10 to $18 | Medium |
| Rope-wrapped pot | Rustic shelves | $6 to $10 | Easy |
| Fairy garden pot | Small spaces | $12 to $20 | Medium |
| Tiered pot stand | Balconies | $18 to $30 | Easy |
Mistakes I Made (So You Don’t Have To)
I skipped sealing my first painted pots, and the paint peeled within a month of watering. Seal inside and out, even if the pot looks fine unsealed.
I used one thick coat of paint instead of two thin ones, and the finish cracked as the pot expanded in heat. Thin coats dry stronger and look smoother.
I hung a watered pot from a decorative hook that was never meant to hold weight, and it fell. Always check the hook rating with a watered pot, not an empty one.
I overwatered a pot with no drainage hole because it looked pretty, and the plant rotted in two weeks. A drainage hole is not optional, however pretty the pot is.
FAQ
How long do painted clay pots last outdoors?
Mine last one to two seasons outdoors if sealed, and much longer indoors. Unsealed paint fades in sun and peels with rain, so sealing is the difference.
What would you do differently on your first pot?
I would prime first, paint two thin coats, and seal before planting. That one change would have saved me three repaints in my first year.
Can I use regular indoor paint on terracotta?
You can, but outdoor acrylic or chalk paint sealed with clear spray holds up far better, especially near water and sun. Indoor paint alone chips quickly.
Final Thoughts
Clay pots reward patience more than skill. Start with one cheap pot, seal it, paint it thinly, and let it dry properly, and you will end up with something that looks bought, not made in a hurry. My favourite pots in this house are still the simplest ones, the ones I did slowly and then left alone to do their job.
Read this next: Craft Supply Storage Ideas