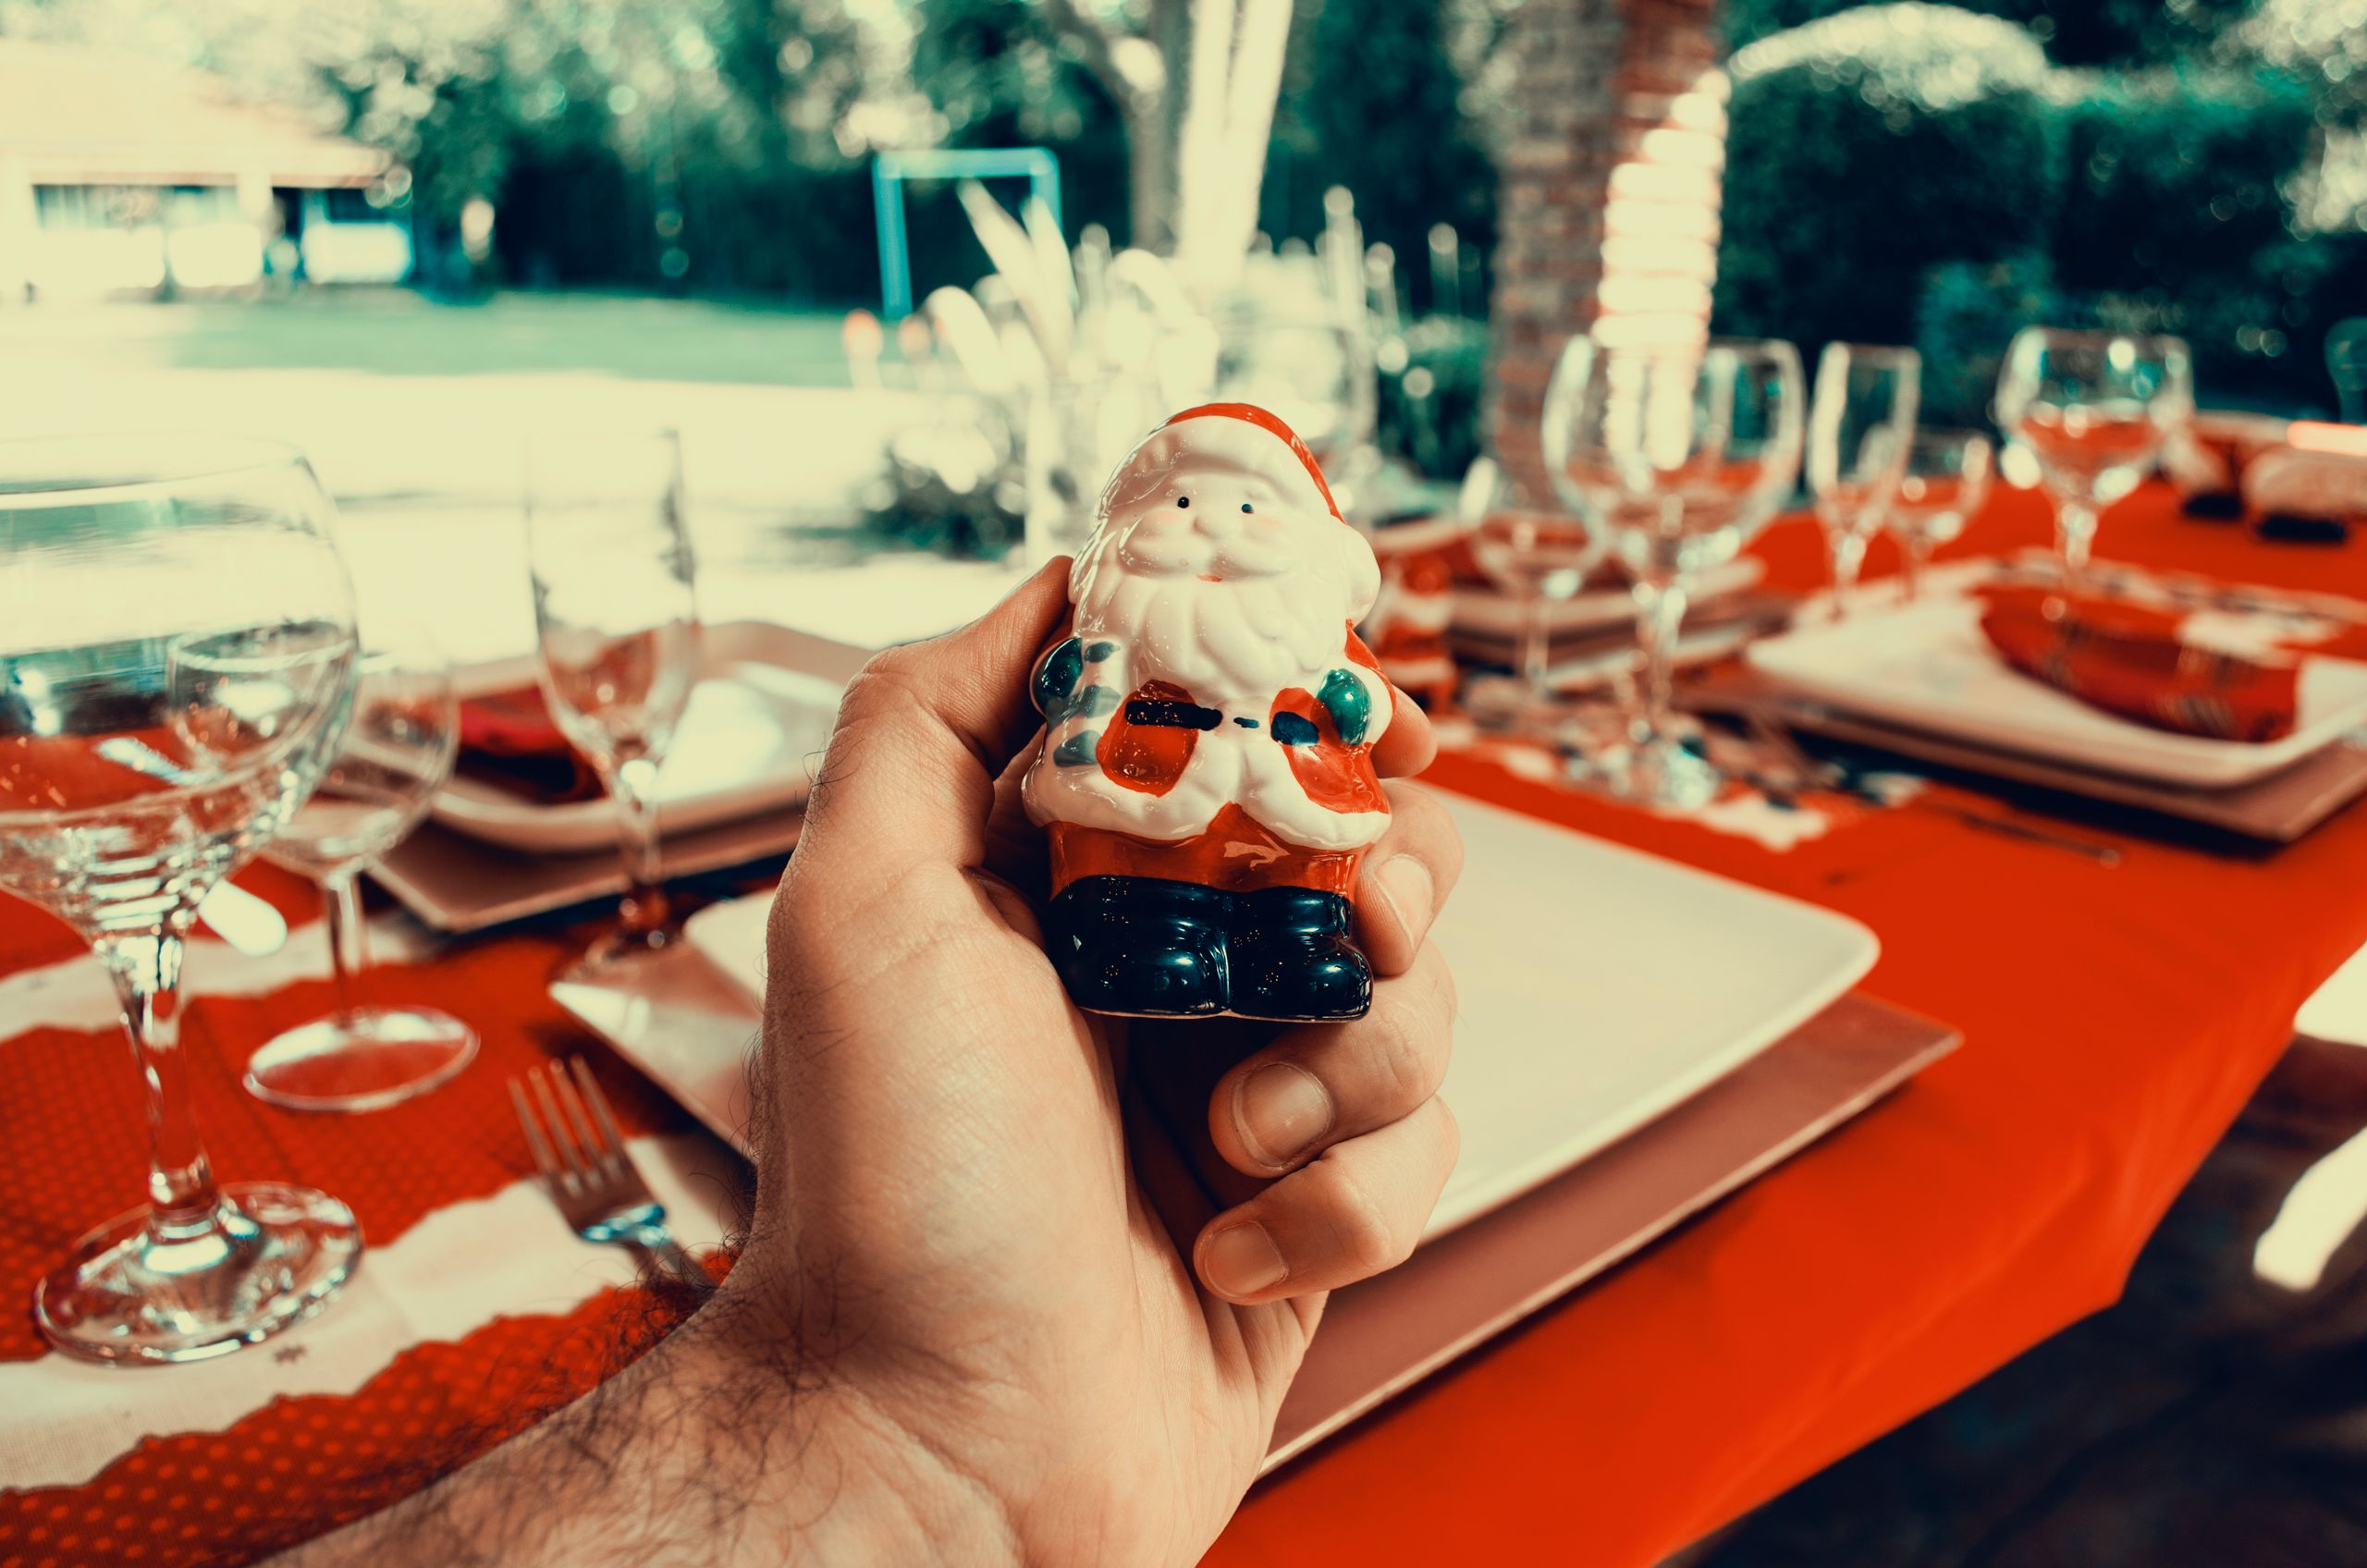
20 DIY Christmas Centerpiece Ideas
I have built more diy christmas centerpiece ideas at my own dining table than I can count, and the ones in this list are the survivors. Every idea below was made in my house, sat through a real meal, and either earned a place in next year’s box or taught me something useful when it did not.
How I picked these: I kept only centerpieces that cost under $35, can be built in an hour or less, and stay low enough for conversation. I tossed out anything that needed a special tool, wilted before dinner, or blocked the serving dishes.
Before you start, measure your table and count your seats. A centerpiece that looks perfect in a photo can still fail at home if it steals plate space, drips wax, or hides the person opposite you. The best diy christmas centerpiece ideas work with your table, not against it.
Key Takeaways
- Start with the evergreen runner or the ornament bowl if you are short on time, because both look finished in under 40 minutes.
- Keep every dinner-table centerpiece under twelve inches high, so guests can talk across it without leaning.
- Use battery candles on kids’ tables and near anything dry, and save real flames for watched, adult-only dinners.
- Build on a tray or board whenever you can, so the whole centerpiece lifts off in one piece for serving.
20 DIY Christmas Centerpiece Ideas I Actually Built
1. Classic Evergreen and Pillar Candle Runner
I start every December with this one, because it never fails. I lay a strip of fresh pine and cedar down the middle of the table, tuck in three pillar candles in different heights, and scatter a few pinecones between them.
In my dining room I tried it first with candles all the same height, and it looked flat and a bit dull. The honest downside is needle drop, so I put a washable runner underneath and shake it outside after the meal.
Pro Tip: Mist the greenery lightly the morning you build it, and it stays fresh for a week indoors.
Cost: $12–$18 / Time: 40 minutes / Difficulty: Easy

2. Ornament-Filled Glass Bowl
When I am short on time, this is my rescue centerpiece. I fill a large glass bowl with shiny and matte baubles in two colours, wind a short string of battery fairy lights through them, and set the bowl on a folded linen napkin.
I learned the hard way to use shatterproof baubles on the top layer, after my youngest knocked a glass one onto our wooden floor one Christmas Eve. The lights are the trick: without them the bowl can look like storage, with them it glows.
Pro Tip: Use one hero colour and one neutral, rather than every colour you own, for a calmer, more expensive look.
Cost: $8–$15 / Time: 15 minutes / Difficulty: Easy

3. Lantern Glow Centerpiece
A lantern makes a centerpiece feel instant and intentional. I place a large lantern in the middle of a round tray, put a pillar candle inside, and ring the base with a few sprigs of pine and three small baubles.
My first lantern was too small for our long table, and it looked lost on its own. The watch-out is soot: a real candle in a closed lantern needs a trim wick, or the glass clouds over by dessert.
Pro Tip: Use a battery pillar candle if children will be reaching across the table, and save the real flame for adult-only dinners.
Cost: $10–$25 / Time: 20 minutes / Difficulty: Easy

4. Wood-Slice Candle Board
This is my favourite rustic build, and it costs almost nothing if you already own a board. I set a thick wood slice or a live-edge board down the centre, stand three candles of different heights on it, and fill the gaps with dried orange slices, cinnamon sticks, and a few pinecones.
In my kitchen I made the mistake of placing a candle too close to a dried orange slice, and the edge browned within an hour. The board also protects the table from wax, which is a quiet win.
Pro Tip: Sand the board lightly and wipe it clean before decorating, so crumbs and dust do not show under candlelight.
Cost: $6–$14 / Time: 30 minutes / Difficulty: Easy

5. Gold and White Elegant Centerpiece
For a smarter dinner, I go gold and white and keep everything else quiet. I use a white cloth, gold chargers, white candles in gold holders, and a low trail of white ornaments and frosted greenery down the centre.
I once added red napkins to this scheme because they were already in the drawer, and the whole table clashed. The downside is fingerprints on gold holders, so I polish them just before guests arrive, not the day before.
Pro Tip: Keep the arrangement under twelve inches high, so guests can actually see each other across the table.
Cost: $15–$30 / Time: 45 minutes / Difficulty: Medium

6. Poinsettia Trough Centerpiece
A living centerpiece feels generous, and poinsettias do the heavy lifting. I plant three small poinsettias in a low wooden trough, tuck moss around the pots to hide the plastic, and add a few pine sprigs at the ends.
My first trough leaked, because I watered the plants in place and the wood soaked through. Poinsettias also hate cold drafts, so I keep the trough away from the front door, even though that spot looks tempting in photos.
Pro Tip: Choose plants with tight yellow centres and no dropped leaves, which means they still have weeks of colour left.
Cost: $12–$20 / Time: 30 minutes / Difficulty: Easy

7. Dried Orange and Cinnamon Centerpiece
This is the centerpiece I build when I want the house to smell like Christmas without a plug-in. I dry orange slices low in the oven the day before, then layer them along a tray with cinnamon sticks, star anise, and pine sprigs, with two candles at the ends.
My first batch of oranges came out bendy rather than crisp, because I rushed them at too high a heat. The honest downside is time: drying is mostly waiting, so I do it while I am already baking something else.
Pro Tip: Blot the slices well before drying, and pat them again halfway through, for even colour.
Cost: $5–$10 / Time: 1 hour plus drying / Difficulty: Easy

Related article: christmas crafts for kids
8. Frosted White and Silver Centerpiece
When I want a calm, snowy table, I skip red entirely. I use frosted white baubles, silver ornaments, a few sprigs of frosted greenery, and white candles in glass holders.
I tried this on a white tablecloth once, and the whole thing disappeared into the background. The watch-out is glitter shed: cheap frosted baubles drop glitter onto the cloth, so I shake them over the sink first.
Pro Tip: Mix matte and shiny finishes, because all-matte can look flat and all-shiny can look cold.
Cost: $10–$18 / Time: 25 minutes / Difficulty: Easy

9. Red Candles and Warm Spice Centerpiece
Red candles are the fastest way to make a table feel festive. I group three red pillar candles on a tray, surround them with cinnamon sticks tied in small bundles, and add a few pine sprigs and red berries.
In my house I learned to check candle scent before buying a whole set, after one strongly spiced set overpowered the food at dinner. Red wax also stains, so I always use holders and a tray underneath, never bare candles on cloth.
Pro Tip: Buy candles in odd numbers and vary their heights by at least an inch for a natural, gathered look.
Cost: $8–$16 / Time: 20 minutes / Difficulty: Easy

10. Mason Jar Candle Trio
Mason jars are my budget hero for centerpieces. I fill three jars with a little Epsom salt to look like snow, set a tealight in each, and tie twine and a small pine sprig around the neck.
My first jars fogged up because the salt was slightly damp, so now I dry the jars fully and use dry salt only. The downside is that salt spills if a jar tips, so I set them on a tray.
Pro Tip: Use battery tealights for a kids’ table, and real ones only where adults can watch them.
Cost: $4–$9 / Time: 20 minutes / Difficulty: Easy

11. Mirror-Tray Candlelit Centerpiece
A mirror tray doubles your candlelight without a single extra flame. I place pillar candles of three heights on a mirrored tray, tuck pine sprigs and small ornaments around their bases, and set the tray in the centre of the table.
I once used a tray that was too large, and it ate up the space for serving dishes. Mirrors also show every fingerprint, so I wipe it with a dry cloth right before dinner, not earlier in the day.
Pro Tip: Place the tallest candle at the back of the tray, so the arrangement reads as a gentle slope from every seat.
Cost: $14–$28 / Time: 30 minutes / Difficulty: Easy
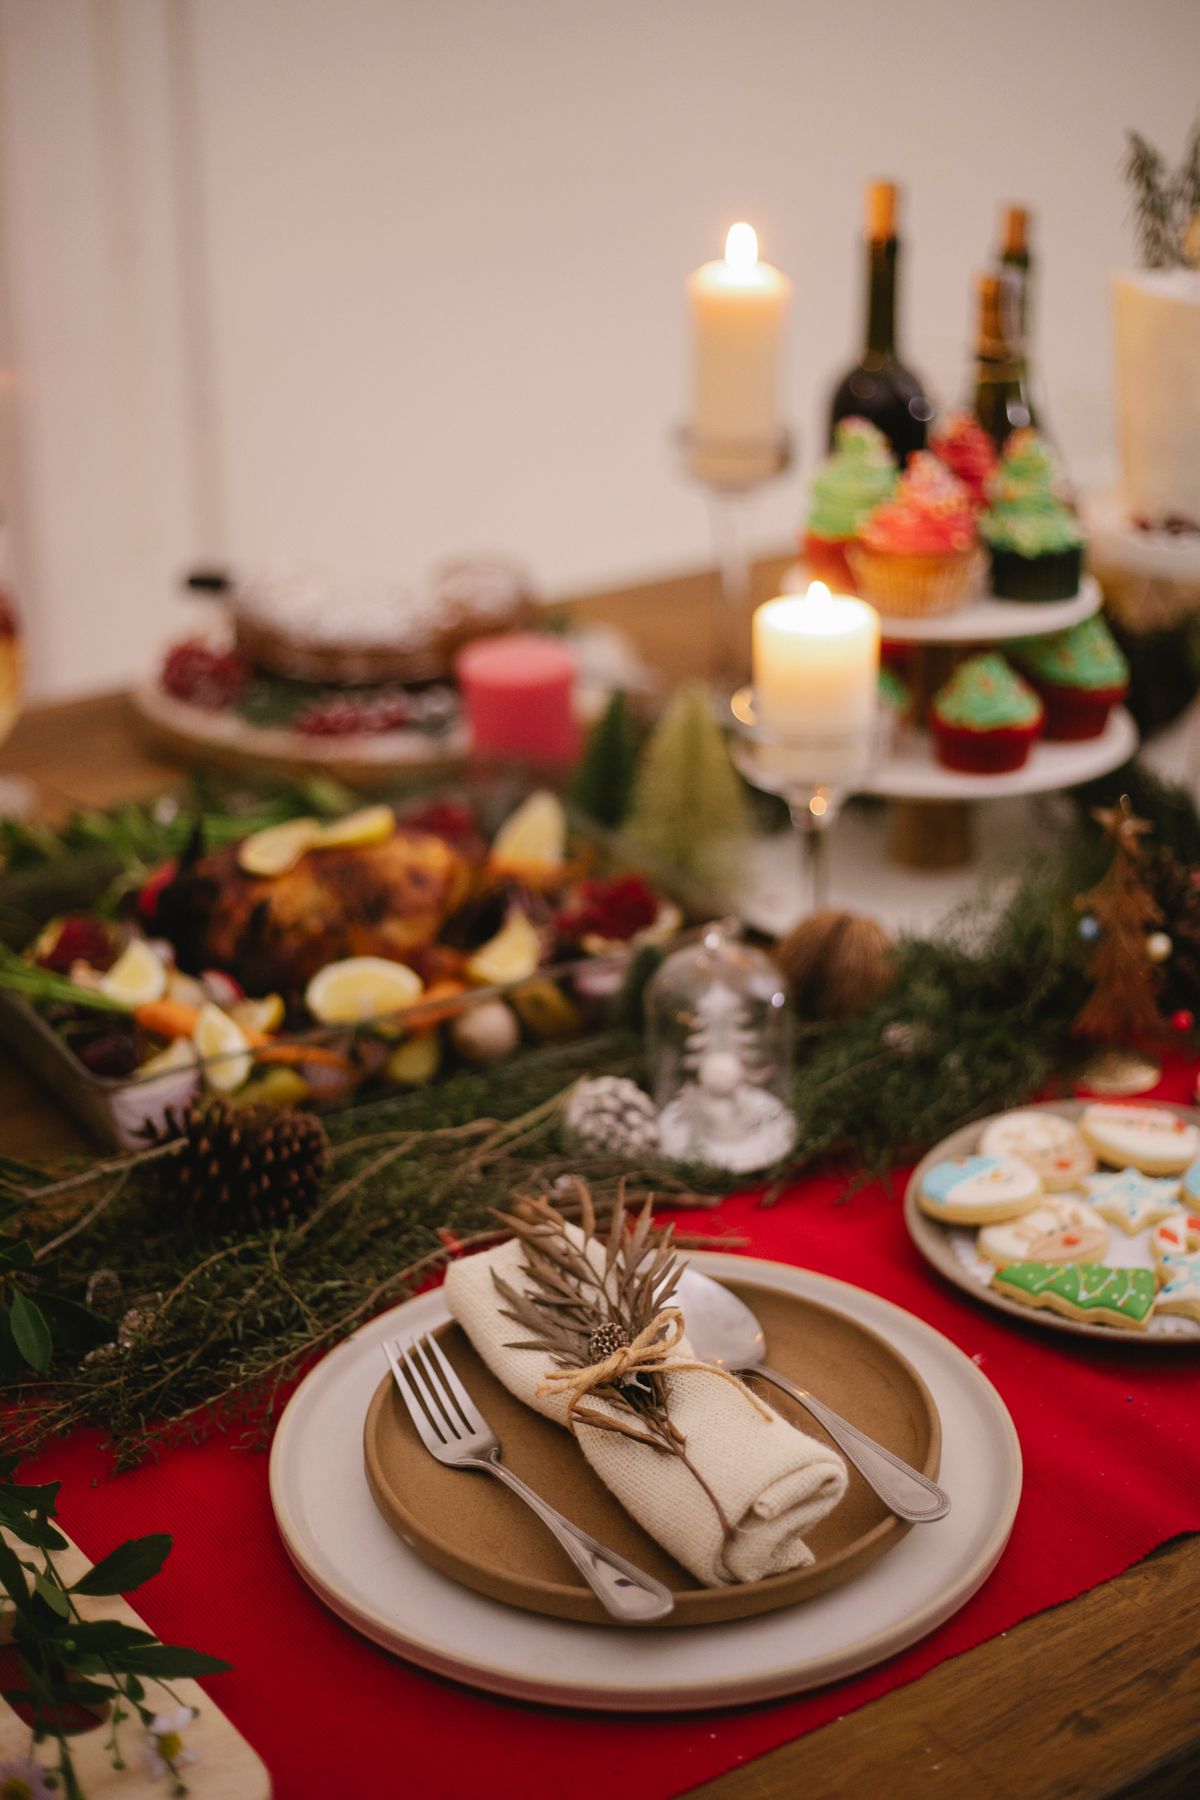
12. Minimalist Candlelit Flat-Lay Centerpiece
Some years I want less, not more, and this is my quiet centerpiece. I lay a few pine sprigs in a loose line, add two white candles and three small wooden trees, and leave plenty of empty table showing.
I overfilled my first minimalist attempt, because empty space felt wrong to me. The downside is that minimalism shows dust and crumbs, so I wipe the table just before guests arrive.
Pro Tip: Stick to three materials at most, for example wood, pine, and candlelight, and repeat them along the line.
Cost: $7–$14 / Time: 15 minutes / Difficulty: Easy

13. Wine-Glass Candle Cloches
This trick always surprises guests. I turn wine glasses upside down over small ornaments or pine sprigs, then set a pillar candle on the upturned base.
My first attempt wobbled, because I used stemmed glasses with narrow bases. The watch-out is heat: I use battery candles on top, because a real flame on glass that has been handled can feel risky with children nearby.
Pro Tip: Place a tiny ornament inside each glass, not a large one, so the display reads clearly through the glass.
Cost: $5–$12 / Time: 25 minutes / Difficulty: Easy

14. Cranberry Water Bowl with Floating Candles
A bowl of water, cranberries, and floating candles is my prettiest low-effort centerpiece. I fill a wide glass bowl two-thirds with water, scatter fresh cranberries so they float, add a few pine sprigs around the rim, and float three candles on top.
I learned to use fresh, firm cranberries, because soft ones sink and cloud the water within a day. The honest downside is splashing: I carry the bowl to the table empty and fill it in place.
Pro Tip: Use wide, flat floating candles rather than tall ones, so they sit steady and do not tip.
Cost: $6–$12 / Time: 15 minutes / Difficulty: Easy

Also read: christmas eve box ideas
15. Mini Christmas Tree Forest Centerpiece
A row of tiny trees down the table feels like a winter forest, and children love it. I buy or make five small trees in different heights, set them on a runner with a little fake snow, and tuck battery fairy lights between them.
My first forest leaned, because the smallest trees had flimsy bases. The downside is storage: tiny trees tangle easily, so I wrap each one in tissue before boxing them away in January.
Pro Tip: Vary the heights by at least two inches, and put the tallest tree slightly off-centre for a natural woodland feel.
Cost: $10–$20 / Time: 35 minutes / Difficulty: Easy

16. Snowy Pine and Candle Centerpiece
This is the centerpiece I build for a snowy, cabin-style dinner. I lay pine branches along a tray, dust them lightly with fake snow or flour-free snow spray, add pinecones and two white candles, and finish with a few silver berries.
I overdid the fake snow on my first try, and the table looked dusty rather than snowy. The watch-out is spray near flames: I spray outdoors, let it dry fully, and only then bring the tray inside and add candles.
Pro Tip: Spray the greenery a day ahead, so any smell has time to fade before dinner.
Cost: $9–$16 / Time: 30 minutes / Difficulty: Easy

17. Warm Candle and Pine Flat-Lay Centerpiece
For a casual family dinner, I build a flat, low centerpiece that nobody has to talk around. I lay pine sprigs flat along the table, place three candles among them, and add a few small ornaments and a toy train or tiny house if children are coming.
My mistake was building it directly on the tablecloth, which made serving dishes wobble on the uneven greenery. Pine sap can also mark cloth, so the board protects the table as well as the layout.
Pro Tip: Keep everything below six inches high for a casual table, so conversation stays easy.
Cost: $8–$15 / Time: 25 minutes / Difficulty: Easy

18. Festive Tablescape Centerpiece
When I want a full tablescape, I layer rather than piling up. I start with a runner, add a low greenery trail, place candles at intervals, and finish with matching napkins and small place favours.
I once spent so long on the centre that I forgot the place settings, and guests had beautiful greenery but mismatched plates. The downside is time: a full tablescape takes an hour, so I only do it for the main Christmas dinner, not every December meal.
Pro Tip: Photograph the finished table before guests arrive, so you can recreate the layout next year without guessing.
Cost: $18–$35 / Time: 1 hour / Difficulty: Medium

19. Candle and Pine Train Flat-Lay Centerpiece
This is my nostalgic centerpiece, and it always starts a conversation. I lay pine branches in a loose trail, add a candle, a small toy train, and a few wrapped mini gifts along the line.
My first version had the train too close to a candle, which worried me all evening. The downside is dust on the train and gifts, so I store the small pieces in a labelled box and wipe them before laying them out.
Pro Tip: Use battery candles near any moving or toy pieces, and keep real flames on a separate, clear section.
Cost: $7–$14 / Time: 30 minutes / Difficulty: Easy

20. Elegant Table Decoration Centerpiece
My last centerpiece is the one I build when guests are already on their way. I grab a clean tablecloth, set out the candles I already own, add whatever ornaments and greenery are left from the tree, and arrange them in a loose line down the centre.
I used to panic about last-minute tables, until I realised guests notice candlelight and a full table far more than matching holders. The honest downside is that it can look random, so I limit myself to two colours, even in a rush.
Pro Tip: Light the candles five minutes before guests arrive, so the table is glowing when the door opens.
Cost: $0–$10 / Time: 15 minutes / Difficulty: Easy

DIY Christmas Centerpiece Ideas: Quick Comparison
Use this table to pick by budget and time. My rule is simple: build the low, candlelit ones for dinner, and save the tall or fiddly ones for a side table.
| Centerpiece | Best For | Cost | Time |
|---|---|---|---|
| Evergreen and Pillar Candle Runner | Dinner table | $12–$18 | 40 minutes |
| Ornament-Filled Glass Bowl | Small table | $8–$15 | 15 minutes |
| Lantern Glow | Round table | $10–$25 | 20 minutes |
| Wood-Slice Candle Board | Rustic table | $6–$14 | 30 minutes |
| Gold and White Elegant | Formal dinner | $15–$30 | 45 minutes |
| Poinsettia Trough | Long table | $12–$20 | 30 minutes |
| Dried Orange and Cinnamon | Scented table | $5–$10 | 1 hour plus drying |
| Frosted White and Silver | Modern table | $10–$18 | 25 minutes |
| Red Candles and Spice | Classic table | $8–$16 | 20 minutes |
| Mason Jar Candle Trio | Budget table | $4–$9 | 20 minutes |
| Mirror-Tray Candlelit | Evening dinner | $14–$28 | 30 minutes |
| Minimalist Candlelit | Small room | $7–$14 | 15 minutes |
| Wine-Glass Cloches | Talking point | $5–$12 | 25 minutes |
| Cranberry Water Bowl | Pretty and quick | $6–$12 | 15 minutes |
| Mini Tree Forest | Long table | $10–$20 | 35 minutes |
| Snowy Pine and Candle | Cabin style | $9–$16 | 30 minutes |
| Warm Candle Flat-Lay | Family dinner | $8–$15 | 25 minutes |
| Festive Tablescape | Main Christmas dinner | $18–$35 | 1 hour |
| Candle and Pine Train | Nostalgic table | $7–$14 | 30 minutes |
| Elegant Last-Minute | Rush job | $0–$10 | 15 minutes |
Mistakes I Made / What I Learned the Hard Way
Building too tall. My first centerpiece was a beautiful tall arrangement that nobody could talk across. Now I keep dinner pieces low, and tall pieces go on a sideboard where they can be admired without blocking a face.
Forgetting the serving dishes. I once built a centrepiece so wide that the roast had nowhere to go. Now I set the serving dishes out first, then build the centrepiece in the space that is left, not the other way round.
Using scented candles at dinner. A strongly scented candle once overpowered our whole meal. Unscented candles belong at the table, and scented ones belong on a mantel or side table, away from food.
Skipping a tray or board. Wax, sap, and water have all marked my table in past Decembers. A tray or board underneath catches all three, and it lets me lift the whole display away in seconds.
Frequently Asked Questions
How long did yours actually last? The evergreen runner lasted about a week indoors, the poinsettia trough lasted past New Year, and the ornament bowl is still in use years later because nothing in it wilts. The cranberry bowl looked best on day one, so I rebuild that one fresh each time.
What would you do differently next December? I would build two centerpieces instead of one: a simple candlelit one for everyday December meals, and a fuller one for Christmas Day itself. That way the special one stays special, and the everyday one does not feel like a chore.
Are these safe with children at the table? The battery-candle versions are, and I use those for any meal with children. Real flames stay on adult-only tables, away from sleeves, paper, and anything that can be knocked, and I never leave a lit candle unattended.
Can I build these on a small table? Yes, and that is where the mason jar trio and the minimalist flat-lay shine. Pick one small idea, keep it narrow, and leave room for plates first. A small, tidy centerpiece beats a large, crowded one every time.
Final Thoughts
The centerpiece I reach for most is still the simple evergreen runner, because it smells like Christmas, costs very little, and takes less than an hour. The fancy ones are fun, but the one that survives year after year is the one that is easy to build, easy to light, and easy to clear away.
Pick one idea from this list, build it this weekend, and live with it for a few evenings before Christmas Day. You will learn more from one real dinner than from ten photos, and you will know exactly what to change before the big meal.
Read this next: winter crafts for kids



One Comment