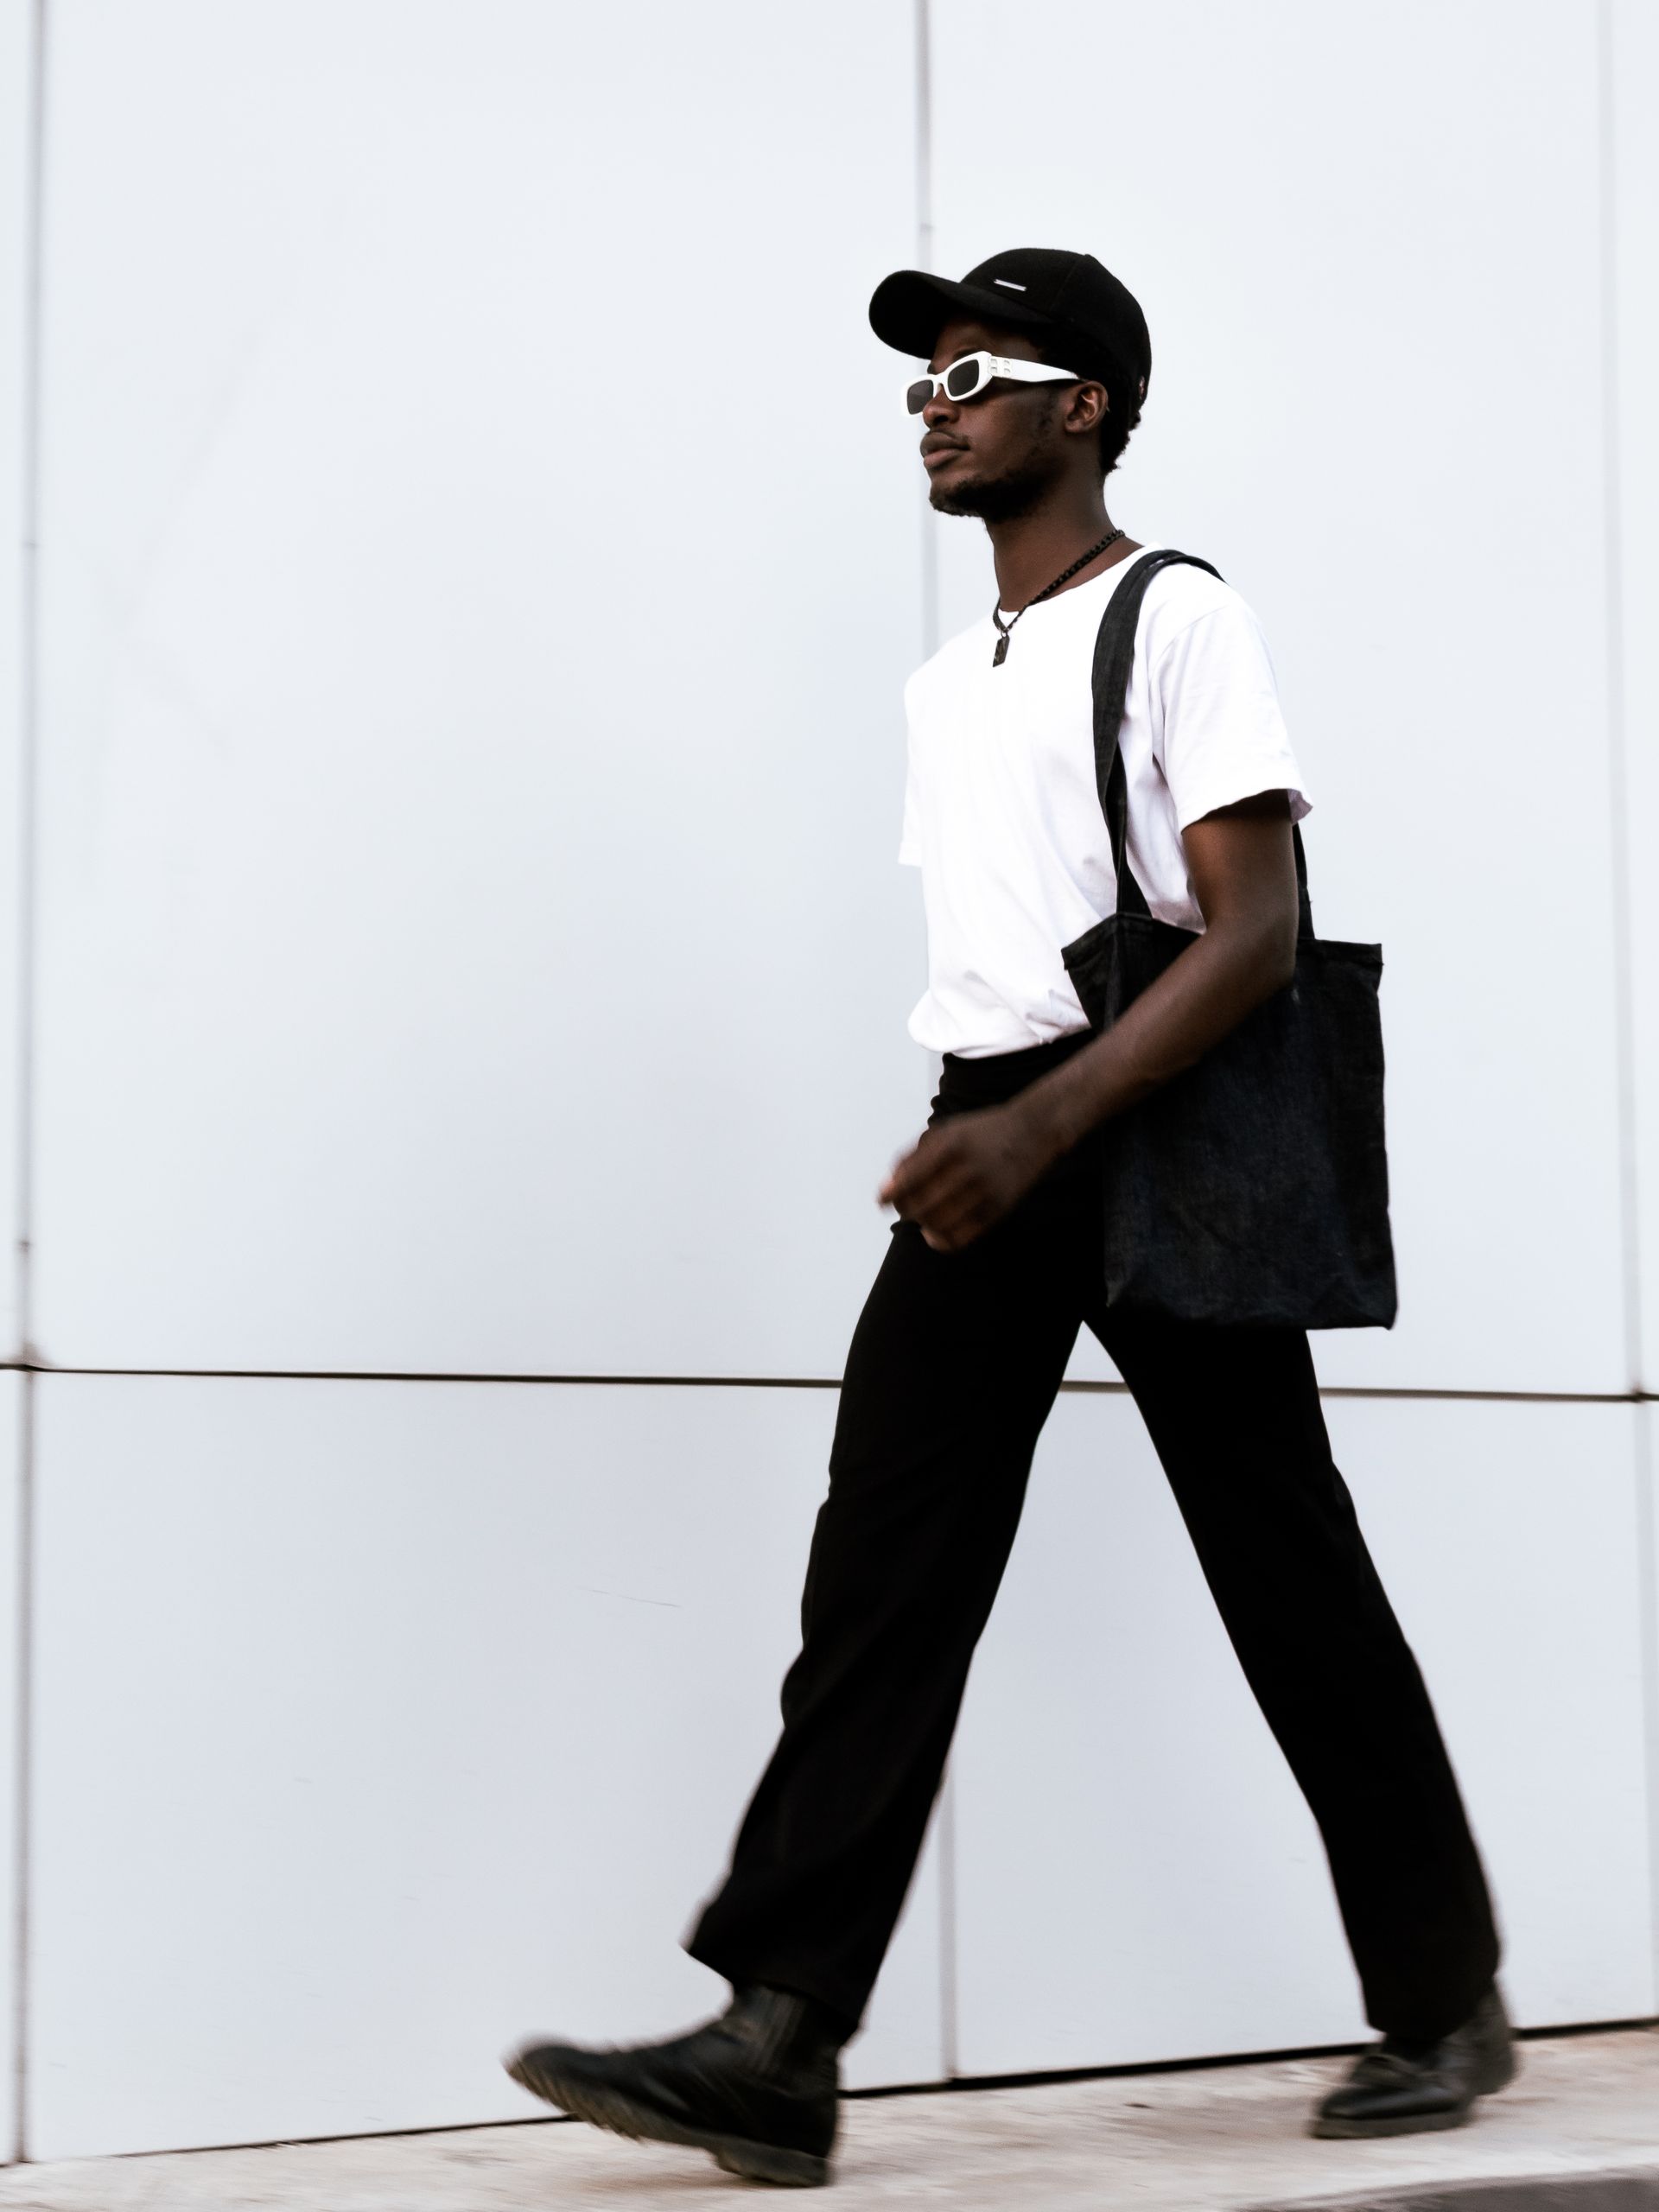
18 DIY Tote Bag Ideas From Old T-Shirts That Actually Carry Weight
An old t-shirt is already a bag waiting to happen, with a body, a neck, and two sleeves. These diy tote bag ideas from old t-shirts are the ones I sewed, braided, and knotted myself, and I kept only the bags that carried real weight without tearing, stretching, or looking like a school project.
How I picked these: I made each bag myself, filled it with books, groceries, or beach gear, and used it for at least two weeks. I kept a bag only if the handles held, the bottom stayed flat, and I would actually carry it in public. Every idea below tells you what it cost, how long it took, and where it went wrong.
Key Takeaways
- Use thick, sturdy t-shirts for tote bags, or handles will stretch and tear.
- Reinforce handles through two layers of fabric, always, no exceptions.
- Sew, do not just knot, any tote that will carry books or groceries.
- Wash and dry t-shirts before cutting, or bags will shrink and smell later.
- Start with a simple no-sew tote before you try a lined or zippered one.
18 DIY Tote Bag Ideas From Old T-Shirts
1. The Classic No-Sew Tote
I made a tote by cutting off the sleeves, cutting a deeper neckline, and cutting fringe at the bottom, then knotting the fringe pairs together to close the bag. I used a thick cotton t-shirt, cut carefully, and knotted each pair twice for strength.
The downside is fringe knots loosening. My first tote lost a knot and dropped a book, so I now knot twice and trim the fringe evenly. The second tote has carried groceries for months without losing a knot.
Pro Tip: Knot fringe pairs twice, and trim evenly, or a no-sew tote will drop items.
Cost / Time / Difficulty: $0 to $2 per bag | 30 minutes | Easy
2. The Sewn Market Tote
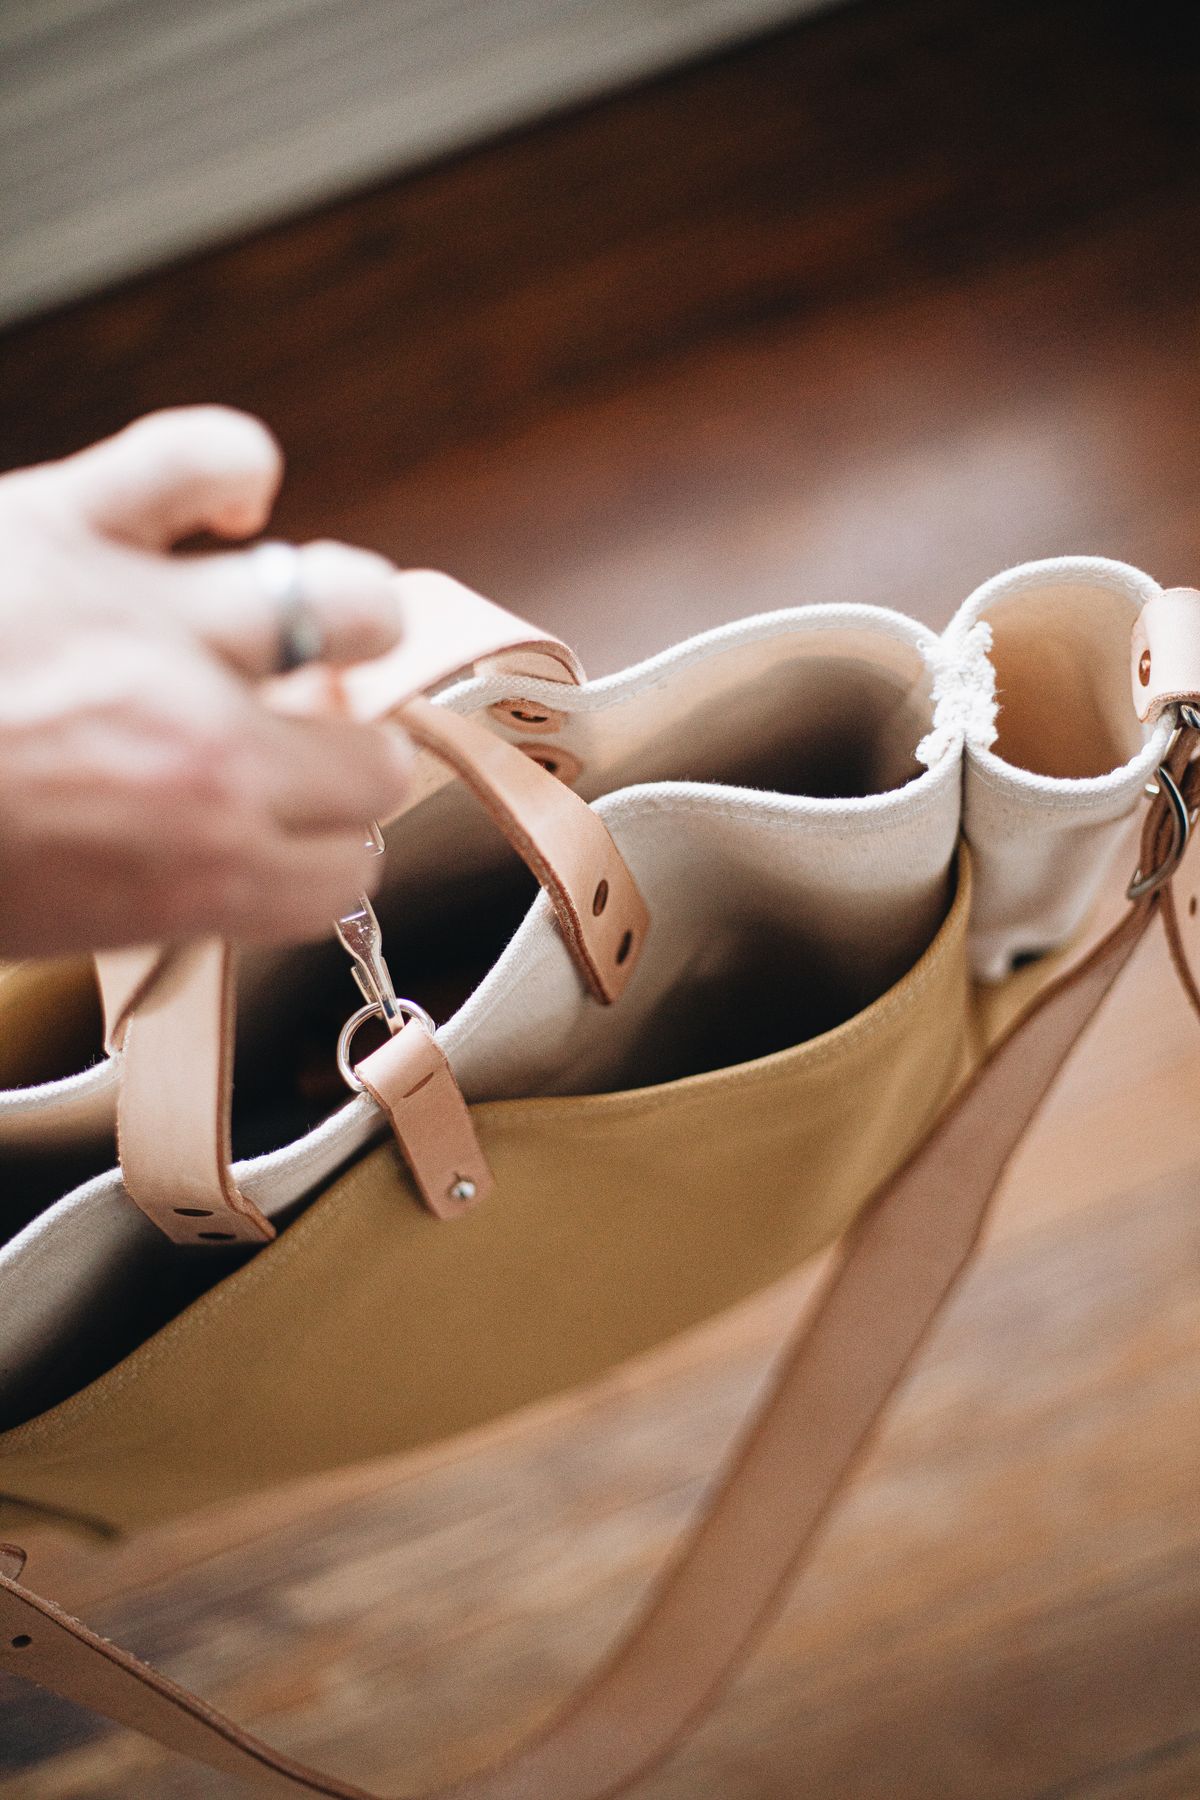
I sewed a market tote from two t-shirts, cutting panels to the same size, sewing them into a bag shape, and adding handles from t-shirt strips. I used thick shirts, sewed with a straight stitch, and reinforced the handle attachments with extra stitching.
The downside is handle tearing. My first market tote tore at a handle because I stitched it to a single layer, so I now stitch handles through two layers plus a reinforcement patch. It carries a full grocery load without tearing.
Pro Tip: Stitch tote handles through two layers plus a reinforcement patch, or they will tear under weight.
Cost / Time / Difficulty: $0 to $3 per bag | 1 to 2 hours | Easy

3. The Braided Handle Tote
I braided three t-shirt strips into handles, sewed them to a simple tote body, and finished with a rolled top edge. I used matching colours, braided tightly, and stitched the handles on the inside so the stitching would not show.
The downside is uneven braids. My first handles were lumpy because I braided unevenly, so I now braid slowly and check the width as I go. The even handles look professional, and the bag feels comfortable on the shoulder.
Pro Tip: Braid tote handles slowly and check width as you go, or they will feel lumpy on the shoulder.
Cost / Time / Difficulty: $0 to $3 per bag | 2 hours | Medium

4. The Lined Tote Bag
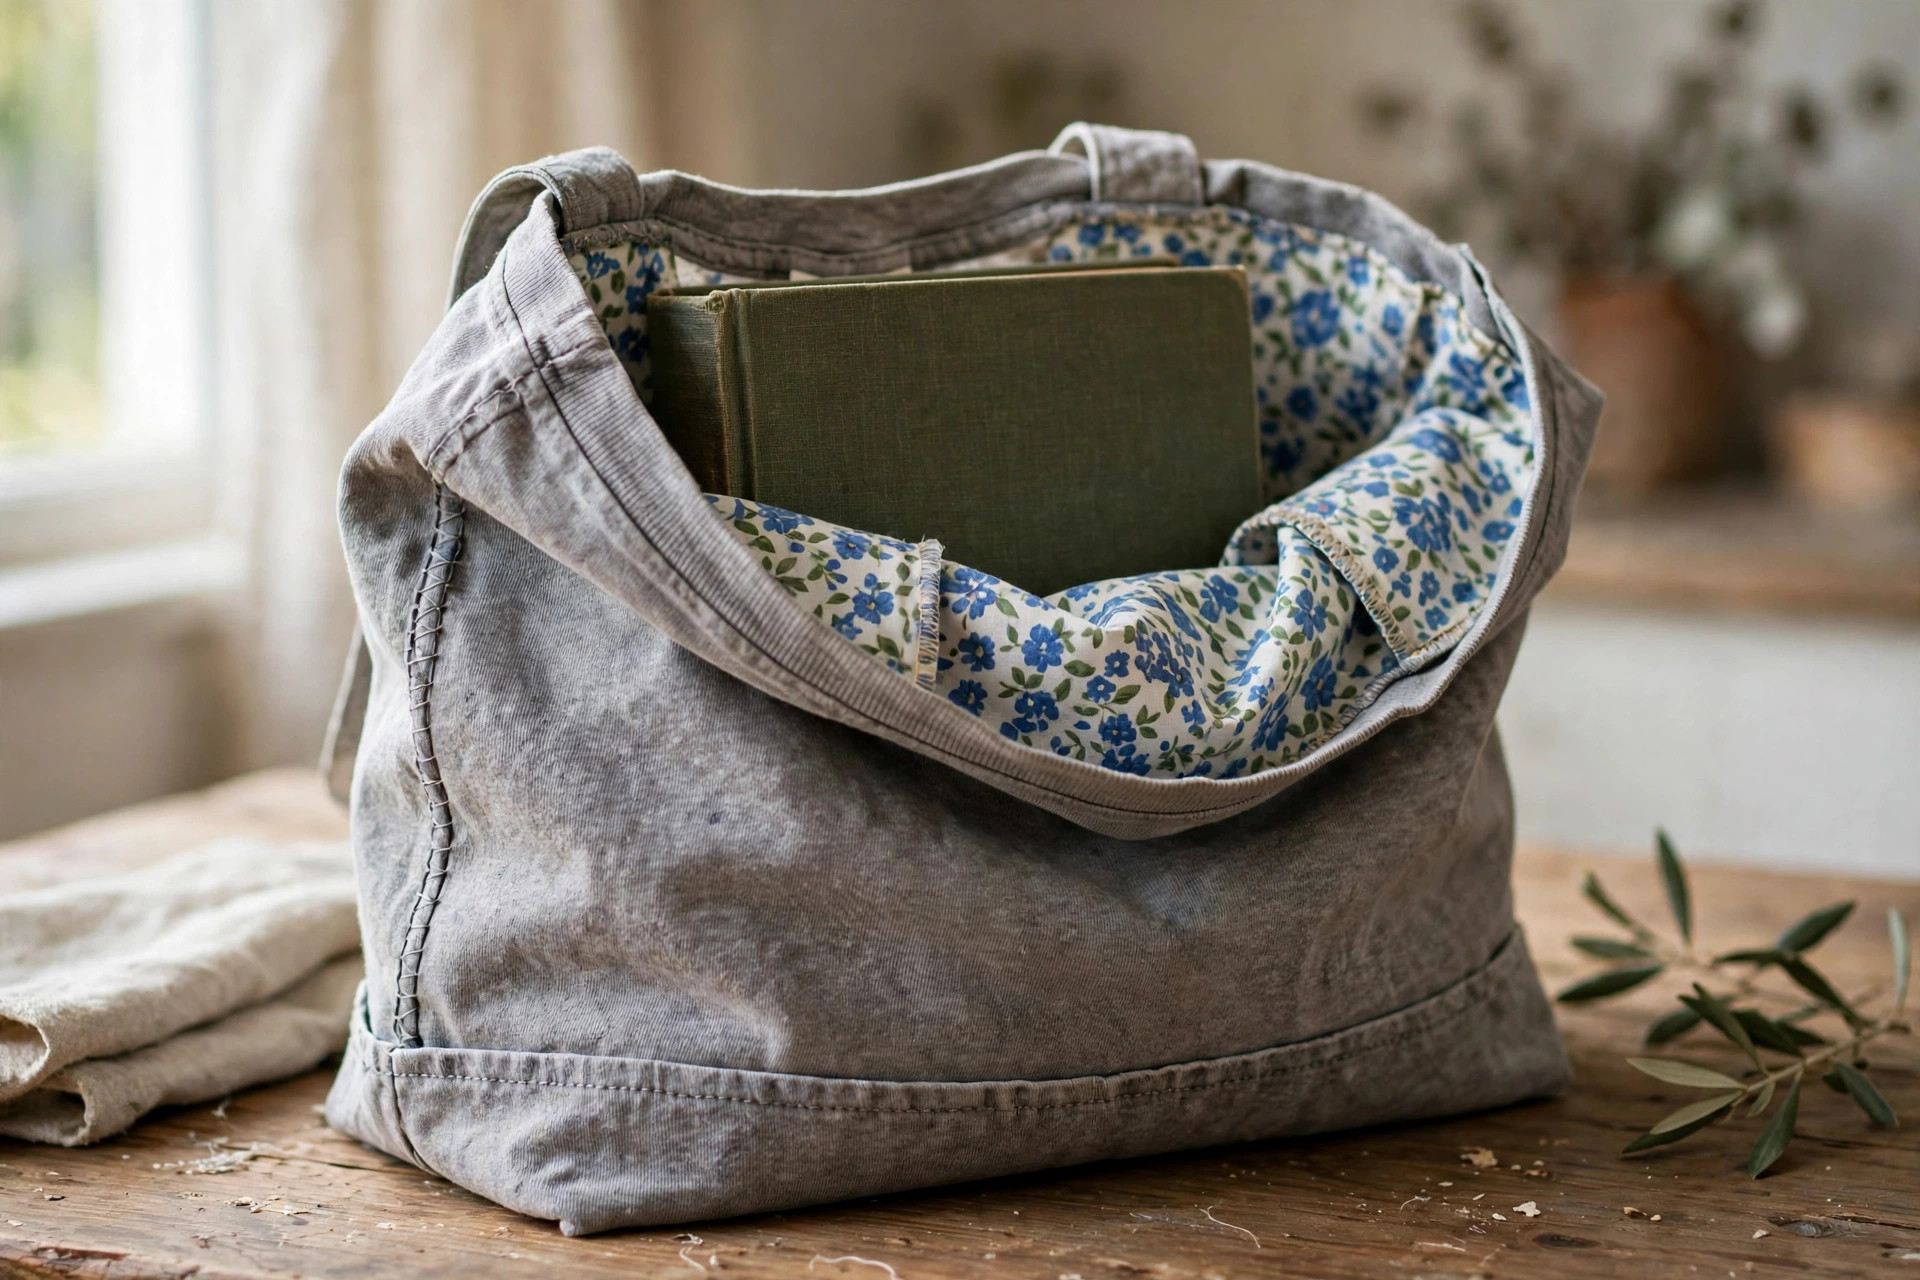
I made a lined tote by sewing an inner lining from a second t-shirt, then joining it to the outer bag at the top edge. I used a plain shirt for the lining, turned the bag right-side out through a gap, and topstitched the rim for a clean finish.
The downside is bulk at the rim. My first lined tote had a lumpy rim because I did not trim seam allowances, so I now trim and press the rim before topstitching. The second tote has a smooth, shop-bought rim.
Pro Tip: Trim and press seam allowances before topstitching a lined tote rim, or it will lump.
Cost / Time / Difficulty: $0 to $4 per bag | 2 to 3 hours | Medium
5. The Beach Tote
I made a beach tote from a large t-shirt, sewing it into a wide, open bag with rope handles and a waterproof lining from a shower curtain offcut. I used a thick shirt, reinforced the handles, and kept the top open for easy access to towels.
The downside is sand. My first beach tote trapped sand in the fabric, so I now shake it out after every trip and wash it monthly. It still carries towels, sunscreen, and books without tearing, even when wet.
Pro Tip: Shake a beach tote out after every trip, and wash it monthly, or sand will build up in the fabric.
Cost / Time / Difficulty: $0 to $5 per bag | 2 hours | Medium

6. The Book Tote
I made a book tote from a thick t-shirt, sewing it into a tall, narrow bag with reinforced handles and a flat bottom. I used a heavyweight shirt, added a cardboard base inside a fabric sleeve, and stitched the handles through two layers.
The downside is bottom sag. My first book tote sagged because it had no base support, so I added a cardboard base in a sleeve that I can remove for washing. It now carries three hardbacks without sagging.
Pro Tip: Add a removable cardboard base to a book tote, or the bottom will sag under hardbacks.
Cost / Time / Difficulty: $0 to $3 per bag | 1 to 2 hours | Easy

7. The Grocery Tote With Pockets
I sewed pockets onto the outside of a t-shirt tote, using pockets cut from other shirts, for phone, keys, and a shopping list. I sewed the pockets on before assembling the bag, so the stitching stayed neat inside.
The downside is bulk. My first pocket tote was so thick at the pockets that it would not fold flat, so I used thin pocket fabric and trimmed excess layers. The slim version folds flat and still holds small items in every pocket.
Pro Tip: Trim excess layers behind tote pockets, or the bag will not fold flat.
Cost / Time / Difficulty: $0 to $4 per bag | 2 hours | Medium

8. The Kids Tote
I made a small tote for kids from a child-size t-shirt, sewing it into a mini bag with short handles and a fun patch. I used a bright shirt, kept the handles short so it would not drag, and added a name patch with fabric glue.
The downside is handle length. My first kids tote dragged on the ground because the handles were adult-length, so I shortened them to fit a child’s shoulder. The short version is actually used, not just carried for a photo.
Pro Tip: Shorten kids tote handles to fit a child’s shoulder, or the bag will drag on the ground.
Cost / Time / Difficulty: $0 to $2 per bag | 1 hour | Easy

9. The Zippered Tote
I added a zipper to a t-shirt tote, sewing it into the top edge with a zipper foot, and finished with a fabric pull. I used a sturdy zipper, sewed slowly, and topstitched the top edge for a clean finish.
The downside is zipper puckering. My first zipper puckered because I sewed too fast, so I slowed down, pinned the zipper first, and used a zipper foot. The second zipper lies flat and opens smoothly every time.
Pro Tip: Pin a zipper first and sew slowly with a zipper foot, or it will pucker.
Cost / Time / Difficulty: $2 to $6 per bag | 2 to 3 hours | Medium
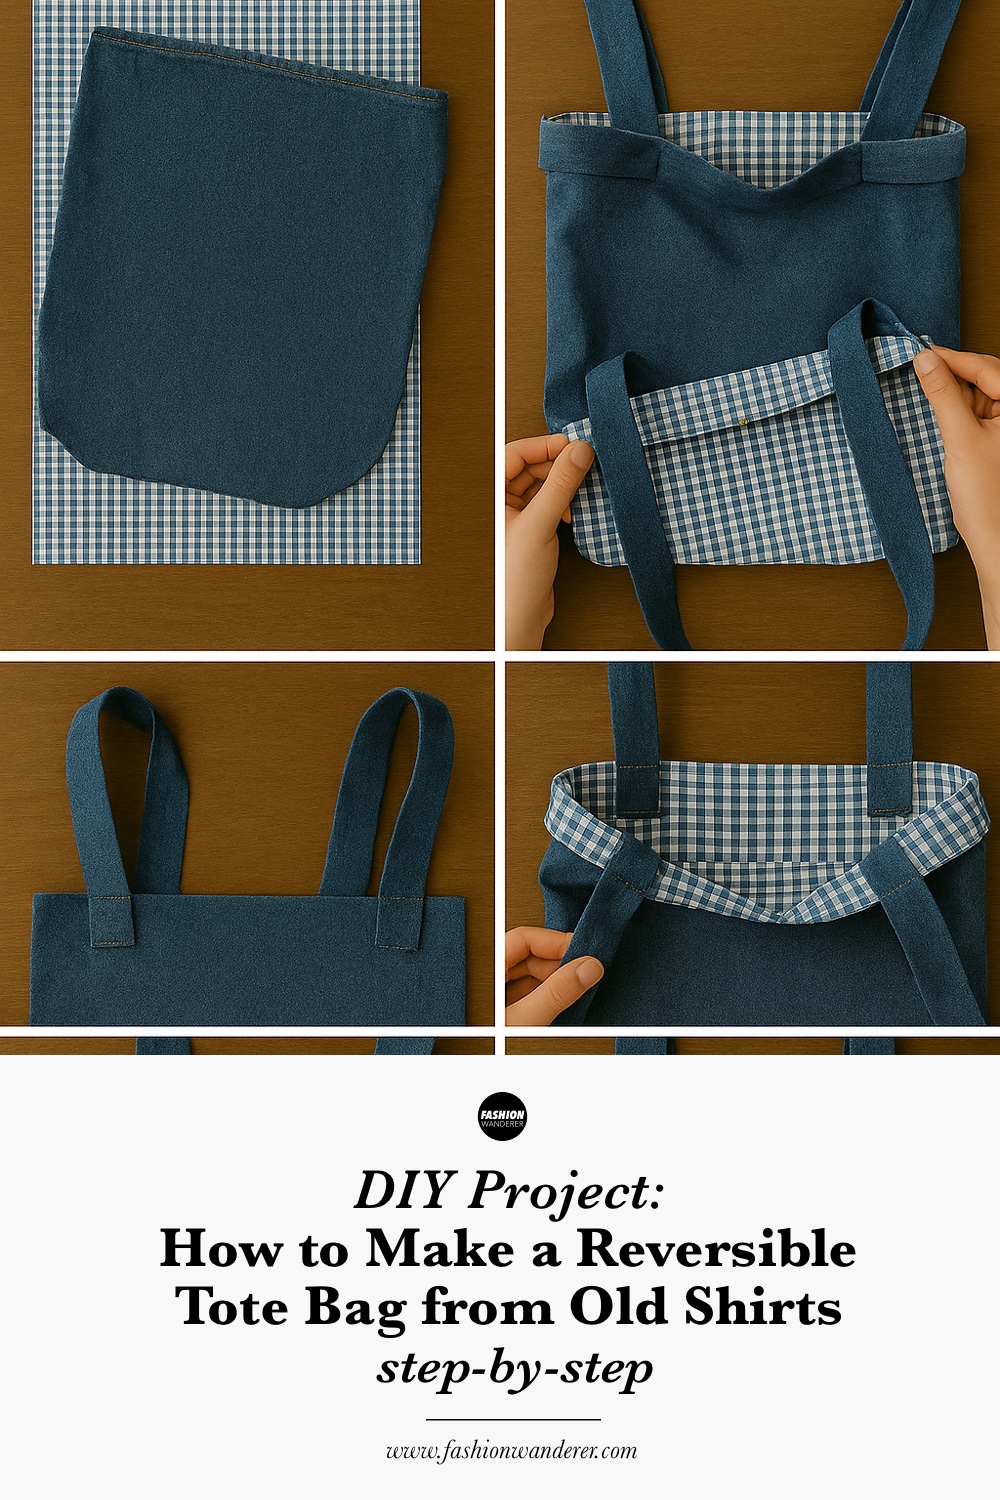
10. The Reversible Tote
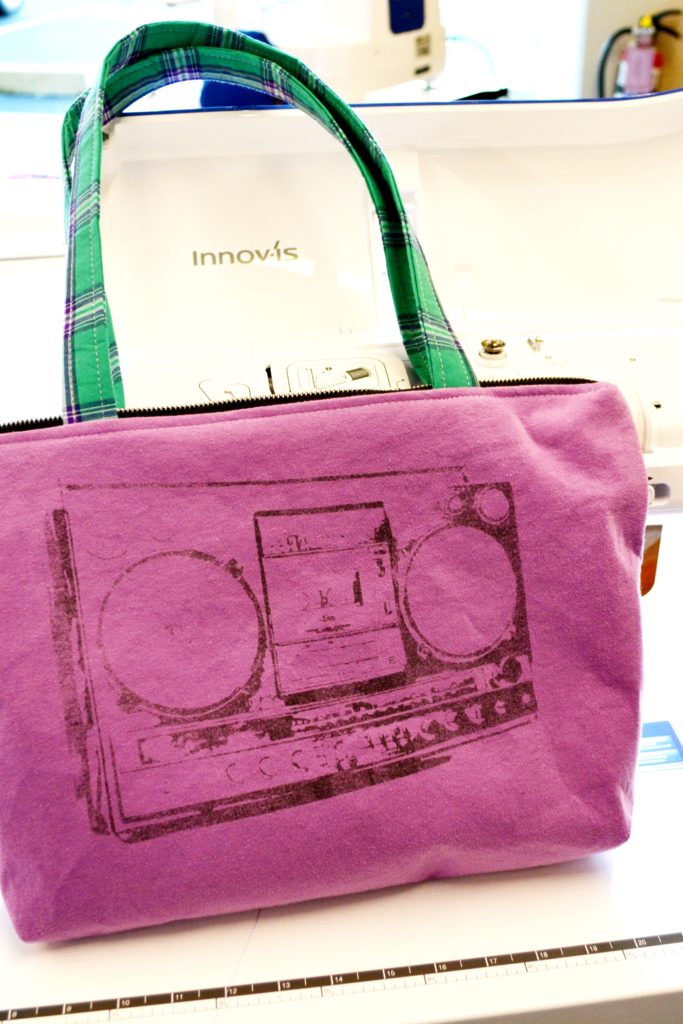
I made a reversible tote from two t-shirts, sewing them together so either side could face out. I used contrasting colours, sewed carefully at the top edge, and turned the bag through a gap to finish.
The downside is bulk at the top. My first reversible tote had a lumpy top edge because I did not trim seams, so I trimmed and pressed before topstitching. The second tote reverses smoothly and looks good on both sides.
Pro Tip: Trim and press seams before topstitching a reversible tote, or the top edge will lump.
Cost / Time / Difficulty: $0 to $4 per bag | 2 hours | Medium
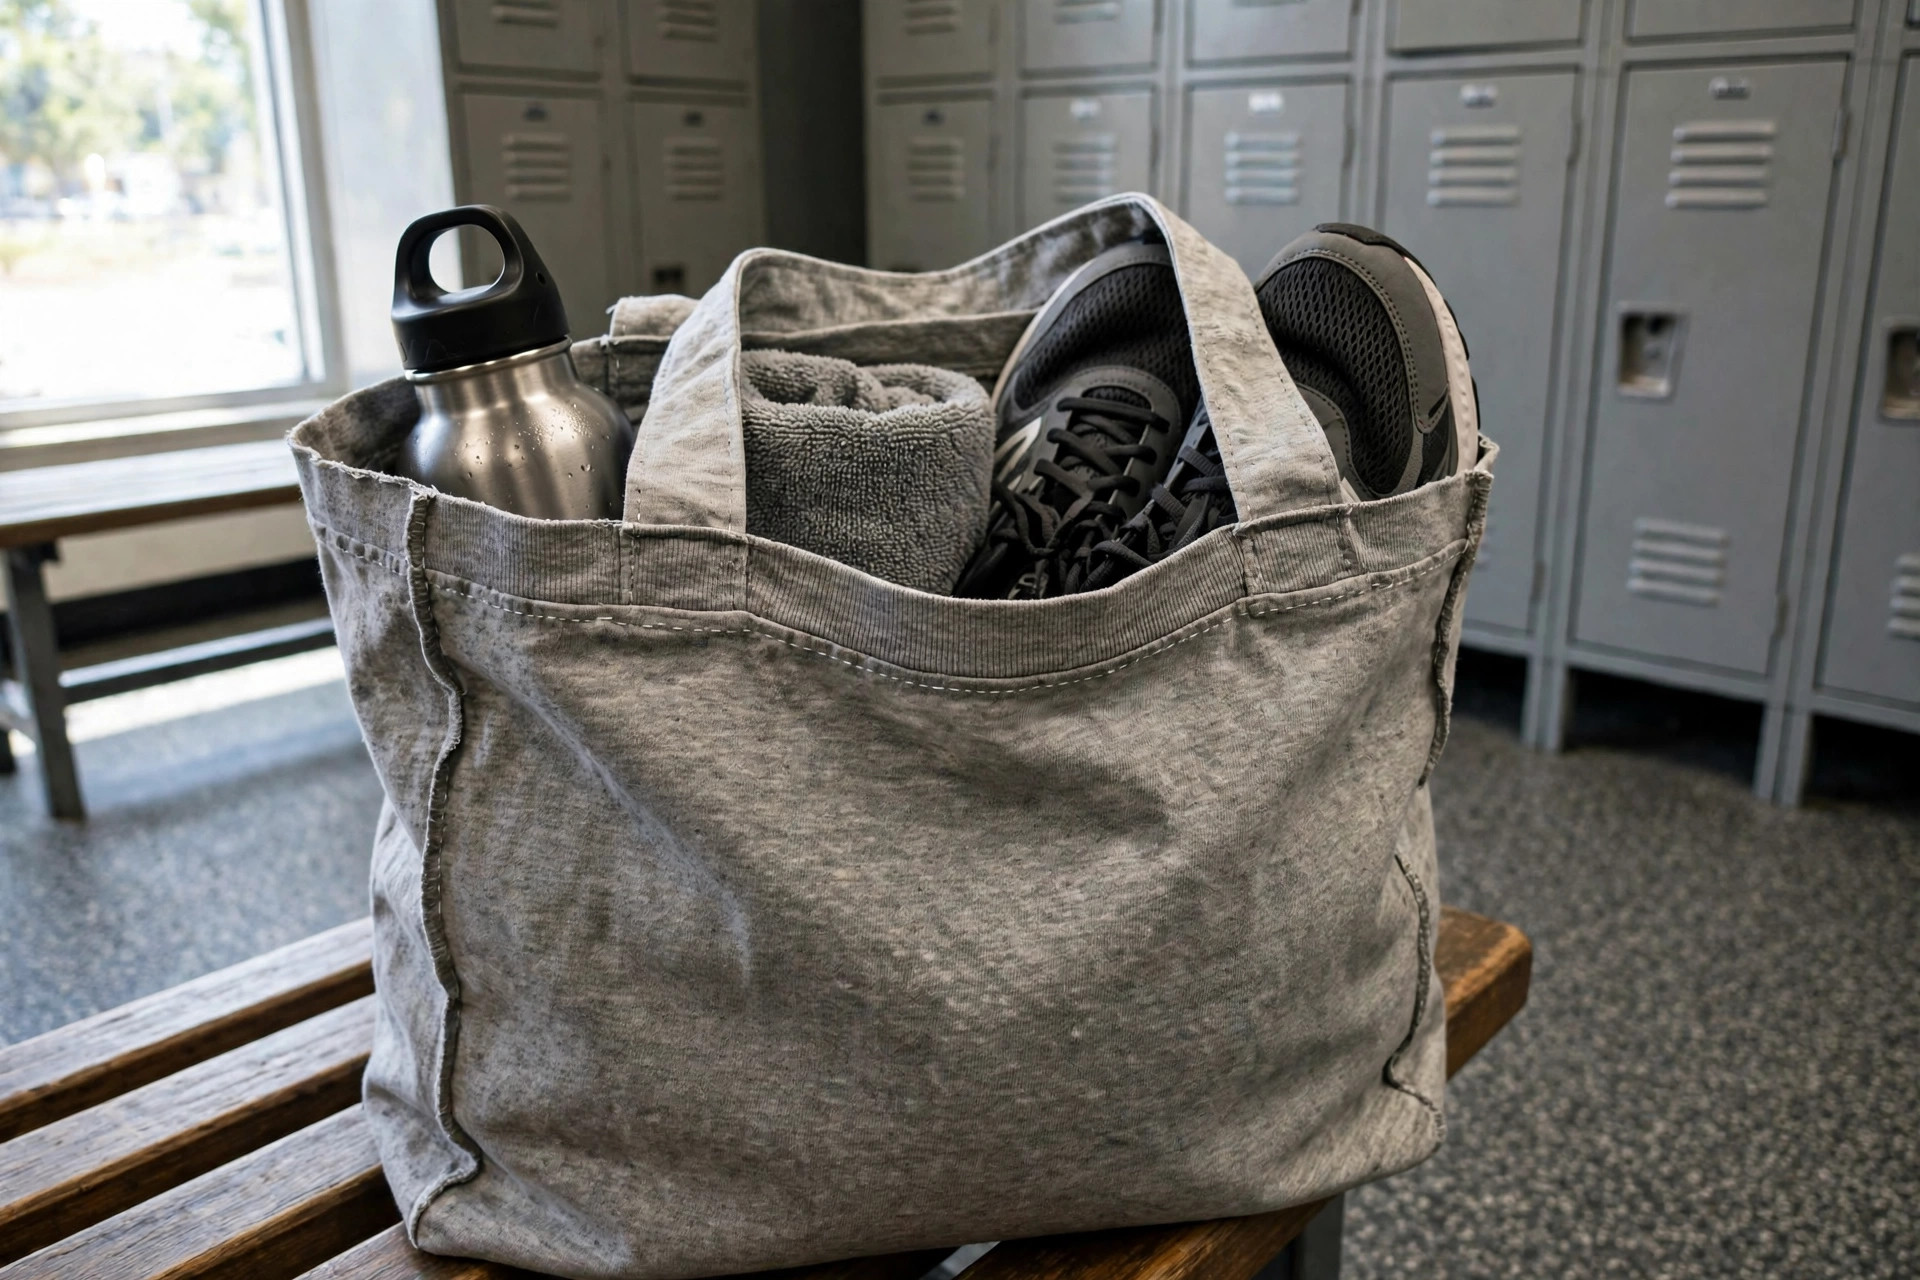
11. The Gym Tote
I made a gym tote from a thick t-shirt, sewing it into a wide bag with a separate pocket for shoes. I used a heavyweight shirt, added a mesh pocket from an old laundry bag, and reinforced the handles for gym gear weight.
The downside is smell. My first gym tote smelled after a week of sweaty gear, so I now wash it after every gym trip and air-dry it fully. The washed version stays fresh, and the mesh pocket airs out shoes.
Pro Tip: Wash a gym tote after every trip and air-dry it fully, or it will smell within a week.
Cost / Time / Difficulty: $0 to $4 per bag | 2 hours | Medium
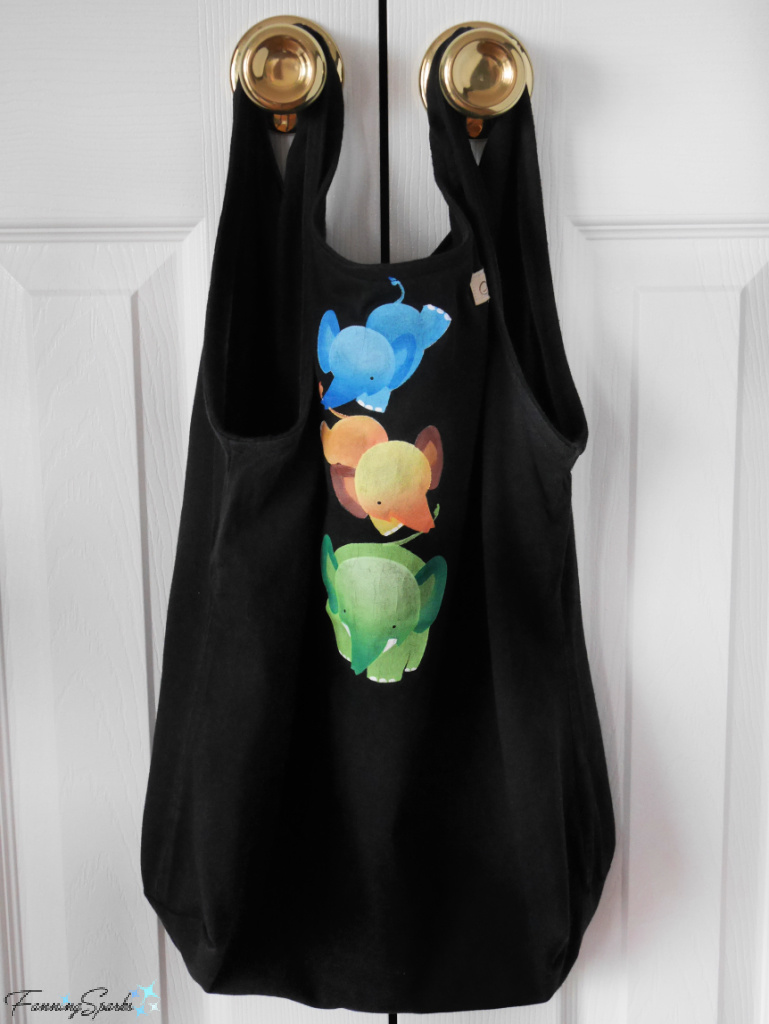
12. The Library Tote
I made a library tote from a graphic t-shirt, keeping the graphic as the front panel and sewing simple handles. I used a shirt with a print I loved, cut carefully to centre the graphic, and reinforced the handles for book weight.
The downside is fading. My first library tote faded in sun because I left it on a car dashboard, so I now keep it in a bag or shade when not in use. The graphic has kept its colour for a year since.
Pro Tip: Keep a graphic tote out of direct sun when not in use, or the print will fade.
Cost / Time / Difficulty: $0 to $3 per bag | 1 to 2 hours | Easy
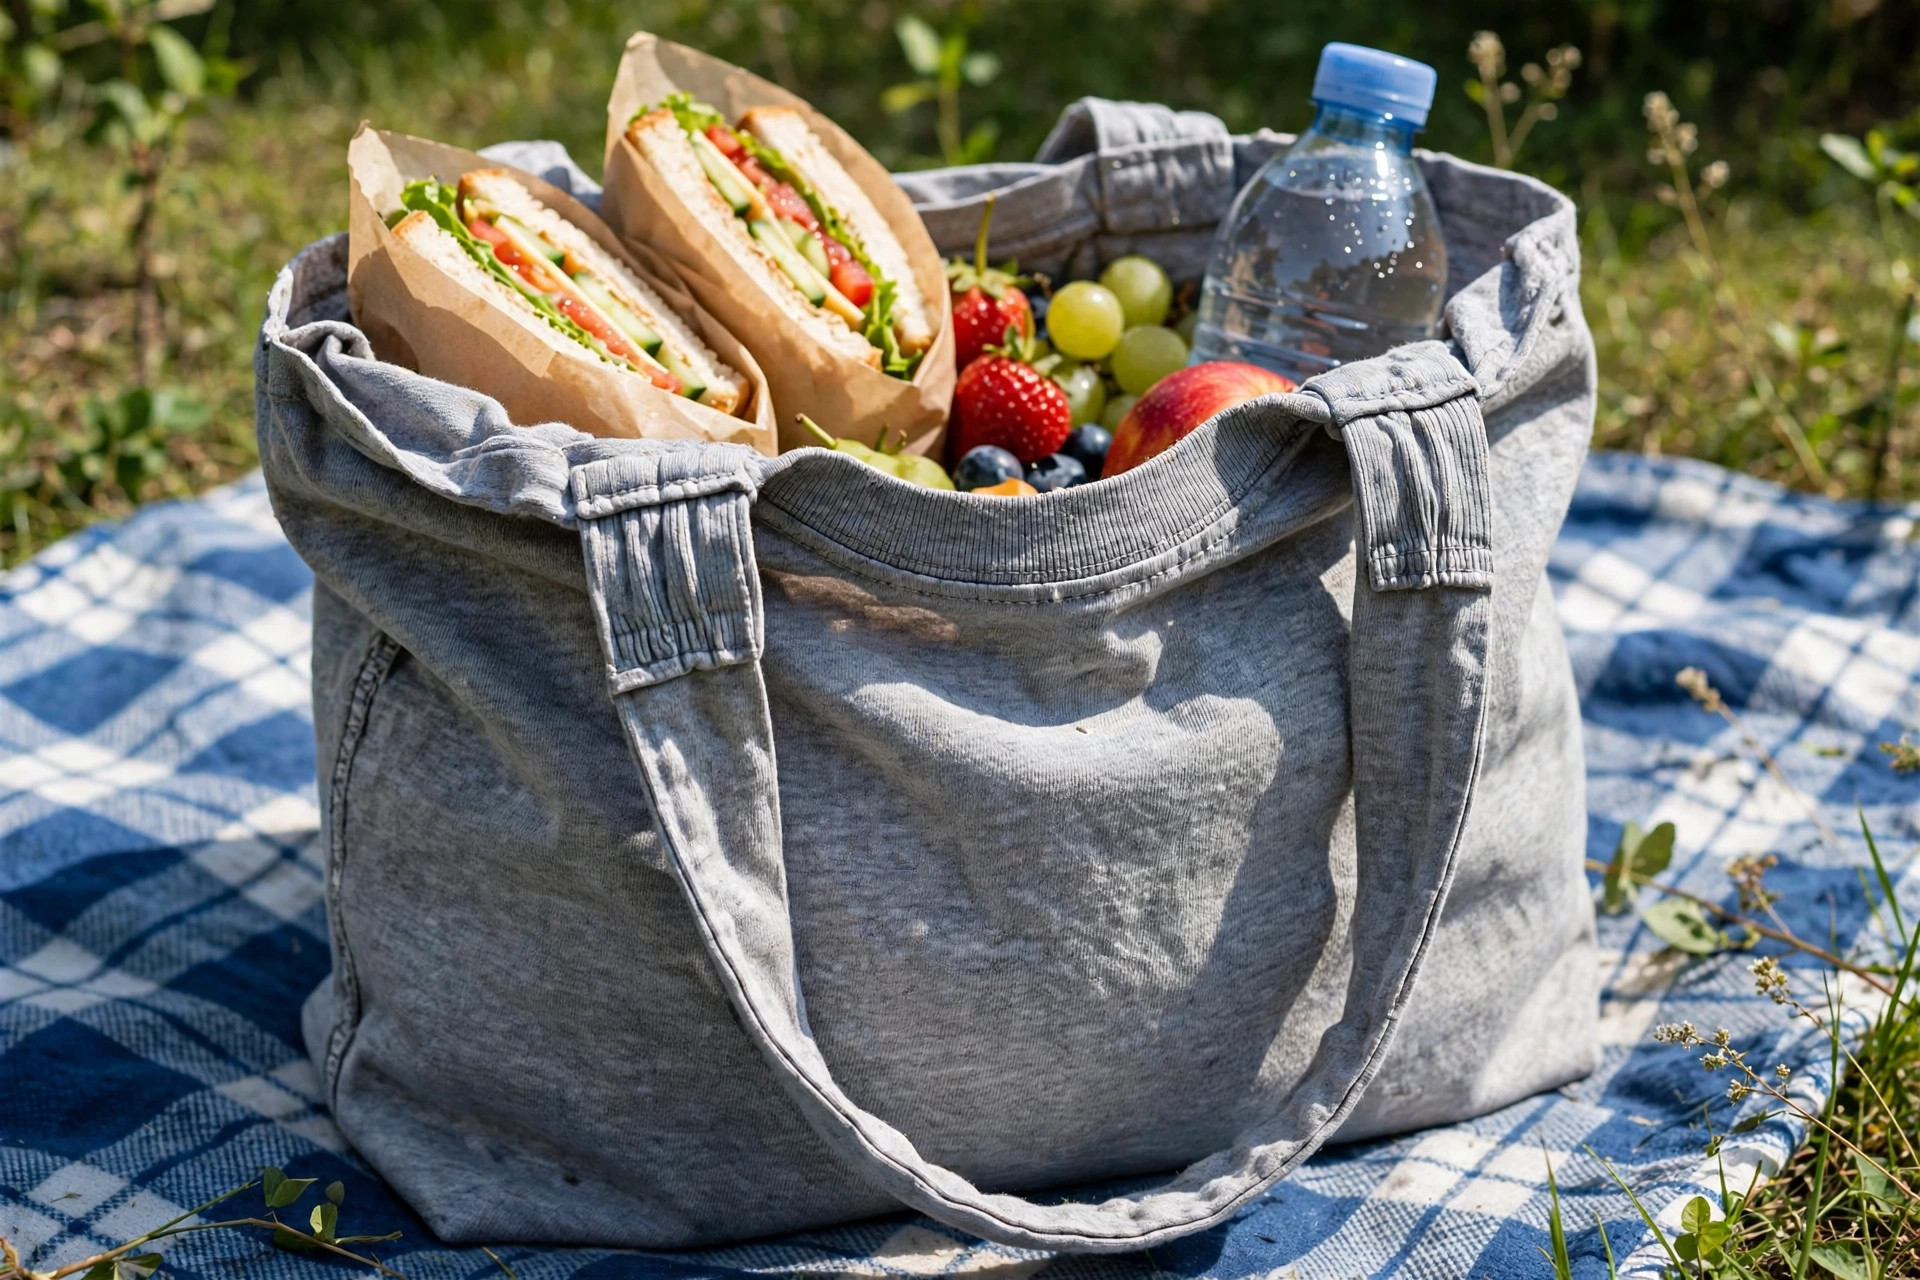
13. The Picnic Tote
I made a picnic tote from two t-shirts, sewing it into a wide bag with an insulated lining from an old cooler bag. I used thick shirts, added a flat base, and kept the top open for easy access to food containers.
The downside is spills. My first picnic tote stained because it had no lining, so the insulated lining was a game-changer. Spills wipe off the lining, and the outer fabric stays clean.
Pro Tip: Line a picnic tote with an old cooler bag, or spills will stain the outer fabric permanently.
Cost / Time / Difficulty: $0 to $6 per bag | 2 to 3 hours | Medium
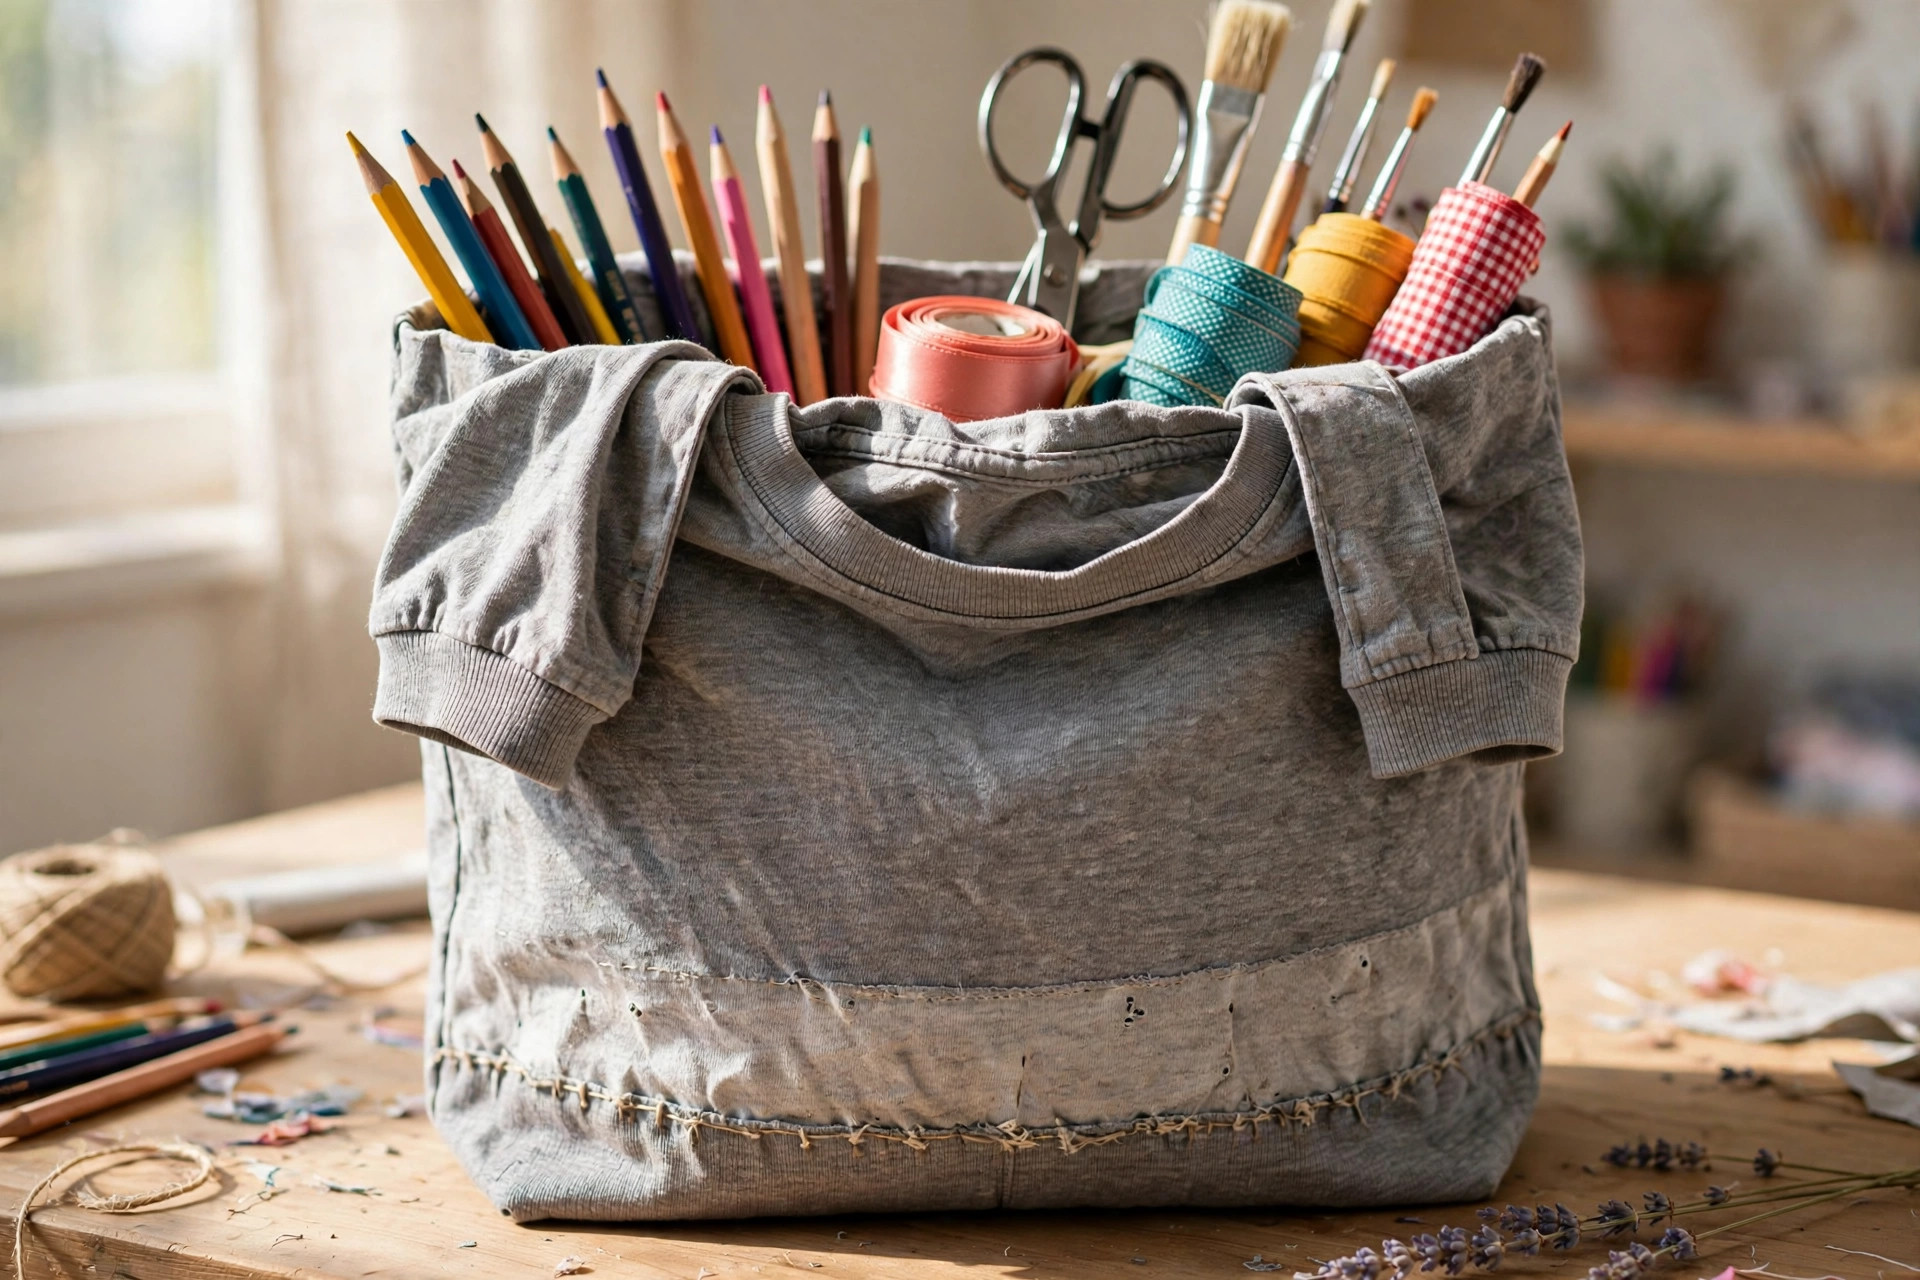
14. The Craft Supply Tote
I made a craft supply tote from a t-shirt, sewing pockets inside for scissors, glue, and markers. I used a thick shirt, sewed pockets before assembling the bag, and added a flat base so it would stand on a table.
The downside is tipping. My first craft tote tipped over because it had no base support, so I added a cardboard base in a sleeve. It now stands on my desk and holds supplies upright without falling.
Pro Tip: Add a removable cardboard base to a craft tote, or it will tip over on a table.
Cost / Time / Difficulty: $0 to $4 per bag | 2 hours | Medium
15. The Farmer’s Market Tote
I made a market tote from three t-shirts, sewing them into a large, sturdy bag with wide handles and a flat bottom. I used thick shirts, reinforced every seam twice, and tested it with a full grocery load before trusting it.
The downside is stretching. My first market tote stretched because I used thin shirts, so I switched to thick, heavyweight shirts and double-stitched the seams. The sturdy version carries produce, jars, and bread without stretching.
Pro Tip: Double-stitch seams and use heavyweight shirts for a market tote, or it will stretch under groceries.
Cost / Time / Difficulty: $0 to $5 per bag | 2 to 3 hours | Medium

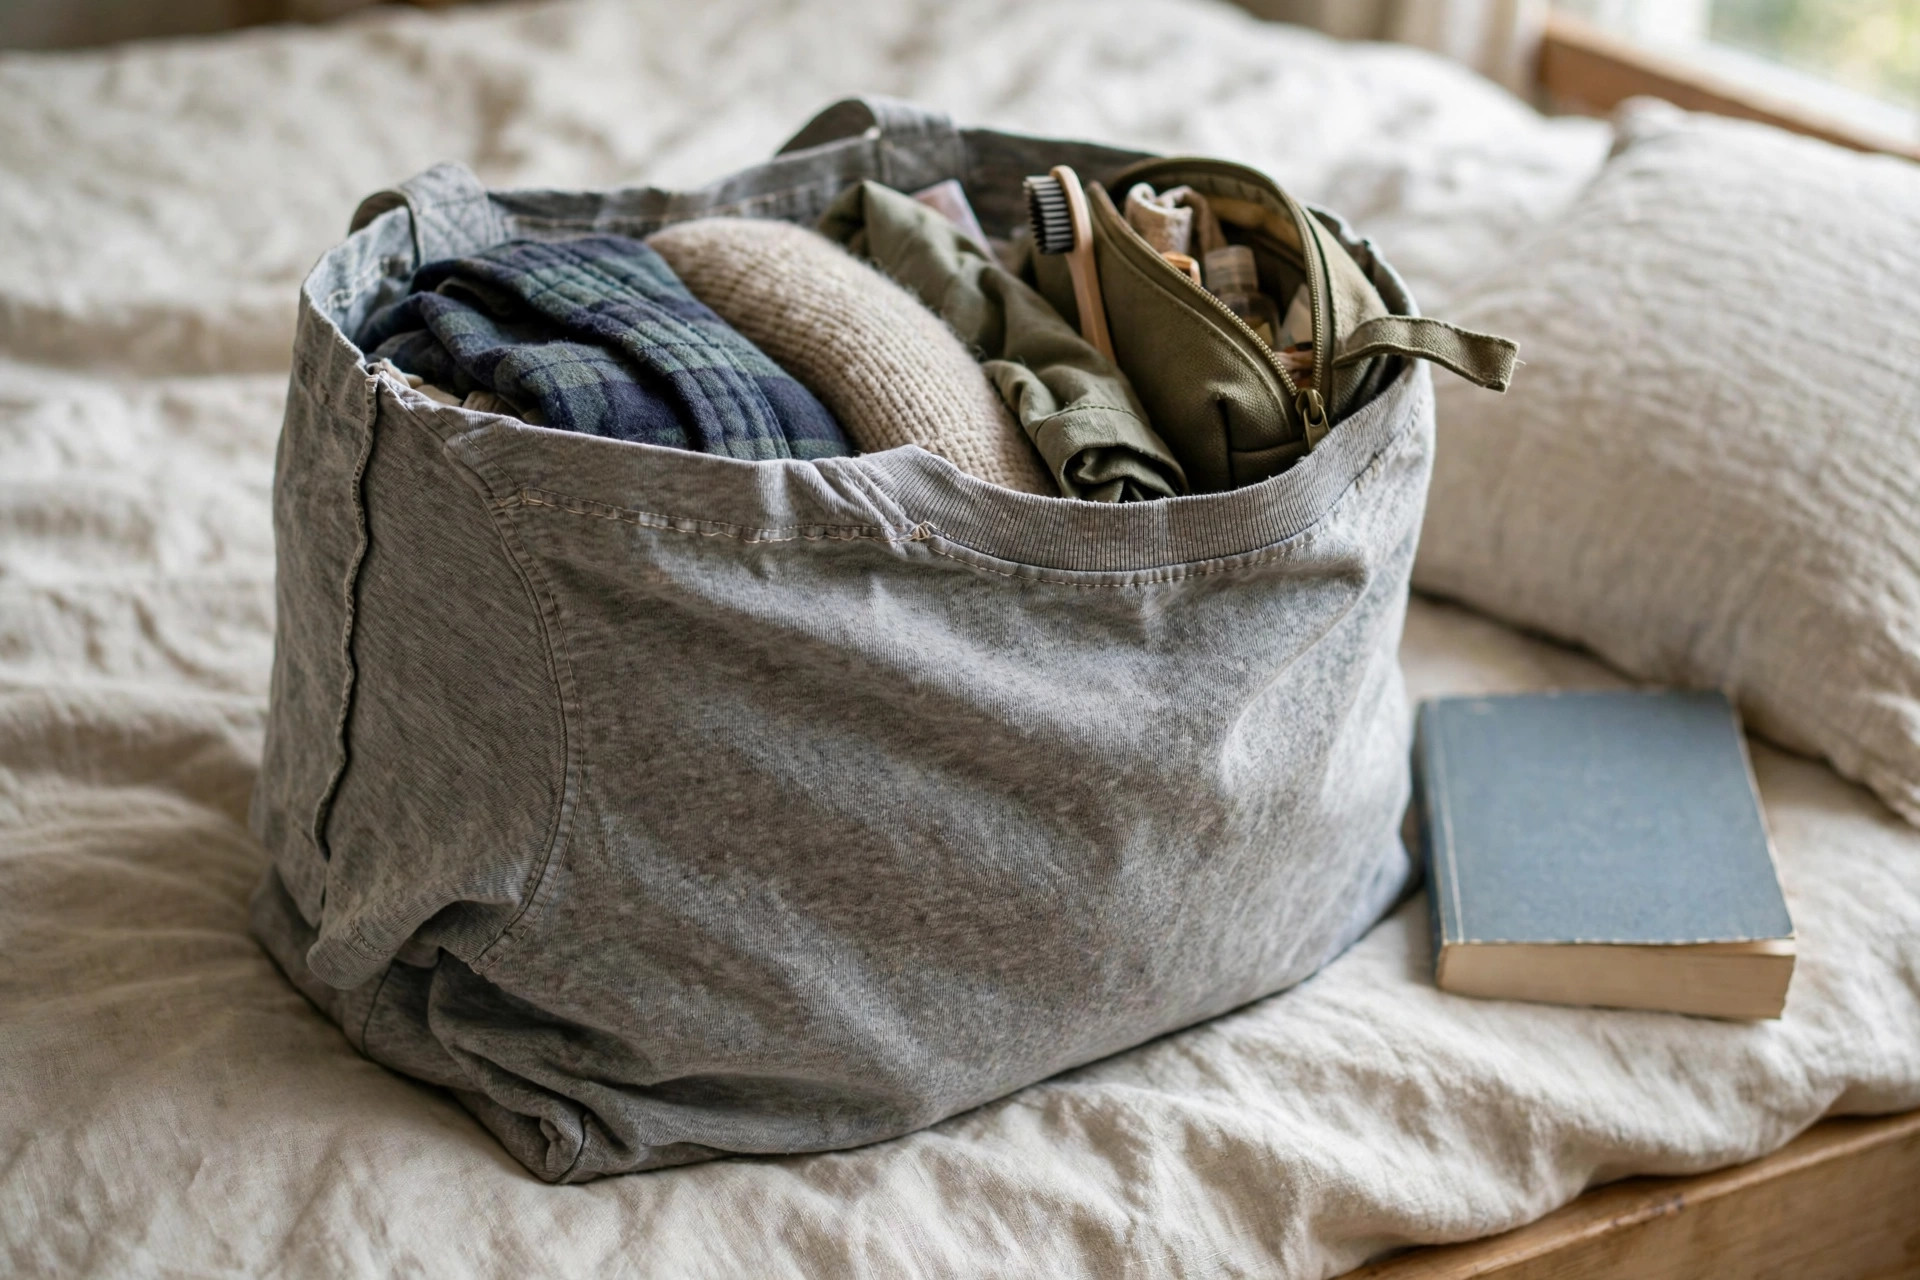
16. The Overnight Tote
I made an overnight tote from two large t-shirts, sewing them into a wide bag with a zipper top and a small inner pocket. I used thick shirts, added a flat base, and kept the handles long enough for shoulder carrying.
The downside is size. My first overnight tote was too small for a change of clothes, so I measured my clothes first for the second one and cut accordingly. Measure your overnight kit before you cut, not after, is the lesson I learned twice.
Pro Tip: Measure your overnight kit before cutting an overnight tote, or it will not fit what you need.
Cost / Time / Difficulty: $0 to $6 per bag | 3 hours | Medium
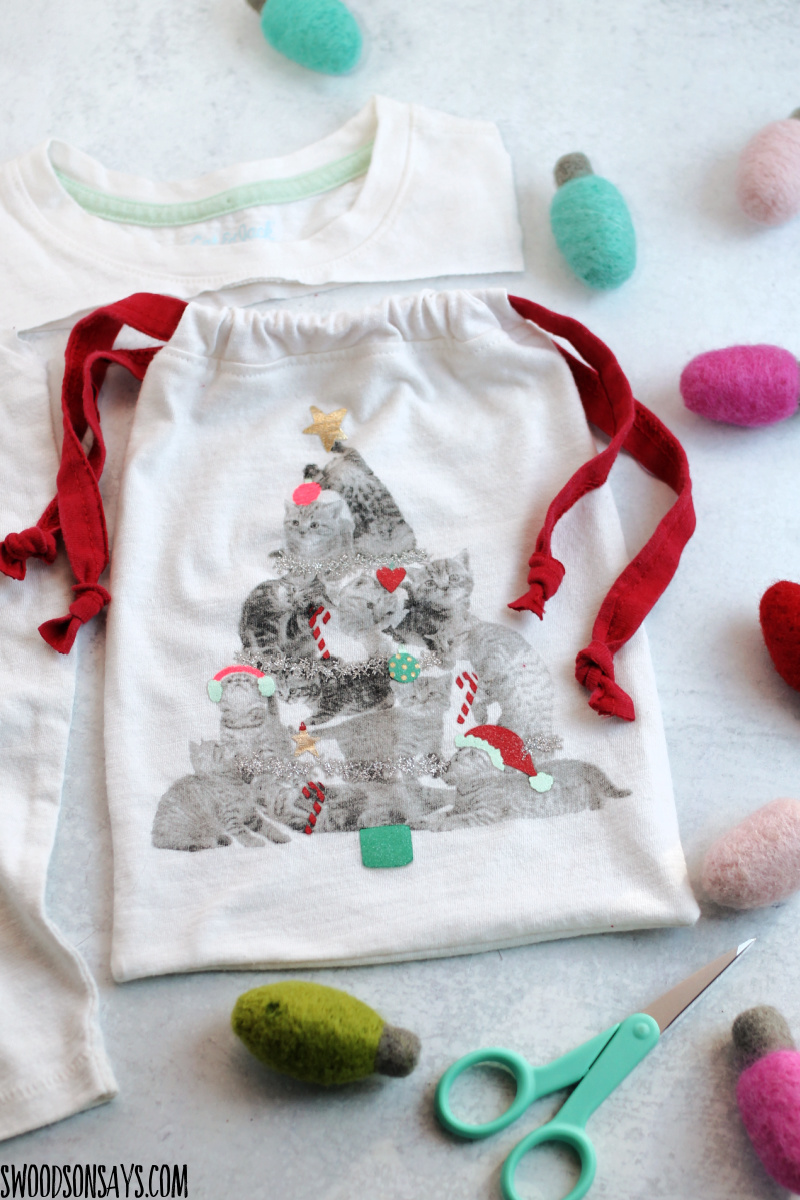
17. The Gift Tote
I made a gift tote from a pretty t-shirt, sewing it into a small bag with a ribbon drawstring top, and used it instead of wrapping paper. I used a soft shirt, added tissue paper inside, and tied the drawstring with a bow.
The downside is reusability, in a good way. My first gift tote was kept by the recipient and reused, which meant I had to make another one for the next gift. That is a good problem, and I now make gift totes in batches.
Pro Tip: Make gift totes in batches, because recipients will keep and reuse them.
Cost / Time / Difficulty: $0 to $3 per bag | 1 hour | Easy
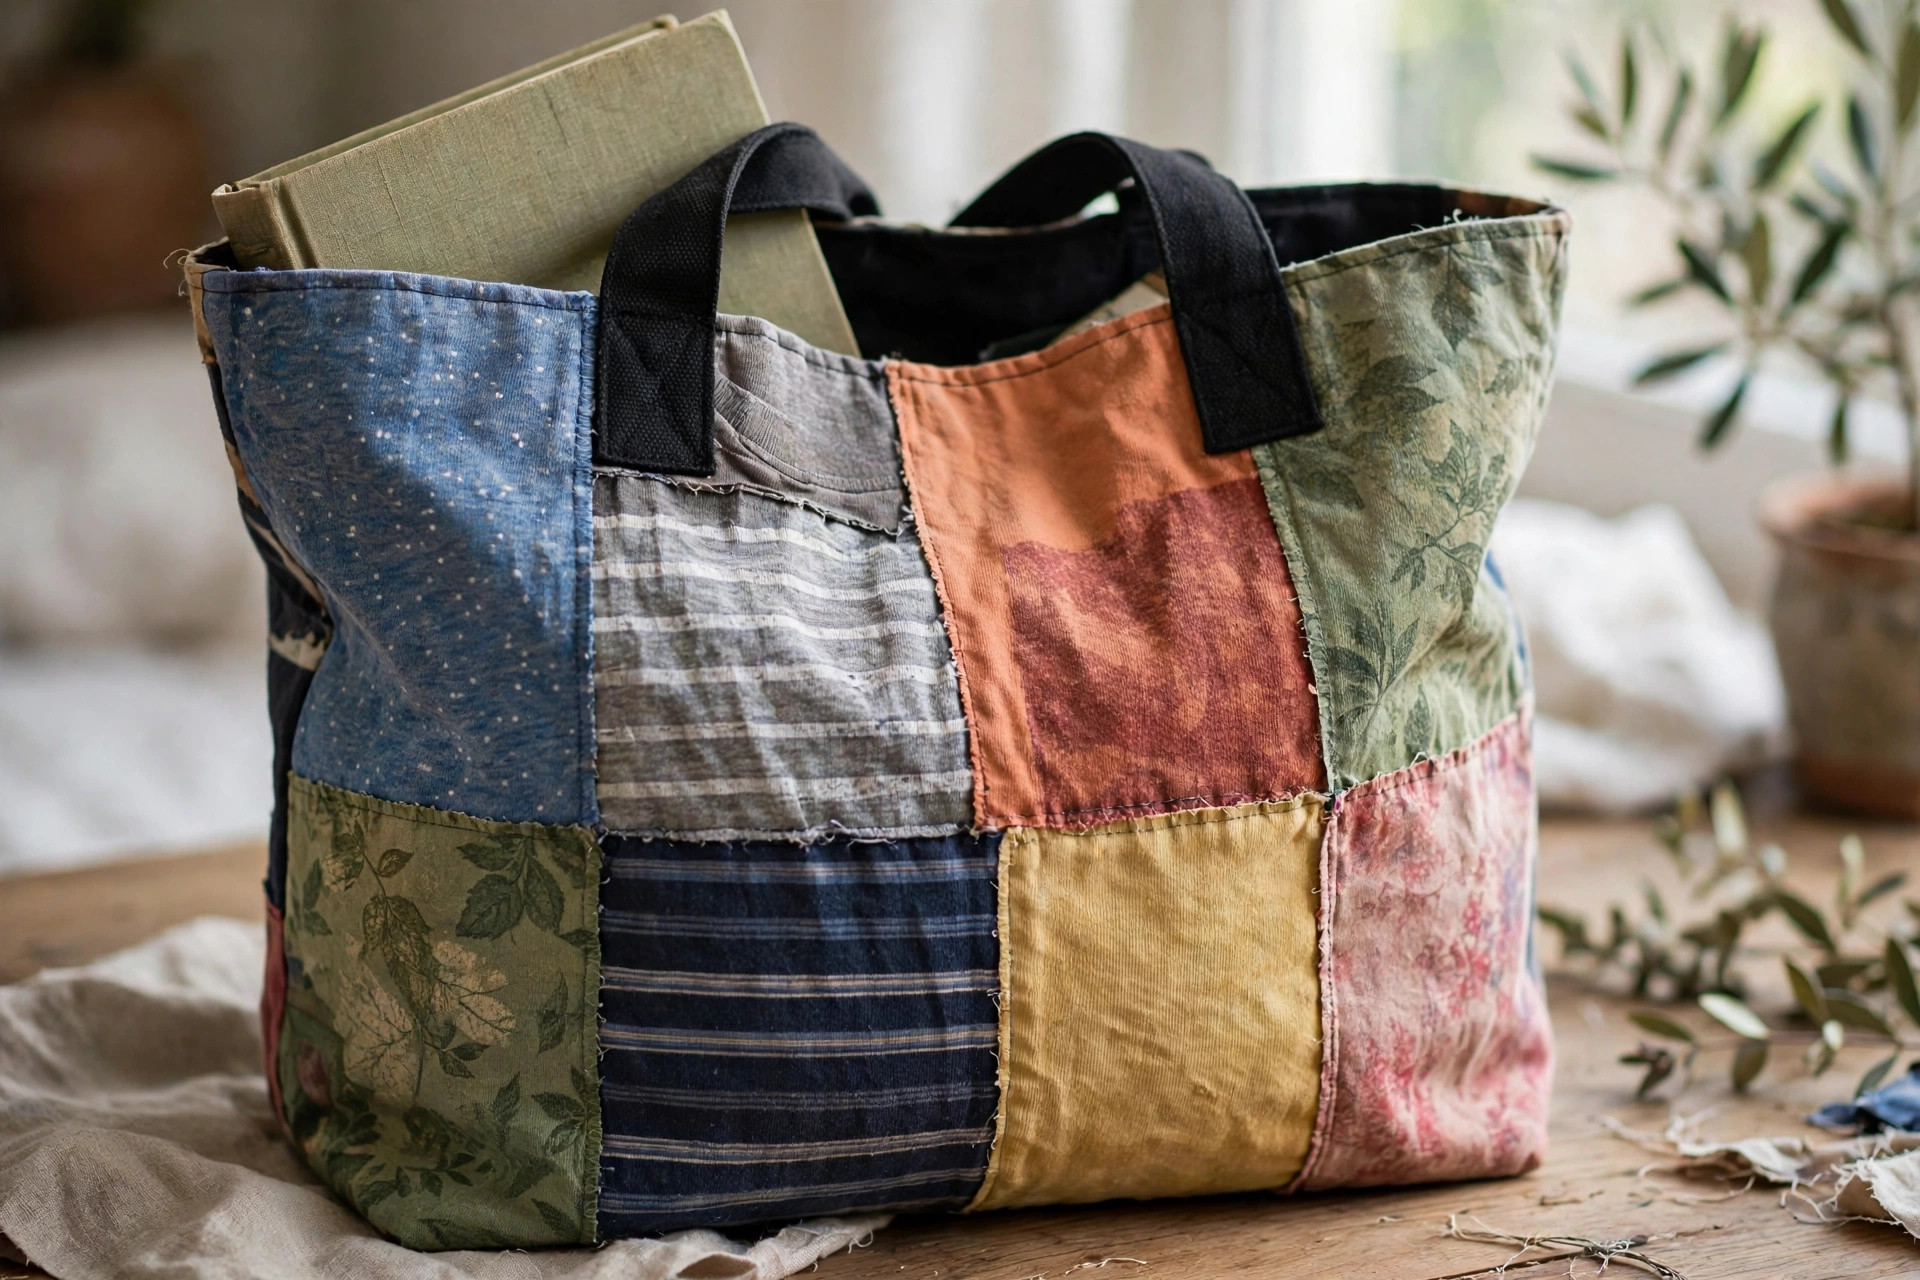
18. The Patchwork Tote
I made a patchwork tote from t-shirt scraps, sewing panels of different colours and prints into a bag shape. I used scraps I already owned, cut them to the same size, and sewed them in rows before shaping the bag.
The downside is bulk at joins. My first patchwork tote had thick joins that made sewing the shape difficult, so I pressed all seams open and trimmed excess. The second tote sewed smoothly and looks like intentional patchwork, not leftovers.
Pro Tip: Press patchwork seams open and trim excess, or joins will bulk up and distort the bag shape.
Cost / Time / Difficulty: $0 to $5 per bag | 3 hours | Medium
Comparison Table
| Project | Best For | Cost | Effort |
|---|---|---|---|
| No-sew tote | Quick gifts | $0 to $2 | Easy |
| Sewn market tote | Groceries | $0 to $3 | Easy |
| Lined tote | Everyday use | $0 to $4 | Medium |
| Book tote | Books | $0 to $3 | Easy |
| Farmer’s market tote | Heavy loads | $0 to $5 | Medium |
| Patchwork tote | Scrap use | $0 to $5 | Medium |
Mistakes I Made (So You Don’t Have To)
I used thin t-shirts for my first tote, and the handles stretched and tore under books. Use thick, heavyweight shirts for any tote that will carry weight, and reinforce handles through two layers.
I knotted a no-sew tote once per fringe pair, and it dropped a book. Knot twice, trim evenly, and test with weight before you trust it in public.
I skipped washing t-shirts before cutting, and my first tote shrank and smelled musty. Wash and fully dry everything first, even shirts that look clean.
I made a tote without measuring what it needed to carry, and it fit nothing useful. Measure your books, groceries, or overnight kit before you cut, every time.
FAQ
How long do t-shirt totes last?
Mine last a year or more with regular use, if sewn well and washed occasionally. No-sew totes last months, sewn totes last years, in my experience.
What would you do differently on your first tote?
I would start with a sewn market tote, not a no-sew one. Sewing takes longer, but the bag holds weight, washes well, and actually gets used daily.
Can I wash a t-shirt tote?
Yes, most can be machine-washed cold and air-dried. Avoid machine drying totes with cardboard bases, which will warp, and remove any base before washing.
Final Thoughts
An old t-shirt is not waste, it is a bag with handles already built in. The best totes in this list are the ones I reinforced well, measured first, and actually carried every day, not the prettiest ones I made for a photo. Start with a thick shirt, stitch handles through two layers, and let an old favourite earn a second life as something useful.
Related article: Ingenious Upcycling Ideas
Also read: DIY Storage Solution for Small Spaces
Read this next: Craft Supply Storage Ideas