DIY Christmas Candle Holder Ideas
These diy christmas candle holder ideas started last December, when my mantel looked bare, my dining table looked plain, and I wanted warm candlelight without buying a whole new set of decorations. I made my own holders from jars, wood, and greenery I already had, and every single one below has sat lit in my home, not just on a Pinterest board.
I picked and tested these the practical way: I made each holder, lit it in the evening, lived with it for a few nights, and only kept the ones that stayed steady, smelled pleasant, and still looked good after a week. A Related article on plain holders helped me with the basics, but the Christmas versions here are all my own festive twists.
Before you start, one safety promise I make in my own home: I never leave a lit candle unattended, I keep every flame away from curtains, paper, and little hands, and I switch to flameless candles in bedrooms and anywhere near pets. With that rule in place, candlelight feels magical instead of worrying.
Why These DIY Christmas Candle Holder Ideas Work
Most of these holders cost under $10, use jars, wood slices, or greenery you may already own, and take less than an hour to finish.
Glass, wood, and metal holders each suit a different spot: glass glows softly, wood feels rustic, and metal handles heat best near the tree.
Flameless candles give you the same glow in kids’ rooms, on bookshelves, and anywhere a real flame would feel risky.
Keep flames away from curtains, dried greenery, and dangling ribbons, and never leave a burning candle alone in a room.
1. Mason Jar Pine-and-Ribbon Holders

Take a clean mason jar, drop in a short pillar candle or a flameless tealight, and tuck two small pine sprigs and a cinnamon stick down the side. Tie a red gingham ribbon around the neck, and you have a holder that looks shop-bought in about ten minutes.
I made six of these for our Christmas dinner, and guests kept asking where I had bought them. The honest downside is that real pine dries out and drops needles into the wax, so I now swap the sprigs halfway through December.
Pro Tip: Use a battery tealight if the jar will sit near the table edge where sleeves might brush past it. Test the holder on a flat surface first, so it never wobbles once it is lit.
Cost: about $3 each. Time: 10 minutes. Difficulty: Easy.
2. Snowy Glass Hurricane Holders

Set a pillar candle inside a tall glass hurricane, then spoon fake snow or Epsom salt around its base until it looks freshly fallen. Add a tiny pinecone on the rim, and the glass will catch the flame and throw soft light across the whole room.
I tried this on our porch first, and the glow through the glass on a frosty night was honestly beautiful. The watch-out is wind: even a hurricane can let a gust in, so outdoors I always use a flameless pillar instead.
Pro Tip: Put a small saucer under the hurricane so melting snow and salt never mark your table. Check the fit the night before guests arrive, when you still have time to fix it.
Cost: about $8 each. Time: 15 minutes. Difficulty: Easy.
3. Wood-Slice Pillar Holders

Glue a short wooden candle cup, or a metal tealight cup, onto a flat wood slice, then sand the edges so nothing snags your tablecloth. A single white pillar on a slice looks calm and rustic, and three slices of different sizes make a lovely mantel row.
My first slice wobbled because I skipped sanding the bottom, and the candle leaned all evening. Now I test every slice on a flat surface first, and I keep the candle well away from the bark edge.
Pro Tip: Seal the wood with a clear matte coat so wax drips wipe off instead of staining. Keep a spare candle nearby, so a short or uneven burn never spoils the evening.
Cost: about $4 each. Time: 20 minutes. Difficulty: Easy.
4. Pinecone and Dried-Orange Tray

Line a wooden tray with pillar candles of different heights, then fill the gaps with pinecones, dried orange slices, and a few sprigs of rosemary. The tray keeps everything contained, so you can lift the whole display off the table in one move.
I love how this one smells when the oranges warm gently near a flame, though I learned to keep every dried piece at least an inch from the flame. One curled orange slice taught me that lesson faster than any article could.
Pro Tip: Use flameless pillars in the tray if children will be reaching for the pinecones. Try the holder in daylight first, then again at night, because the glow changes completely.
Cost: about $12 for a tray. Time: 25 minutes. Difficulty: Easy.
5. Fresh Evergreen Twig Cluster

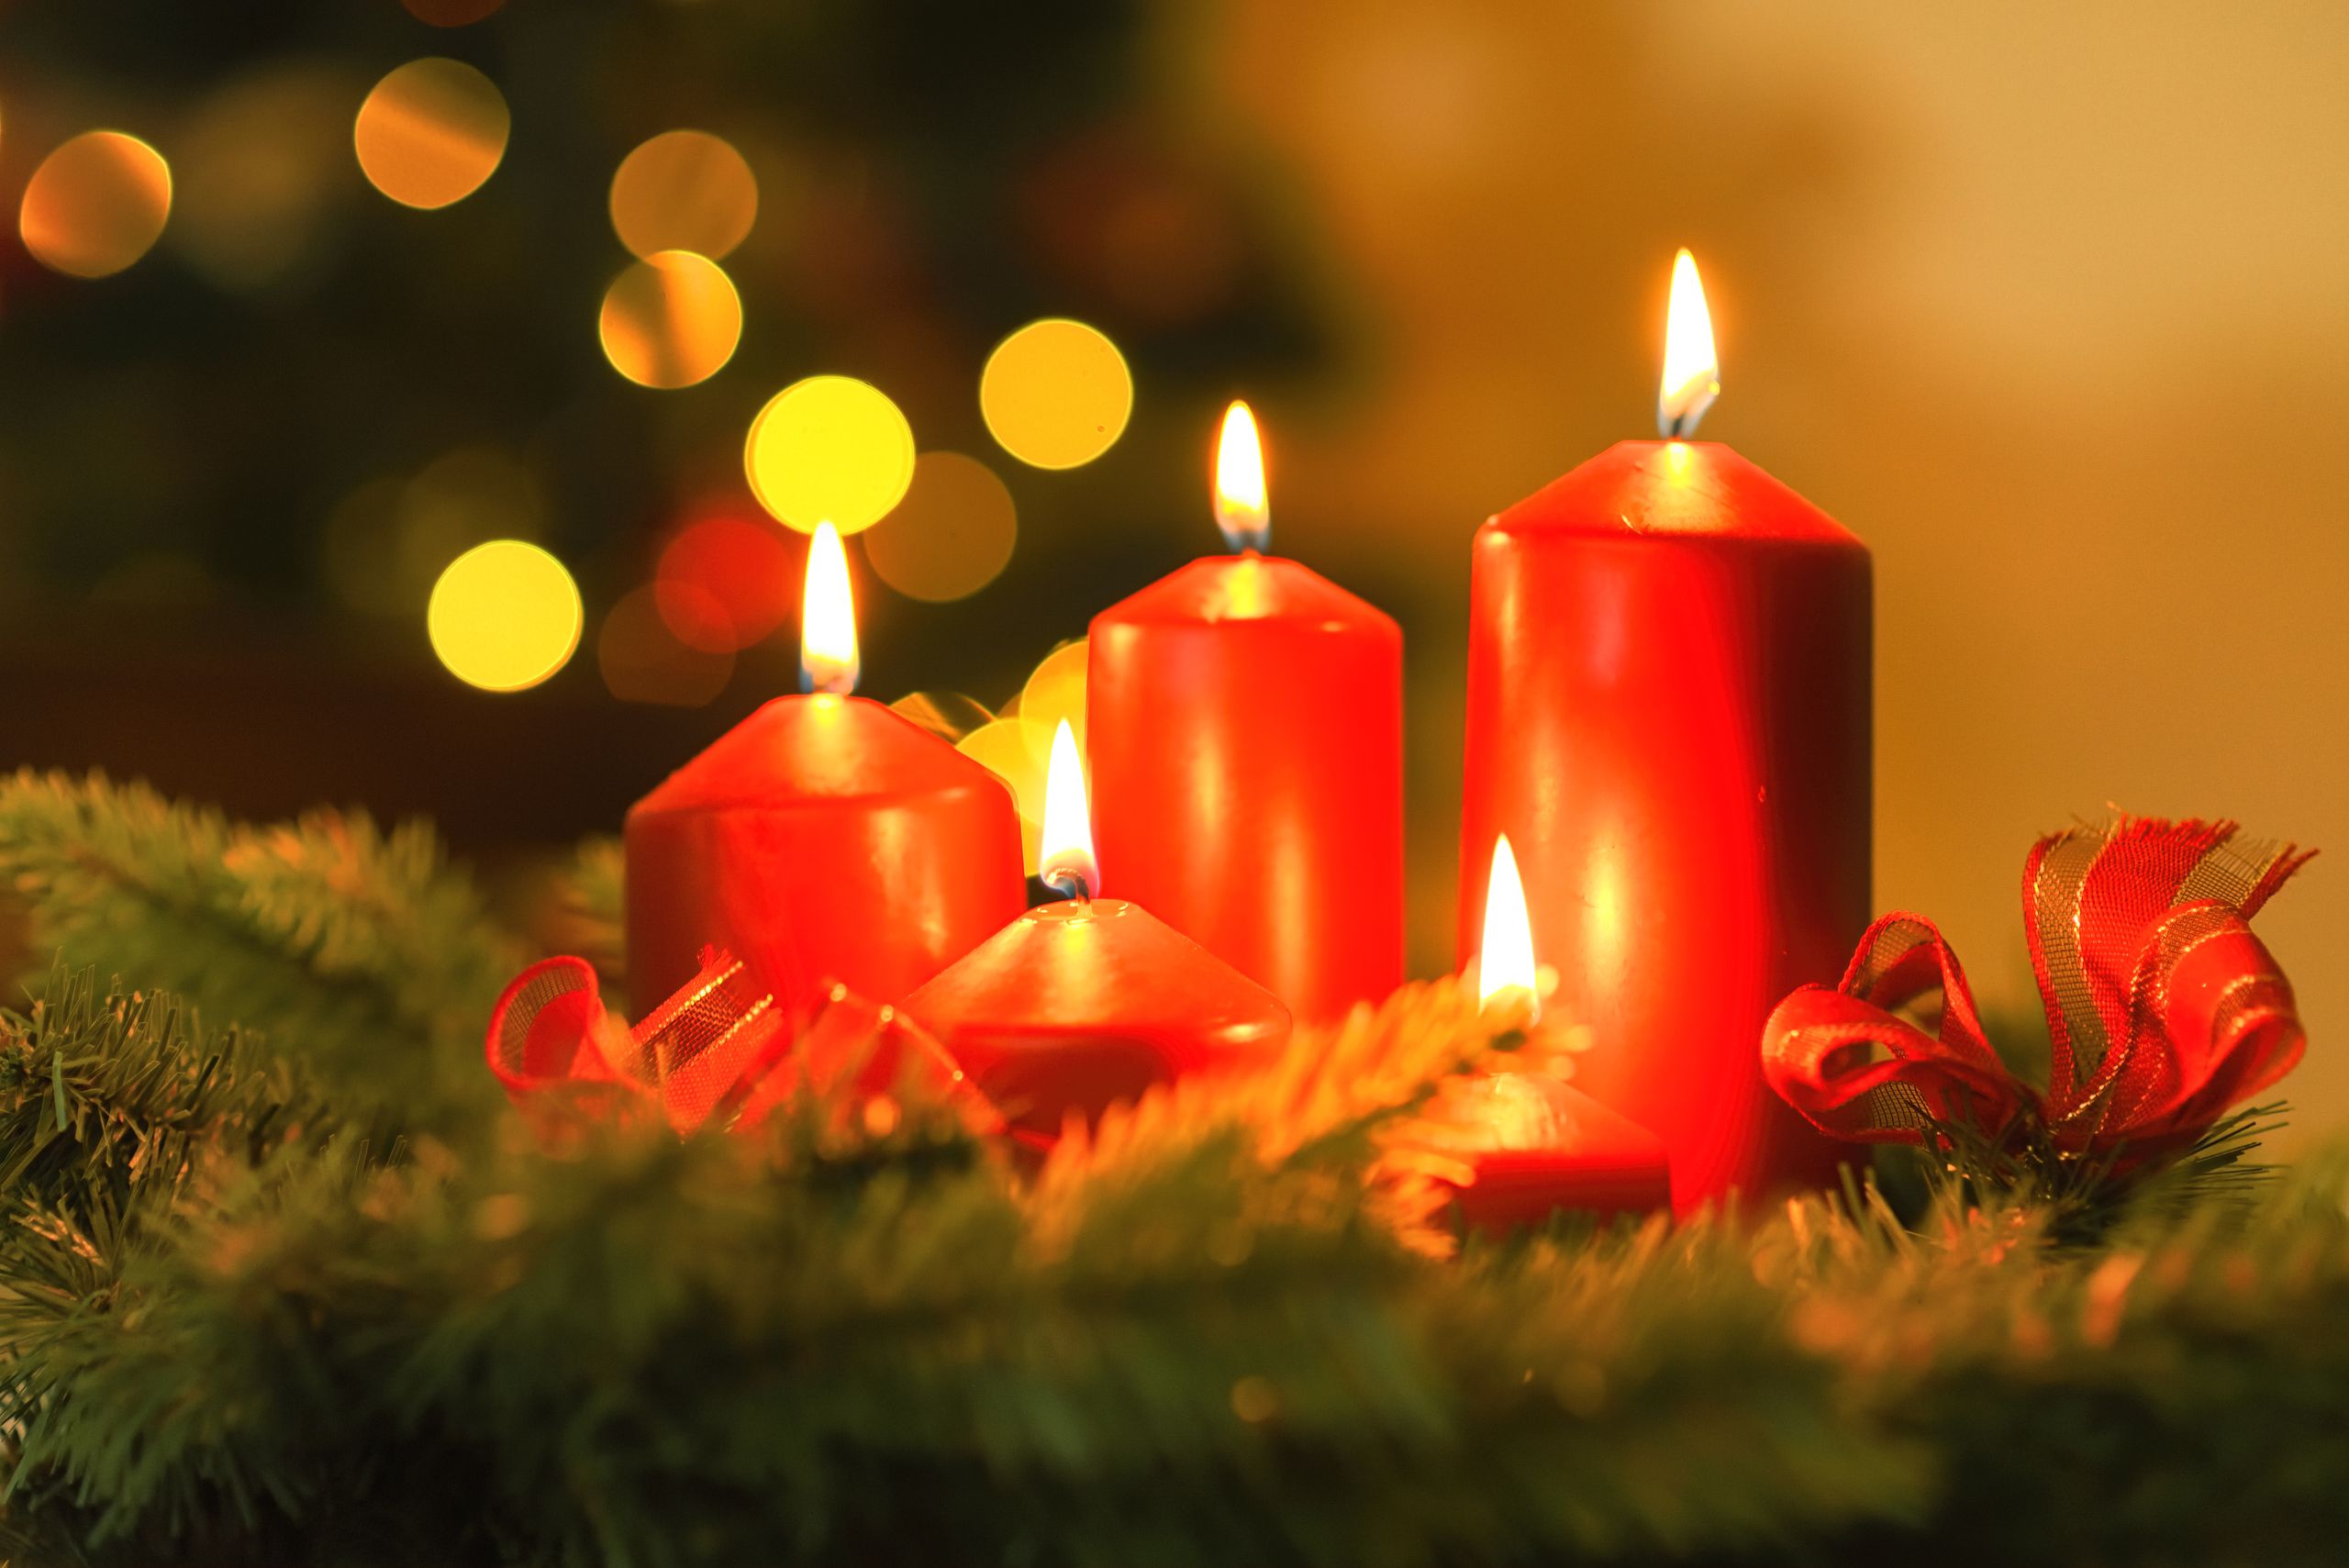
Bundle three short pillar candles together, wrap a loose ring of fresh fir twigs around their bases, and finish with tiny pinecones and a thin gold ribbon. The green against white candles is classic Christmas, and it takes almost no skill to arrange well.
I made this one the same afternoon I trimmed our tree, using the offcuts. The downside is real: fresh fir dries fast near heat, so I mist it lightly and replace the twigs every week.
Pro Tip: Never let twigs touch the flame, and trim any piece that leans inward as it dries. Move it a few inches at a time until the light falls exactly where you want it.
Cost: about $6. Time: 15 minutes. Difficulty: Easy.
6. Windowsill Candle Row
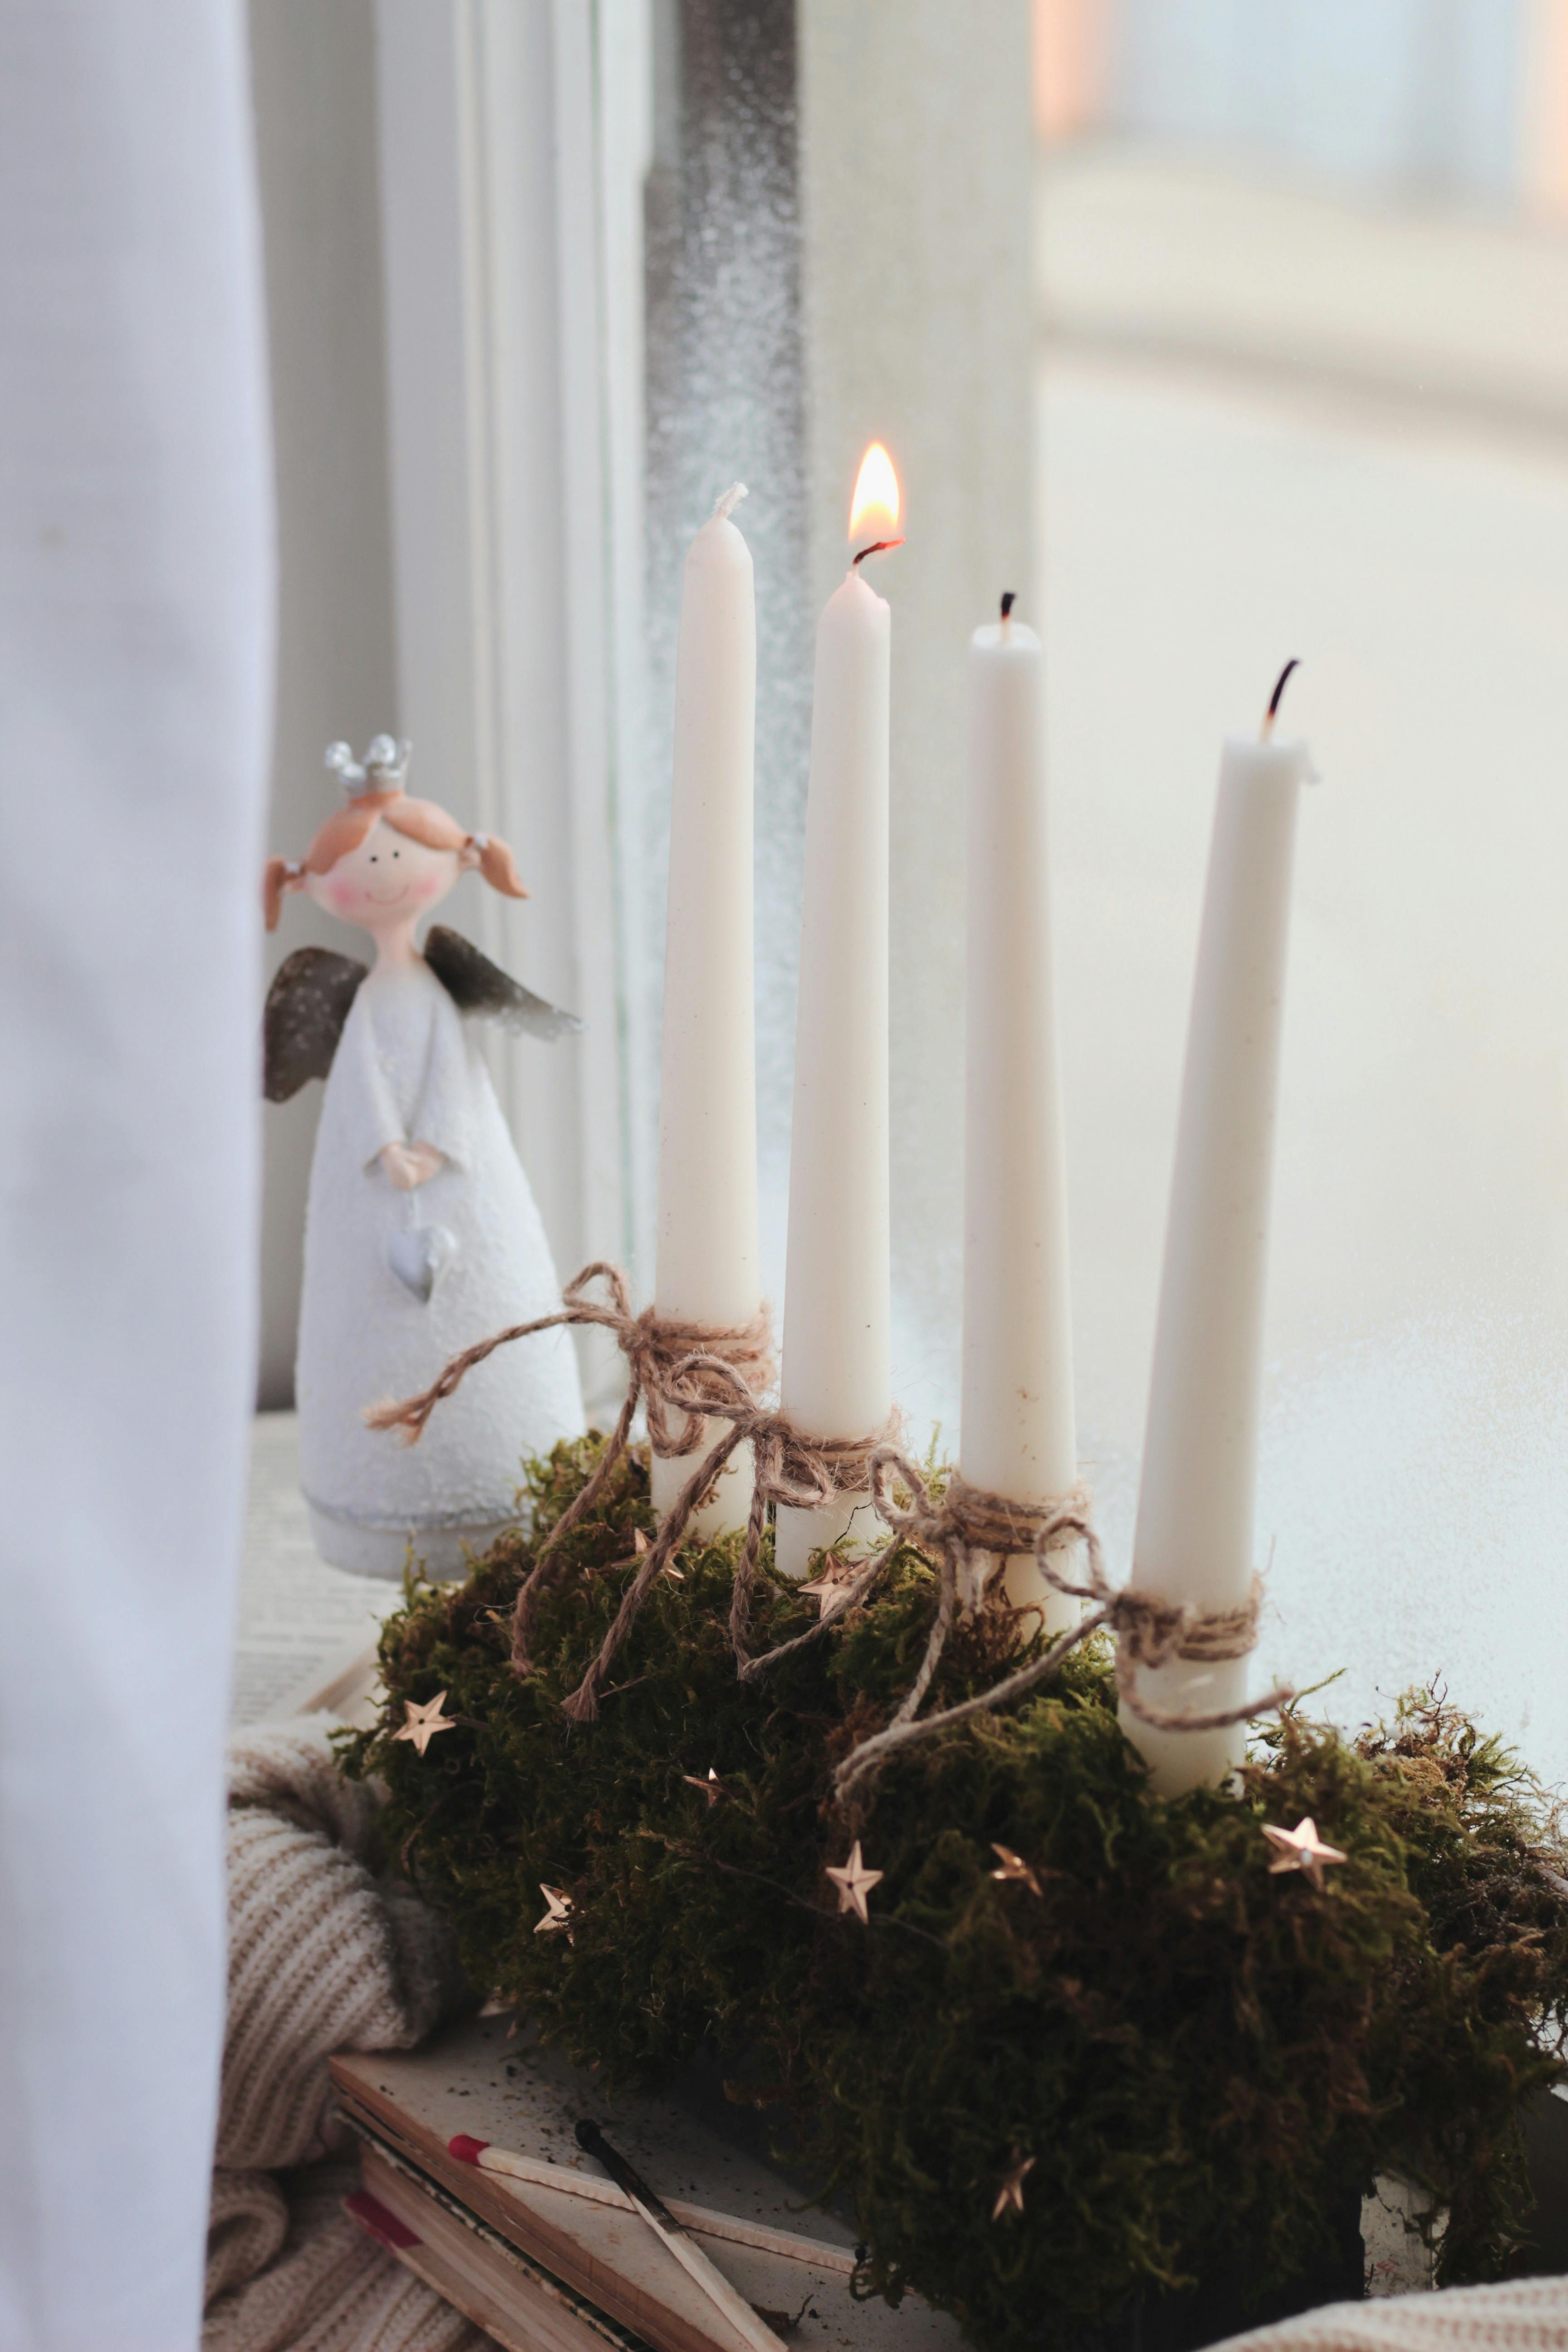
Place five or six matching holders along a windowsill, alternating heights, and add one small figurine at one end so the row does not look like a shop shelf. From outside, the row glows like a little advent calendar in the window.
Our neighbours actually commented on this one, which made my week. The honest catch is curtains: I had to move our curtain tie-backs, because even a short flame near fabric is not worth the risk.
Pro Tip: Use flameless candles on windowsills if your curtains cannot be tied well clear of the glass. Give the holder a gentle nudge test, just as a passing sleeve or pet might.
Cost: about $15 for a row. Time: 10 minutes. Difficulty: Easy.
7. Christmas-Tree-Shaped Candles

Buy or mould a tree-shaped candle, set it on a small white plate, and dust the plate with fake snow and two miniature ornaments. The candle itself is the decoration, so the holder can stay beautifully simple and let the shape do the talking.
I burned one of these last year and felt almost guilty watching the little tree melt, so now I keep one unlit for display and burn a plain pillar beside it. That way the charm lasts all season.
Pro Tip: Keep tree-shaped candles away from drafts, or one side will melt much faster than the other. Leave a little breathing room around it, so heat never builds up against nearby decorations.
Cost: about $7 each. Time: 5 minutes. Difficulty: Easy.
8. Gold-Ornament Glow Holders
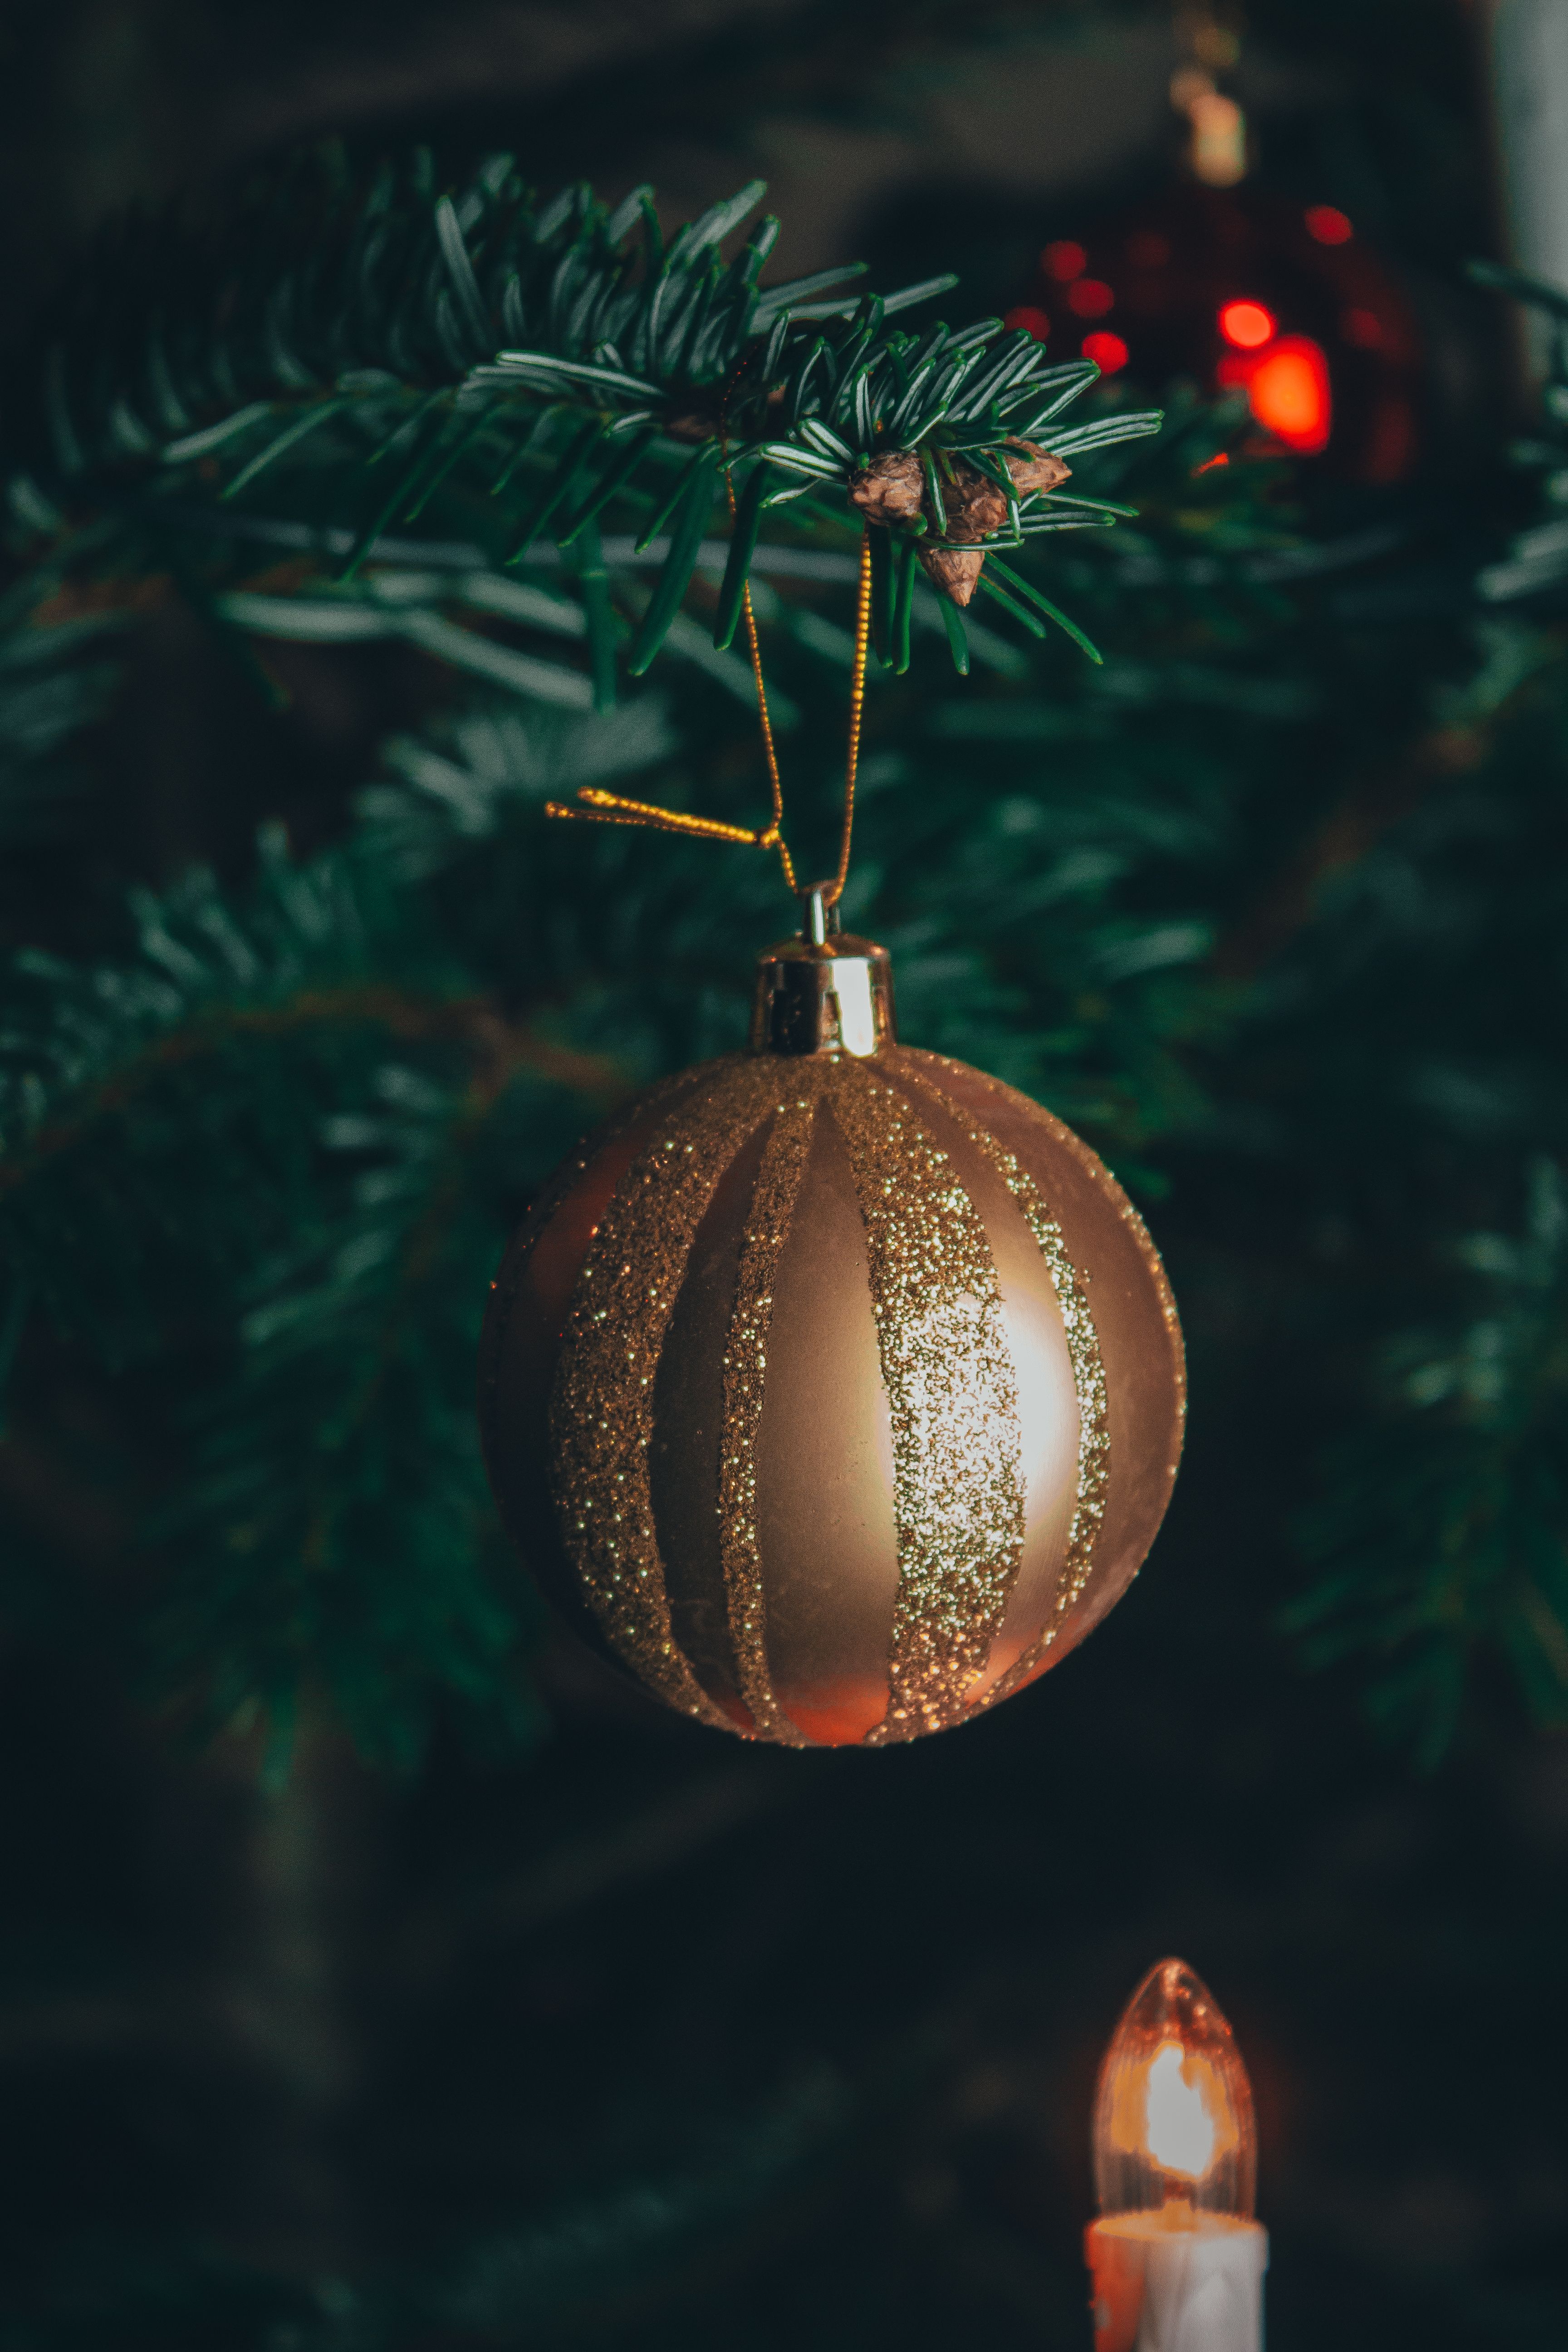
Set a simple glass holder beside a small branch or a few gold ornaments, and let the candlelight bounce off the metallic surfaces. Gold and warm light are a natural pair, and this styling turns an ordinary holder into a mantel centrepiece.
I tried this with my grandmother’s old gold baubles, and the sparkle was lovely. The downside is glare in photos, so I move the baubles slightly back when I want a calmer, softer glow.
Pro Tip: Use warm-white flameless candles here for steady light that never flickers out in a photo. Photograph it once before the event, since photos reveal clutter your eyes tend to miss.
Cost: about $5 each. Time: 10 minutes. Difficulty: Easy.
9. Taper Row for the Dinner Table

Choose brass or wooden taper holders, place one at every second place setting, and keep the candles tall and slim so guests can still see each other across the table. Add a low runner of greenery underneath, well clear of every flame.
At our family dinner, the taper row made the whole table feel like an occasion. I did learn that tall tapers drip, so I now buy drip-free candles and keep a cloth handy just in case.
Pro Tip: Light tapers just before guests sit down so they burn evenly and do not shorten before dinner. Place it where you can reach it easily, because you will need to light and snuff it safely.
Cost: about $10 for a set. Time: 10 minutes. Difficulty: Easy.
10. Festive Table Centrepiece Trio

Group three glass holders of different heights in the middle of the table, surround them with baubles and fairy lights, and keep the centre low enough for conversation. The mix of heights stops the display looking flat from any chair.
I rearranged this trio three times before it felt right, which taught me to step back and view it from the doorway. The only real downside is table space, so I keep this for dinners of six or fewer.
Pro Tip: Use battery fairy lights around real candles, never mains lights tangled near a flame. Check it again after an hour of burning, when wax and heat have both settled.
Cost: about $14 for a trio. Time: 20 minutes. Difficulty: Easy.
11. Candles in Front of the Tree

Place a row of sturdy pillar holders on the floor in front of the tree, with pinecones and a folded blanket nearby to soften the look. The candles echo the tree lights and make the whole corner glow after dark.
This is my favourite evening view in December, with the tree behind and the candles in front. The safety rule here is strict: these are flameless only in our house, because tree branches and real flames should never share a corner.
Pro Tip: Put flameless pillars on a timer so the corner glows every evening without you remembering. Keep the base clean and dry, so the holder sits level and never slides on polish.
Cost: about $18 for a row. Time: 15 minutes. Difficulty: Easy.
12. Tree-and-Gifts Candlelight Corner

Set one or two enclosed glass holders on a side table beside the tree and the wrapped gifts, and let their light warm the whole gift corner. Enclosed glass matters here, because wrapping paper and ribbons are never far away at Christmas.
I love photographing this corner on Christmas Eve, when the gifts are finally wrapped. The downside is temptation: our cat loves batting ribbons, so the holders sit on a high, stable table she cannot reach.
Pro Tip: Keep every holder behind the gift pile, not in front of it, so nothing gets knocked while unwrapping. Pair it with a matching holder nearby, since a lone candle can look lost on a big table.
Cost: about $9 each. Time: 10 minutes. Difficulty: Easy.
13. Red-and-Gold Tree Candles

Style red pillar candles in gold holders near a tree dressed in red and gold, and repeat the same two colours in your ribbon and baubles. Limiting the palette makes even budget holders look deliberate and expensive.
I went overboard with red one year and the room felt loud, so now I balance every red candle with a plain gold or white one. That small change made the whole corner feel calm again.
Pro Tip: Mix one red candle with two neutrals if your tree is already heavily decorated. Step back to the doorway and look, because that is how guests will first see it.
Cost: about $11 for a set. Time: 15 minutes. Difficulty: Easy.
14. Single Candle by the Tree

Sometimes one candle is enough: a single pillar in a clear glass holder on a side table, with the tree softly blurred behind it. This quiet styling suits small rooms, where a big display would feel crowded and fussy.
I keep this one in our reading corner, and it is the holder I light most often. The only downside is that a single flame shows every draught, so I move it away from the door on windy nights.
Pro Tip: Choose a wide, heavy holder for a single candle so it cannot tip easily. Trim the wick before every lighting, so the flame stays small, steady, and clean.
Cost: about $6. Time: 5 minutes. Difficulty: Easy.
15. Elegant Place-Setting Holders

Give each guest a tiny holder beside their plate, with a tealight inside and a sprig of rosemary tucked beside it. The holders double as place markers if you tie a small name tag to each one, which guests love taking home.
I did this for a small friends’ dinner, and two guests kept their holders as favours. The watch-out is simple: tealights near napkins need a proper glass cup, never a bare flame on the table.
Pro Tip: Use unscented tealights at the dinner table so the candle never competes with the food. Store spare holders together in one box, ready to grab next December without hunting.
Cost: about $2 each. Time: 20 minutes. Difficulty: Easy.
16. Dinner-Table Candle Holders

For a full Christmas dinner, use short, stable holders rather than tall tapers, so platters can pass safely and nobody reaches across a flame for the potatoes. Cluster them down the centre with low greenery between the dishes.
This practical setup saved our dinner last year, when a tall candle nearly met a gravy boat. Short holders are less dramatic, I admit, but nobody remembers drama at the table for the right reasons.
Pro Tip: Test the layout with empty platters first, before the hot food arrives. Label the box with its contents, so next year you remember exactly what worked.
Cost: about $12 for a set. Time: 15 minutes. Difficulty: Easy.
17. Wreath-Making Night Holders
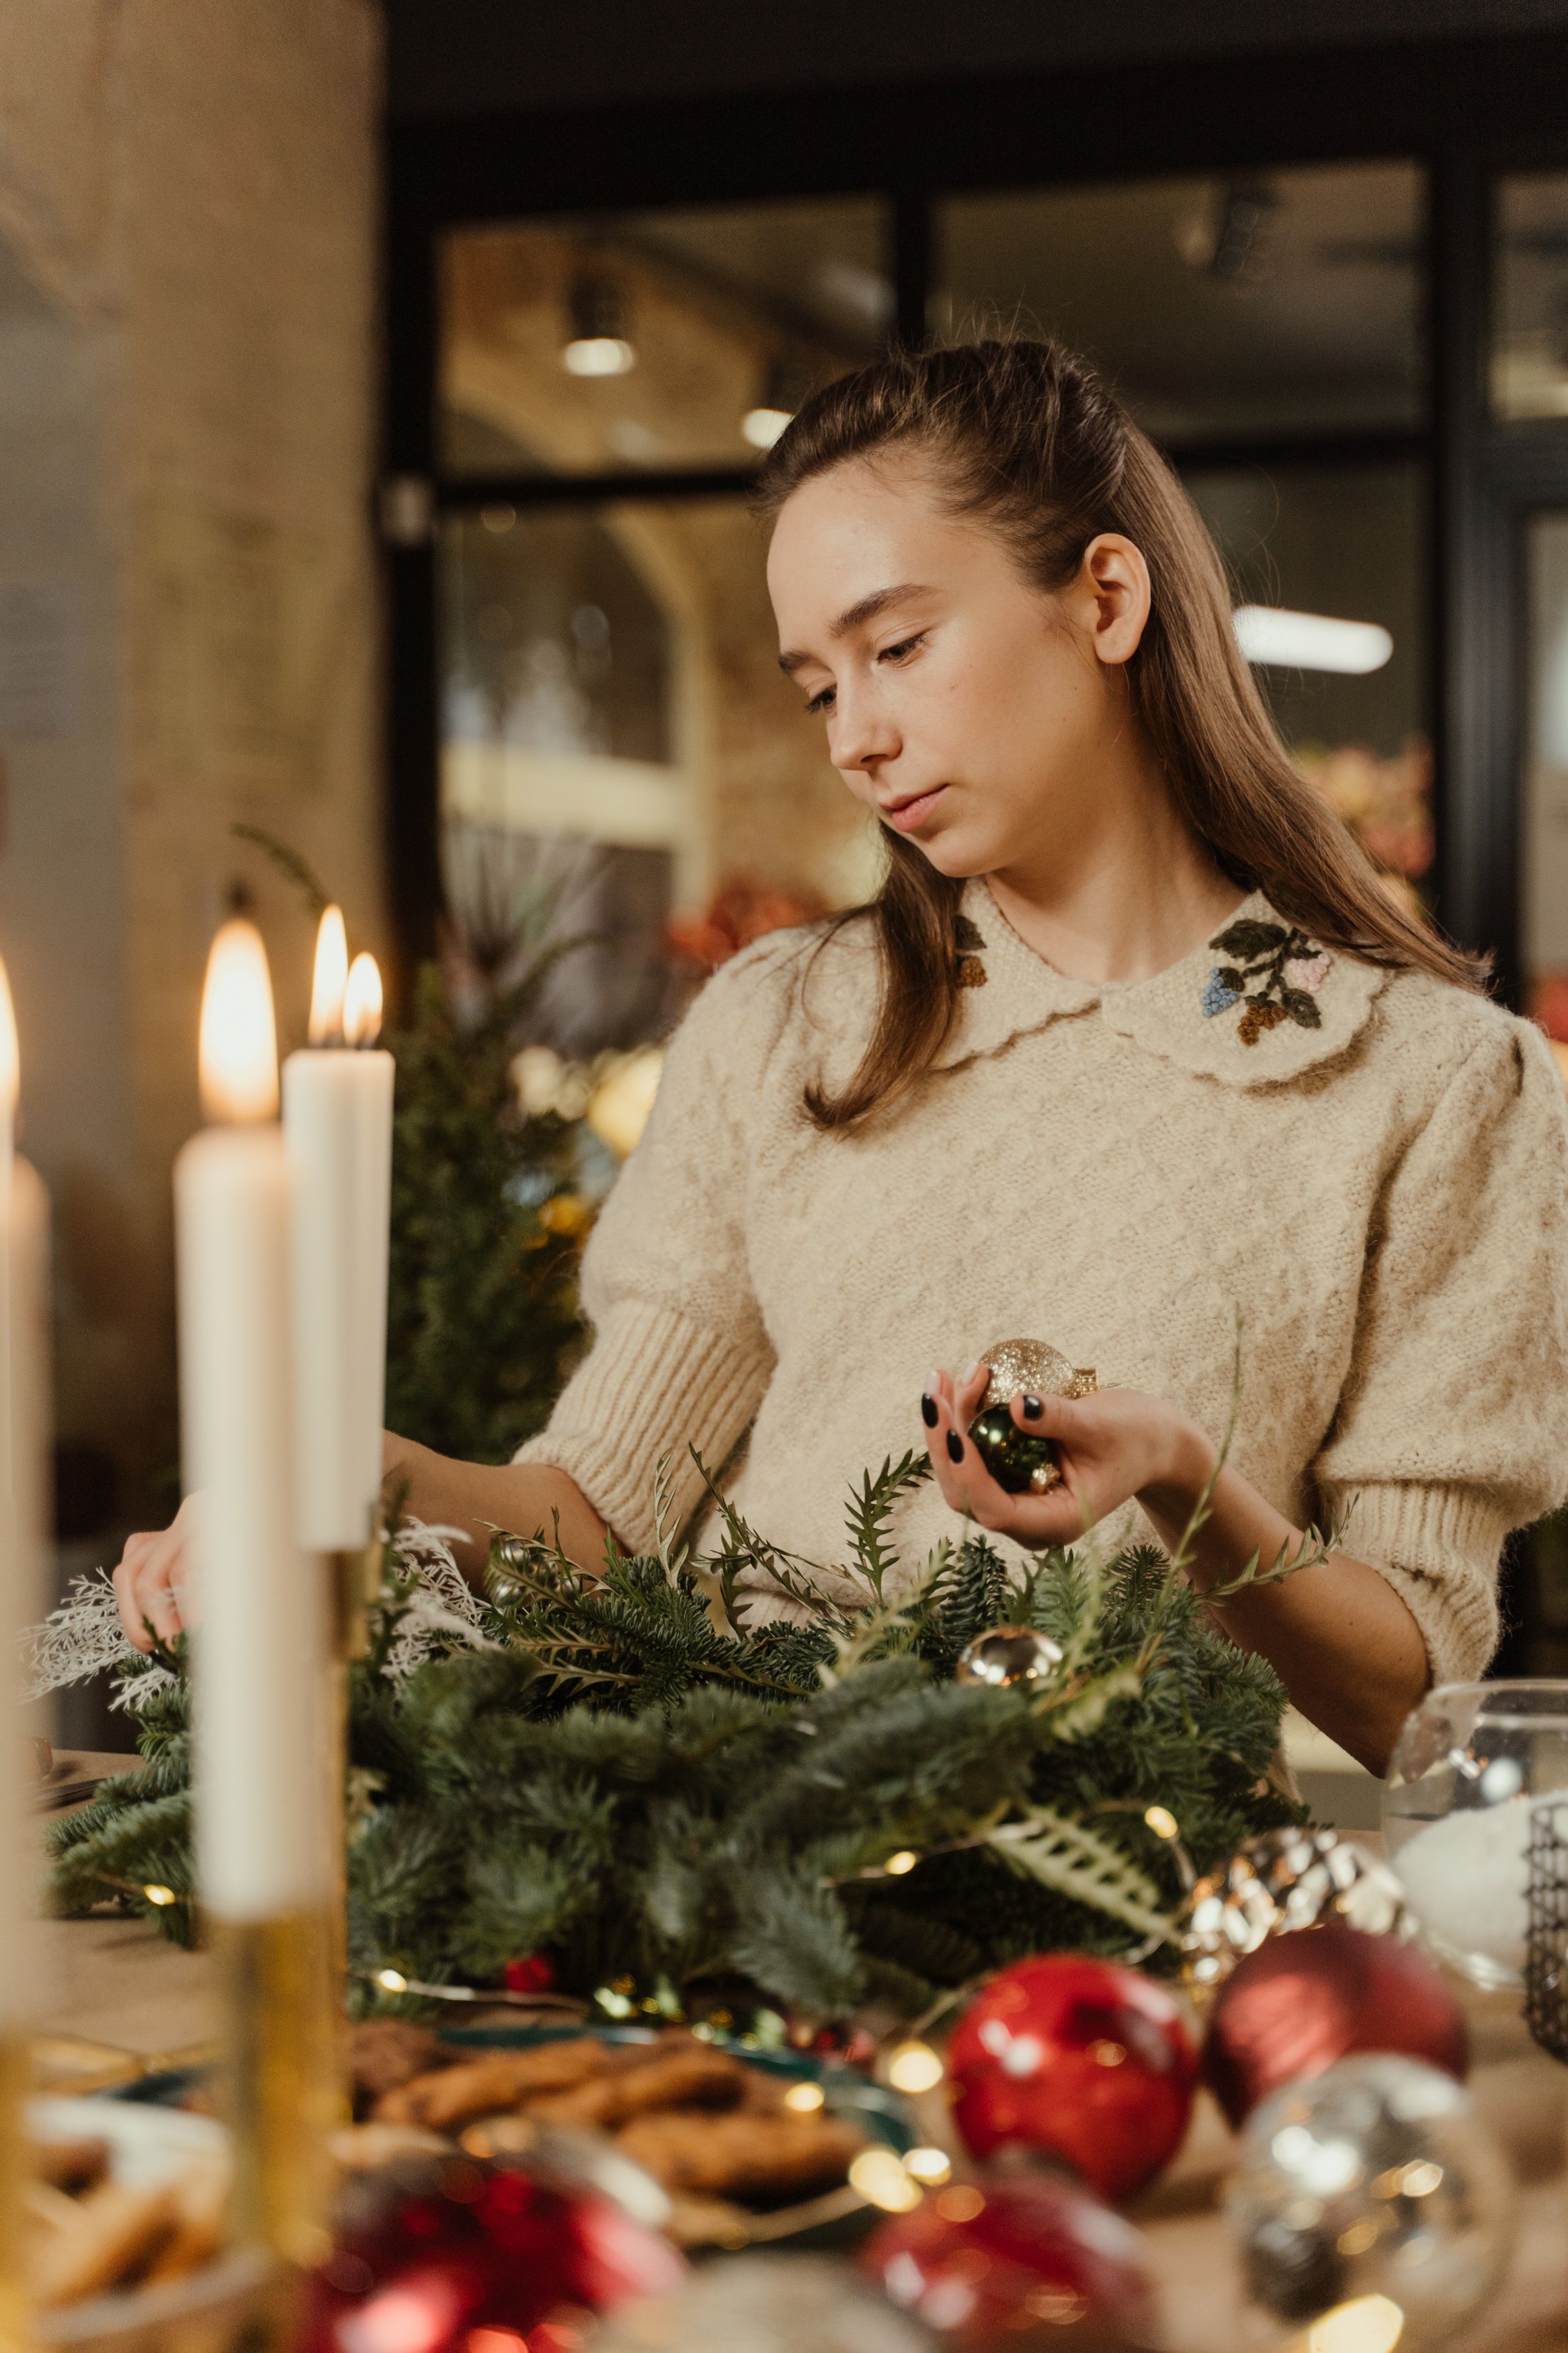
When friends come to make wreaths, set a few jar holders around the crafting table for atmosphere, but keep them at the corners, far from glue guns, ribbon piles, and loose foliage. Good light makes crafting easier and the evening feel special.
I hosted this night last December, and the candlelight made a messy table look magical. The lesson was clear, though: crafting tables are flammable places, so half our jars held flameless candles, and nobody minded.
Pro Tip: Keep one clear, candle-free zone in the middle of the table for hot glue and scissors. Try it with both real and flameless candles, then choose whichever suits that spot best.
Cost: about $8 for a set. Time: 10 minutes. Difficulty: Easy.
18. Pinecone-Topped Holders

Hot-glue a small pinecone to the side of a wooden tealight holder, or rest pinecones around its base, and add a rosemary sprig for scent. The natural textures suit a farmhouse table, and the project costs almost nothing if you gather cones yourself.
I gathered my pinecones on a walk with my daughter, which made these holders extra special. The downside is pinecones are flammable, so I glue them to the outside only, never above or beside the flame.
Pro Tip: Bake gathered pinecones at low heat first so they open fully and any tiny visitors are gone. Keep children and pets in mind for every placement, even in rooms they rarely enter.
Cost: about $2 each. Time: 25 minutes. Difficulty: Easy.
19. Wreath-and-Holder Wall Pair

Hang a simple wreath on the wall, then place a matching holder on the console table directly below it, using the same ribbon and greenery in both. The pair pulls the eye up and down, and makes a plain hallway wall feel finished.
I tried this in our entryway, and it instantly looked more intentional than either piece alone. The watch-out is height: the holder must sit well below the wreath, so heat never rises into dried foliage.
Pro Tip: Use a flameless candle under any wall wreath, since heat rises straight into the greenery above. Note what worked in a phone memo, so you can repeat the winners next Christmas.
Cost: about $10 for a pair. Time: 20 minutes. Difficulty: Easy.
20. Soft Tree-Light Candle Glow

On the darkest December evenings, turn off the overhead lights, switch on the tree, and light a single enclosed candle holder nearby. The two kinds of light together, cool tree lights and warm candlelight, make a room feel instantly calm.
This is my wind-down ritual after the kids are in bed, and I guard it fiercely. The honest downside is that it is easy to fall asleep, so I set a phone timer whenever I light this candle.
Pro Tip: Use a timer candle or a flameless candle for any holder you light while relaxing in the evening. Enjoy the glow for a full evening before judging it, since candlelight grows on you slowly.
Cost: about $7. Time: 5 minutes. Difficulty: Easy.
Candle Holder Styles at a Glance
| Holder style | Best for | Budget | Safety note |
|---|---|---|---|
| Mason jar | Dinner tables and gifts | $2–$5 | Keep pine clear of the flame |
| Glass hurricane | Porches and mantels | $8–$15 | Flameless outdoors in wind |
| Wood slice | Rustic mantels | $4–$8 | Keep flame away from bark |
| Metal taper holder | Formal dinners | $10–$20 | Watch for drips on cloth |
| Enclosed glass | Near trees and gifts | $7–$12 | Best choice near paper |
Mistakes I Made / What I Learned the Hard Way
Greenery too close to the flame: I once tucked fir right against a pillar candle, and a dry needle caught a spark. Nothing serious happened, but I now keep every decoration at least an inch away, and I check dried pieces daily.
Forgetting the draught: A holder by the door burned unevenly and smoked all evening, because I had not noticed the draught. I now test a new spot for one night with a cheap candle before styling it properly.
Leaving candles burning: I walked upstairs while a candle still burned downstairs, and felt sick when I remembered. Now every candle I light gets a timer or a firm rule: out of the room means out goes the flame.
Choosing looks over stability: A tall, narrow holder I loved tipped when our dog brushed past it. I replaced it with a wide, heavy base, and I now wobble-test every holder before it earns a place.
Frequently Asked Questions
Are real candles safe in homemade holders?
Yes, if the holder is stable, heatproof, and kept away from curtains, paper, and dried greenery. I never leave a real candle unattended, and I use flameless candles in kids’ rooms, near pets, and on windowsills.
What is the cheapest holder in this list?
The pinecone-topped holder and the mason jar holder cost about $2–$3 each, especially if you already own jars or gather pinecones. The wood-slice holder is next, at around $4, if you buy slices in a craft pack.
Can I use these holders outdoors?
You can, but wind changes everything. I use enclosed glass or flameless candles outside, bring real candles in on gusty nights, and never place a holder where rain can pool in the wax.
How do I stop wax dripping everywhere?
I use drip-free tapers, trim wicks to about a quarter inch, and set every holder on a saucer or tray. If wax does drip, let it harden fully, then peel it off gently instead of scraping.
Do flameless candles really look as good?
The newer warm-white flameless candles genuinely do, especially inside frosted or coloured glass. I mix them with real candles in safe spots, so the room still smells and feels like Christmas.
Final Thoughts
Start with just one holder from this list, perhaps the mason jar or the wood slice, and see how candlelight changes your evening. If you love it, add a second, and let the collection grow slowly instead of buying everything at once. An Also read on festive centrepieces pairs beautifully with these holders for your table.
Most of all, keep the safety habits that make candlelight relaxing rather than risky: stable bases, clear space around every flame, and flameless candles wherever life gets busy. That is how I enjoy these diy christmas candle holder ideas all season long, and I hope they bring the same warm glow to your home. For mantel styling next, Read this next for more seasonal inspiration.