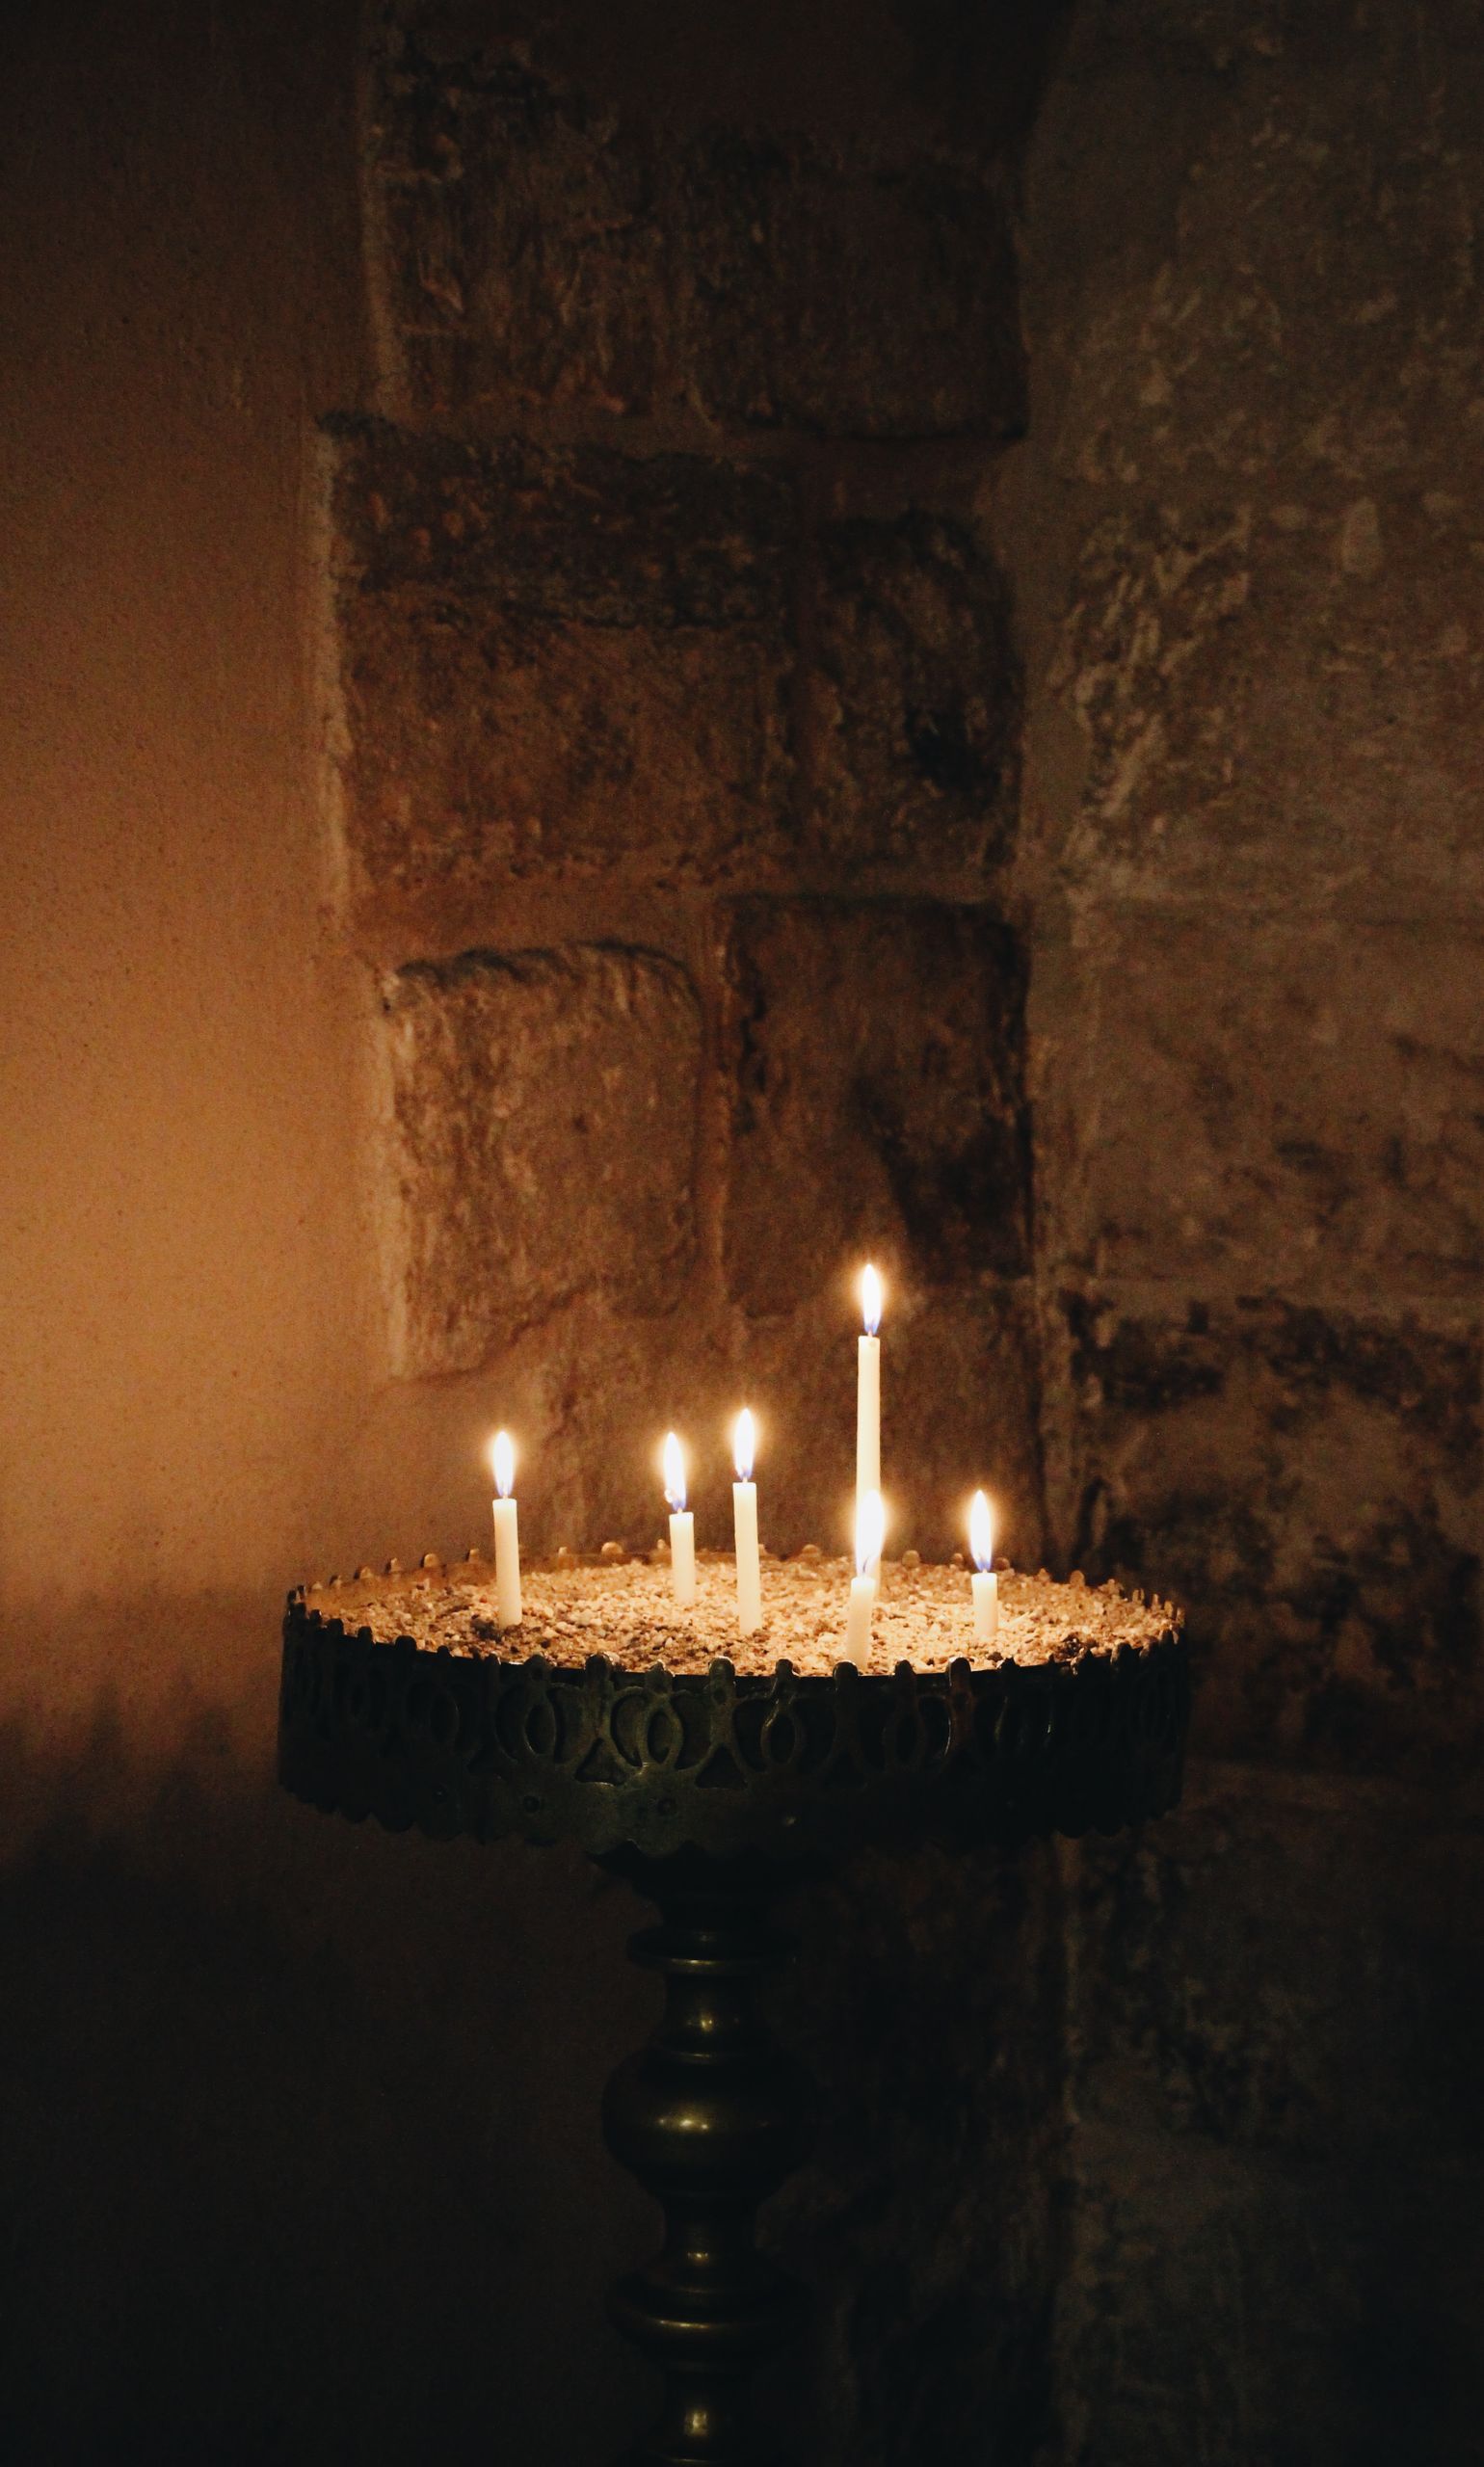
20 DIY Candle Holder Ideas That Make Every Evening Feel Special
There is something about candlelight that makes an ordinary Tuesday dinner feel like a small occasion, and that is why I started making my own holders instead of buying them. These diy candle holder ideas all come from my own kitchen table, where I have melted wax, broken glass, and learned which projects are genuinely worth an evening.
I picked these by starting with things I already owned, like jars, bottles, and scrap wood, and I only kept the holders that survived at least a month of real use in our house. Every idea below includes what it cost me, how long it took, and the part I would do differently next time.
A quick safety note from experience: never leave a burning candle unattended, and keep holders away from curtains, even the pretty ones. I learned that lesson the nervous way, and I would rather you learn it from this paragraph.
Key Takeaways
- Glass jars and bottles are the easiest starting point, and they cost almost nothing if you already have them.
- Always use a heat-safe base under a holder, and keep the flame away from anything that can catch fire.
- Tealights are more forgiving than tall tapers in handmade holders, especially for your first few projects.
- Make holders in odd-numbered groups of three or five for a display that looks styled, not accidental.
1. Mason Jar Candle Holders

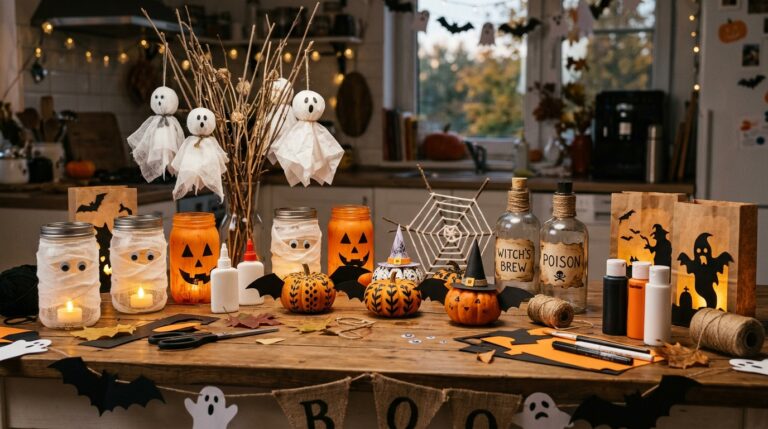
I made my first mason jar holders on a rainy afternoon with jars from the pantry, a length of twine, and tealights, and they are still on our dining table years later. I wrapped the twine twice around the neck, tied a small bow, and dropped in a tealight, which is honestly the whole project, and that is why it works.
The downside is soot, which builds up on the inside of the glass after several burns and dulls the glow. I soak the jars in warm soapy water once a month, which brings them back. Never use a jar with a crack, because heat will find the weak spot, and keep the twine well below the rim.
Cost: $2–$5 each | Time: 15 minutes | Difficulty: Easy
2. Brass Candlestick Holders

I found a pair of tarnished brass candlesticks at a thrift shop for almost nothing, and an hour of polishing turned them into the fanciest thing on our mantel. I cleaned them with lemon and baking soda, buffed them with a soft cloth, and fitted them with drip guards so wax never reaches the table.
The honest downside is maintenance, because brass tarnishes again within months, especially in a humid house. I polish ours twice a year now, which is a small ritual I actually enjoy. Check that your tapers fit snugly, because a wobbly taper in a brass holder is a fire risk, not a decoration.
Cost: $5–$20 per pair thrifted | Time: 1 hour | Difficulty: Easy
3. Vintage Candlestick Holders

My grandmother’s silver-plated candlesticks inspired this one, and I recreated the look with mismatched thrifted holders in different heights. I grouped three together on a tray, mixed silver and brass on purpose, and used plain white tapers so the holders themselves stay the star of the table.
The downside of mismatched holders is that they can look like a yard sale instead of a collection, and my first attempt definitely did. The fix was simple: one tray underneath unifies everything. Also, silver plate scratches easily, so I never use abrasive cleaners on them anymore.
Cost: $10–$25 for a set | Time: 30 minutes | Difficulty: Easy
4. Stained-Glass Lantern Holders

I built a small stained-glass lantern from a kit, and the colored light it throws on the wall at night is genuinely magical. I soldered the glass panels into a box shape, fitted a hinged door, and set a pillar candle inside on a metal base, which took patience but no special talent.
The downside is fragility and cost, because stained glass is not cheap and one dropped panel ended my first attempt. I also learned to use a pillar candle, not a tealight, because the glow needs height to reach the colored panels. This is a weekend project, not a ten-minute craft.
Cost: $30–$60 | Time: 4–5 hours | Difficulty: Advanced
5. Pillar Candle Tray Centerpiece

This is the centerpiece I make every autumn, and it never fails to get compliments. I take a long wooden tray, set three pillar candles of different heights on it, and tuck pine cones, dried orange slices, and a few sprigs of greenery around the bases, keeping everything well clear of the flames.
The honest downside is that dried greenery near a flame makes me nervous, and rightly so. I use flameless candles for the centerpiece when we have guests and save real flames for quiet evenings when I can watch them. Never let pine cones or dried oranges sit close to a burning wick.
Cost: $15–$30 | Time: 45 minutes | Difficulty: Easy
6. Black Candle Tray

I made a moody black candle tray for our living room by painting a thrifted ceramic tray matte black and grouping black pillar candles with white stones. The contrast is striking, and it looks far more expensive than it was, which is my favorite kind of project.
The downside is that black candles show every drip and dust speck, and the tray needs wiping before guests arrive. I also learned that black wax stains a light tablecloth, so the tray stays on the tray, never directly on fabric. Use a tray with a rim, because a rim catches wax drips beautifully.
Cost: $12–$25 | Time: 1 hour | Difficulty: Easy
7. Wooden-Table Candle Display

For a long dinner table, I skip one big centerpiece and run a line of simple white candles down the middle instead. I use a mix of glass holders I already own, space them evenly, and add a few low sprigs of eucalyptus between them, which smells wonderful when the room warms up.
The downside is that a long line of candles means a long line of flames to watch, and I once left one burning after everyone went to bed. Now I set a phone timer for the evening, which sounds silly but has saved me twice. Keep the line low enough that guests can still see each other across the table.
Cost: $10–$20 | Time: 30 minutes | Difficulty: Easy
8. Jar Candles on the Steps

I lined our back steps with jar candles one summer evening, and the whole garden glowed like a small festival. I used sturdy jars with handles, set them on flat stones so they could not tip, and chose citronella tealights, which kept the mosquitoes away while we sat outside.
The honest downside is wind, which blew out half the candles within an hour on a breezy night. I switched to jars with taller sides and a small wind guard, which helped a lot. Never put jar candles on steps people actually walk on in the dark, because a kicked jar is a burn and a broken-glass problem at once.
Cost: $8–$15 | Time: 30 minutes | Difficulty: Easy
9. Labelled Glass Jar Holders

I turned plain glass jars into labelled candle holders for gifts, and they became the most requested thing I make. I printed simple kraft labels, tied them with twine, and poured a small soy candle directly into each jar, which means the holder and the candle are one gift.
The downside is pouring wax, which is messier than every tutorial admits, and my first batch had air bubbles and a crooked wick. I now use a wick holder and pour slowly in two stages, which fixed both problems. Always use heat-safe jars, because a thin decorative jar can crack with hot wax.
Cost: $4–$8 each | Time: 1 hour plus setting time | Difficulty: Moderate
10. Brown Glass Jar Holders

Brown glass jars give off the warmest light of any holder I own, and I keep a set on our bedroom dresser for evenings. I found amber jars at a thrift shop, cleaned them thoroughly, and dropped in tealights, which glow like honey through the brown glass.
The downside is that brown glass hides the candle level, so I have been surprised by a burnt-out tealight more than once. I check them before lighting now, which takes seconds. Brown jars also show fingerprints badly, so I handle them by the rim when guests are coming.
Cost: $3–$6 each | Time: 15 minutes | Difficulty: Easy
11. Red Glass Jar Holders

I made a set of red glass jar holders for a winter dinner, and the red glow made the whole room feel warm before anyone even sat down. I used red-tinted jars, added a cinnamon-scented tealight, and set them on a silver tray, which reflected the light beautifully.
The honest downside is that red glass can make a room look like a holiday display out of season, and I only bring these out from November to February now. Tinted glass also dims the flame more than clear glass, so use two or three together rather than one lonely red jar.
Cost: $4–$8 each | Time: 20 minutes | Difficulty: Easy
12. Marble-Base Jar Holders

I set a jar candle on a small marble tile, and that one change made a cheap candle look like a boutique purchase. I bought a marble sample tile from a stone yard for a few dollars, glued small felt pads underneath so it would not scratch the table, and placed the jar in the center.
The downside is weight, because marble is heavy for its size, and I would not put a marble base on a wobbly side table. I also learned that marble stains if wax drips and sits, so I wipe it the same evening. Keep the tile small, around six inches square, so it reads as a base, not a slab.
Cost: $5–$10 | Time: 20 minutes | Difficulty: Easy
13. Candle With Greenery

I wrapped a sprig of eucalyptus around a jar candle with twine, and it looked like something from a fancy shop for about three dollars. I keep the greenery on the outside of the glass, well away from the flame, and I replace the sprig every two weeks before it dries out and becomes a fire risk.
The downside is exactly that drying risk, which I take seriously after a sprig crisped faster than I expected near a sunny window. I now use fresh greenery only, never dried, and I never leave these burning unattended. If you want a no-worry version, use a faux sprig instead.
Cost: $3–$6 each | Time: 15 minutes | Difficulty: Easy
14. Grouped Glass Jar Holders

I keep a group of five glass jars of different heights on our coffee table, and it is the easiest display I own. I filled each with a tealight, staggered the heights so the light falls at different levels, and left the jars otherwise plain, because the group itself is the decoration.
The honest downside is that five jars collect dust and fingerprints fast, and cleaning them all takes longer than setting them up. I wash them together in the dishwasher now, which works for plain glass. Keep the group on a tray, because five separate jars migrate all over a table within a week.
Cost: $10–$18 for a set | Time: 20 minutes | Difficulty: Easy
15. Spa Candle Display

I built a little spa corner in our bathroom with a candle, a folded towel, and a small bottle of oil on a tray, and it genuinely changed how I unwind. I used a lidded jar candle for safety in a room with towels, and I light it only while I am actually in the bath, never before or after.
The downside is humidity, which makes labels peel and wicks damp if the candle lives in the bathroom permanently. I store the candle in a dry cabinet and bring it out for bath time, which keeps it fresh. Never put a candle right beside a towel, because towels and flames are a bad combination.
Cost: $10–$20 | Time: 20 minutes | Difficulty: Easy
16. Candle-and-Frame Display

I paired a candle with an empty vintage frame on our mantel, and the frame turns the candle into a little piece of art. I leaned the frame against the wall, set the jar candle in front of it, and let the flame reflect in the glass, which doubles the glow in the evening.
The downside is that a frame leaning near a flame needs watching, and I keep the candle at least six inches in front of the frame, never behind it. I also learned that an empty frame collects dust inside the glass, so I clean it monthly. Use a sturdy frame that cannot tip forward onto the candle.
Cost: $8–$15 | Time: 15 minutes | Difficulty: Easy
17. Outdoor Dinner Candles

For summer dinners outside, I use tall hurricane holders that shield the flames from wind, and they have saved more evenings than I can count. I set three hurricanes down the table, each with a pillar candle, and the glass keeps the flame alive while still letting the light spill out.
The honest downside is that hurricane glass gets hot and foggy, and I burned my fingers once grabbing one to move it. I now move them only by the base and only when unlit. They are also breakable, so I store them in their original box between summers instead of loose in a shed.
Cost: $15–$30 for three | Time: 15 minutes | Difficulty: Easy
18. Autumn Woodland Candle Table

I set an autumn table with candles, wooden slices, and fallen leaves, and it felt like bringing the woods indoors for dinner. I used wooden slices as bases, set pillar candles on them, and scattered a few leaves well away from the flames, with a low garland of greenery down the center.
The downside is the same as every nature table: dry leaves and flames do not mix, and I now use flameless candles for the main display and one real candle far from anything dry. I also learned that wooden slices stain from wax, so I put a small glass plate under each candle now.
Cost: $12–$25 | Time: 45 minutes | Difficulty: Easy
19. Lighted Candles on Wood

I keep a simple row of candles on a wooden board on our sideboard, and it is the display I reach for when I want the house to feel calm quickly. I used a long reclaimed board, set glass holders along it, and left space between each flame so the heat never builds up in one spot.
The downside is wax on wood, which happened the first time a candle burned too low and overflowed its holder. I now use holders with a lip and replace tealights before they burn completely out. A wooden board also needs sealing, because spilled wax soaks into raw wood and stains it.
Cost: $10–$20 | Time: 20 minutes | Difficulty: Easy
20. Flower-Petal Candle Display

For a special dinner, I scattered fresh flower petals around low candles on a wooden board, and the table looked like a celebration. I used fresh petals, not dried, kept them at least three inches from any flame, and cleared them away the same night before they wilted.
The honest downside is the short life of fresh petals, which wilt within hours and leave a mess on the board by morning. I now set the display up just before guests arrive and accept that it is a one-evening wonder. Never use dried petals near a flame, because they catch far faster than fresh ones.
Cost: $8–$15 | Time: 30 minutes | Difficulty: Easy
DIY Candle Holder Ideas at a Glance
| Idea | Best For | Budget |
|---|---|---|
| Mason Jar Candle Holders | Dining tables | $2–$5 |
| Brass Candlestick Holders | Mantels | $5–$20 |
| Vintage Candlestick Holders | Formal tables | $10–$25 |
| Stained-Glass Lantern Holders | Evening ambience | $30–$60 |
| Pillar Candle Tray Centerpiece | Autumn tables | $15–$30 |
| Black Candle Tray | Modern living rooms | $12–$25 |
| Wooden-Table Candle Display | Long dinner tables | $10–$20 |
| Jar Candles on the Steps | Summer gardens | $8–$15 |
| Labelled Glass Jar Holders | Gifts | $4–$8 |
| Brown Glass Jar Holders | Bedrooms | $3–$6 |
| Red Glass Jar Holders | Winter dinners | $4–$8 |
| Marble-Base Jar Holders | Side tables | $5–$10 |
| Candle With Greenery | Seasonal decor | $3–$6 |
| Grouped Glass Jar Holders | Coffee tables | $10–$18 |
| Spa Candle Display | Bathrooms | $10–$20 |
| Candle-and-Frame Display | Mantels | $8–$15 |
| Outdoor Dinner Candles | Patios | $15–$30 |
| Autumn Woodland Candle Table | Fall gatherings | $12–$25 |
| Lighted Candles on Wood | Sideboards | $10–$20 |
| Flower-Petal Candle Display | Special dinners | $8–$15 |
Mistakes I Made (So You Don’t Have To)
I once set a candle too close to a curtain, and the heat made the fabric smell scorched before I noticed. Now I keep every flame at least a foot from anything fabric, and I check the gap every time I light a candle.
I poured hot wax into a thin decorative jar that cracked on the table, and wax went everywhere. Only use jars made for heat, like mason jars or proper candle containers, and never pour wax into a cracked or chipped jar.
I left a tealight burning in a holder with dried flowers around it, and a petal curled toward the flame. Dried flowers and flames do not mix, so I use fresh greenery or nothing at all near a burning candle now.
I forgot a candle burning in another room, and it burned down to nothing overnight. I set a phone timer every evening now, and I never light a candle in a room I am about to leave.
Frequently Asked Questions
What is the safest candle holder to make at home?
A sturdy glass jar with a tealight is the safest starting point, because the glass contains the flame and the wax. Keep it on a heat-safe tray, away from curtains, and never leave it burning unattended.
Can I use any jar as a candle holder?
Use jars made for heat, like mason jars or thick glass containers. Thin decorative glass can crack from heat, and jars with cracks or chips should never hold a flame.
How do I clean wax out of a homemade candle holder?
Put the holder in the freezer for an hour, and the wax will pop out in one piece. Wash the glass in warm soapy water afterward, and never pour melted wax down the sink.
Are homemade candle holders safe gifts?
Yes, if you use heat-safe materials and include a short safety note with the gift. A jar candle with a proper wick and a sturdy base is a lovely, safe gift, while holders with dried flowers or loose fabric are not.
Final Thoughts
Candlelight has a way of slowing an evening down, and making the holder yourself makes that glow feel even better. Pick the idea that matches what you already have at home, and light it tonight.
If you try one of these diy candle holder ideas, start with the mason jars, because they take fifteen minutes and they work every single time. Then, when you are ready, try the stained-glass lantern, which is the one I am proudest of in our house.


One Comment