21 DIY Plant Stand Ideas That Give Your Plants the Spotlight
My plants used to live on the floor, in a sad row by the window, until I built my first plant stand and realized the stand matters as much as the plant. A good stand lifts a plant into the light, gives it air, and turns a pot into a piece of decor, and these 21 DIY plant stand ideas are the ones I have actually built, lived with, and rearranged more times than I will admit.
I picked these DIY plant stand ideas the way I pick every project here: I built them from cheap wood, old furniture, and scrap metal, put real plants on them, and watched what happened over months. If a stand wobbled, rotted, or blocked the light, it got cut. What stayed are stands for every space, from tiny apartments to sunny patios, with honest notes on cost, difficulty, and the mistakes I made so you can skip them.
Key Takeaways
- Height is the whole point: a stand should lift plants toward light and air, not just decorate the floor.
- Wood is the most forgiving material for DIY plant stand ideas, and it suits almost every home style.
- Most of these DIY plant stand ideas cost under $25, and several use scrap wood or old furniture.
- Always check weight: a stand that holds an empty pot but not a watered one is a disaster waiting for a rainy week.
21 DIY Plant Stand Ideas That Give Your Plants the Spotlight
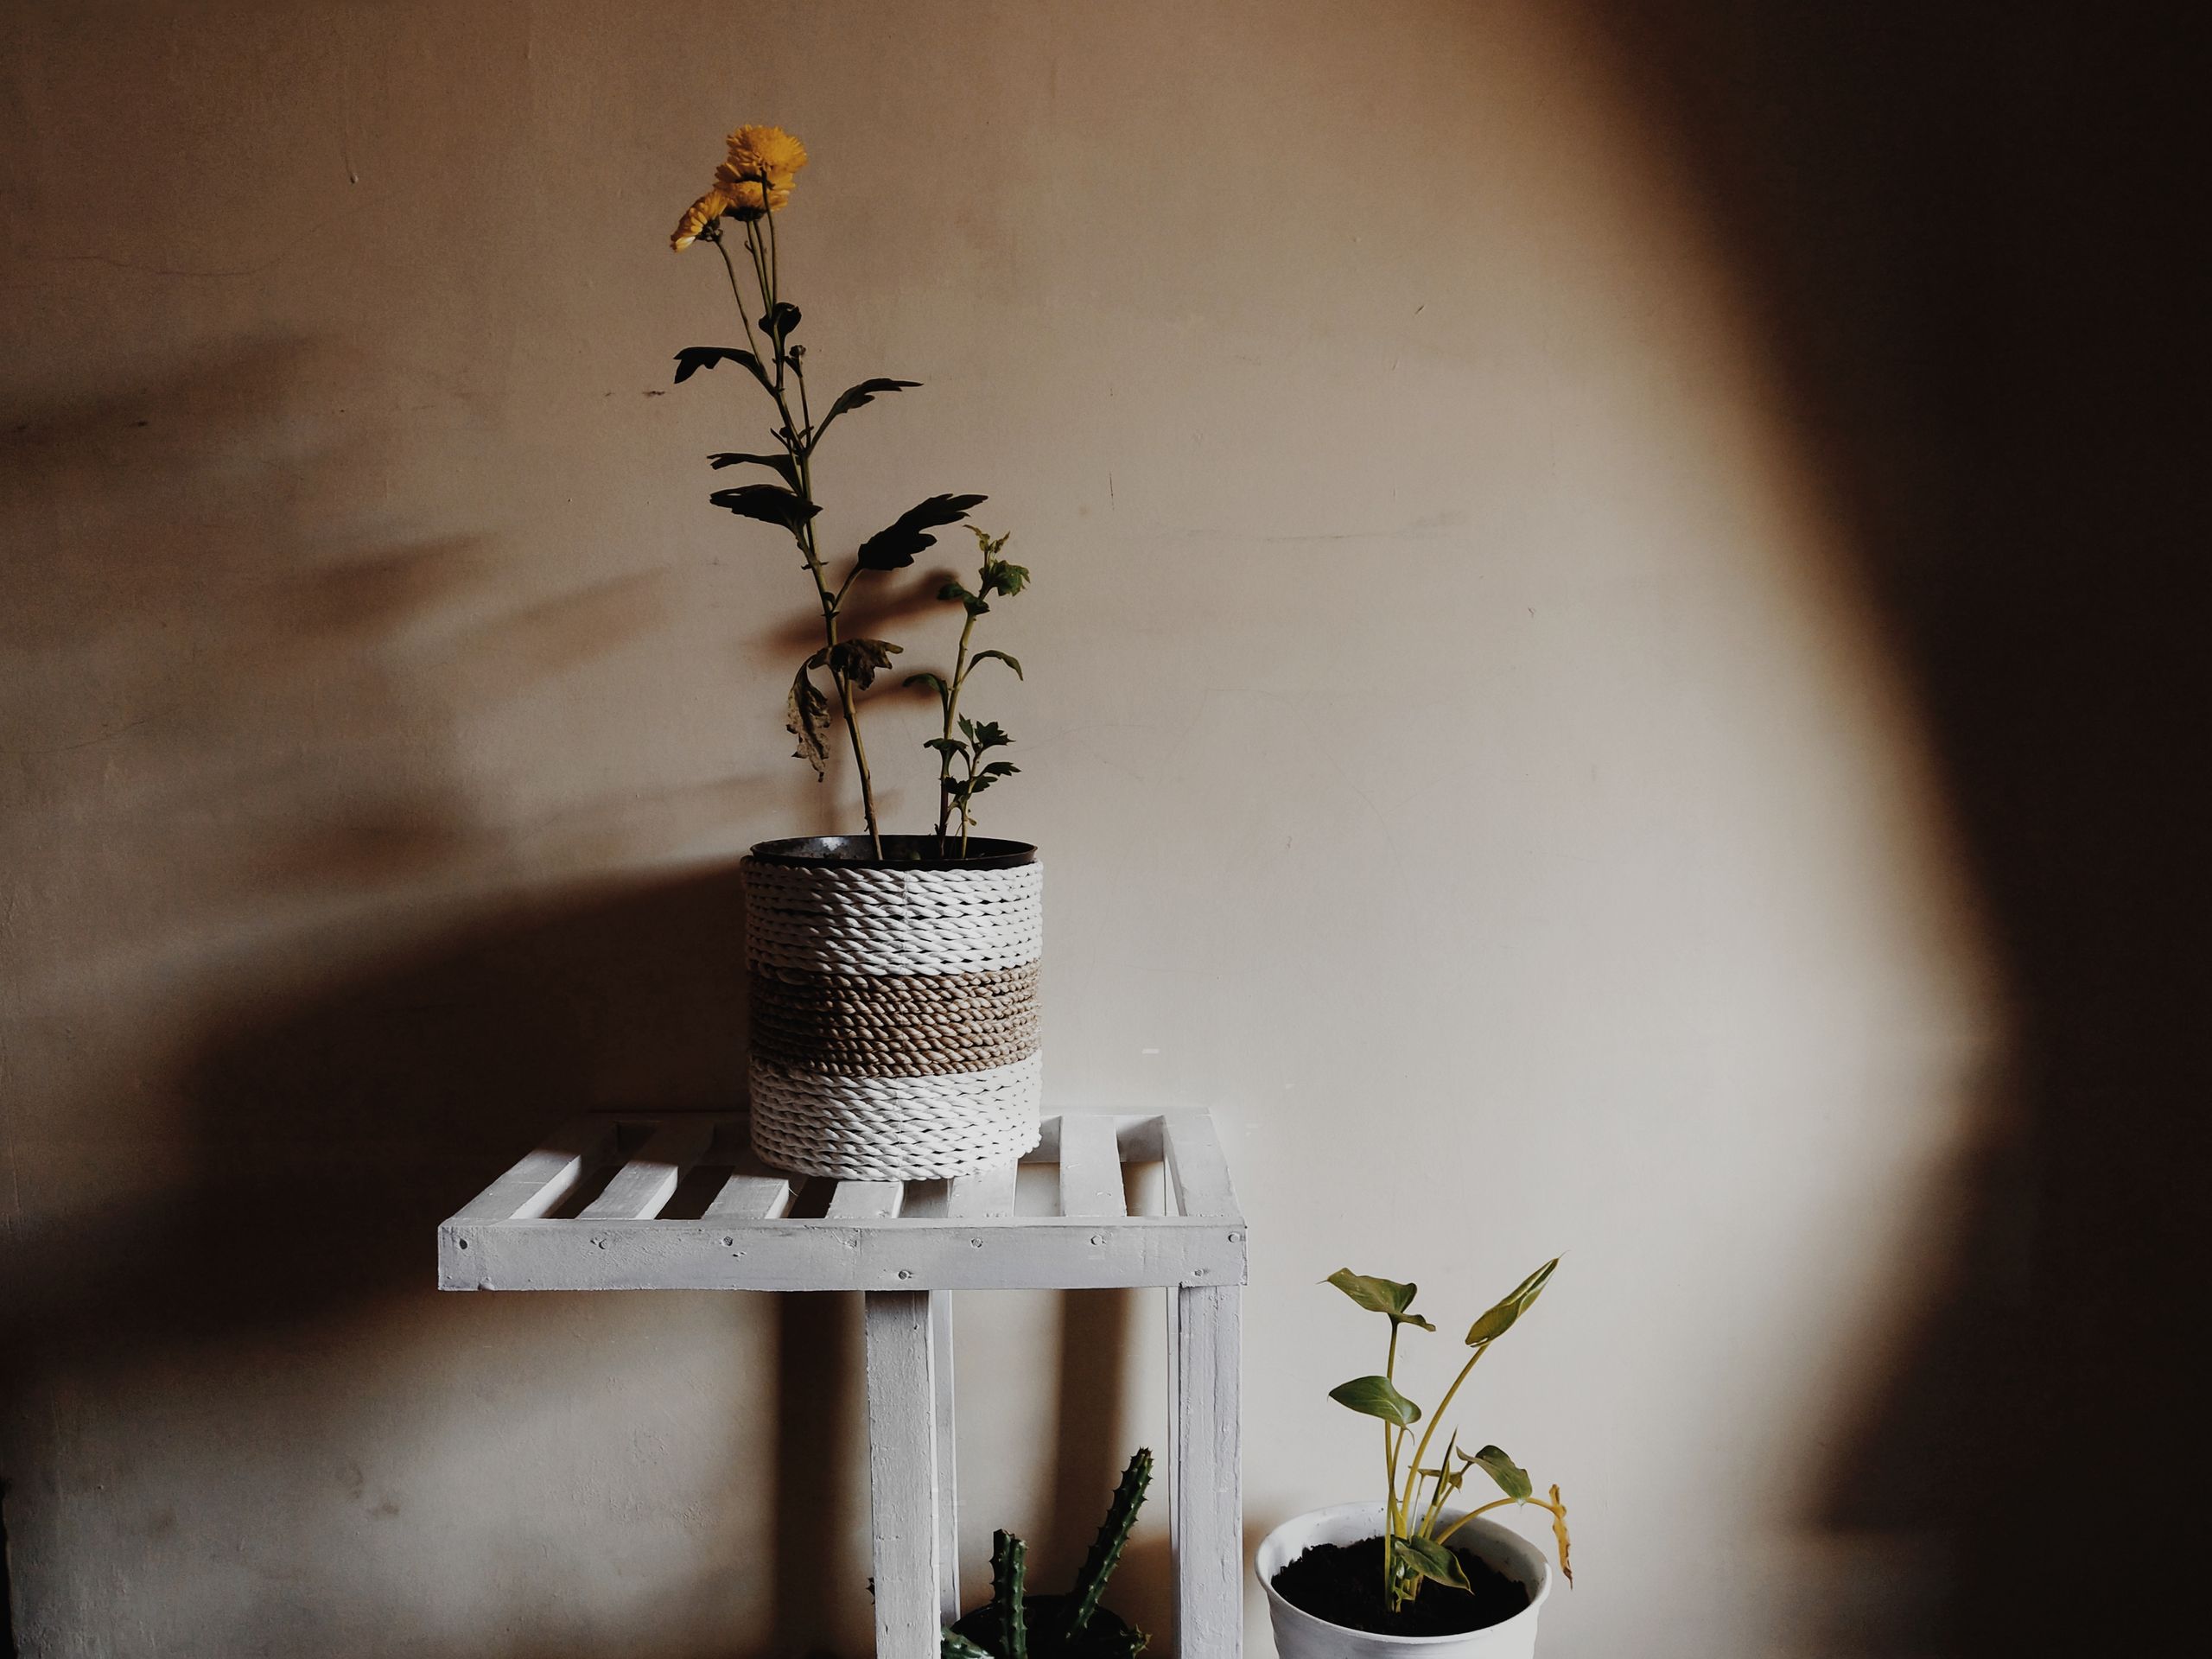
1. White Wooden Plant Stand
A white wooden plant stand is the project that started my whole plant corner. I built a simple four-legged stand from pine, painted it white, and put my biggest monstera on it, and the plant instantly looked like it belonged in a magazine. The white paint reflects light back onto the leaves, which my plants seem to love, and it goes with every pot color I own. The downside is maintenance: white shows dirt and water marks fast, so I wipe the stand weekly and keep a saucer under every pot. My first version had no saucer, and the water stain on the top is still there as a reminder.

Cost: $12 to $18 | Time: 2 hours plus painting | Difficulty: Easy
Pro Tip: Use exterior paint even for indoor stands. It resists water marks far better than interior paint.
2. Patio Succulent Stand
A patio succulent stand is my favorite outdoor build, because succulents are forgiving and the stand gets to be simple. I made a low wooden platform with short legs, just high enough to keep pots off hot patio stones, and arranged five succulents in a row. The elevation keeps the pots from baking and makes watering easier on my back. The downside is weather: untreated wood outside lasts one season if you are lucky, so I seal outdoor stands with exterior varnish and bring the whole stand under cover in winter. My first outdoor stand rotted at the feet in eight months, and I have sealed every one since.
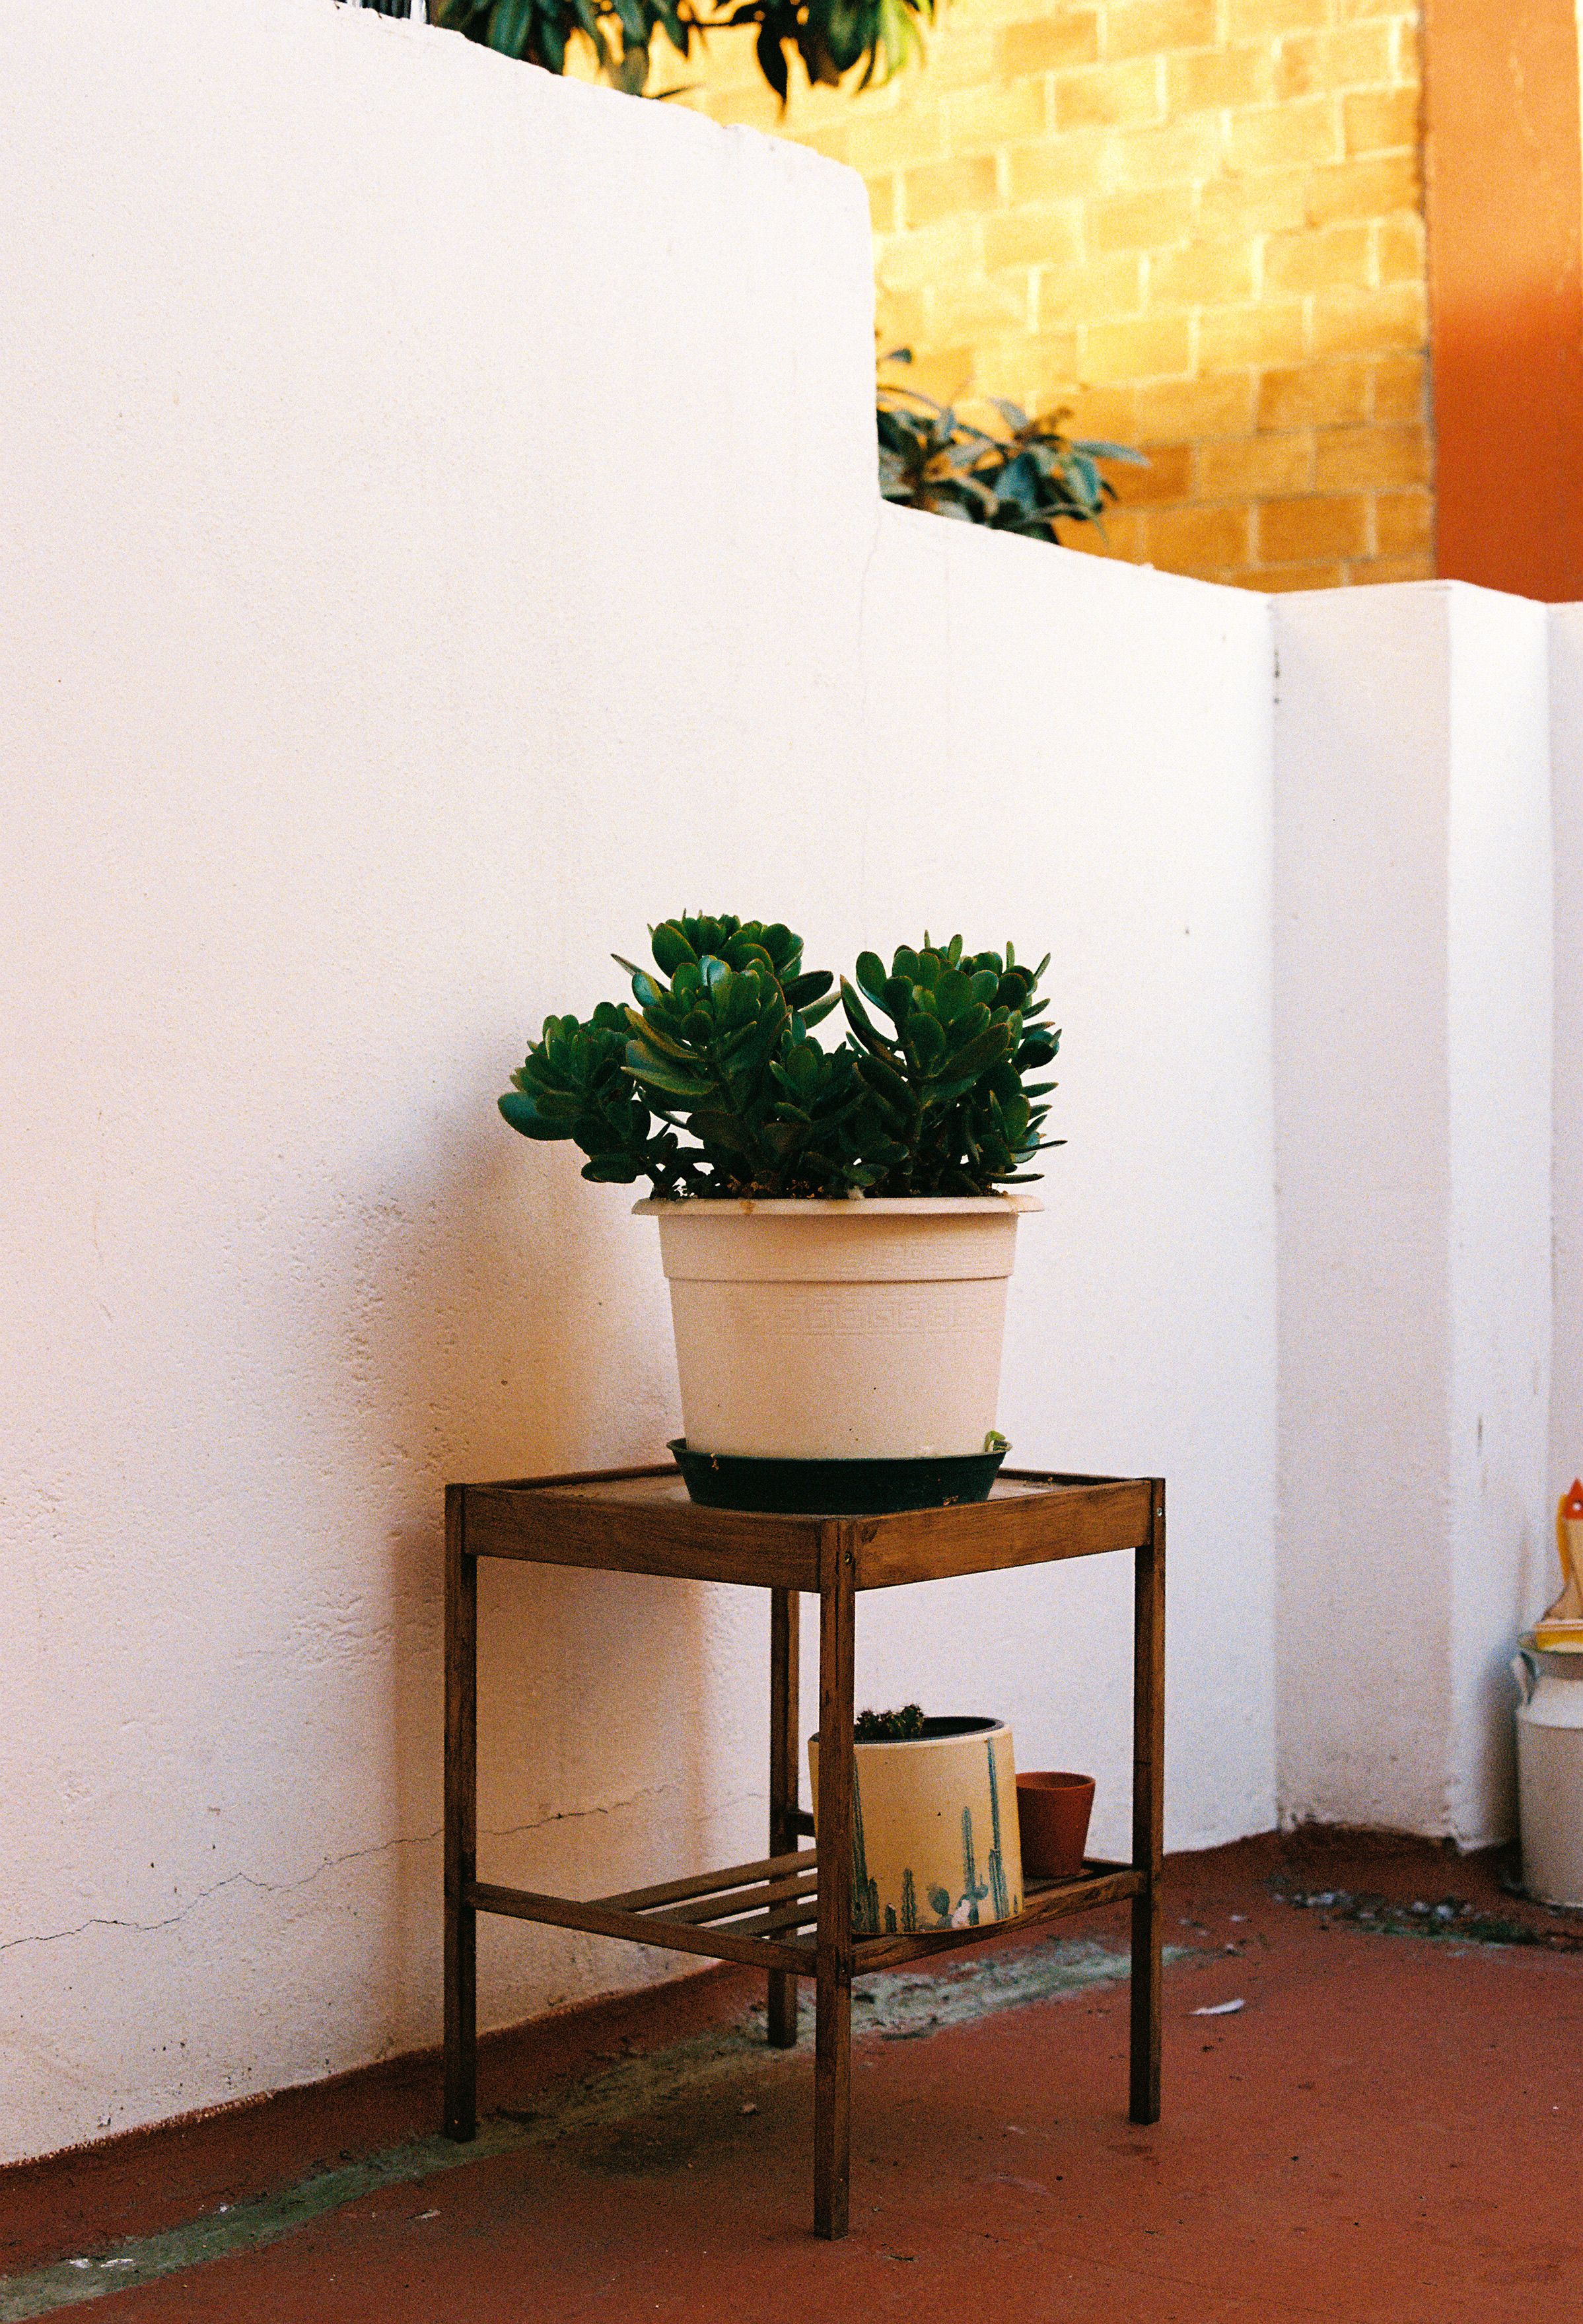
Cost: $10 to $15 | Time: 1 to 2 hours | Difficulty: Easy
Pro Tip: Add small furniture feet or pads to outdoor stands. Ground contact is what rots wood fastest.
3. Rustic Wooden Stand for Outdoors
A rustic wooden stand is the one I built from reclaimed fence boards, and it has more character than anything I have bought. The rough wood, the visible grain, the slightly uneven legs: all of it suits succulents and herbs perfectly. I left the wood unpainted and sealed it with oil, which deepened the color beautifully. The downside is that reclaimed wood can hide nails and splinters, so I sand thoroughly and check every board with a magnet for hidden metal. One missed nail cost me a saw blade, and I check twice now.

Cost: $5 to $12 with reclaimed wood | Time: 2 hours | Difficulty: Easy
Pro Tip: Sand reclaimed wood twice, once coarse and once fine. Rustic should look intentional, not dangerous.
4. Terracotta and Metal Shelving Stand
Terracotta pots on metal shelving is the combination that turned my balcony into a garden. I bought a cheap metal shelf unit, which is really just a tall plant stand, and filled it with terracotta pots in different sizes. The metal holds serious weight, the terracotta breathes for the roots, and the whole thing looks intentional without any building at all. The downside is rust: cheap metal shelves rust in rain, so I spray mine with rust-proof paint once a year and keep the unit under a balcony roof. It is the lowest-effort stand on this list, and one of the best-looking.
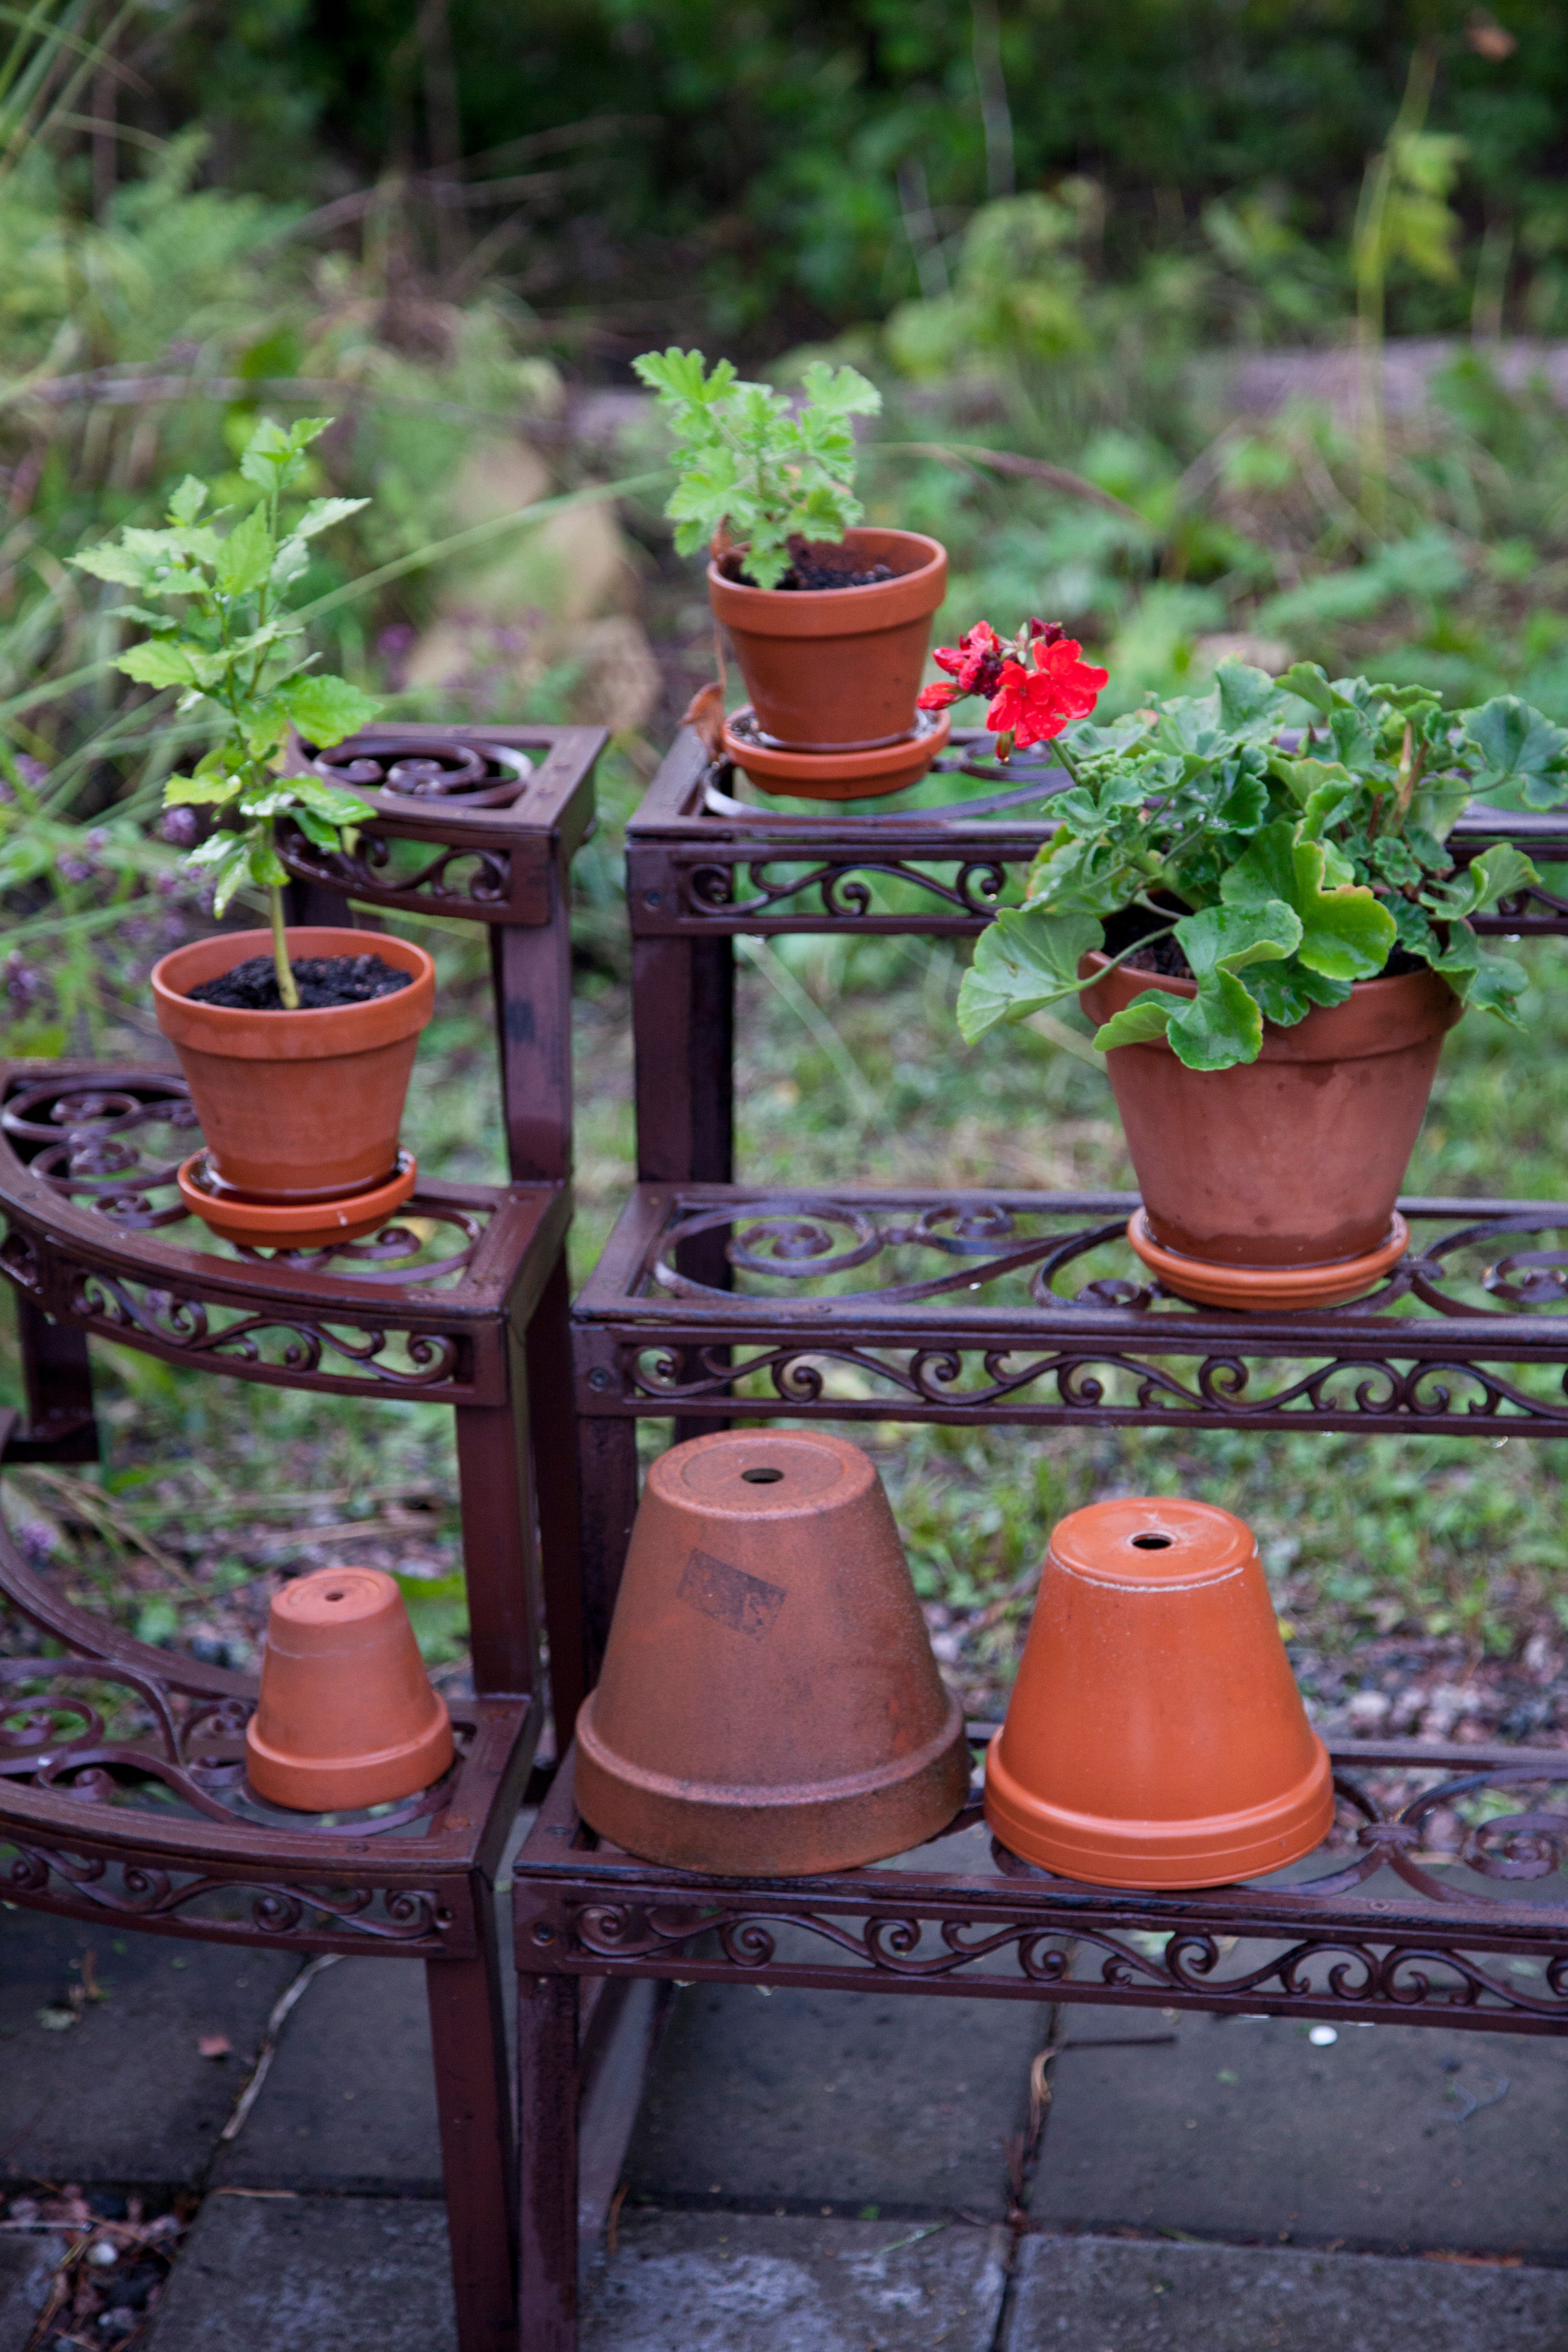
Cost: $20 to $35 for a shelf unit | Time: 30 minutes assembly | Difficulty: Easy
Pro Tip: Put the heaviest pots on the bottom shelf. Top-heavy shelving tips, and a falling terracotta pot is a mess.
5. Ceramic Pot and Wooden Stand
A ceramic pot on a wooden stand is the classic pairing, and it works because the materials balance each other: cool ceramic against warm wood. I made a simple round-topped stand sized exactly to my favorite ceramic pot, and the fit makes it look custom, which it is. The key measurement is the pot’s bottom diameter, not the top, because a stand that fits the top wobbles. I learned that by making a stand that fit beautifully and rocked dangerously. The downside is that ceramic is heavy when watered, so build the stand from hardwood or thick pine, not thin craft wood.
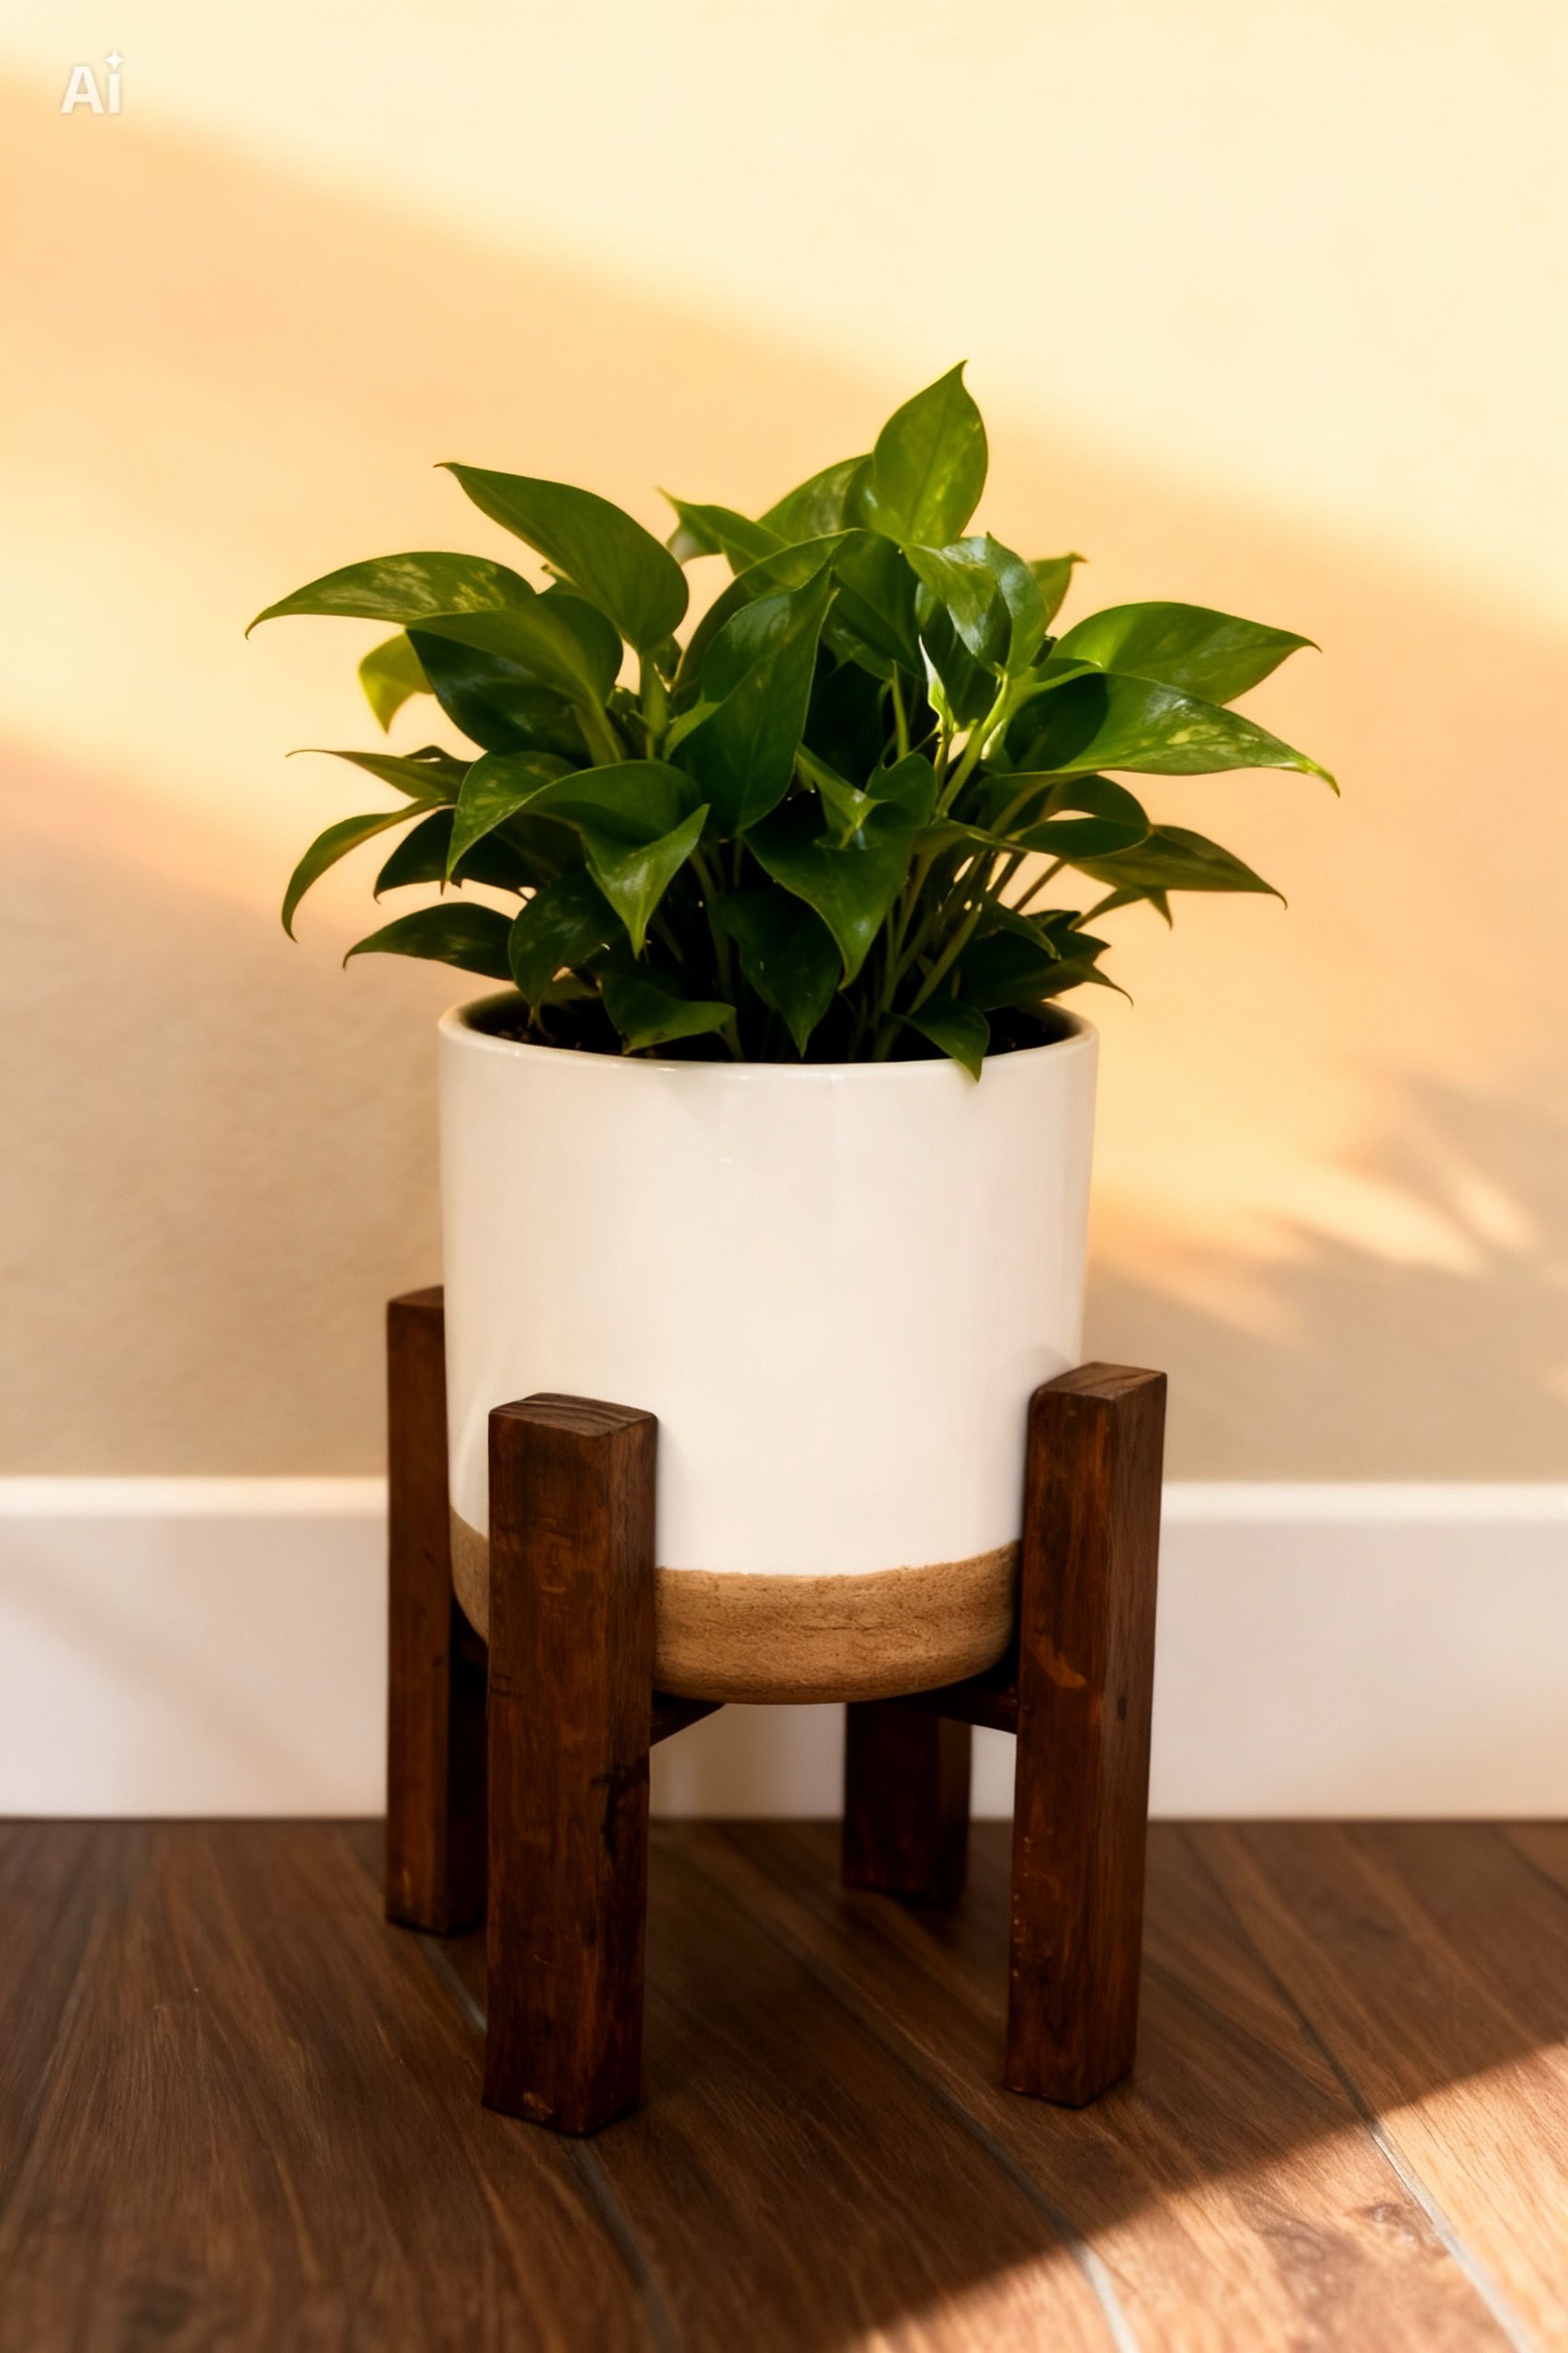
Cost: $12 to $20 | Time: 2 hours | Difficulty: Easy to medium
Pro Tip: Measure the pot’s base, then add half an inch. A snug stand looks custom; a tight stand sticks.
6. Three Clay Pots Stand
A three-pot stand is my favorite way to display a plant collection without it looking cluttered. I built a low wooden bench with three circular cutouts, and each pot sits in its own hole, which stops pots from sliding and looks incredibly tidy. The cutouts are the trick: they hold the pots at the rim, so the plants sit at the same height even if the pots differ. The downside is the cutting: you need a jigsaw and a steady hand, and my first cutout was too big, so one pot fell through. Cut small and widen slowly, testing the pot fit as you go.
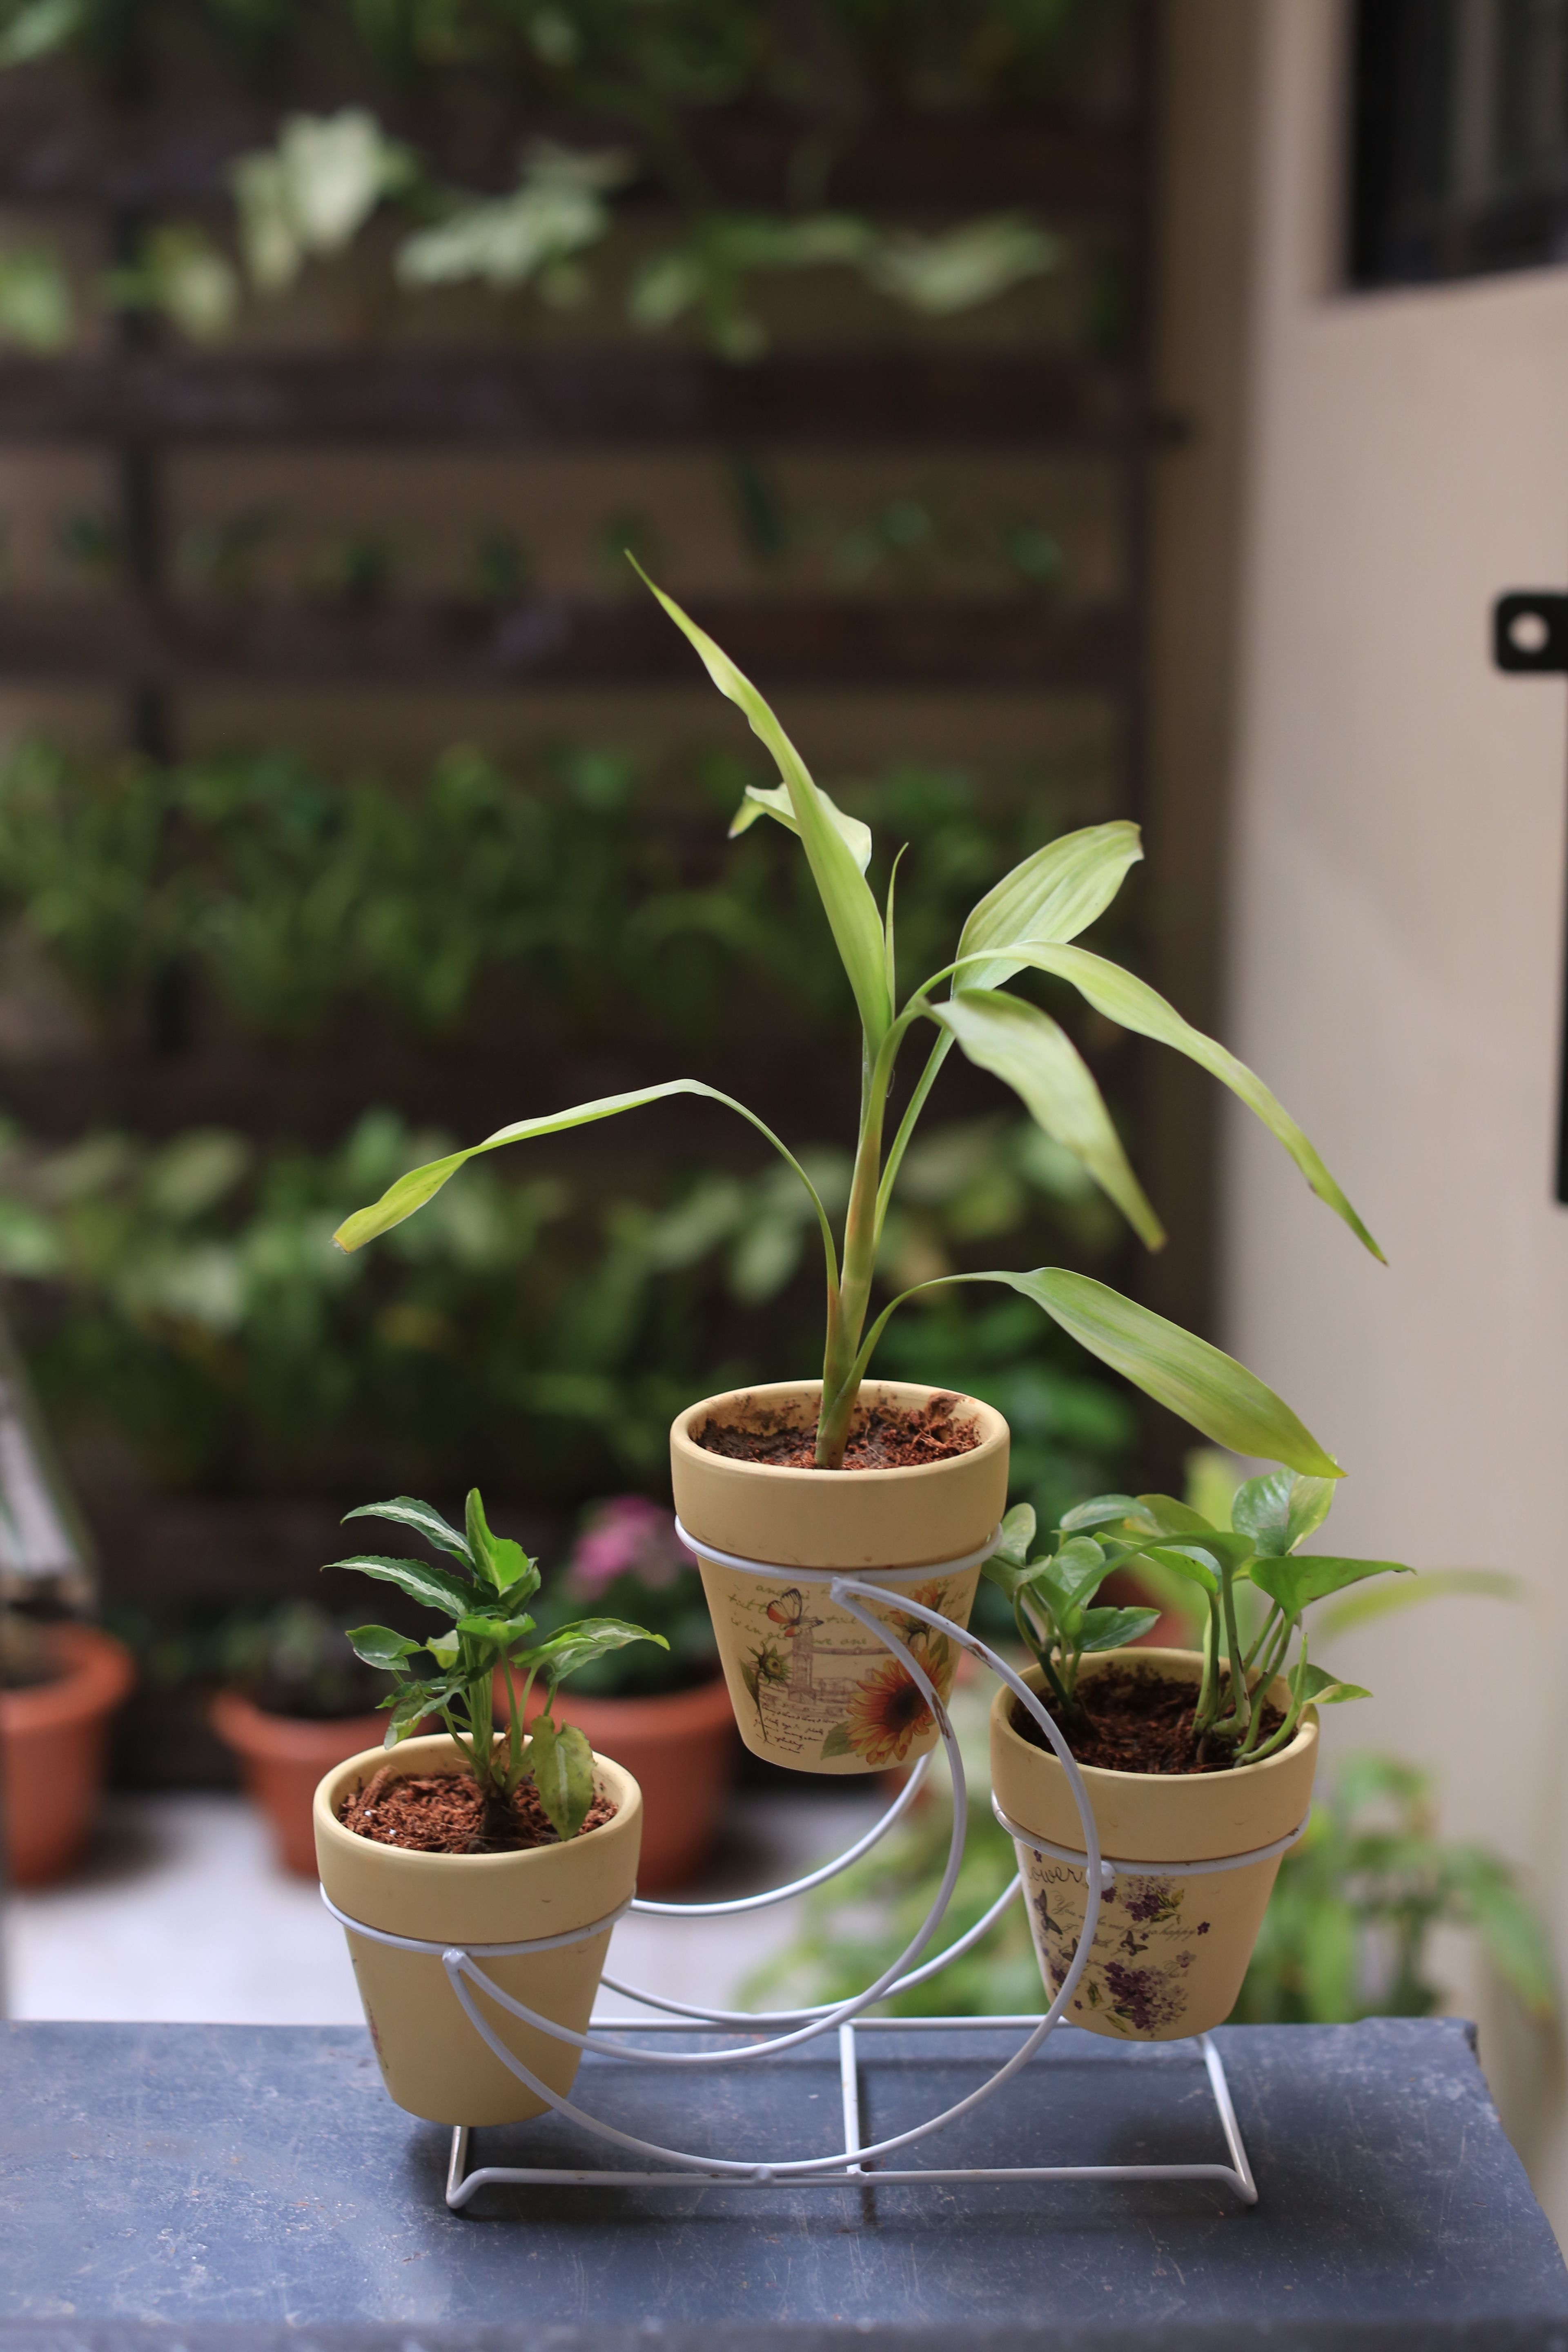
Cost: $15 to $20 | Time: 3 hours | Difficulty: Medium
Pro Tip: Trace each pot’s rim on paper first, then transfer to wood. Paper templates prevent expensive mistakes.
7. Sunny Garden Stand
A sunny garden stand is the one I built for the sunniest corner of my yard, and it is really just a sturdy wooden bench at the perfect height for sun-loving plants. The plants get full sun, the stand gets weathered, and the combination looks like it has always been there. I used thick boards and exterior screws, because garden stands take more abuse than indoor ones. The downside is that garden stands attract dirt and insects underneath, so I hose mine down monthly and check for ants nesting in the legs. A quick monthly check keeps a garden stand healthy for years.

Cost: $15 to $25 | Time: 2 to 3 hours | Difficulty: Easy
Pro Tip: Angle garden stands slightly toward the sun’s path. Plants on a stand still chase light, and angling helps.
8. Wall-Leaning Plant Display
A wall-leaning plant display is the solution for a narrow wall where a full stand will not fit. I lean a wooden ladder shelf against the wall, secure the top to the wall with a small bracket, and put one pot on each rung. The plants climb the wall visually, which makes a small space feel taller, and the ladder shape is inherently charming. The downside is stability: an unsecured ladder shelf with heavy pots is a tipping hazard, so the wall bracket is not optional, it is the whole project. My first ladder display was unsecured, and it slid once during watering, which was the last time I skipped the bracket.
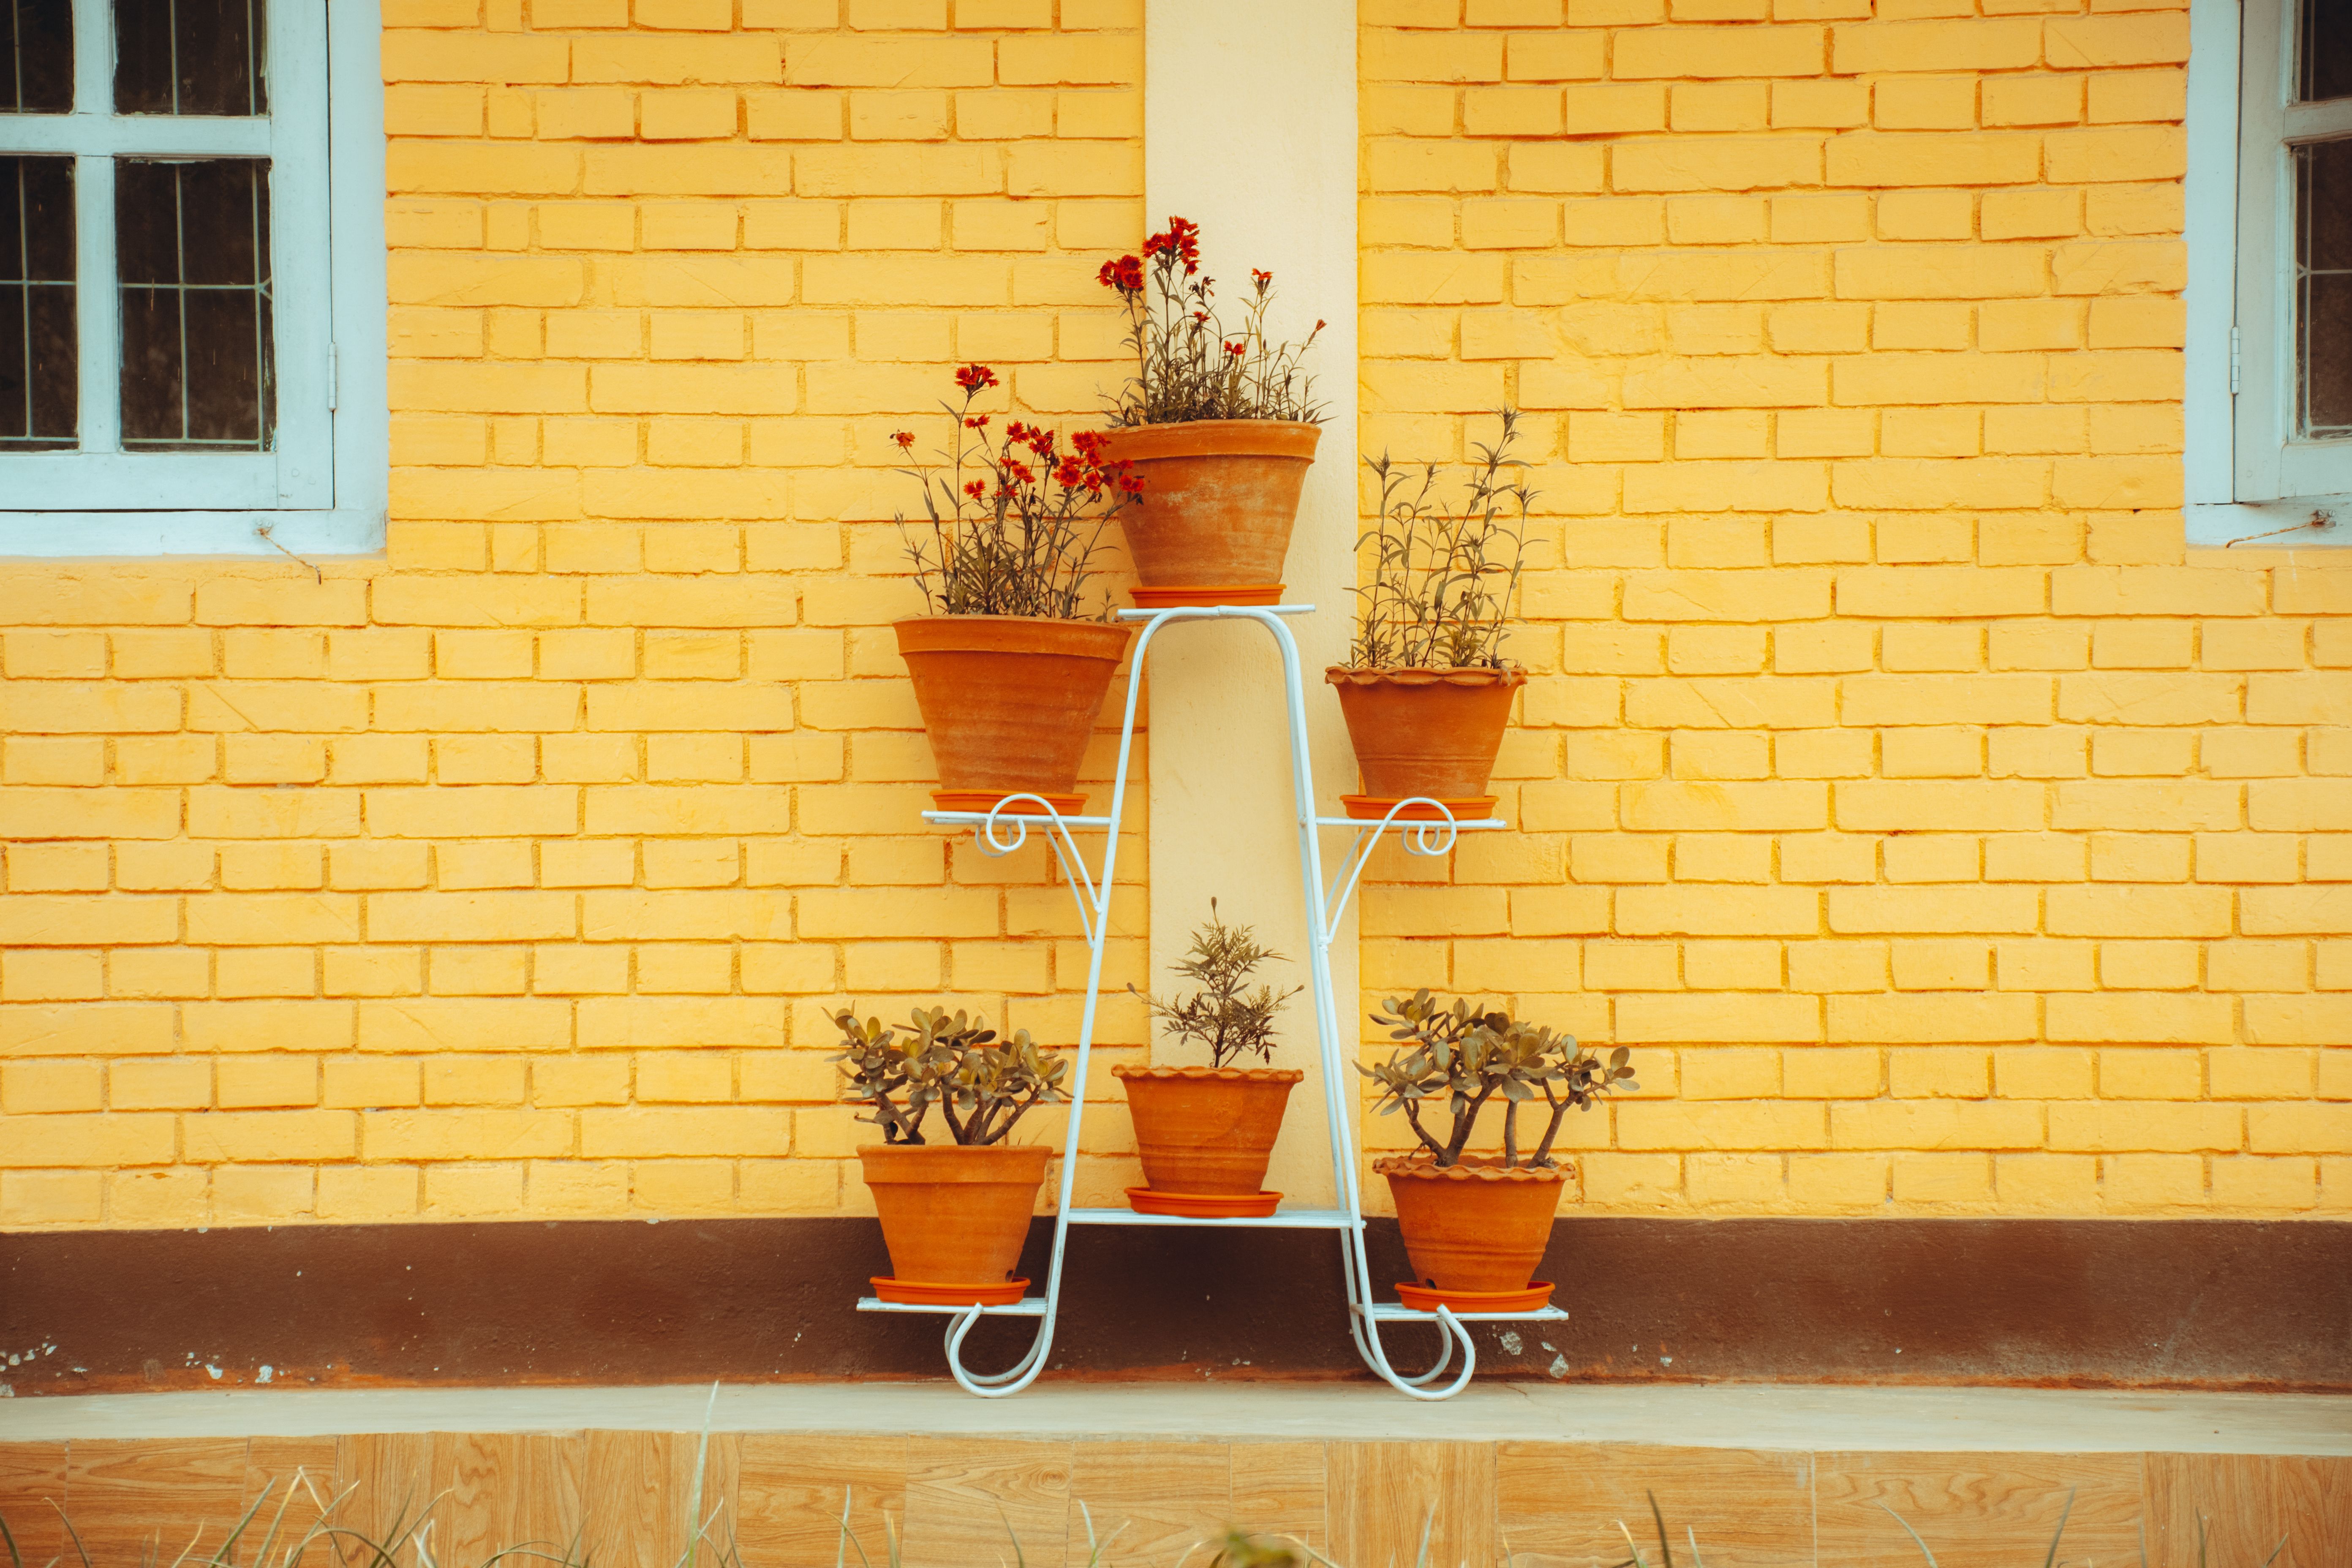
Cost: $15 to $25 for a ladder shelf | Time: 1 hour | Difficulty: Easy
Pro Tip: Secure the top rung to a wall stud, not just drywall. A stud holds weight; a drywall anchor holds hope.
9. Terracotta Shelf Wall
A terracotta shelf wall is my indoor herb garden: three floating shelves on a kitchen wall, each holding two terracotta pots. The herbs are within reach while I cook, the terracotta keeps the roots happy, and the wall display frees counter space. I used thick shelves with hidden brackets rated for the weight, because watered terracotta is heavy. The downside is watering mess: water drips from shelf to shelf, so every pot has a saucer, and I water with a narrow-spout can to control the flow. One saucer-less watering session stained the shelf below, and I have used saucers ever since.

Cost: $20 to $30 for shelves and brackets | Time: 2 hours | Difficulty: Medium
Pro Tip: Space shelves at least fourteen inches apart. Herbs grow fast, and cramped shelves mean crushed leaves.
10. Minimalist White Stands
Minimalist white stands are the set I made for my living room, where I wanted the plants to be the stars, not the furniture. Three identical white stands in different heights, each holding one succulent, create a group that looks designed without trying hard. The uniformity is the design: same color, same material, different heights. The downside is that minimalism shows every flaw, so the stands need to be level and the pots need to match, or the group looks accidental instead of intentional. I spent more time leveling these three stands than building them, and it was worth every minute.

Cost: $20 to $30 for three stands | Time: 3 hours | Difficulty: Easy
Pro Tip: Vary heights by at least four inches between stands. Smaller differences look like mistakes, not design.
11. Plant Shelf Styling
Plant shelf styling is less a build and more a way of using a shelf you already own as a plant stand. I took a plain wooden shelf, added a small tripod plant stand on top for height variation, and arranged plants with books and a speaker to make it look curated. The trick is odd numbers and height variation: three plants at three heights always look better than four at one height. The downside is that styled shelves collect dust and get crowded fast, so I edit mine monthly, removing anything that does not earn its place. A shelf with five plants and no clutter beats a shelf with ten plants and no breathing room.

Cost: $0 to $15 using shelves you own | Time: 30 minutes | Difficulty: Easy
Pro Tip: Put the tallest plant at the back and the smallest at the front. Depth makes a flat shelf look three-dimensional.
12. Indoor Jungle Stand
An indoor jungle stand is what I call the big, sturdy stand that holds my tropical plants together in one corner. I built a wide, low platform from thick boards, and the tropical plants, monstera, ferns, and palms, share it like a little jungle floor. The shared platform keeps humidity higher around the plants, which tropicals love, and watering is easier because I do it all in one spot with a tray underneath. The downside is weight: a platform full of watered tropical plants is extremely heavy, so I built mine from thick lumber and put it where it will never need moving. Measure your corner twice, because this stand does not travel.

Cost: $20 to $30 | Time: 2 to 3 hours | Difficulty: Easy to medium
Pro Tip: Put a waterproof tray under a jungle platform. One overwatering without a tray ruins a floor.
13. Boho Plant Corner
A boho plant corner is my favorite room transformation, and it is really a collection of stands working together: a wooden stand, a woven basket, and a hanging planter, all in one corner with warm wood and natural textures. The boho look comes from mixing materials, not matching them, which makes it forgiving for beginners. I built the wooden stand and bought the basket, and the combination looks effortless. The downside is that boho corners collect clutter fast, because every natural-textured thing seems to belong there, so I limit the corner to plants and two decorative objects, and everything else lives elsewhere.
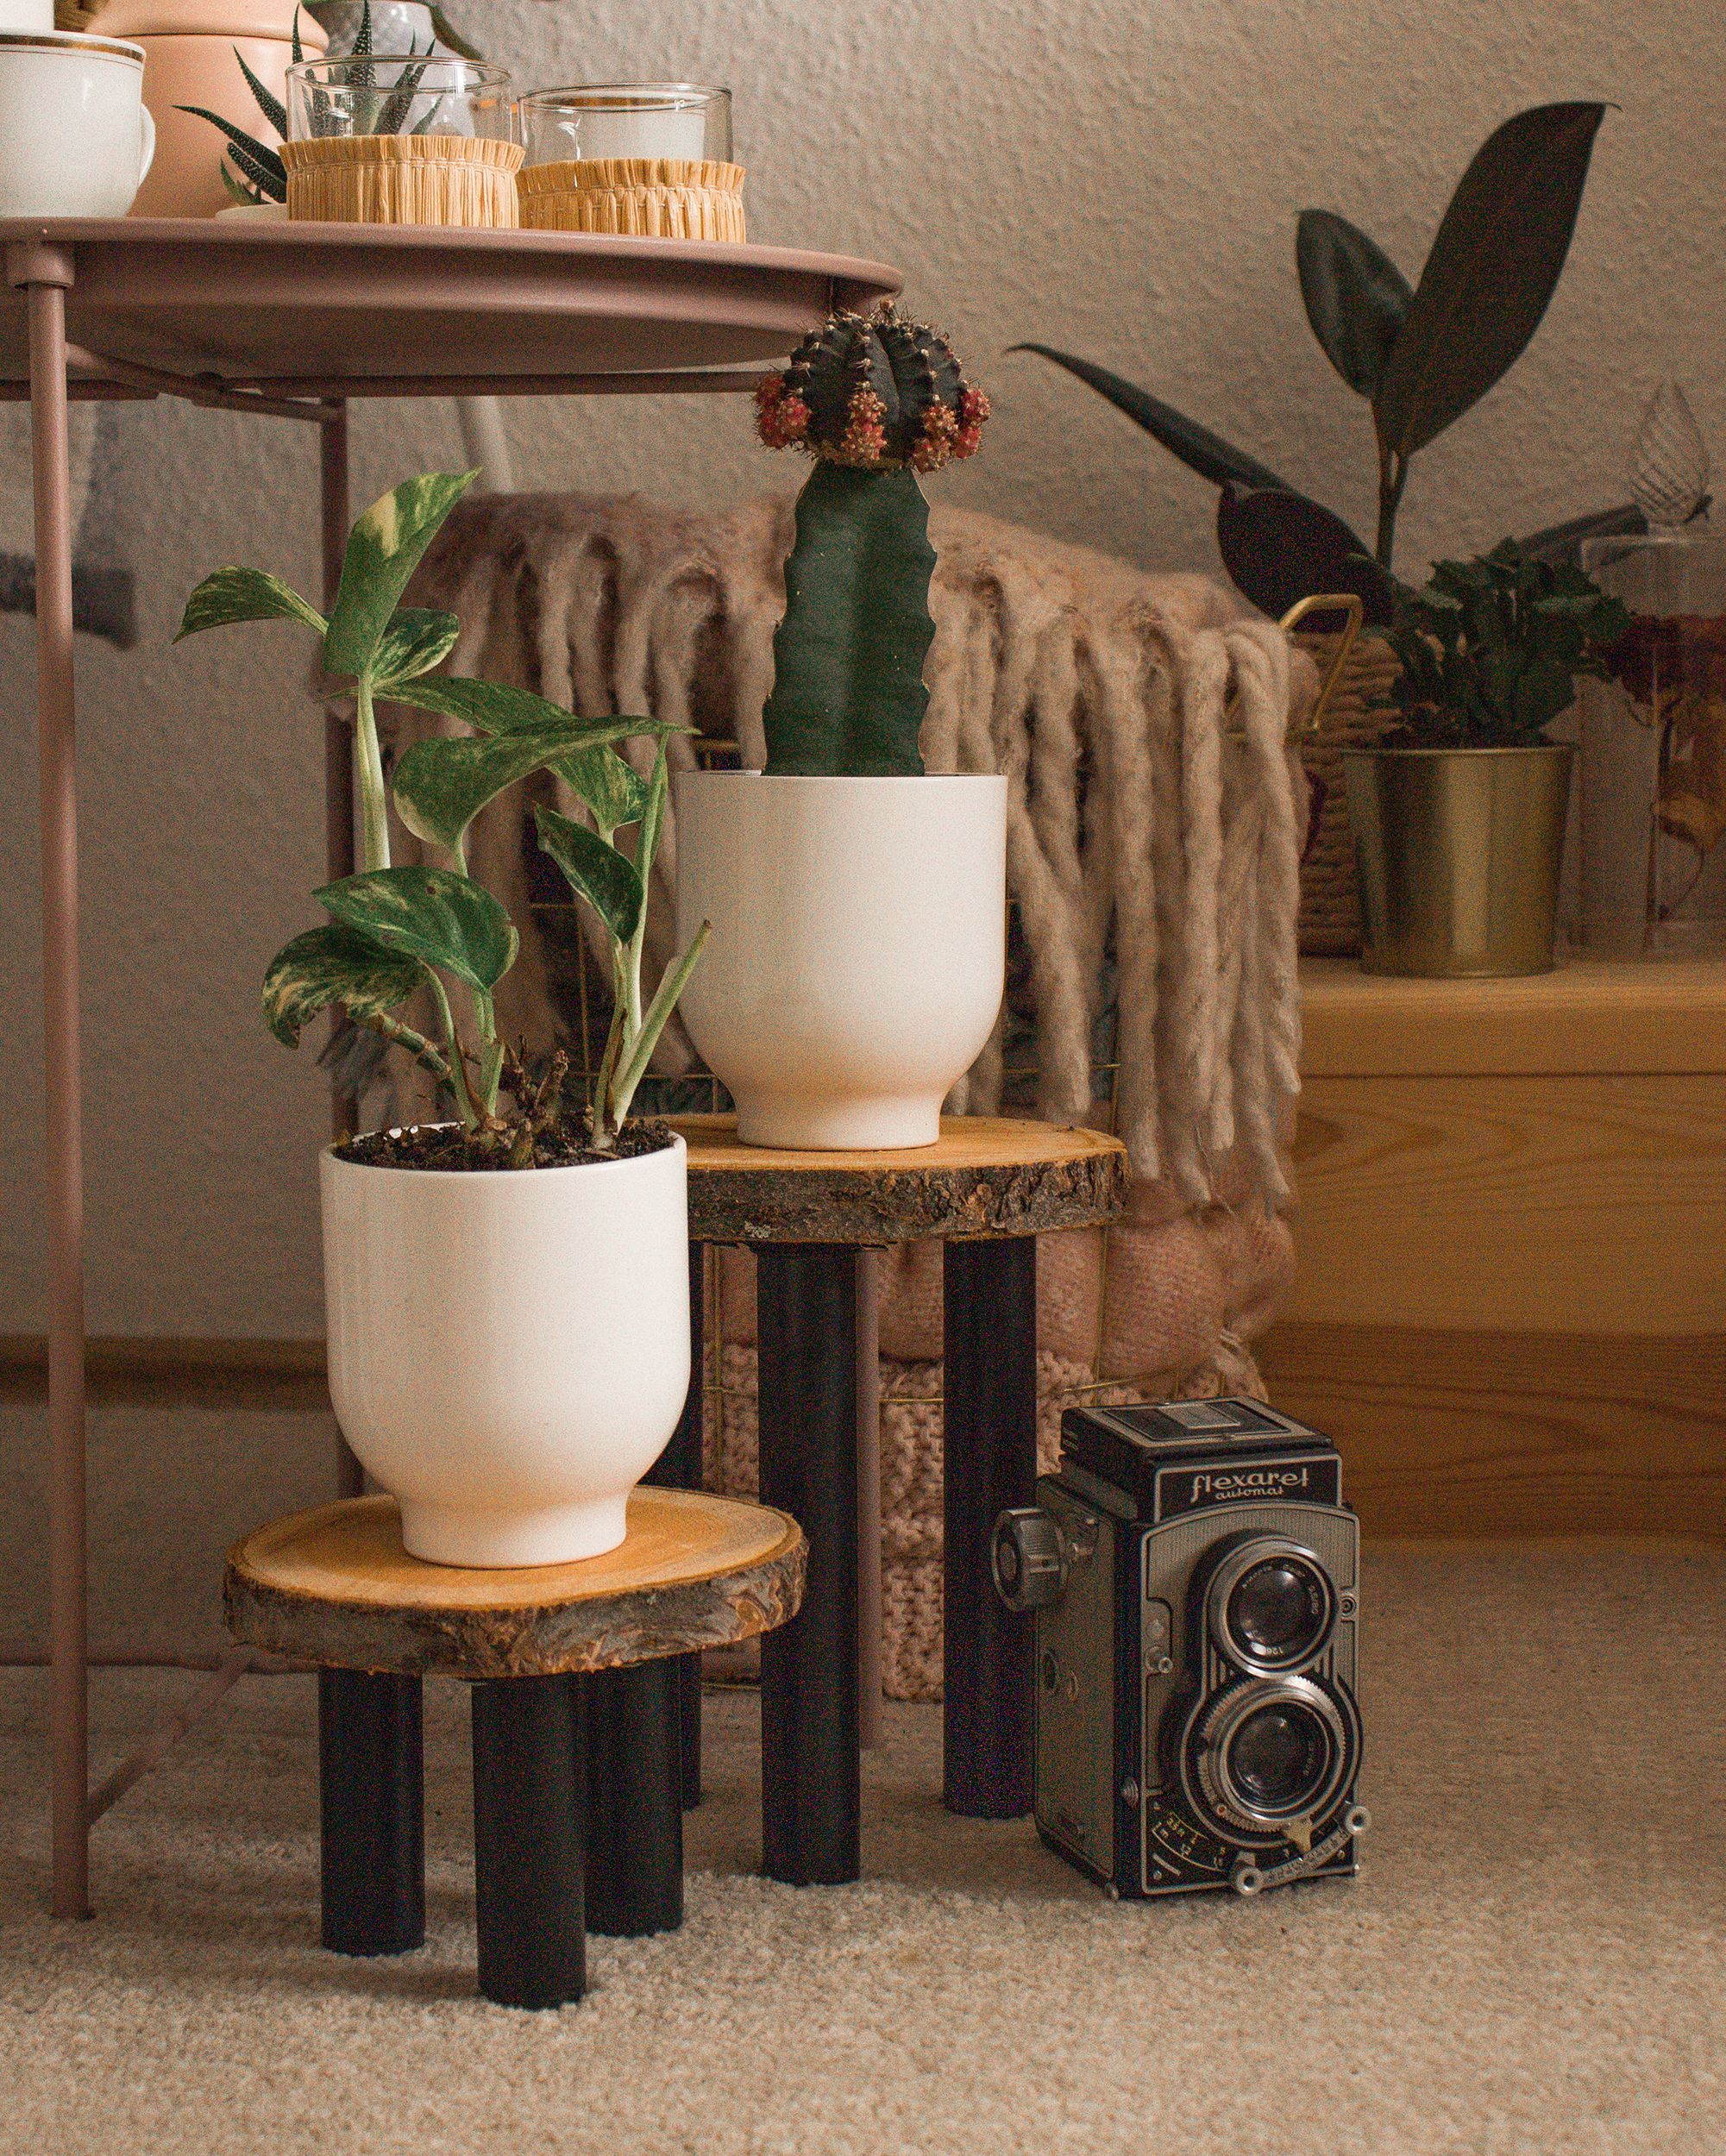
Cost: $20 to $40 | Time: 2 to 4 hours | Difficulty: Easy
Pro Tip: Pick one wood tone for the corner. Mixed materials are boho; mixed wood tones are messy.
14. Two Cactus Stands
Two cactus stands are the simplest pair on this list, and the most satisfying for small spaces. I made two small wooden stands, one slightly taller than the other, and put a cactus in a clay pot on each. The pair looks intentional on a windowsill or a side table, and cacti need so little water that the stands never face the moisture problems other plants cause. The downside is cactus spines during handling, so I move cacti with thick gloves and a folded towel, never bare hands. One spine in a finger taught me that lesson permanently.
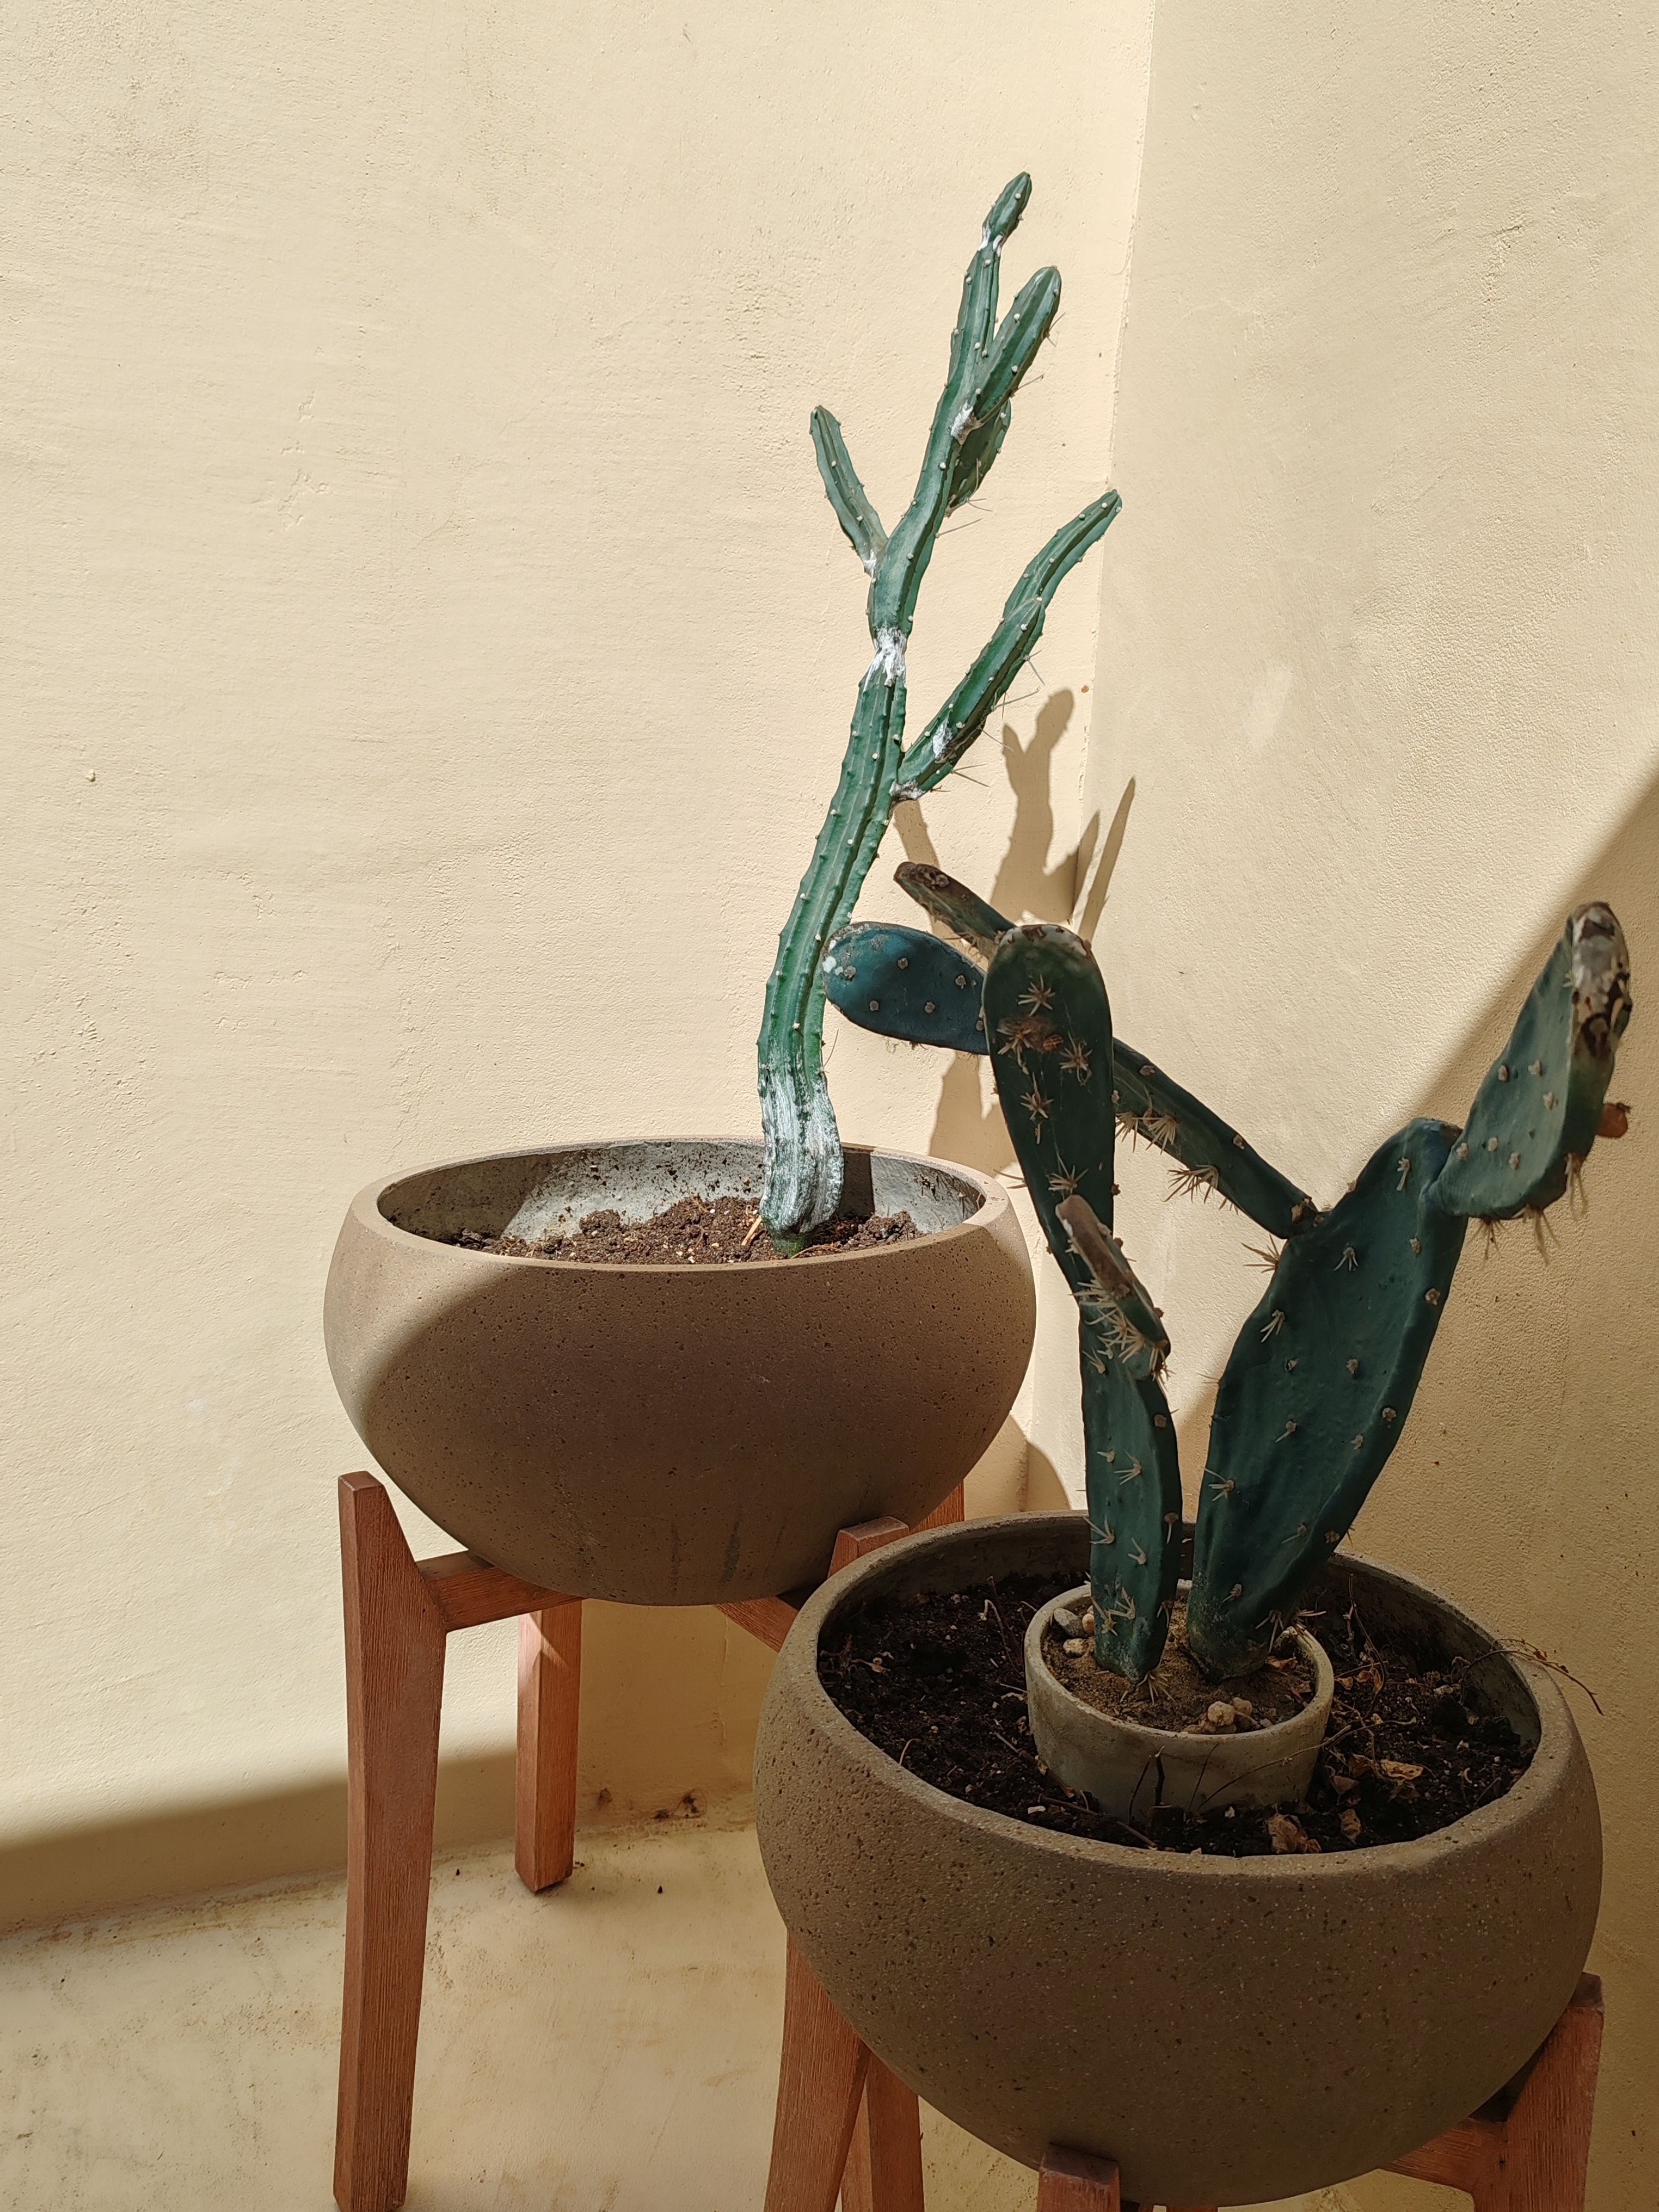
Cost: $8 to $12 for two stands | Time: 1 hour | Difficulty: Easy
Pro Tip: Make cactus stands with a lip around the top. A lip stops a top-heavy cactus pot from sliding off.
15. Spider Plant Stand
A spider plant stand is the project that solved my trailing-plant problem. Spider plants grow long babies that hang down, and on the floor they get stepped on, but on a stand they cascade beautifully. I built a tall, narrow stand that lifts the pot to hip height, and the babies hang free without touching anything. The stand is simple, four legs and a round top, but the height is the whole point. The downside is that tall, narrow stands tip easily, so I made the base wider than the top and added weight to the bottom legs. A top-heavy stand with a trailing plant is a falling hazard waiting for a curious cat, and we have one.

Cost: $12 to $18 | Time: 2 hours | Difficulty: Easy
Pro Tip: Make the base at least two inches wider than the top on every side. Wide bases save tall stands.
16. Armchair-Side Plant Stand
An armchair-side plant stand is the small stand that lives next to my reading chair, holding one plant at arm height. I built it from a single board and three legs, sized to fit the gap between the chair and the wall, and it holds a fern that makes the corner feel alive. The stand is small, but its job is important: it fills a dead corner without blocking the chair. The downside is the tight fit: measure the gap twice, because a stand that is half an inch too wide does not fit at all, and I know this because my first version did not. Measure the gap, then subtract a quarter inch for wiggle room.

Cost: $8 to $12 | Time: 1 hour | Difficulty: Easy
Pro Tip: Build narrow stands from hardwood. Thin pine wobbles at arm height when you brush past it.
17. Upcycled Bicycle Plant Stand
An upcycled bicycle plant stand is the quirkiest project on this list, and the one guests photograph most. I found an old rusty bicycle, removed the wheels, mounted the frame on a wooden base, and hung small pots from the frame and handlebars. It looks like art and holds five plants, and it cost almost nothing because the bicycle was free. The downside is rust and stability: I sealed the frame with clear coat to stop rust stains, and I bolted the base to a wide board so the whole thing cannot tip. It is not a beginner project, but it is the one that makes people say they want one too.

Cost: $5 to $20 depending on the bicycle | Time: 3 to 4 hours | Difficulty: Medium to hard
Pro Tip: Seal rusty metal with clear coat before hanging plants. Rust stains on pots are permanent.
18. Vintage Corner Stand
A vintage corner stand is my thrift-store triumph: an old wooden TV stand I found for ten dollars, cleaned up, and turned into a plant corner with three levels. The vintage wood has a warmth new wood cannot fake, and the different shelf heights suit plants of different sizes. I sanded it lightly, sealed it, and added small wheels so I can move it for cleaning. The downside is that old furniture can have weak joints, so I reinforced every joint with screws before trusting it with heavy pots. One joint failed on my first thrift stand, and a fern fell, which is how I learned to reinforce first and plant second.

Cost: $10 to $25 including thrifted furniture | Time: 2 to 3 hours | Difficulty: Easy to medium
Pro Tip: Check thrift furniture for woodworm holes before bringing it home. Tiny holes mean tiny guests you do not want.
19. Watering-Friendly Stand Setup
A watering-friendly stand setup is not one stand but a system: all my indoor plants on stands with trays, arranged near a water source, with a watering can that lives with them. The system sounds boring, and it is the most useful thing on this list, because it turned watering from a chore into a five-minute routine. Every stand has a tray, every tray has a lip, and the whole group sits on a waterproof mat. The downside is that the setup looks utilitarian, so I hide the mat under a pretty rug and use matching trays. Function first, beauty second, but both matter, and this setup finally gives me both.

Cost: $15 to $25 for trays and a mat | Time: 1 hour | Difficulty: Easy
Pro Tip: Water in the morning. Plants on stands dry faster than plants on the floor, and morning watering lasts the day.
20. Window Ledge Plant Stand
A window ledge plant stand is the solution for windowsills too narrow for pots. I built a shallow wooden shelf that sits across the window frame, held by two small brackets, and it holds a row of small pots right in the light. The plants get the best light in the house, and the window still opens, because the shelf sits above the opening mechanism. The downside is heat: window glass magnifies sun, and one of my plants scorched before I learned to keep a sheer curtain between the glass and the leaves in summer. Light is good, magnified light is not.
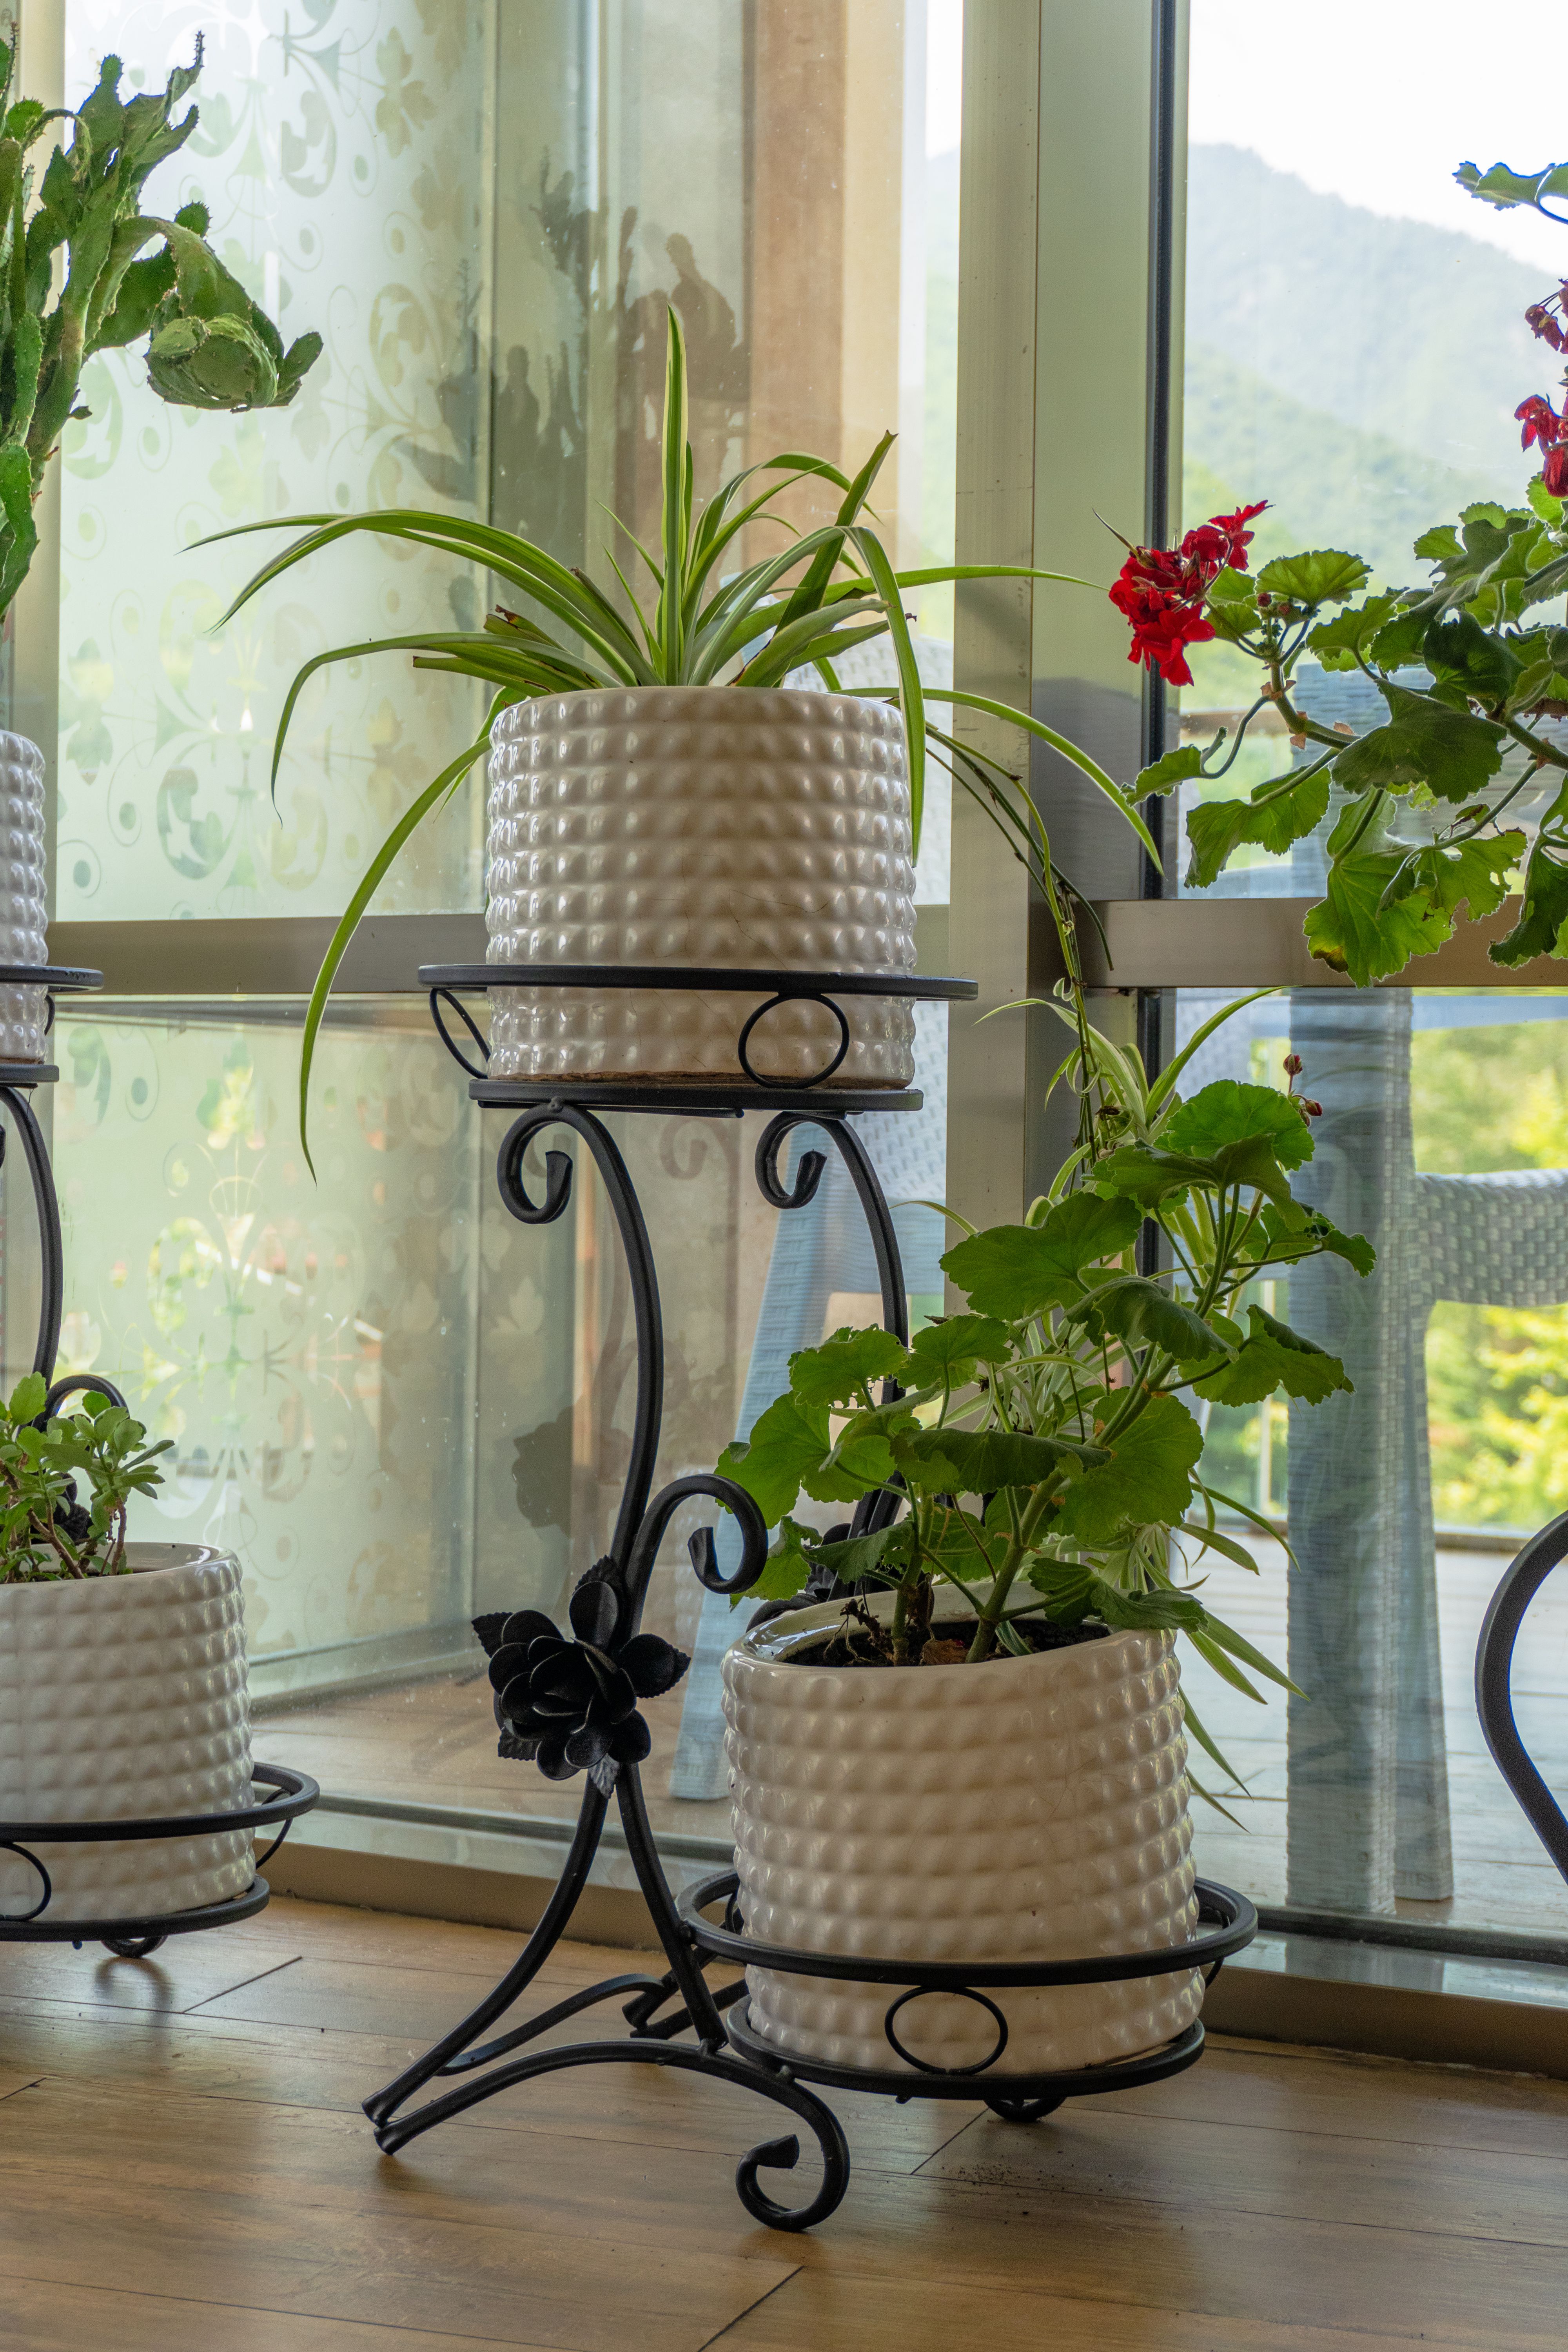
Cost: $10 to $15 | Time: 1 to 2 hours | Difficulty: Easy to medium
Pro Tip: Use brackets rated for twice the weight you expect. Watered pots weigh far more than you think.
21. Hanging Plant Stand Alternative
A hanging plant stand alternative is for rooms with no floor space left: instead of a stand, hang the plants. I use ceiling hooks and macrame-style hangers for trailing plants, which frees every surface and draws the eye upward, making the room feel taller. The hanging plants get great light near windows, and the floor stays clear for furniture. The downside is watering: hanging plants drip, so every hanger needs a drip tray or a pot with no drainage hole and careful watering. I water hanging plants over the sink, let them drain, and then hang them back, which takes an extra minute and saves my floors.
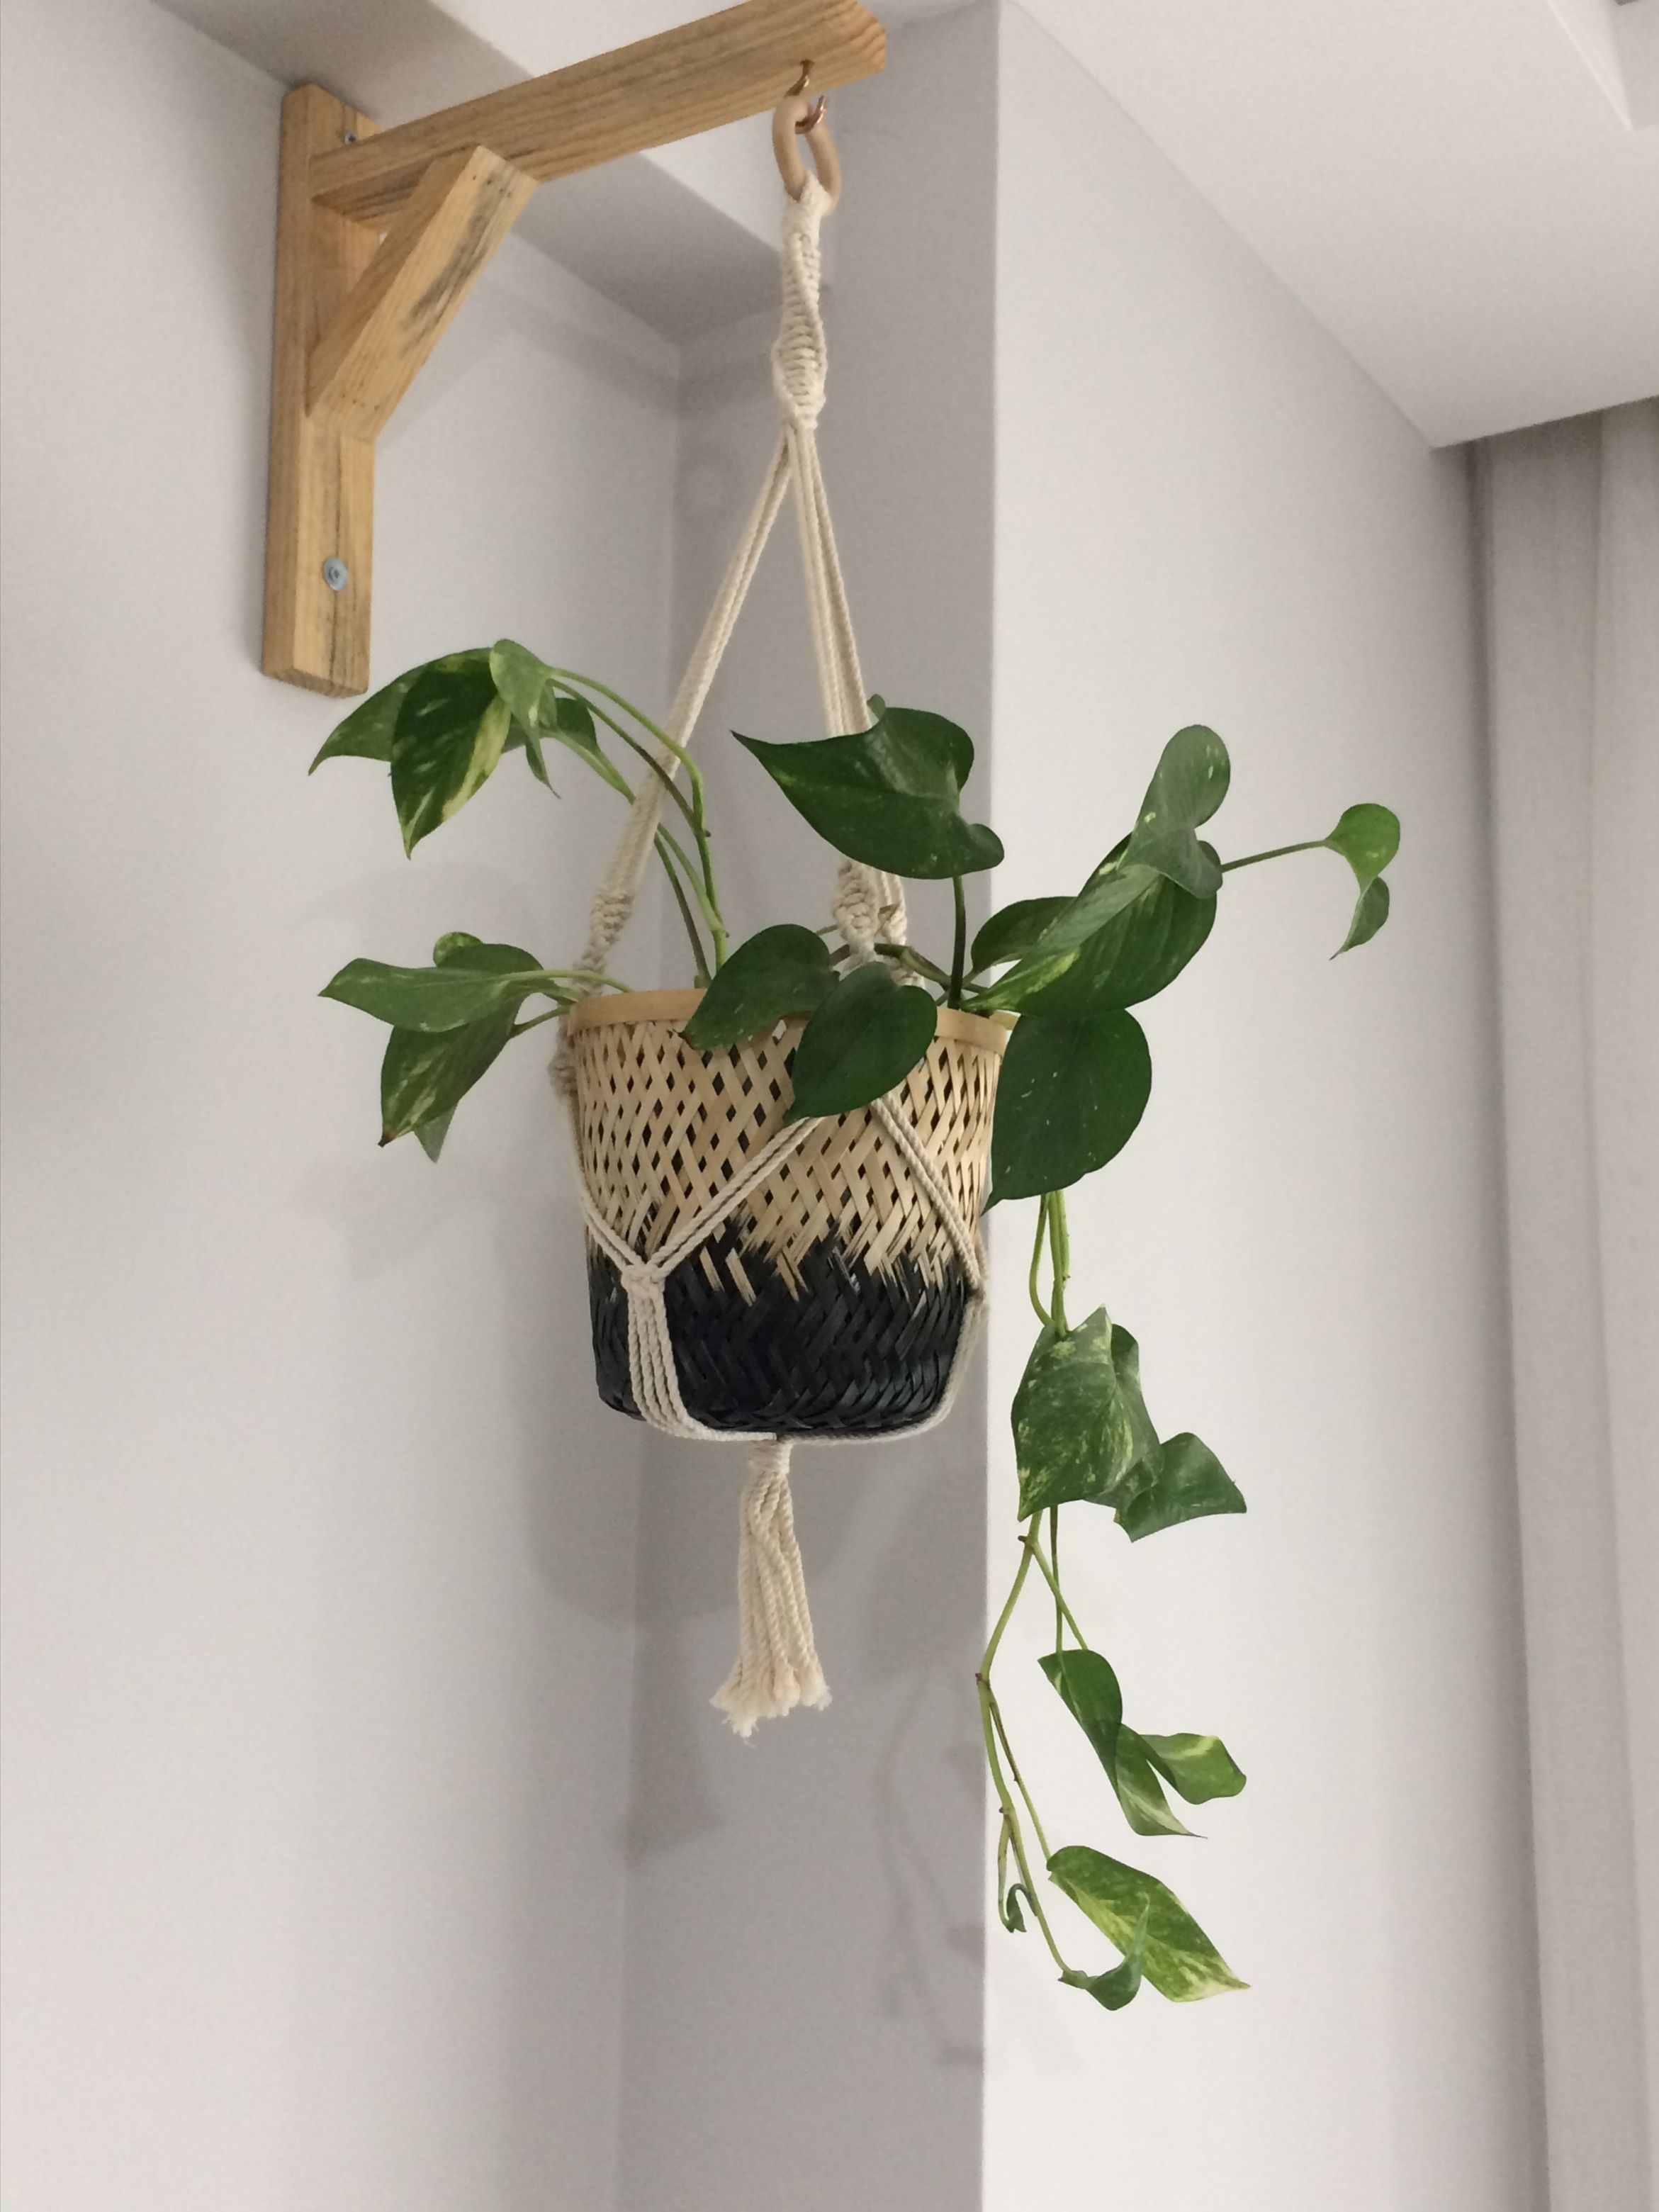
Cost: $10 to $20 for hooks and hangers | Time: 1 hour | Difficulty: Easy
Pro Tip: Hang from ceiling joists, not drywall. A falling hanging plant is a mess and a hazard.
Which Plant Stand Material Should You Choose?
| Material | Best for | Cost | Watch out for |
|---|---|---|---|
| Pine and softwood | Beginners, indoor stands | $8 to $20 | Needs sealing against water |
| Hardwood | Heavy pots, tall stands | $20 to $40 | Harder to cut and join |
| Metal shelving | Balconies, heavy collections | $20 to $35 | Rust outdoors |
| Reclaimed wood | Character, rustic looks | $5 to $15 | Nails, splinters, weak spots |
| Thrifted furniture | Unique corners, budgets | $10 to $25 | Weak joints, pests |
Mistakes I Made (So You Don’t Have To)
Building for empty pots. My first stand held a dry pot beautifully and collapsed under a watered one, because watered soil weighs three times what dry soil weighs. Now I test every stand with a fully watered pot before I trust it. For more scrap-wood projects, this related article on tote bags from old t-shirts uses the same test-it-loaded mindset.
Forgetting drainage. A stand without a tray is a floor stain waiting to happen. Every stand I build now has a tray, a saucer, or a waterproof mat underneath, no exceptions, and my floors have thanked me.
Skipping the wall bracket. Tall and leaning stands tip, especially with cats, kids, or clumsy watering. A two-dollar bracket prevents a broken pot, a ruined plant, and a very bad morning.
Frequently Asked Questions
What is the easiest DIY plant stand idea for a beginner? A simple four-legged wooden stand from pine, or a metal shelf unit used as a stand. Both take under two hours, need basic tools, and hold real weight.
How tall should a plant stand be? Tall enough to lift the plant’s leaves into good light, usually 12 to 24 inches for floor plants, and shorter for tabletop plants. For more wall display ideas that pair with plant stands, also read our paper wall decor ideas.
Can I use a plant stand outdoors? Yes, with exterior wood, exterior varnish, and feet that keep the wood off the ground. Bring wooden stands under cover in winter, and check for rot every spring. For keeping your plant supplies organized, read this next for storage baskets from old clothes.
Final Thoughts
The best DIY plant stand ideas do one simple thing: they put your plants where they can thrive and where you can enjoy them. Start with one simple wooden stand, test it with a watered pot, and build from there. Your plants will grow better, your rooms will look better, and you will wonder why your plants ever lived on the floor. Mine certainly did, and they have never been happier than they are on their stands.