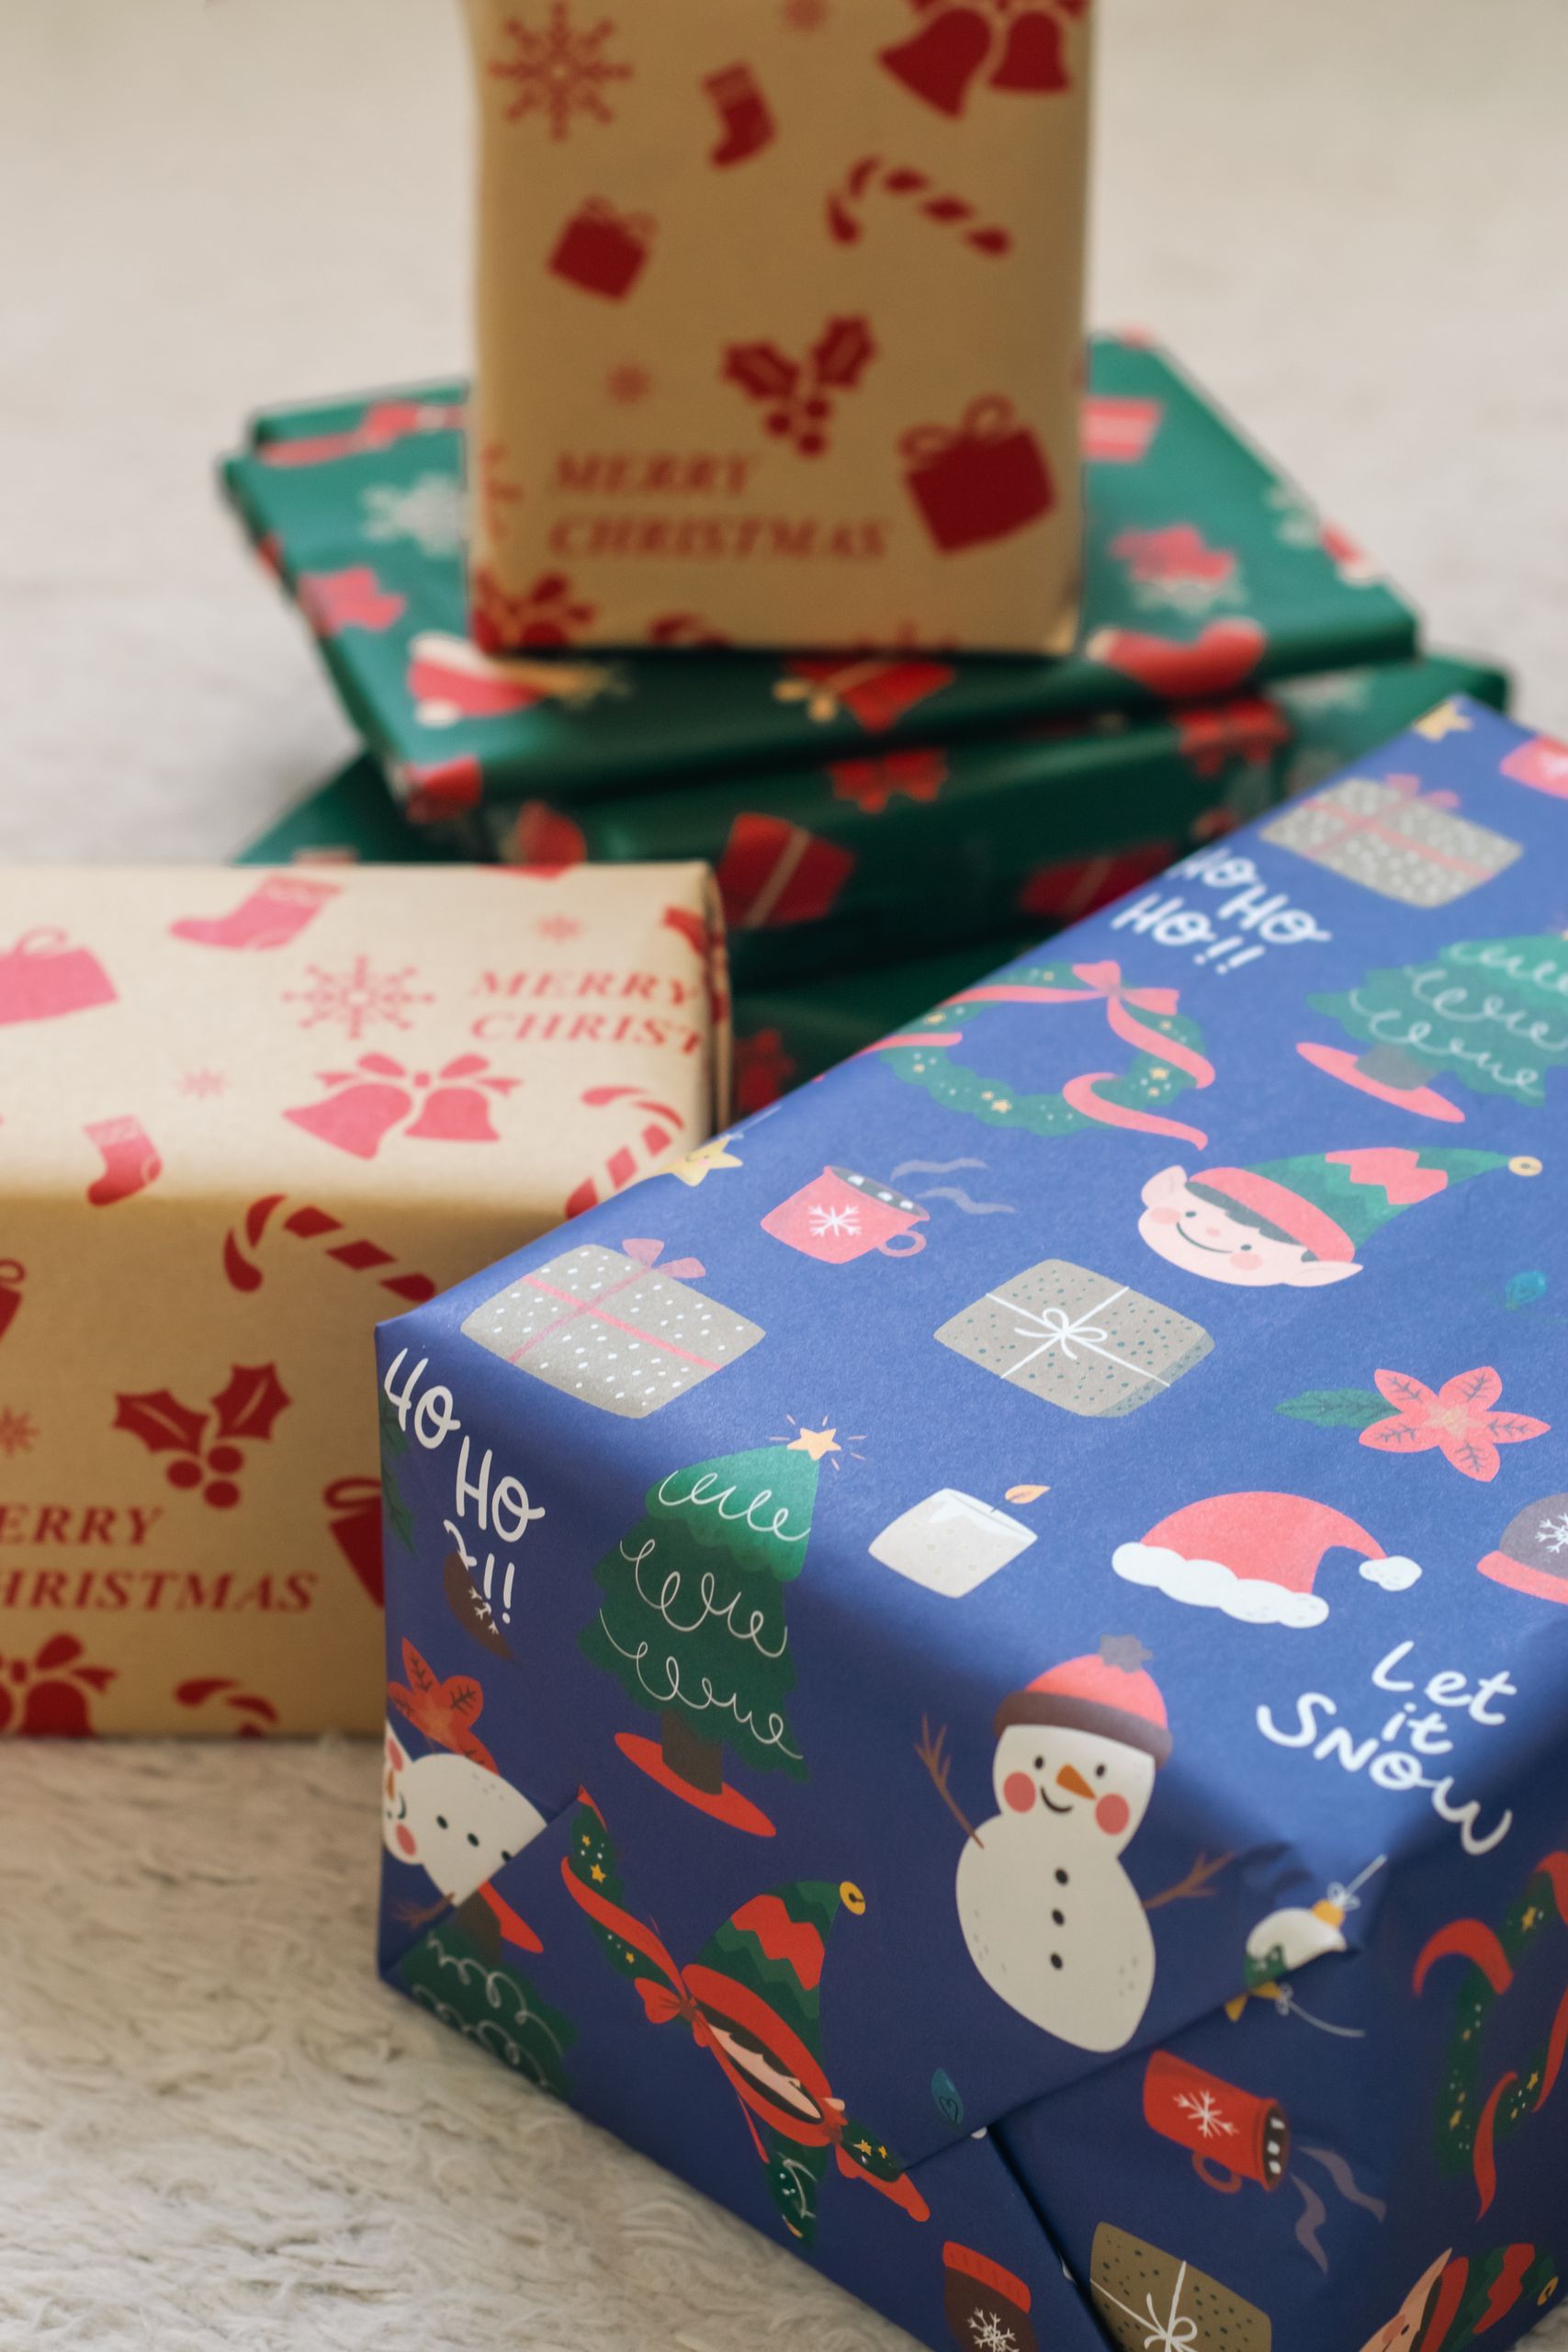
20 Gift Wrap Organization Ideas
I used to keep my gift wrap in three different places: rolls leaning in a closet corner, bags stuffed in a drawer, and ribbon in a box I was slightly afraid to open. Every birthday and Christmas started with a hunt, so I rebuilt everything around gift wrap organization ideas that keep every roll, bag, and bow in one findable system.
I picked these 20 gift wrap organization ideas by testing each one through a full year of birthdays, holidays, and last-minute gifts in my own house. I kept the systems that survived real use, fixed the ones that tangled or toppled, and dropped anything that only looked tidy in a photo. If it is in this list, it held up through at least one chaotic December.
Key Takeaways
- Store rolls upright so they never crease or flatten under weight.
- Keep bags, tissue, ribbon, and tools together in one station.
- Sort by occasion and color so you grab the right wrap in seconds.
- Use up half-used rolls first before buying anything new.
1. An Over-Door Organizer for Small Spaces

When I lived with one small hall closet, an over-door organizer saved my wrapping supplies from total chaos. The clear pockets held rolls, tape, scissors, and tags right on the back of the door, using space that was otherwise completely wasted. I could see everything at once, which meant I stopped buying duplicate tape for the third time in a year.
The honest limit is weight: heavy rolls and big bags will pull a cheap organizer off its hooks. I keep only light supplies on the door now and move the big rolls to a bin, which is a balance that has worked for three years.
Pro Tip: Hang the organizer on a door you open daily, so supplies stay visible and actually get used.
Cost: $12–$25 | Time: 20 minutes | Difficulty: Easy
2. A Rolling Cart You Can Move to the Table
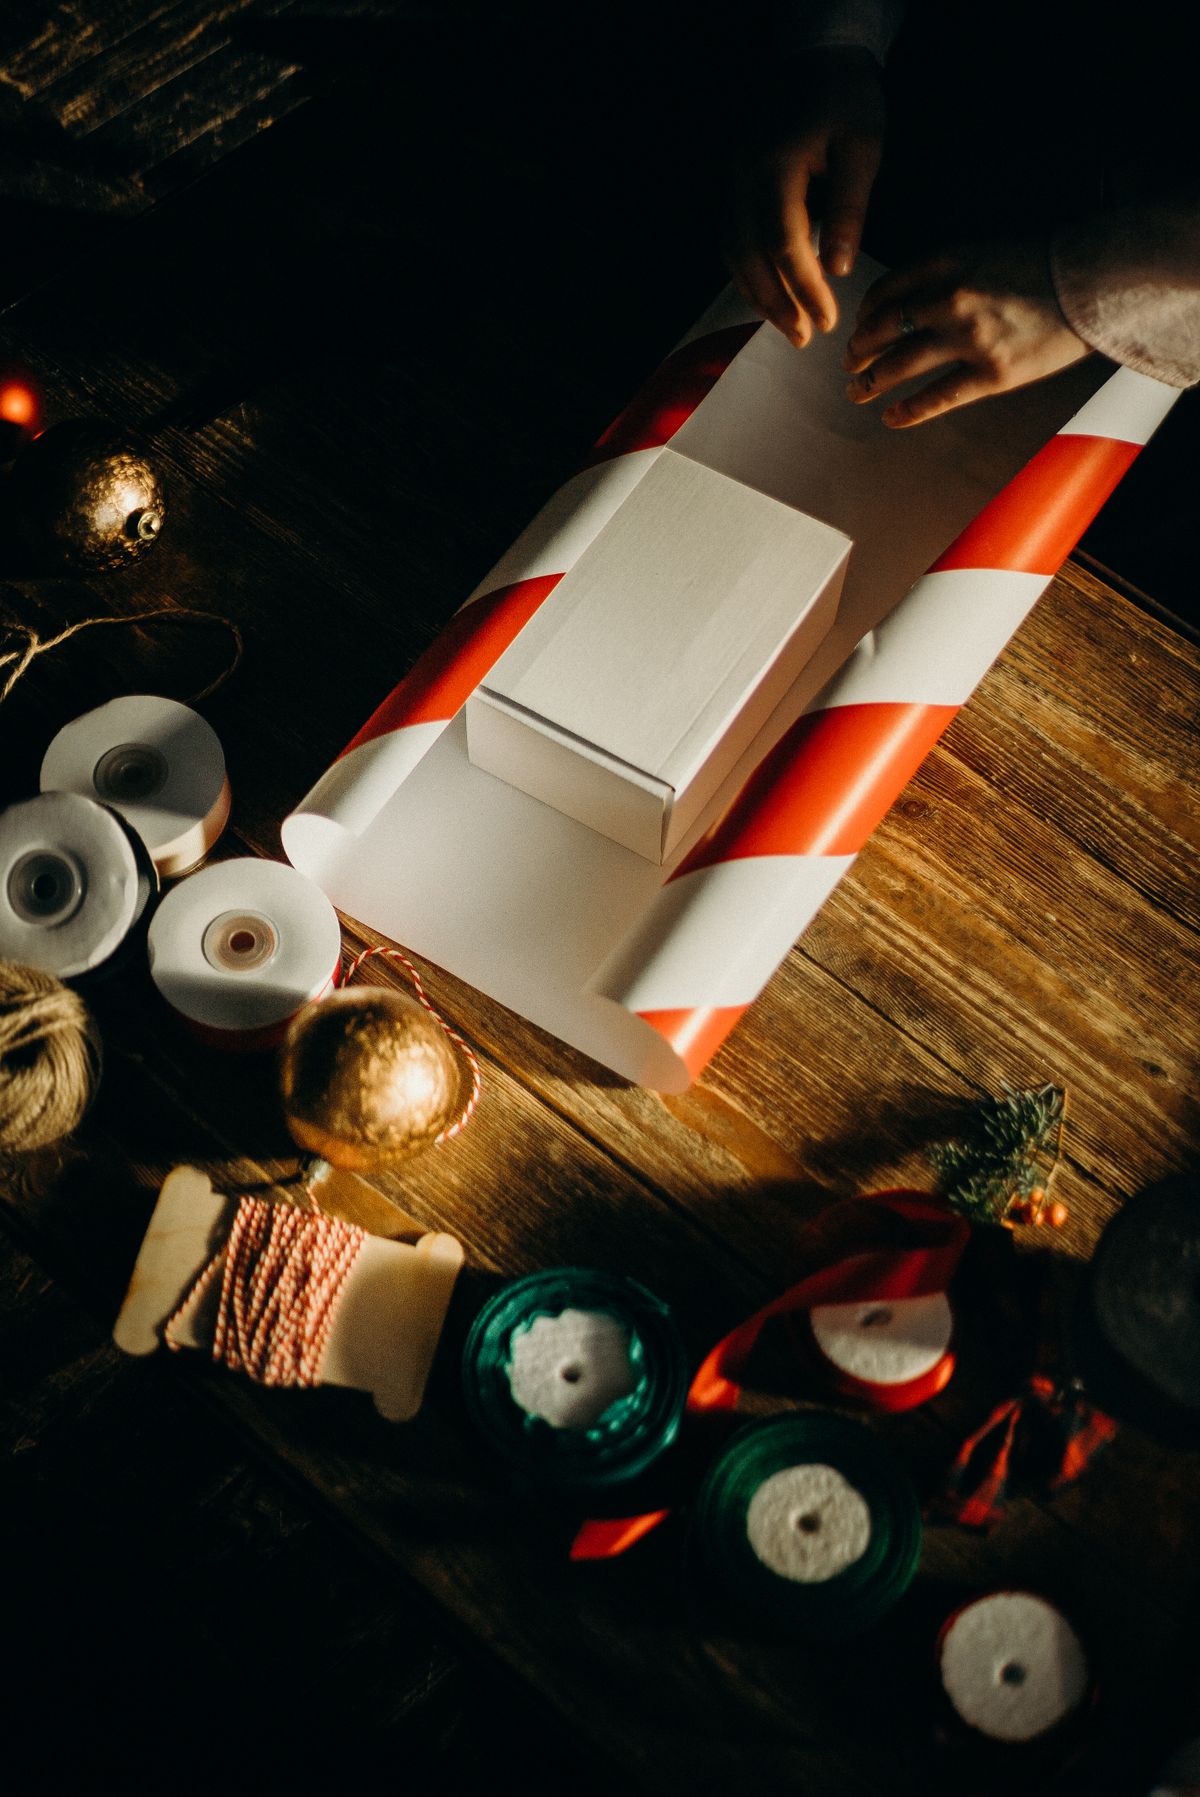
My favorite upgrade was a three-tier rolling cart that lives in the guest room closet and rolls out to the dining table whenever I wrap. Everything travels together: paper on the bottom, bags and tissue in the middle, tools on top. I wrapped fourteen Christmas gifts in one evening last year without once leaving the table to hunt for scissors.
The cart needs a parking spot, because a loaded cart in a hallway becomes a tripping hazard fast.
Pro Tip: Keep the cart stocked year-round, not just at Christmas, so birthday wrapping is painless too.
Cost: $25–$45 | Time: 30 minutes to set up | Difficulty: Easy
3. A Closet Wrapping Station

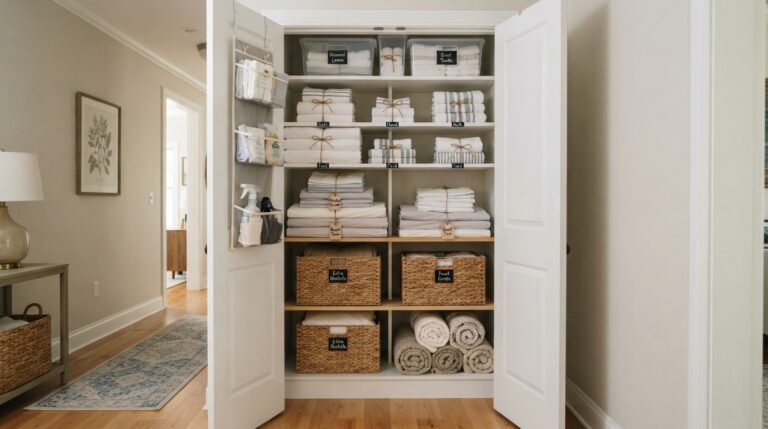
I turned half of our guest room closet into a permanent wrapping station, with rolls standing in a tall bin and small supplies in labeled boxes on the shelf above. Having a dedicated spot ended the old cycle of gathering supplies from four rooms, wrapping on the floor, and then stuffing everything back wherever it fit. Now wrapping starts in two minutes flat.
The station attracts stray items, so I do a five-minute tidy every January to keep it from turning back into a junk closet.
Pro Tip: Leave one empty shelf section for gifts waiting to be wrapped, so they never pile on the floor.
Cost: $15–$30 for bins | Time: 1 hour | Difficulty: Easy
4. Rolls Standing Upright in a Tall Bin

Flat-stacked rolls were my old mistake: the bottom ones came out creased and the top ones rolled off every time I reached in. Standing rolls upright in a tall, narrow bin fixed both problems at once, and I can flip through them like books to find the pattern I want. I sort mine with Christmas at the back and birthdays at the front, since birthdays happen all year.
Very tall rolls can still topple if the bin is too wide, so I stuff a rolled towel in any gap to keep them snug. A rubber band around each roll stops the loose end from unrolling and getting crumpled in the bin.
Pro Tip: Cut a small triangle off the loose end of each roll so you can spot the starting edge instantly.
Cost: $10–$18 for a tall bin | Time: 15 minutes | Difficulty: Easy
5. Gift Bags Filed Upright Like Files

Gift bags used to arrive home, get flattened into a drawer, and emerge looking like they had survived a storm. Now I file them upright in a deep box, sorted by size, with tissue tucked inside the larger ones so they hold their shape. I can see every bag at a glance, and the nice ones actually stay nice enough to reuse.
I nest small bags inside the biggest bag of the same color family, never more than three deep, and damaged bags go straight to recycling.
Pro Tip: Keep one bag per size at the front of the file, so you never unfold five bags to check sizes.
Cost: $8–$15 for a deep box | Time: 20 minutes | Difficulty: Easy
Related article: 20 Christmas Crafts for Kids
6. Ribbon on a Dowel Rod

A dowel rod mounted inside a closet or on a craft room wall turned my ribbon chaos into something I actually enjoy using. Each spool slides onto the rod, I pull what I need, and the rest stays put instead of rolling away. I grouped mine by color, warm tones on one rod and cool tones on another, which makes matching ribbon to paper almost automatic.
The catch is that very wide or wired ribbon does not slide well on a thin dowel, so those spools live in a separate box. I also learned to cut ribbon with the spool still on the rod, because removing it every time is how tangles start.
Pro Tip: Add a small clip at the rod end so spools cannot slide off when you pull.
Cost: $5–$12 for dowels and brackets | Time: 30 minutes | Difficulty: Easy
7. A Basket for Ribbon Scraps

Short ribbon pieces too pretty to throw away used to end up in a drawer, tangled beyond saving. Now they go in one small basket, each piece rolled and held with a mini clothespin, and I reach for that basket first for small gifts and jar toppers. Last year I wrapped six small birthday gifts entirely from scraps, which felt wonderfully thrifty.
I am honest about the limit here: if a scrap is shorter than my hand, it goes in the bin, because saving everything is how a scrap basket becomes a junk basket. A quick sort every few months keeps it useful instead of overwhelming.
Pro Tip: Sort scraps by color family in small bundles, not by exact shade, to keep sorting fast.
Cost: $5–$10 for a basket | Time: 20 minutes | Difficulty: Easy
8. Tissue Paper Filed Like Files

Tissue paper is the supply I wasted most, because crumpled sheets at the bottom of a bag always looked too sad to use. I started filing full sheets upright in a magazine holder, sorted by color, and suddenly I could see what I owned and grab one sheet without disturbing the rest. The sheets stay smooth, and I stopped buying new tissue I did not need.
Metallic tissue still tears if I rush, so I keep that in its own folder and handle it last, after the plain sheets are already in the bag. It is a tiny habit that saved several sheets last December alone.
Pro Tip: Keep white and cream tissue at the front, since those get used for almost every occasion.
Cost: $5–$10 per holder | Time: 15 minutes | Difficulty: Easy
9. Tags, Pens, and Tape in One Caddy

The smallest supplies caused the biggest delays in my house: one pen missing, tape gone, tags nowhere. One divided caddy now holds all of it, and the caddy travels with me whether I wrap at the table or on the floor. I refill it every January, so December never starts with a dried-out pen and half a roll of tape.
I keep two pairs of scissors in the caddy, because one always wanders off to another room. The second pair has saved more wrapping sessions than any other single item I own.
Pro Tip: Tape a spare roll of double-sided tape to the bottom of the caddy, out of sight but always there.
Cost: $8–$15 | Time: 15 minutes | Difficulty: Easy
10. A Divided Box Just for Bows

Bows are the first thing to get crushed in a mixed box, and a flattened bow looks tired no matter how pretty the paper is. I gave bows their own shallow divided box, sorted by color and size, and they come out looking store-bought even after a year. The box sits on top of the wrap bin so nothing heavy ever lands on it.
Handmade bows get their own section, since they are flatter and more delicate, and I stopped buying giant clearance bags that overfill the box.
Pro Tip: Store bows upside down in their compartments so the loops keep their shape.
Cost: $6–$12 for a divided box | Time: 15 minutes | Difficulty: Easy
Also read: 22 Craft Room Organization Ideas
11. A Drawer Tray for Scissors and Tape

If you wrap at a desk or in a craft room, a shallow drawer tray keeps scissors, tape dispensers, and rulers from sliding into a jumbled pile. I lined my tray with a non-slip mat, which stopped the scissors from migrating every time the drawer opened. It is a boring solution, but boring is exactly what you want when you are wrapping on a deadline.
I keep the sharpest scissors in a sheath inside the tray, because reaching into a drawer of loose blades is asking for trouble. The kids have their own safety scissors in a separate tray, which keeps everyone happy.
Pro Tip: Label each tray section, so anyone tidying up puts tools back in the right spot.
Cost: $8–$15 | Time: 10 minutes | Difficulty: Easy
12. A Flat Zone for Under-Bed Wrap Storage

When closet space ran out, I moved my overflow wrap into a flat lidded bin that slides under the guest bed. It holds folded bags, tissue, and a few flat rolls, and it stays dust-free and out of sight for most of the year. I only keep light, flat items there, since dragging a heavy bin across carpet is miserable and risks tearing the paper.
The rule that makes this work is checking the bin twice a year, because out-of-sight storage is easy to forget. I check it in June and again in November, and I pull out anything damaged before it matters.
Pro Tip: Put a list of the bin contents on top, so you never slide it out just to check.
Cost: $12–$22 per flat bin | Time: 20 minutes | Difficulty: Easy
13. A Folder for Leftover Paper Scraps

Half-used sheets and large offcuts used to get folded into a drawer and emerge too creased to use. Now they live flat in a large art folder, sorted roughly by color, and I reach for them first for small gifts, jar covers, and card making. I wrapped every teacher gift last year from this folder without buying a single new roll.
The folder only works if I am ruthless about size: anything smaller than a book page goes to recycling or the kids’ craft box. Keeping tiny scraps is how a folder turns into a stuffed mess that nobody opens.
Pro Tip: Slip a sheet of plain paper between patterned scraps so colors do not transfer.
Cost: $8–$14 for a large folder | Time: 15 minutes | Difficulty: Easy
14. Seasonal Rotation: Christmas Back, Birthdays Front

Birthdays happen all year, but Christmas wrap only matters for about six weeks, so I rotate my stock twice a year. In January, Christmas paper moves to the back of the bin and birthday paper comes forward; in November, they swap. It is a ten-minute job that stops me from digging past Santa paper to find a birthday roll in March.
I do the same swap for bags and bows, and I use the rotation as my inventory moment, noting what ran out so I can buy it on sale. The first year I rotated properly, I realized I had four identical red rolls and bought nothing new that Christmas.
Pro Tip: Do the rotation the same weekend you pack away decorations, while everything is already out.
Cost: Free | Time: 10 minutes | Difficulty: Easy
15. A Gift Closet Shelf for Ready-to-Go Supplies
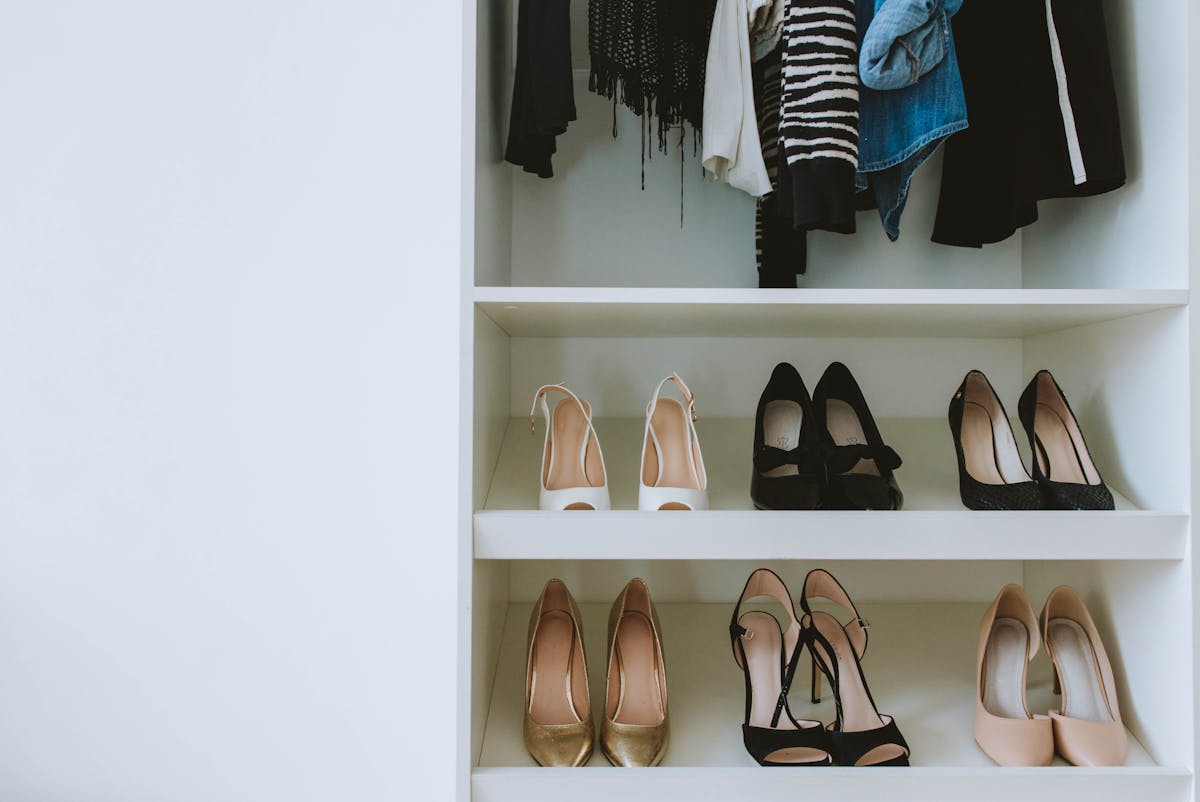
I keep one closet shelf as my gift closet: a few universal rolls, neutral bags, tissue, and a tag caddy, all ready for a surprise birthday or a last-minute invitation. When a gift emergency hits, I can wrap something presentable in ten minutes without raiding the main stash or making a special trip. It has saved me more times than I can count.
The shelf stays small on purpose, and I restock it from the main supply, capped at what fits on one shelf.
Pro Tip: Stock only neutral and gold tones here, since they suit almost any occasion.
Cost: $10–$20 for shelf bins | Time: 20 minutes | Difficulty: Easy
Read this next: 21 Closet Organization Ideas for Small Closets
16. A Packing Corner for Odd-Shaped Gifts

Bottles, plush toys, and awkward shapes are the gifts that defeat normal wrapping, so I keep a small packing corner with boxes, filler, and sturdy bags just for them. A gift that gets boxed first wraps cleanly every time, instead of ending up as a lumpy bundle with tape everywhere. I learned this after wrapping a plant pot in paper alone, which tore before I even reached the car.
I save sturdy boxes all year for this corner, plus kraft paper for odd shapes, since it forgives folds better than glossy paper.
Pro Tip: Box first, wrap second, for anything that is not already a neat rectangle.
Cost: Free with saved boxes | Time: 10 minutes per gift | Difficulty: Easy
17. A Reuse Station for Bags and Boxes

Every gift bag that comes into our house gets sorted at the door now: good ones go to the reuse station, torn ones go to recycling, and the rest become craft paper for the kids. The station is just one box by the closet, but it keeps reusable bags from piling on the kitchen counter, and it means I rarely buy new bags at all.
I check the station monthly, because a reuse box that nobody sorts becomes a junk box fast. Anything with a name written on it gets the tag removed on the spot, so nobody receives a bag still labeled for someone else.
Pro Tip: Keep a pen in the reuse box for crossing out old names immediately.
Cost: Free | Time: 5 minutes per week | Difficulty: Easy
18. A Ribbon and Bow Matching Board

I pin a few favorite ribbon and paper pairings to a small board inside my wrapping closet, so I never stand staring at supplies wondering what matches. The board holds short ribbon samples clipped beside paper swatches, and it has quietly become my favorite part of the whole system. Guests who wrap at my house use it too, and their gifts look far more coordinated than mine used to.
The board only holds six pairings at a time, because more than that turns a helpful guide into a confusing collage. I swap the pairings each season, which keeps wrapping feeling fresh instead of repetitive.
Pro Tip: Photograph your board before swapping it, so favorite pairings are never lost.
Cost: $5–$10 for a board and clips | Time: 20 minutes | Difficulty: Easy
19. An Inventory List on the Bin

I tape a simple inventory list to the outside of my main wrap bin: rolls by pattern, bag counts by size, and a note when tape is low. Updating it takes two minutes after a big wrapping session, and it stops the classic mistake of buying a fifth roll of gold paper. My November shopping list now comes straight from this sheet.
The list only works if it stays honest, so I cross things off as I use them rather than trying to remember later. A pencil works better than a pen here, since counts change constantly through December.
Pro Tip: Note the shop and price beside anything you buy often, for faster restocking.
Cost: Free | Time: 10 minutes | Difficulty: Easy
20. A Grab-and-Go Kit for One Gift

My last system is a small grab-and-go kit: one neutral roll, one bag, tissue, ribbon, tags, tape, and scissors in a single tote. When I need to wrap one gift fast, I grab the tote and go, instead of opening the whole station. It lives by the front door closet, and it has handled every surprise gift in the last two years without a single frantic search.
I restock the kit the moment I use it, not later, because a kit that is missing tape is just a bag of paper. That one rule is the difference between a kit that works and a kit that disappoints.
Pro Tip: Restock the kit immediately after use, while you still remember what ran out.
Cost: $10–$15 for a tote | Time: 10 minutes | Difficulty: Easy
Mistakes I Made With Gift Wrap Organization Ideas
My biggest mistake was buying storage before sorting, which left me with beautiful bins full of supplies I did not need and no room for the ones I used daily. Now I sort first, count what I actually own, and only then buy a container that fits the real pile, not the imagined one.
I also stored rolls flat under heavy boxes for years, and every December I unwrapped creased paper. Standing rolls upright fixed a problem I had blamed on cheap paper.
My third mistake was keeping every scrap and every bag, which turned my station into a junk drawer with ribbon on top. A ruthless size rule for scraps and a monthly reuse sort keeps the system usable, and honestly, letting go of the sad bags felt better than keeping them.
Gift Wrap Storage Comparison Table
| Method | Best For | Cost | Effort |
|---|---|---|---|
| Over-door organizer | Small spaces, light supplies | Low | Low |
| Rolling cart | Whole-station wrapping | Medium | Low |
| Closet station | Frequent wrappers | Low | Medium |
| Tall upright bin | Rolls of all sizes | Low | Low |
| Grab-and-go kit | Single fast gifts | Low | Low |
| Flat under-bed bin | Overflow and flat stock | Low | Low |
Frequently Asked Questions
How long did your gift wrap system actually last?
The closet station and rolling cart have lasted three full years with small refills. The failures were overload: a door organizer stuffed with heavy rolls and an unsorted scrap basket.
What would you do differently if you started over?
I would sort and count everything before buying a single container, and I would start with upright roll storage instead of flat stacking. Those two choices alone would have saved me two years of creased paper and duplicate purchases.
How do I stop wrapping paper from unrolling in storage?
Stand rolls upright in a snug bin, slip a rubber band around each roll, and store them where nothing heavy presses on them. A small clip on the loose end works too, and it keeps the starting edge easy to find.
Can I store gift wrap in the garage?
Only in a sealed, lidded bin kept off the floor and away from dampness, because paper and humidity are a bad match. I keep my main supply indoors and only sturdy overflow in the garage, checked twice a year for damage.
Final Thoughts
Good gift wrap organization ideas are not about a perfect craft room. They are about never starting a wrapping session with a search, and never ending one with supplies scattered across three rooms. Pick one station, keep rolls upright, and let the rest of the system grow around what you actually use.
Start this weekend with a single sort: gather every roll, bag, and ribbon, keep what you love, and give the rest a real home.