18 Halloween Entryway Decor Ideas That Welcome Trick-or-Treaters in Style
I love Halloween, but my entryway is the first thing trick-or-treaters actually see, and for years mine was just a pile of shoes with a pumpkin shoved by the door. These halloween entryway decor ideas are the ones I tested in my own narrow hall, which has one console table, a coat hook rail, and exactly one plug socket.
How I picked these: I kept only looks that survived a whole October of muddy boots, door-slamming, and kids grabbing at everything, that I could put up in under an hour, and that still left room to walk through with a pram. I skipped anything that blocked the door, needed a ladder every night, or fell over the first time the wind caught it.
Key Takeaways
- Keep the path clear first and decorate second, especially for trick-or-treaters and prams.
- One big focal piece, like a wreath or a pair of lanterns, beats ten small things crowded on a console.
- Battery lights beat plug-in lights in a hall with no spare socket, and they are safer around kids.
- Put candy, bags, and a torch by the door the night before, so you are not hunting for them in the dark.
18 Halloween Entryway Decor Ideas
1. A Big Wreath, Hung at Eye Level
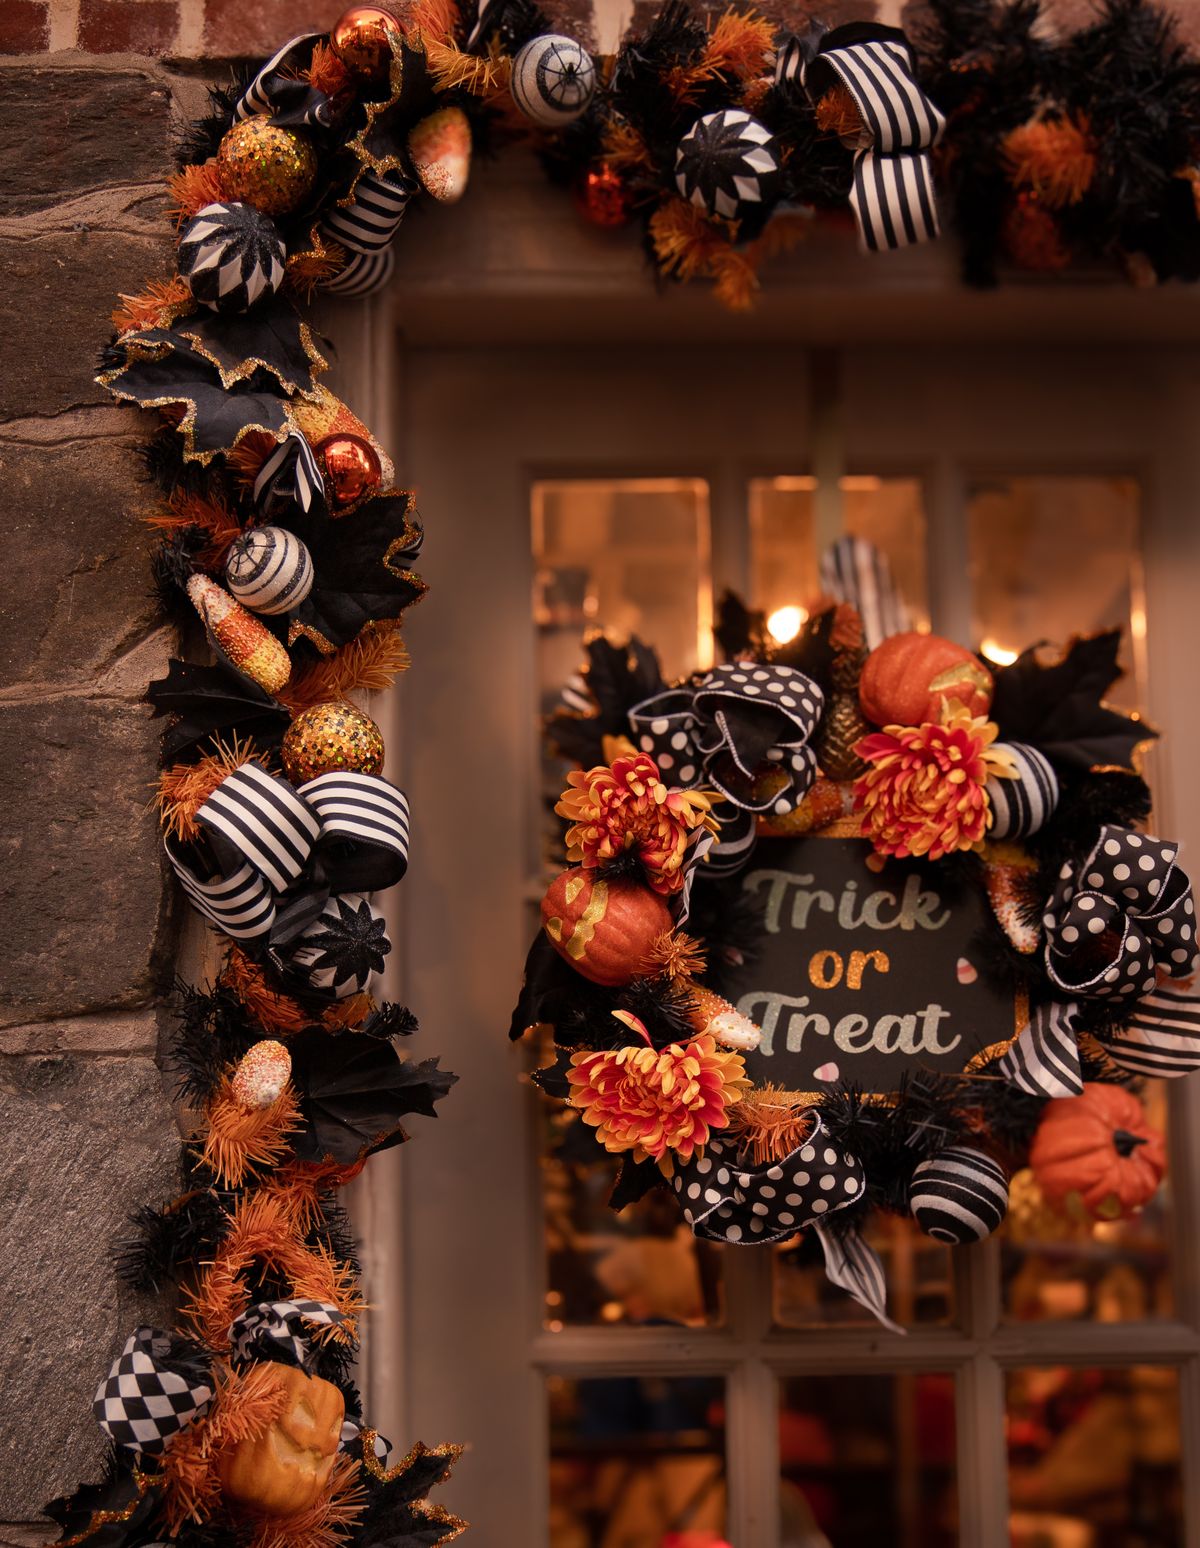
I hung a grapevine wreath with mini pumpkins and black ribbon on the front door, centred at about 150 cm high so adults and taller kids both see it. I used a removable over-door hook instead of a nail, which took two minutes and left no mark. It survived wind and rain for four weeks, and I only had to straighten the ribbon twice.
The downside is that a heavy wreath can swing and scratch the door in wind, so I added a small felt pad behind it.
Pro Tip: Hang the wreath on the outside for visitors and a smaller one inside the hall, so the theme carries through the door.
Cost: $15-$35 | Time: 10 minutes | Difficulty: Easy
2. A Pair of Lanterns Flanking the Door
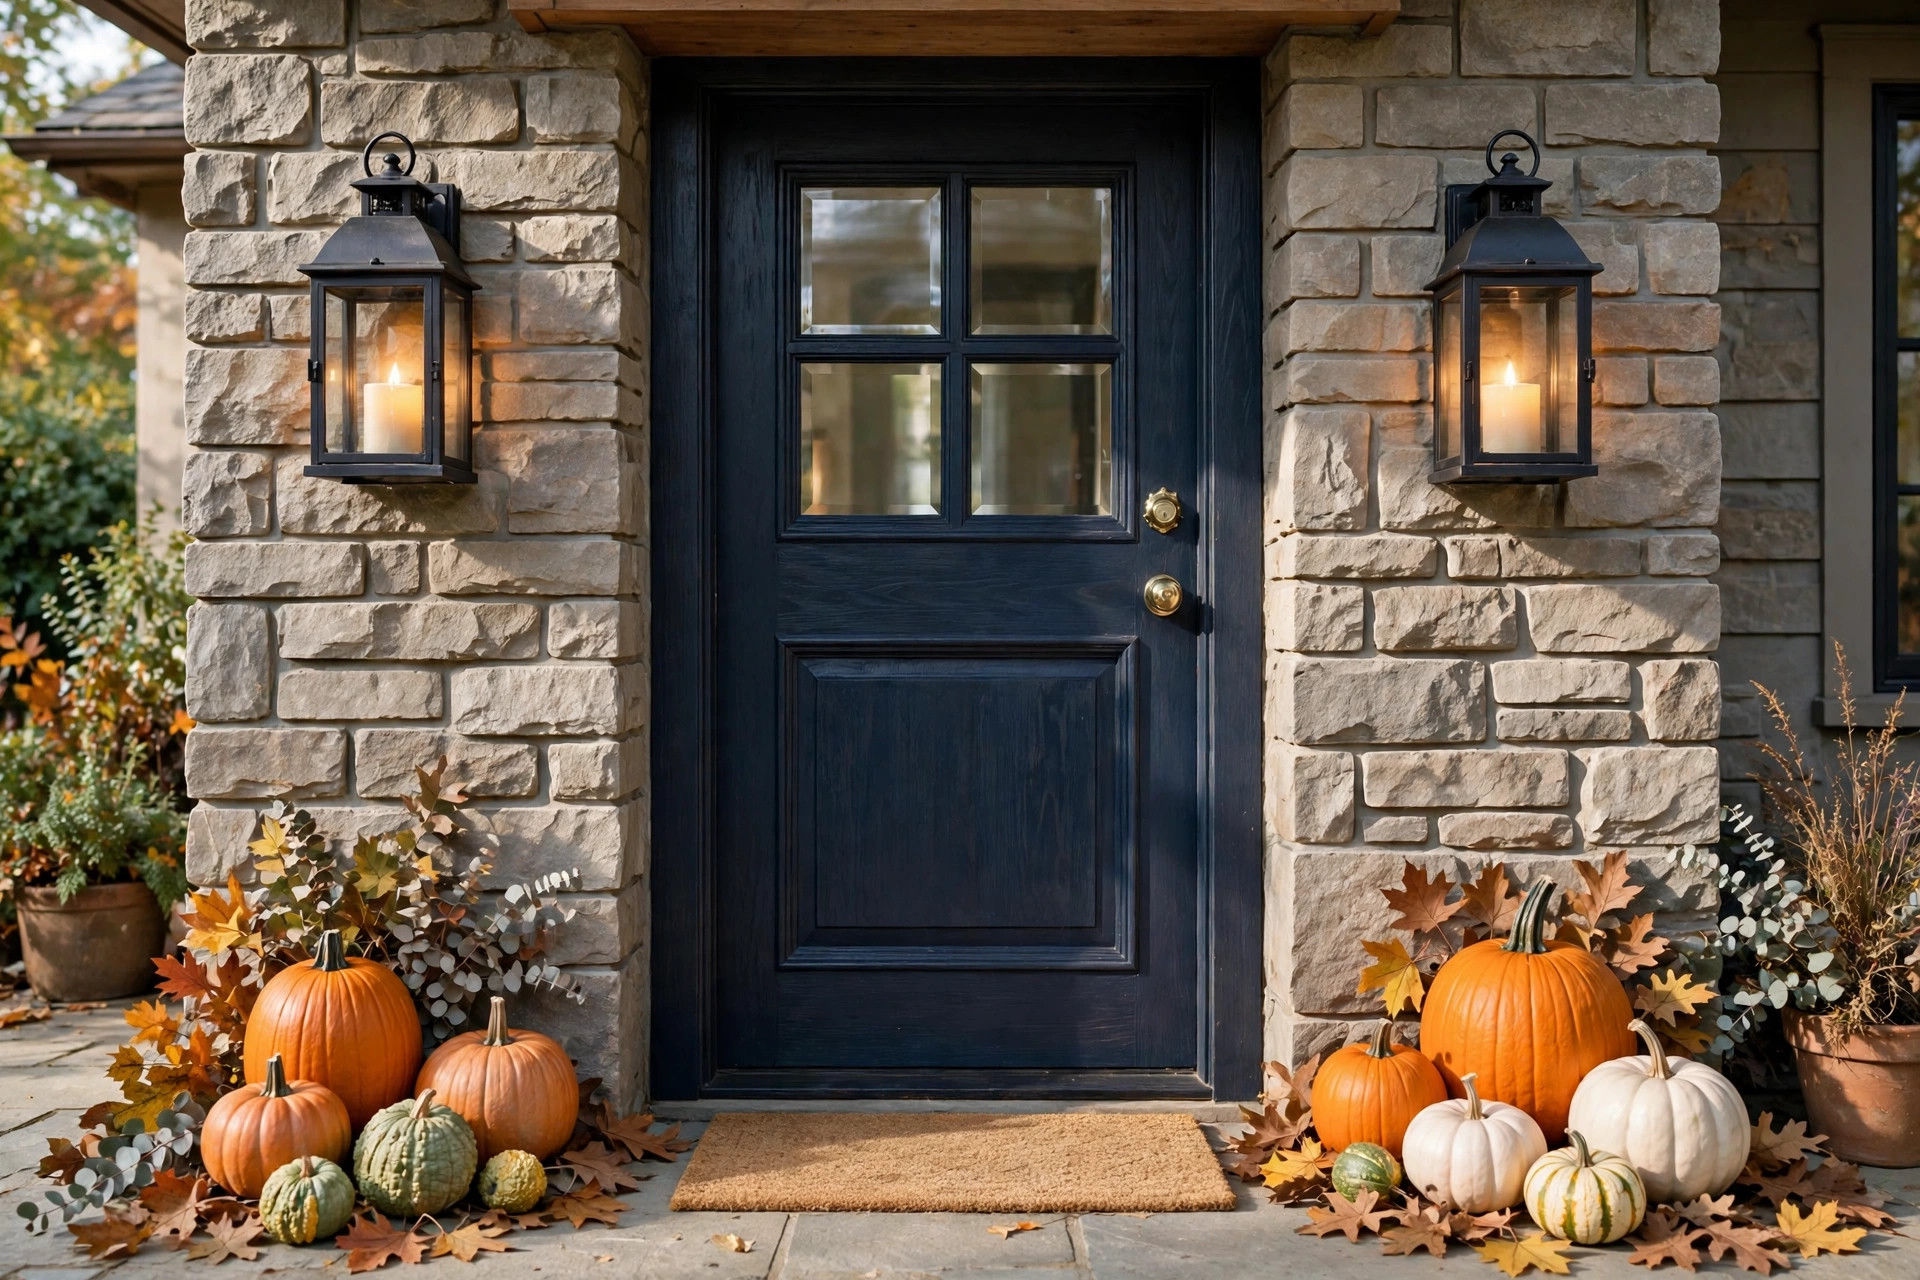
I put two black metal lanterns, one each side of the door, with battery pillar candles inside. They are about 30 cm tall, heavy enough not to blow over, and I set them back 20 cm from the step edge so nobody trips. At dusk the hall glows without any wiring, and I just switch them on when I get home.
The downside is that battery candles look flat in bright daylight, so these really only shine after 6 pm.
Pro Tip: Use one warm-white candle in each lantern and a timer, so they come on by themselves every evening.
Cost: $20-$40 for two | Time: 15 minutes | Difficulty: Easy
3. A Pumpkin Cluster by the Door, Not a Pumpkin Wall
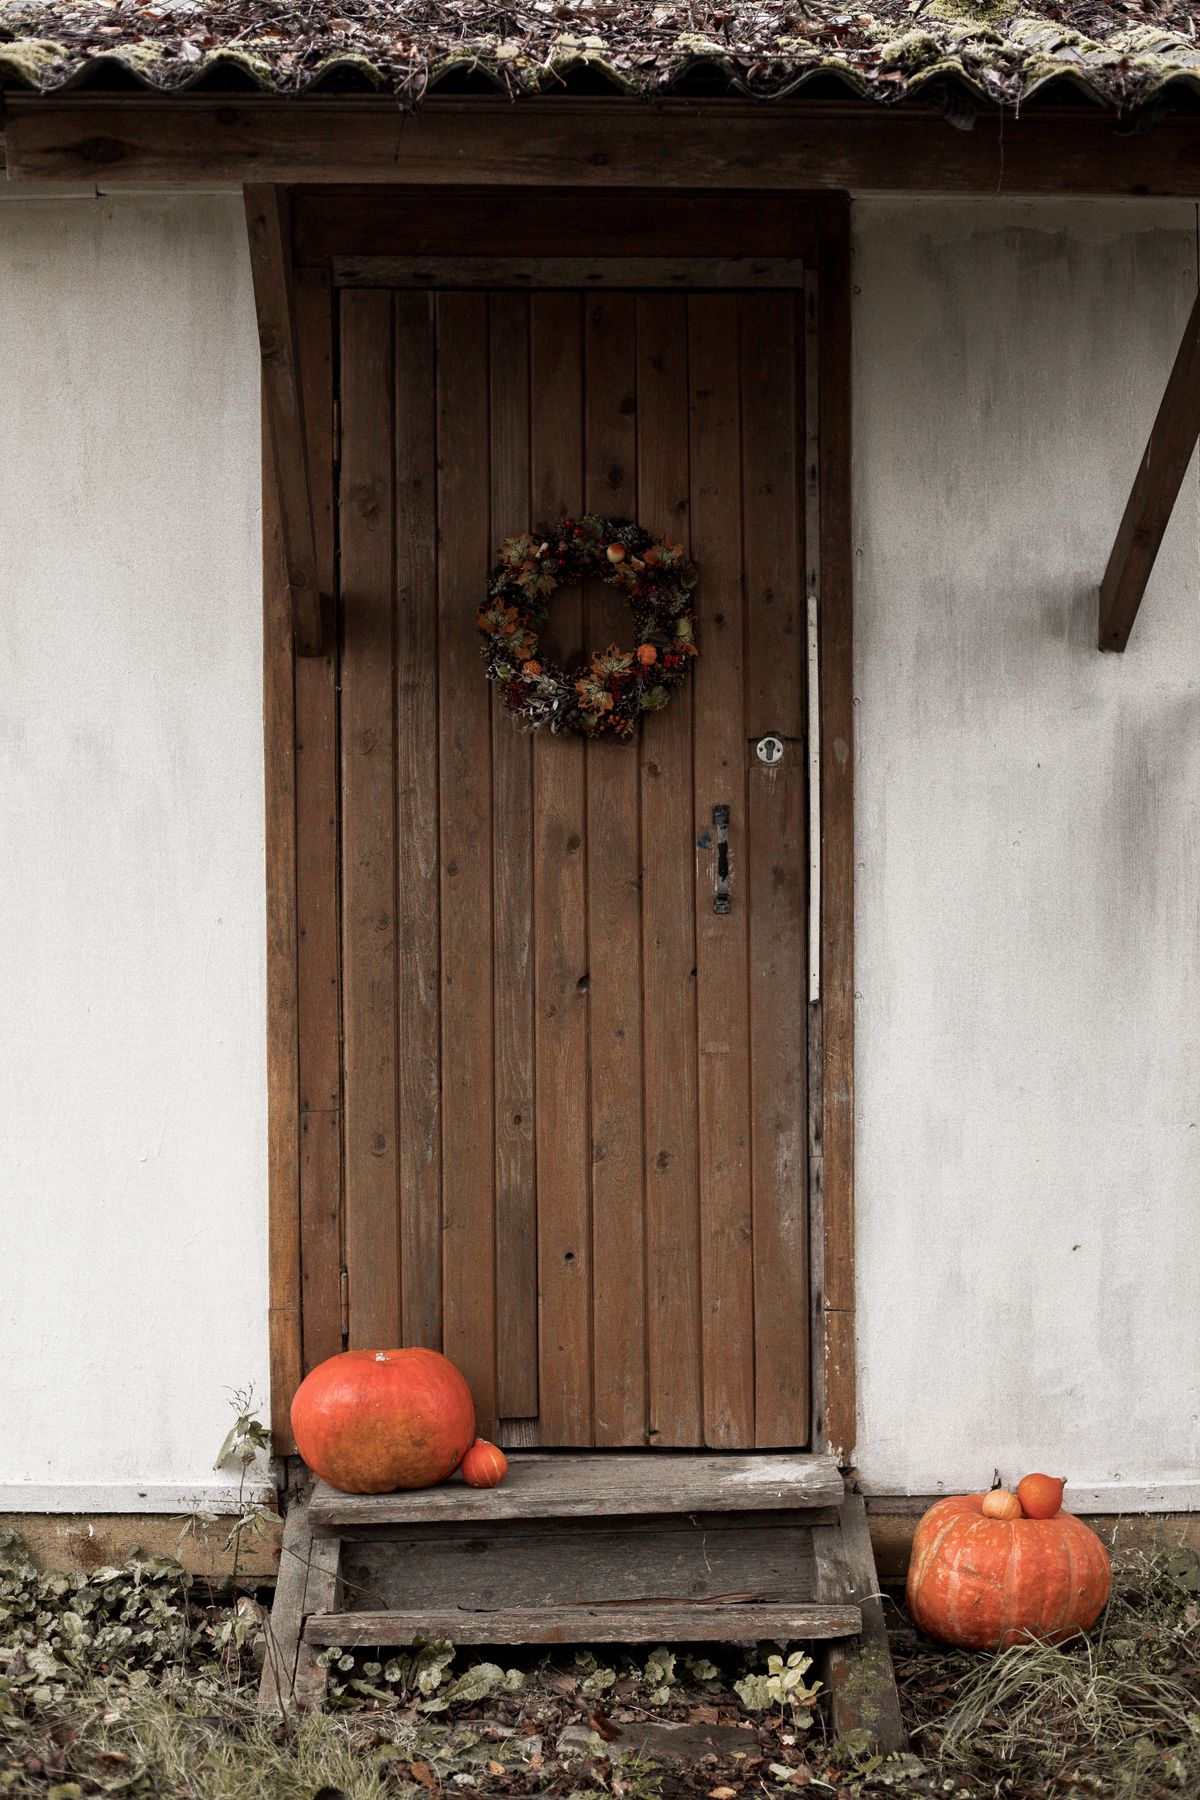
My first year I bought nine pumpkins and the hall looked like a market stall. Now I use three: one large carved jack-o-lantern, one medium painted pumpkin, and one small white pumpkin, grouped in a triangle by the door. I carve only the front one, and I put the others on a tray so soil does not stain the step.
The downside is that a carved pumpkin softens after about five days outside, so I carve it the weekend before Halloween, not at the start of October.
Pro Tip: Put a battery tea light inside, never a real candle, if kids will be reaching past it.
Cost: $10-$25 | Time: 30 minutes | Difficulty: Easy
4. A Doormat That Does the Talking
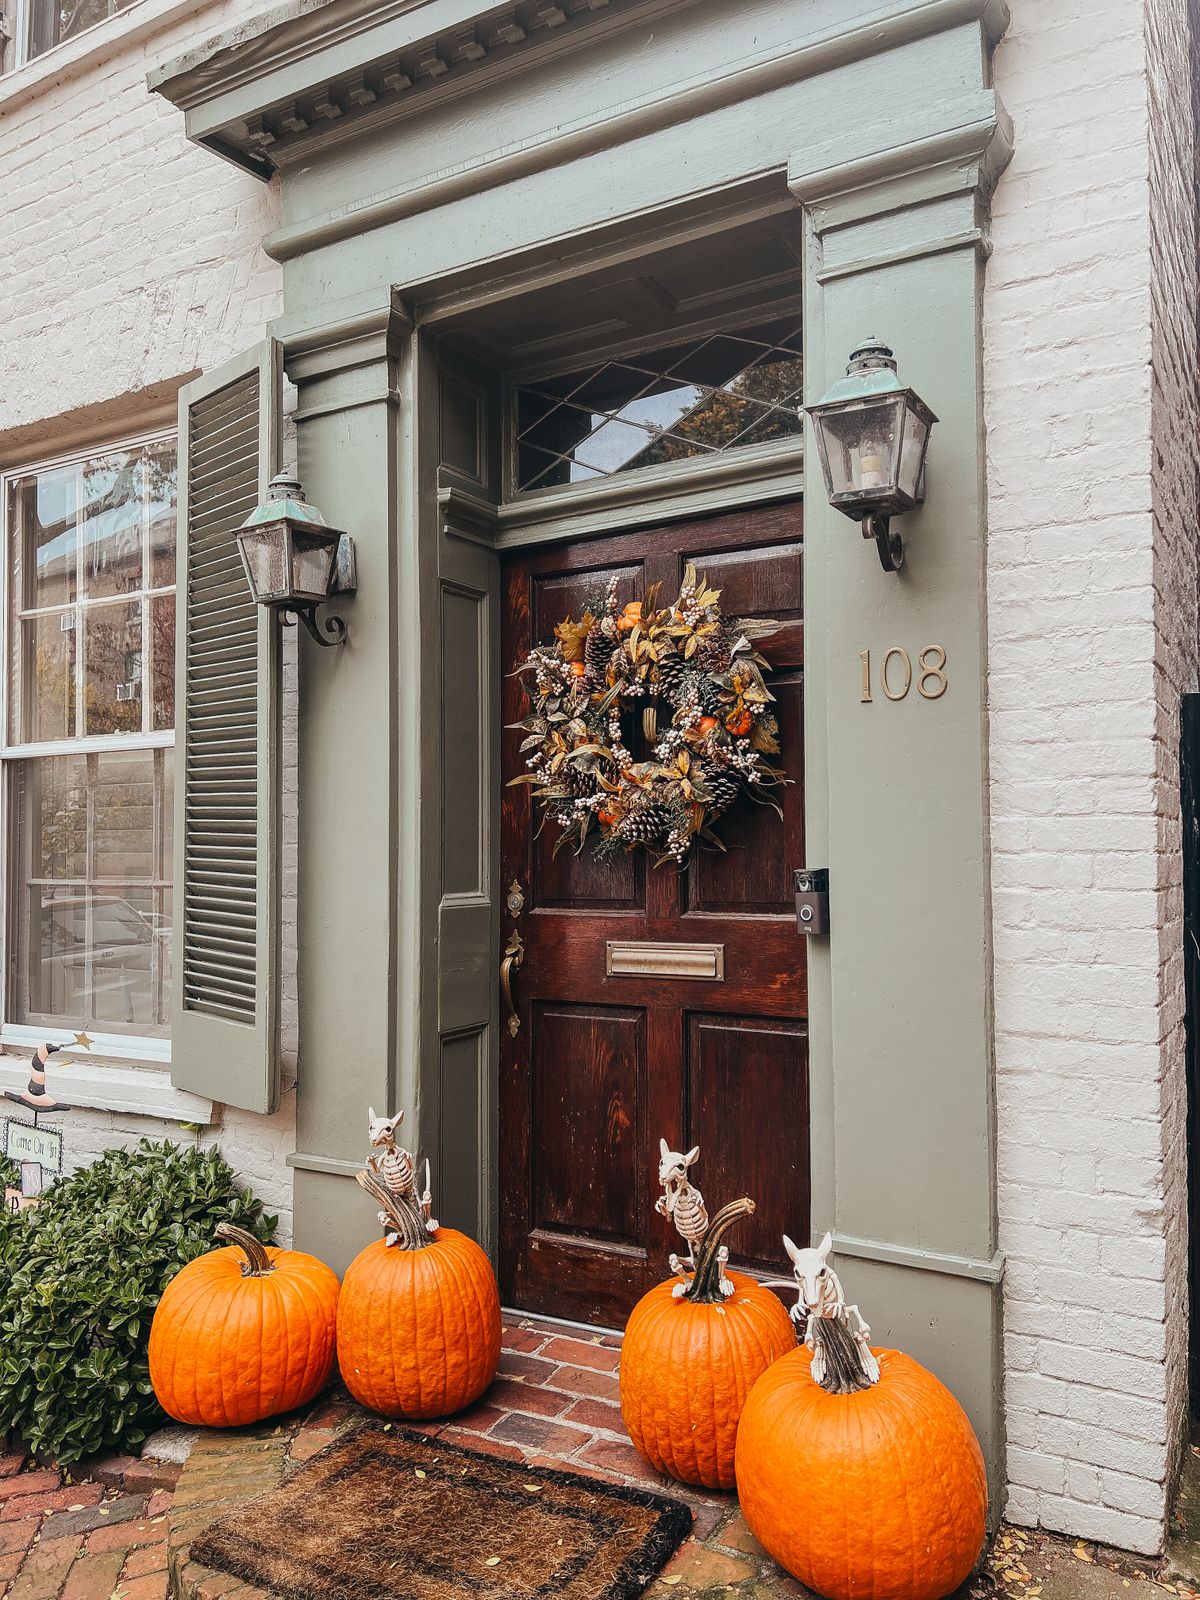
I swapped my plain coir mat for a black mat that says Trick or Treat in white letters, with a smaller plain mat underneath to catch mud. It is the cheapest change I made, and every visitor reads it before they knock. I shake it out every other day, because leaves and mud build up fast in October.
The downside is that printed mats fade if they sit in rain, so I bring mine in on stormy nights.
Pro Tip: Layer a patterned mat over a plain one, it looks styled and the bottom mat does the dirty work.
Cost: $12-$22 | Time: 5 minutes | Difficulty: Easy
5. A Garland Around the Door Frame
I draped a faux autumn-leaf garland around the inside of the door frame, fixing it with three removable hooks at the top and sides. It frames the doorway without narrowing it, and it does not shed leaves all over the floor the way real foliage did in my first attempt. I added two small black bats clipped on, not glued, so I can move them.
The downside is that a thick garland can catch on coats and bags, so I keep it flat against the frame, not hanging loose.
Pro Tip: Measure the frame first, a 180 cm garland fits a standard door with a little drape, a 120 cm one will look stretched.
Cost: $10-$20 | Time: 15 minutes | Difficulty: Easy
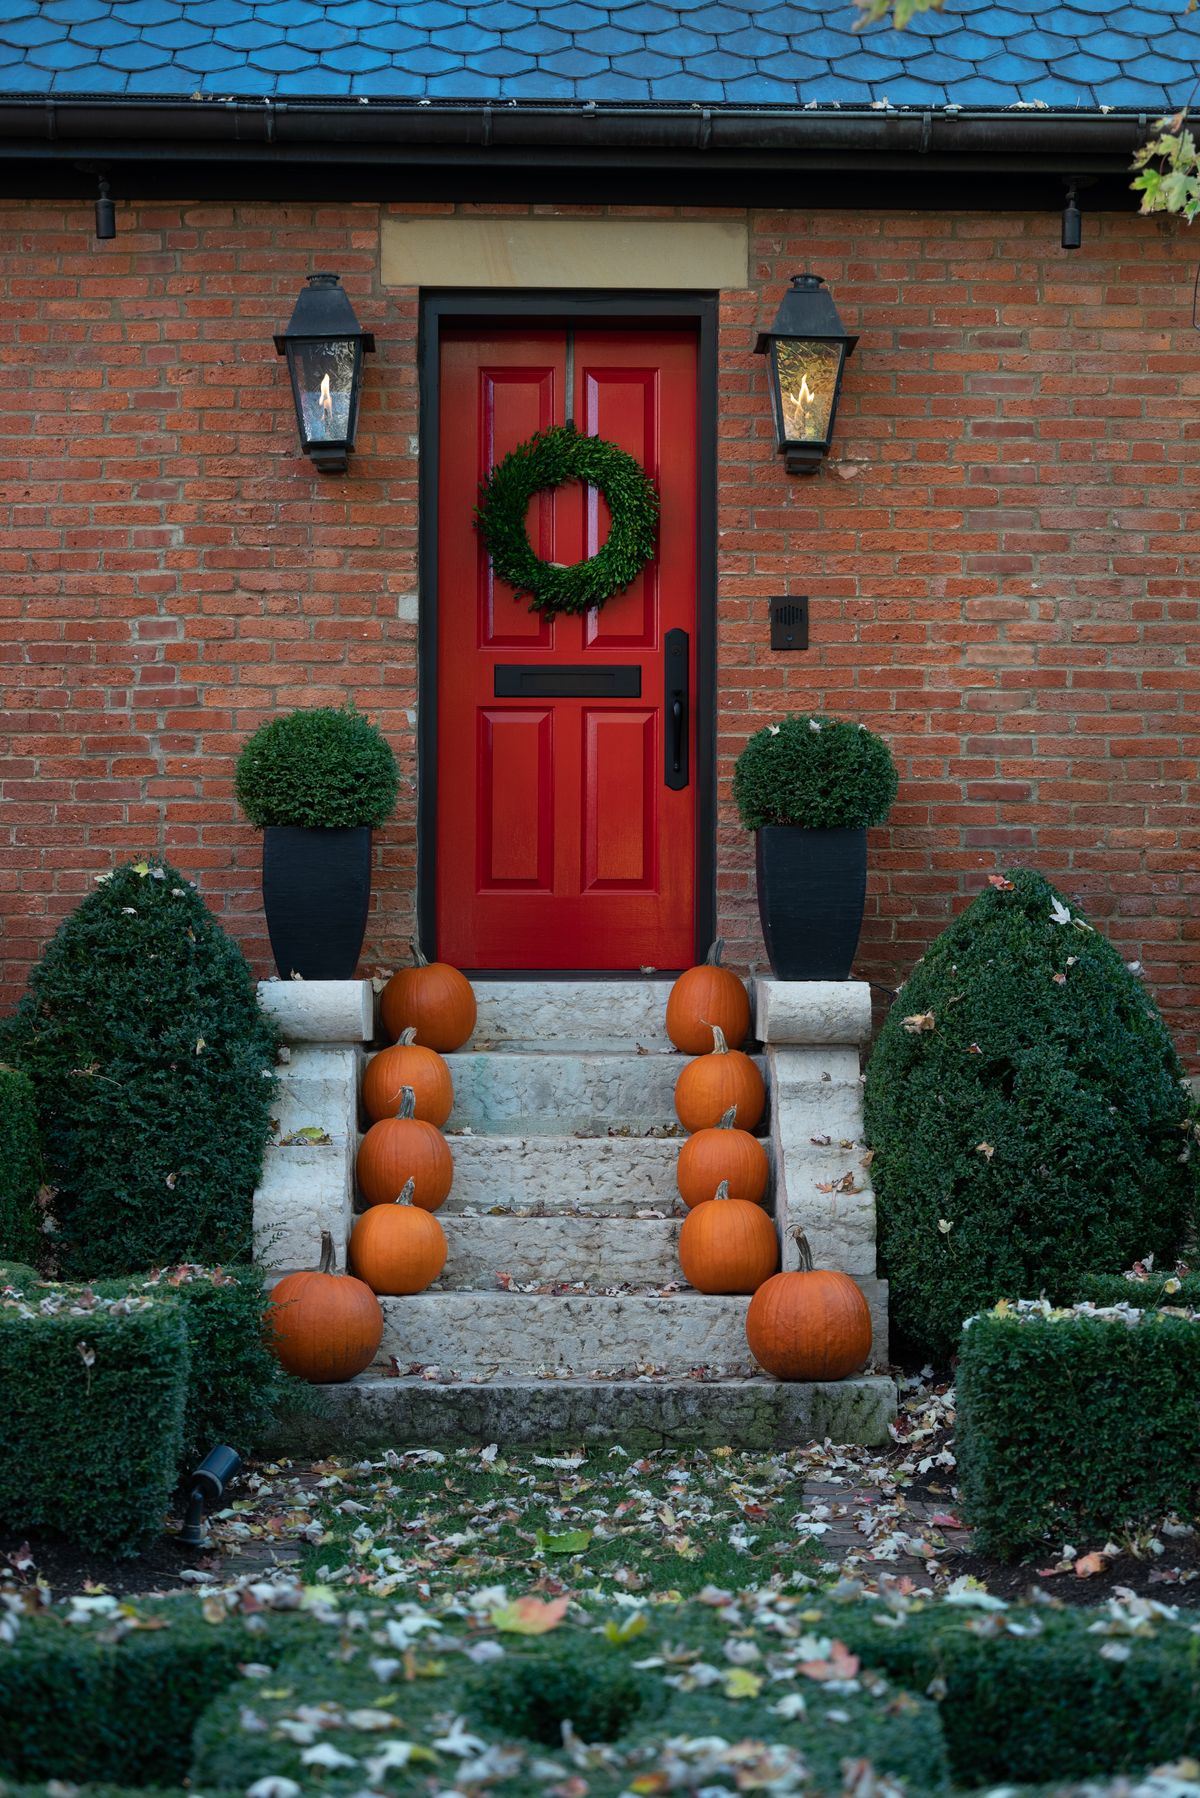
6. A Console Table Vignette, Kept Low
My console is only 90 cm wide, so I keep the vignette to three things: a small pumpkin, a black candlestick, and a bowl for keys. I tried a tall branch arrangement once and it fell over every time someone opened the door hard. Low and heavy wins in a hall, and I can still put my keys down without moving a display.
The downside is that a low display can look plain in photos, but in real life it is the one that survives the month.
Pro Tip: Put a tray under the vignette, it stops the display spreading and catches drips from a candle.
Cost: $0-$20, using things you own | Time: 10 minutes | Difficulty: Easy
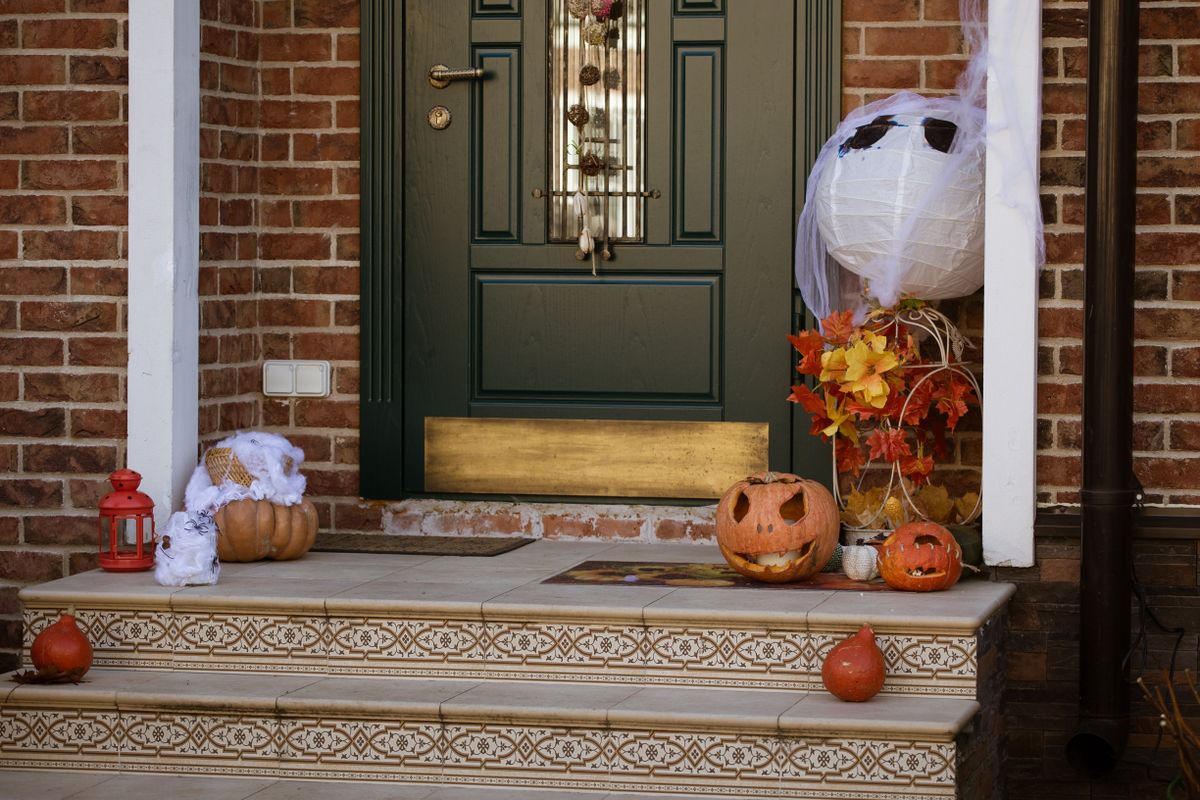
7. Battery String Lights Along the Stairs Rail
I wrapped a 3 metre battery string of warm-white lights around the stair rail nearest the door, with the battery box tucked behind the console. It makes the whole hall feel warm at night, and the kids love coming home to it. I used lights with a timer, so they run 6 pm to midnight and I never forget them.
The downside is that the wire shows in daylight, so I chose a thin copper wire that blends in.
Pro Tip: Warm white suits Halloween better than orange here, orange can look harsh in a small hall.
Cost: $8-$15 | Time: 20 minutes | Difficulty: Easy
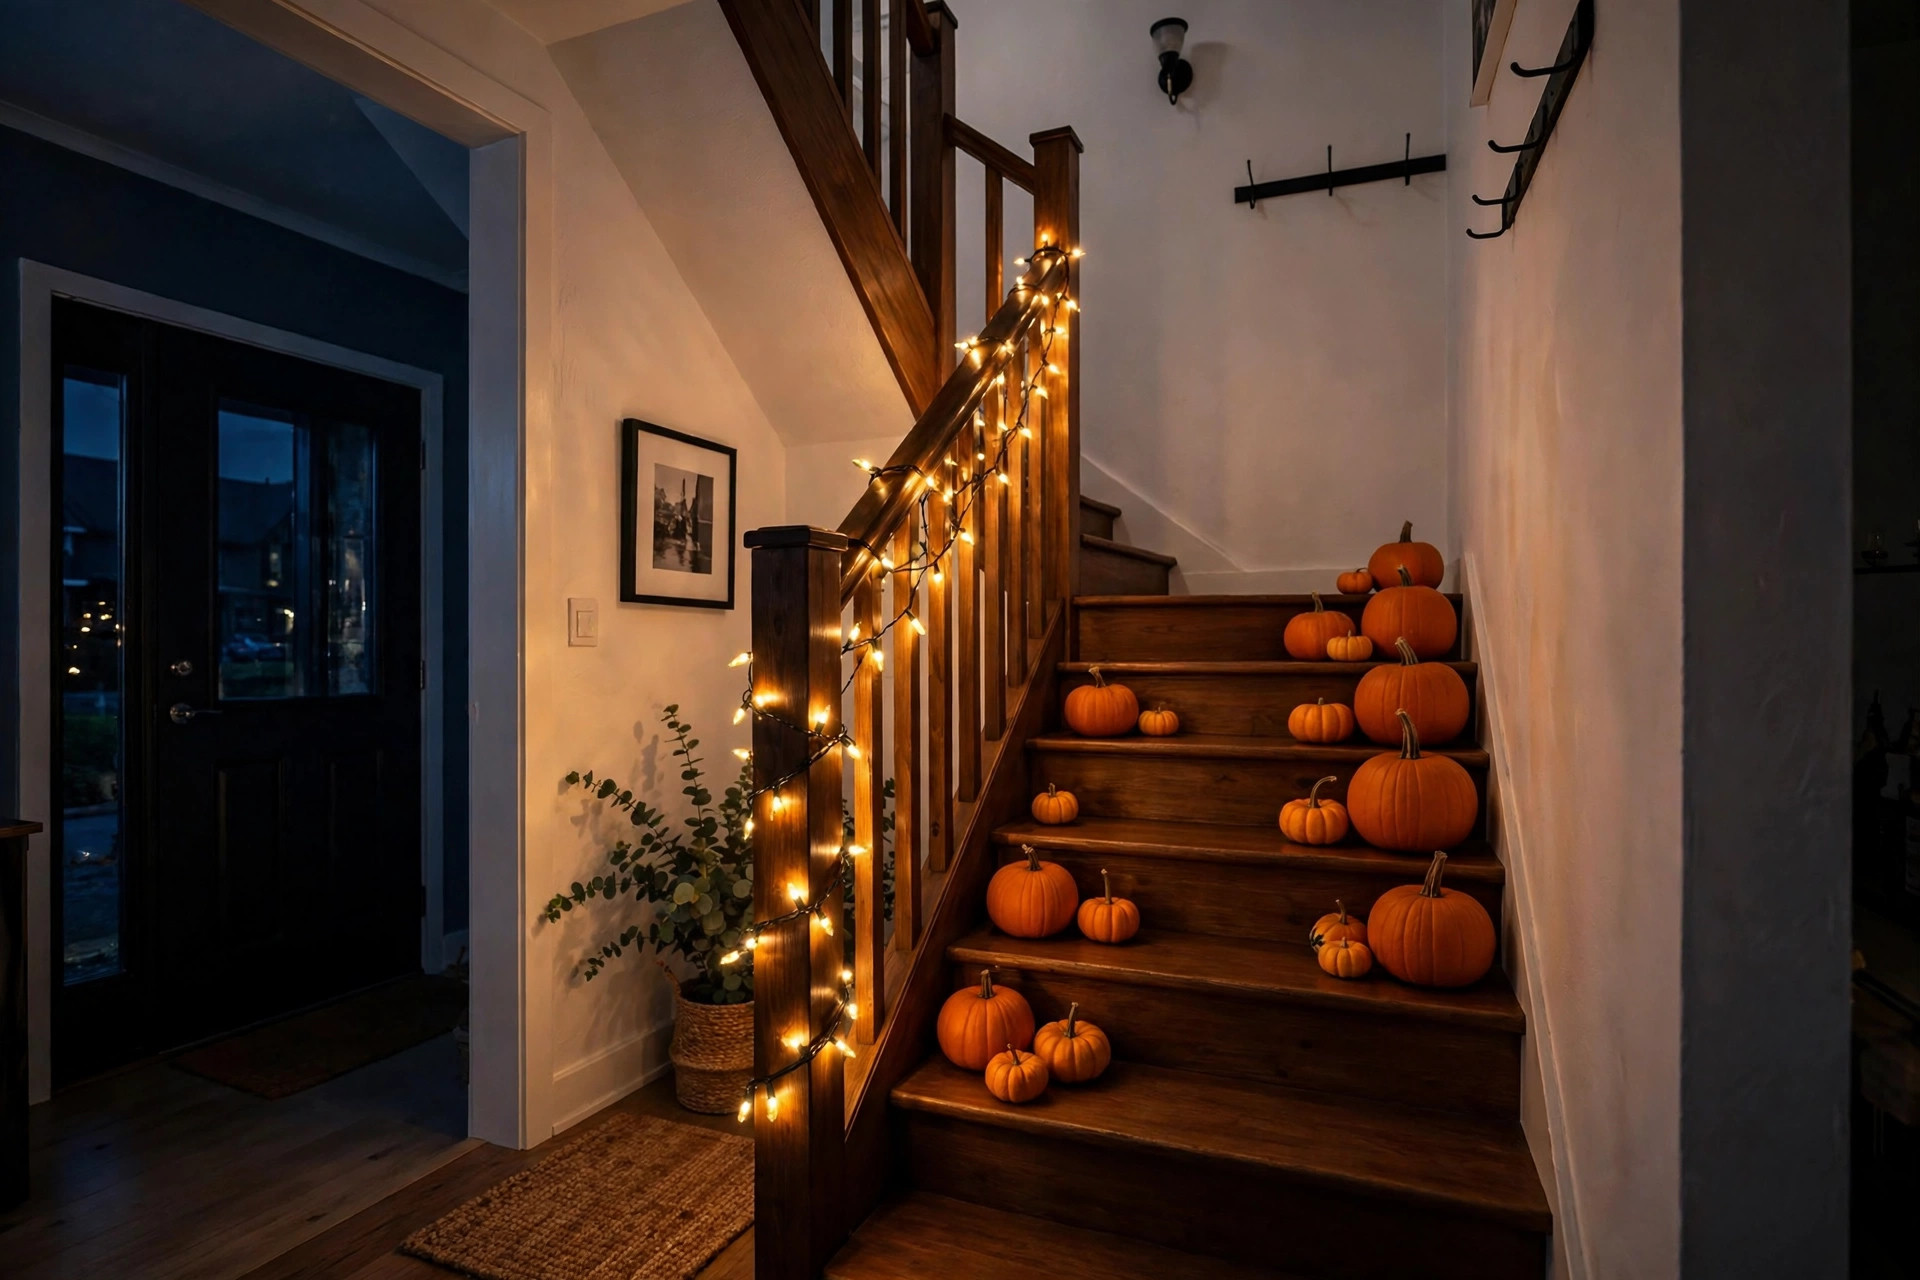
8. A Candy Station That Kids Can Reach
I set a low table by the door on Halloween night with a bowl of wrapped sweets, a small sign, and a torch for me. I learned the hard way that a high console means small kids climb, so the candy now sits at 70 cm, on a stable table, not a wobbly stool. I keep a second bowl in reserve in the kitchen, because the first one empties in about twenty minutes on a busy street.
The downside is that an open bowl invites handfuls, so I use a scoop and I refill little and often.
Pro Tip: Keep non-food treats, like stickers, in a separate small bowl for kids with allergies.
Cost: $10-$20 for treats | Time: 15 minutes | Difficulty: Easy
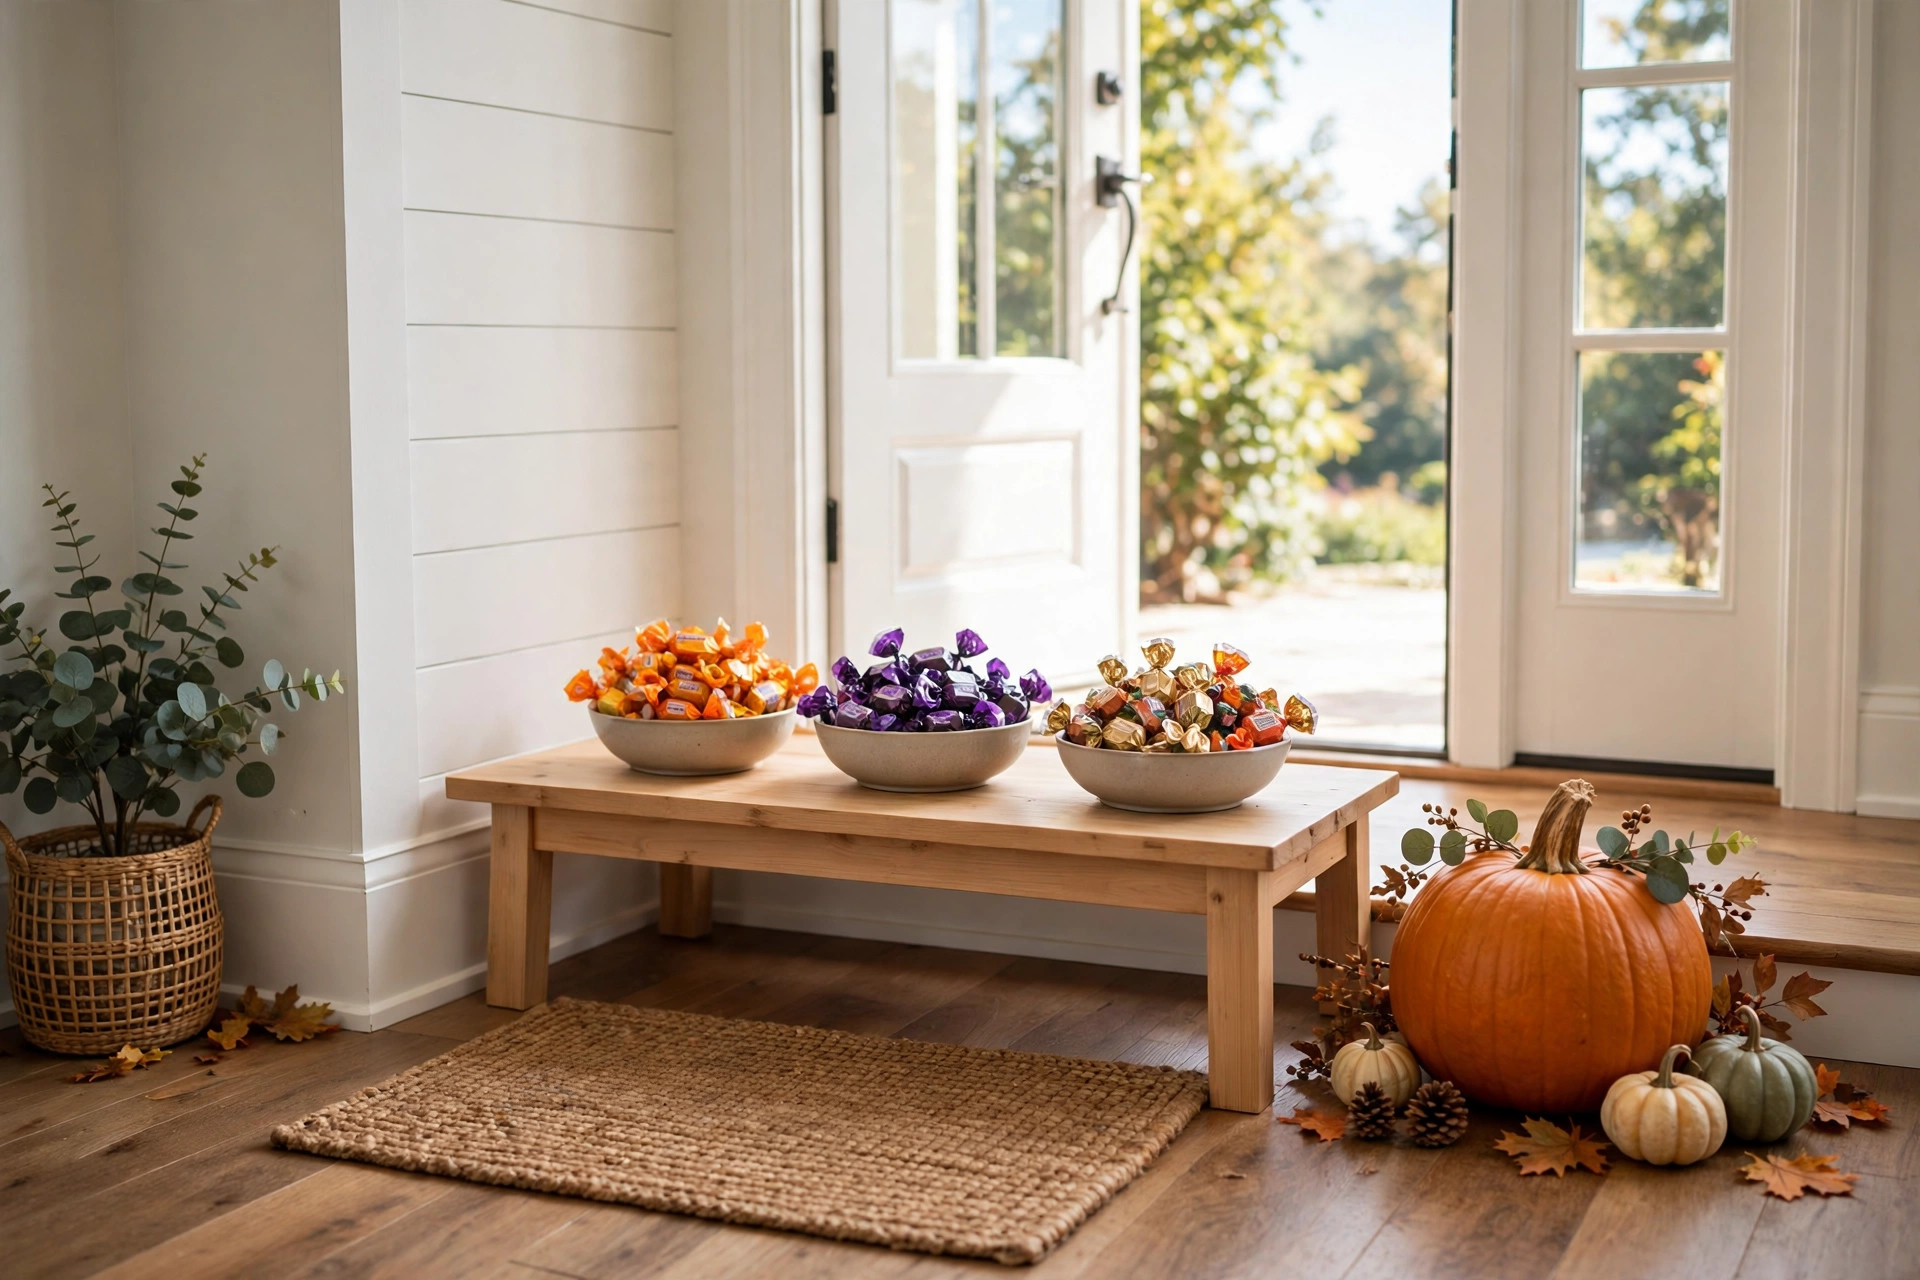
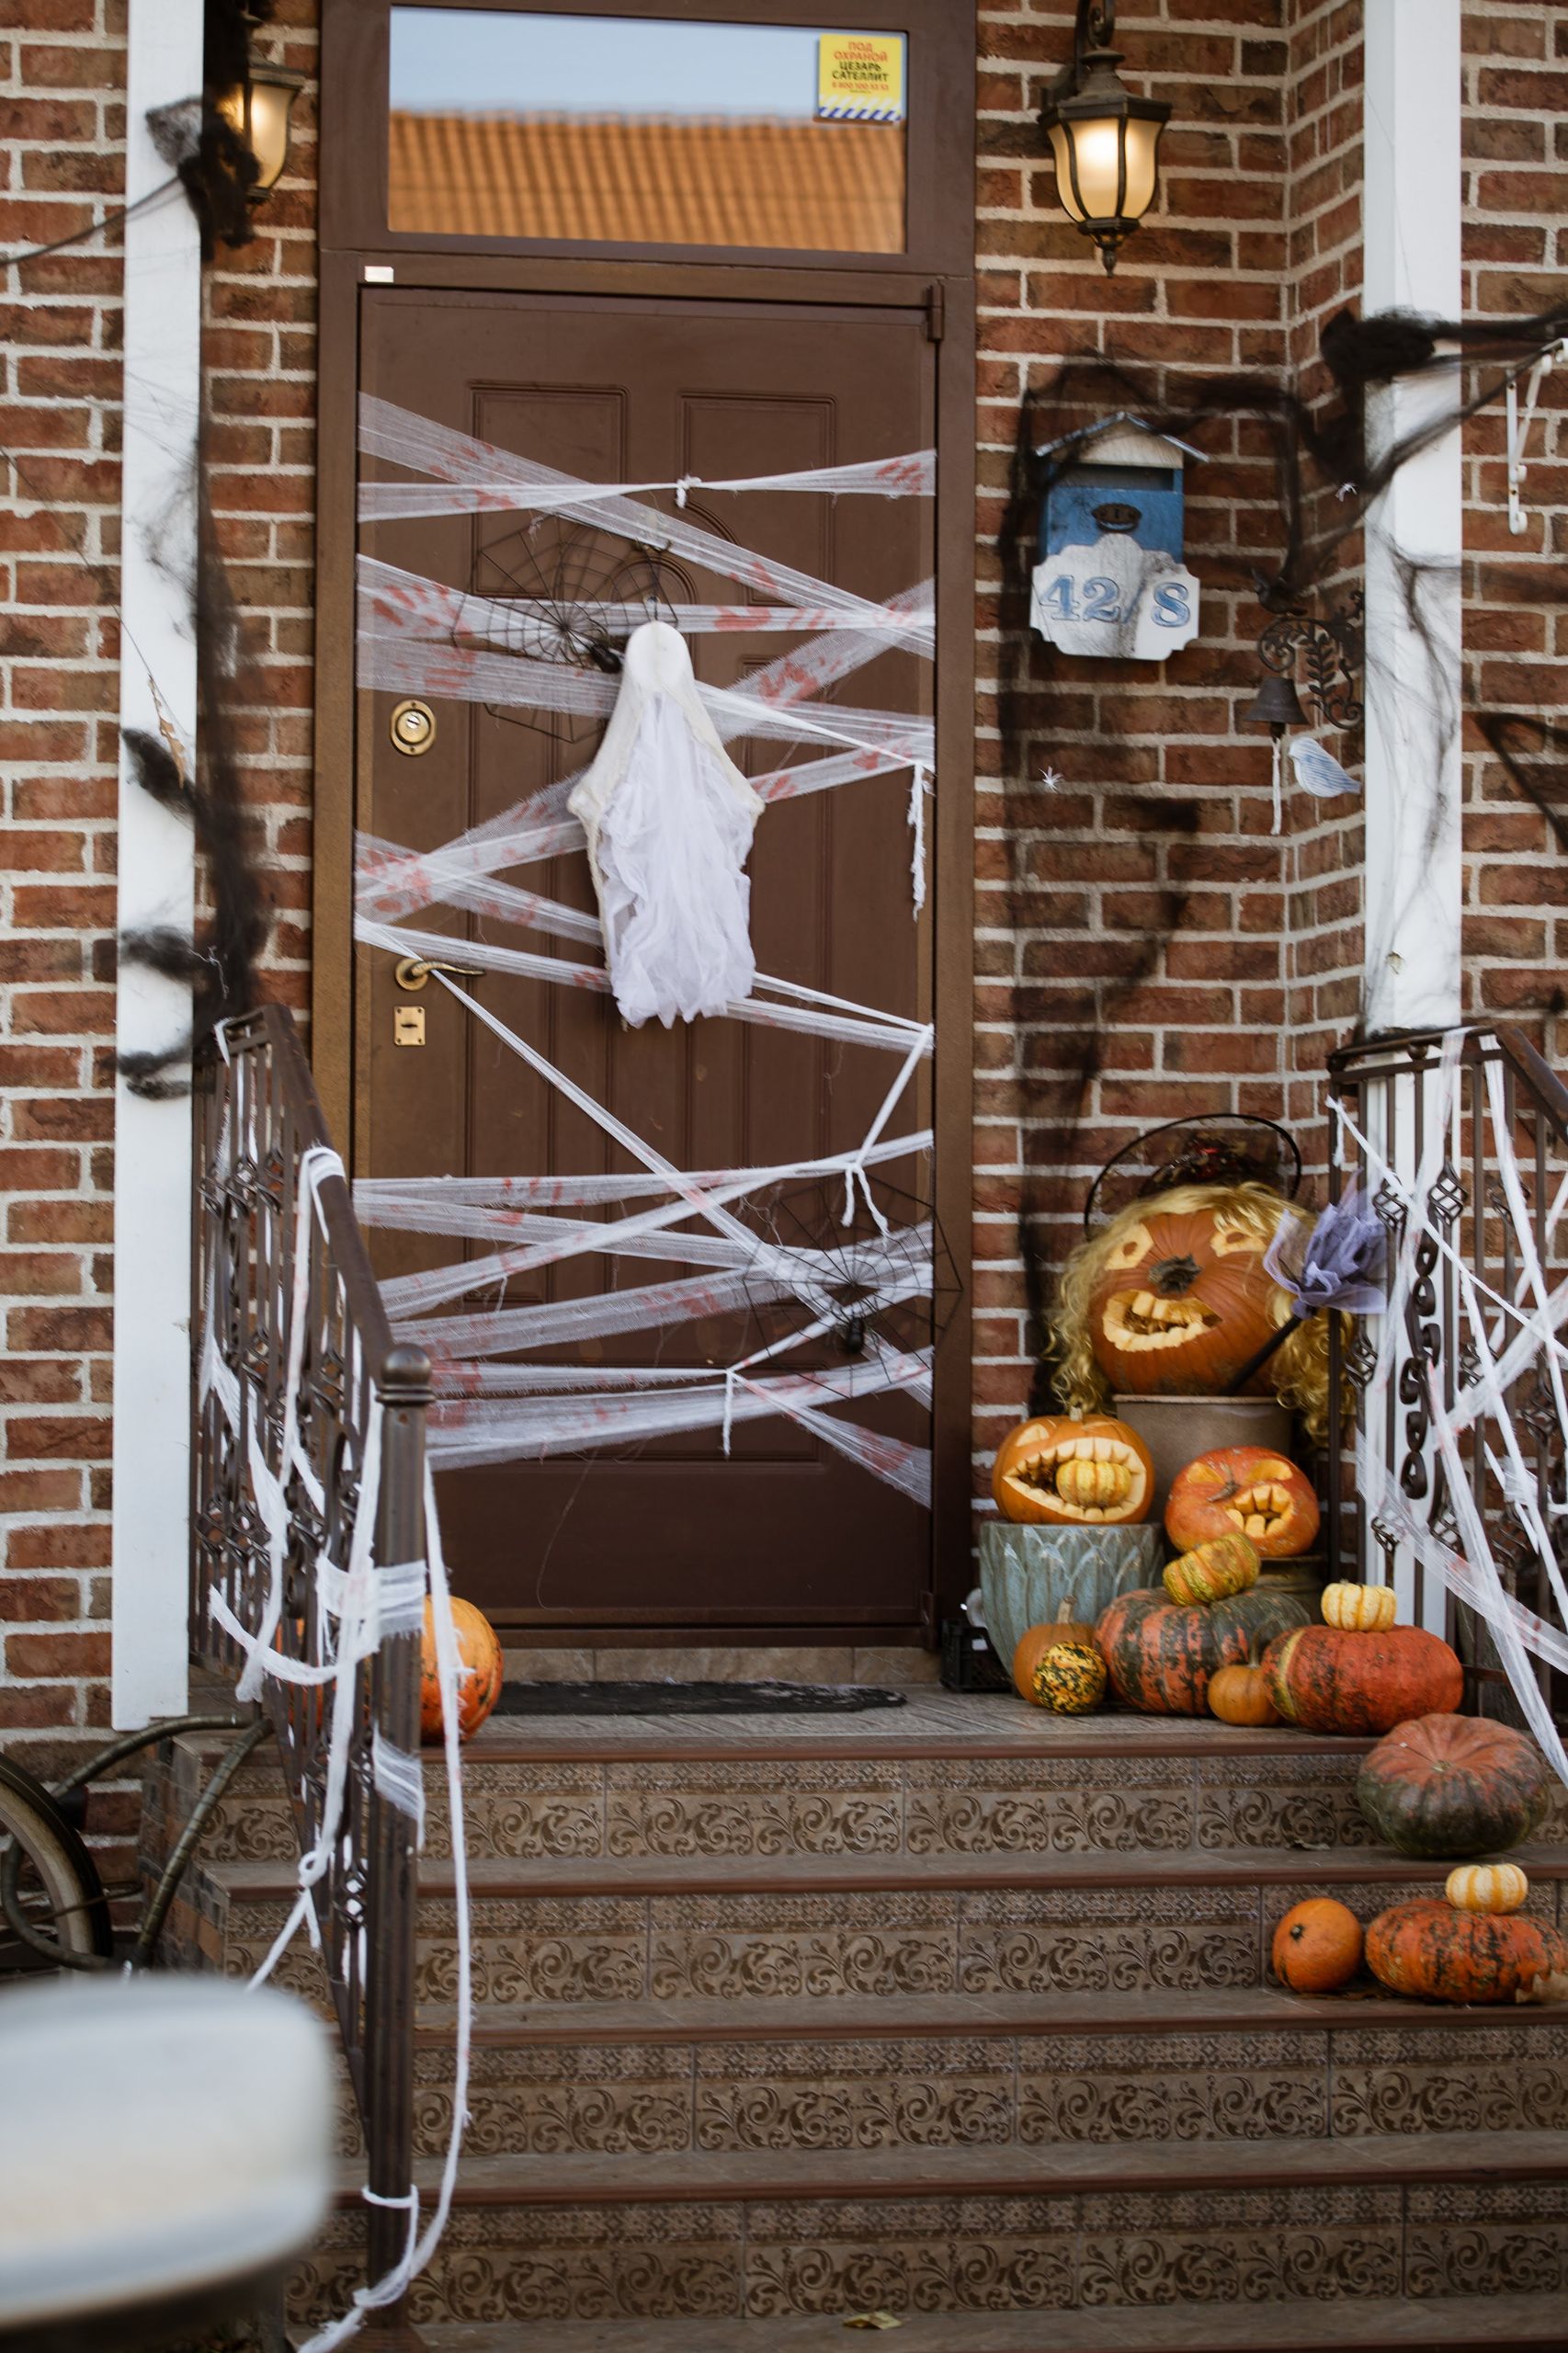
9. A Ghostly Curtain in the Doorway, Tied Back
I hung a white cheesecloth curtain in the doorway to the living room, tied back on one side so it does not block the path. It moves slightly when the door opens, which the kids think is spooky, and it costs almost nothing. I used a tension rod, so there are no holes, and I take it down before bed so nobody walks into it in the dark.
The downside is that cheesecloth snags easily, so I keep it away from coat zips and dog claws.
Pro Tip: Cut slits in the bottom, it hangs better and looks more ghostly than a solid sheet.
Cost: $3-$8 | Time: 10 minutes | Difficulty: Easy
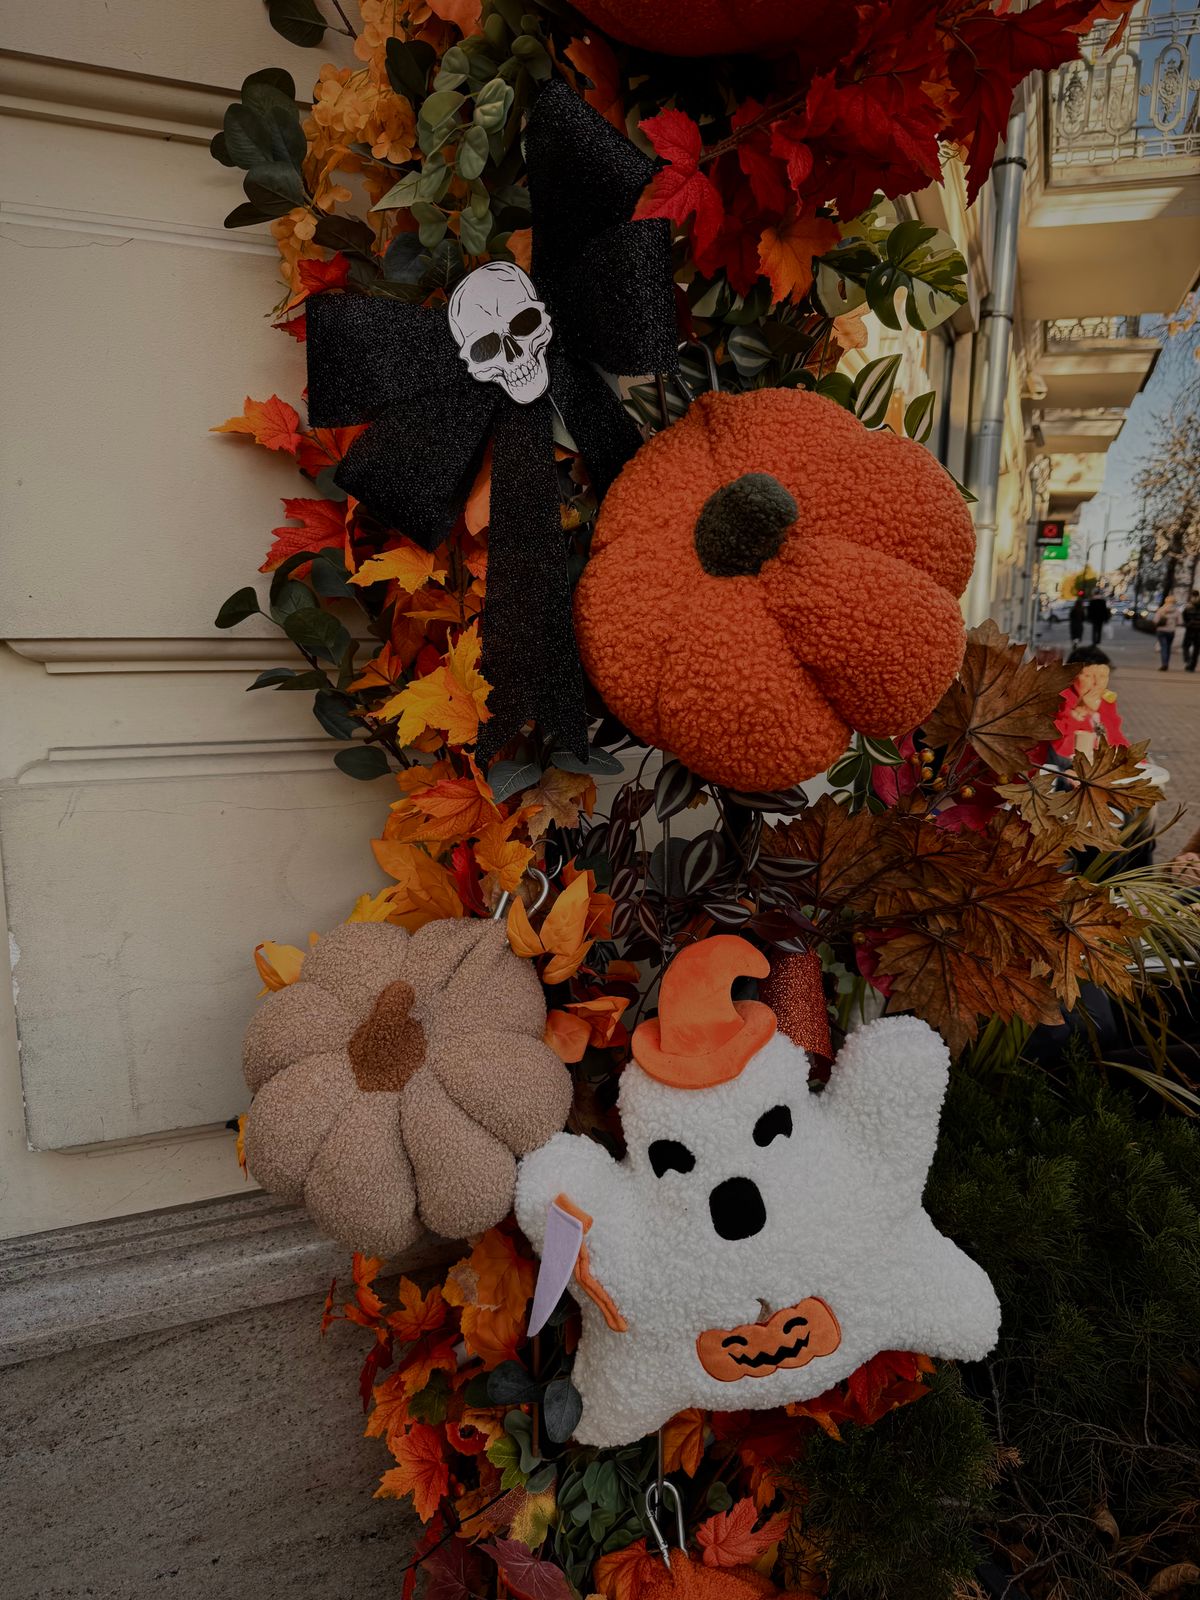
10. A Black and White Photo Wall, Halloween Edition
I printed four black and white photos of past Halloweens, kids in costumes, the dog in a cape, and put them in cheap black frames on the hall wall. It is personal in a way shop decor never is, and guests always stop to look. I used removable strips, so the frames come down on 1 November with no damage.
The downside is that printing takes time, so I order prints a week ahead, not the day before.
Pro Tip: Mix one old photo with new ones, it starts a conversation and hides the fact that you only have four frames.
Cost: $8-$15 | Time: 30 minutes | Difficulty: Easy
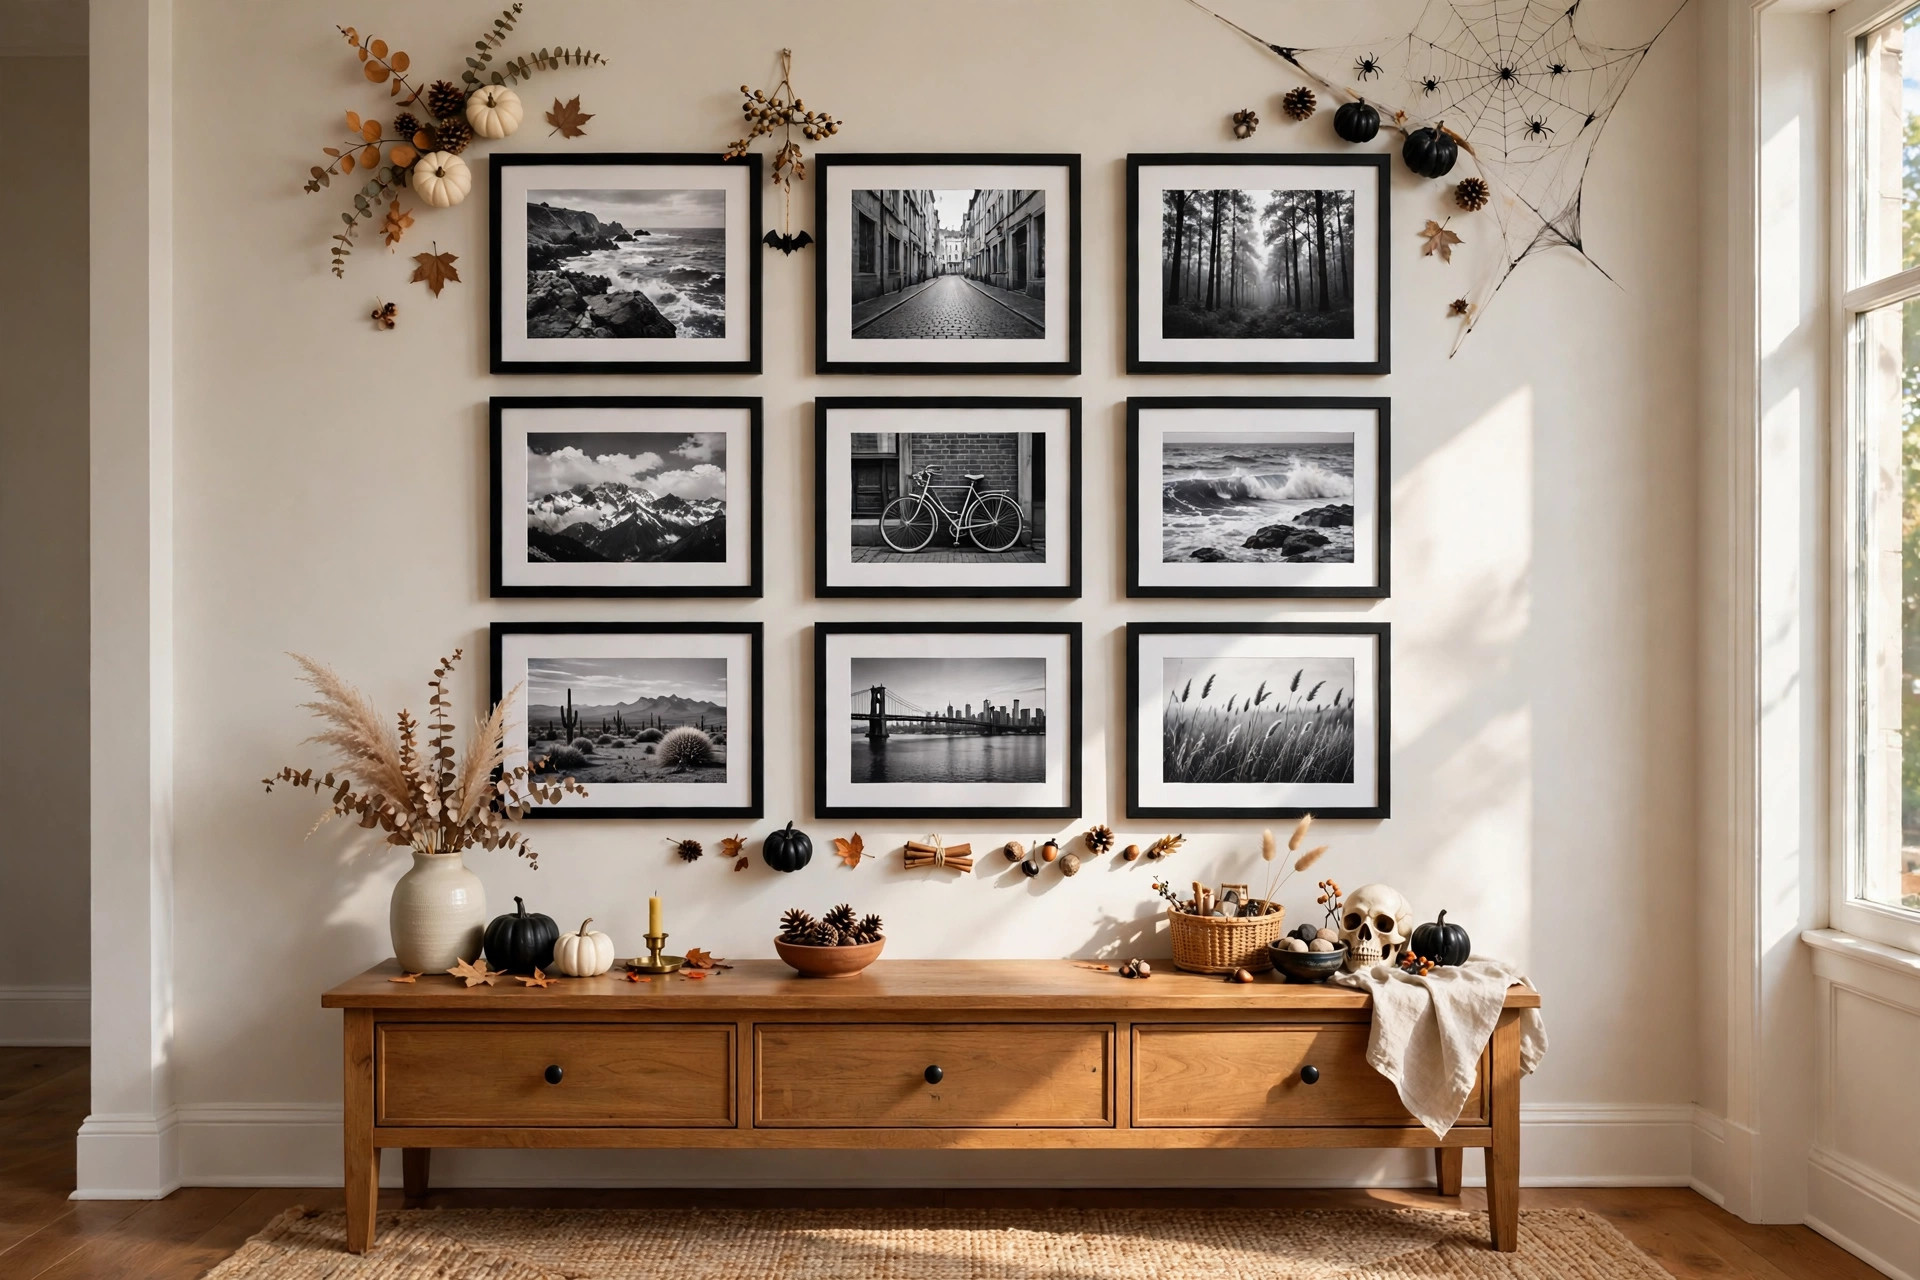
11. A Skeleton Greeter by the Coat Hooks
I hung a small plastic skeleton, about 60 cm tall, from a coat hook by the door, with a tiny sign saying Boo. It is light, it does not fall over, and kids love it. I tried a life-size skeleton first and it blocked the hooks and scared my youngest, so smaller is better in a hall.
The downside is that hanging skeletons swing when the door slams, so I fix it with a small piece of tape at the back.
Pro Tip: Put the skeleton where adults see it at eye level, not at a toddler’s face height.
Cost: $5-$12 | Time: 5 minutes | Difficulty: Easy
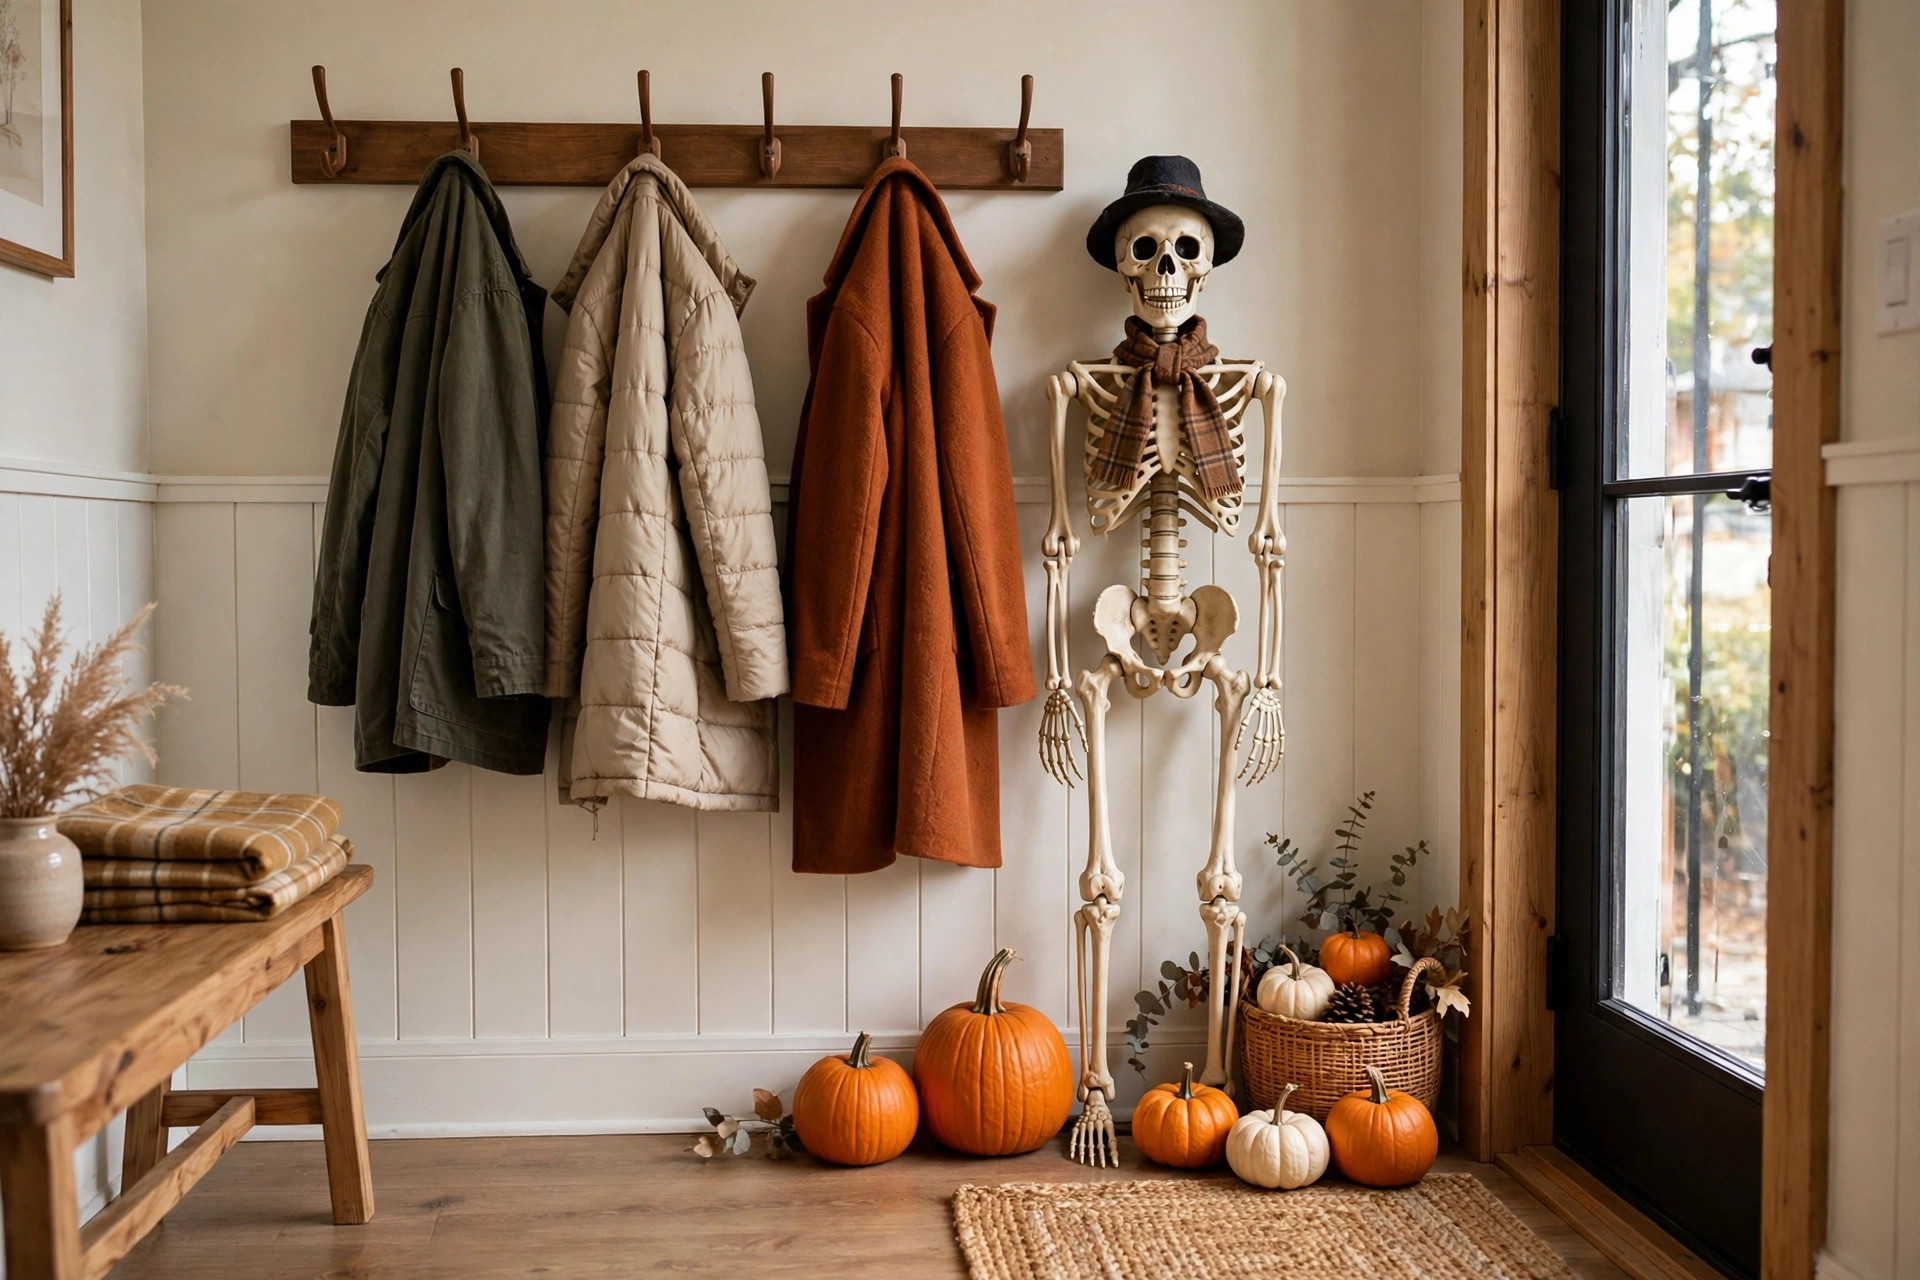
12. A Pumpkin Topiary in a Pot
I stacked two faux pumpkins in a black plant pot by the door, largest at the bottom, smallest on top, with moss around the base. It looks tidy, it never rots, and I store it in a box for next year. Real pumpkins stacked this way rolled off in my first attempt, so faux is the practical choice here.
The downside is that faux pumpkins can look shiny in daylight, so I chose matte ones and roughed them up with a little paint.
Pro Tip: Weight the pot with a brick at the bottom, otherwise wind tips it over.
Cost: $15-$30 | Time: 20 minutes | Difficulty: Easy
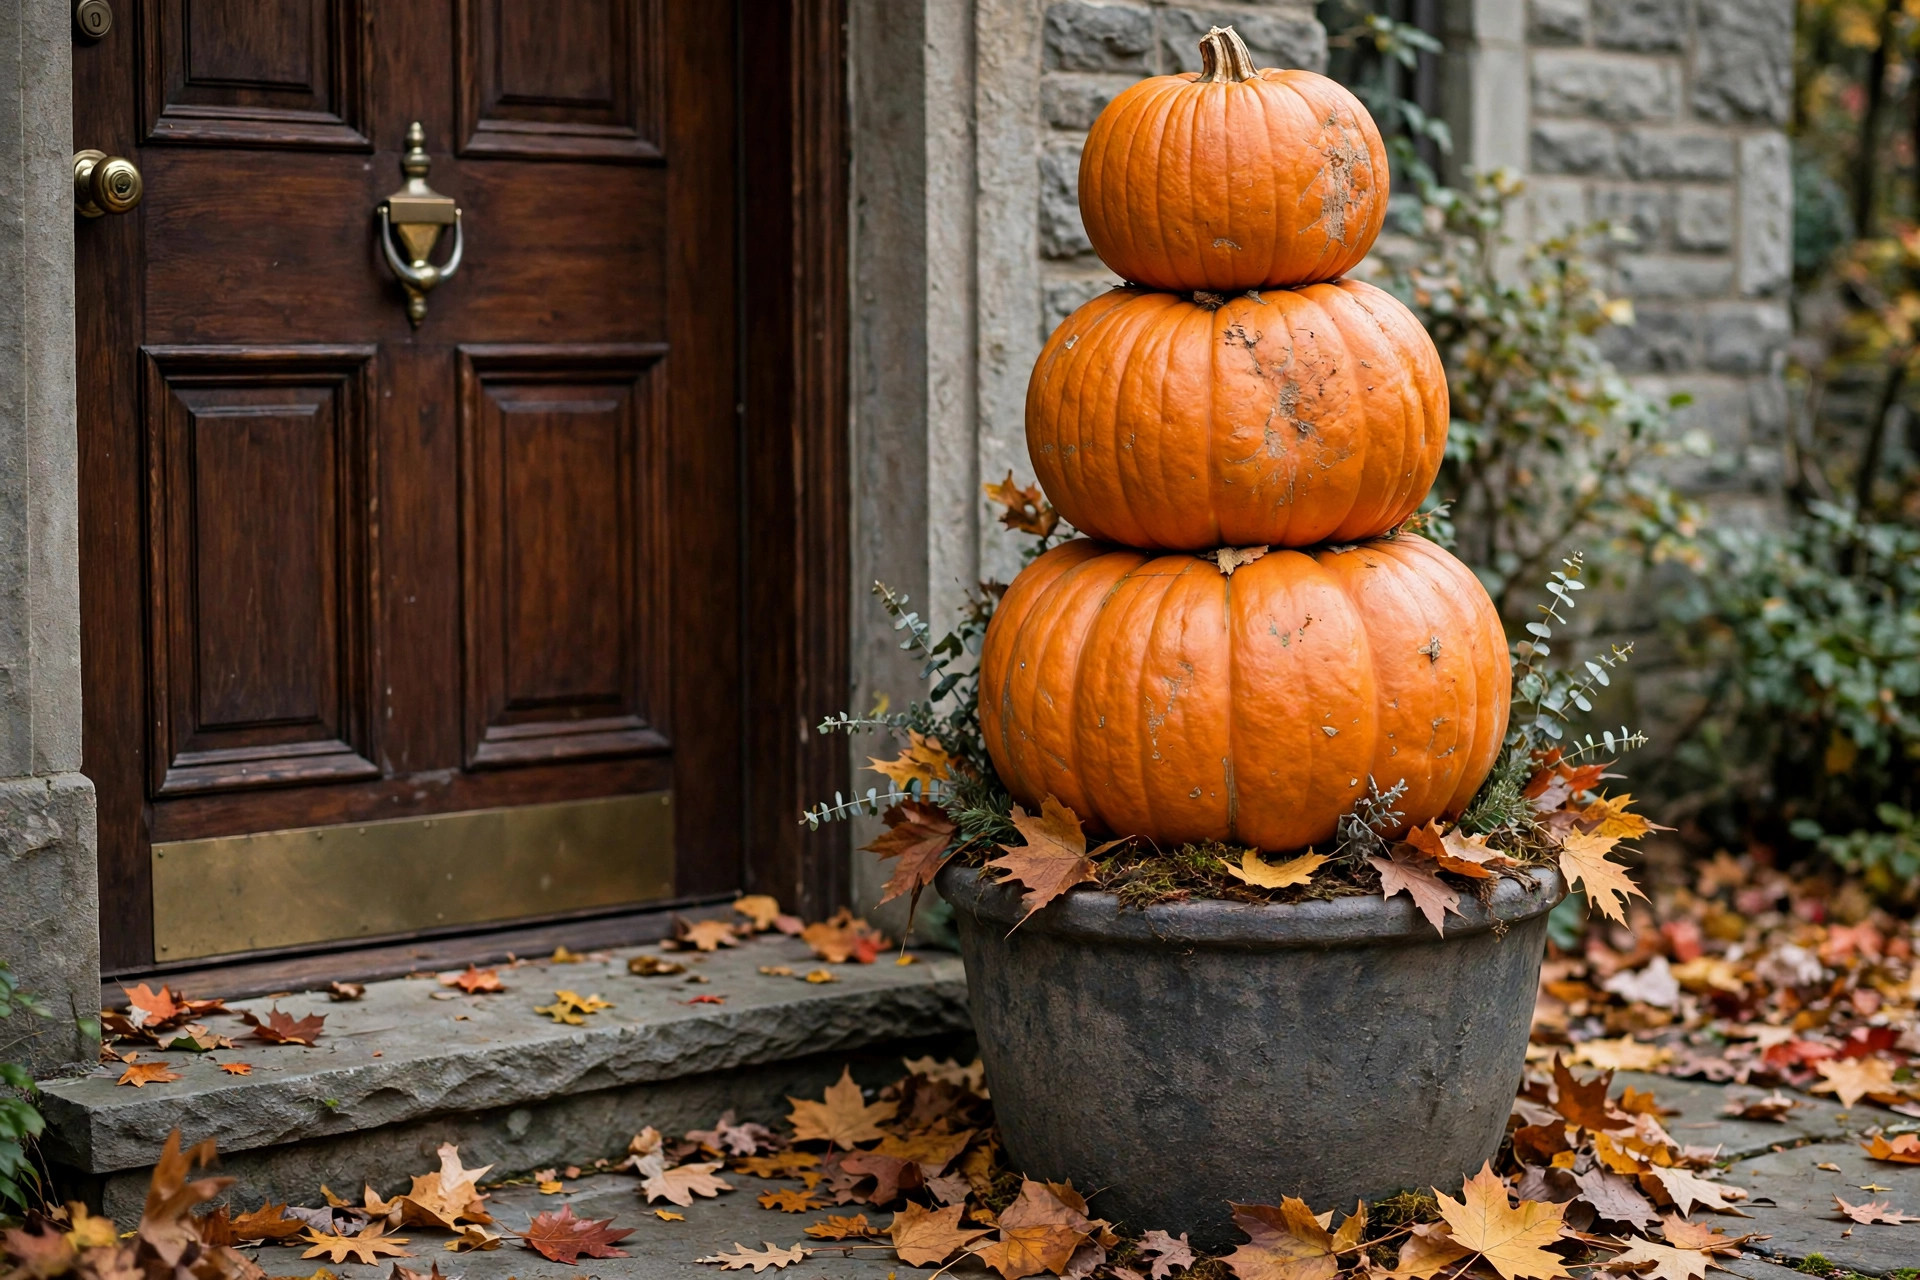
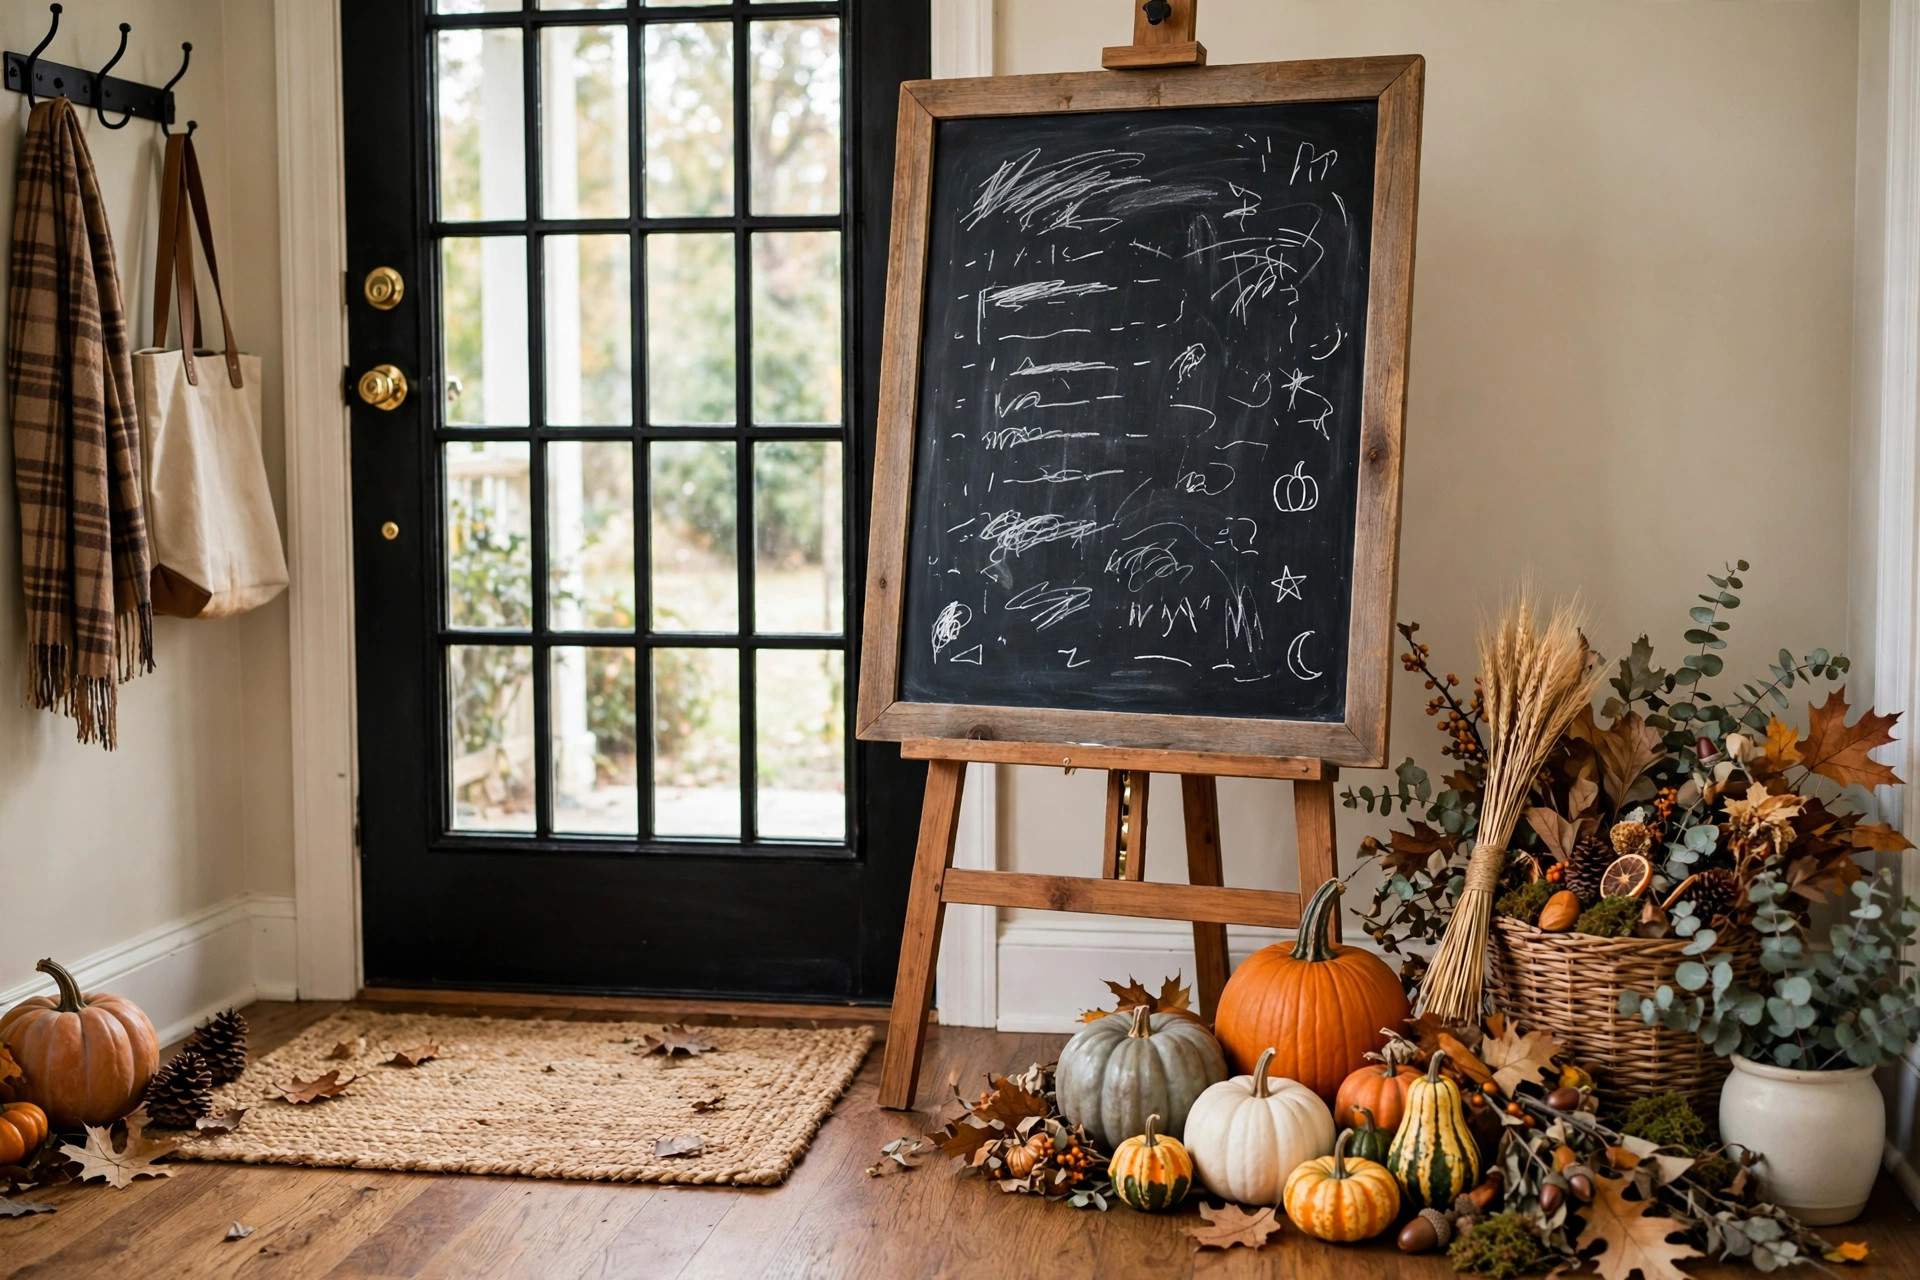
13. A Chalkboard Sign With the Night’s Plan
I put a small chalkboard on the console that says Trick or Treaters Welcome, Candy Here, with an arrow. It stops kids knocking on the wrong door in our building, and I can change the message in seconds. I use chalk pens, not chalk, because chalk smudges when someone brushes past.
The downside is that chalk pens need a damp cloth to erase, so I keep one in the console drawer.
Pro Tip: Write the message large, from the door it needs to be readable at 2 metres.
Cost: $8-$15 | Time: 10 minutes | Difficulty: Easy
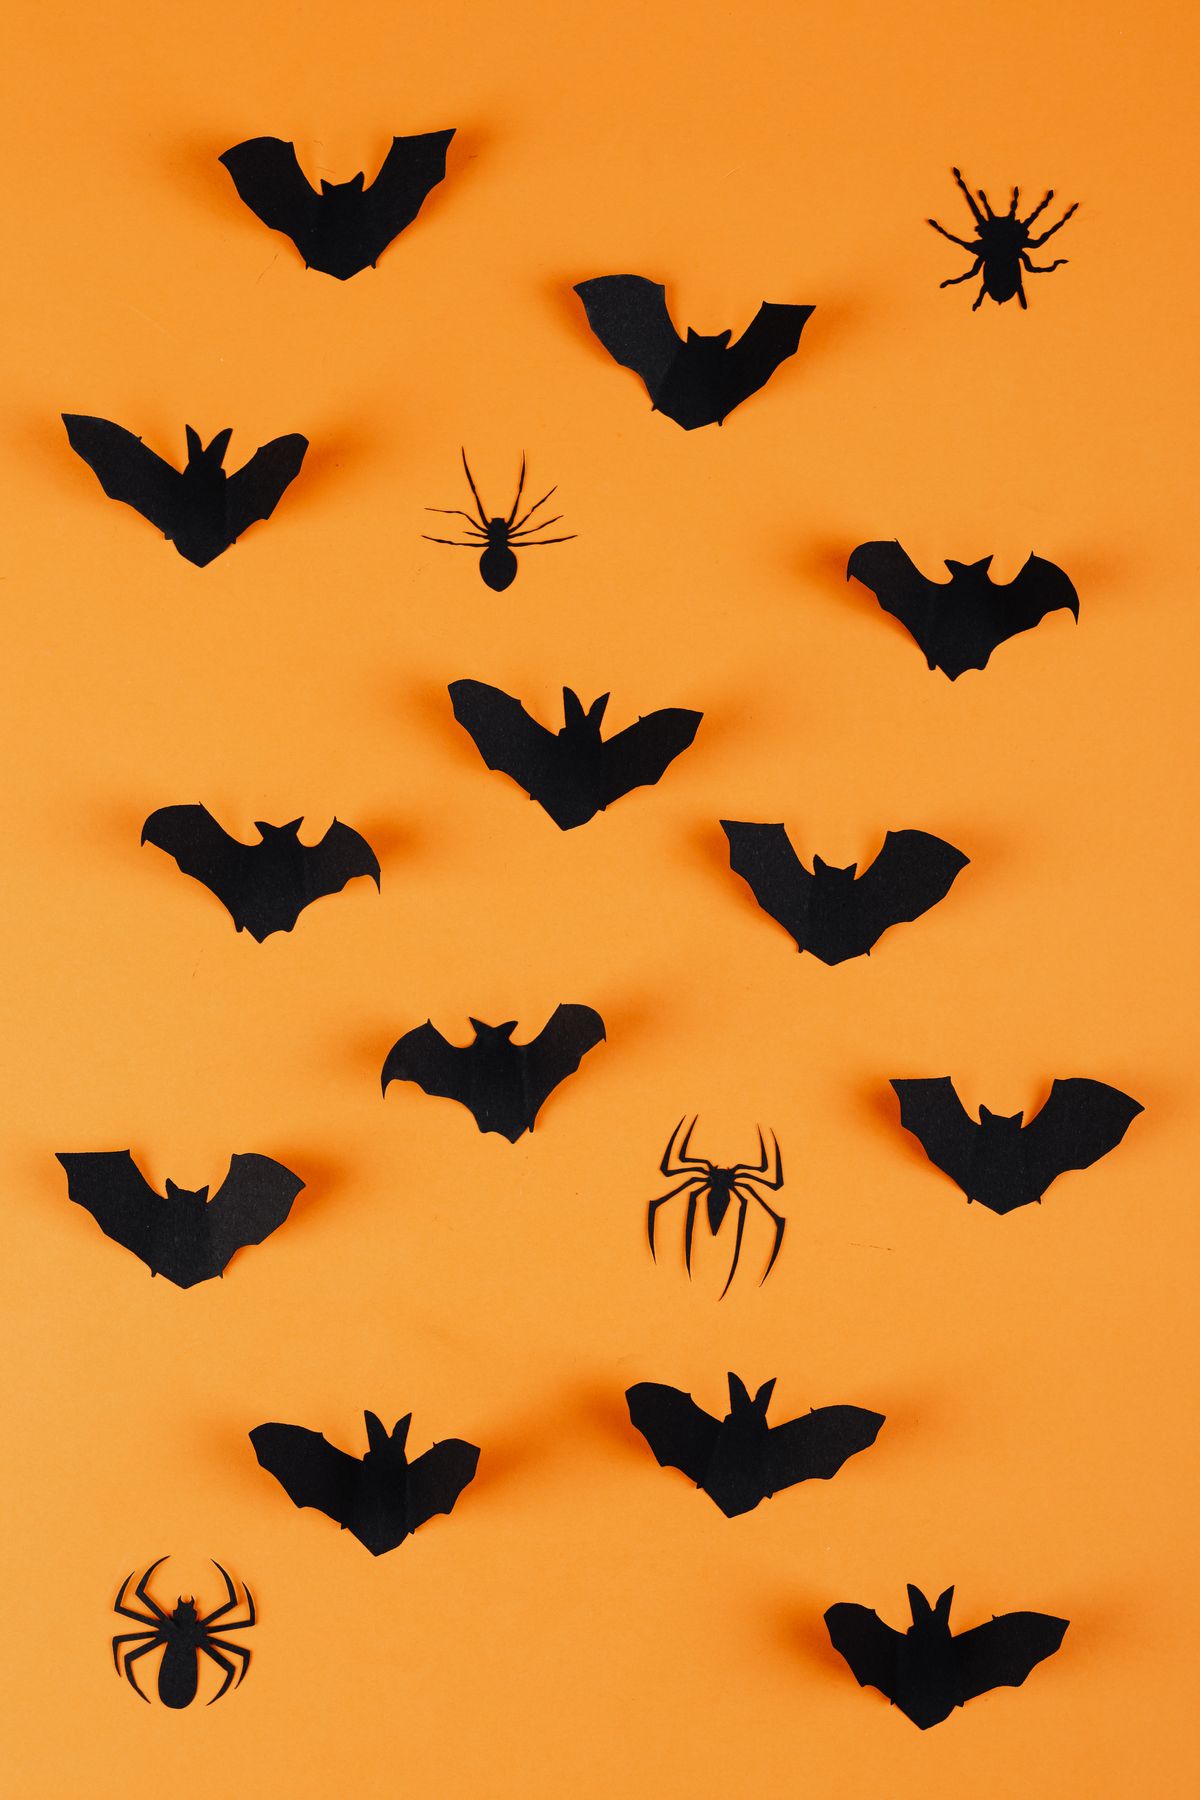
14. A Bat Swarm Going Up the Wall
I stuck ten small black paper bats on the hall wall, starting low by the door and rising towards the ceiling, like they are flying out. It costs almost nothing, it takes ten minutes, and it looks dramatic in photos. I used removable dots, and I tested one first to make sure it did not peel paint.
The downside is that paper bats curl in a damp hall, so I keep them away from the door where rain blows in.
Pro Tip: Vary the sizes, three large, four medium, three small, it looks more natural than ten identical bats.
Cost: $3-$8 | Time: 15 minutes | Difficulty: Easy
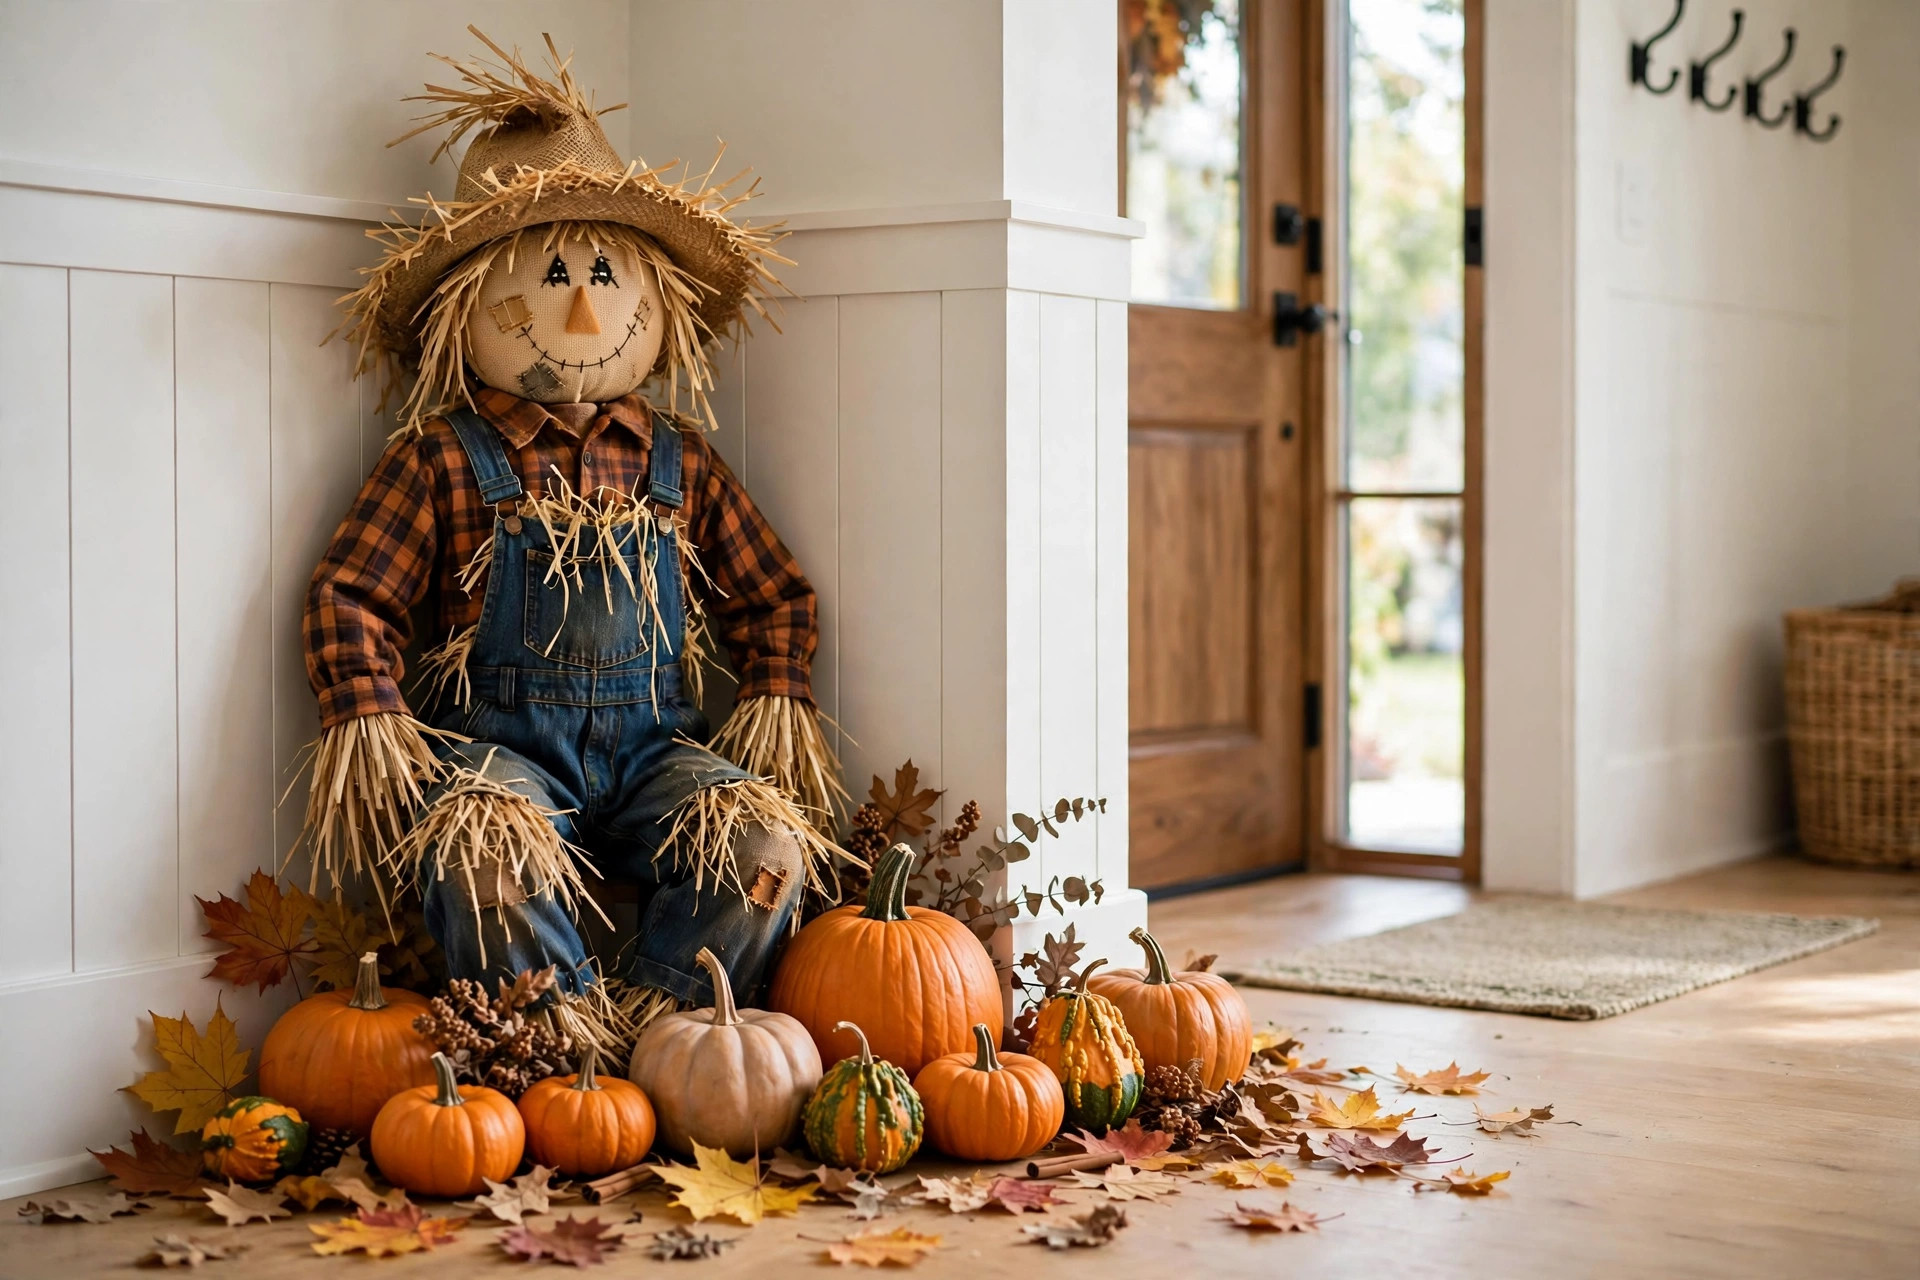
15. A Scarecrow in the Corner, Not in the Path
I put a small scarecrow, about 80 cm tall, in the corner by the shoe rack, not in the walkway. It fills an awkward corner that usually just collects bags, and kids wave at it on their way in. I made it from an old shirt, straw, and a pumpkin head, which took an afternoon with the kids.
The downside is that straw sheds, so I put a mat under it and shake it outside once a week.
Pro Tip: Sit the scarecrow on a low stool, it looks taller and you can see it over the shoe rack.
Cost: $5-$15 | Time: 1 hour | Difficulty: Moderate
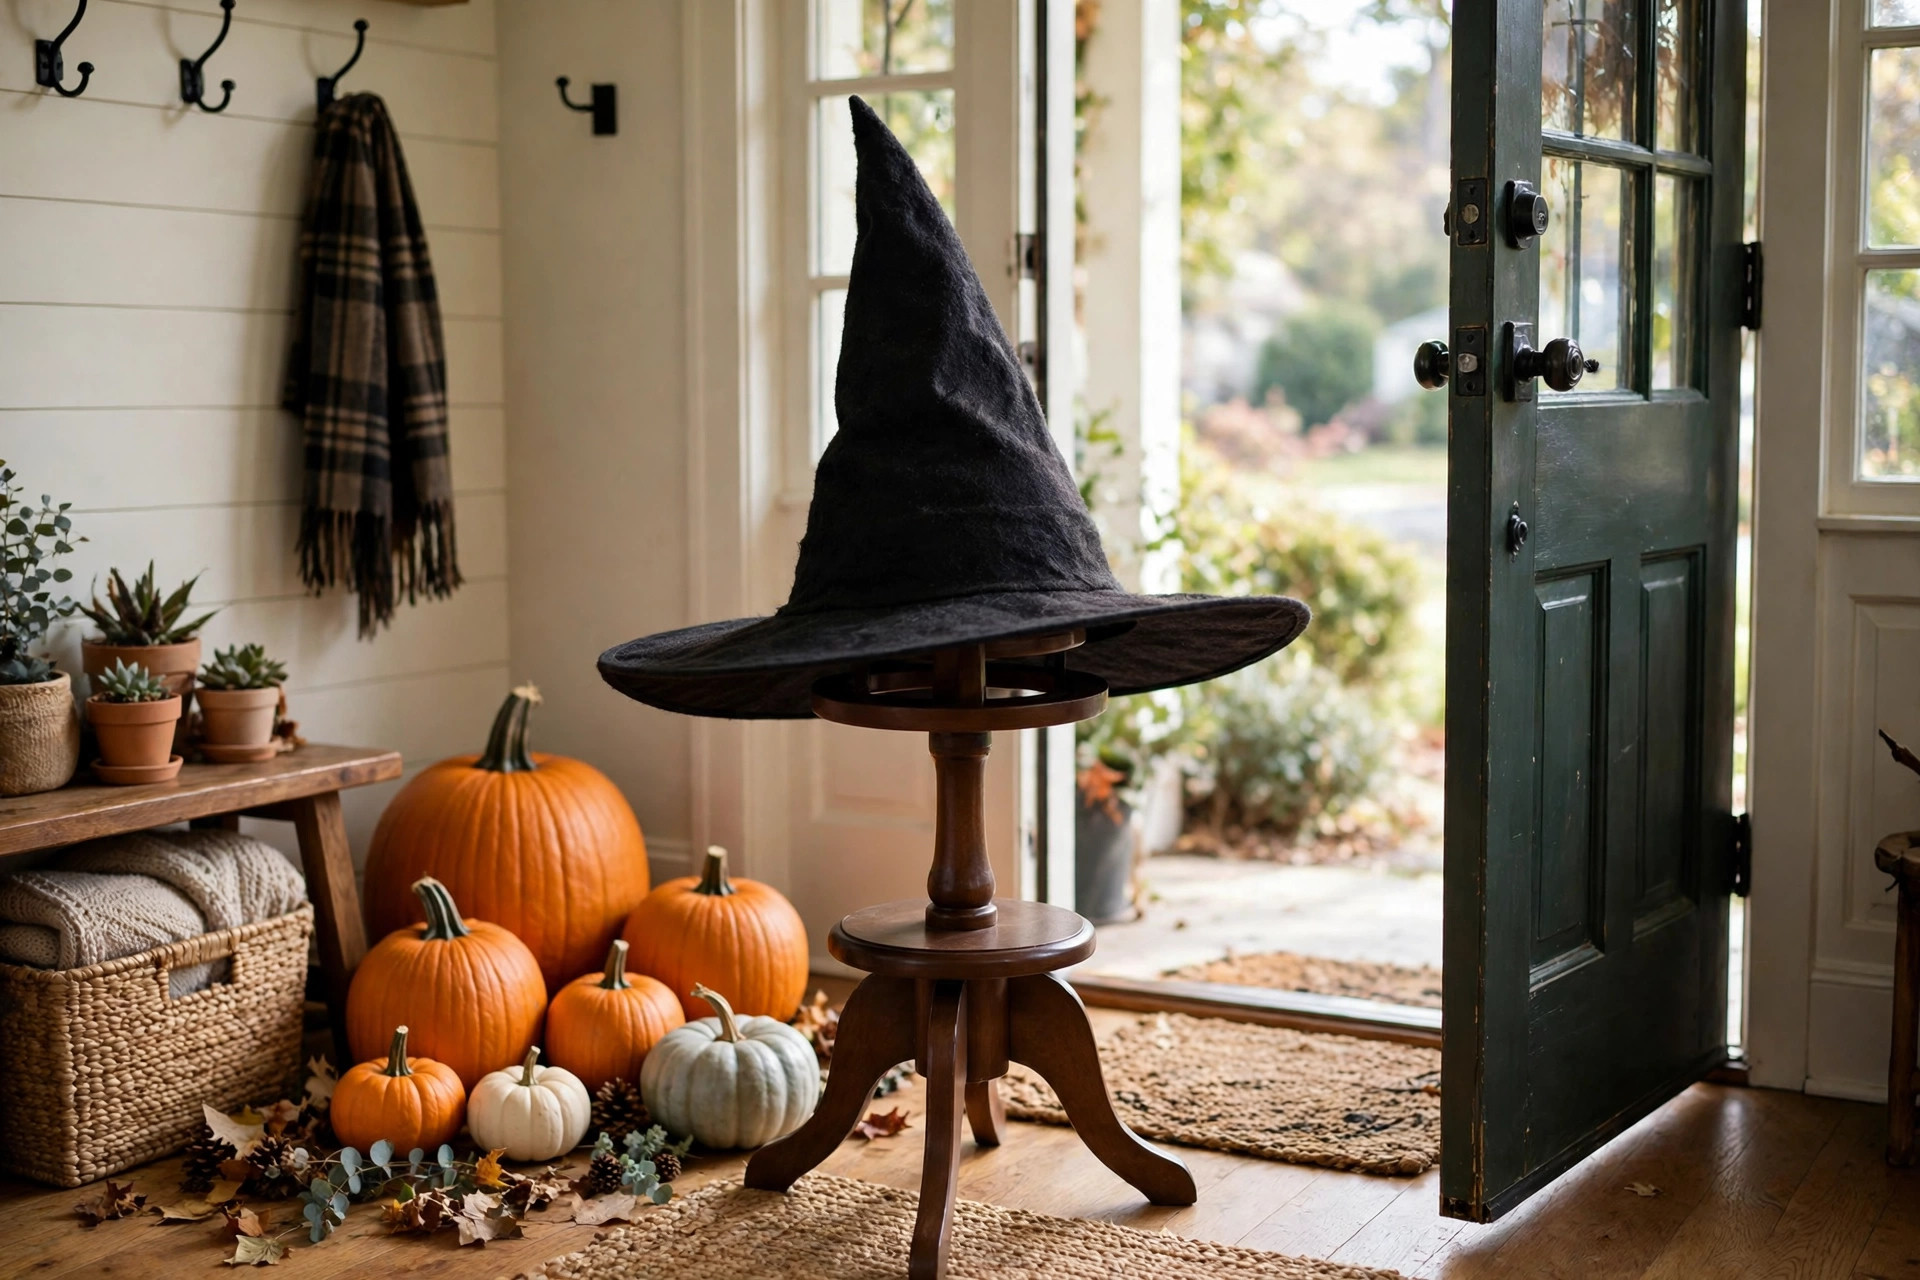
16. A Witch’s Hat on a Stand by the Door
I put a black witch’s hat on a small stand on the console, with a purple ribbon tied around it. It is one object, it reads as Halloween instantly, and it does not clutter the table. I bought the hat for $6 and the stand was a mug turned upside down, which worked fine and cost nothing.
The downside is that a hat on a stand can be knocked off by a bag, so I put it at the back of the console, against the wall.
Pro Tip: Add a tiny battery light under the hat, it glows from underneath and looks magical at night.
Cost: $6-$12 | Time: 5 minutes | Difficulty: Easy
17. A Welcome Basket for Guests’ Coats and Bags
I put a basket by the door for guests’ coats on Halloween night, instead of letting them pile on the stairs. It is not decor exactly, but it keeps the entryway looking tidy when people arrive, and I label it Coats Here. I learned this after a party where coats covered my pumpkin display completely.
The downside is that a basket fills fast, so I use a large laundry basket, not a small decorative one.
Pro Tip: Put a second basket for umbrellas, wet umbrellas on the floor ruin a rug in one night.
Cost: $0-$15 | Time: 5 minutes | Difficulty: Easy
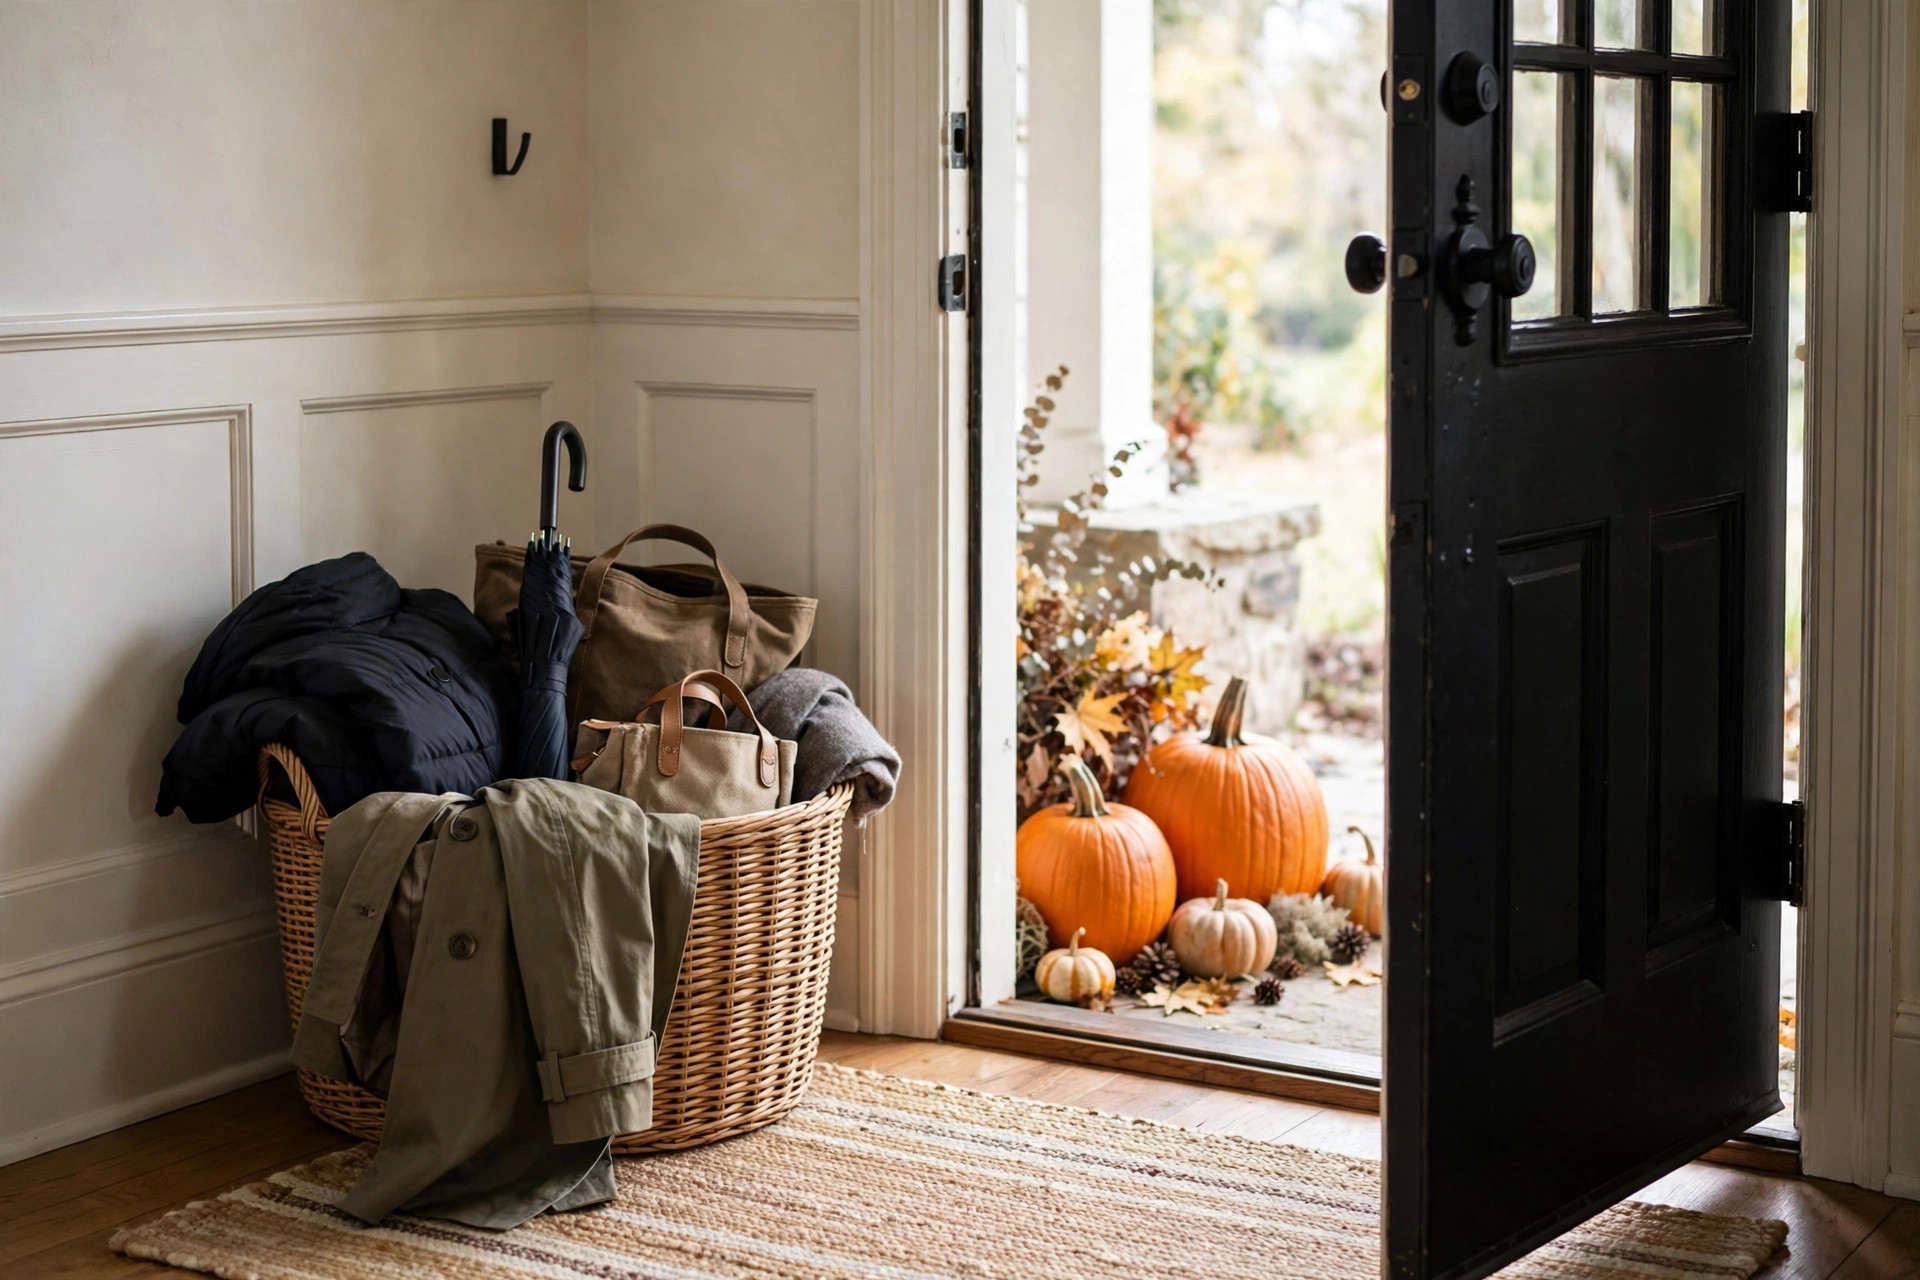
18. A Simple, Dark, Minimal Door for a Small Hall
If your hall is tiny, skip the clutter entirely. I did this in my first flat: a black wreath, one lantern, and a plain black mat, nothing else. It looked intentional, not empty, and I could still get in and out with shopping bags. This is the look I recommend if you are short on time, money, or space.
The downside is that it photographs less dramatically than a full display, but in real life it is calm and welcoming, which is what a hall should be.
Pro Tip: Keep everything black, white, and one pumpkin orange, a limited palette makes a small space look designed.
Cost: $15-$30 | Time: 20 minutes | Difficulty: Easy
Comparison Table
| Idea | Best for | Cost | Effort |
|---|---|---|---|
| Wreath at eye level | Every hall, instant impact | $15-$35 | Low |
| Lantern pair | No plug socket, evening glow | $20-$40 | Low |
| Pumpkin cluster | Front step, classic look | $10-$25 | Low |
| Candy station | Halloween night itself | $10-$20 | Low |
| Bat swarm wall | Small budget, big photos | $3-$8 | Low |
| Minimal dark door | Tiny halls, busy weeks | $15-$30 | Low |
Mistakes I Made (So You Don’t Have To)
First, I blocked the path with a big display and a pram could not get through, so now I measure the walkway first and leave at least 80 cm clear. Second, I used real candles in lanterns by the door and spent the night worrying about coats catching, so now it is battery only. Third, I carved pumpkins on 1 October and they collapsed before Halloween, so now I carve the weekend before. Fourth, I hung a heavy wreath with a nail and it fell and chipped the paint, so now I use an over-door hook and a felt pad.
FAQ
How long will an entryway display actually last?
Mine lasts the whole month if I use faux leaves, battery lights, and only one carved pumpkin, carved late. Real foliage and carved pumpkins need replacing after a week, so plan for that.
What would you do differently in a very small hall?
I would do the minimal look, idea 18, with one wreath, one lantern, and a mat, and I would skip the console vignette entirely. A clear hall beats a crowded one.
Is it safe to have a candy station by the door?
Yes, if it is low, stable, and away from candles. I use wrapped sweets only, a scoop, and a separate bowl for non-food treats, and I never leave a real flame nearby.
Final Thoughts
Your entryway does not need to be the spookiest house on the street, it just needs to say welcome, we are ready, and come and knock. Start with a wreath and a lantern, add a pumpkin cluster if you have room, and leave the path clear. That is the halloween entryway decor ideas formula that has worked in my narrow hall for four Octobers now, and I hope it works in yours too.
Related article: Halloween Wreath Ideas
Also read: Halloween Mantel Decor Ideas
Read this next: Halloween Tiered Tray Decor Ideas