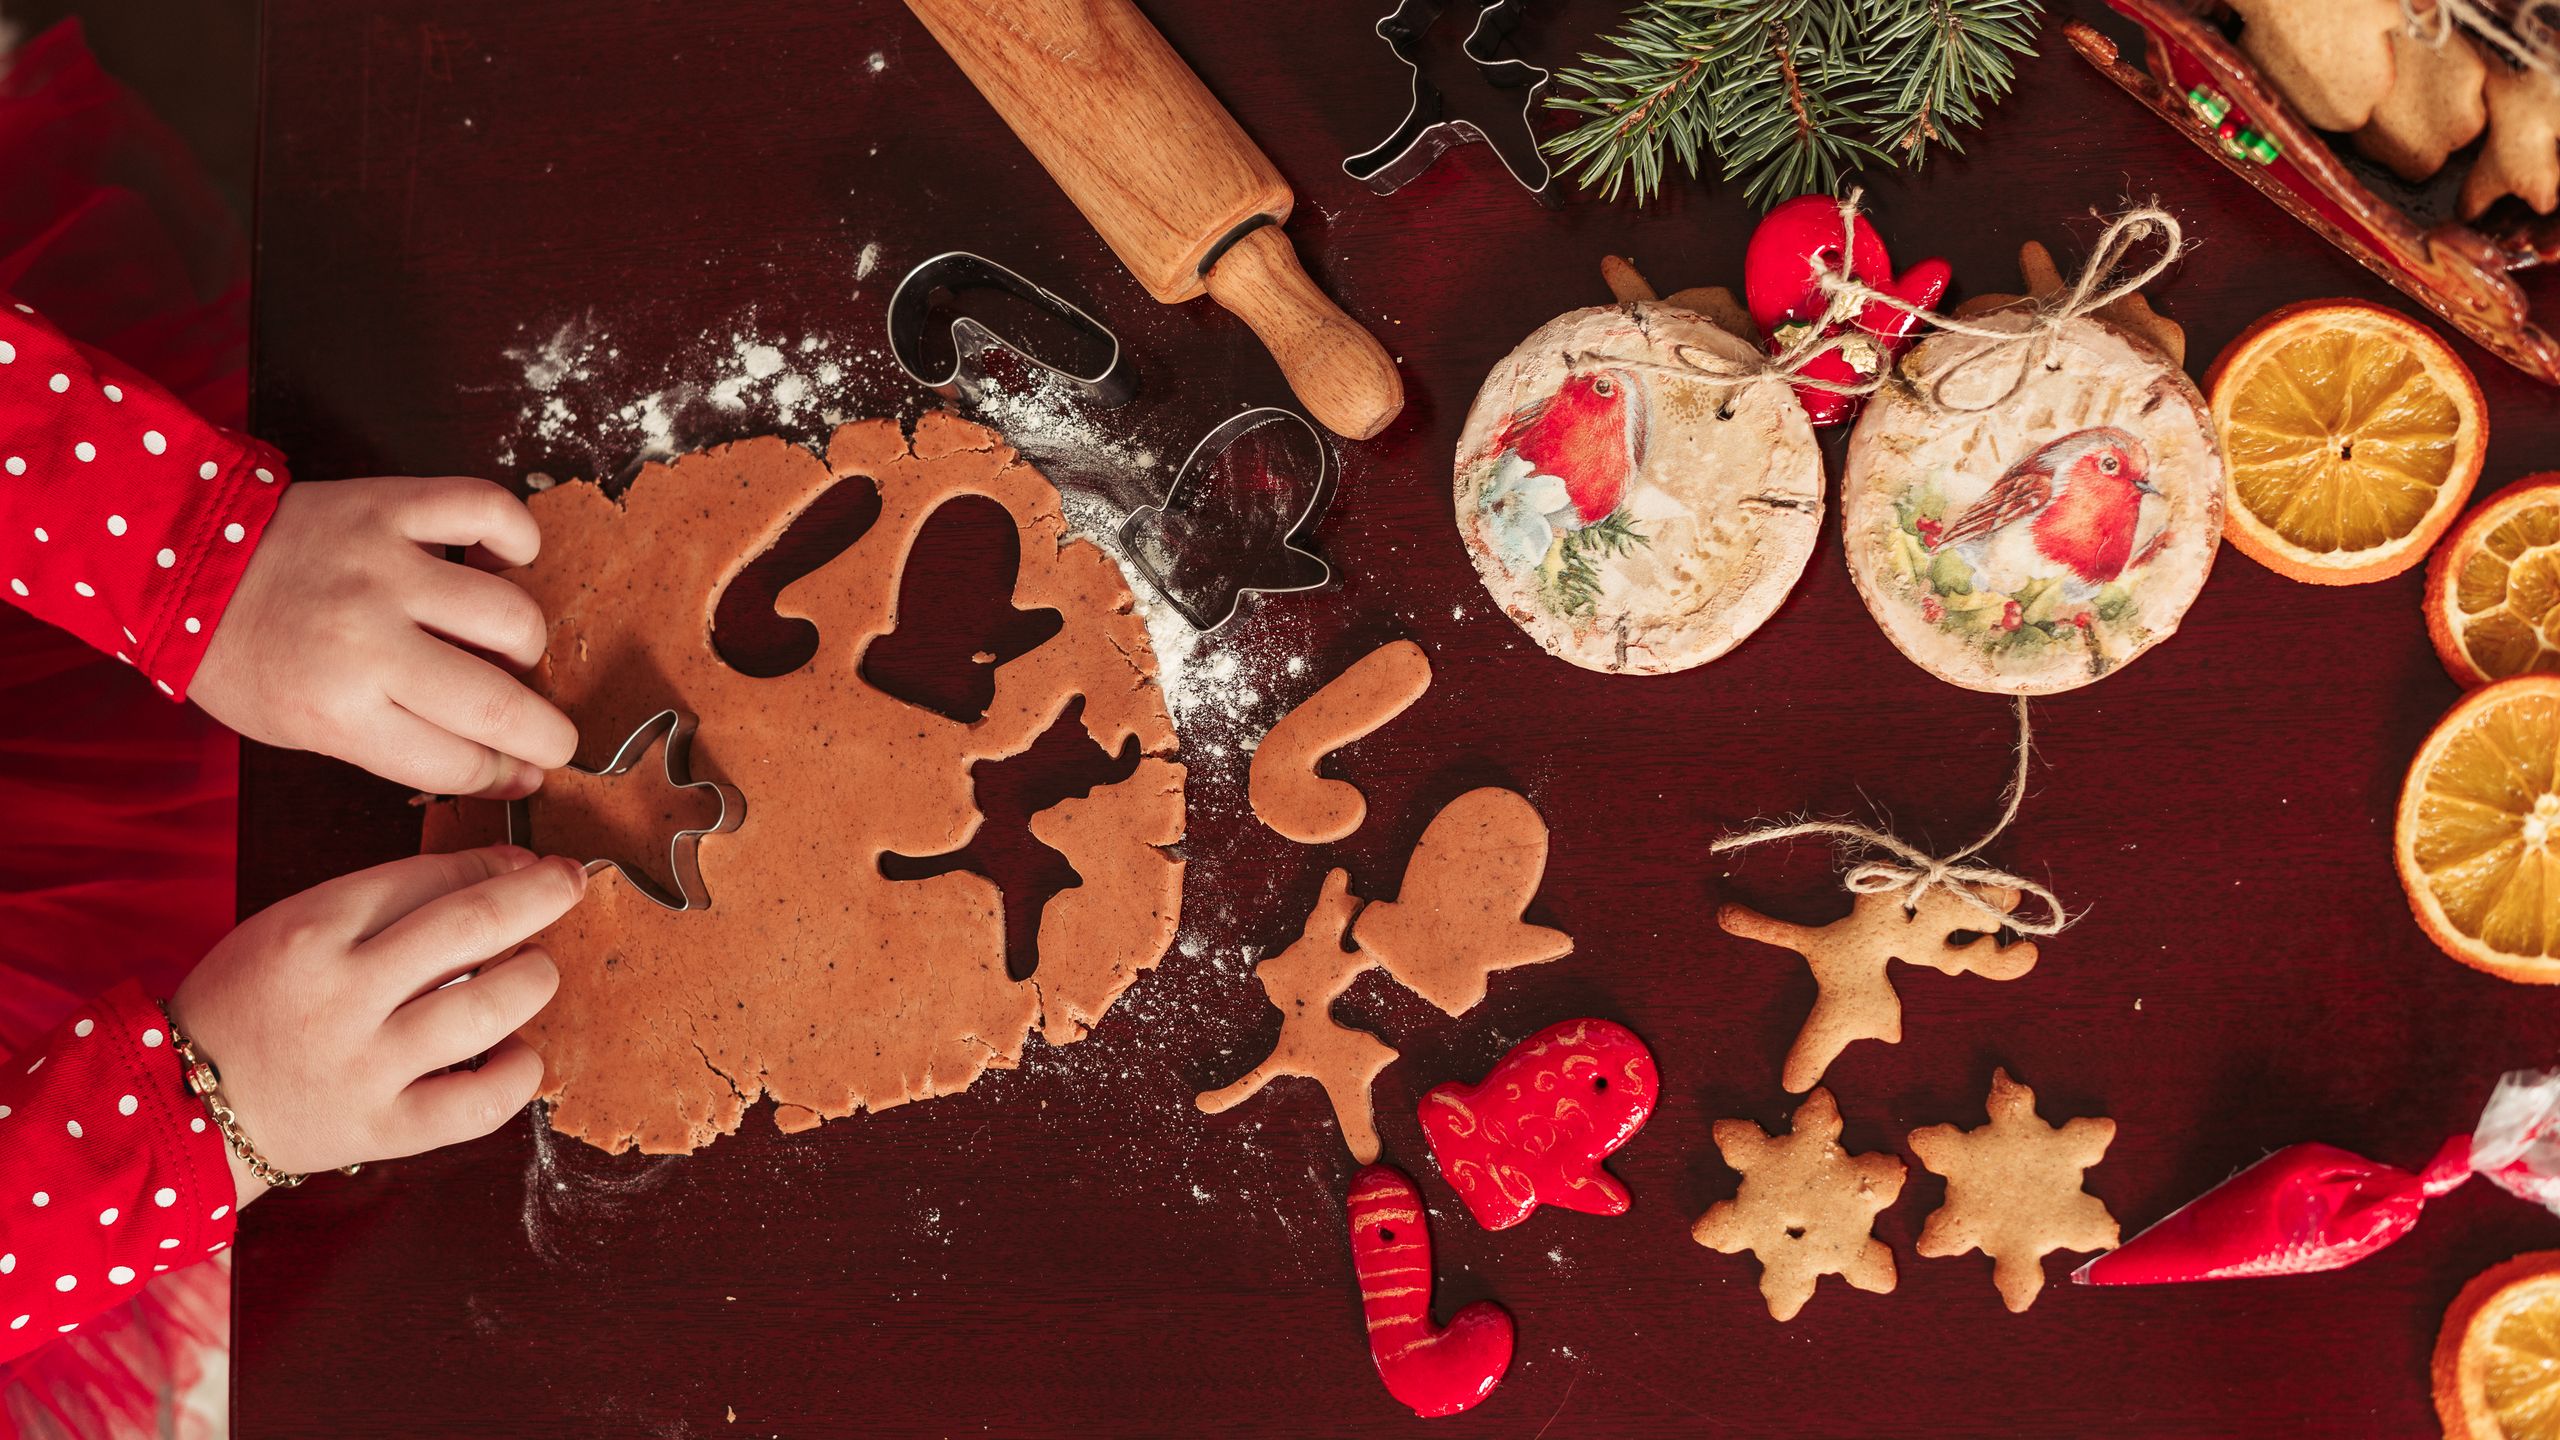
20 Salt Dough Ornament Craft Ideas for a Homemade Christmas Tree
There is something quietly magical about a tree dressed in ornaments you made yourself, and these salt dough ornament craft ideas are the ones I come back to every single December. I baked, painted, sealed, and hung every style in this list at home before I wrote a word about it.
My base recipe is simple: 2 cups of plain flour, 1 cup of fine salt, and about 3/4 cup of warm water, kneaded for five minutes until smooth. I roll it to 1/4 inch thick, cut shapes, poke a hanging hole with a straw, and bake at 200°F for two to three hours, flipping once.
How I picked and tested these: I made each ornament in my own kitchen, baked it low and slow, painted it, sealed it with clear varnish, and hung it on our tree for at least a week. If a shape puffed, cracked, or lost its paint, I remade it and noted the fix below.
If you want a wider starting point, this Related article is a lovely place to browse before you mix your first batch.
Key Takeaways
- One batch of salt dough makes about 20 to 24 small ornaments for under $2 in pantry ingredients.
- Roll dough to 1/4 inch thick and bake low and slow so ornaments dry flat without puffing.
- Always poke the hanging hole before baking, and seal finished ornaments with clear varnish.
- Thick keepsakes like handprints need longer baking or several days of air drying.
- Keep salt dough ornaments away from pets and small children who might chew them.
1. Classic Rustic Stars

I start every batch with stars because they are forgiving, fast, and look good on any tree. I roll the dough to 1/4 inch, cut stars in two sizes, and poke a hole near one point with a straw. After baking at 200°F for about two hours, I leave them plain or brush them with a little white paint.
The first year I made these, I hung a damp star and it sagged overnight, so now I check the centre feels bone dry. The honest downside is that plain stars can look a little flat next to glittery shop-bought baubles, so I mix in a few painted ones.
Pro Tip: Hang stars with red-and-white baker’s twine for an instant farmhouse look.
Cost/Time/Difficulty: Under $1 for a dozen | About 2.5 hours including baking | Easy.
2. Baby Handprint Keepsakes

For this keepsake, I roll a circle about 1/2 inch thick and slightly larger than the hand I am printing. I press the hand down firmly and evenly, lift straight up, trim the edge with a large round cutter, and write the name and year with a toothpick before baking.
My daughter giggled through her first print and wiggled one finger, which left a charming crooked thumb I would never fix now. The downside is real, though: thick handprints take three to four hours in a low oven, and rushing them causes cracks across the palm.
Pro Tip: For babies, try a footprint instead; it is often easier to get a clean, even press.
Cost/Time/Difficulty: About $1 each | 3 to 4 hours baking | Easy, with patience.
3. Stamped Snowflakes

I cut large circles, then press a snowflake stamp, a lace doily, or the end of a small bottle cap into the dough to leave a crisp pattern. A light dusting of flour on the stamp stops it sticking, and I bake the rounds at 200°F for about two hours until completely hard.
When I painted my first set icy blue, the paint pooled in the stamped lines and hid the pattern, so now I dry-brush white paint over a blue base instead. The downside is that shallow stamps disappear under thick paint, so press firmly and paint thinly.
Pro Tip: Dry-brush white or silver paint across the raised pattern to make the snowflake pop.
Cost/Time/Difficulty: About $2 for a set of six | 2.5 hours | Easy.
4. Mini Christmas Trees

These little trees are cut with a tree-shaped cookie cutter, then dotted with tiny holes or painted dots for baubles. I roll the dough a touch thicker, about 1/3 inch, so the narrow trunk does not snap, and I bake them on parchment for two hours.
I once hung a tree by a hole poked too close to the top point, and it broke off on the branch, so now I poke the hole lower, through the widest part of the top. The downside is that thin branches and trunks are fragile, so these suit a higher branch or a mantel display.
Pro Tip: Add a tiny star on top with a dab of glue after painting, once the tree is sealed.
Cost/Time/Difficulty: Under $1 for a dozen | 2.5 hours | Easy.
5. Gingerbread-People Lookalikes

Using a gingerbread-person cutter gives you a shape everyone recognises, without the worry that real cookies will crumble or go stale. I cut the figures, bake them for two hours, then paint simple faces, buttons, and scarves with a fine brush and acrylic paint.
My youngest painted one figure’s scarf bright purple, and it is still my favourite on the tree, slightly lopsided smile and all. The downside is that the arms are the weakest point, so lift figures with a flat spatula, never by one arm, while they are still warm.
Pro Tip: Paint faces after sealing with a thin varnish coat so the paint sits smoothly.
Cost/Time/Difficulty: About $1 for six | 2.5 hours plus painting | Easy.
6. Painted Hearts for the Tree

Hearts are my go-to gift ornament because they feel personal without needing a photo or a print. I cut hearts about 3 inches wide, bake them for two hours, then paint them red, blush pink, or cream, and add a simple white dot border with the end of a paintbrush.
I made a set for my neighbours one year and wrote each family name on the back in gold pen, which turned a simple shape into a keepsake. The downside is that dark red paint can take two coats for even coverage, so budget extra drying time between coats.
Pro Tip: Seal hearts twice if they will be handled a lot; the extra coat stops chipping.
Cost/Time/Difficulty: About $1 for six | 3 hours including painting | Easy.
7. Photo Frame Ornaments

For this one, I cut a large star or circle, then cut a smaller window from the centre before baking. Once the frame is baked, painted, and sealed, I glue a small printed photo behind the window and add a felt backing so the photo stays clean and flat.
The first frame I made had a window slightly too small for the photo, and trimming it after baking cracked the edge, so now I measure the photo first. The downside is that photos can fade if the ornament hangs in direct sunlight, so keep these on a shaded side of the tree.
Pro Tip: Print photos slightly larger than the window, then trim to fit after the frame cools.
Cost/Time/Difficulty: About $2 each including printing | 3 hours | Moderate.
8. Cinnamon-Scented Stars

I mix 1 teaspoon of ground cinnamon and 1/2 teaspoon of ground cloves into the dry ingredients before adding water, which gives the baked stars a warm, spicy scent. The dough is a little darker, so I paint sparingly and let the natural colour show through.
Our hallway smelled like Christmas for a week after I hung these near the front door, and guests kept asking what I had been baking. The downside is that the scent fades after a season or two, and the darker dough hides pale paint colours, so use bold colours.
Pro Tip: Store cinnamon ornaments in a sealed bag with a cinnamon stick to refresh the scent.
Cost/Time/Difficulty: About $1 for a dozen | 2.5 hours | Easy.
9. Mini Garland of Stars and Hearts

Instead of one hanging hole, I poke two holes in each small star or heart, about 1/2 inch apart, before baking. Once they are painted and sealed, I thread them onto twine with dried orange slices between them, knotting the twine after each piece so nothing slides.
I draped my first garland across the mantel and loved how it filled a wide space for almost no money, though one knot came undone and three stars slid together. The downside is that garlands tangle easily in storage, so I roll mine around a cardboard tube.
Pro Tip: Knot the twine on both sides of each ornament to keep the spacing even.
Cost/Time/Difficulty: About $3 for a 4-foot garland | 3 hours | Easy.
10. Reindeer Faces

I cut round faces, bake them for two hours, then paint them brown, add two small antler shapes glued on after baking, and finish with googly eyes and a red pom-pom nose. Gluing the antlers after baking is much stronger than trying to bake thin antlers in dough.
My kids argued over who got the wonky-eyed reindeer, which tells you everything about how charming imperfect faces can be. The downside is that glued antlers can snap off if the ornament is dropped, so these are best hung high, away from busy little hands.
Pro Tip: Use a hot-glue dot behind each antler and press for ten seconds for a firm bond.
Cost/Time/Difficulty: About $2 for six | 3 hours | Moderate.
11. Angel Toppers and Angels

For angels, I shape a simple triangle dress, a round head, and two flat wings, joining them with a little water while the dough is still soft. I bake the whole angel at 200°F for two to two-and-a-half hours, then paint the dress white and gold and add a simple face.
The angel I made for my grandmother’s tree is still my proudest piece, even though one wing is slightly thicker than the other. The downside is that joined pieces can separate if they were not pressed together well, so score both surfaces with a fork before joining.
Pro Tip: Make the wings thicker than you think; thin wings are the first part to break.
Cost/Time/Difficulty: About $1 each | 3 hours | Moderate.
12. Painted Bauble Rounds

Round cutters are the easiest shape of all, and they become surprisingly elegant when painted like baubles. I cut circles about 3 inches wide, bake them for two hours, then paint stripes, dots, or a single bold colour, and finish with a thin gold line around the edge.
I painted a set in deep green and gold for our living-room tree, and visitors assumed they were ceramic until they picked one up. The downside is that round ornaments show fingerprints and uneven paint more than textured shapes, so use thin coats and a soft brush.
Pro Tip: Paint the edge gold first, then fill the centre, for a clean, finished border.
Cost/Time/Difficulty: Under $1 for a dozen | 3 hours including painting | Easy.
13. Glitter Snowball Rounds

For a frosty look, I paint baked rounds white or pale blue, brush on a thin coat of clear glue, and sprinkle fine glitter over the top while the glue is still wet. I shake off the excess over paper, let them dry fully, then seal with two coats of clear varnish to lock the glitter in.
My first glitter batch shed sparkle all over the tree skirt, which is why I now never skip the varnish step, no matter how tempting it is to hang them straight away. The downside is that even sealed glitter can feel slightly rough, so keep these away from delicate fabrics.
Pro Tip: Use fine glitter, not chunky glitter, for a smooth, snowy finish that seals well.
Cost/Time/Difficulty: About $2 for six | 3 hours | Easy.
14. Candy Cane Stripes

I cut candy cane shapes freehand with a knife, or bend a thick rope of dough into a hook shape, then bake for two hours. After cooling, I paint diagonal red stripes over a white base, leaving the white to show through, and seal with clear varnish.
The hook shape took me three tries to get right, because my first canes were too thin and snapped at the curve, so I now make the rope at least 1/2 inch thick. The downside is that painted stripes can bleed if the white base is not fully dry, so wait a full hour between colours.
Pro Tip: Use painter’s tape as a guide for straight diagonal stripes if freehand feels tricky.
Cost/Time/Difficulty: About $1 for six | 3 hours | Moderate.
15. Pinecone-Printed Rounds

For a woodland feel, I press a real pinecone firmly into a thick round of dough, rolling it gently once to leave a textured scale pattern, then lift it away. I bake the rounds for two hours, brush them with a light brown wash, and dry-brush cream over the raised scales.
I collected pinecones on a winter walk with my family, and pressing them into dough felt like bringing a piece of that walk indoors. The downside is that pinecones leave uneven prints if pressed at an angle, so press straight down and do a test round first.
Pro Tip: Brush the pinecone with a little flour first so it releases cleanly from the dough.
Cost/Time/Difficulty: Free if you forage pinecones | 2.5 hours | Easy.
16. Name and Year Gift Tags

Small rectangles or ovals become gift tags when you stamp or scratch a name and the year into the dough with a toothpick before baking. I keep the lettering large and shallow, bake for two hours, then paint the letters gold so they stand out against a cream base.
I tied one to every gift last Christmas, and several relatives kept the tags to hang on their own trees this year. The downside is that small lettering is hard to read once paint fills it, so keep letters at least 1/4 inch tall and paint the letters, not the whole tag, dark.
Pro Tip: Practise your lettering on scrap dough first; baked mistakes cannot be erased.
Cost/Time/Difficulty: Under $1 for a dozen | 2.5 hours | Easy.
17. Icy Blue Frosted Stars

For a cooler palette, I paint baked stars in two shades of blue, then dry-brush white over the edges to mimic frost. A final coat of clear varnish with a little fine glitter mixed in gives a frosty shimmer without the mess of loose glitter.
These look beautiful on a white or silver tree, and they were the set my sister asked me to make for her flat. The downside is that blue paint can look patchy on the rough salt dough surface, so I always apply a thin white primer coat first.
Pro Tip: Prime with white paint first, then layer blue, for smooth, even colour.
Cost/Time/Difficulty: About $2 for a dozen | 3 hours | Easy.
18. Painted Village Houses

I cut simple house shapes with a knife — a square body and a triangle roof in one piece — bake for two hours, then paint windows, doors, and snowy roofs. A row of three houses on the tree looks like a tiny village street, especially in cream, red, and sage green.
My first house had a roof that overhung too far and snapped when I threaded the twine, so now I keep the roof short and poke the hole through the body. The downside is that freehand houses vary in size, so cut a cardboard template first if you want a matching set.
Pro Tip: Use a cardboard template for matching houses, and paint windows with a toothpick tip.
Cost/Time/Difficulty: About $1 for six | 3 hours | Moderate.
19. Paw Print Keepsakes

For pet lovers, I roll a thick round, press a clean paw gently into the dough, and add four small toe dots with a fingertip if the print is faint. I write the pet’s name and year with a toothpick, then bake for three hours because of the extra thickness.
Our dog was deeply suspicious of the whole process and lifted his paw halfway through, leaving a half-print I now treasure even more. The downside is that pets may try to chew finished ornaments, so hang paw prints high and out of reach, and never let pets eat them.
Pro Tip: Press the paw on a test piece first; a calm, quick press gives the clearest print.
Cost/Time/Difficulty: About $1 each | 3 to 4 hours | Easy, with a patient pet.
20. Mixed Old-Fashioned Tree Set

If you only make one batch, make a mixed set: six stars, six hearts, four trees, and four rounds, all from one double batch of dough. Paint them in one palette — I use cream, red, and gold — so the tree looks collected rather than random, even though every shape is different.
This mixed set is the one I reach for when friends ask for a starter kit, because it teaches every skill in this list at once. The downside is that a mixed batch takes longer to paint than a single shape, so split the painting over two evenings rather than rushing it in one sitting.
Pro Tip: Paint all ornaments in one colour first, then add details, to keep the set cohesive.
Cost/Time/Difficulty: About $2 for twenty ornaments | 4 hours across two days | Easy.
For painting techniques for these salt dough ornament craft ideas, this Also read guide is worth a look before you open your paint set.
Salt Dough Ornament Craft Ideas: At a Glance
| Ornament | Best For | Baking Time | Skill Level |
|---|---|---|---|
| Rustic stars | Beginners, farmhouse trees | 2 hours | Easy |
| Handprint keepsakes | Gifts, first Christmases | 3 to 4 hours | Easy |
| Stamped snowflakes | Winter-white trees | 2 hours | Easy |
| Garlands | Mantels, wide spaces | 2 hours per piece | Easy |
| Photo frames | Personal gifts | 2 hours | Moderate |
| Mixed set | Starter kits, new makers | 2 hours per batch | Easy |
Mistakes I Made / What I Learned the Hard Way
Baking too hot. My first batch went in at 300°F and puffed like bread, losing every crisp edge. Low and slow at 200°F keeps shapes flat, even if it takes longer.
Forgetting the hanging hole. I once baked a whole tray of stars, then tried to drill holes afterwards and cracked three of them. Poke every hole with a straw before baking, and re-poke it halfway through if it starts to close.
Skipping the seal. Unsealed ornaments absorbed damp air in our hallway and went soft by February. Two thin coats of clear varnish, front and back, keep them hard for years.
Painting too thick. Thick paint hid stamped patterns and took days to dry tack-free. Thin coats, fully dry between layers, give a much cleaner finish and use less paint.
Frequently Asked Questions
How long do salt dough ornaments last? Sealed and stored dry in tissue paper, mine have lasted five years and counting.
Can I air-dry salt dough instead of baking it? Yes, but it takes several days, and thick pieces can take a week or more. Turn pieces daily so both sides dry evenly, and only paint once the centre feels completely hard and cool.
Are salt dough ornaments safe around pets? No, not for chewing. The high salt content can be harmful if eaten, so hang ornaments high and keep spares out of reach.
Why did my ornaments puff up in the oven? The oven was too hot, or the dough was too thick and wet. Roll to 1/4 inch, bake at 200°F, and prick the back of thick pieces with a fork to let steam escape.
What paint works best on salt dough? Acrylic paint works best: it covers well, dries fast, and seals cleanly under varnish. Avoid watercolour, which soaks in unevenly.
Final Thoughts
I hope this collection of salt dough ornament craft ideas gives you a calm, affordable place to start, whether you make one star or a whole mixed set. Start with a single batch, pick the shape that makes you smile, and let the rest of the list wait for next year.
For a different handmade look to mix in with your dough pieces, Read this next for wooden ideas that pair beautifully with rustic stars and hearts. Happy baking, and happy decorating.




One Comment