19 Rainbow Crafts for Kids That Brighten Any Rainy Day
Rainy days can make it harder to keep kids entertained, especially when outdoor play is off the table. I’ve found that colorful crafts are one of the easiest ways to turn a gray afternoon into something fun, creative, and memorable. Rainbow crafts are especially useful because kids can work with bright colors without worrying about making everything look perfect.
I like rainbow projects because they work for different ages and skill levels. Some only need paper and crayons, while others introduce painting, weaving, sensory play, or simple construction. That gives me plenty of options depending on how much time, space, and supervision I have available.
I’ve put together 19 rainbow crafts for kids that are simple enough for indoor afternoons and varied enough to keep children interested. You’ll find paper crafts, painting projects, sensory activities, keepsakes, recycled-material crafts, and projects that encourage movement or group participation.
Save this for later
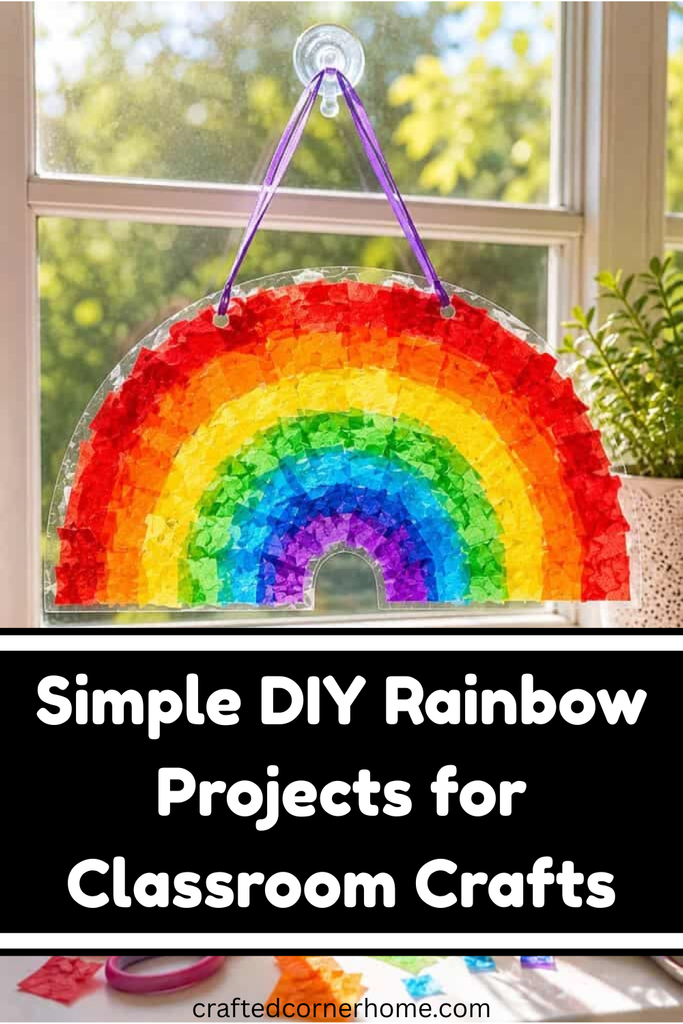
Table of Contents
These ideas can help children practice skills such as cutting, gluing, threading, stamping, arranging colors, and following simple patterns. Younger children can focus on exploring colors and textures, while older kids can take more responsibility for designing and assembling their projects.
Key Takeaways
- I use rainbow crafts when I want a colorful activity that works well indoors.
- Many of these projects can be made with inexpensive household or craft supplies.
- Rainbow activities give kids room to experiment without demanding perfect results.
- Several crafts support fine motor skills through cutting, threading, gluing, stamping, and weaving.
- Sensory projects such as tissue paper, salt painting, and layered bottles add texture and hands-on play.
- I always adjust scissors, small materials, paint, and other supplies according to the child’s age and supervision needs.
- Several finished crafts can double as bedroom decorations, gifts, cards, or family keepsakes.
Related article: 25 Book Craft DIY Ideas for 2026
1. Paper Plate Rainbow
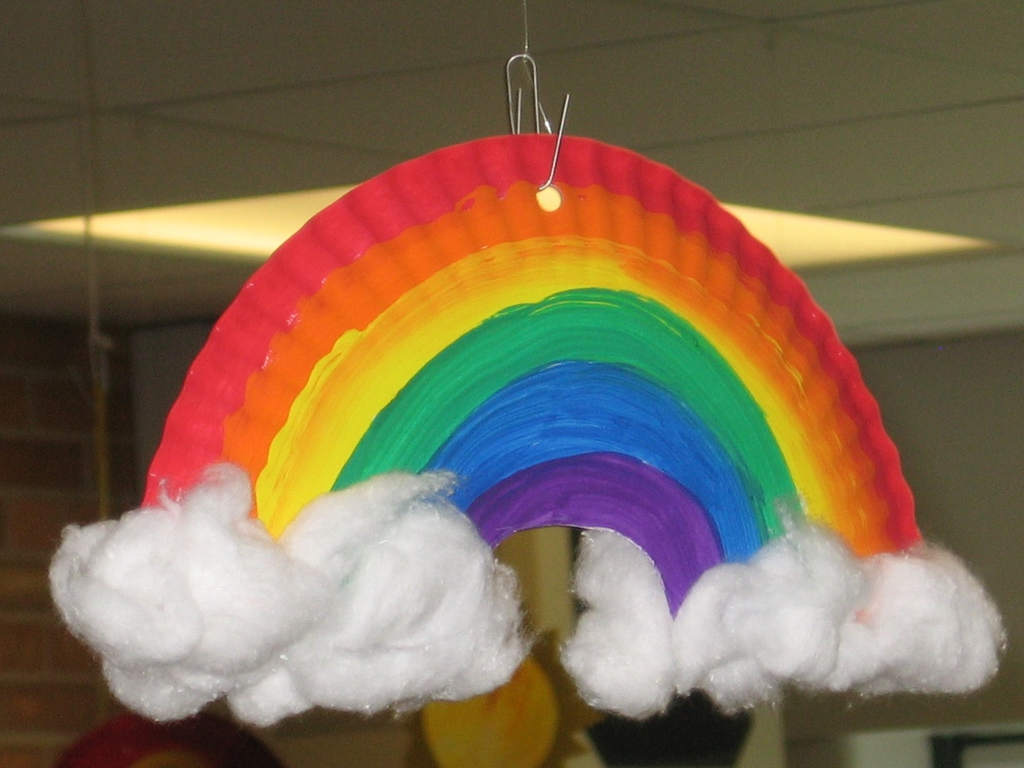
I can turn an ordinary paper plate into a cheerful rainbow with just a few basic supplies. I start by cutting the plate in half and using paint, crayons, or markers to create curved stripes in rainbow colors.
I usually work from the outside of the arch toward the inside so the colors stay organized. Once the paint dries, I add small pieces of cotton or white paper at both ends to make fluffy clouds.
This is one of my favorite beginner-friendly rainbow crafts because the basic shape is easy to understand. Younger children can focus on coloring, while older kids can practice cutting and arranging the stripes.
I also like making several at once and hanging them together. A group of colorful paper plate rainbows can brighten a playroom, classroom, or rainy-day craft table.
Pro Tip: If younger children are making this project, I use washable paint or large crayons and prepare the paper plates before the activity starts.
2. Handprint Rainbow
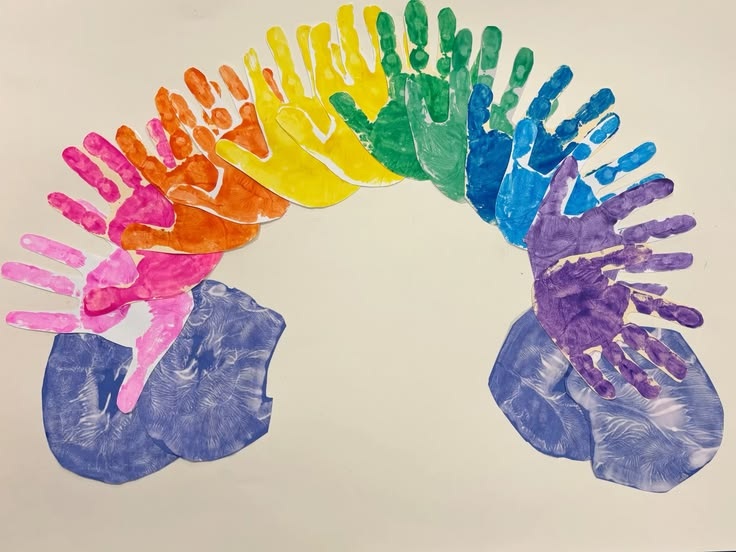
For a more personal project, I like making rainbows from painted or colored handprints. I create several handprint shapes in different rainbow colors and arrange them in curved rows to form an arch.
This project works particularly well as a family craft because each person can contribute a handprint. Different hand sizes make the finished rainbow more personal and create a keepsake that shows how the children have grown.
I recommend using washable, child-friendly paint and making sure the handprints are completely dry before assembling them. I can also write the child’s name and date on the back so the artwork becomes a simple memory from that stage of childhood.
Instead of throwing the finished craft into a drawer, I like framing it or adding it to a family art wall.
Pro Tip: Take a quick photo of the finished handprint rainbow before storing it. Kids grow quickly, so dated artwork can become a meaningful record of those early years.
3. Toilet Roll Rainbow Stamps
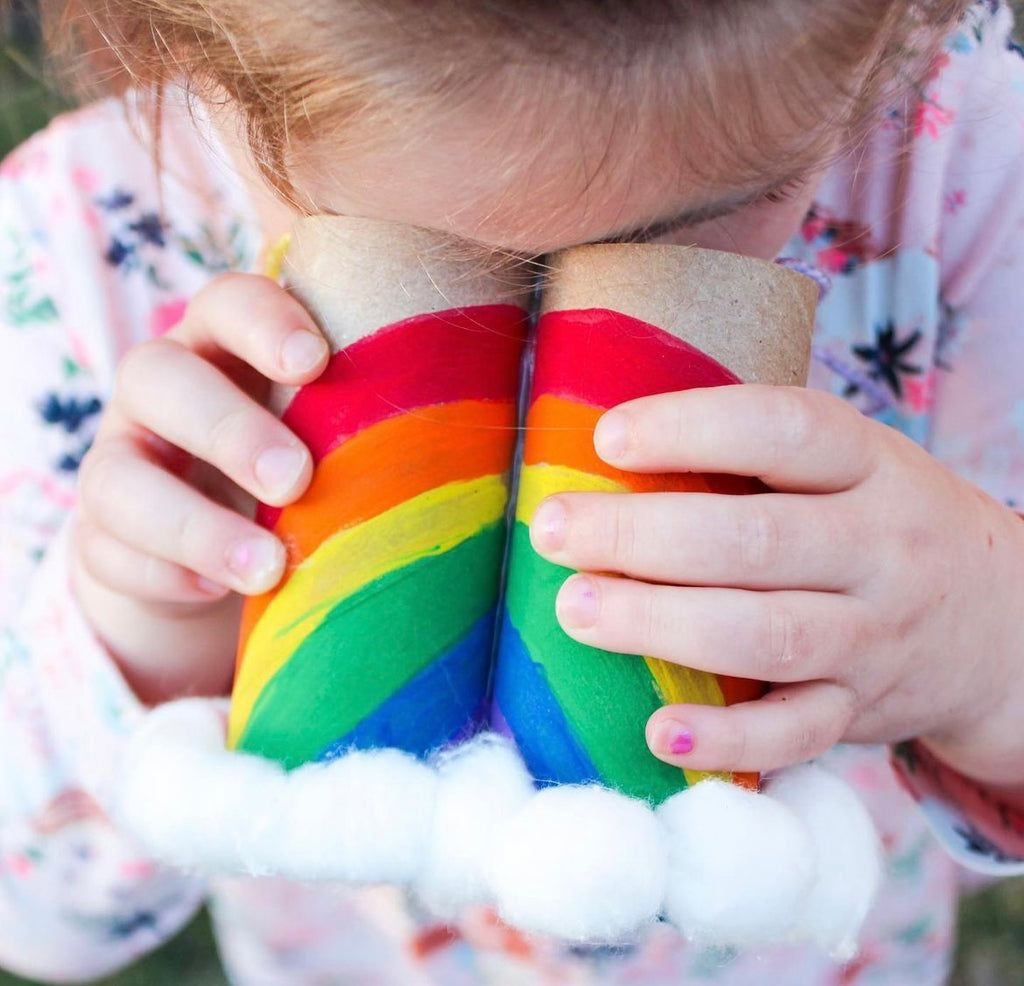
Empty toilet paper rolls can become simple rainbow stamping tools. I flatten or shape the cardboard tubes into curved forms and use them to create repeated rainbow arches.
I choose a different paint color for each section and press the cardboard onto paper in overlapping positions. This gives kids a chance to create a rainbow without needing to draw perfectly curved lines.
I like this activity because it also gives an everyday recyclable item a second use. Children get to explore shapes, paint, repetition, and color while using something that would normally go into the recycling bin.
The stamping motion can also be easier for young children than controlling a small paintbrush.
Pro Tip: I keep a separate cardboard tube for each paint color when possible. It reduces color mixing and makes the activity easier for younger children.
4. Tissue Paper Rainbow
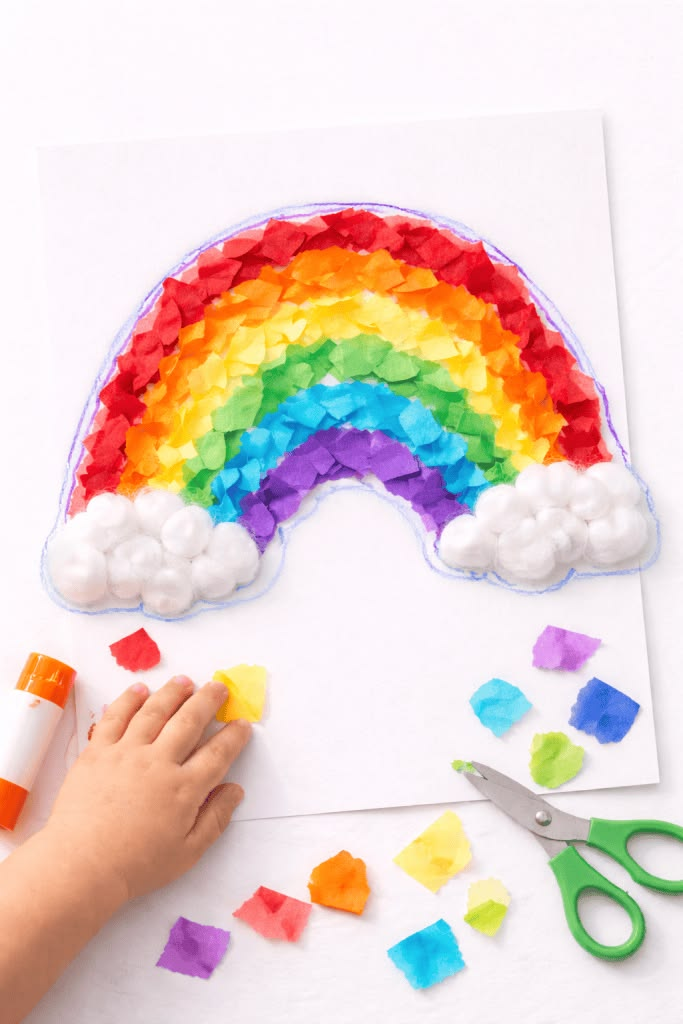
Tissue paper is a simple way to add texture to a rainbow craft. I cut or tear small pieces of red, orange, yellow, green, blue, and purple tissue paper and arrange them in curved rows.
I spread glue over a small section at a time and let kids press the tissue pieces onto the paper. They don’t need to place every piece perfectly, which makes this a relaxed project for children who don’t enjoy precise crafts.
The overlapping tissue creates a slightly layered appearance, and the colors can look especially pretty when the finished artwork is placed near natural light.
I also like using this technique with younger children because tearing paper can be easier than cutting detailed shapes.
Pro Tip: Give kids a shallow tray for each color. It keeps the workspace more organized and makes cleanup much easier.
5. Rainbow Suncatcher
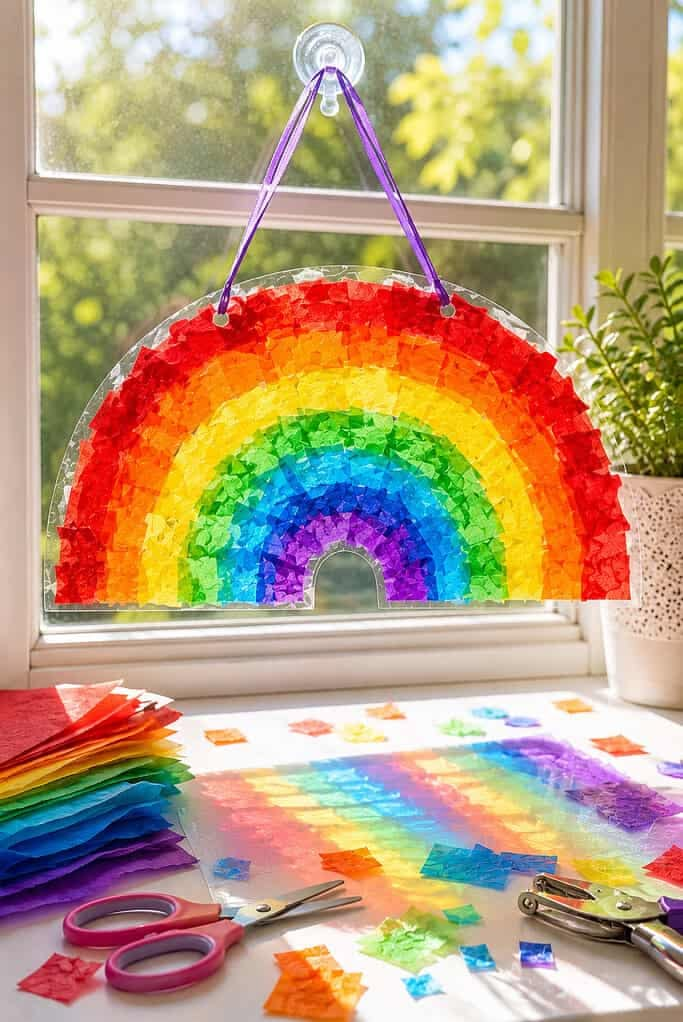
A rainbow suncatcher is one of the projects I like when I want the finished craft to become part of the room’s decoration. I cut a rainbow outline from dark cardstock and use colored tissue paper to fill the individual sections.
The transparent or semi-transparent tissue allows sunlight to pass through the colored sections. When I hang the finished rainbow near a bright window, the colors become much more noticeable.
I find that the contrast between the dark outline and bright tissue paper makes the design stand out. It also gives children a simple introduction to how light interacts with transparent and translucent materials.
This project does require a little more preparation than a basic coloring activity, but the finished result makes the extra setup worthwhile.
Pro Tip: I use clear adhesive film or contact paper to hold the tissue pieces in place when I want a cleaner result with less glue.
6. Watercolour Rainbow Wash
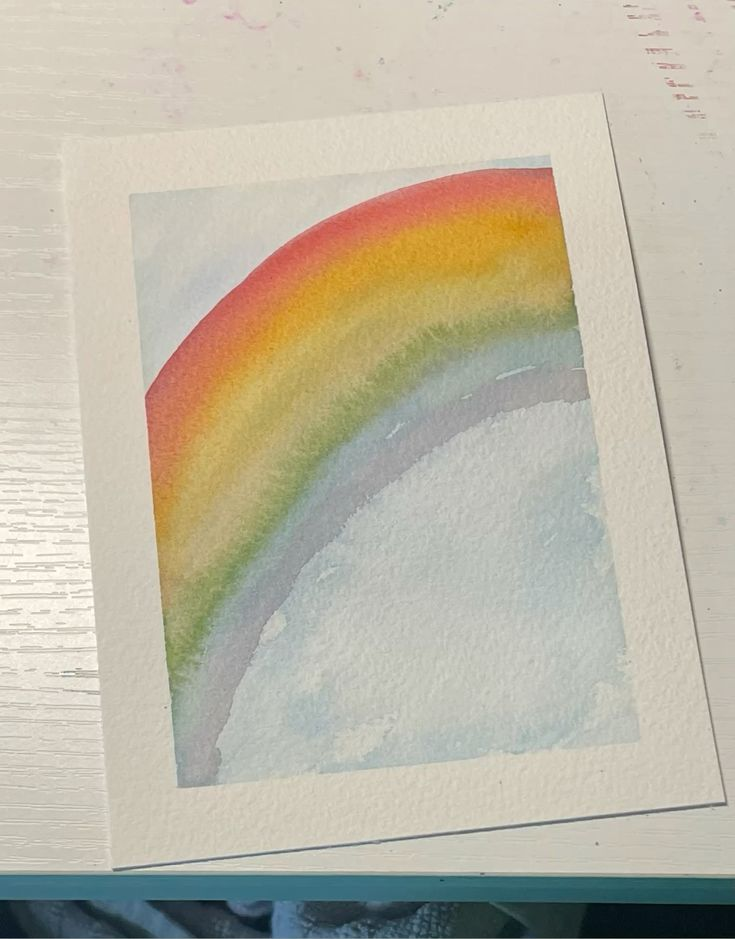
For a calmer afternoon activity, I like using a wet-on-wet watercolor technique. I lightly wet watercolor paper first and then add curved bands of different colors while the surface is still damp.
The water allows the colors to spread and blend naturally. Instead of expecting clean lines, I let the paint move and mix, which makes every rainbow slightly different.
This is especially useful when I want an activity where kids can slow down and experiment. They can see how adding more water changes the way the paint spreads without needing to create a perfectly finished picture.
I also like using heavier watercolor paper because it handles moisture better than ordinary printer paper.
Pro Tip: Keep a paper towel nearby. I use it to lift excess water or paint when an area becomes too wet.
7. Pom Pom Rainbow Craft
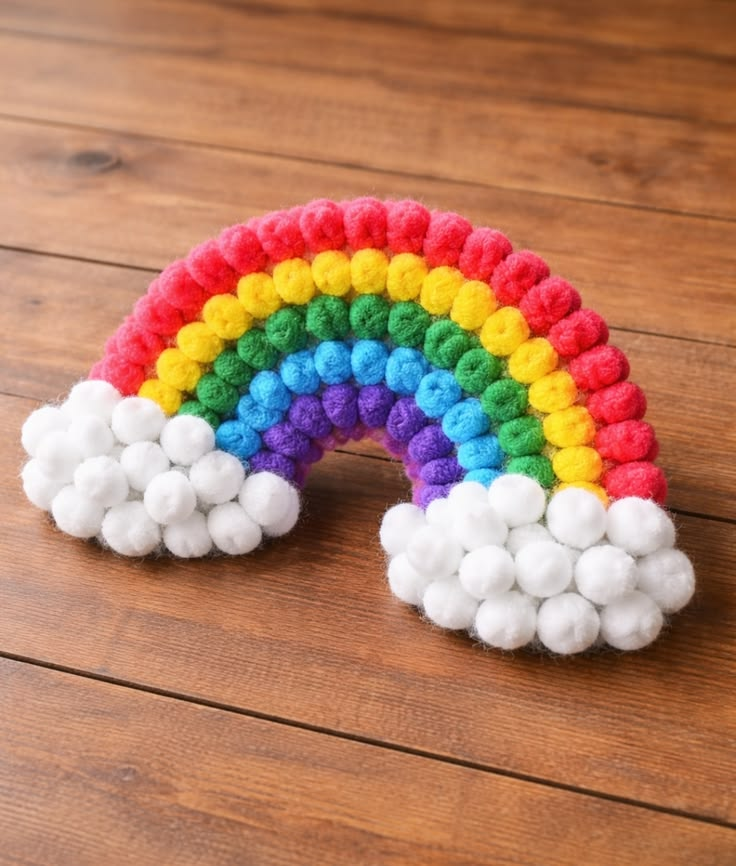
Pom poms add a soft, raised texture to a traditional rainbow design. I draw or print a simple rainbow shape and let kids glue rows of colorful pom poms along each curved section.
The activity involves more than color recognition. Picking up individual pom poms, applying glue, and placing them carefully gives children plenty of opportunities to practice small hand movements.
I like leaving the finished rainbow somewhere children can safely touch it because the texture is part of what makes this project interesting.
For younger kids, I use larger pom poms and supervise closely because small craft pieces can be a choking hazard.
Pro Tip: Put a small amount of glue into a shallow dish and give older children cotton swabs or small brushes for applying it. This helps prevent large glue puddles.
8. Rainbow Pasta Necklace
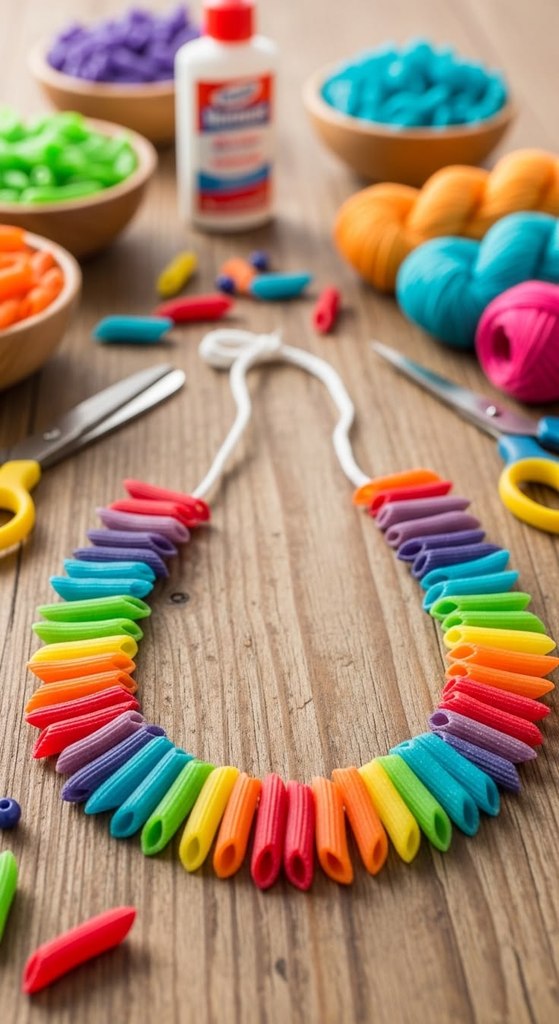
I can turn plain dry pasta into a colorful wearable craft by coloring the pieces before threading them. I use food coloring with a small amount of vinegar to tint the pasta, then allow it to dry completely.
Once the pieces are ready, kids can thread the colors onto string, yarn, or another suitable cord. I encourage them to follow a rainbow sequence, but I also let them create their own patterns.
The threading part gives children an opportunity to practice hand-eye coordination and controlled finger movements. It also makes the finished project something they can actually wear or give to someone else.
I recommend choosing pasta shapes with large enough openings for the child’s age and using an appropriate cord under adult supervision.
Pro Tip: Make the pasta in advance if you want a shorter craft session. The drying stage can take time, so preparing the colored pieces beforehand keeps kids focused on the fun part.
9. Rainbow Salt Painting
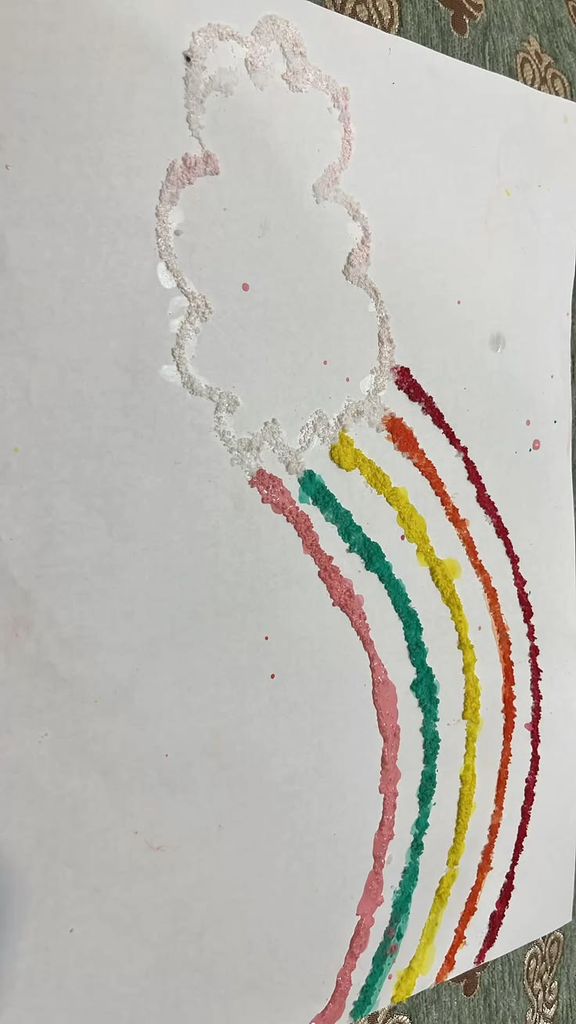
Rainbow salt painting creates a raised, textured design with very simple materials. I draw a rainbow using liquid glue and then add colored salt to each section while the glue is still wet.
I usually work with one color at a time and gently shake the excess salt away before moving to another section. A dark sheet of cardstock can make the finished colors stand out.
Kids often enjoy this project because they get to sprinkle, shake, and reveal the design as they work. The finished surface has a grainy texture that feels different from ordinary painted artwork.
Because this craft uses loose salt and glue, I keep the workspace contained and make sure children don’t put the materials near their mouths.
Pro Tip: Place the paper inside a shallow tray while working. I can pour excess salt back into the appropriate container instead of losing it across the table.
Also read: Mushroom Crafts for Adults: From Quick Projects to Thoughtful Gifts
10. Rainbow Fingerprint Art
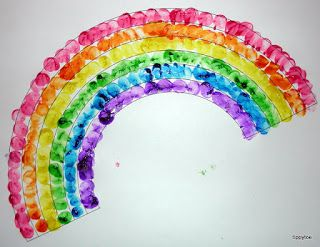
Fingerprint art is a simple choice when I want a project that doesn’t require complicated tools. I put small amounts of washable paint onto a palette and let children create rainbow arches with their fingertips.
The repeated dipping and stamping motion is easy for little hands to understand. Younger children can make the rainbow while older kids can add details such as clouds, sunshine, flowers, or tiny fingerprint characters.
I especially like using fingerprint rainbows for greeting cards or family gifts because the artwork preserves a child’s tiny fingerprints at a particular age.
I make sure to use non-toxic, washable paint intended for children’s crafts and keep wipes or a damp cloth nearby for quick cleanup.
Pro Tip: Instead of giving children a large amount of paint, I use small dots on a palette. It helps control the amount of paint on each fingertip.
11. Rainbow Ribbon Wand
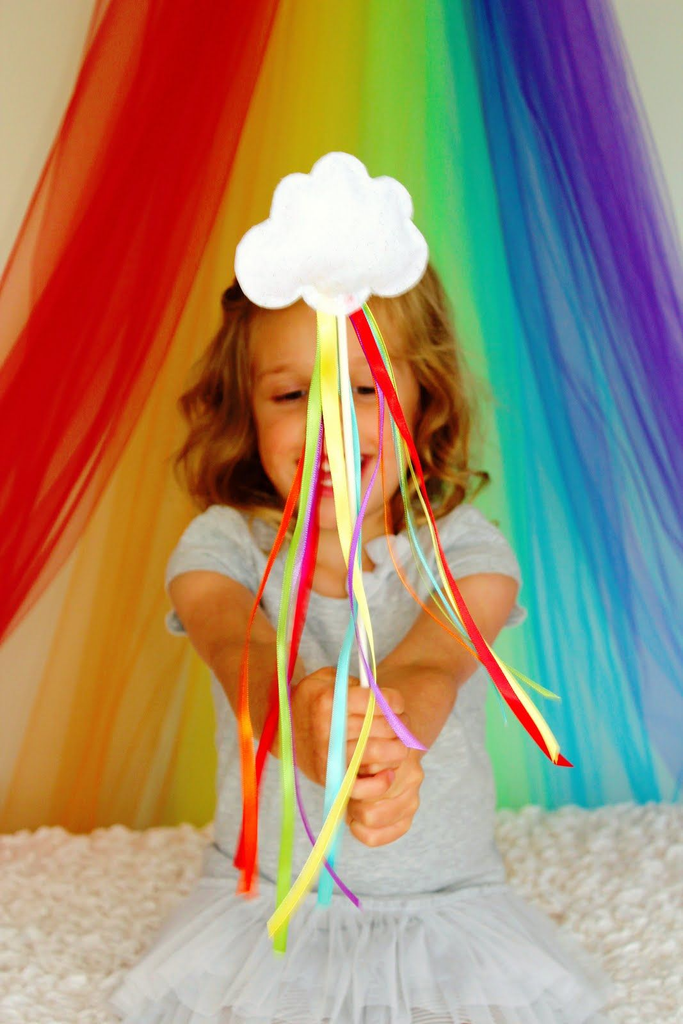
A rainbow ribbon wand gives kids a craft they can actually move and play with afterward. I attach several long ribbons in different colors to the end of a suitable stick or dowel.
Once the wand is finished, kids can wave it through the air and watch the ribbons follow their movements. I like this activity because it combines making something with active play.
For safety, I make sure the wand has no sharp edges and use it in an open area away from furniture, breakable objects, and other children.
This can also become part of pretend play. Kids can use the wand during music, dancing, imaginative games, or outdoor play when the weather improves.
Pro Tip: Keep the ribbons slightly shorter for younger children and avoid loose cords around very young kids.
12. Rainbow Weaving
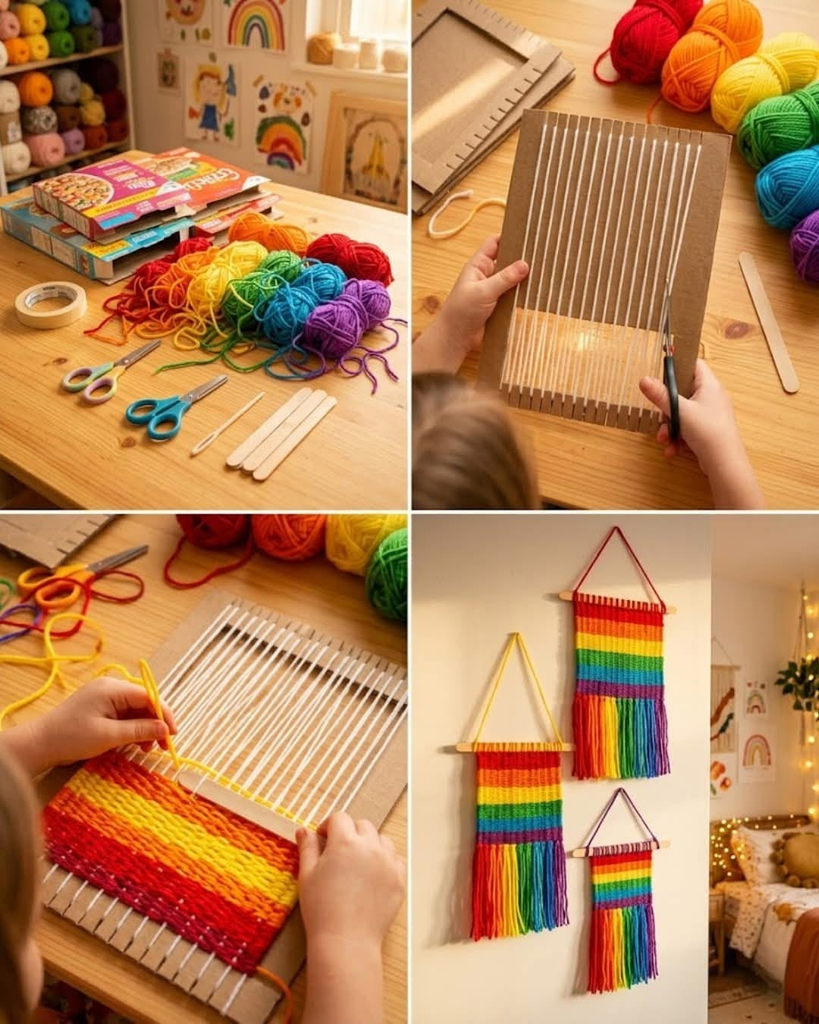
Rainbow weaving is a good project when I want something that takes a little more concentration. I make a simple loom from sturdy cardstock by cutting evenly spaced slots along two sides.
Kids can then weave strips of colored paper, yarn, or ribbon over and under the openings. I encourage them to work slowly because keeping the pattern consistent is part of the activity.
I like this craft for older preschoolers and school-age children because it introduces a basic weaving concept while still producing a colorful piece of artwork.
The finished rainbow has a different texture from a painted picture and can be displayed on a wall, refrigerator, or craft board.
Pro Tip: Start with wide paper strips for beginners. Once a child understands the over-and-under pattern, thinner materials can make the activity more challenging.
13. Rainbow Jar Sensory Bottle
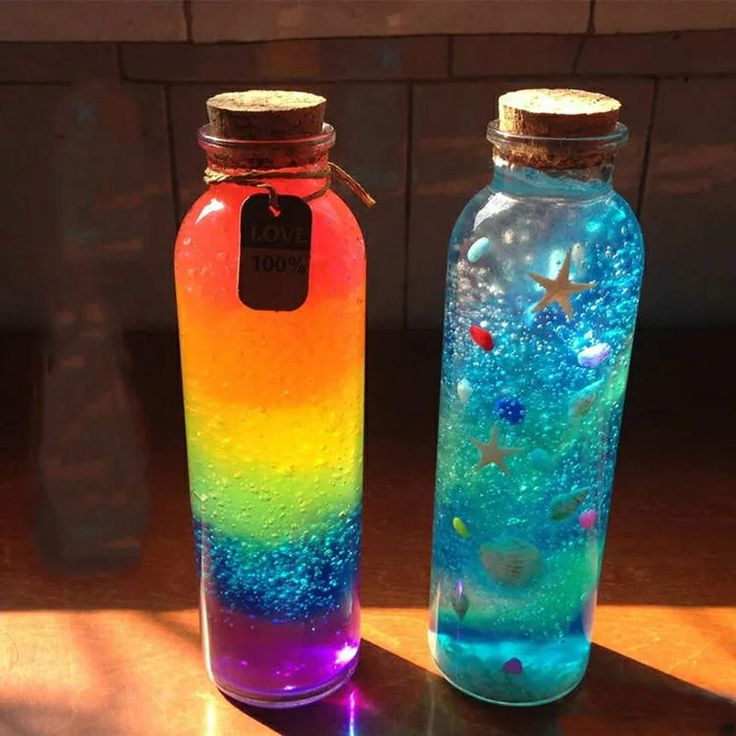
A clear jar or bottle can become a layered rainbow display using colored rice, sand, or another suitable material. I prepare each color separately and then add the layers one at a time.
The key is to pour slowly so the colors remain visually distinct. Kids can help decide the order and watch the container gradually transform from empty to a bright rainbow display.
I like this activity because it combines color recognition with sensory exploration. The finished bottle can also become a decorative object for a shelf or craft area.
If I use a sensory bottle with young children, I make sure the container is securely sealed and regularly check that the lid remains firmly attached.
Pro Tip: Use a funnel when adding dry materials. It helps children control the layers and keeps small pieces from spreading across the table.
14. Rainbow Sock Puppet
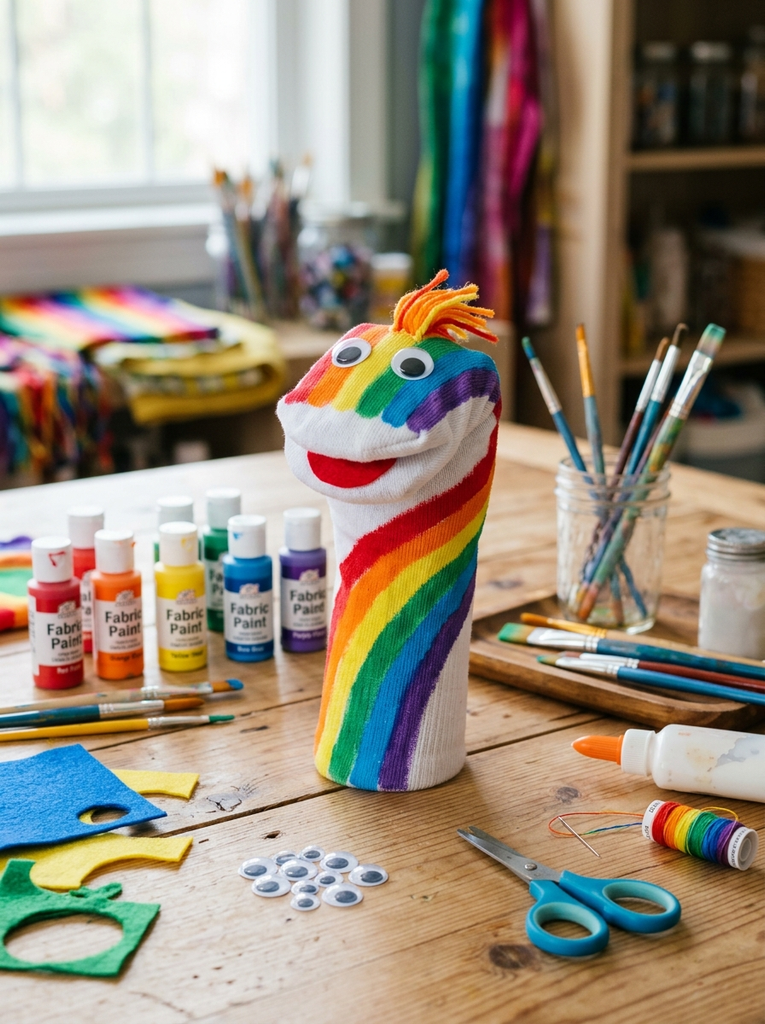
A plain white sock can become a cheerful rainbow character with fabric paint, felt, googly eyes, and other craft supplies. I add curved stripes to the sock and then decorate the face.
Once the puppet is dry, I encourage kids to give it a name and create a short story. This turns one craft into an opportunity for pretend play and storytelling.
I like this idea because the finished project doesn’t simply sit on a shelf. Kids can use it for puppet shows, bedtime stories, or imaginative games.
For younger children, I make sure decorative pieces such as googly eyes are securely attached and choose materials appropriate for their age.
Pro Tip: Instead of trying to make the puppet perfect, let kids choose its personality. A silly face or unusual color pattern can make the puppet more fun.
15. Rainbow Bridge Craft
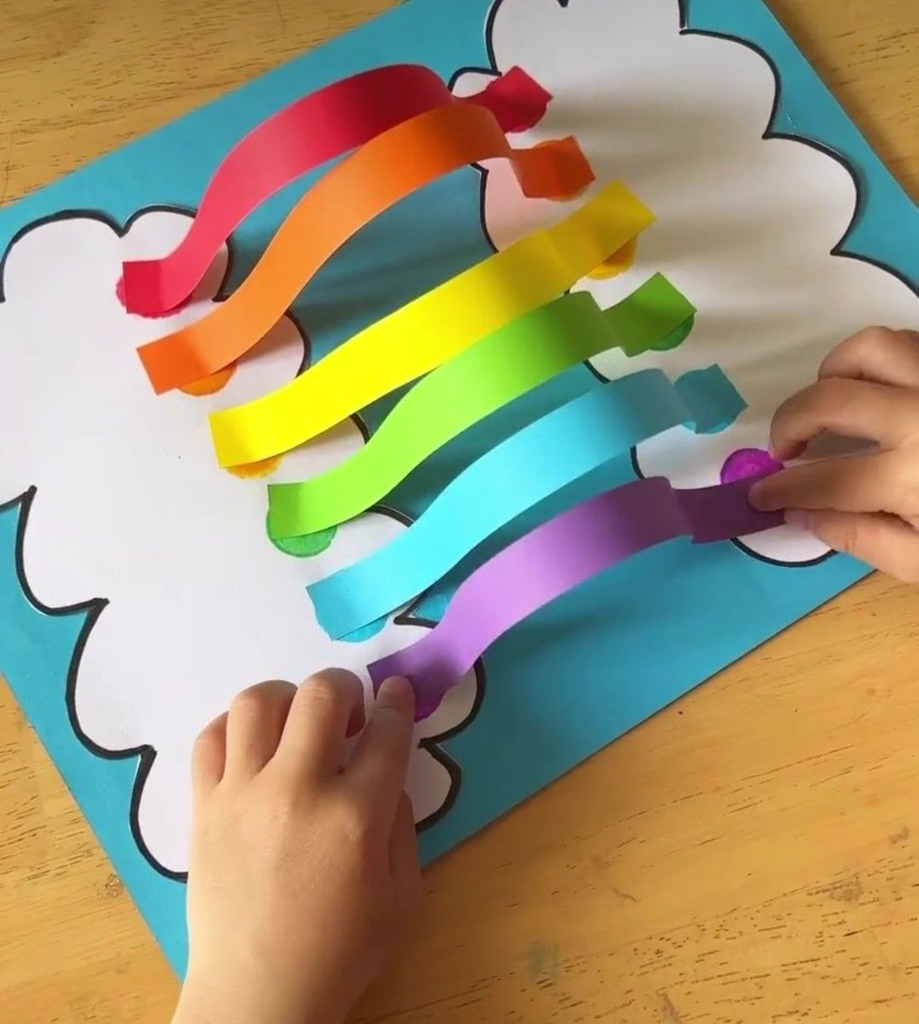
For a simple 3D project, I use strips of colored cardstock to create an arched rainbow bridge. I curve each strip and secure it so the different colors form a raised structure.
This activity gives kids more than a flat coloring project. They have to think about how the strips bend, overlap, and stay upright.
I like adding a small paper landscape underneath the bridge. Children can include trees, clouds, animals, houses, or small paper characters to turn the rainbow into a miniature scene.
It is a nice way to combine crafting with storytelling because the finished bridge can become part of an imaginary world.
Pro Tip: Use thicker cardstock instead of thin printer paper if you want the rainbow arches to hold their shape more easily.
16. Rainbow Painted Rocks
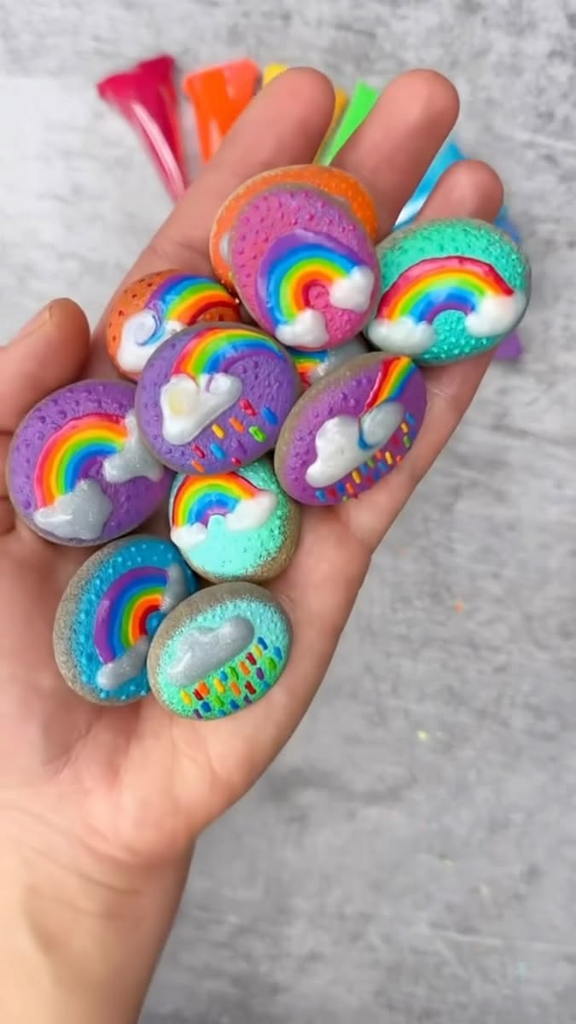
Smooth rocks make inexpensive bases for colorful outdoor or indoor decorations. I wash and dry the stones first, then paint each one in a different rainbow color.
Once the paint has dried, kids can arrange the stones in the correct color sequence. They can display them in a shallow dish, along a garden border, or on a shelf.
I like this project because the natural shape of every rock is different. Children can decide which side should face forward and how the finished rainbow should be arranged.
If I plan to keep painted rocks outdoors, I choose paint and a suitable protective finish designed for outdoor use.
Pro Tip: Let the rocks dry completely before moving them outside. Rushing the drying process can cause fingerprints, smudges, or chipped paint.
17. Rainbow Collage Garden
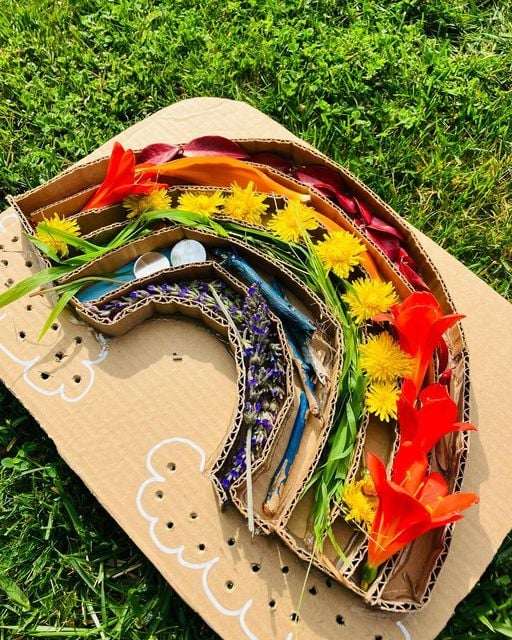
I can combine two kid-friendly themes—flowers and rainbows—by making a colorful paper garden. I cut simple flower shapes from different colored papers and arrange them across a green background.
Kids can organize the flowers into rainbow colors or create their own colorful garden pattern. I also like adding paper butterflies, bees, sunshine, leaves, and clouds to make the scene more detailed.
This project is especially useful when I want a craft that can grow with the child’s creativity. Younger children can focus on gluing flowers, while older kids can plan the entire garden layout.
The finished artwork makes a cheerful decoration for a playroom, classroom, or bedroom.
Pro Tip: Save leftover paper scraps from previous projects. Small pieces are perfect for flower centers, leaves, insects, and other collage details.
18. Giant Collaborative Rainbow
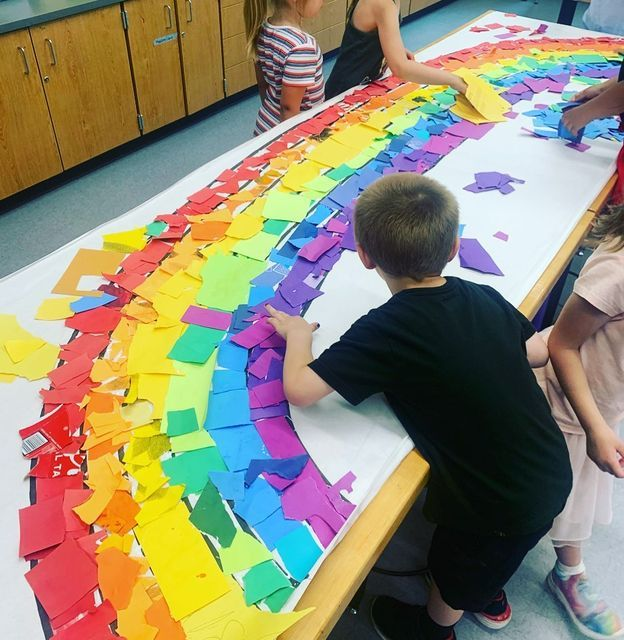
A giant rainbow gives a group of children a chance to work on one shared piece of artwork. I start with a large sheet of paper and divide a rainbow outline into several color sections.
Each child can take responsibility for a section and choose how to fill it. One child might paint, another might use tissue paper, and someone else might add paper shapes or fingerprints.
I like collaborative crafts because there isn’t a single person’s idea controlling the entire result. The finished rainbow shows different techniques and creative choices in one project.
This works well for classrooms, playgroups, birthday parties, siblings, or family craft days.
Pro Tip: Give each child a clearly marked section before starting. It helps avoid arguments about space and makes the group project easier to manage.
Read this next: 20 easy-to-make DIY Christmas ornaments
19. Rainbow Memory Keepsake Box
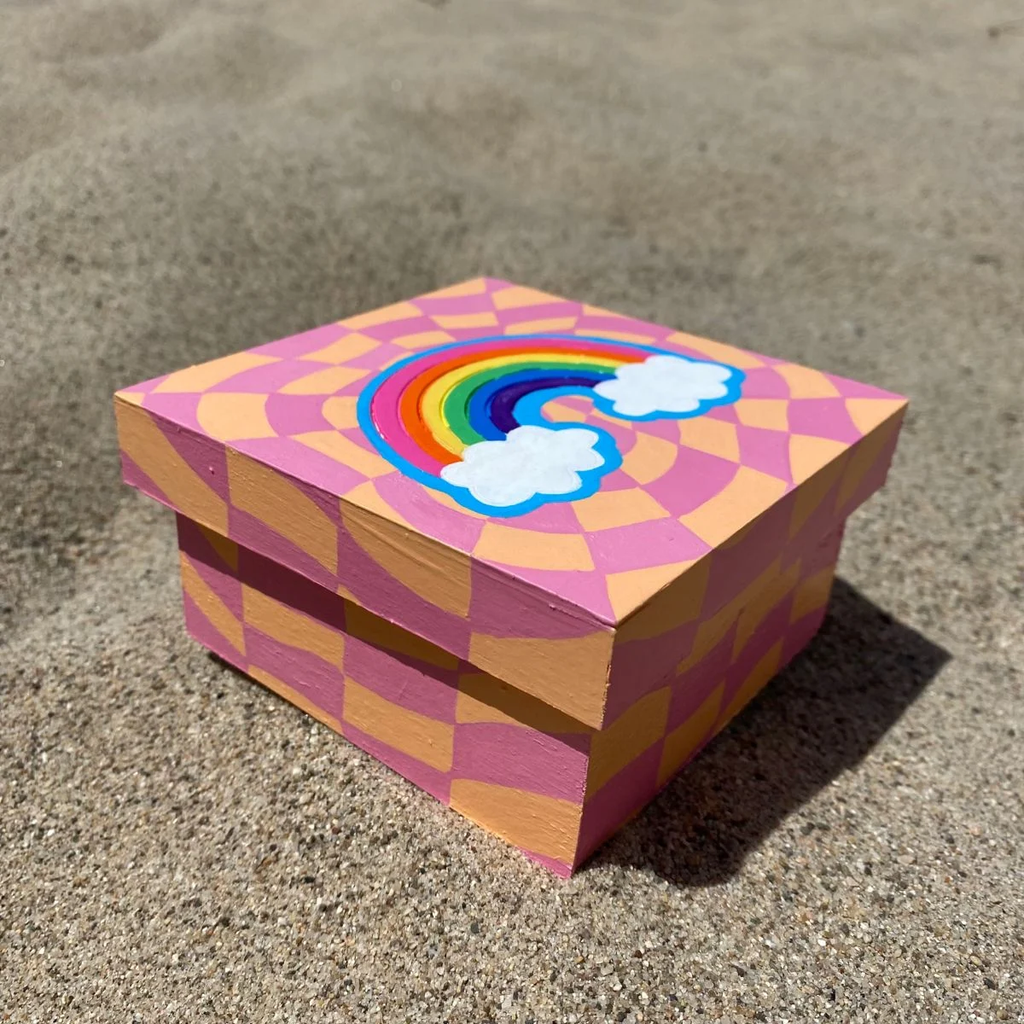
A small storage box can become a colorful place for keeping childhood treasures. I decorate the outside with rainbow-colored paper, paint, fabric, or stickers and let the child personalize it.
The box can hold drawings, small notes, photographs, ticket stubs, favorite little objects, or other safe keepsakes. I like this idea because the craft becomes useful after the activity is finished.
Instead of trying to make the decoration perfectly symmetrical, I encourage kids to add colors and patterns that represent their personality.
Over time, the box can become a collection of memories rather than simply another craft project.
Pro Tip: Add the child’s name and the year somewhere on the box. It makes the keepsake more meaningful when you look back at it later.
FAQ’s
What are some easy rainbow crafts for kids?
I recommend starting with paper plate rainbows, fingerprint art, tissue paper rainbows, or rainbow painted rocks. These projects use simple supplies and are easy to adapt for different ages.
What skills do rainbow crafts help develop?
Rainbow crafts can support fine motor skills, color recognition, hand-eye coordination, creativity, and following simple patterns. Activities like weaving and threading also encourage careful hand movements.
What can I use for rainbow crafts at home?
I often use paper, cardboard, tissue paper, paint, crayons, glue, pasta, cotton balls, pom poms, and leftover craft supplies. Many rainbow projects can be made without buying any
Final Thoughts
I’ve found that rainbow crafts are an easy way to make an ordinary indoor afternoon feel more cheerful. They give kids plenty of opportunities to work with color while practicing useful skills such as cutting, gluing, painting, threading, arranging, and creating patterns.
What I like most is that these projects don’t require expensive supplies. Paper plates, cardboard tubes, tissue paper, pasta, rocks, old socks, and leftover craft materials can all become part of a colorful activity.
I also don’t worry about whether a child’s rainbow looks exactly like mine. For me, the real value is giving kids a chance to make choices, try different techniques, and enjoy the process without feeling that their artwork has to be perfect.
If I’m planning a rainy-day craft session, I usually choose one quick project and one longer activity. That gives children an easy starting point while leaving room for a project that requires more concentration.
So gather the colorful supplies you already have, protect the table, and let the kids create their own version of a rainbow. Sometimes the simplest craft is enough to turn a gloomy day into a really good memory.

2 Comments