Resin Craft Ideas for Beginners
Resin crafts intimidated me for a whole year before I finally tried them, and I wish someone had told me sooner how forgiving the beginner projects actually are. I tested these 18 ideas myself in my garage workshop, starting with the simplest molds and working up to layered pieces, and I kept notes on every sticky failure along the way.
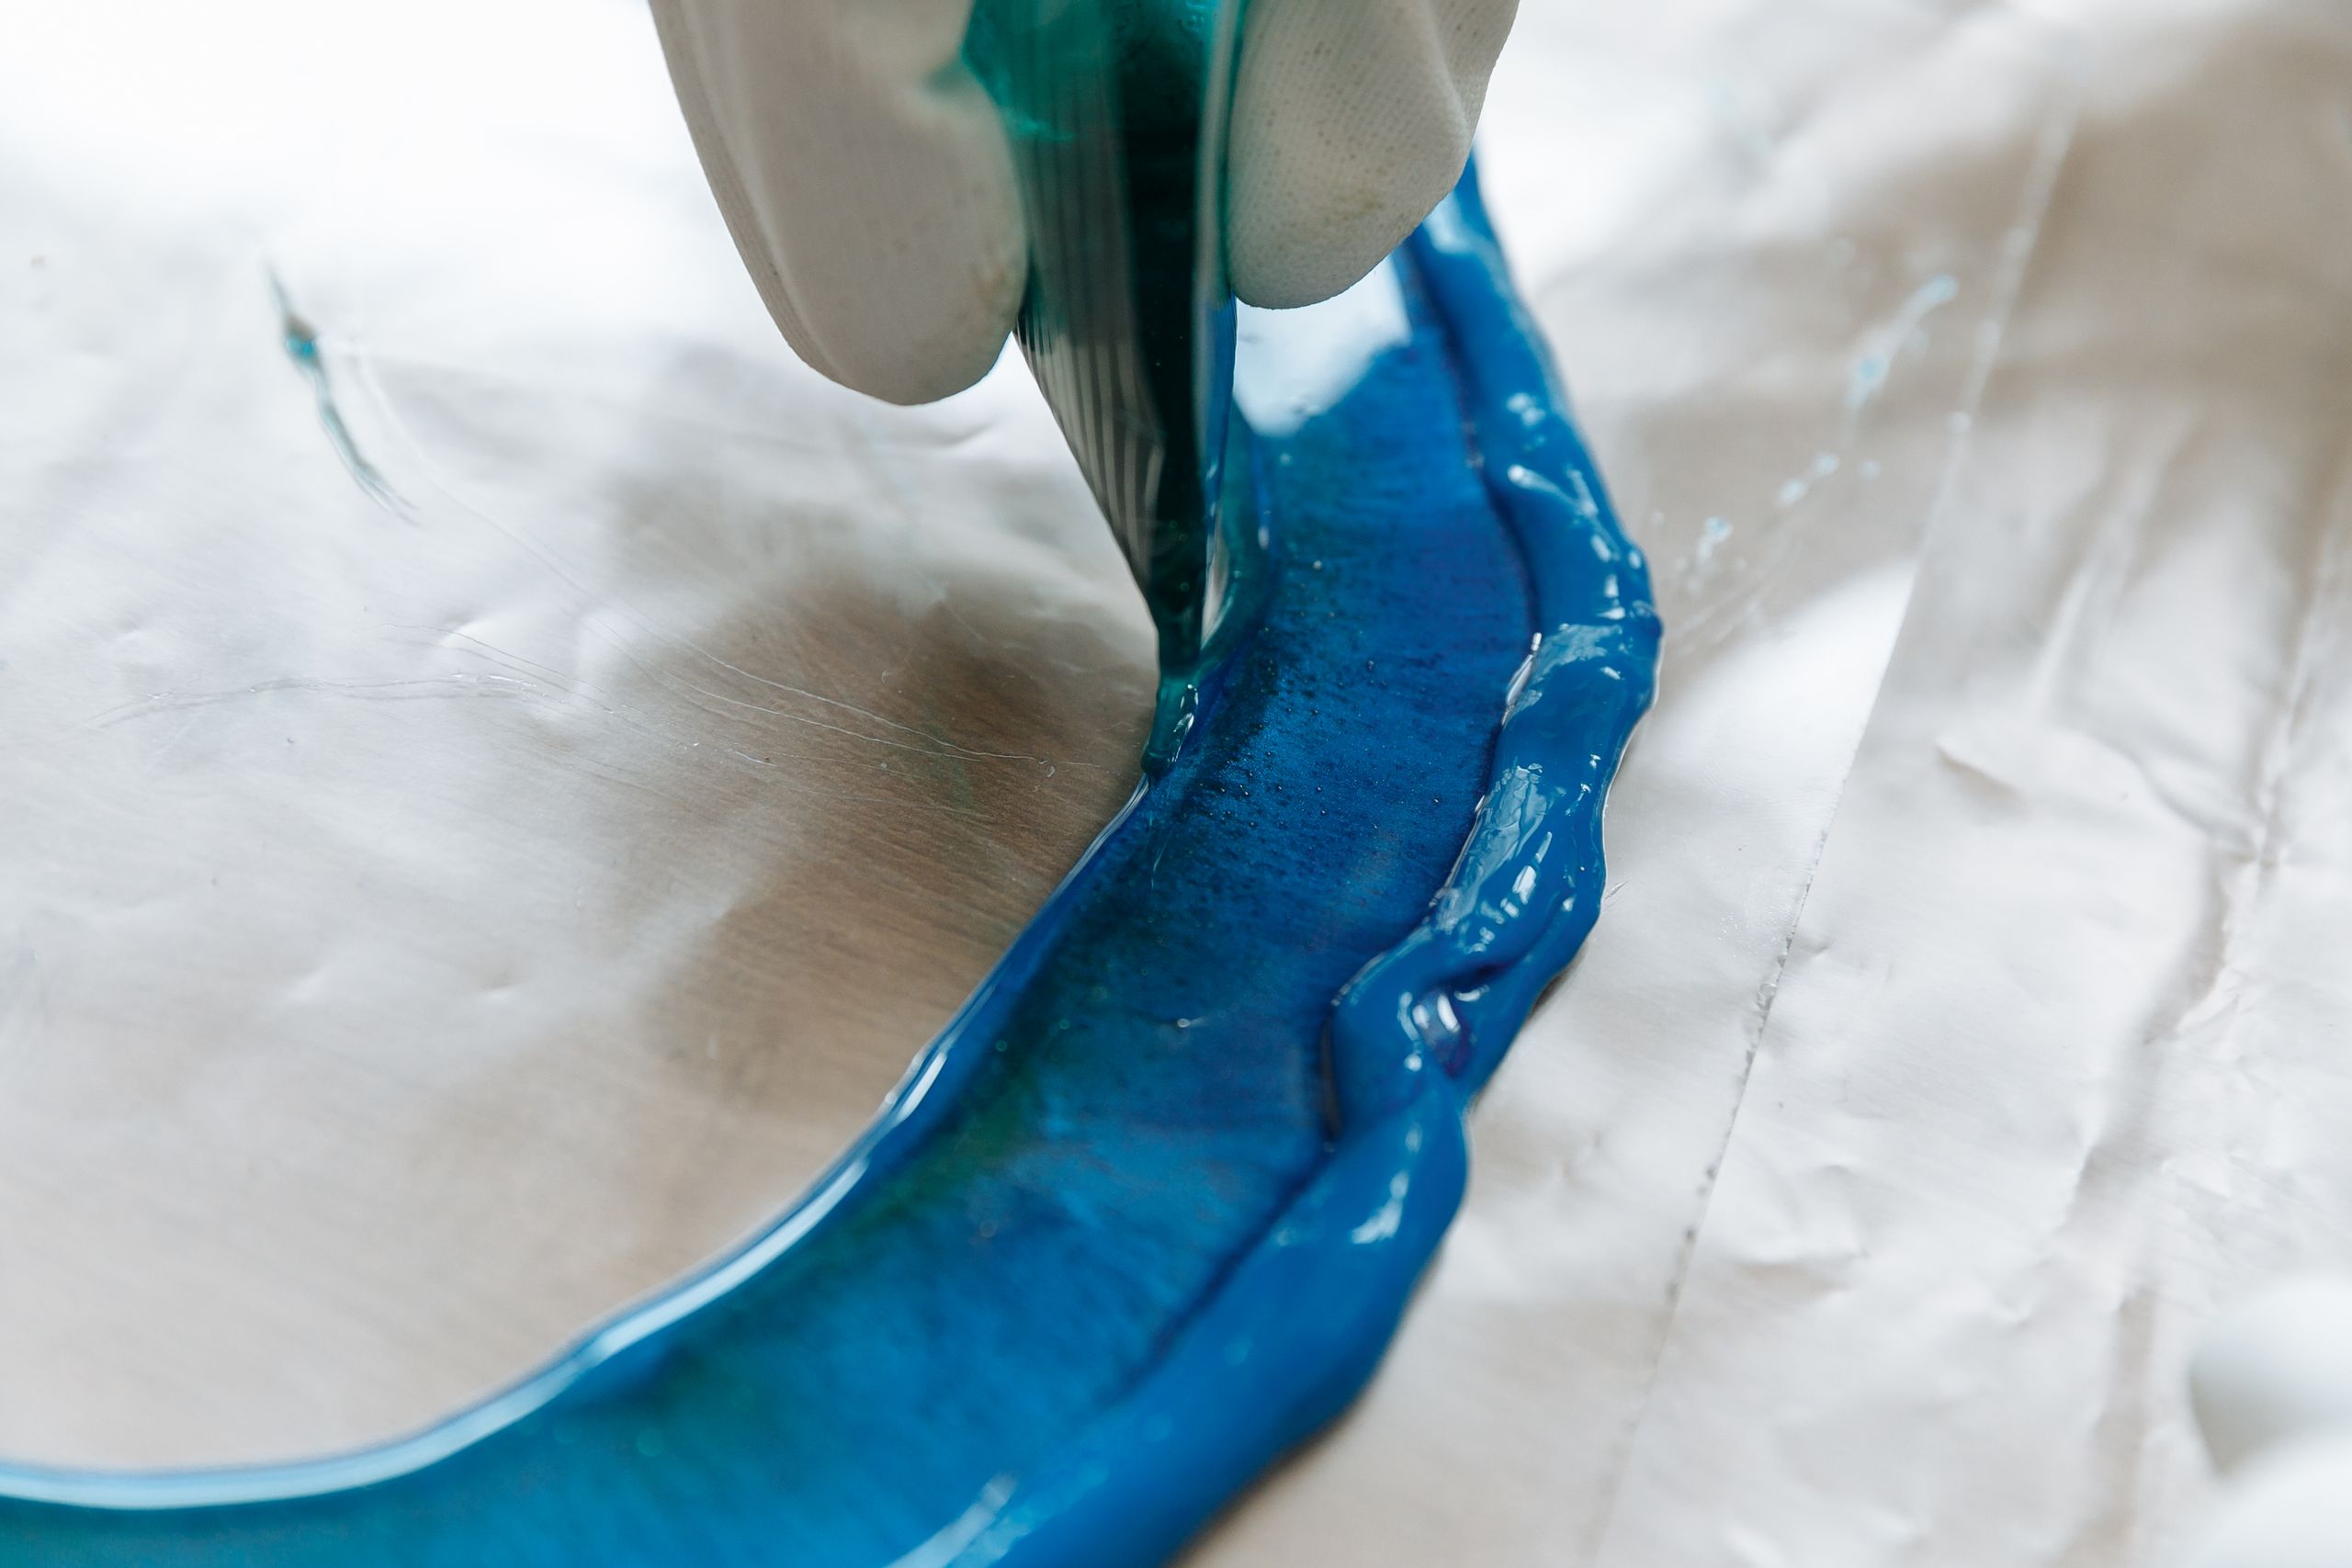
Before anything else, the safety part: resin crafts need a ventilated space, nitrile gloves, and eye protection, and uncured resin should never touch bare skin. I pour near an open garage door, I wear a respirator when mixing larger batches, and I keep resin far away from children and pets. With those rules in place, this is a wonderfully satisfying craft.
Related article: 41 Easy Hot Glue Gun Crafts
Key Takeaways
- Start with small silicone molds and a beginner epoxy kit before buying anything fancy.
- Always work in a ventilated space, wear nitrile gloves, and keep resin off your skin.
- Measure resin and hardener exactly; guessing the ratio is the top reason pours stay sticky.
- Warm the resin slightly and stir slowly to reduce bubbles.
- Seal paper, flowers, and wood before embedding them, or bubbles and stains will follow.
18 Beginner Resin Crafts to Try
1. Simple Round Coasters
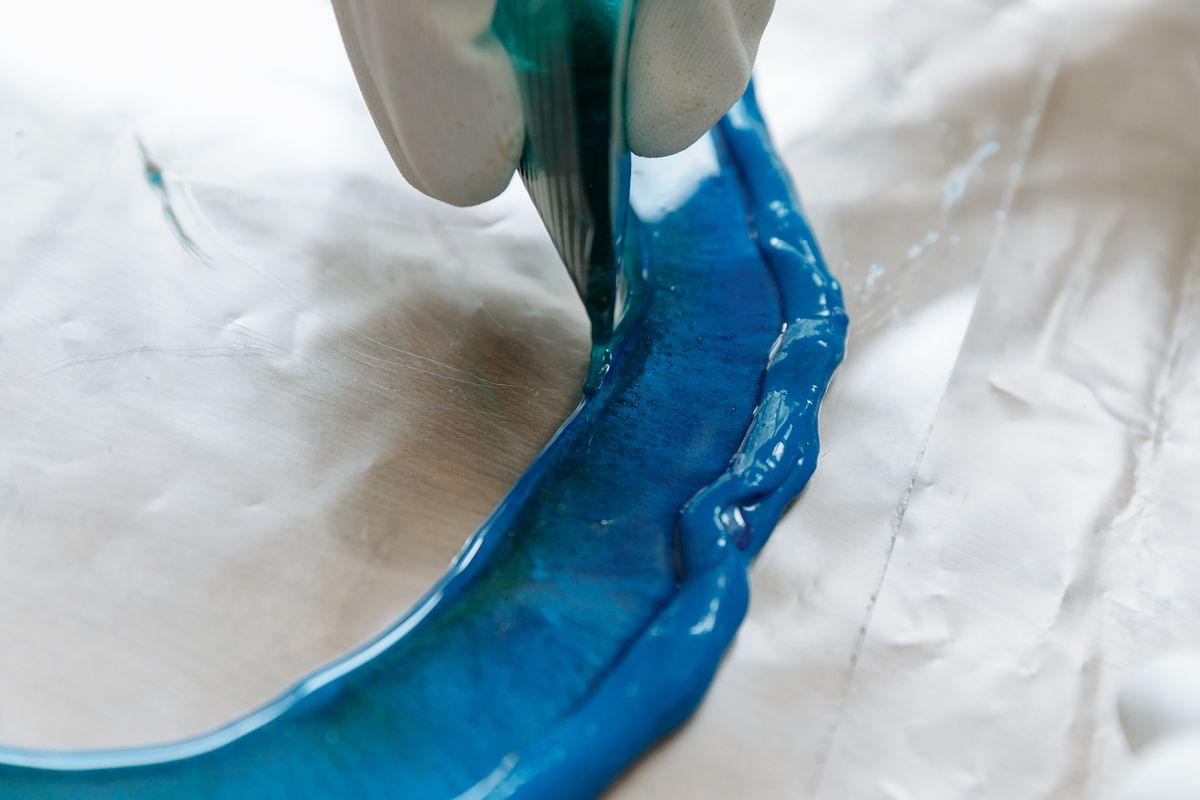
My very first resin project was a set of round coasters in a silicone mold, and it is still the project I recommend to every beginner. I mixed a small batch of epoxy, added a few drops of blue pigment, poured it slowly, and waited two days. The coasters came out glossy and solid, and I still use them every day.
The downside was impatience. I demolded the first coaster after eighteen hours because it felt firm, and the underside dented under a mug within a week. Now I wait the full cure time on the label, usually 48 to 72 hours, before using anything. Patience is genuinely part of resin crafts.
Pro Tip: Pour in a thin stream from a low height to trap fewer bubbles than dumping the cup in all at once.
Cost: $15-$25 for resin, molds, and pigment | Time: 20 minutes active, 48-72 hours curing | Difficulty: Easy
2. Pressed Flower Pendants
I made my first flower pendants with tiny pressed violets and a small teardrop mold, and they looked like little glass windows. I sealed each flower with a thin coat of resin first, let it dry, then placed it face-down in the mold and poured clear resin over it. The finished pendants went to my mother and sister, who both still wear them.
The watch-out is floating. Unsealed flowers drift to the surface and trap air underneath, which leaves cloudy patches. Seal first, pour in layers, and use a toothpick to nudge the flower into place before the resin starts to thicken.
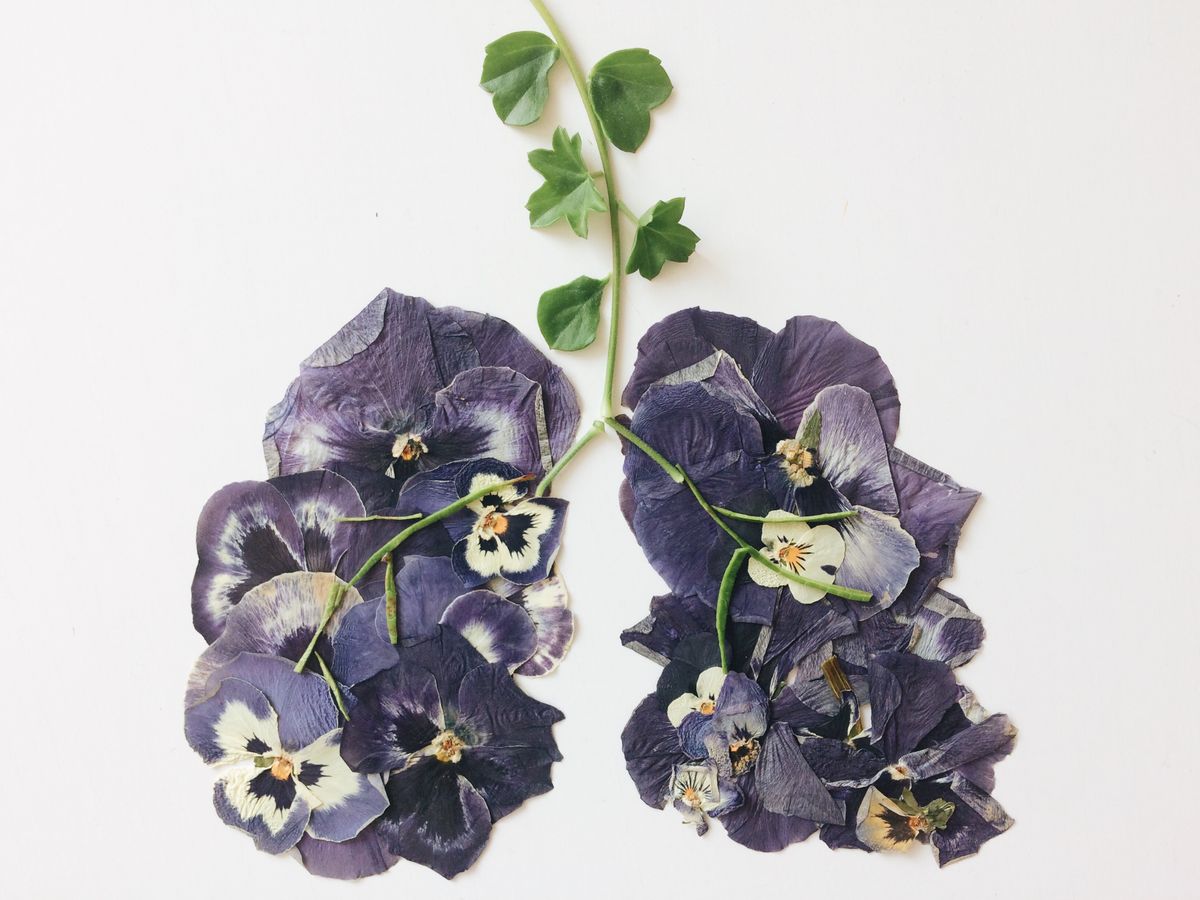
Pro Tip: Work with fully dried flowers only; even slight dampness causes clouding and bubbles in resin.
Cost: $18-$28 including molds and findings | Time: 30 minutes active, 24-48 hours curing | Difficulty: Easy to moderate
3. Glitter Keychains
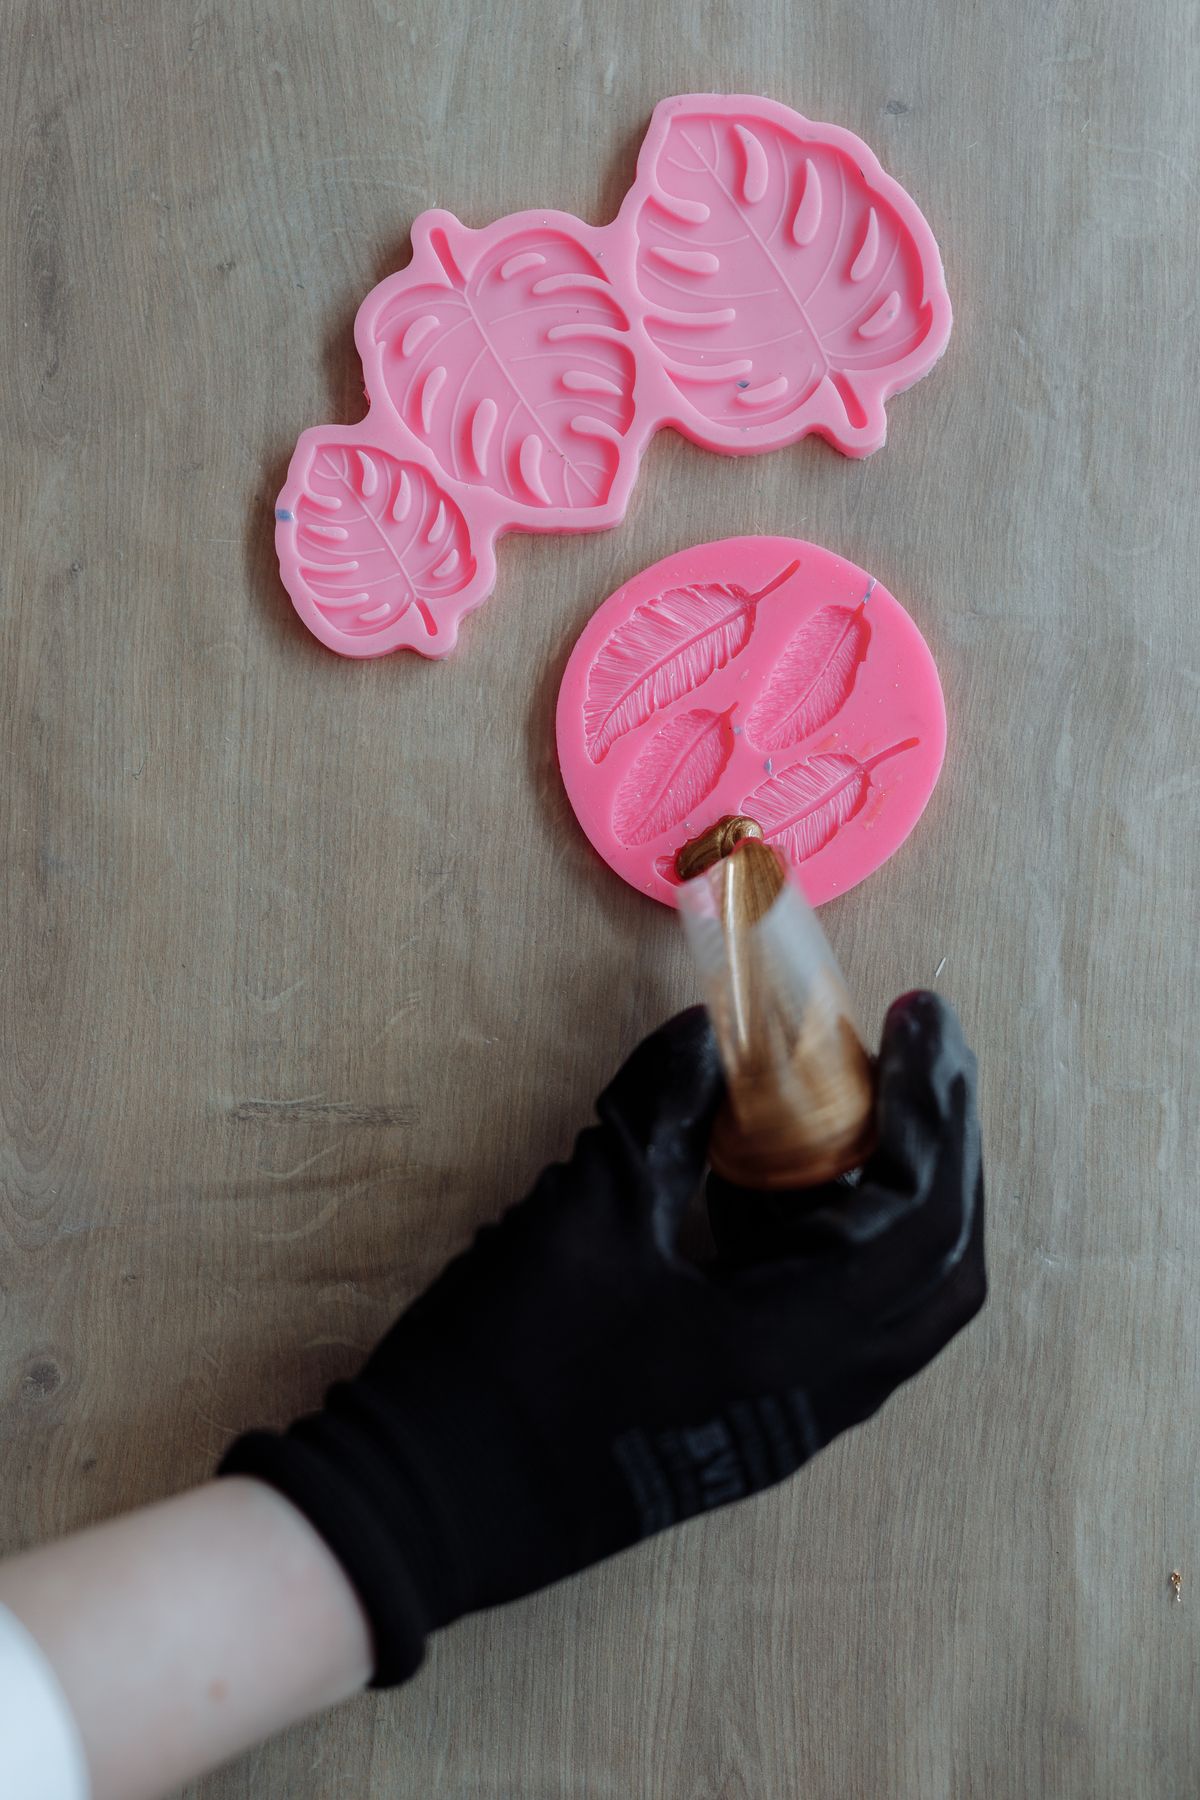
Glitter keychains are the most forgiving resin crafts I have tried, because glitter hides small bubbles and uneven color. I mixed fine glitter into clear resin, poured it into letter and star molds, and added keyring findings after curing. A batch of ten took me one afternoon, and they made easy gifts for my nieces’ friends.
The honest downside is glitter everywhere. It gets on the table, the molds, and somehow my sleeves, no matter how careful I am. I now pour over a disposable tray and keep a lint roller nearby, and I only use cosmetic-grade or craft glitter, never anything sharp or metallic that could irritate skin.

Pro Tip: Mix glitter into the resin rather than sprinkling it on top, or it will clump and sink unevenly.
Cost: $15-$22 | Time: 30 minutes active, 24 hours curing | Difficulty: Easy
4. Resin Bookmarks
Flat rectangular molds make bookmarks that look like stained glass, especially with alcohol ink swirled through the resin. I dropped two or three ink colors into clear resin, dragged a toothpick through them once, and let the pattern settle. No two bookmarks came out alike, which is exactly why people liked them.
The catch is thickness. My first bookmark was poured too thin and snapped when bent inside a bag. Now I pour bookmarks at least 3 millimeters thick and warn friends to treat them like a rigid keepsake, not a flexible ribbon marker.
Pro Tip: Do not over-swirl alcohol ink; two or three gentle drags give the prettiest marbled effect.
Cost: $18-$28 | Time: 25 minutes active, 24-48 hours curing | Difficulty: Easy
5. Jewelry Dishes and Trinket Trays
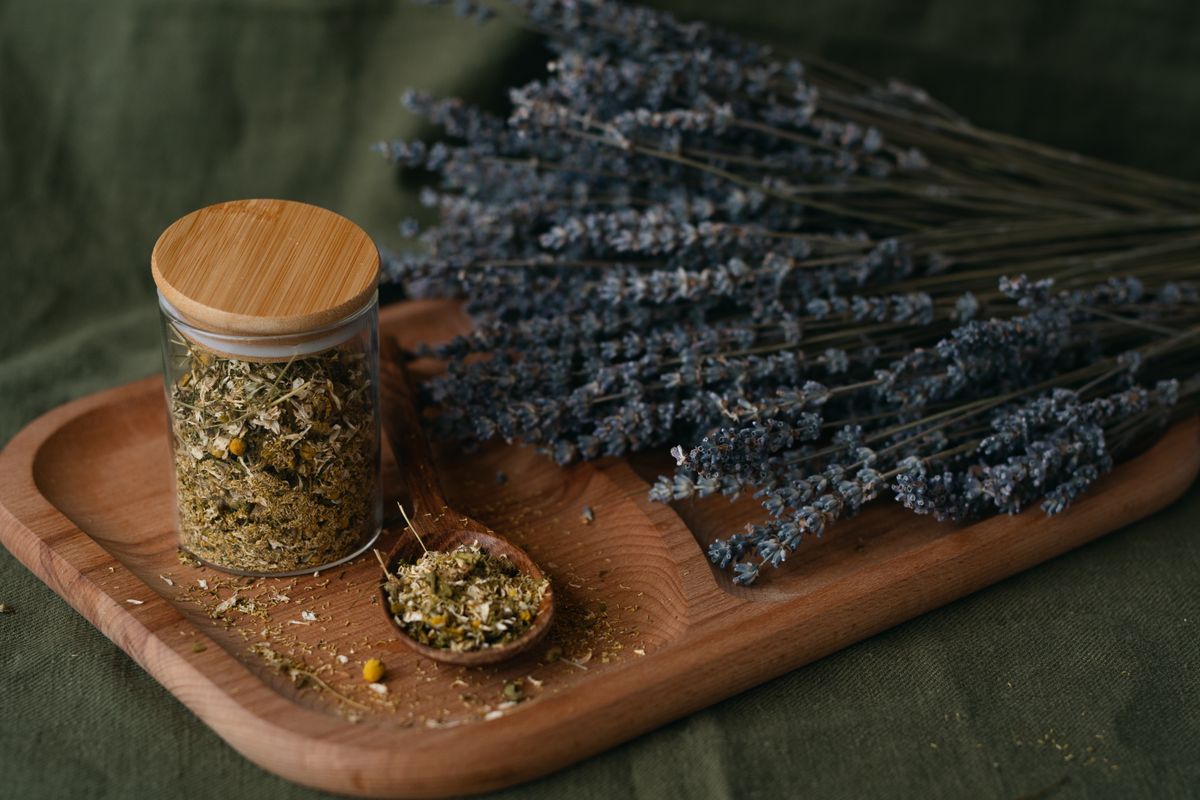
A shallow round mold, a little gold flake, and clear resin make a trinket dish that looks far more expensive than its materials. I made one for my bedside table with dried lavender buds sealed inside, and it holds my rings every night. The gold flake catches the light beautifully in the morning sun.
The downside is heat sensitivity. I once left a resin dish near a sunny window and it softened slightly and warped at one edge. Resin pieces should stay indoors away from radiators and hot windowsills, and they are not suitable for hot cups straight from the kettle.
Pro Tip: Add gold flake sparingly with tweezers; a pinch goes further than you think and too much looks muddy.
Cost: $18-$30 | Time: 30 minutes active, 48 hours curing | Difficulty: Easy to moderate
6. Photo Coasters
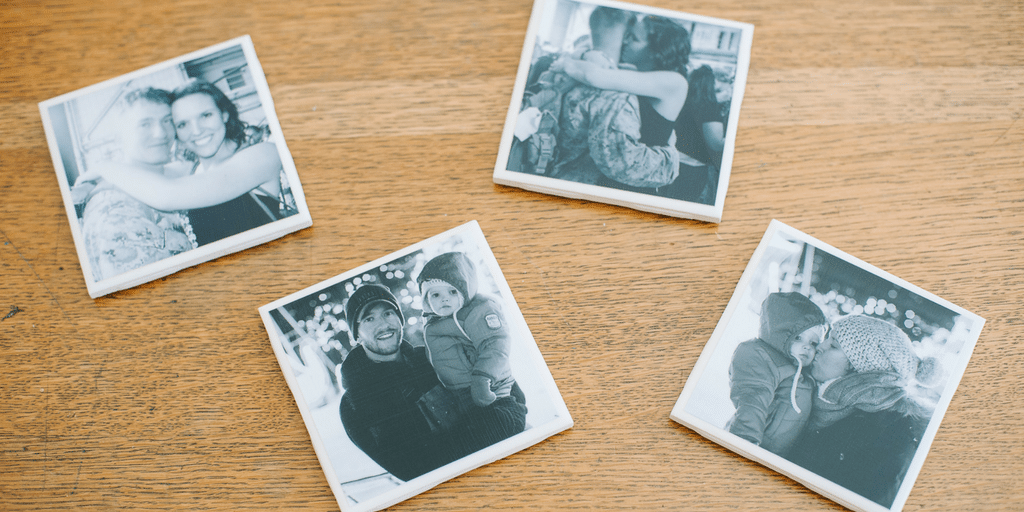
For these, I printed small photos on regular paper, sealed both sides with clear-drying glue, and embedded them in coaster molds. The photo of my kids at the beach now sits under a glass-clear layer of resin on our coffee table, and guests always comment on it.
The watch-out is sealing. My first photo coaster had white cloudy streaks because I skipped sealing and the paper absorbed resin unevenly. Seal with two thin coats, let each dry fully, and only then embed. Also, use copies of photos, never originals, because resin is permanent.
Pro Tip: Trim photos slightly smaller than the mold so resin can flow around all four edges and seal them in.
Cost: $15-$25 | Time: 40 minutes active, 48 hours curing | Difficulty: Moderate
7. Resin Earrings
Small stud molds make earrings that are light, colorful, and quick. I poured tiny domes with dried flower petals and a touch of mica powder, drilled a small hole after curing, and attached stainless earring posts. My first pair took a full weekend because of curing, but the actual hands-on time was under half an hour.
The honest downside is weight and finish. A thick, chunky earring pulls uncomfortably after a few hours, and rough edges irritate skin. I sand cured pieces from coarse to fine grit, finish with a clear topcoat, and keep earrings small and light. Anyone with resin sensitivity should skip wearing resin jewelry entirely.

Pro Tip: Sand edges wet with fine sandpaper under running water to avoid breathing resin dust, and wear a mask.
Cost: $20-$30 including findings | Time: 30 minutes active, 24-48 hours curing | Difficulty: Moderate
8. Ocean Wave Coasters
These are the showpiece of my resin shelf. I poured a white sand layer, then layers of blue and clear resin, and used a heat gun to push the white pigment into wave-like cells. The first one looked like a beach from above, and I honestly stared at it for far too long before demolding.
The catch is that wave cells are unpredictable. My second attempt had no cells at all because I overheated the resin and it leveled flat. A quick, light pass with the heat gun works better than blasting it, and even then, accept that every wave piece will be different.

Pro Tip: Use white pigment paste, not liquid white ink, for the strongest wave-cell effect.
Cost: $20-$32 | Time: 45 minutes active, 72 hours curing | Difficulty: Moderate
9. Resin Magnets
Small round and heart molds make magnets that are perfect for using up leftover resin at the end of a pour. I keep a few small molds beside my main project and pour the extra resin into them instead of wasting it. My fridge is now covered in tiny glitter hearts and flower magnets.
The downside is magnet strength. A small craft magnet glued to a thin resin piece will not hold heavy papers, and I had one slide off the fridge and chip on the floor. Use strong neodymium magnets for anything heavier than a single photo, and glue them with a two-part adhesive after curing.
Pro Tip: Always pour leftover resin into spare molds; it saves money and gives you free small gifts.
Cost: $5-$12 for magnets and glue | Time: 10 minutes active, 24 hours curing | Difficulty: Easy
Also read: 47 Cheap Crafts to Make and Sell for $$
10. Botanical Paperweights
A sphere or dome mold filled with clear resin and a single dried flower makes a paperweight that looks like a specimen preserved in glass. I made one with a small fern frond for my desk, and it is the piece visitors pick up most often.
The watch-out is bubbles around the flower. Large clear pieces show every single bubble, so I pour in two layers, letting the first get tacky before adding the second, and I tap the mold gently to release trapped air. Even so, my first paperweight has one tiny bubble near the fern, and I have made peace with it.
Pro Tip: A pressure pot removes bubbles best, but for beginners, slow pouring and thin layers get you most of the way there.
Cost: $18-$28 | Time: 30 minutes active, 72 hours curing | Difficulty: Moderate

11. Resin Hair Clips
Flat resin shapes glued to alligator clips make fun hair accessories for older children and teens. I poured pastel swirls, added small dried flowers, and attached the clips with strong adhesive after sanding the back flat. My niece wore the pink pair to school for a month straight.
The safety note matters here: resin hair clips are for older kids who will not chew or mouth them, and they are not for toddlers. Small resin pieces are a choking hazard if they break, so check clips regularly for cracks and retire any damaged piece immediately.

Pro Tip: Sand the back of the resin piece flat before gluing, or the clip will peel off within days.
Cost: $15-$25 | Time: 30 minutes active, 24 hours curing | Difficulty: Easy to moderate
12. Marbled Phone Grips
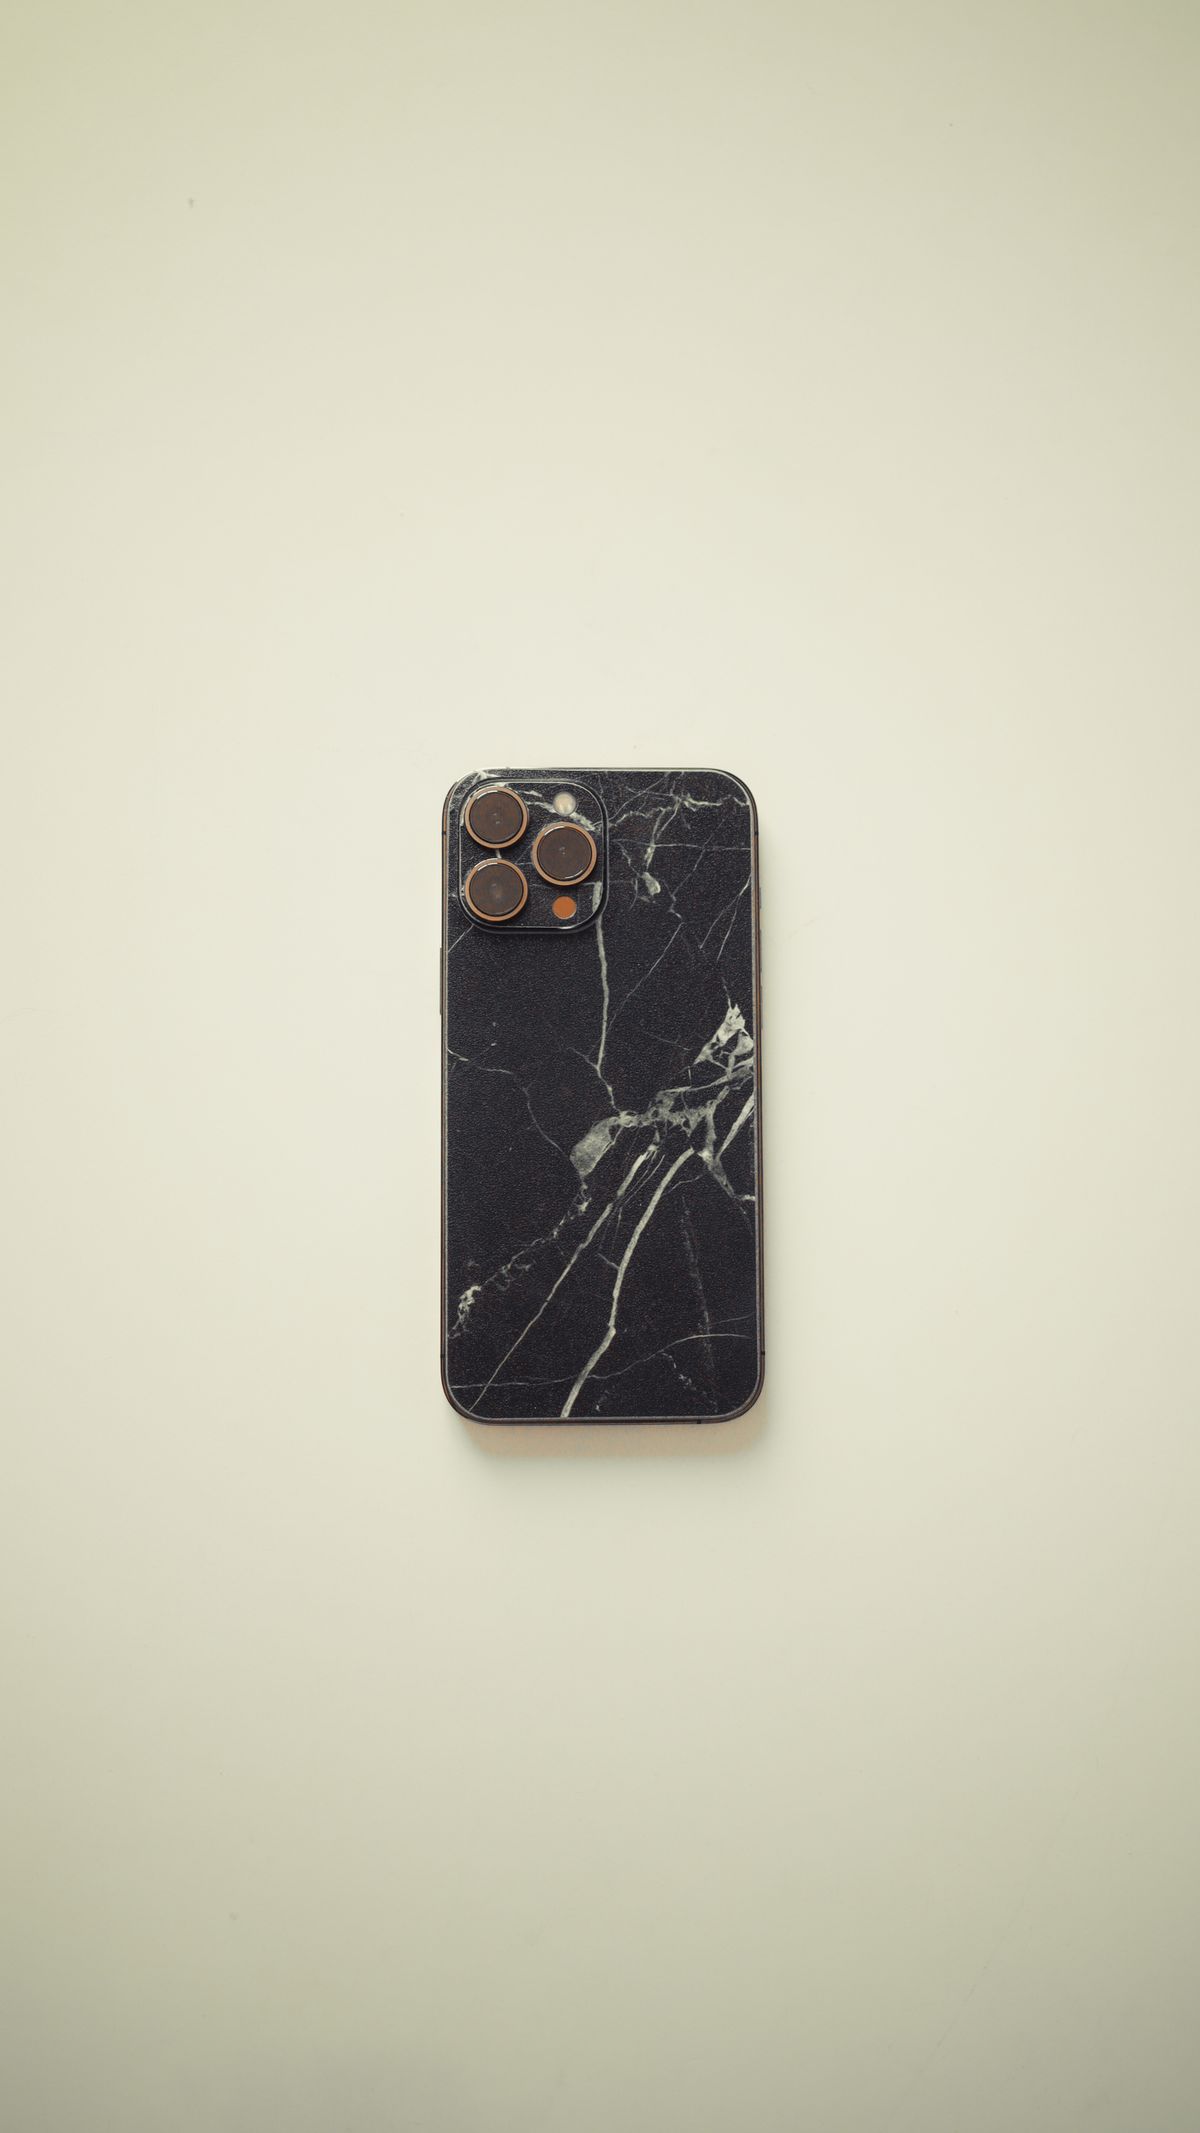
A round mold, two or three mica colors, and a phone grip base make a custom pop socket style grip. I swirled deep green and gold mica through clear resin, cured it, and glued it to a grip base. It cost a fraction of a shop-bought one and matched my phone case exactly.
The downside is adhesion. My first grip popped off within a week because I glued it to a dusty, unsanded surface. Now I sand both surfaces, clean them with rubbing alcohol, and let the adhesive cure for a full day before using the grip.
Pro Tip: Use mica powder rather than liquid dye for phone grips; the shimmer hides fingerprints and small scratches.
Cost: $15-$22 | Time: 25 minutes active, 24 hours curing | Difficulty: Easy
13. Resin Ornaments
Clear round ornaments with glitter, tiny dried flowers, or miniature scenes inside make beautiful tree decorations. I poured resin into open-back bezels, added a pinch of gold flake and a tiny pressed flower, and hung them with ribbon. They catch the tree lights in a way that glass ornaments do not quite match.
The watch-out is weight on branches. Resin ornaments are heavier than hollow glass ones, so hang them on sturdy inner branches rather than delicate tips, or they will drag the branch down and slide off overnight.
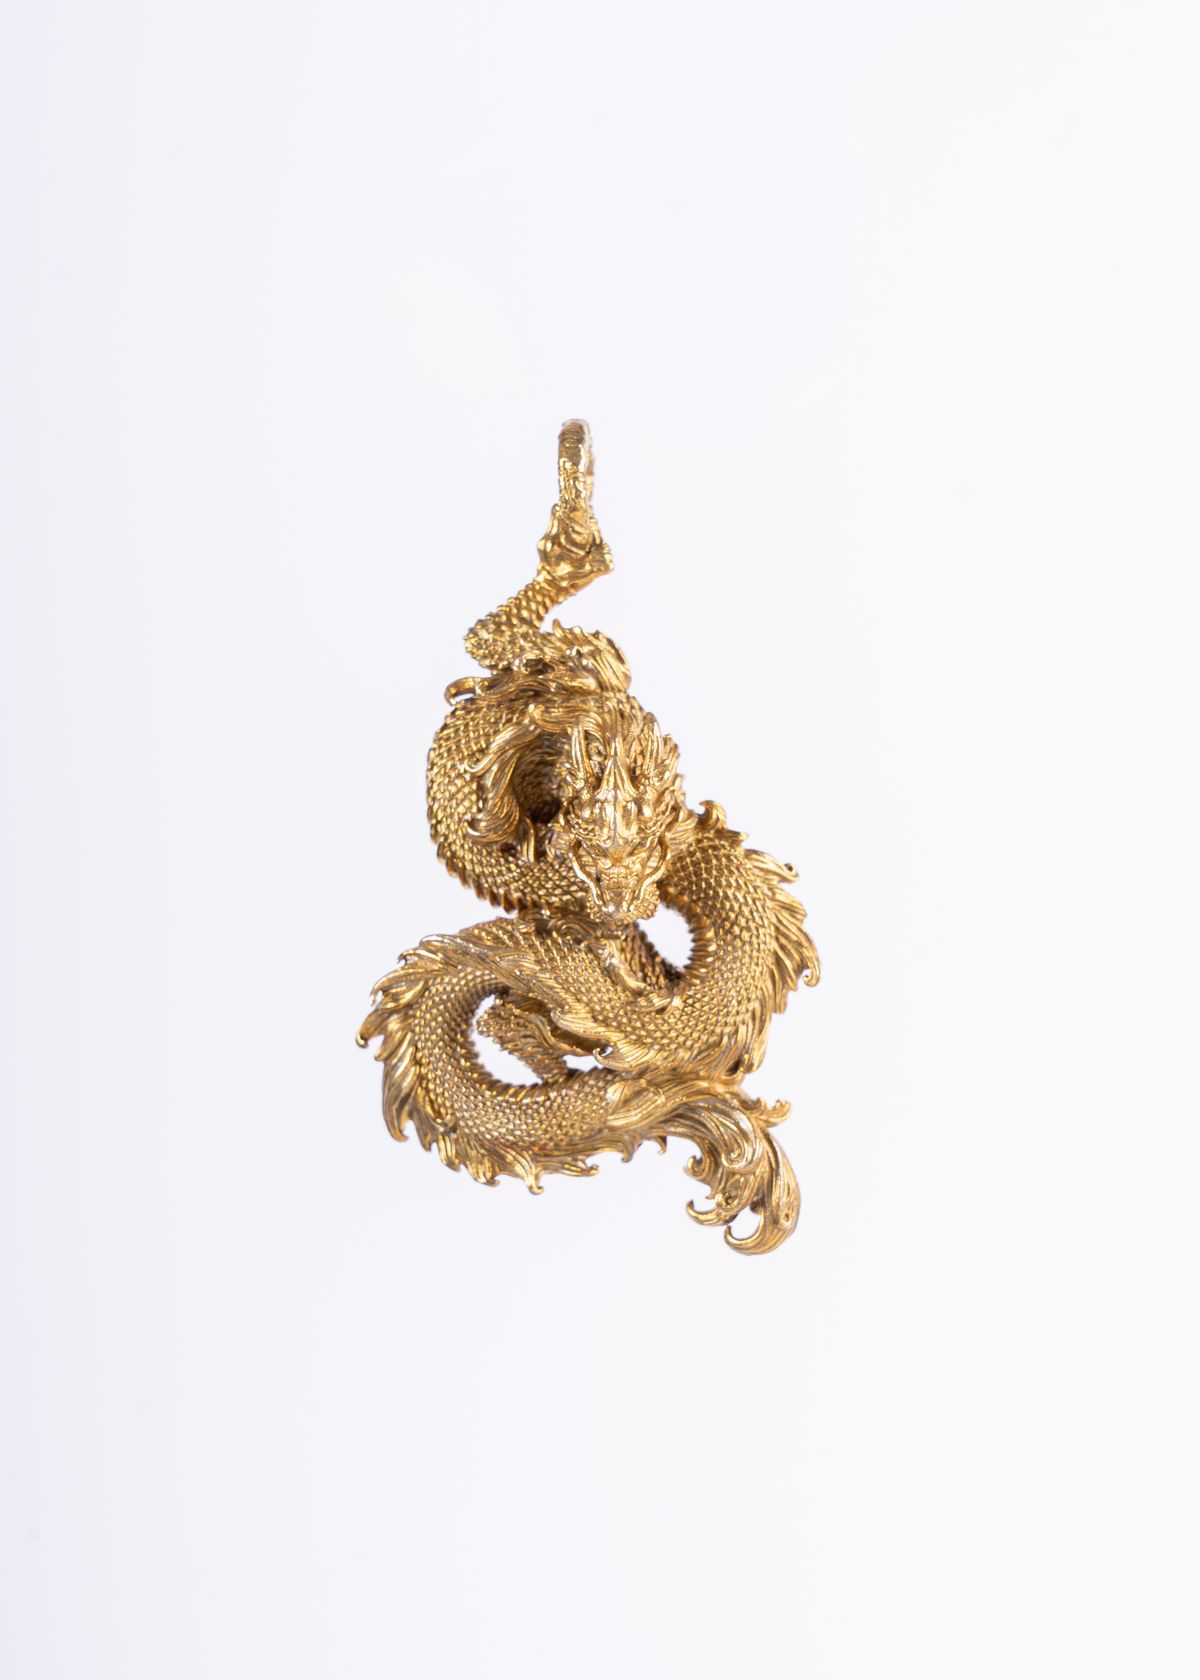
Pro Tip: Add a jump ring into the resin while it is still soft, rather than drilling after curing, for a stronger hanging point.
Cost: $15-$25 | Time: 30 minutes active, 24-48 hours curing | Difficulty: Easy to moderate
14. Resin Bracelet Bangles
A bangle mold is one of the most satisfying beginner pours, because the finished piece looks professional with very little effort. I poured a clear bangle with dried lavender and gold flake, cured it for three days, and sanded the edges smooth. It is my most complimented handmade accessory.
The honest downside is sizing. My first bangle was too small to slide over my hand, and resin cannot be stretched. Measure your hand carefully, check the mold’s inner diameter before buying, and when in doubt, size up rather than down.
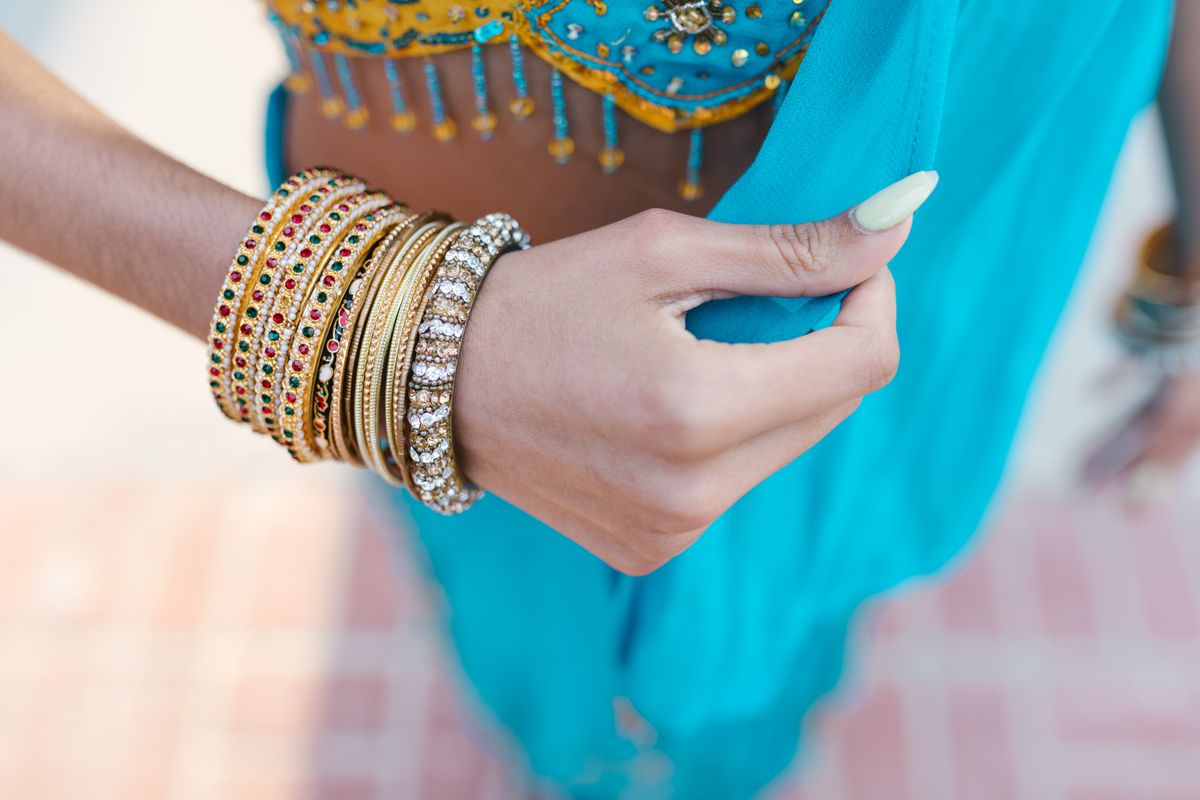
Pro Tip: Warm the mold slightly with a hair dryer before pouring; it helps the resin flow into the curve without bubbles.
Cost: $18-$30 | Time: 30 minutes active, 72 hours curing | Difficulty: Moderate
15. Resin Bookends or Doorstops (Small)
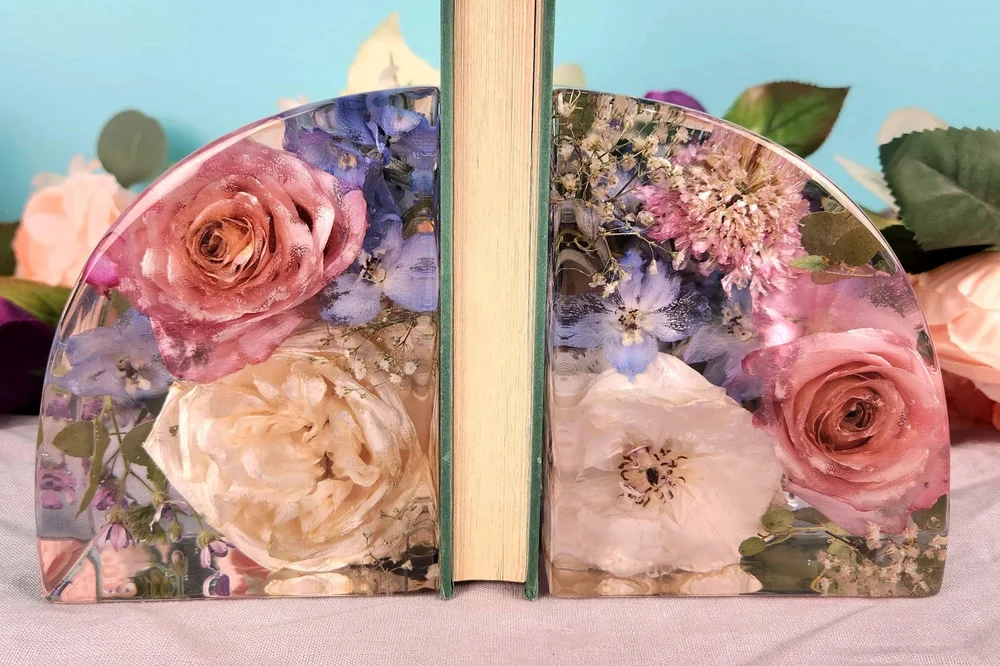
Small pyramid or geometric molds filled with resin and decorative stones make pretty desk objects and paperweights. I made a pair of small pyramids with blue pigment and white sand layers, and they sit on my bookshelf holding up a row of paperbacks.
The catch is resin volume. Geometric molds drink a surprising amount of resin, and my first pyramid used nearly half a kit. Measure your mold’s volume with water first, so you mix the right amount and do not run short halfway through a pour.
Pro Tip: Measure mold volume with water and a measuring cup before mixing any resin, and write the number on the mold.
Cost: $20-$35 | Time: 30 minutes active, 72 hours curing | Difficulty: Moderate
16. Resin Petri Dish Art
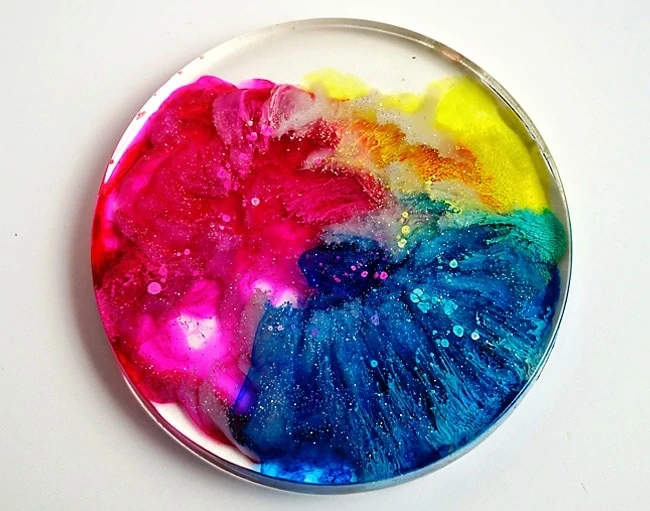
Petri dish art uses alcohol ink dropped into resin in a shallow dish mold to create coral-like, organic patterns. I dropped teal, gold, and white inks into clear resin and watched them sink and bloom into shapes I could never have painted by hand. It is genuinely mesmerizing to make.
The downside is unpredictability. Two dishes made the same way can look completely different, and sometimes the ink sinks into a muddy layer instead of blooming. I now accept that about one in three dishes is a keeper, and the rest become practice pieces or get a second resin layer.
Pro Tip: Drop white ink last and sparingly; it sinks through the other colors and creates the petri effect.
Cost: $20-$30 | Time: 30 minutes active, 48 hours curing | Difficulty: Moderate
17. Resin Serving Board Handles
I coated the handles of a plain wooden serving board with a thin layer of clear resin mixed with a little gold flake, and it transformed a basic board into something gift-worthy. The resin protects the wood and gives it a glossy, professional finish.
The important safety note: resin-coated boards are for serving dry items only, never for cutting food directly, and never for hot food. I tell every gift recipient this, because resin is not a food-contact cutting surface. Also, keep the resin layer thin and even, or it will pool at the edges and cure with drips.

Pro Tip: Tape the underside edges of the board before coating, so drips collect on tape you can peel away.
Cost: $15-$25 | Time: 30 minutes active, 48 hours curing | Difficulty: Moderate
18. Beginner Resin Tray
My most-used resin project is a small rectangular tray made in a silicone mold, with dried flowers and gold flake sealed inside. It holds my keys and sunglasses by the front door, and after a year of daily use it still looks new, with only one faint scratch near the corner.
The watch-out is the same as with dishes: heat and heavy use. I never put hot mugs on it, and I lift it rather than sliding it across rough surfaces, which would scratch the glossy top. A thin final topcoat of clear resin every year or so refreshes the shine if it ever dulls.
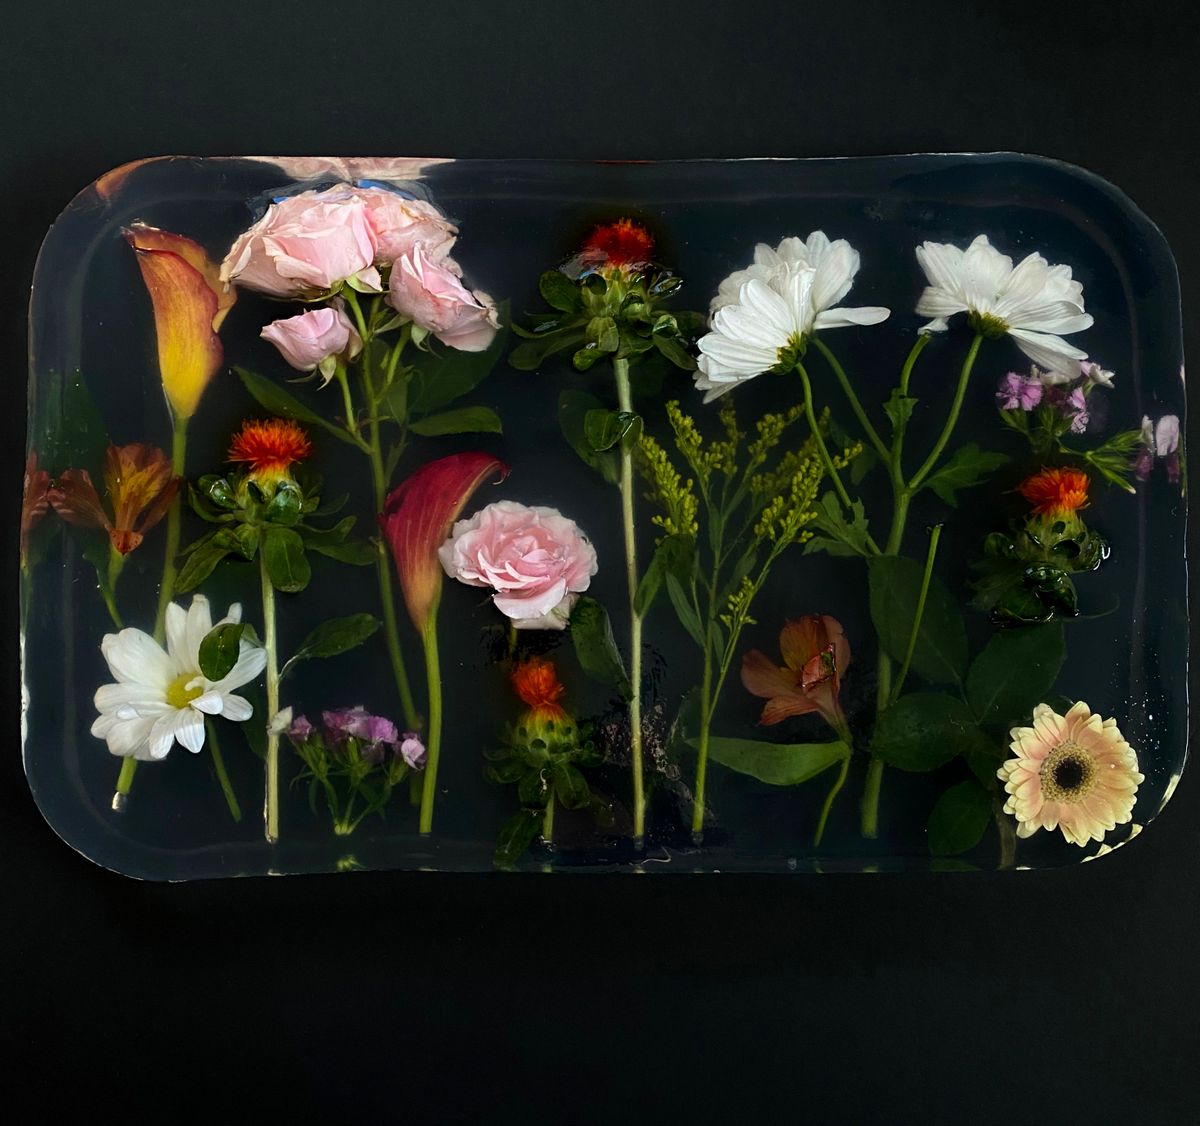
Pro Tip: Pour trays in two layers, a thin decorative layer first and a clear structural layer second, for the cleanest look.
Cost: $20-$35 | Time: 40 minutes active, 72 hours curing | Difficulty: Moderate
Mistakes I Made (So You Don’t Have To)
Guessing the mixing ratio. My first two pours stayed tacky for weeks because I eyeballed the resin and hardener. Measuring cups and the exact ratio on the label are non-negotiable.
Pouring in a cold room. A winter pour in my unheated garage cured cloudy and soft. Resin likes room temperature, around 70 degrees Fahrenheit, and cold resin also makes far more bubbles.
Skipping gloves and ventilation. I got resin on my hands once and learned my lesson fast; it is sticky, hard to remove, and can irritate skin. Now gloves, ventilation, and eye protection are automatic every single time.
Demolding too early. A coaster I demolded at eighteen hours dented under a mug within a week. The label’s full cure time is real, and waiting the extra day saves the whole project.
Which Beginner Resin Craft Should You Start With?
| Project | Best For | Cost | Effort |
|---|---|---|---|
| Round coasters | Your very first pour | $15-$25 | Low |
| Glitter keychains | Gifts and using leftovers | $15-$22 | Very low |
| Pressed flower pendants | Wearable keepsakes | $18-$28 | Medium |
| Ocean wave coasters | A showpiece project | $20-$32 | Medium |
| Resin tray | Daily-use home decor | $20-$35 | Medium |
Frequently Asked Questions
How long did your first resin projects actually last?
My coasters and tray are over a year old and still in daily use, with only faint scratches. Jewelry pieces I wear often show more wear, and anything left in strong sun yellowed slightly, so indoor use lasts longest.
What would you do differently as a beginner?
I would start smaller and buy less. I bought a huge resin kit and fancy molds before my first pour, and half of it sat unused. A small kit, two molds, and one pigment set would have been plenty.
Is resin safe to use at home?
With precautions, yes for adults: ventilated space, nitrile gloves, eye protection, and no skin contact with uncured resin. Keep resin away from children and pets, never pour near food, and read your specific product’s safety sheet before starting.
Why is my resin still sticky after days?
Almost always the mixing ratio or temperature. Measure exactly, mix slowly for the full time on the label, scrape the sides and bottom of the cup, and cure at room temperature away from cold drafts.
Can beginners use UV resin instead?
Yes, and UV resin is great for small jewelry because it cures in minutes under a UV lamp. It costs more per project and only works in thin layers, so epoxy is still better for coasters and trays.
Read this next: 23 Fun and Easy DIY Candles to Make at Home
Final Thoughts
Resin crafts went from the craft I was scared of to one of my favorites, and the turning point was simply starting small. One coaster mold, one careful pour, and one full cure taught me more than a year of watching videos ever did.
Start with coasters or keychains, protect your skin and your air, and let the cure time do its work. Your second pour will already look twice as good as your first, and that is a promise I can make from experience.