22 DIY Beaded Jewelry Ideas for Beginners That Look Far From Beginner
These diy beaded jewelry ideas are the projects that took me from a bag of beads I was scared to open to a jewellery box full of pieces I actually wear. Every one here is beginner-friendly, and I made each piece at my own table before including it.
How I picked and tested these: I chose projects that need only basic tools — pliers, cord or wire, and beads — and I wore each finished piece for at least a day. If it tangled, flipped, or fell apart, I either fixed the design or left it out. No project here needs a kiln, a soldering iron, or prior experience.
If you enjoy knotted and cord crafts too, this related article pairs well: Macrame Craft Ideas. Most projects cost under $15, take under an hour, and look far more polished than the word beginner suggests.
Key Takeaways
- Start with stretch cord bracelets and simple rings — they are the fastest wins and teach you measuring and knotting.
- Limit your palette to three colours for a polished look; every colour you own in one piece reads as chaos.
- Store beaded jewellery hanging or separately — tangling is the number one enemy of layered necklaces and fringe earrings.
- Check fit as you go: measure wrists, necks, and feet properly, and add the small ease amounts noted in each project.
Beginner Beading Kit: What You Actually Need
Before you buy anything fancy, start with this small kit. I bought mine piece by piece over a month, and I still use every item in it. You need round-nose pliers, flat-nose pliers, and wire cutters — those three tools handle almost every project in this list.
Add stretch cord for bracelets, beading wire and crimp beads for necklaces, and a mix of headpins and earwires for earrings. A bead tray or even a baking tray keeps tiny seed beads from rolling away, and a soft cloth is all you need for cleaning finished pieces.
My one regret was buying a huge mixed bead box first. The beads were pretty but the colours clashed, and my early pieces looked messy. Now I buy beads per project, in three coordinating colours, and my work looks twice as good for half the spend.
That small kit is genuinely enough for all of these diy beaded jewelry ideas. I resisted buying a bead loom, a tumbler, and every specialised tool I saw online for a full year, and my work was better for it — I learned finishing and fit first, and only added a tool when a project actually demanded it.
22 DIY Beaded Jewelry Ideas for Beginners
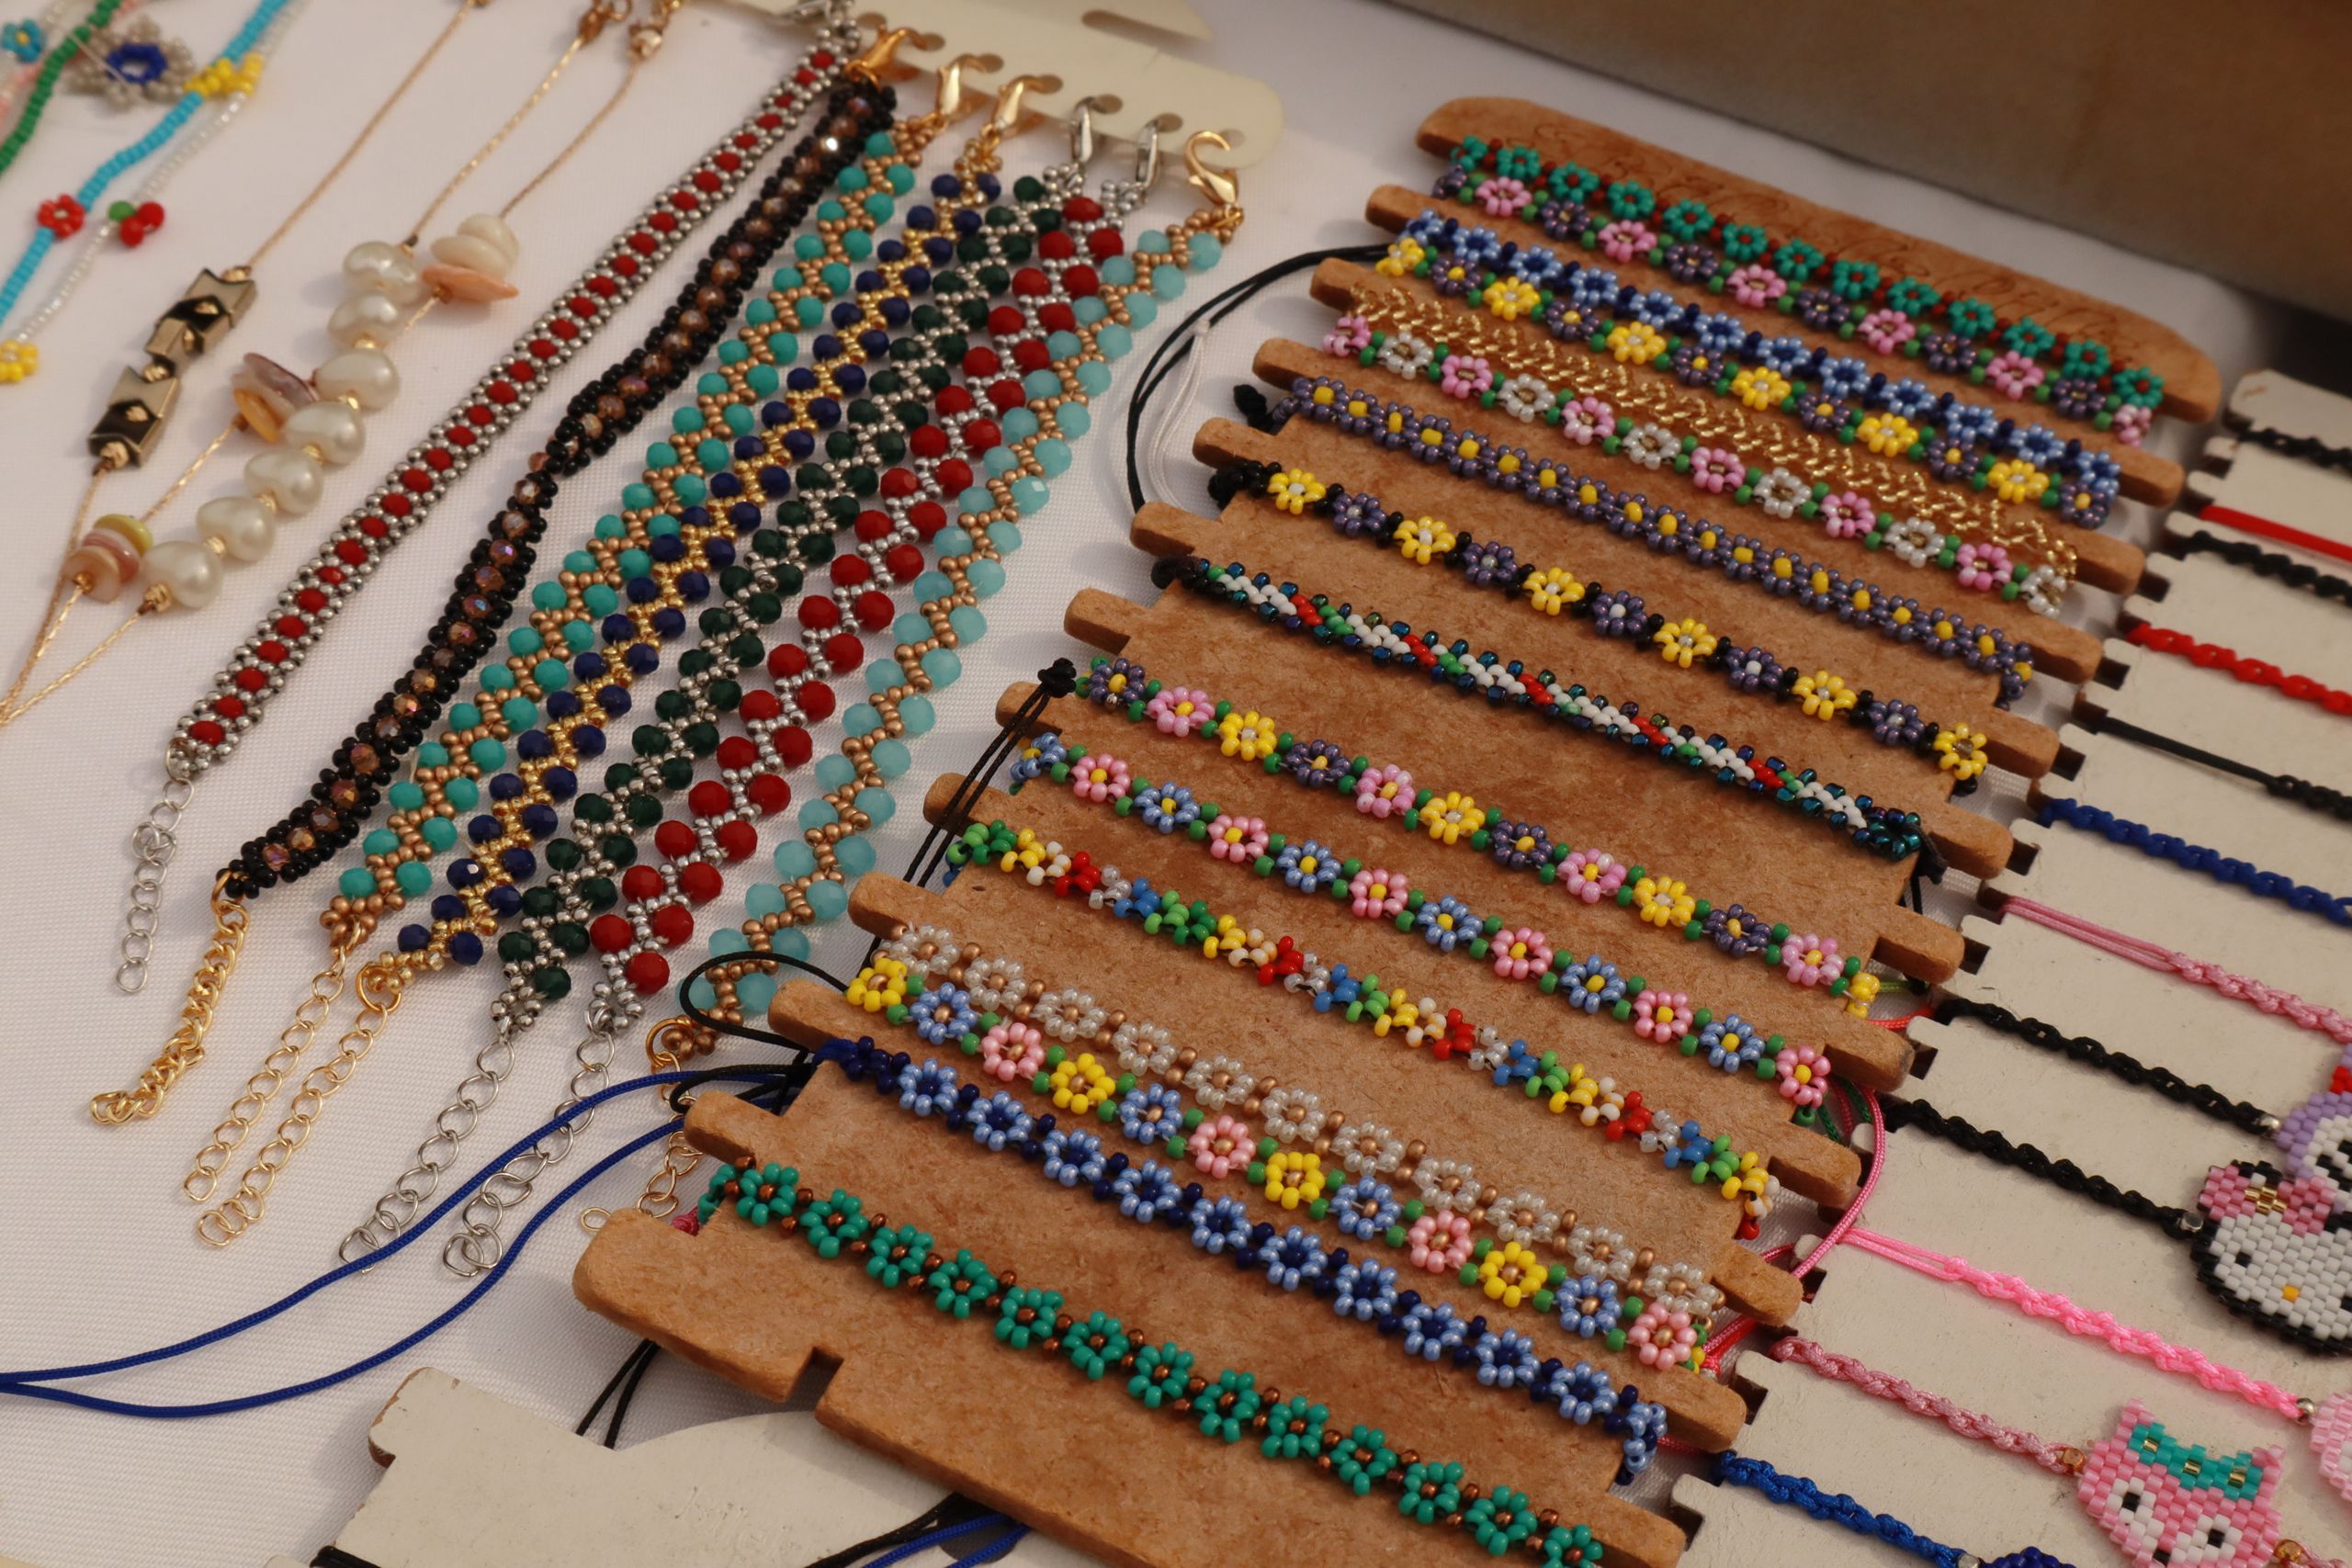
1. Simple Stretch Beaded Bracelet

This is where every beader should start. I measured my wrist, added a little ease, and threaded glass beads onto stretch cord in a pattern of three colours, then tied it off with a surgeon’s knot and a dot of glue. It took twenty minutes and I wore it out the same day.
My first one was too tight because I forgot the ease, and it snapped when I forced it on. Now I always add at least half an inch. The downside is that stretch cord wears out eventually, so I restring favourites once a year rather than mourning them.
Cost: $3–$8 | Time: 20 minutes | Difficulty: Easy
Pro Tip: Add half an inch of ease to your wrist measurement or the bracelet will feel tight.
2. Easy Seed Bead Necklace

I strung seed beads in a simple repeating pattern onto beading wire, added a clasp with crimp beads, and suddenly had a necklace that looked far more expensive than the bag of beads it came from. The trick is picking a limited palette — three colours, not ten.
My first attempt used every colour I owned and looked like confetti gone wrong. Limiting the palette changed everything. The downside is that seed beads are small and fiddly, so I work over a tray to catch escapees.
Cost: $5–$10 | Time: 40 minutes | Difficulty: Easy
Pro Tip: Work over a tray and limit yourself to three colours for a polished result.
3. Seed Bead Fringe Earrings
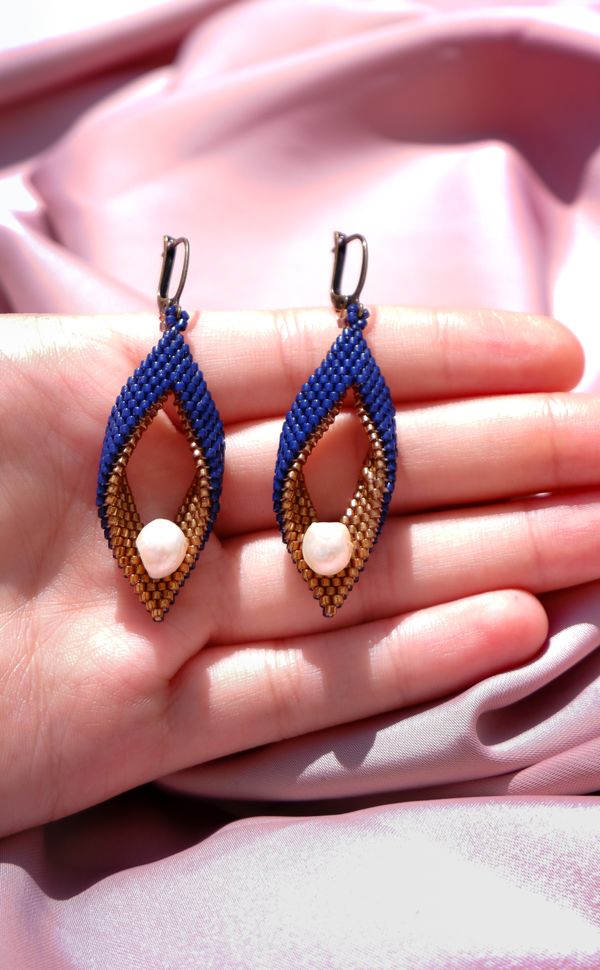
These look impressive but start simply: a small beaded loop at the top, then strands of seed beads hanging below in graduated lengths. I made my first pair in an evening while watching television, and they move beautifully when you turn your head.
I wore them to a dinner party and three people asked where I bought them. The honest downside is tangling — long fringe catches on scarves and hair, so I keep fringe under two inches for everyday wear. Store them hanging, not in a pile.
Cost: $5–$12 | Time: 1 hour per pair | Difficulty: Medium
Pro Tip: Keep fringe under two inches for everyday wear, and store earrings hanging.
4. Beaded Anklet for Summer

I made my anklet on stretch cord with small blue and white beads, a tiny shell charm, and a knot I could trust. It survived a whole summer of sandals, beach walks, and one very muddy festival, which is more than I can say for most shop-bought anklets.
The lesson I learned was to measure with my foot flat on the floor, not dangling, or the anklet slides down. The downside is that anklets take more wear than bracelets, so I check the cord monthly in summer and restring at the first sign of fraying.
Cost: $3–$8 | Time: 25 minutes | Difficulty: Easy
Pro Tip: Measure with your foot flat on the floor so the anklet does not slide.
5. Simple Beaded Ring
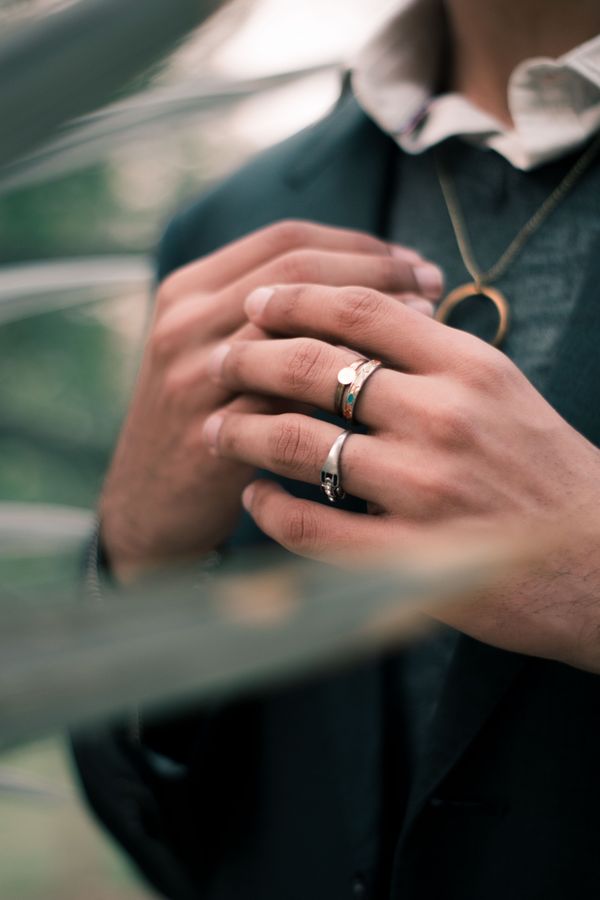
A beaded ring is just a tiny bracelet, and it is the fastest win in this whole list. I threaded six beads onto wire, wrapped it around a ring mandrel — a marker pen works too — and twisted the ends into a neat band. Ten minutes later I had a ring.
I made a stack of them in different colours one rainy afternoon and gave most away as gifts. The downside is sizing: wire rings stretch slightly with wear, so I make them a touch snug at first. They settle into a comfortable fit within a day.
Cost: Under $5 | Time: 15 minutes | Difficulty: Easy
Pro Tip: Make wire rings slightly snug at first — they relax a little with wear.
6. Beaded Charm Bracelet
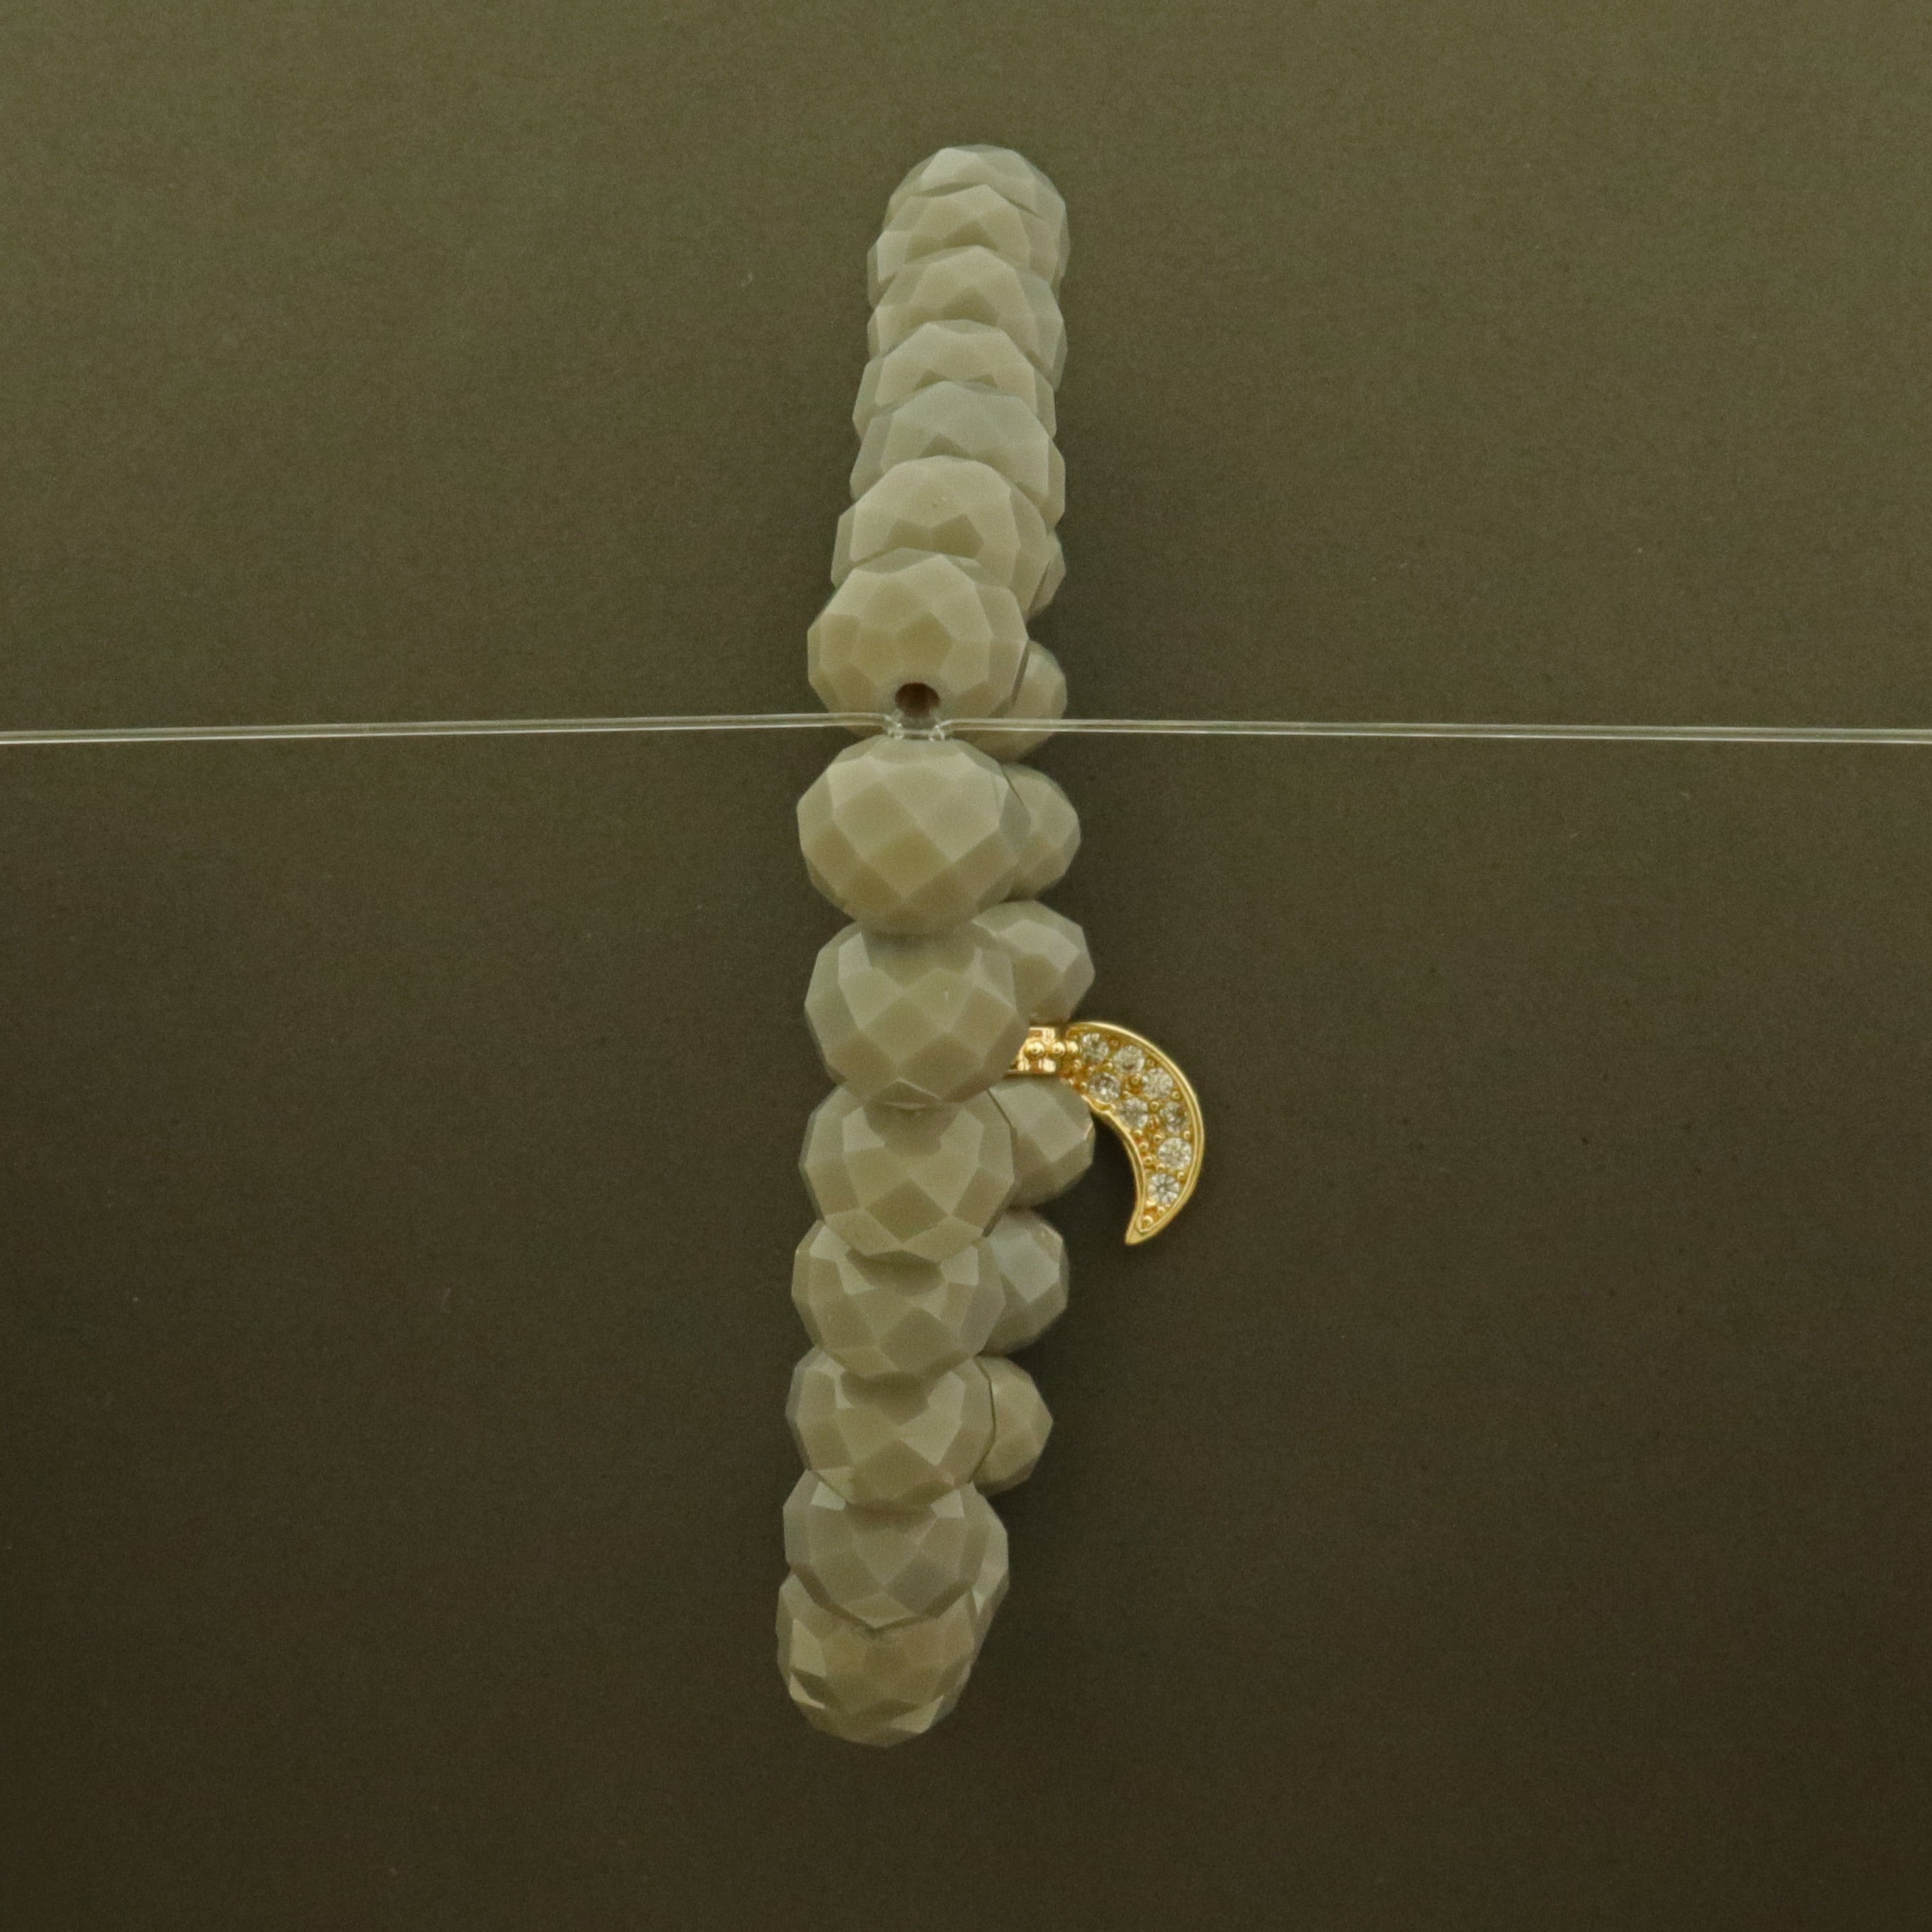
I started with a plain beaded bracelet, then added three charms on jump rings: a star, a tiny key, and a letter. The charms turn a simple bracelet into something personal, and swapping them changes the whole mood of the piece.
My favourite charm bracelet tells a story — one charm per holiday. The downside is weight: too many charms make the bracelet flip around your wrist, so I stop at four. Fewer, better charms always look more expensive.
Cost: $8–$15 | Time: 45 minutes | Difficulty: Easy
Pro Tip: Stop at four charms — more weight makes the bracelet flip on your wrist.
7. Layered Beaded Necklaces
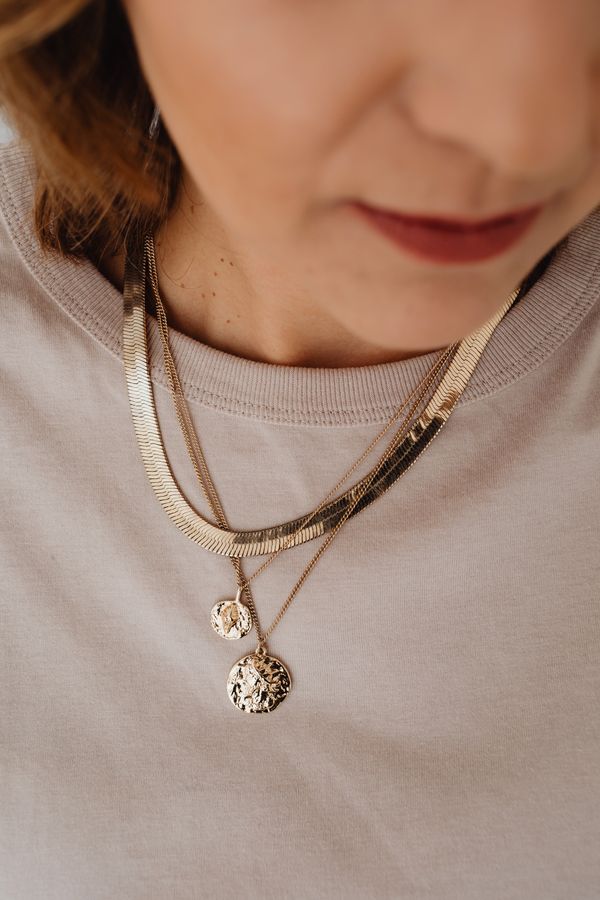
Layering is less about making and more about styling. I made three simple necklaces in different lengths — sixteen, eighteen, and twenty inches — in related colours, and wore them together. Individually they are plain; together they look intentional.
I wore the set to a wedding and got asked about it twice. The downside is tangling in storage, so I hang each necklace on its own hook. Never toss layered necklaces in a drawer together unless you enjoy an hour of untangling.
Cost: $10–$20 for the set | Time: 1 hour total | Difficulty: Easy
Pro Tip: Hang each necklace on its own hook — layered sets tangle badly in drawers.
8. Geometric Beaded Hoop Earrings

I wrapped seed beads around a plain hoop base in a repeating triangle pattern, and the result looked like something from a boutique. Hoops are forgiving because the metal frame does the shaping — you just add colour.
My first pair was uneven because I rushed the spacing, so now I count beads per section. The downside is that beaded hoops are slightly heavier than plain ones, so I keep them small for all-day wear and save big hoops for evenings.
Cost: $5–$12 | Time: 45 minutes per pair | Difficulty: Medium
Pro Tip: Count beads per section so the pattern stays even all the way around the hoop.
9. Personalised Letter Bead Bracelet
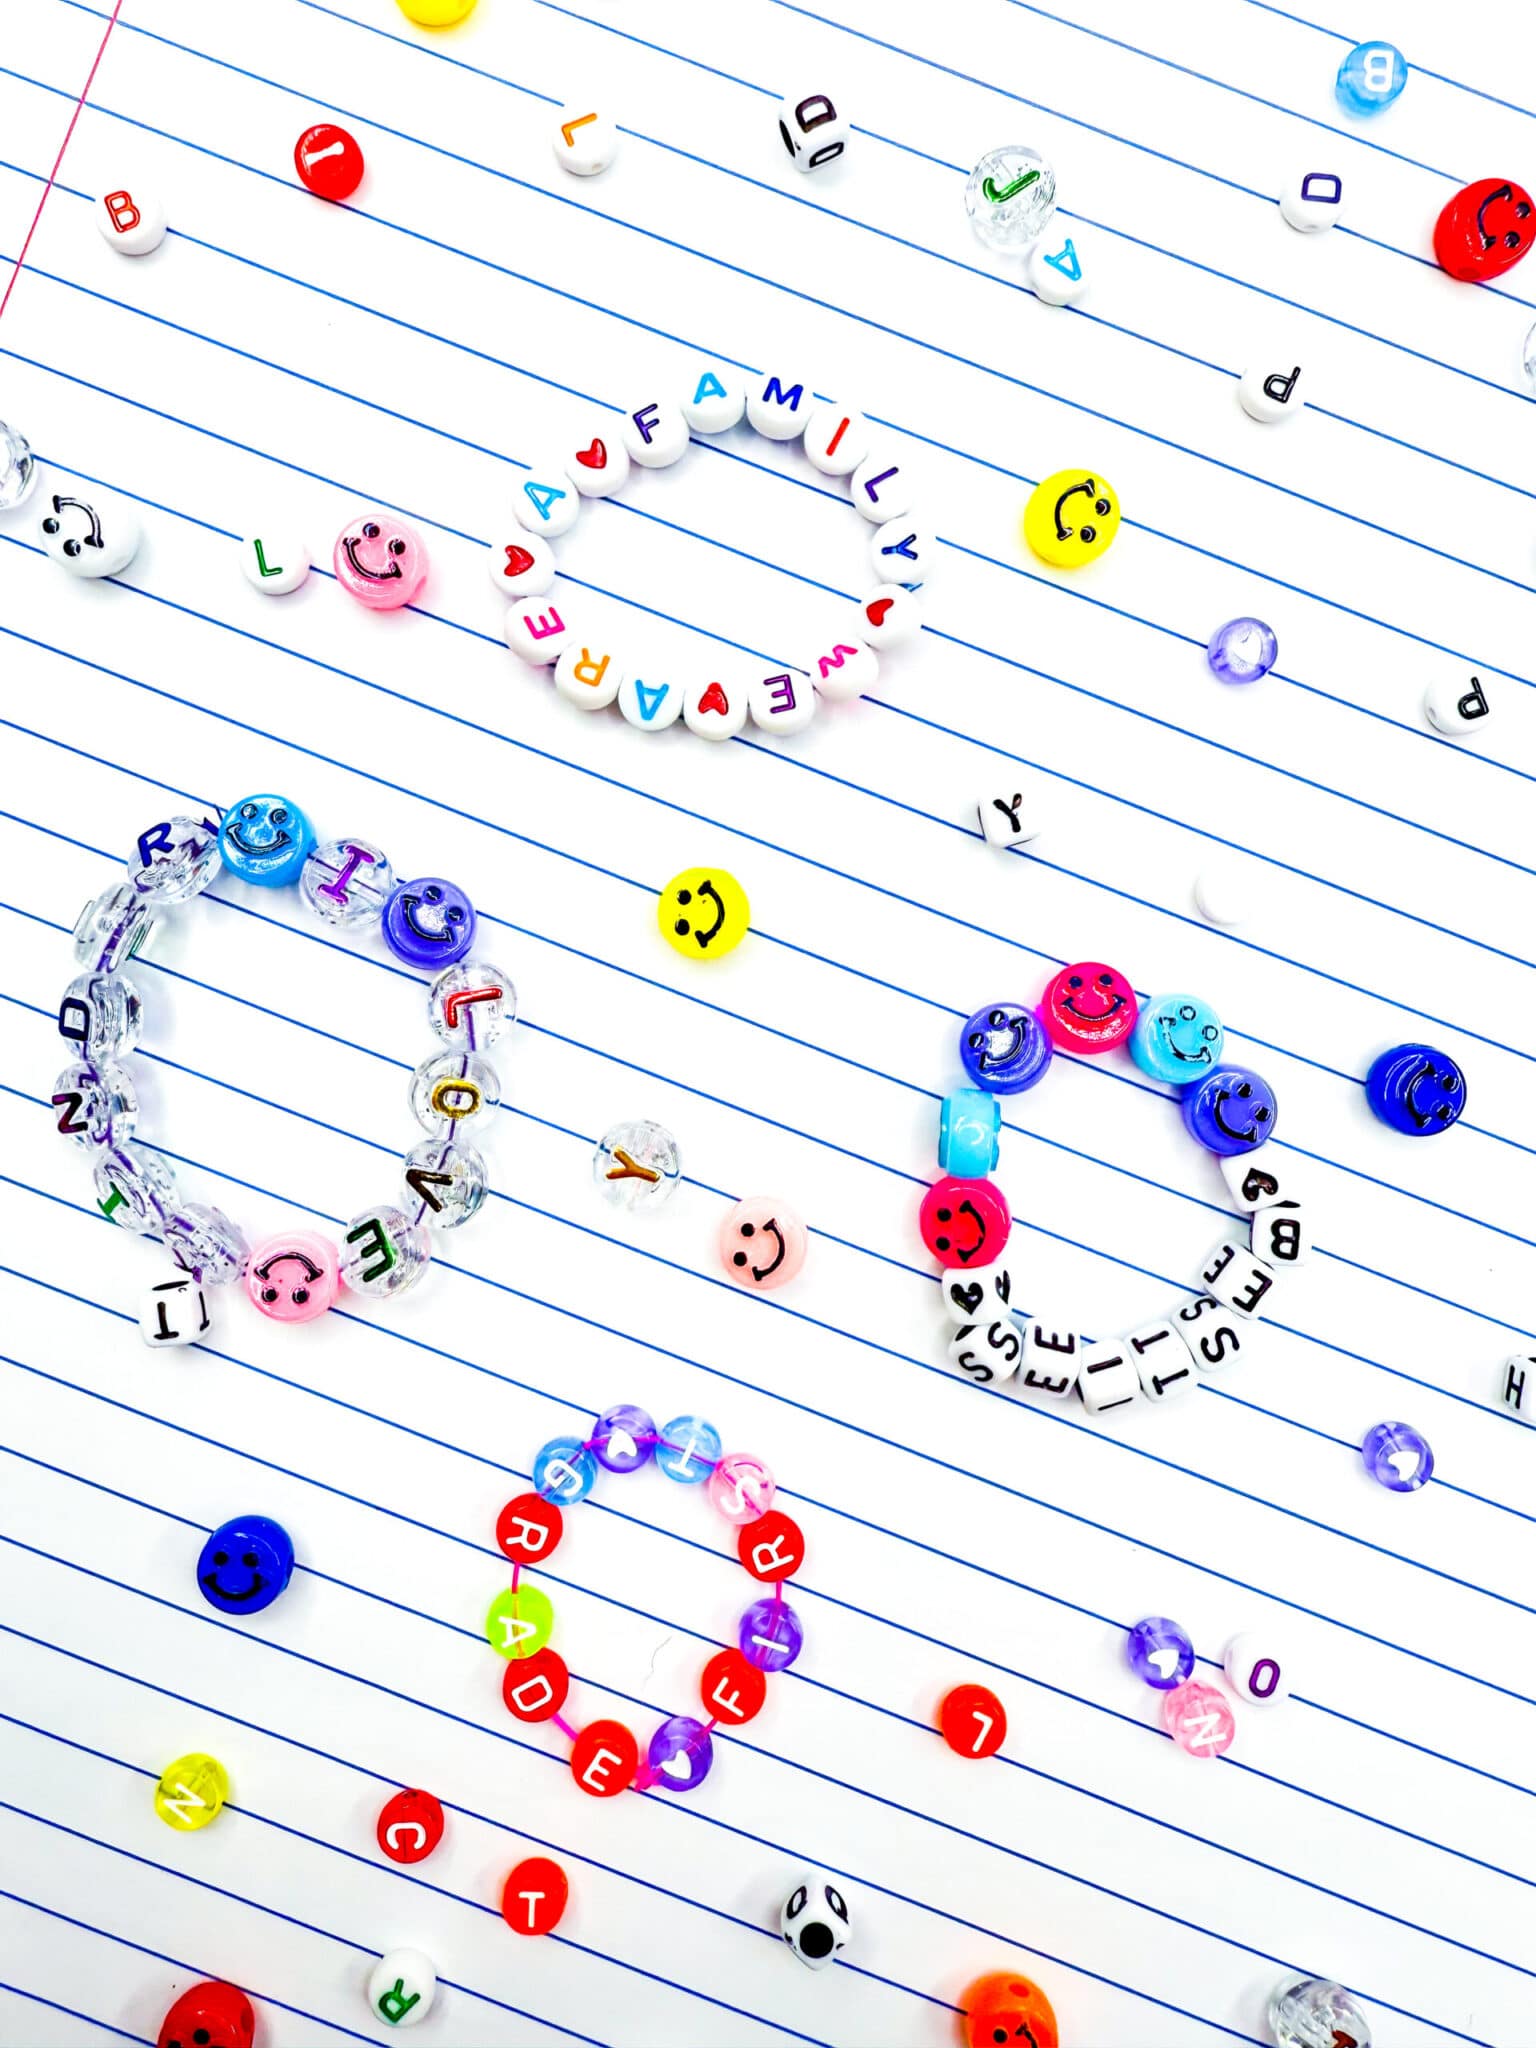
I threaded a name or a single initial between plain beads on stretch cord, and instantly had a gift people actually keep. Letter beads do the personalising for you, so the rest of the bracelet can stay beautifully simple.
I made one for each of my nieces with their initials, and they have not taken them off. The downside is that letter beads can flip around, so I put a small plain bead on each side of the letter to hold it facing forward.
Cost: $3–$8 | Time: 20 minutes | Difficulty: Easy
Pro Tip: Put a plain bead on each side of a letter bead so it stays facing forward.
10. Beaded Wrap Bracelet
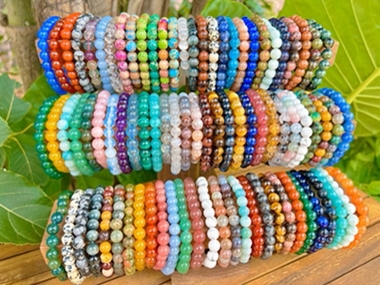
A wrap bracelet winds around the wrist two or three times, which means more beads and more impact from one piece. I used leather cord and larger beads, wrapping it around my wrist as I went to check the fit, and finished it with a simple button clasp.
I love how a wrap bracelet looks like a stack of bracelets but never slides off. The downside is that it takes longer than a single bracelet — plan an hour, not twenty minutes — and running out of beads halfway is miserable, so I count first.
Cost: $8–$15 | Time: 1 hour | Difficulty: Medium
Pro Tip: Count your beads before starting — running out halfway through a wrap is miserable.
11. Beaded Choker Necklace
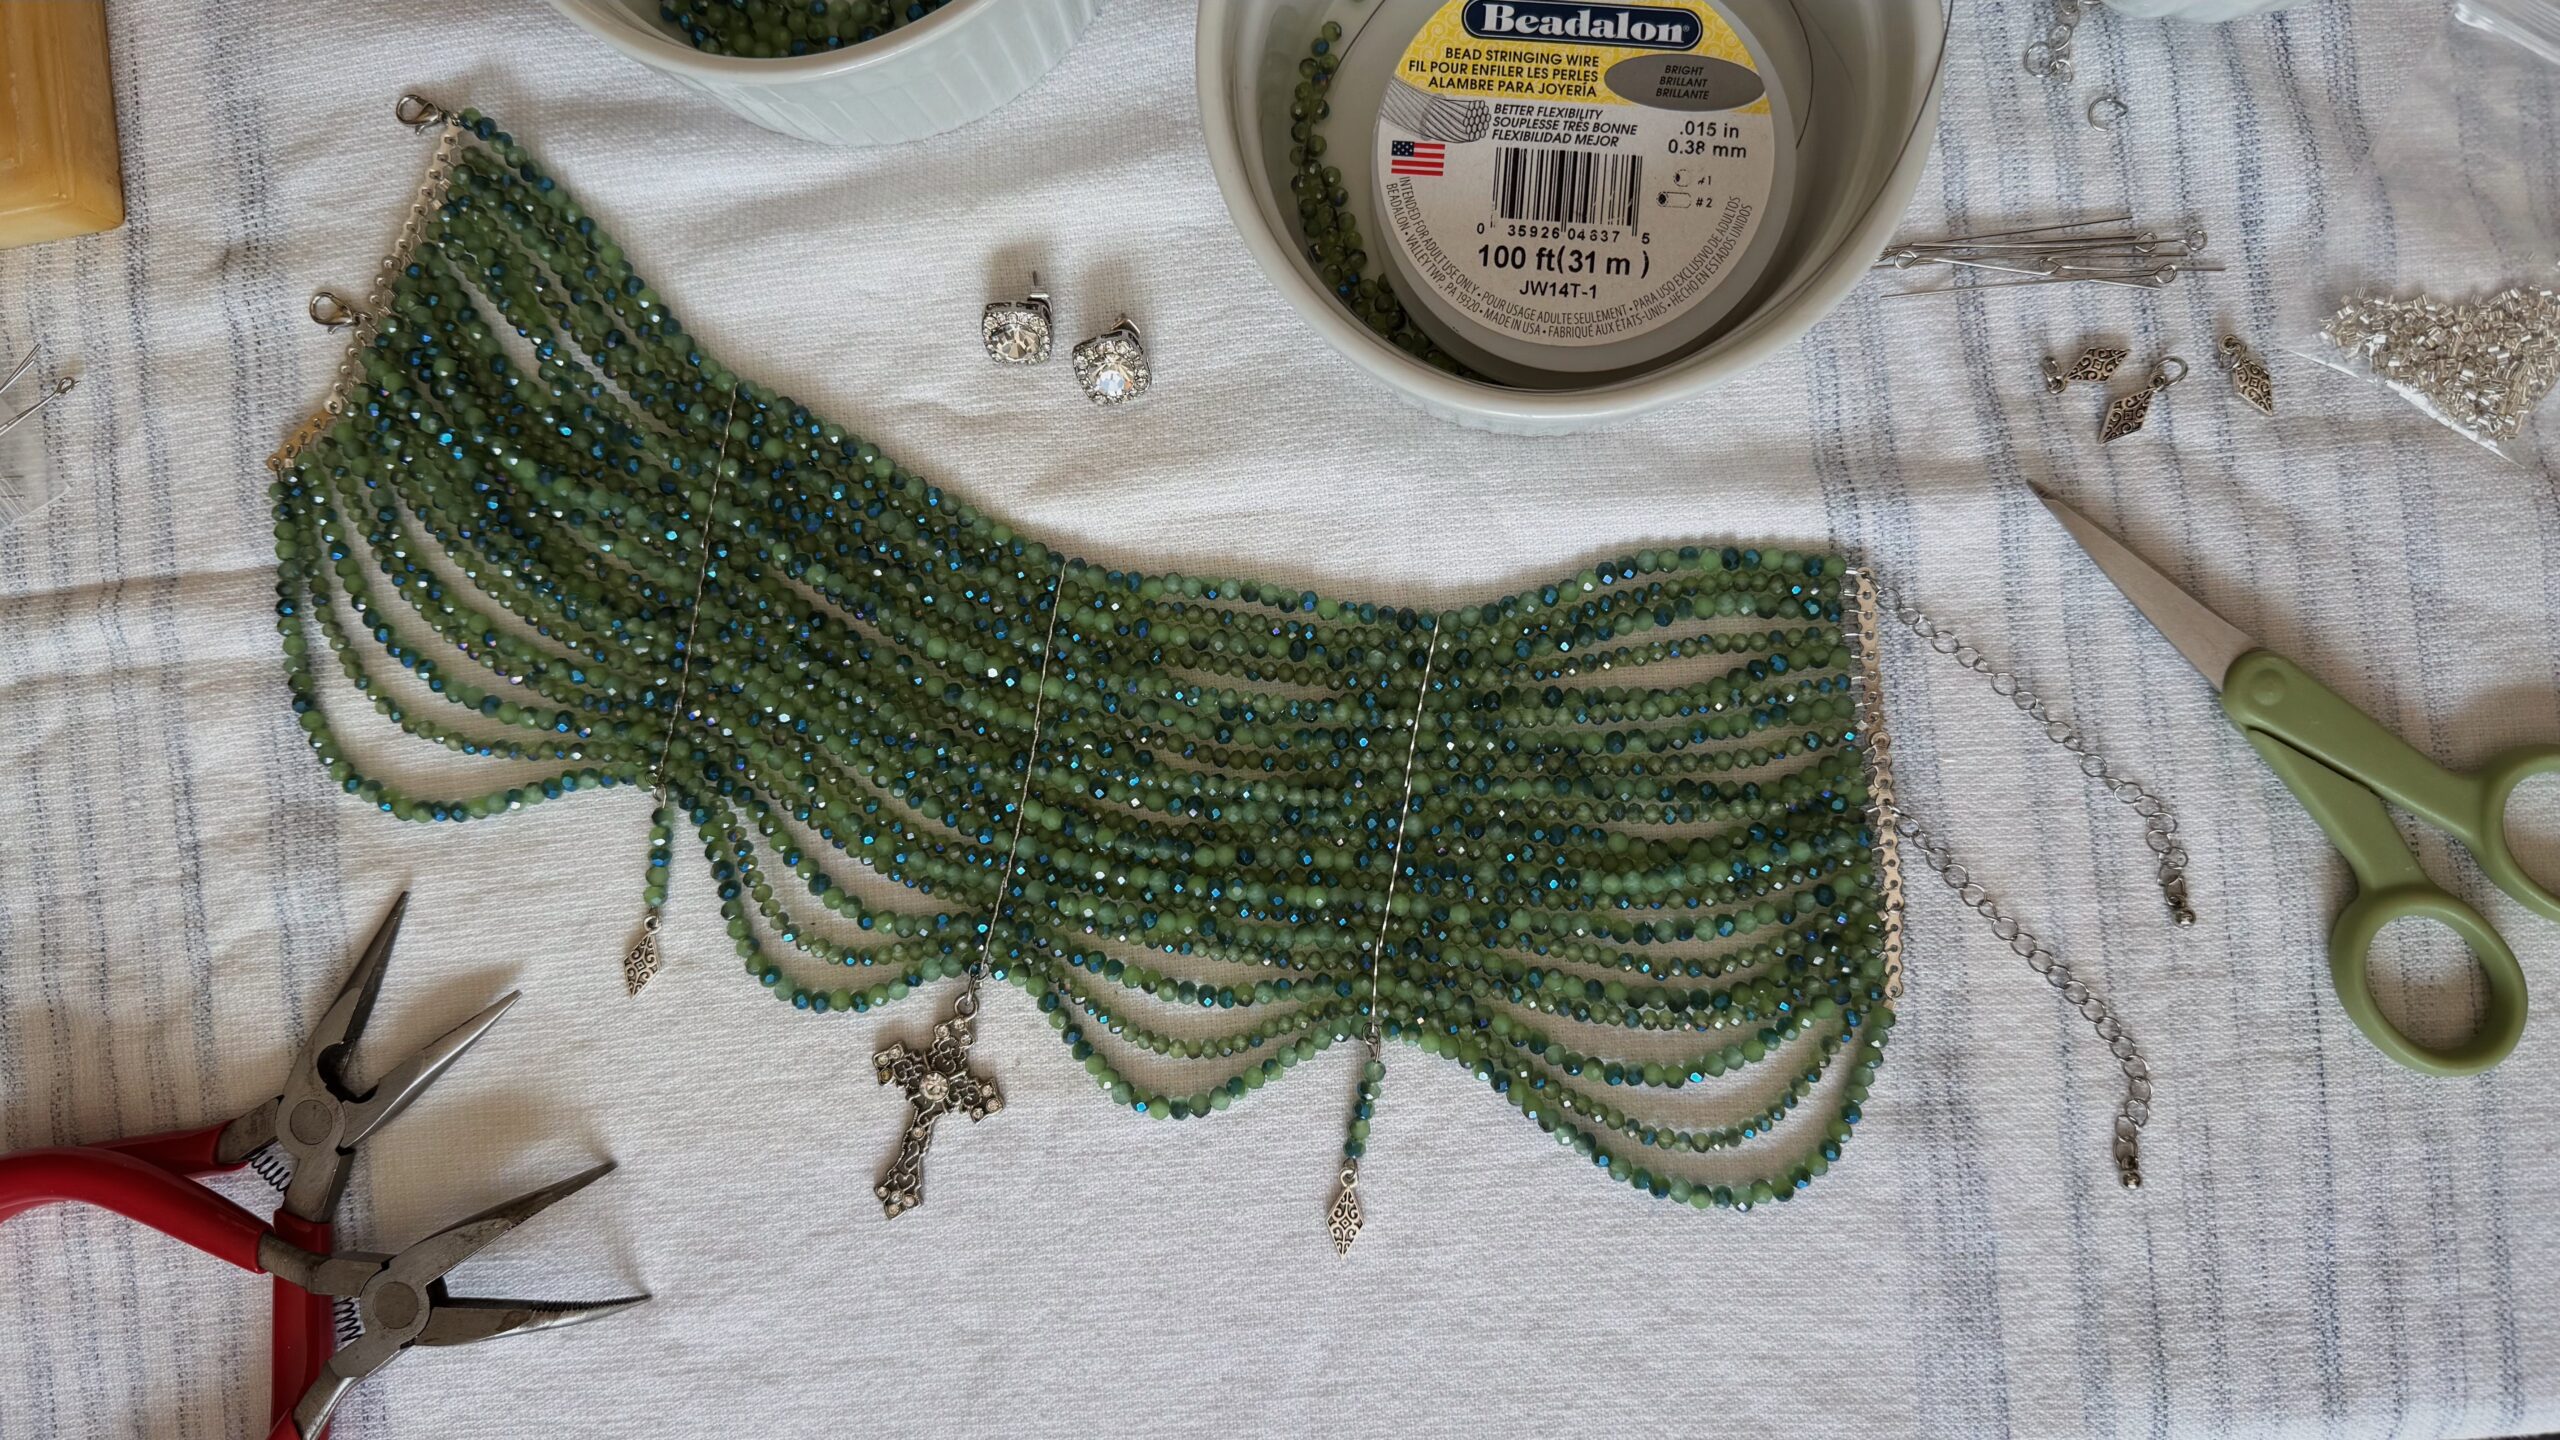
A choker sits high on the neck, so it frames the face in a way longer necklaces do not. I made mine fourteen inches long with small beads and a single larger centre bead, and it instantly made a plain top look dressed up.
I was nervous a choker would feel tight, but measuring properly fixed that. The downside is that chokers show every fit mistake, so I measure my neck snugly and add exactly half an inch — no more, no less.
Cost: $5–$12 | Time: 35 minutes | Difficulty: Easy
Pro Tip: Measure your neck snugly and add exactly half an inch for a comfortable choker.
Also read: Resin Craft Ideas for another way to turn small supplies into keepsake pieces.
12. Boho Beaded Tassel Earrings

I combined a small beaded top with a thread tassel below, and the result is pure boho: light, swingy, and colourful. The tassel does most of the visual work, so the beading can stay simple, which is perfect for a beginner who wants a big payoff.
I wore mine on holiday and they went with everything from sundresses to jeans. The downside is that tassels fray if they catch on things, so I trim them straight with sharp scissors and keep them in a separate pouch.
Cost: $5–$10 | Time: 40 minutes per pair | Difficulty: Easy
Pro Tip: Trim tassels straight with sharp scissors and store them in a separate pouch.
13. Wire-Wrapped Jellyfish Pendant

Wire wrapping sounds advanced, but a jellyfish pendant is just a bead dome with wire tentacles curled below it. I used copper wire, a large focal bead, and round-nose pliers, and the curls hide a multitude of beginner sins.
My first wire piece looked lumpy up close, but from a normal distance it looked intentional and artistic. The downside is that copper tarnishes, so I wipe my pendant with a soft cloth after wearing it and store it in a sealed bag.
Cost: $8–$15 | Time: 1 hour | Difficulty: Medium
Pro Tip: Use round-nose pliers for even curls, and wipe copper after wearing to slow tarnish.
14. Letter Bead Keychain

I threaded letter beads spelling a name onto a sturdy keyring cord, added a few plain beads, and had a keychain that is also a tiny piece of jewellery. It is the project I make when I need a quick, personal gift and have half an hour.
I made one for my sister’s new house keys and she uses it daily. The downside is that keychains take a beating, so I use strong cord and double-knot everything — a bracelet knot will not survive a keyring.
Cost: $3–$8 | Time: 25 minutes | Difficulty: Easy
Pro Tip: Double-knot everything on a keychain — bracelet knots will not survive daily keyring use.
15. Daisy Chain Bead Bracelet
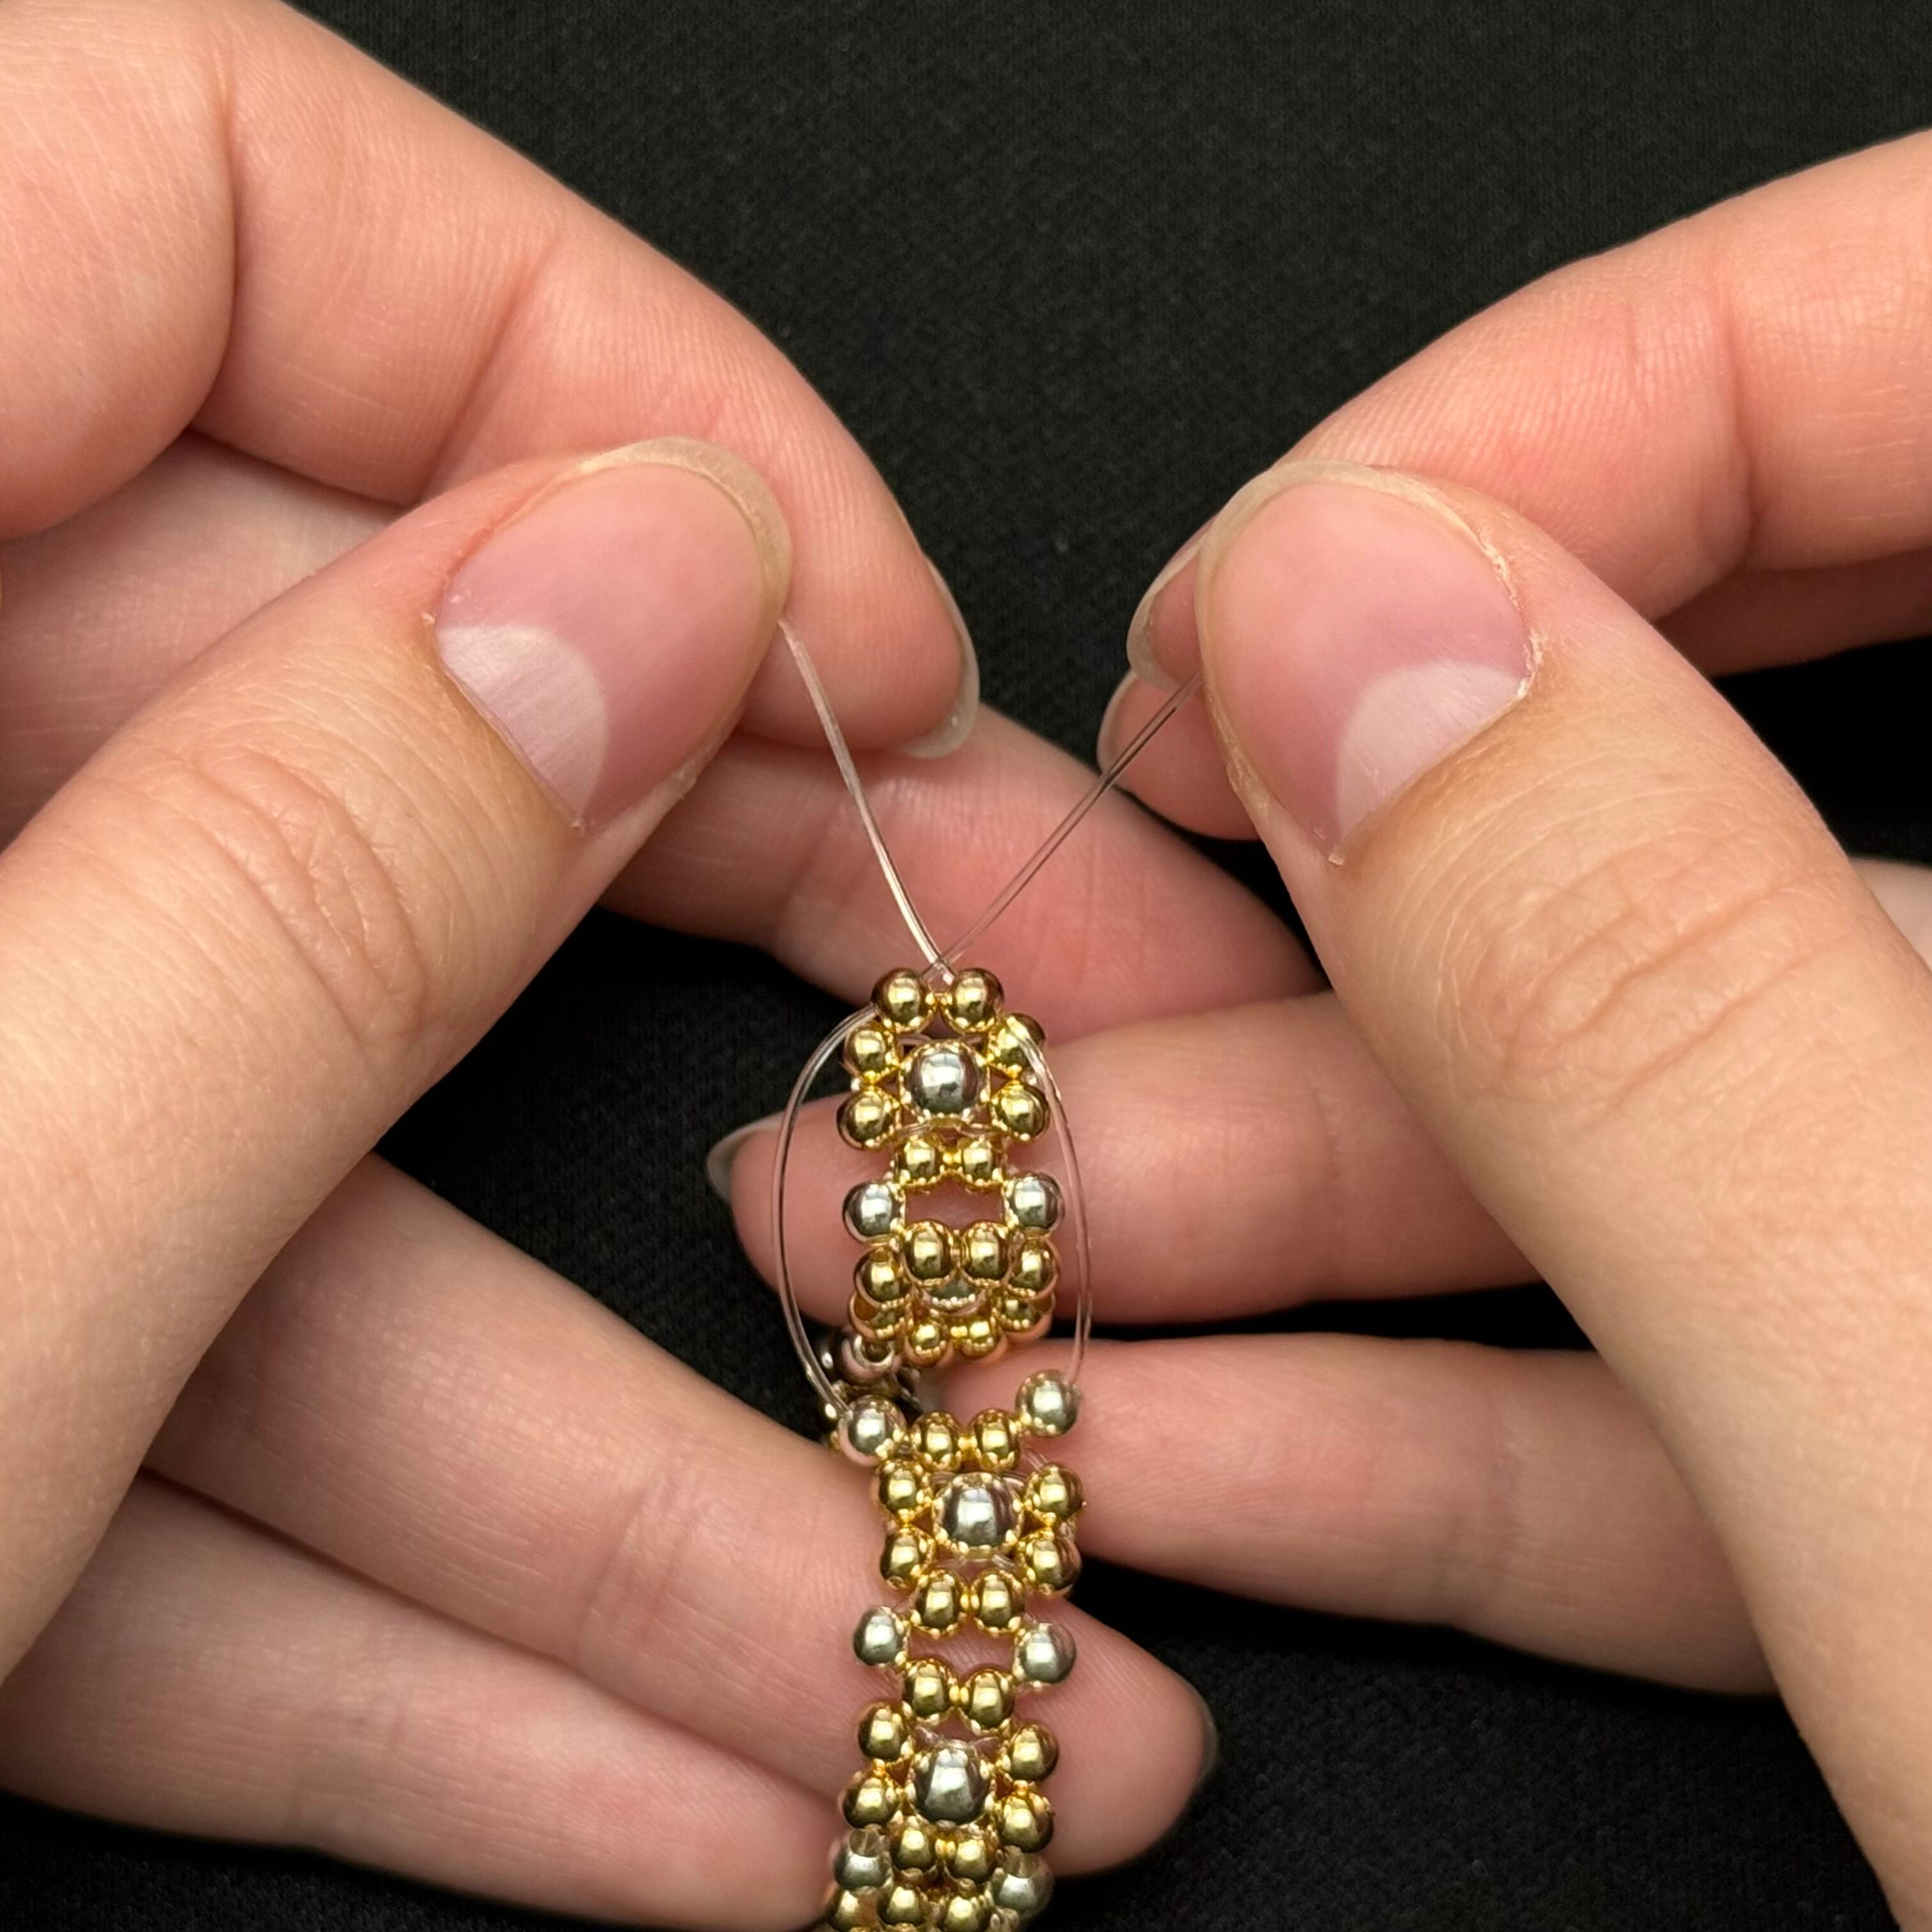
A daisy chain is made by looping seed beads into little flowers, one after another, until you have a bracelet that looks like a meadow. I learned the loop on a quiet evening and made three bracelets in a row because the rhythm is so satisfying.
My daisies were wonky at first until I realised the petal count matters — six petals, every time, no exceptions. The downside is that daisy chains are delicate, so I wear mine for special occasions rather than gardening.
Cost: $5–$10 | Time: 1 hour | Difficulty: Medium
Pro Tip: Keep every daisy to six petals — uneven petal counts make the chain look wonky.
16. Stacked Beaded Bracelets
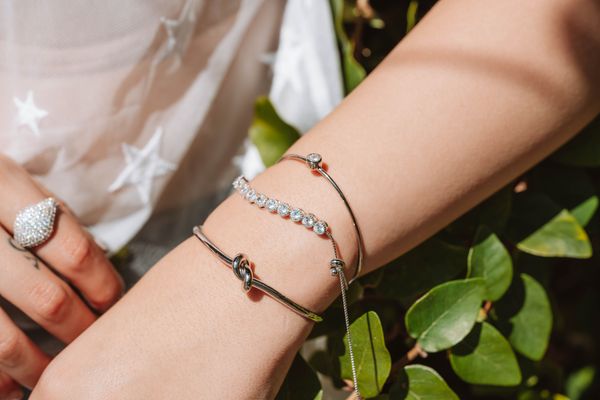
Stacking means making three or four simple bracelets in coordinating colours and wearing them together. I made mine over a weekend — one plain, one patterned, one with a charm — and the stack looks far more deliberate than any single bracelet.
I get more compliments on the stack than on any individual piece. The downside is noise: beads clinking together all day can annoy you, so I mix in one soft leather or fabric bracelet to muffle the stack.
Cost: $10–$20 for the stack | Time: 1.5 hours total | Difficulty: Easy
Pro Tip: Mix in one soft bracelet to muffle the clinking of a full bead stack.
17. Beaded Drop Earrings
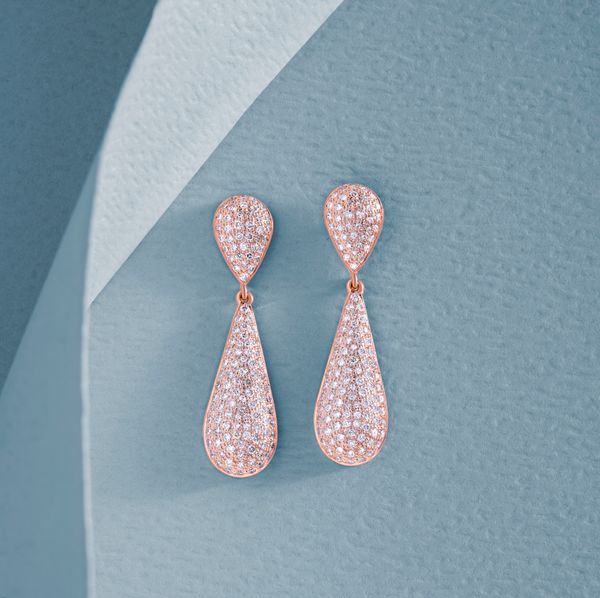
Drop earrings are a bead or a small cluster hanging from a hook, and they are the quickest earrings to make. I threaded a single beautiful bead onto a headpin, made a loop, and attached it to an earwire. Two of those and I had a pair.
I made a pair in fifteen minutes before a party once, and nobody believed me. The downside is that a single heavy bead can pull on the ear, so I keep drops light for everyday wear and save heavy stones for short evenings.
Cost: $5–$10 | Time: 20 minutes per pair | Difficulty: Easy
Pro Tip: Keep everyday drops light — heavy beads pull on the ear over a full day.
18. Beaded Hair Pin
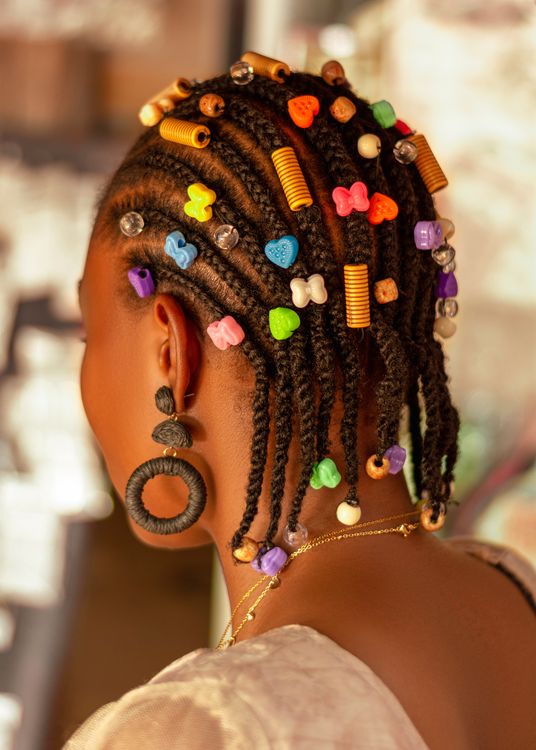
I wrapped small beads around a plain hair pin with thin wire, and suddenly a boring bobby pin became a hair accessory. It holds a twist of hair in place while adding a sparkle, which is two jobs for the price of one.
I wore mine to a wedding and it stayed put through dancing, which is the real test. The downside is that wire-wrapped pins can snag fine hair, so I check the back is smooth and file down any rough wire end before wearing.
Cost: Under $5 | Time: 20 minutes | Difficulty: Easy
Pro Tip: File down wire ends on hair pins so they never snag fine hair.
19. Beaded Cuff Bracelet

A cuff is wider than a bracelet and makes a bolder statement. I stitched beads onto a felt-backed cuff base in rows, working from the centre outwards, and the structure of the base kept everything straight even though my stitching is far from perfect.
I wear my cuff when I want one piece to do all the talking. The downside is that cuffs can feel stiff at first, so I wear mine around the house for an evening to break it in before taking it out.
Cost: $8–$15 | Time: 1.5 hours | Difficulty: Medium
Pro Tip: Break a new cuff in around the house for an evening before wearing it out.
20. Memory Wire Beaded Bracelet
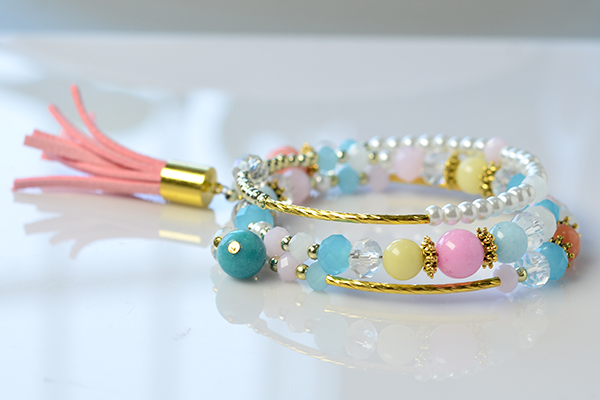
Memory wire is a coiled wire that springs back to shape, so a memory wire bracelet needs no clasp at all — you just wrap it around your wrist. I threaded beads onto three coils, curled the ends into loops, and had a bracelet that fits anyone.
I made one for a friend without knowing her wrist size, which is the whole point. The downside is that memory wire is springy and can ping beads across the room while you work, so I keep a firm grip and work over a tray.
Cost: $5–$12 | Time: 40 minutes | Difficulty: Easy
Pro Tip: Work over a tray — springy memory wire can ping beads across the room.
21. Gold Bead Earrings

Sometimes the simplest idea is the best: small gold beads on a hook, nothing else. I made a pair with six gold beads each, and they go with literally everything I own, from jeans to a wedding dress.
I reach for these more than any other pair I own, which tells you something. The downside is that gold-coloured beads can look cheap if they are too shiny, so I choose a soft, matte gold finish that reads as real jewellery, not costume plastic.
Cost: $5–$10 | Time: 15 minutes per pair | Difficulty: Easy
Pro Tip: Choose a soft matte gold finish — very shiny gold beads can read as plastic.
22. Boho Layered Beaded Necklace
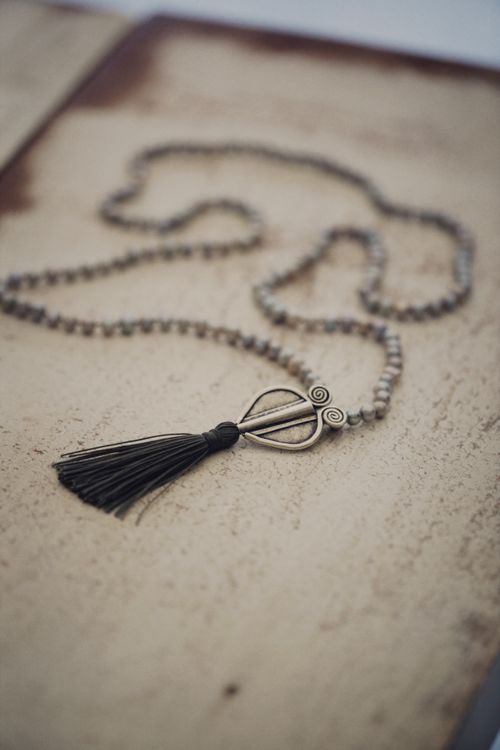
For the boho look, I combined earthy beads, a wooden bead or two, and a longer length — twenty-two inches — so the necklace sits over a loose top. The mix of textures is what makes it boho, not any single bead.
I wore mine on a summer trip and it became my holiday uniform. The downside is that long necklaces catch on bag straps, so I tuck mine inside my top when carrying a crossbody bag, then let it out again at the table.
Cost: $8–$15 | Time: 45 minutes | Difficulty: Easy
Pro Tip: Tuck long boho necklaces inside your top when wearing a crossbody bag strap.
Which Beaded Jewelry Project Should You Start With?
| Project | Best For | Cost | Effort |
|---|---|---|---|
| Stretch bracelet | Absolute beginners | $3–$8 | Low |
| Seed bead necklace | Everyday wear | $5–$10 | Low |
| Daisy chain | Patient beginners | $5–$10 | Medium |
| Wire-wrapped pendant | A statement piece | $8–$15 | Medium |
| Stacked bracelets | Gifts | $10–$20 | Low, over a weekend |
Mistakes I Made (So You Don’t Have To)
- I made my first stretch bracelet with no ease and it snapped when I forced it on. I now add half an inch to every wrist measurement.
- I used every bead colour I owned in one necklace and it looked like confetti. Three colours, maximum, is my rule now.
- I tossed layered necklaces in a drawer together and spent an hour untangling them. Each necklace now hangs on its own hook.
- I skipped glue on a stretch bracelet knot and it came undone in my bag. A tiny dot of glue on every knot is non-negotiable.
Frequently Asked Questions
What tools do I need to start beading?
Round-nose pliers, wire cutters, stretch cord, beading wire, crimp beads, and a bead tray. That small kit covers almost every project in this list.
Are beaded bracelets durable enough for everyday wear?
Yes, if you knot and glue properly and restring stretch cord once a year. Wire and memory wire pieces last longer than stretch cord pieces.
How do I stop my beaded necklace tangling?
Hang necklaces individually, never in a pile, and fasten clasps before storing so loose ends cannot wrap around other pieces.
Can beginners really make jewellery that looks professional?
Absolutely — a limited colour palette, even bead spacing, and neat finishing are what make jewellery look professional, and all three are beginner skills.
Read this next: Pressed Flower Craft Ideas if you want another beginner-friendly craft that looks far more advanced than it is.
Final Thoughts
Start with the stretch bracelet tonight, then try the letter bracelet as your first gift. These diy beaded jewelry ideas are designed to build on each other, so each finished piece teaches you a skill the next one uses. Those two projects teach you measuring, pattern, and finishing — and once you have them, every other project in this list feels within reach.
My jewellery box is proof that beginner does not mean basic. Pick your beads, clear the table, and make something you will actually wear. That first finished bracelet, worn out of the house the same day, is the moment beading stops feeling like a craft supply and starts feeling like a hobby.