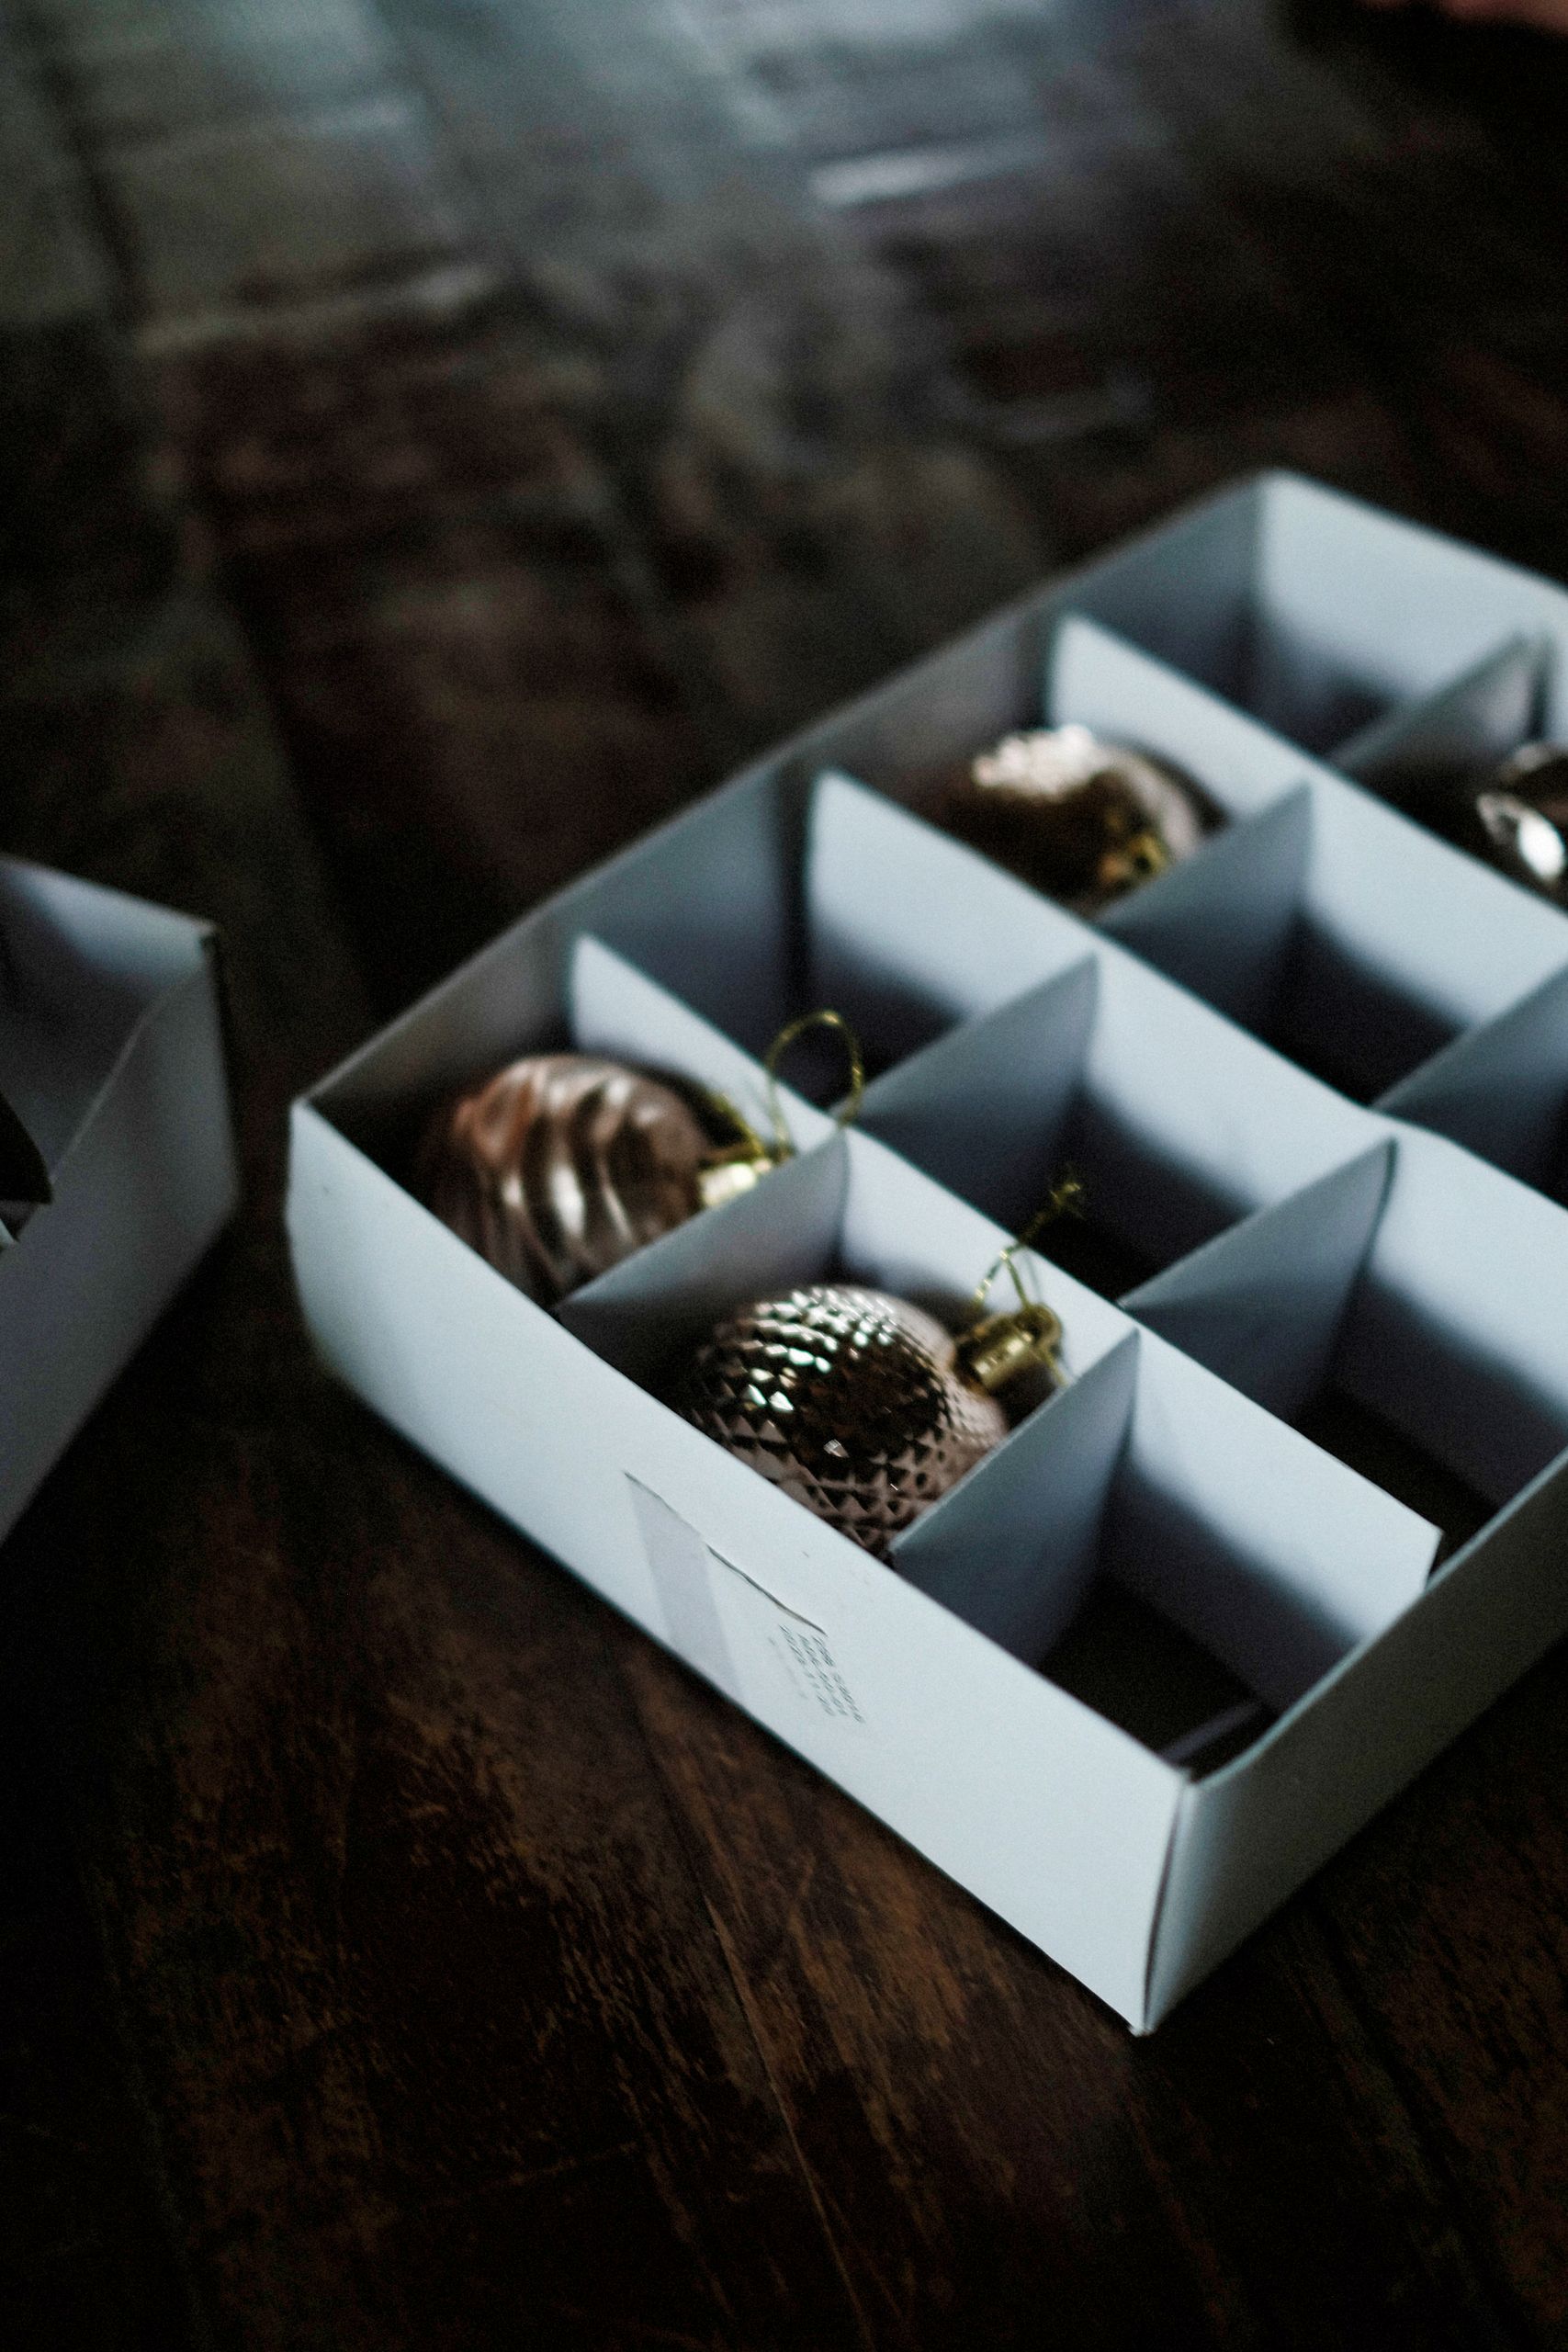
20 Christmas Storage Organization Ideas
Every January I used to stand in my living room surrounded by boxes, tangled lights, and one sad ornament rolling under the sofa, wondering why packing away Christmas felt harder than putting it all up. That mess is exactly why I rebuilt my whole system around christmas storage organization ideas that actually survive a full year in the attic.
I picked these 20 christmas storage organization ideas the way I test everything in this house: I used each one for at least one full season, kept what still worked the following December, and dropped anything that broke, tangled, or left me hunting for a missing tree stand. Nothing here is theory. Every bin, label, and trick below has been through my own pack-up weekend, usually with cold hands and a mug of tea going cold beside me.
Key Takeaways
- Sort by zone, not by box size, so each bin unpacks in one room.
- Clear bins and photo labels save more time than any fancy organizer.
- Wrap lights before they tangle and tissue-wrap glass before it chips.
- Keep a small first-out box with the pieces you reach for first next year.
1. One Bin Per Zone, Not Per Box Size

I used to pack whatever fit wherever it fit, which meant my mantel garland lived with the tree skirt and the dining table candles ended up in the garage. Now every bin belongs to one zone: tree, mantel, dining table, porch, and kids’ crafts. When December comes, I carry one bin to one room and I am done, instead of opening six boxes to decorate a single shelf.
I label the zone on two sides of the bin, not just the lid, because lids get stacked and swapped.
Pro Tip: Pack the zone bin in reverse unpacking order, with the first things you need sitting right on top.
Cost: $8–$15 per bin | Time: 30 minutes to sort | Difficulty: Easy
2. Clear Bins With Photo Labels

Clear bins changed everything for me, because I stopped playing guessing games in a dusty attic. I can see at a glance whether a bin holds baubles or table linens, and I no longer drag down three wrong boxes before finding the right one. The first year I switched, my whole unpack took about half the time it used to.
I add a phone photo of the open bin taped to the front, which helps more than a written label when the contents are mixed. My husband can find the tree topper now without calling me upstairs, and that alone was worth the switch.
Pro Tip: Snap the photo before you close the lid, while the layers are still visible.
Cost: $10–$20 per bin | Time: 20 minutes | Difficulty: Easy
3. Wrap Every Light String Before It Tangles

Tangled lights were my biggest January frustration for years, and I once spent an entire evening unknotting a single string while the rest of the decorations waited in the hall. Now I wind each string around a flat piece of cardboard with a notch cut at each end, and I tuck both plugs into the notches so nothing unwinds. It takes two extra minutes per string and saves me an hour next year.
I also write on the cardboard where the lights hung and whether the string still works, and dead strings get recycled on the spot.
Pro Tip: Test lights while they are still hanging, before you take anything down.
Cost: Free with scrap cardboard | Time: 5 minutes per string | Difficulty: Easy
4. A Dedicated Bag for the Artificial Tree

Our artificial tree lived in its original cardboard box for three years, and every January it was a wrestling match to get it back inside. The box tore, the branches snagged, and the stand screws vanished into the fluff. A proper tree bag with handles fixed all of it, because the sections slide in without forcing and the whole thing can be carried by one person.
I keep the stand, screws, and spare bulbs in a zip pouch clipped inside the bag, so setup never starts with a hunt for hardware.
Pro Tip: Measure your longest packed section before buying any bag, not just the tree height.
Cost: $20–$40 | Time: 20 minutes | Difficulty: Easy
5. Store Wreaths Flat, Never Crushed

I ruined a beautiful pine wreath by stacking a heavy bin on top of it one winter, and it came out the next year flat on one side like it had been sat on. Now every wreath gets its own flat bag or a large pizza-style box, and nothing heavy ever goes on top. I hang the bags on wall hooks in the garage when I have the space, which keeps them completely crush-free.
For wreaths with berries or delicate picks, I stuff a little tissue around the fragile bits before bagging. It sounds fussy, but it is the difference between a wreath that lasts five years and one that lasts one.
Pro Tip: Hang wreath bags by their handles, never by the wreath itself, so the shape stays round.
Cost: $5–$15 per bag | Time: 10 minutes | Difficulty: Easy
Related article: 20 Seasonal Clothing Storage Ideas for a Clutter-Free Closet
6. Divided Trays for Everyday Ornaments

Loose ornaments in a bag was my old system, and it ended exactly how you would expect: chipped paint, broken hooks, and a sad pile of glitter at the bottom. Divided trays with one ornament per compartment stopped the knocking and made unpacking feel almost pleasant. I sort mine by color, so the red box, gold box, and mixed box each go straight to the right tree.
The trays stack neatly inside a larger bin, and I put a sheet of tissue between layers. In my house the kids each have their own small tray too, which means their ornaments stop migrating into mine.
Pro Tip: Keep spare hooks in a tiny zip bag taped to the inside of the tray lid.
Cost: $12–$25 per tray set | Time: 30 minutes | Difficulty: Easy
7. Stackable Bins That Lock Together

I once stacked ordinary bins in the attic and watched the whole tower lean slowly sideways all winter, until the top bin slid off and cracked a set of baubles. Stackable bins with lids that seat into the bin below fixed that completely, because the tower locks together instead of balancing. I buy one matching size now, so every lid fits every bin, and the stack stays straight even when I pull a middle bin out.
The catch is height: I keep stacks to three bins high with the heaviest at the bottom, so the tower stays stable and easy to manage on a ladder.
Pro Tip: Buy all your stackable bins at once, since brands change their lid shapes more often than you would think.
Cost: $10–$20 per bin | Time: 20 minutes | Difficulty: Easy
8. Wrap Figurines in Old Tea Towels

Ceramic villages, angels, and nativity figurines are the pieces that break most in my house, because they have thin arms, wings, and hats that snap off. I wrap each one in an old tea towel now, which cushions better than tissue and costs nothing, since the towels were already retired from the kitchen. A village house that survived three moves in tea towels is proof enough for me.
I fold the towel around the figurine rather than rolling it tight, and each wrapped piece goes in its own compartment. I never use newspaper here, after newsprint once marked a white ceramic angel.
Pro Tip: Write the figurine name on a masking-tape tag on the towel, so unpacking does not mean unwrapping everything.
Cost: Free | Time: 20 minutes | Difficulty: Easy
9. A Pouch for Stockings and Small Soft Decor

Stockings, tree skirts, and fabric advent calendars used to get folded into random bins and came out smelling musty. Now they all live in one large cotton pouch with a lavender sachet tucked inside, and the pouch sits on top of the decoration bins where air can move around it. The first year I did this, our stockings actually smelled fresh in December, which felt like a small miracle.
I wash everything before it goes in, because a single sticky candy-cane stain can attract trouble over eleven months. The pouch also keeps tiny felt pieces and buttons from drifting into the ornament trays.
Pro Tip: Skip scented sachets on anything white, since oils can stain over time.
Cost: $5–$12 | Time: 20 minutes | Difficulty: Easy
10. Keep Gift Wrap With the Christmas Bins

For years my wrapping paper lived in a different closet from everything else, which meant December wrapping sessions started with a hunt. Now one tall bin beside the Christmas boxes holds the seasonal rolls, bags, and bows, and the everyday wrap stays in the craft closet. It sounds small, but it cut my wrapping setup time to almost nothing.
I stand rolls upright so they do not get crushed flat, and I slip a rubber band around each roll so it cannot unroll and crease. Leftover half-used rolls go at the front, so they get used first next year instead of being forgotten.
Pro Tip: Store rolls upright in a tall bin, never flat under heavy boxes.
Cost: $10–$18 for a tall bin | Time: 15 minutes | Difficulty: Easy
Also read: 20 Christmas Eve Box Ideas for a Cozy Night Before Christmas
11. A Spool Box for Ribbons and Twine

Ribbon used to live in a drawer as one giant tangled nest, and I would buy new ribbon every year because I could not face untangling the old lot. A simple box with dowels or upright dividers keeps each spool separate and lets me pull ribbon without unspooling everything else. I sorted mine by color family, which makes matching a gift wrap scheme genuinely fun now.
The watch-out is that wide wired ribbon needs more room than thin curling ribbon, so I keep those in a separate taller box. Crushed wired ribbon never quite holds its shape again, and I learned that the expensive way.
Pro Tip: Thread each ribbon end through a small hole in the box side so it dispenses without tangling.
Cost: $8–$20 | Time: 30 minutes | Difficulty: Easy
12. An Attic Shelf Map on the Wall
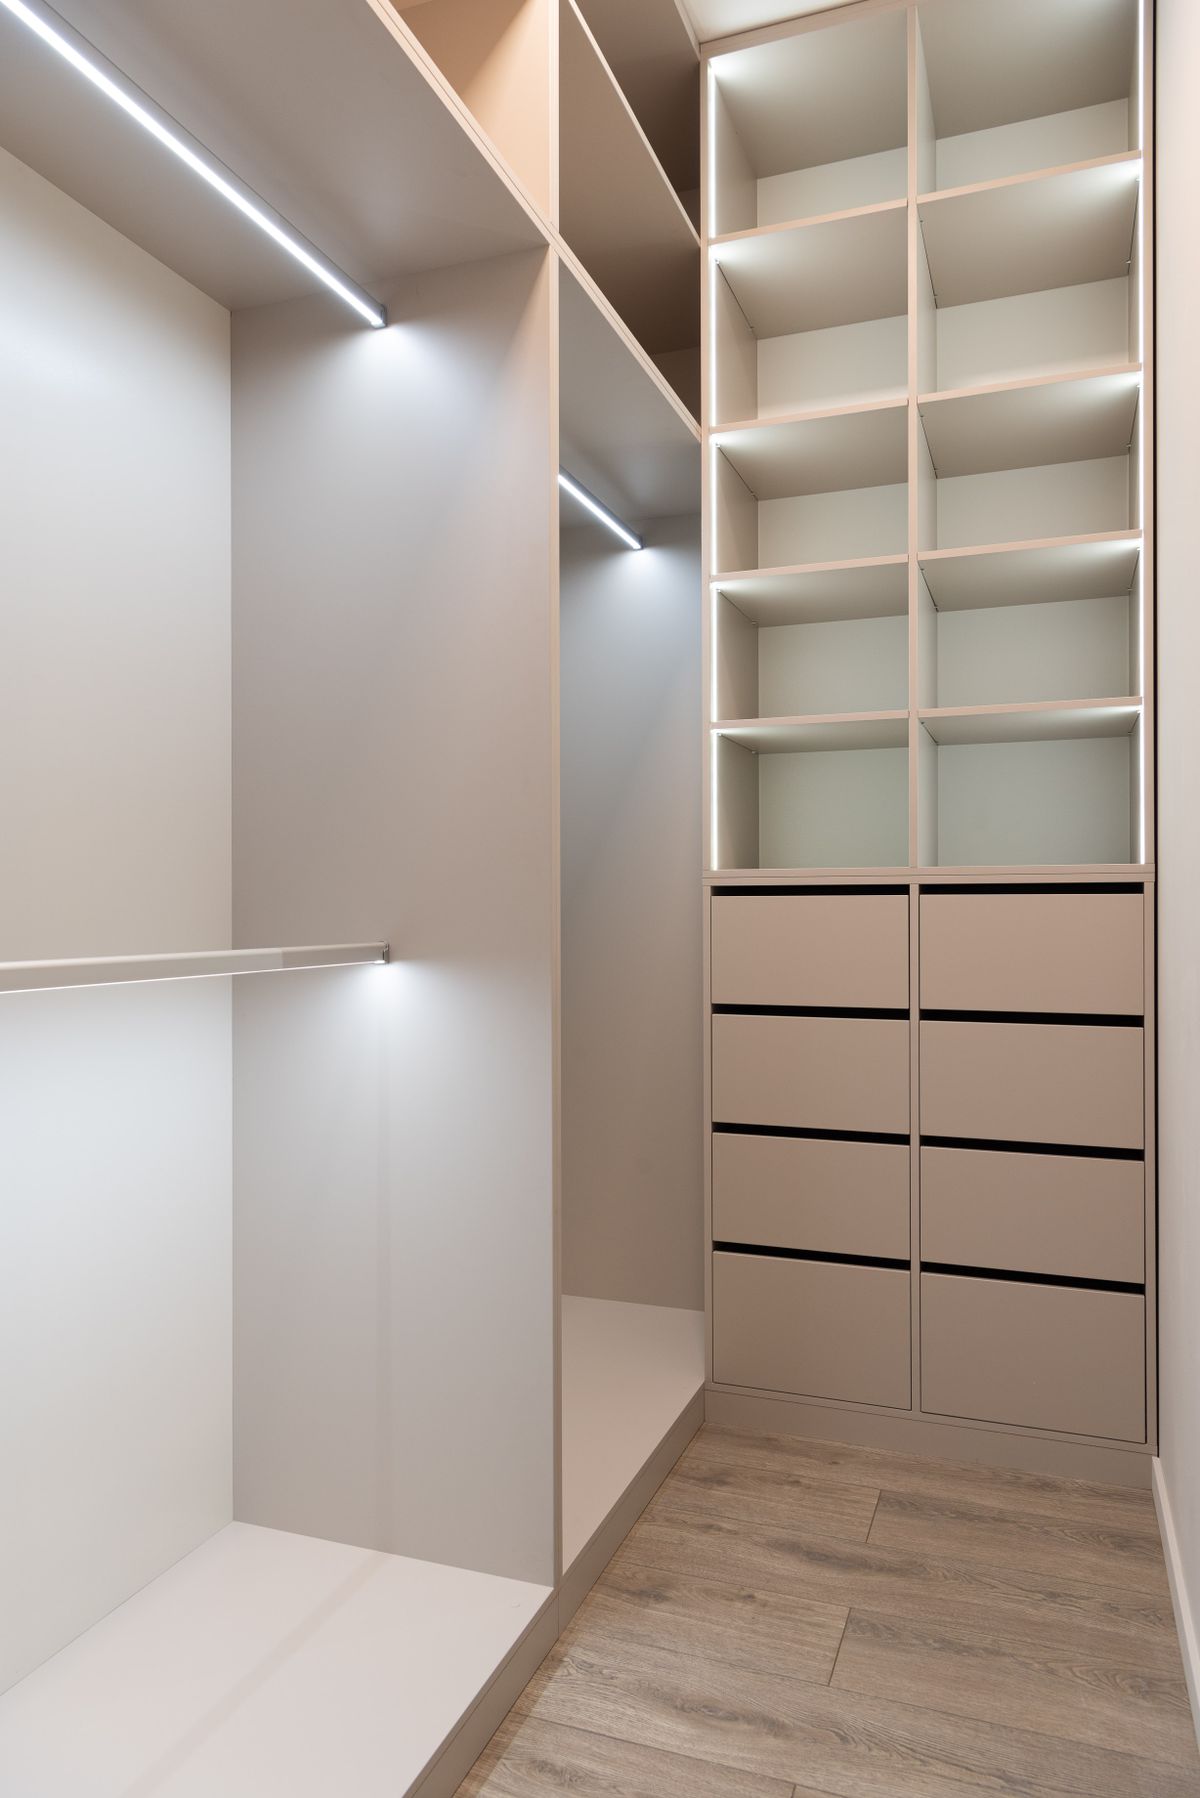
Our attic has one narrow walkway and shelves on both sides, and for years I forgot which side held what. I drew a simple map on a piece of card, taped it just inside the attic hatch, and marked every shelf: tree left, ornaments middle, lights right. It looks silly, but it ended the annual game of moving six bins to reach the one at the back.
I also keep the heaviest bins lowest and nearest the hatch, because carrying a heavy box down a ladder is no joke. Anything I only need once a year goes furthest back, and the first-out box stays right by the hatch.
Pro Tip: Update the map every January while the layout is still fresh in your mind.
Cost: Free | Time: 15 minutes | Difficulty: Easy
13. Flat Bins Under the Bed for Overflow

When the attic filled up, I started using flat bins under our bed for the lighter overflow: table runners, stockings, and the kids’ small decorations. They slide out easily, stay dust-free with lids on, and free up attic space for the heavy bins. I measured the clearance first, because my first flat bin was half an inch too tall and lived in the hall for a week.
The rule I keep is light stuff only under the bed, since dragging a heavy bin across carpet is miserable. Anything fragile stays in the attic where it will not get kicked or sat on.
Pro Tip: Put bins on both sides of the bed if you can, so one side never becomes a forgotten zone.
Cost: $12–$22 per flat bin | Time: 20 minutes | Difficulty: Easy
14. A Dedicated Open-Shelf Bay for Christmas
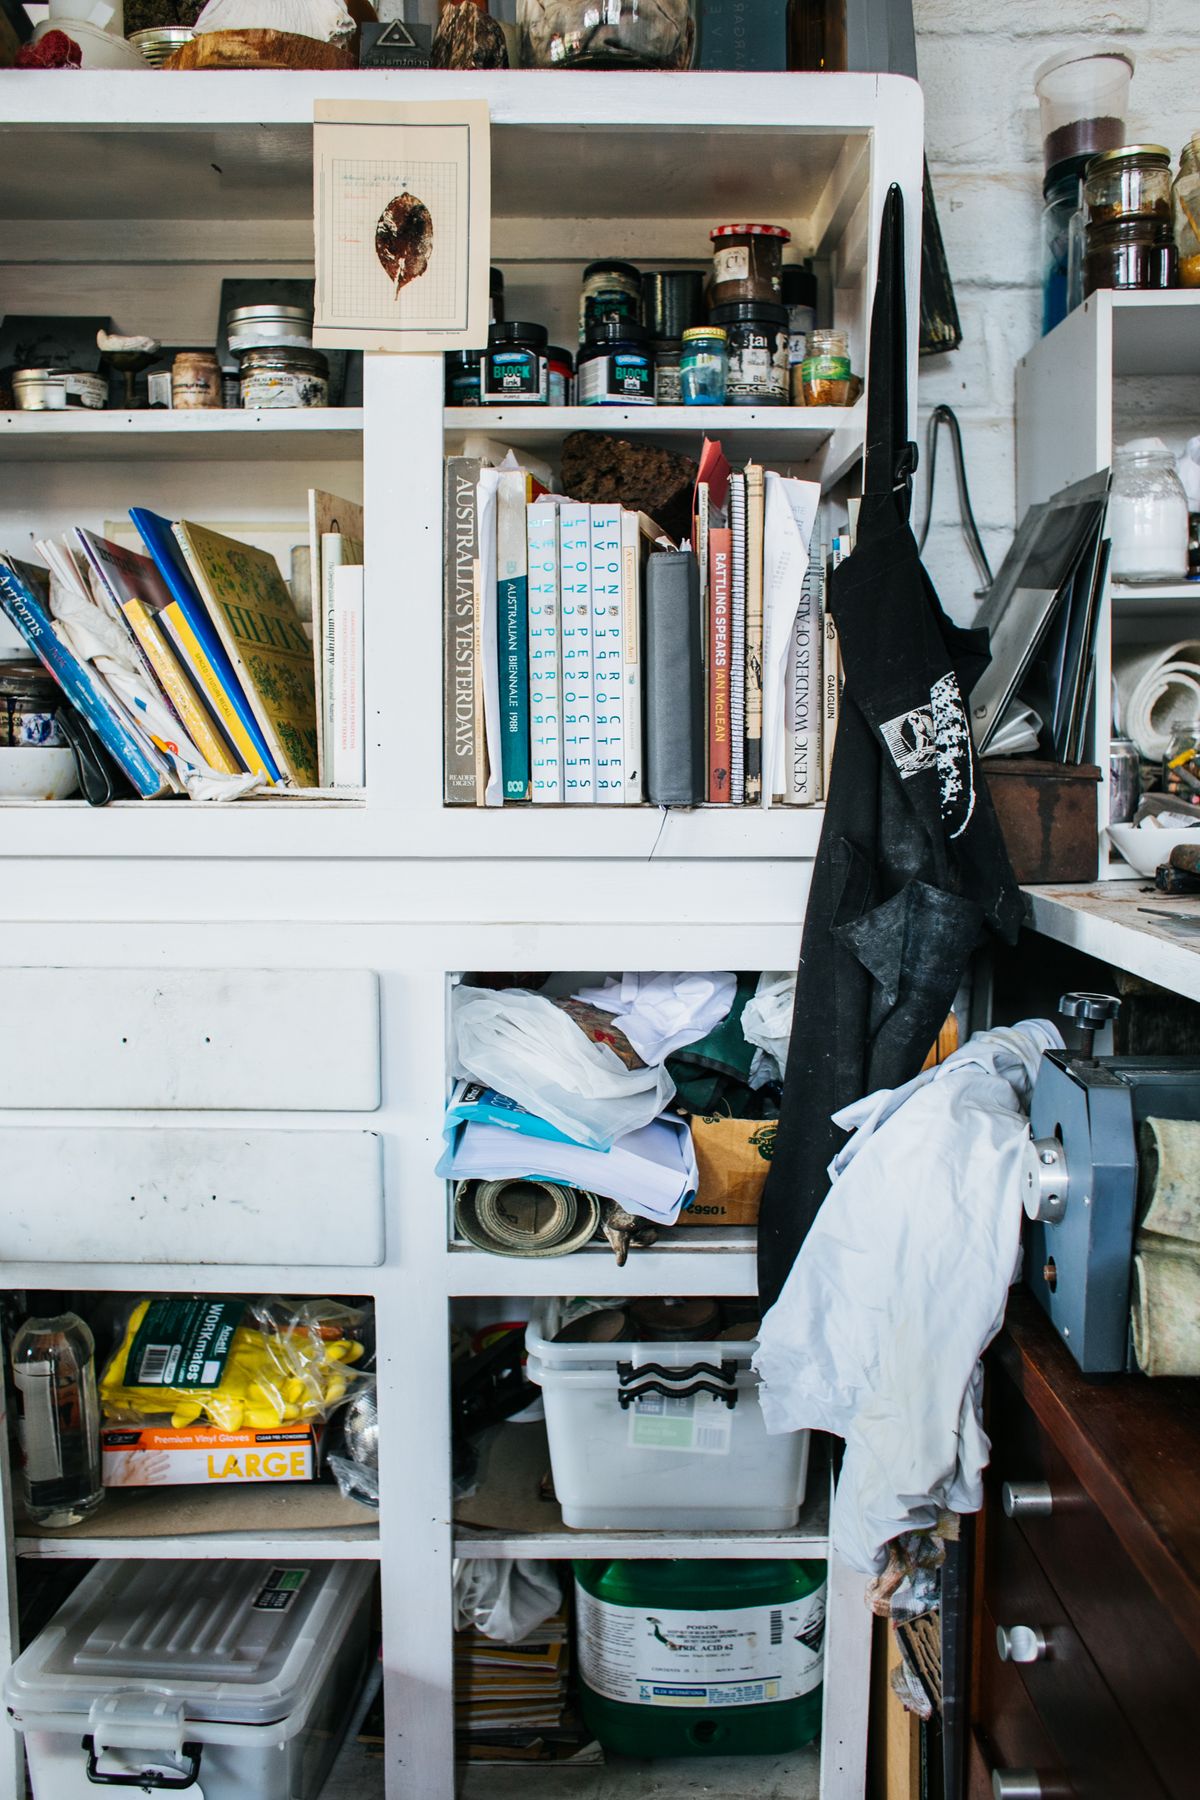
If you have a garage or utility room, giving Christmas its own shelf bay is one of the best moves I made. Everything sits visible and reachable, no stacking puzzles, no digging behind camping gear. I claimed the bay nearest the door and put a small sign on it, half joking and half serious, so the family knows not to pile other things there.
Open shelves collect dust, so lidded bins are still a must, but the visibility means I see what I own before buying duplicates.
Pro Tip: Keep the bay at waist-to-eye height for the bins you grab first, and heavier bins below.
Cost: $30–$80 for shelving | Time: 1 hour to set up | Difficulty: Moderate
15. Vacuum Bags for Tree Skirts and Linens

Christmas linens are bulky: tree skirts, tablecloths, cushion covers, and the quilted runner my mother made. Vacuum bags shrank a whole shelf of them down to one flat package in my house, which felt like finding free storage space. I roll rather than fold the quilted pieces first, so creases fall out more easily after a wash.
The honest downside is that vacuum bags can leave sharp creases in delicate fabrics, and a bag that loses its seal slowly lets air back in. I use them only for sturdy linens, and I check the seals again in June when I am already in the attic for something else.
Pro Tip: Wash and fully dry linens before sealing, or trapped dampness will smell by December.
Cost: $10–$18 for a pack | Time: 30 minutes | Difficulty: Easy
Read this next: 20 Salt Dough Ornament Craft Ideas for a Homemade Christmas Tree
16. Hang Wreaths on Hooks, Not in Piles

Between seasons, my spare wreaths now hang on sturdy hooks on the garage wall, each in a clear bag so I can see which is which. Hanging keeps their shape perfect and uses wall space that was doing nothing, and I can grab the one I want without unstacking a pile. The first winter I tried it, all three wreaths came out looking exactly as they went in.
I use proper wall hooks rated for the weight, not adhesive strips, because a heavy wreath falling in July is a mess nobody needs. Hooks also keep wreaths away from damp floors, which matters in our garage after rain.
Pro Tip: Leave a gap between hanging wreaths so berries and picks do not snag each other.
Cost: $8–$15 for hooks | Time: 20 minutes | Difficulty: Easy
17. Big Bold Labels You Can Read in the Dark

Attics are dim, and my old neat handwriting was unreadable up there. Now I print labels in large bold letters with a cheap label maker, and I stick one on the front and one on the side of every bin. It feels like overkill until you are holding a torch in one hand and a bin in the other, trying to read tiny script.
I also color-code by zone with tape: red for tree, green for mantel, gold for dining. The family learned the colors fast, and even the kids can fetch the right bin now without a phone call to me.
Pro Tip: Add the year you packed the bin, so you can spot anything untouched for years.
Cost: $10–$25 for a label maker | Time: 20 minutes | Difficulty: Easy
18. A First-Out Box for Setup Day
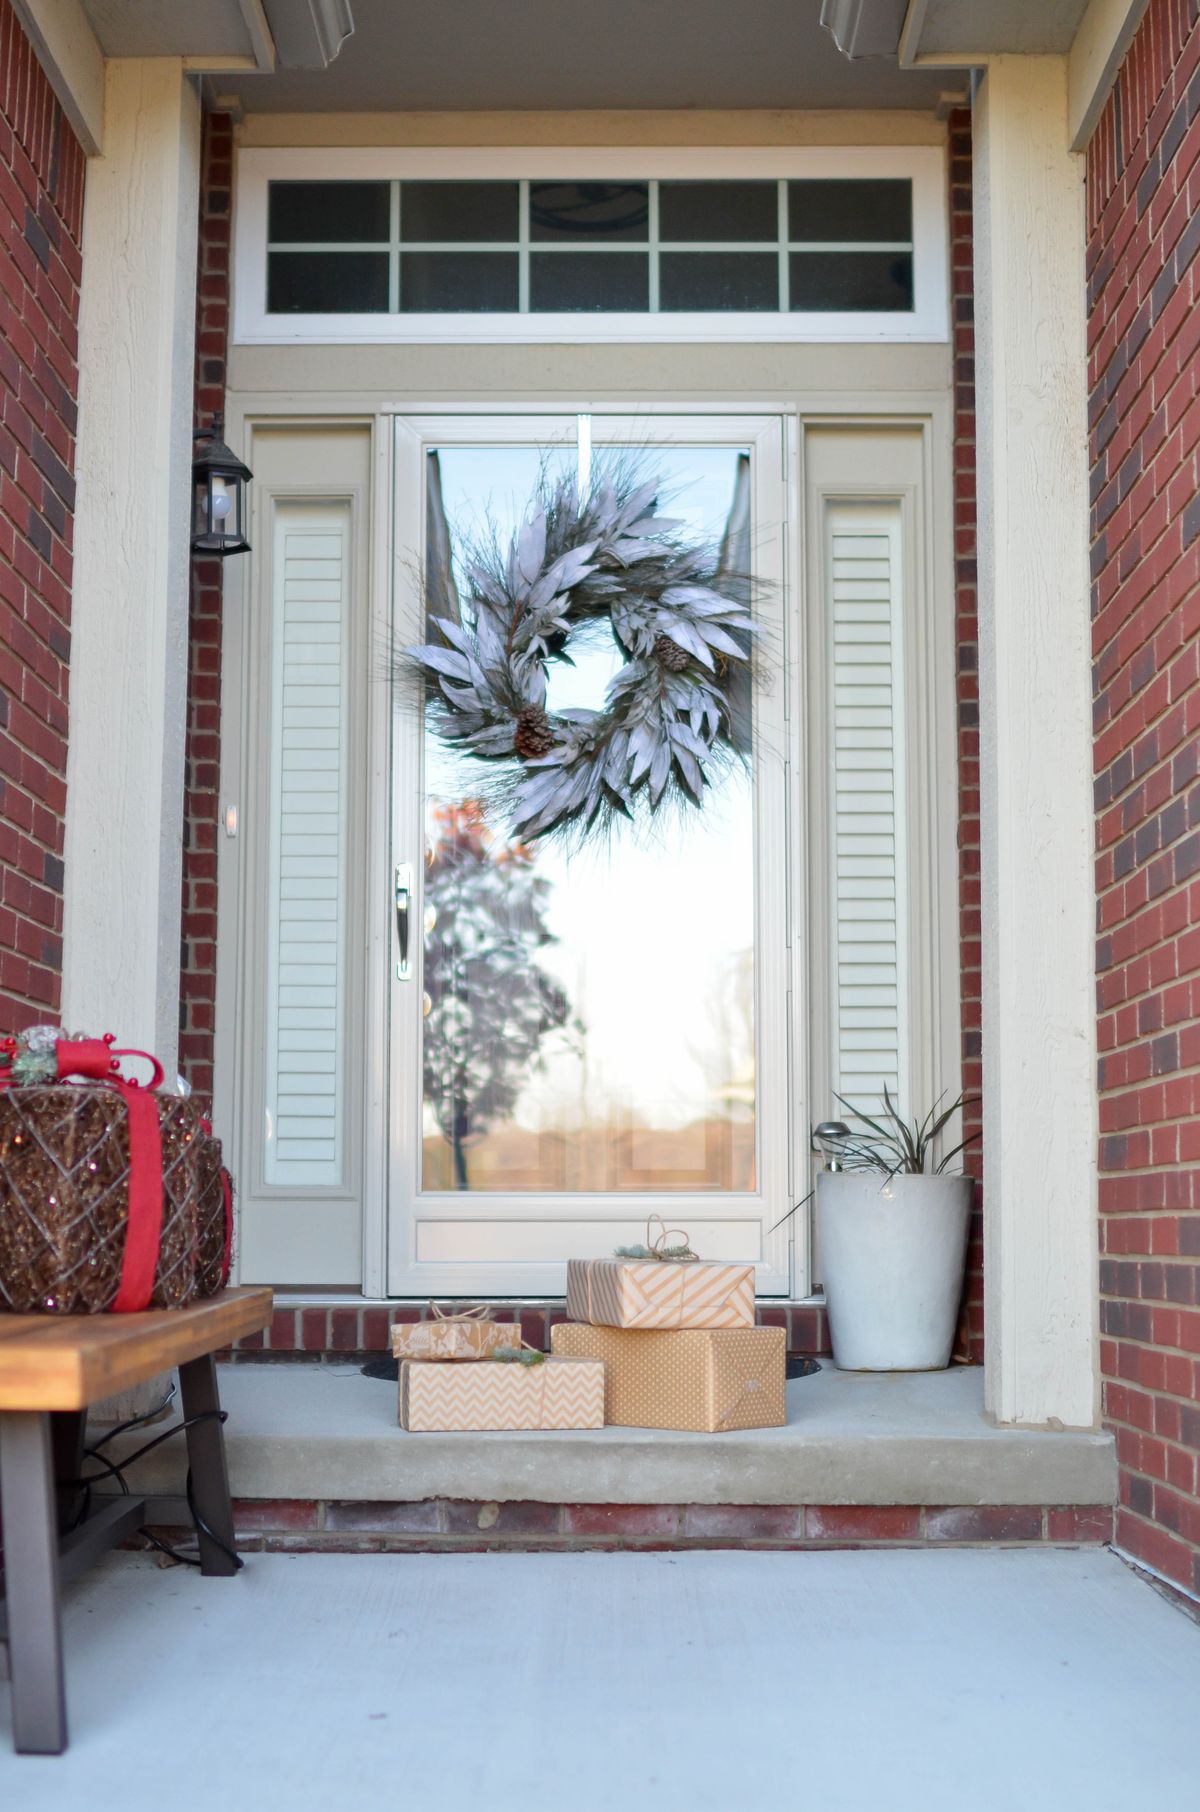
Setup day used to start with chaos because the tree stand, the extension leads, and the advent calendar were buried in different bins. Now one clearly marked first-out box holds everything setup day needs: stand and screws, hooks, light clips, tape, scissors, and the advent calendar. It lives right by the attic hatch, and decorating starts calmly instead of frantically.
I restock this box every January while pack-up is fresh, replacing dead batteries and broken hooks on the spot. It is a small habit, but it is the reason our tree went up in one relaxed afternoon last year instead of two stressed ones.
Pro Tip: Keep the first-out box small enough to carry one-handed down the ladder.
Cost: $8–$12 for a small bin | Time: 15 minutes | Difficulty: Easy
19. Declutter Before You Pack, Every Year

The hardest storage lesson I learned is that no organizer fixes owning too much. Every January I now set aside one box for donations: cracked ornaments, duplicate garlands, and decorations nobody chose for two years running. The first time I did it properly, I freed an entire shelf, and packing took noticeably less time.
I photograph sentimental pieces before letting them go, and I drop the donation box off the same week so it does not migrate back into storage.
Pro Tip: Declutter while decorations are still out, when you can see what you actually used.
Cost: Free | Time: 30 minutes | Difficulty: Easy
20. A Photo Inventory on Every Bin Lid

My final system is the simplest: a printed photo of each open bin taped inside its lid, plus a short written list underneath. When I open a bin in December, I can check the photo against the contents and spot a missing piece immediately, instead of realizing in mid-December that the star is gone. It also stops well-meaning helpers from repacking things in the wrong bin.
I keep copies in one phone album too, so I can check what I own while standing in a shop in November.
Pro Tip: Retake the photo every January, since contents drift a little each year.
Cost: Free | Time: 10 minutes per bin | Difficulty: Easy
Mistakes I Made With Christmas Storage Organization Ideas
My first year of serious storing, I used one giant bin for everything and stacked it at the very back of the attic. Half the ornaments inside were chipped from the weight. I learned that several smaller bins beat one heroic bin every single time.
I also stored everything in the garage for two winters before noticing damp creeping into a cardboard box of linens. Cardboard and damp floors are a bad match, so now cardboard never touches a garage floor, and anything precious lives indoors or in a sealed plastic bin.
My third mistake was skipping labels because I was sure I would remember. I did not. Now every bin is labeled on two sides with big print, and I keep the map by the hatch, because future me in December deserves the same kindness I would give a friend.
Christmas Storage Comparison Table
| Method | Best For | Cost | Effort |
|---|---|---|---|
| Clear labeled bins | Almost everything | Low | Low |
| Divided ornament trays | Glass and keepsake ornaments | Medium | Low |
| Cardboard light wraps | Light strings | Free | Low |
| Tree bag | Artificial trees | Medium | Low |
| Vacuum bags | Bulky linens | Low | Low |
| Wall hooks for wreaths | Wreaths and garlands | Low | Low |
Frequently Asked Questions
How long did your system actually last?
The bin and label system has lasted five full seasons in my house with only small tweaks, like swapping one cracked bin and reprinting faded labels. The failures were always shortcuts: damp cardboard and one overstuffed bin.
What would you do differently if you started over?
I would buy clear bins from day one instead of spending two years with mismatched opaque boxes I had to open to identify. I would also photograph every bin the very first year, because those early photos would have stopped at least a dozen duplicate purchases.
Can I store Christmas decorations in the garage?
Yes, if the bins are sealed plastic, kept off the floor, and away from damp walls. I keep glass ornaments and keepsakes indoors, and only sturdy, sealed bins go in the garage, checked once in summer for leaks or pests.
How do I stop lights tangling every year?
Wind each string onto cardboard before binning it, tuck both ends in, and label where it hung.
Final Thoughts
Good christmas storage organization ideas are not really about buying more boxes. They are about making next December easier for the person you will be then, tired, excited, and short on time. Start with clear bins, honest labels, and one first-out box, and the rest of the system grows naturally from there.
Pack like you will be unpacking in the dark, in a hurry, with a ladder.