Holiday Pantry Organization Ideas
I love December cooking, but for years my pantry did not. Every year, as soon as the holiday baking started, I would lose the cinnamon, run out of flour, and find three half-open bags of the same thing. These holiday pantry organization ideas are the fixes that finally made my kitchen calm in the busiest month of the year.
I picked these ideas by testing them in my own small pantry over two Decembers, keeping only the ones that survived real holiday cooking, guests, and gift-making. I kept what saved time, and I dropped what only looked pretty in a photo.
Related article: pantry organization ideas for small kitchens if your space is tight, because several ideas here work even better in a small pantry.
Key Takeaways
- Zone your pantry by holiday job, not just by food type, so baking, drinks, and gifts each have one spot.
- Clear jars and honest labels stop duplicate buying and make stock levels visible at a glance.
- A cocoa station, a baking station, and a food-gift shelf remove the three biggest December bottlenecks.
- One overflow bin and a post-holiday reset keep the system working after the decorations come down.
Holiday Pantry Organization Ideas That Actually Stick
1. Build a Holiday Baking Station First

Every December, I used to hunt for the same five things: flour, sugar, baking powder, vanilla, and sprinkles. They lived in four cupboards, and I lost twenty minutes every time I baked. Last year I cleared one shelf for baking, and everything changed. Now I reach, I bake, and I am done.
I keep the station at eye level so I can see it without crouching, and I restock it the same day I run low. The honest downside is that it takes real discipline to keep other things from creeping onto that shelf. My family knows it is off-limits now.
Pro Tip: Put the baking station on the shelf closest to your mixer or counter to cut walking back and forth.
Cost: $0 | Time: 30 minutes | Difficulty: Easy
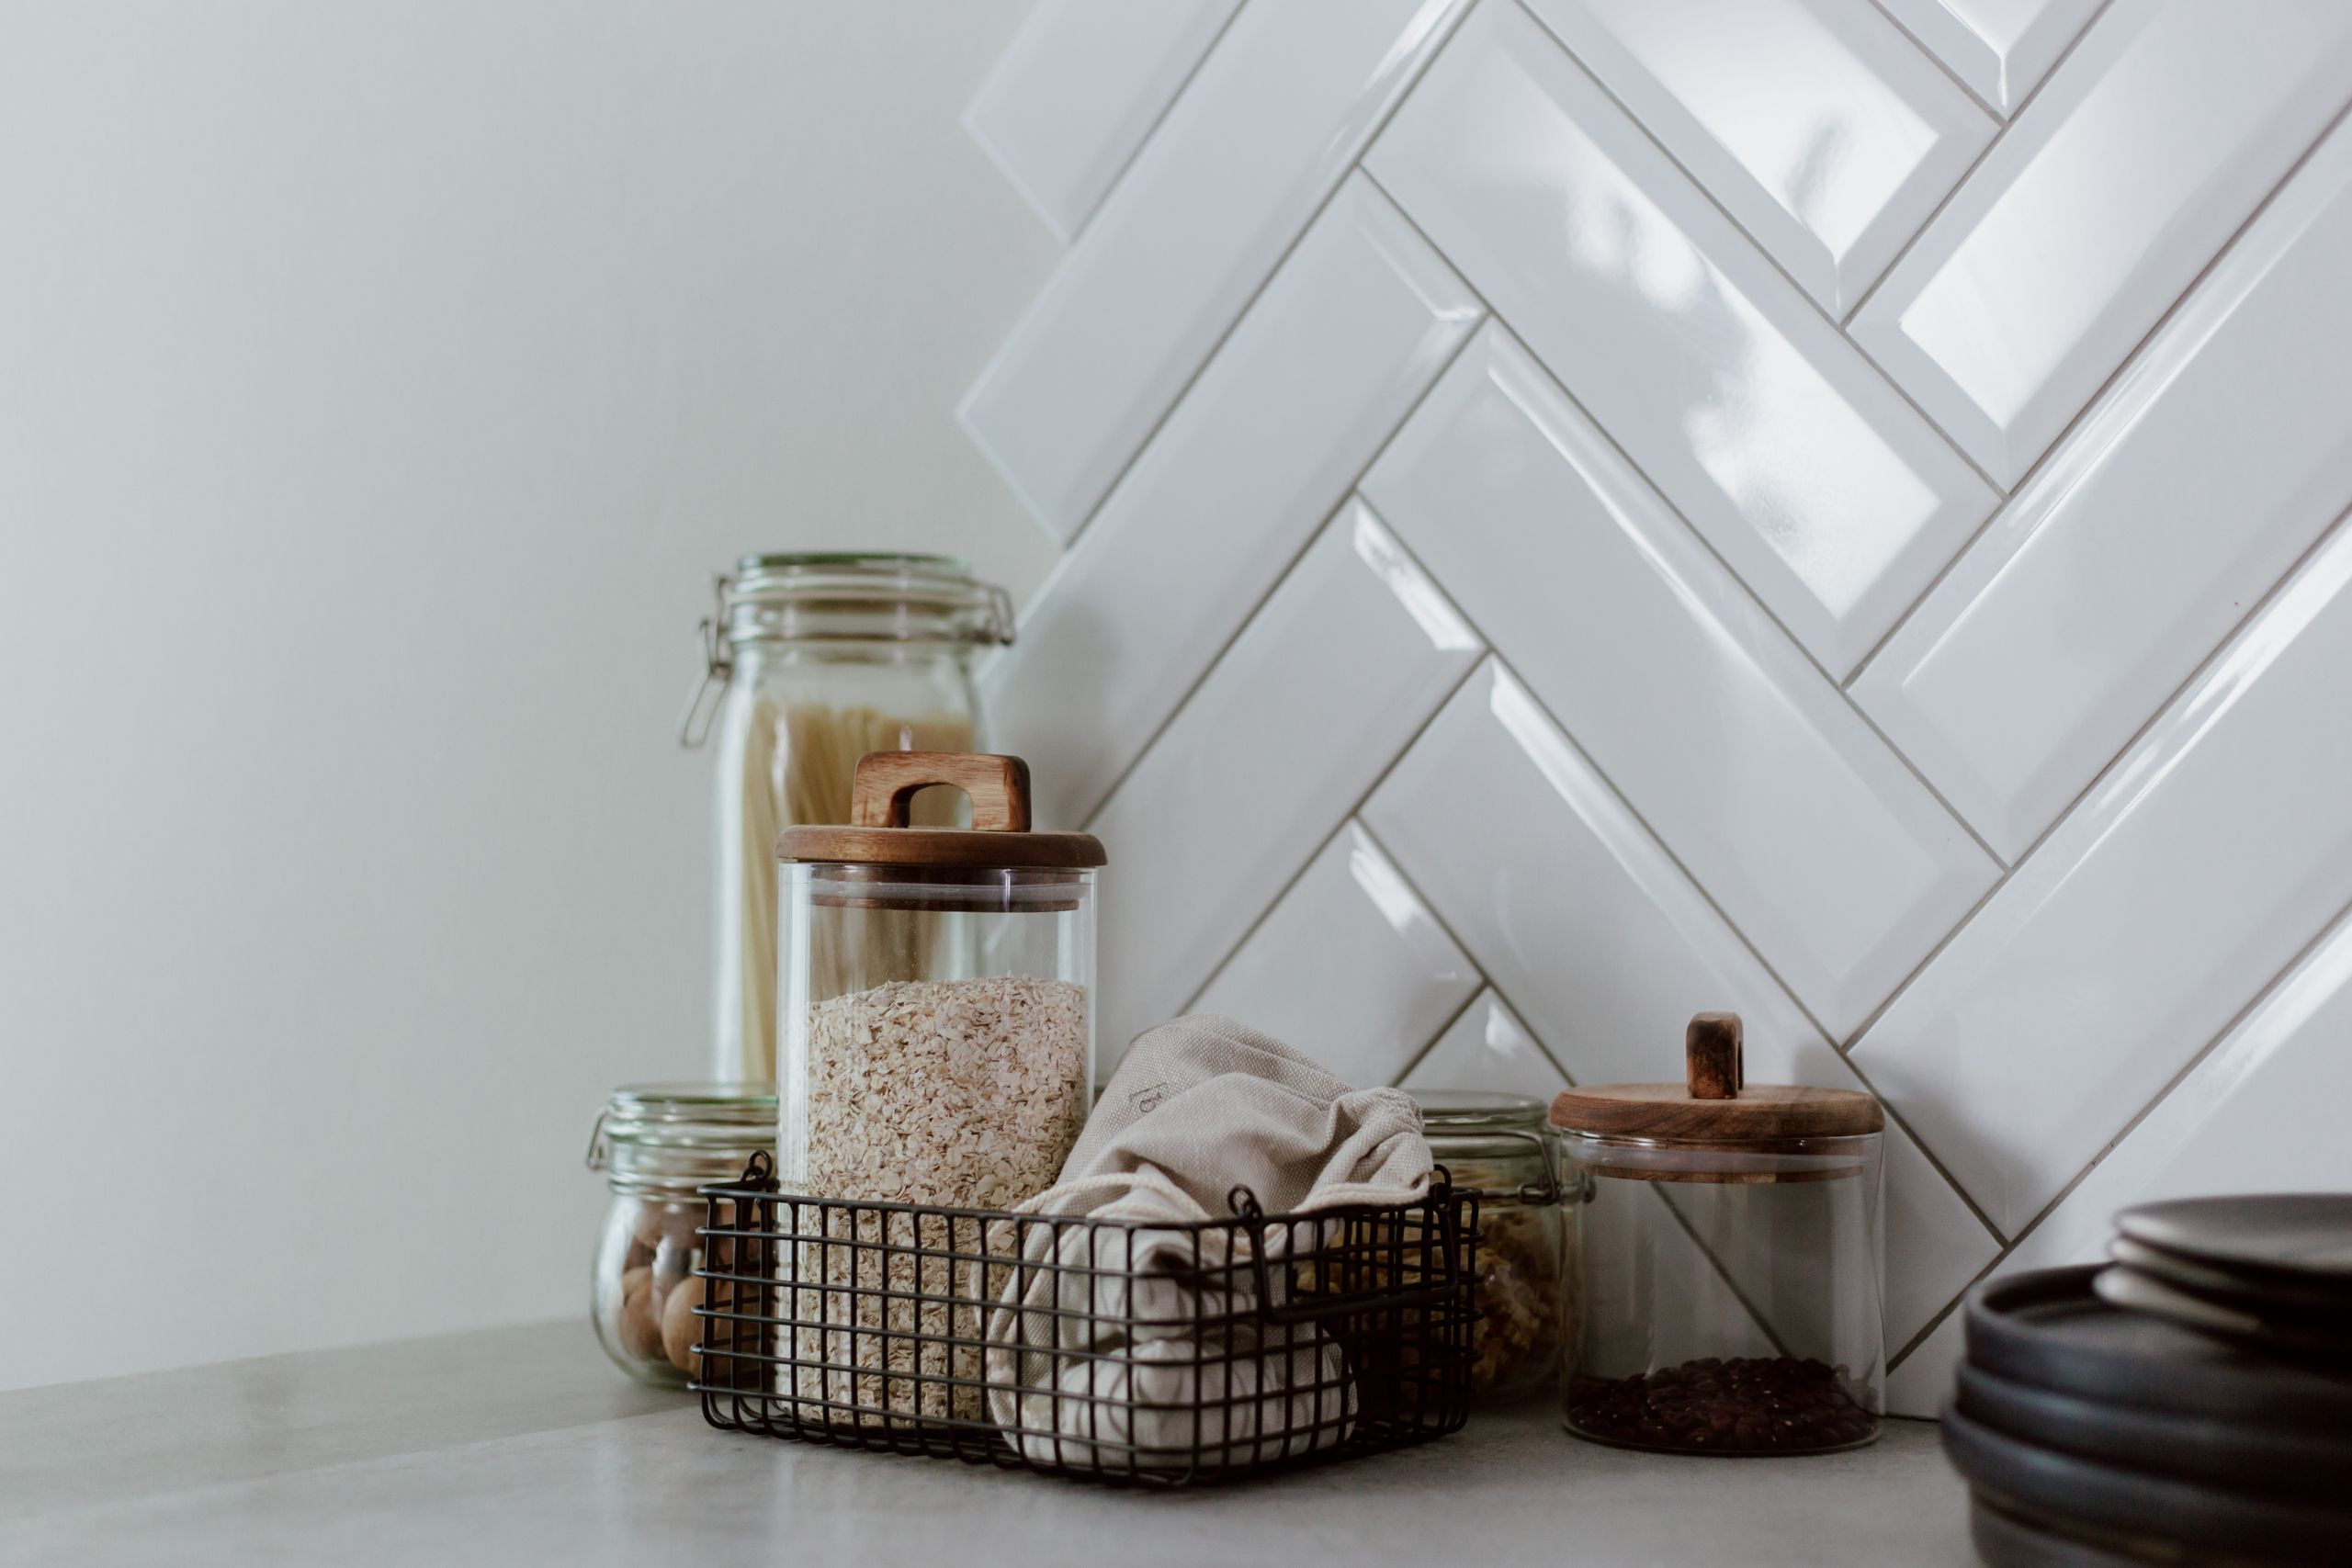
2. Decant Dry Goods Into Clear Jars

I resisted decanting for years because it felt fussy, but the first time I could see exactly how much rice, oats, and pasta I had left, I was sold. Clear jars stop the mystery of half-empty boxes and crumpled bags, and they make the whole pantry look calmer. I decanted only the ten things I use most, not everything I own.
One watch-out: jars are heavier than boxes, so keep the big flour jars low. I dropped a full jar of oats once, and I still find oats in strange places. Still, I would never go back to bags for my staples.
Pro Tip: Leave a little headroom in each jar so you can pour without spilling.
Cost: $15-$25 | Time: 45 minutes | Difficulty: Easy
3. Give Holiday Spices Their Own Rack
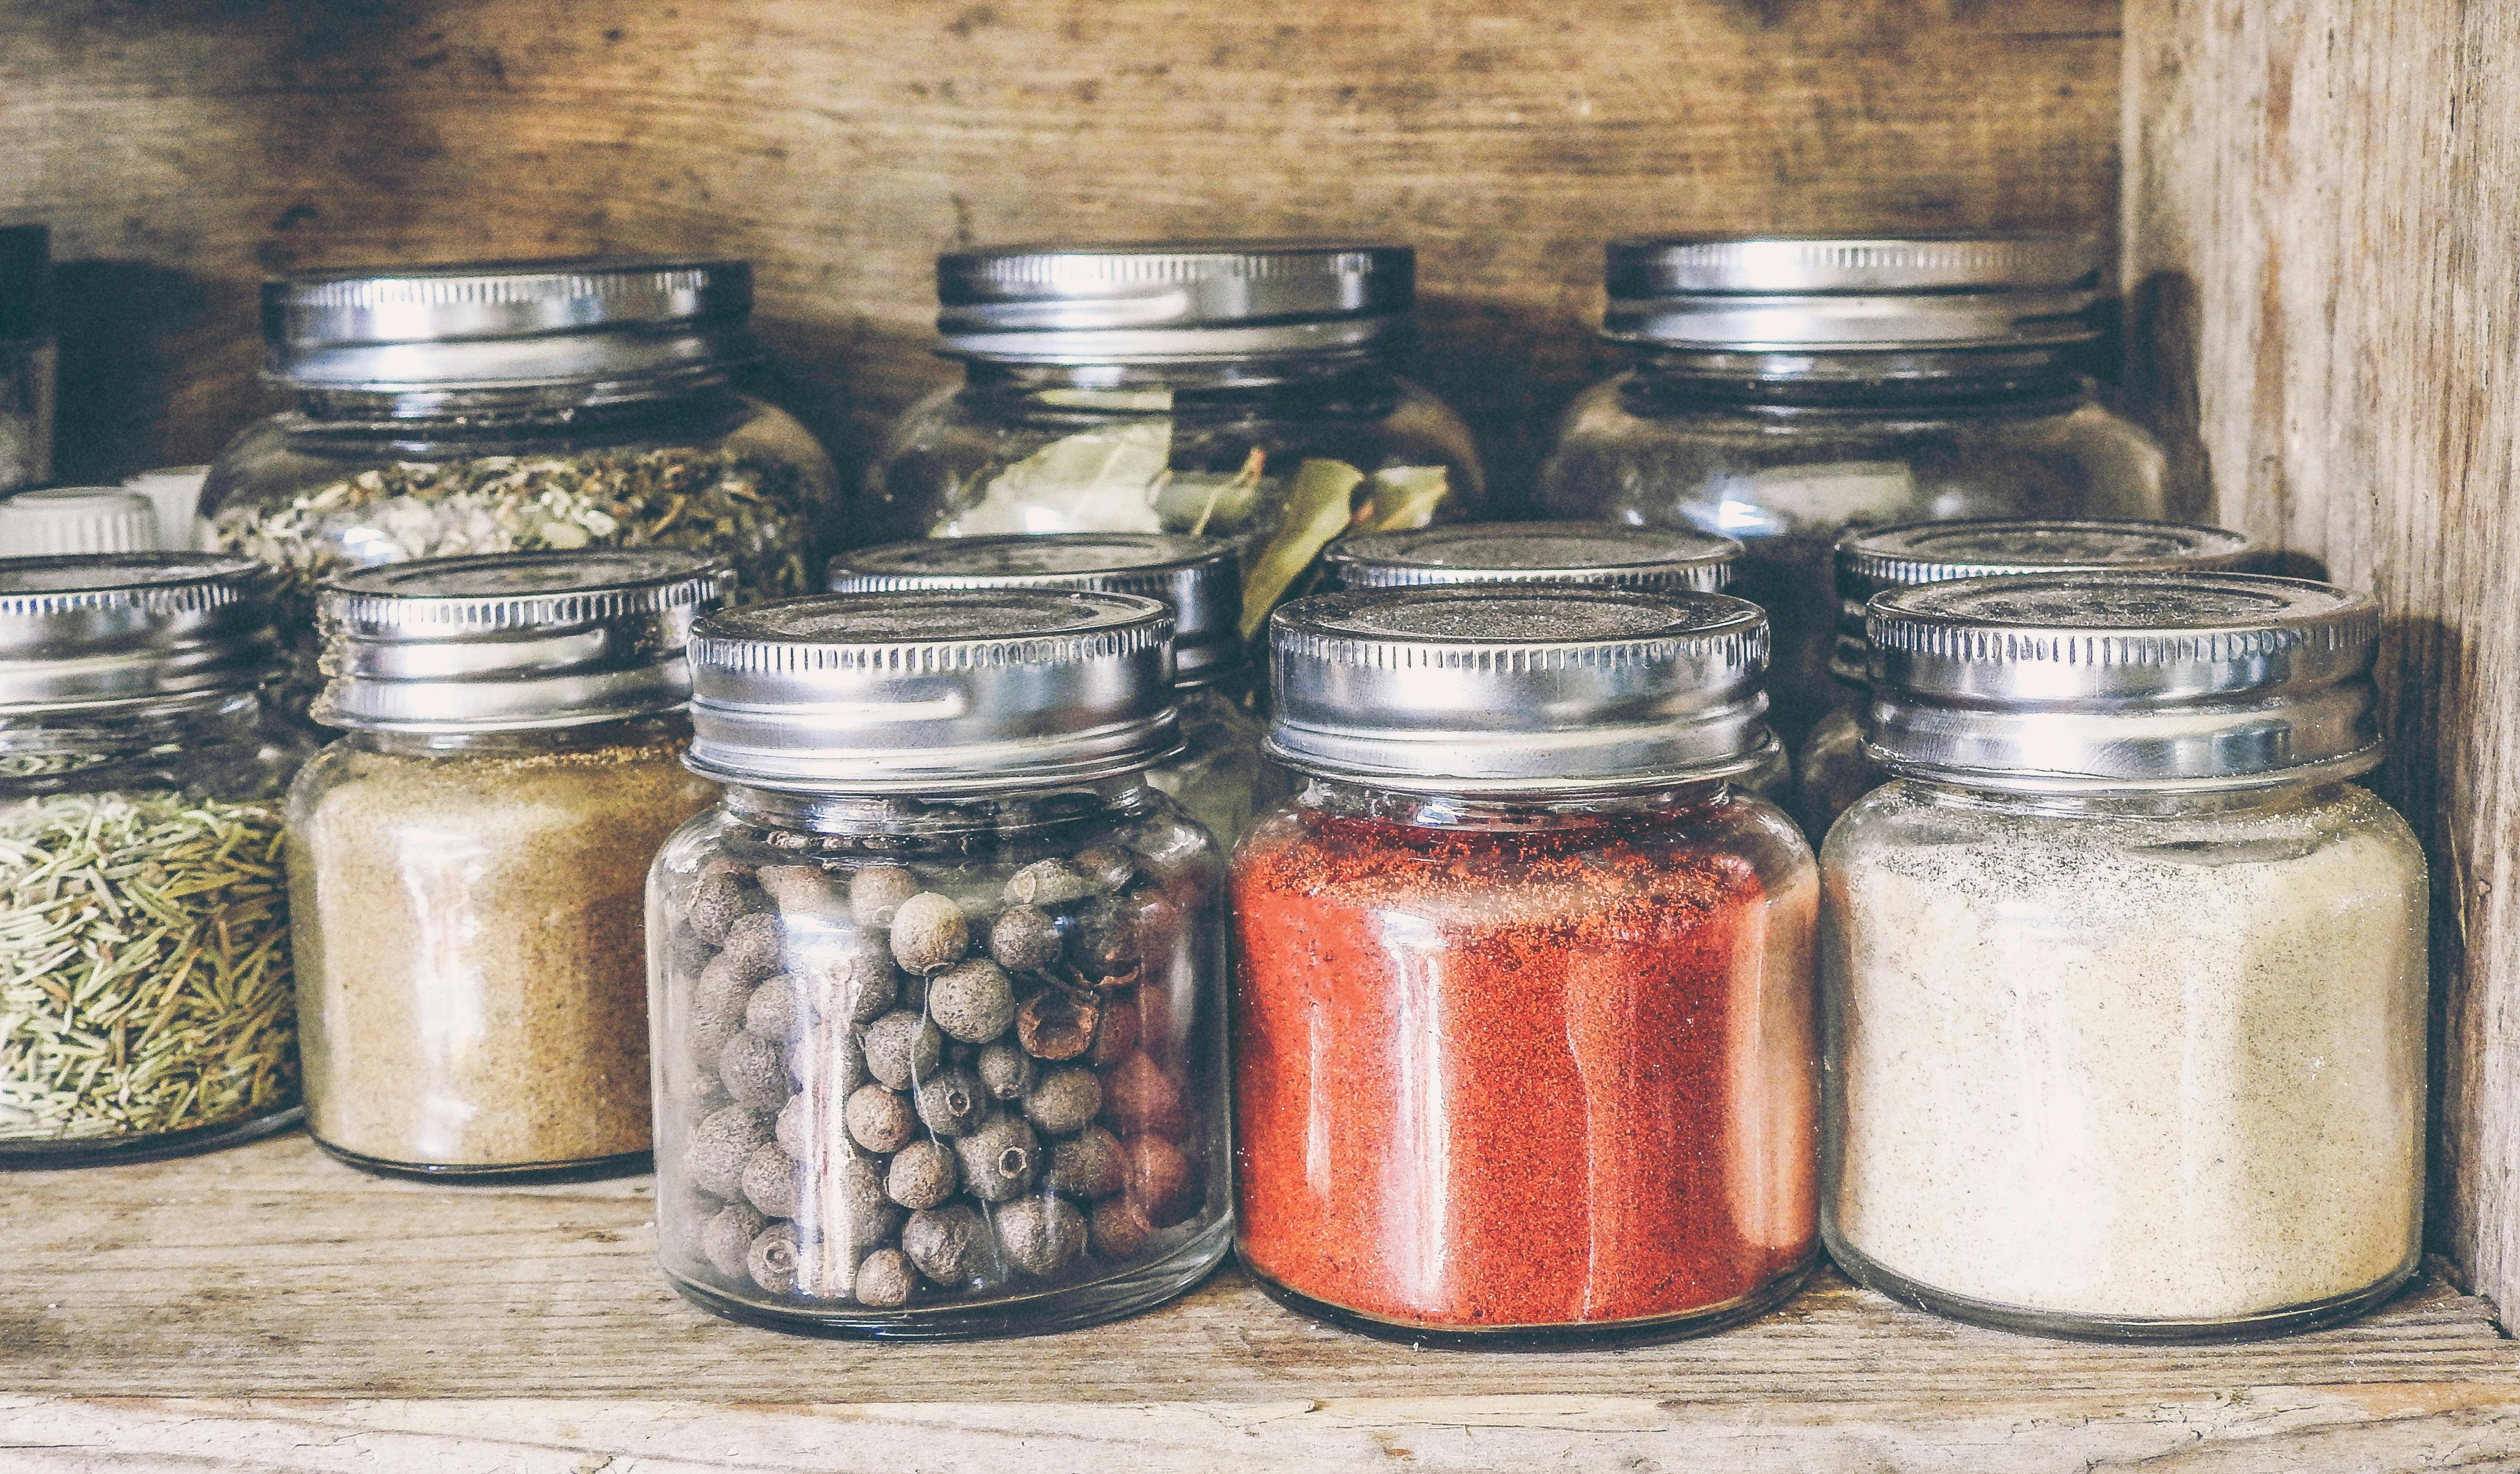
Cinnamon, nutmeg, ginger, and cloves used to hide behind everyday spices, and I bought cinnamon three times one December because I could not find the jar I already had. Now the holiday spices live on their own small rack, right where I can see them, and I check it before I shop. It is a tiny change with a big payoff.
I learned the hard way to label the lids as well as the jars, because once a jar is on a high rack, you only see the lid. A simple strip of tape and a marker solved that problem in five minutes.
Pro Tip: Group holiday spices together and everyday spices separately so seasonal baking never means a full-pantry search.
Cost: $10-$20 | Time: 20 minutes | Difficulty: Easy
4. Zone the Pantry by Holiday Job

I used to organize by food type, which sounds logical and works terribly in December. Now I organize by job: baking, breakfast, drinks, and gifts. When I am baking cookies, I stand in one spot and everything I need is within reach. It feels less like a pantry and more like a workstation.
The downside is that zones need a reset after big cooking weekends, because things drift back to old spots. I do a five-minute tidy every Sunday in December, and that keeps the zones honest.
Pro Tip: Use a small basket or tray to mark each zone so the boundary stays visible even when you are in a hurry.
Cost: $0-$15 | Time: 40 minutes | Difficulty: Easy
5. Stock a Dry-Staples Shelf That Never Runs Out

Running out of flour on Christmas Eve taught me to keep a par level for staples. Now my dry-staples shelf holds pasta, oats, flour, sugar, and rice, and when a jar drops below a quarter full, it goes on the shopping list that same day. No more last-minute dashes to the store in holiday traffic.
I keep a little notepad on the pantry door for the running list, because my phone notes always get buried. The only catch is that you have to actually check the shelf before shopping, or the system quietly fails.
Pro Tip: Mark a fill line on each jar with tape so anyone in the house can see what needs buying.
Cost: $0 | Time: 20 minutes | Difficulty: Easy
6. Set Up a Hot Cocoa Station

The cocoa station is my family’s favourite December upgrade, and it cost almost nothing. I put cocoa, marshmallows, candy canes, and mugs in one basket by the kettle, and suddenly nobody asks me where anything is. The kids make their own cocoa now, which is both delightful and slightly messy.
The honest downside is that marshmallows disappear fast, so I buy a spare bag and hide it. I also keep a small cloth in the basket for drips, because cocoa somehow gets everywhere no matter how careful we are.
Pro Tip: Keep the cocoa station near the kettle, not near the baking zone, so drink-making never blocks cooking.
Cost: $5-$10 | Time: 15 minutes | Difficulty: Easy
7. Create a Holiday Drinks Shelf

Between mulled spice mixes, tea, coffee, and cocoa, holiday drinks used to colonise every shelf I owned. Now they share one shelf, with the most-used drinks at the front and the fancy once-a-year mixes at the back. It makes hosting so much easier, because I can offer a drink without opening six cupboards.
One watch-out: mugs do not belong on this shelf. I tried it, and the shelf filled up in a week. Drinks only, mugs stay by the kettle, and the shelf stays usable.
Pro Tip: Put a small tray under drink packets so they stand up and stay visible instead of sliding flat.
Cost: $0-$10 | Time: 20 minutes | Difficulty: Easy
8. Corral Cookie-Decorating Supplies in One Tray

Cookie decorating used to mean a full-pantry excavation: sprinkles in one drawer, icing bags in another, food colouring who-knows-where. Now everything lives on one tray I can lift out and put back in one move. Decorating night went from stressful to genuinely fun, and cleanup takes half the time it used to.
The tray does get heavy once the icing bags and jars pile up, so I use a sturdy one with handles. I also learned to check icing expiry dates in November, after one sad year with a dried-out bag.
Pro Tip: Photograph the tray contents in November so you know exactly what to replace next year.
Cost: $5-$12 | Time: 20 minutes | Difficulty: Easy
9. Dedicate a Shelf to Food Gifts

I make a lot of food gifts in December, and they used to take over the kitchen counter for weeks. Now finished jars, mixes, and treats live on one dedicated shelf until I hand them out. The counter stays clear, the gifts stay clean, and nothing gets eaten early by accident, which has absolutely happened before.
The shelf needs a firm rule: once a gift is wrapped or jarred, it goes straight there, not on the counter ‘for now’. I also keep a list taped inside the door of who gets what, so I never double-gift.
Pro Tip: Store empty gift jars and bags on the same shelf so packing a last-minute gift takes minutes.
Cost: $0 | Time: 15 minutes | Difficulty: Easy
10. Keep Flour and Sugar Within Arm’s Reach

Flour and sugar are the two things I reach for most in December, so they live on the lowest, easiest shelf now, not buried behind cereal boxes. Moving them saved my back and my patience. I also switched to jars with wide mouths, because scooping from a narrow jar is a slow kind of misery.
The downside is that these jars are heavy when full, so I never put them above shoulder height. I learned that lesson after a near-miss with a full sugar jar and my own forehead.
Pro Tip: Keep a scoop in each jar so you never hunt for a measuring cup mid-recipe.
Cost: $10-$15 | Time: 15 minutes | Difficulty: Easy
Also read: Christmas storage organization ideas for keeping the rest of your holiday supplies tidy too.
11. Prep Holiday Meals in Labeled Jars

For big holiday meals, I prep what I can ahead: chopped nuts, dried fruit, breadcrumbs, and spice blends, all in labeled jars. On the day itself, I just grab jars instead of measuring everything from scratch, and the cooking feels calm instead of frantic. It is the closest thing to a sous chef I have found.
The catch is that prepped ingredients have shorter lives than sealed packets, so I label each jar with the prep date. Anything older than a week for chopped items gets tossed, no arguing with myself.
Pro Tip: Prep only what you will use within a few days, and keep the rest sealed until you need it.
Cost: $0-$8 | Time: 30 minutes | Difficulty: Easy
12. Make a Small Pantry Work With Door Zones
My pantry is small, and for years I blamed it for the mess. Then I started using the door: hooks for measuring cups, a rack for spices, and a pocket for small packets. Suddenly the shelves had room to breathe, and I stopped losing things in the back. A small pantry is not a curse if every inch has a job.
Door racks do add weight, so I check the hinges once a season and never overload the door with jars. Light things only on the door, heavy things on shelves, and the door stays happy.
Pro Tip: Measure your door clearance before buying a rack, because a rack that blocks the door from closing is worse than no rack.
Cost: $12-$25 | Time: 30 minutes | Difficulty: Easy
13. Label Everything While You Restock

Labels feel like a chore until you live with them for a month. Now every jar says what it is and when it was filled, and anyone in my house can find things without asking me. I label while I restock, not afterwards, because afterwards never happens in my house, especially in December.
My one regret is using fancy labels that smudged when they got damp. Plain masking tape and a marker survive the kitchen far better, and they peel off cleanly when I reuse a jar.
Pro Tip: Label the front of the jar at eye level, not the lid, so you can read it without lifting anything.
Cost: $0-$5 | Time: 10 minutes | Difficulty: Easy
14. Give Kids Their Own Holiday Treat Shelf

I gave my kids one low shelf with their holiday treats: cocoa packets, a few cookies, and their own mugs. The rule is simple: what is on that shelf is theirs, and everything else needs asking. It ended the daily ‘can I have’ negotiations and stopped little hands from rearranging my baking shelf.
The shelf does need refilling more often than I expected, and I keep the sugary treats limited so it does not become a free-for-all. I also keep it low enough for them to reach safely, with nothing glass at their height.
Pro Tip: Use a small basket for the kids’ shelf so treats stay contained and the shelf never looks like an explosion.
Cost: $0-$8 | Time: 15 minutes | Difficulty: Easy
15. Keep a Christmas-Morning Breakfast Shelf

Christmas morning is chaotic enough without hunting for pancake mix. Now one shelf holds everything for that first slow breakfast: pancake mix, syrup, cocoa, and the good coffee. I set it up on Christmas Eve, and in the morning I just cook while everyone else opens gifts nearby.
The only downside is that I have to guard this shelf from early snackers the week before. I learned to put a little note on it that says ‘Christmas morning’, and honestly, it mostly works.
Pro Tip: Lay out the breakfast shelf the night before so the morning runs itself, even if you stayed up too late.
Cost: $0 | Time: 15 minutes | Difficulty: Easy
16. Gather Baking Tools in One Spot

My baking tools used to live in three drawers and one very deep cupboard, and I spent more time searching than mixing. Now the whisk, spatulas, measuring cups, and rolling pin share one drawer by the baking station. It is a small change, but baking feels lighter when the tools are already waiting.
I did have to let go of duplicate tools to make it fit, which stung a little. But I kept the best of each, and I have not missed the extras once, not even the third spatula.
Pro Tip: If a tool has not been used in a year, it does not earn a spot in the prime drawer.
Cost: $0 | Time: 25 minutes | Difficulty: Easy
17. Tame Overflow With One Labeled Bin

Bulk buys and holiday extras used to pile on top of the pantry until something fell on my head. Now one labeled bin on the top shelf holds overflow: spare pasta, extra cans, and backup cocoa. When a pantry jar empties, I refill from the bin instead of shopping, and I only buy more when the bin is empty.
The bin only works if it stays one bin. The moment I added a second, the system collapsed into clutter again, so I keep it strict: one bin, one label, and a quick check before every big shop.
Pro Tip: Write the bin’s contents on the outside so you never have to pull it down just to check.
Cost: $8-$15 | Time: 20 minutes | Difficulty: Easy
18. Stock a Dessert-Ingredients Shelf

Holiday desserts need their own corner, because chocolate, cream, and toppings vanish into the general pantry otherwise. My dessert shelf holds chocolate chips, cocoa powder, condensed milk, and dried fruit, and I check it before planning any dessert. It has saved me from at least three emergency store trips.
Chocolate does need care: keep it away from heat and strong smells, or it picks up odd flavours. I learned that after storing chocolate next to onions, and I do not recommend the experience to anyone.
Pro Tip: Store chocolate in a sealed container inside the shelf so it stays flavour-clean all season.
Cost: $0-$10 | Time: 20 minutes | Difficulty: Easy
19. Tray Your Sprinkles and Small Extras

Sprinkles, cupcake liners, and tiny decorations are the worst pantry clutter: small, light, and everywhere. A single tray fixed it. Everything small lives on the tray, the tray lives on one shelf, and I can lift the whole lot out when it is decorating time. No more finding sprinkles in the spice rack in July.
Tiny jars do tip over on a tray, so I use a tray with a lip and keep the smallest jars at the back. I also check expiry dates, because sprinkles last ages but food colouring does not.
Pro Tip: Keep one small funnel with the tray for refilling tiny jars without spills.
Cost: $5-$10 | Time: 15 minutes | Difficulty: Easy
20. Reset the Pantry the Week After the Holidays

The week after the holidays, I do a full pantry reset: toss stale leftovers, wipe shelves, and move everyday items back to the front. It takes about an hour, and it means January starts calm instead of chaotic. I also note what I overbought, so next December’s shopping list is smarter.
The hardest part is being honest about half-used mixes and stale crackers. I used to keep them ‘just in case’, and they sat there until March. Now if I would not cook with it, it goes, and the pantry thanks me.
Pro Tip: Take a photo of the reset pantry so you remember the layout when the next holiday season rolls around.
Cost: $0 | Time: 60 minutes | Difficulty: Easy
Holiday Pantry Organization Ideas at a Glance
| Idea | Best for | Cost | Time |
|---|---|---|---|
| Baking station | Frequent bakers | $0 | 30 min |
| Clear jars | Small pantries | $15-$25 | 45 min |
| Spice rack | Holiday baking | $10-$20 | 20 min |
| Zones by job | Busy hosts | $0-$15 | 40 min |
| Cocoa station | Families | $5-$10 | 15 min |
| Food-gift shelf | Gift makers | $0 | 15 min |
| Overflow bin | Bulk buyers | $8-$15 | 20 min |
| Post-holiday reset | Everyone | $0 | 60 min |
Mistakes I Made / What I Learned the Hard Way
Buying containers before planning. I once bought a matching jar set before measuring my shelves, and half of them did not fit. Now I measure first, buy second, and I have stopped wasting money on pretty containers that do not fit.
Overfilling every shelf. A packed pantry looks organised in a photo and works terribly in real life, because you cannot pull anything out without moving five things. Leaving a little breathing room on each shelf made everything faster to use.
Skipping the post-holiday reset. One year I left the holiday setup in place until February, and by then the pantry was a mix of stale treats and everyday food. The January reset is now non-negotiable in my house, and it takes less than an hour.
Storing heavy jars up high. A full flour jar on a top shelf is an accident waiting to happen, and I learned that the scary way. Heavy things live low now, always, no matter how tidy they might look up high.
Frequently Asked Questions
How do I start organising my pantry for the holidays?
Start with one shelf, not the whole pantry. I always begin with the baking station, because it gives the biggest win for the least effort, and the momentum carries me through the rest.
Do I need matching containers for holiday pantry organisation?
No, and I wish someone had told me that sooner. Matching jars look lovely, but clean, labeled jars of any kind work just as well. Spend your money on the food, not the containers.
How do I stop my pantry from getting messy again by January?
Do the post-holiday reset in the first week of January and keep the one-bin overflow rule all year. In my experience, those two habits matter more than any container you buy.
What should I keep on a holiday pantry shelf if space is tight?
Flour, sugar, one baking spice set, cocoa, and your most-used baking tools. Everything else can live elsewhere until you need it, and you will be surprised how far those five things carry you.
How often should I check pantry expiry dates?
I check in November before the holiday season and again in January during the reset. That twice-a-year rhythm has caught every stale spice and dried-out mix in my pantry so far.
Final Thoughts
These holiday pantry organization ideas are not about a perfect pantry; they are about a pantry that works when life is at its busiest. Start with the baking station, add a cocoa station for the family, and give yourself one calm shelf at a time.
Read this next: spice storage ideas to finish the job, because a tidy spice collection makes every holiday recipe easier.
If you try just one idea this week, make it the labels. It is the smallest change here, and in my kitchen it made the biggest difference of all.