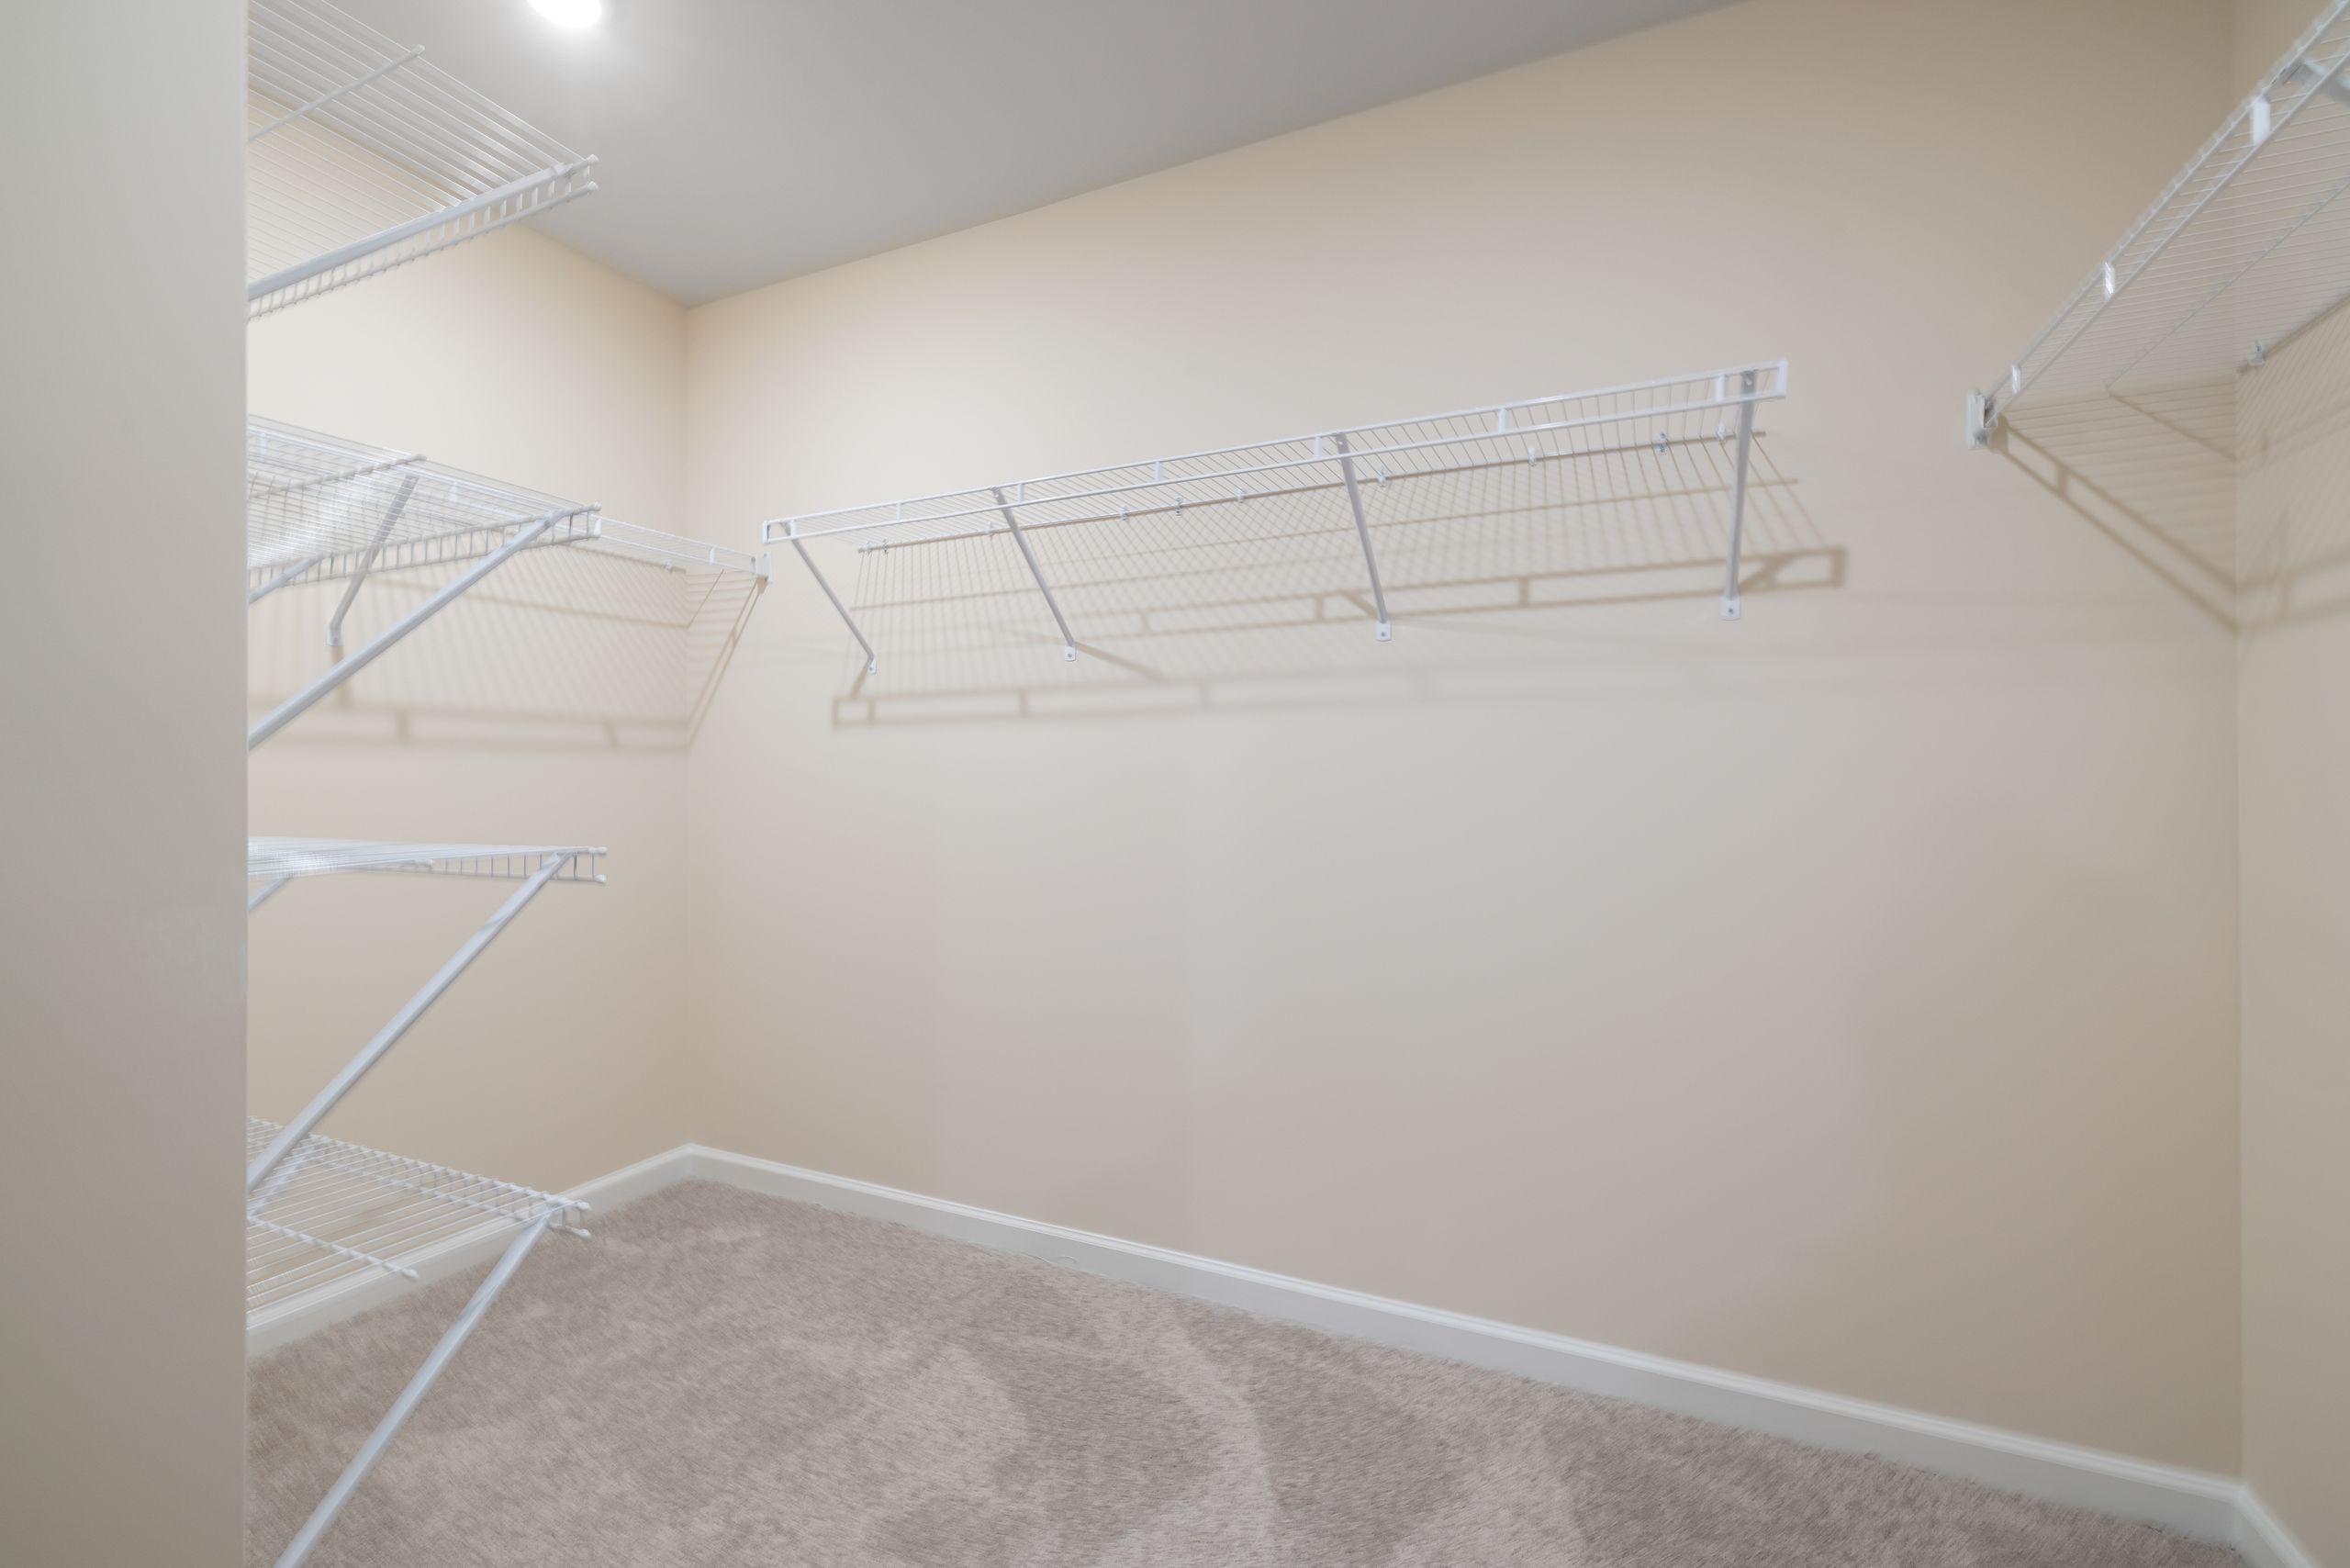
20 Seasonal Clothing Storage Ideas for a Clutter-Free Closet
Every spring and autumn, my closet used to explode. Winter coats crowded out summer dresses, boots hid under sandals, and I could never find the one sweater I actually wanted. These seasonal clothing storage ideas are the systems I now use for my family’s wardrobe swaps, tested over several years in a house with limited closet space and four very different wardrobes to manage.
How I picked and tested these: I only included systems I actually use for our wardrobe swaps, not pretty ideas I saw once online. Each one survived at least two full seasonal changes in my home, with real coats, school clothes, work clothes, and kids’ outgrown sizes. If a bin cracked, a bag leaked air, or a label peeled off, it did not make this list.
Key Takeaways
- Rotate, don’t cram: keep only the current season in prime closet space and store the rest out of the way.
- Clear bins with big labels beat pretty opaque boxes every time, because you can find things without opening five lids.
- Fold heavy knits and store them flat; hanging stretches them out of shape over a long off-season.
- Wash, mend, and fully dry everything before it goes into storage, or stains and smells set in for months.
- Keep one donate box going all year so the seasonal swap is also a gentle clear-out, not just a reshuffle.
1. Vacuum-Sealed Bags for Bulky Winter Knits

I start every spring swap with vacuum-sealed bags for our bulkiest knits. I fold each sweater loosely, slip it into the bag, and seal it, leaving about an inch of space at the top so the seal closes cleanly.
The first year I tried this, I squeezed three chunky cardigans and two heavy jumpers into a single large bag that slid neatly under our bed. The honest downside is that vacuum bags are not kind to delicate fibres if you over-compress them, and a cheap bag will slowly leak air within weeks.
Pro Tip: Roll, don’t fold, lighter knits inside the bag to reduce deep crease lines, and add a small sachet of dried lavender for freshness.
Cost/Time/Difficulty: About $15 for a pack of six bags; 20 minutes for a family’s knits; Easy.
2. Clear, Labeled Bins for Off-Season Clothes

Clear bins changed my swaps more than any other single purchase. I use one 60-litre clear bin per person per season,. I fold clothes in neat rows, heaviest at the bottom, and I label the short end of the bin, not the lid, because lids get swapped and stacked out of order.
When my daughter needed her raincoat in an unseasonably wet May, I spotted the right bin in seconds instead of opening four boxes in the garage.
Pro Tip: Use painter’s tape and a thick marker for labels so you can rewrite them each season without scrubbing sticky residue off.
Cost/Time/Difficulty: About $8–$12 per bin; 30 minutes to pack one person’s off-season; Easy. Also read these closet organization ideas if your main closet needs a reset before you start swapping.
3. Under-Bed Boxes for Out-of-Season Clothes

Our under-bed space holds an entire season for two people, and it is the easiest storage I own to reach. I measure the clearance first, usually around six inches, and choose flat boxes with wheels so I can slide them out without dragging them across the floor.
I keep summer shorts and linen tops under our bed all winter, and the first warm weekend I just pull the box out and swap. The honest downside is dust: even with lids, boxes under a bed collect it, so I wipe lids before opening and keep clothes inside a clean cotton bag as well.
Pro Tip: Put the box you will need first closest to the edge of the bed, and keep a small list of contents taped inside the lid.
Cost/Time/Difficulty: About $20 for a pair of wheeled boxes; 20 minutes to pack; Easy.
4. Front-to-Back Closet Rotation

Front-to-back rotation is the free system that makes everything else work. Twice a year, I move current-season clothes to the front of the rod and the front of each shelf, and push the outgoing season to the back.
This works best in a shared closet, because my husband and I each get one side and rotate independently. The downside is that back-of-closet clothes are easy to forget, and I once rediscovered a coat I had already replaced.
Pro Tip: Turn all hangers backwards at the start of a season; any hanger still backwards at the next swap holds something you did not wear.
Cost/Time/Difficulty: Free; about 45 minutes for one closet; Easy.
5. Breathable Garment Bags for Coats and Dresses

Good coats and occasion dresses deserve better than a plastic dry-cleaning bag. I use breathable cotton garment bags for wool coats, blazers, and the two dresses I only wear to weddings. I button each coat, empty the pockets, and hang it on a sturdy wooden hanger so the shoulders keep their shape through months of storage.
Last winter, my wool coat came out of its bag smelling fresh and holding its shape, while a coat I had left in thin plastic the year before smelled musty.
Pro Tip: Slip a cedar sachet into the bag’s inside pocket, not loose against the fabric, to avoid oil marks on light colours.
Cost/Time/Difficulty: About $12 for a pack of three cotton bags; 15 minutes; Easy.
6. Wool-Safe Storage: Fold, Don’t Hang, and Add Cedar

Heavy wool stretches on a hanger, and I learned that the hard way with a favourite jumper that grew two inches at the shoulders. Now I fold all chunky knits and store them flat in a drawer or a shallow bin,. I add cedar blocks, which I sand lightly each season to refresh their scent and moth-repelling oils.
I keep one small cedar block per bin, tucked at the side rather than on top of the clothes.
Pro Tip: Freeze a suspect wool item for 48 hours before storing it if you worry about moth eggs, then let it return fully to room temperature.
Cost/Time/Difficulty: About $10 for cedar blocks; 20 minutes; Easy. Related article: sweater storage ideas for more ways to keep knits in shape.
7. A Rolling Rack for the In-Between Season

Spring and autumn are the hardest seasons for a closet, because one day needs a coat and the next needs a T-shirt. I keep a small rolling rack in our bedroom for transition clothes: light jackets, cardigans, and the layers we reach for daily.
I roll it into the closet when the weather settles, which takes about a minute. The downside is that a rolling rack can easily become a second, messier closet if you never clear it.
Pro Tip: Choose a rack with a lower shelf for shoes or a basket, so it earns its floor space twice over.
Cost/Time/Difficulty: About $25–$35; 10 minutes to set up; Easy.
8. Shelf Dividers That Stop Sweater Avalanches

Before shelf dividers, pulling one sweater off a tall stack brought three more down with it. I now use simple vertical dividers to split each shelf into sections by person or by type: my knits, my husband’s fleeces, and the kids’ hoodies each get a bay.
The difference in the morning is real: I can see and grab one sweater without rebuilding the whole pile. The downside is that dividers eat a little shelf width, and cheap wire ones can bend under heavy wool stacks.
Pro Tip: Keep the most-worn stack at eye level and the off-season stack highest, so you never dig past winter wool for a summer tee.
Cost/Time/Difficulty: About $15 for a pack of four; 10 minutes to install; Easy.
9. Slim Matching Hangers to Free Rod Space

Switching to slim velvet hangers gave me roughly a third more rod space, which is the difference between a working closet and a jammed one. I replaced our mixed collection of wire, plastic, and thick wooden hangers in one go,.
It felt like a small luxury, but it changed how the closet looks and works every single morning. The downside is that velvet hangers are not ideal for very heavy items, and they can be fiddly when you are in a rush because clothes grip rather than slide.
Pro Tip: Buy one extra pack and store spare hangers in a single bag at the end of the rod, so new clothes always have a matching hanger waiting.
Cost/Time/Difficulty: About $20 for 50 hangers; 30 minutes to switch a closet; Easy. Read this next: hoodie storage ideas if bulky hoodies are eating your rod space too.
10. File-Fold Drawer Dividers for Tees and Knits

File folding changed my drawers completely. Instead of stacking T-shirts flat, I fold each one into a small rectangle and stand it upright in a row, like files in a drawer.
I file-fold by season: summer tees in the top drawer, long-sleeve tops below, and the off-season drawer stays closed until swap day. The downside is that file folding takes longer than tossing clothes in a drawer, and the rows collapse if you pull items out carelessly.
Pro Tip: Fold to the height of your drawer, not to a fixed size, and leave one finger-width of breathing room at the end of each row.
Cost/Time/Difficulty: About $12 for dividers; 40 minutes to refold a drawer; Easy.
11. Top-Shelf Bins for Rarely Worn Occasion Wear
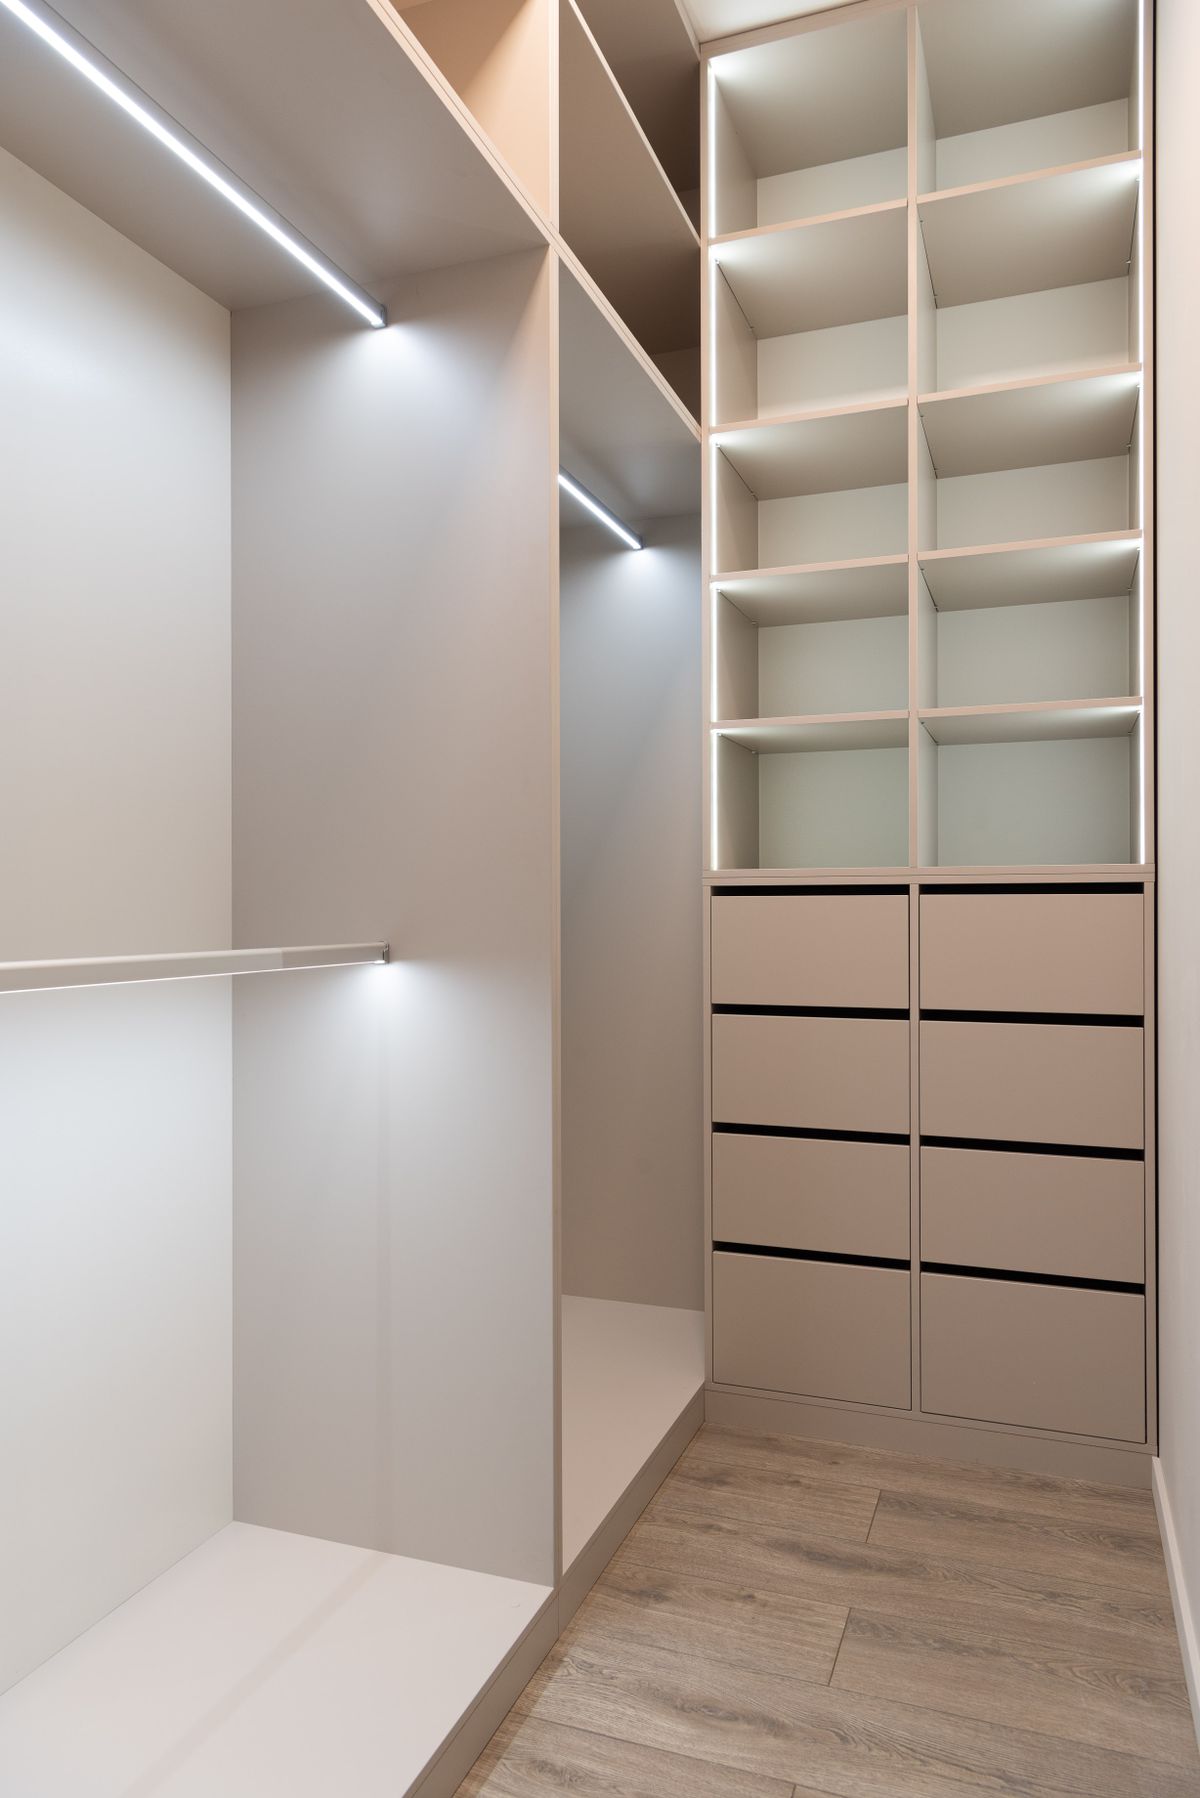
The top shelf of our closet is for clothes we wear a few times a year: formal dresses, holiday outfits, and heavy winter accessories in summer. I use small, lidded bins up there, one per occasion type, because loose items on a high shelf are impossible to retrieve without a step stool and a lot of patience.
This keeps prime shelf space free for everyday clothes while still keeping occasion wear in the house. The downside is obvious: if you cannot reach it easily, you may forget it exists.
Pro Tip: Put a photo label on the front of each top-shelf bin so you can identify it from below without climbing up.
Cost/Time/Difficulty: About $10 per small bin; 20 minutes; Easy.
12. Kids’ Bins Labeled by Size and Season

Kids outgrow clothes faster than seasons change, so their bins need two labels: size and season. I use one bin per child per size range, marked for example “Age 5–6, Winter,” and I move clothes up or out at every swap.
This system saved us real money last year, because I found a barely worn winter coat in the right size bin instead of buying a new one. The downside is that it needs regular attention: a bin labeled for last year’s size is useless if nobody updates it.
Pro Tip: Keep a “too small” basket in each child’s room between swaps, so outgrown clothes never drift back into the main closet.
Cost/Time/Difficulty: About $8 per bin; 30 minutes per child per swap; Easy.
13. A Boot and Sandal Swap Station

Shoes cause as much closet chaos as clothes, so I treat footwear as part of the seasonal swap. In autumn, boots come down to the entryway rack and sandals go into a lidded box on the closet floor. In spring, I reverse it.
Our entryway finally stays clear, and nobody trips over winter boots in July anymore. The downside is that boots are bulky, and a family of four owns a surprising number of pairs.
Pro Tip: Stuff tall boots with a rolled magazine or pool noodle cut to size if you don’t want to buy boot shapers.
Cost/Time/Difficulty: About $10 for boot shapers; 30 minutes for a family’s shoes; Easy.
14. One Basket for Scarves, Hats, and Gloves

Winter accessories used to live in five different places in our house: a scarf on the banister, gloves in coat pockets, hats on a shelf. Now each person has one basket by the door for the current season’s accessories, and the off-season basket lives on a closet shelf.
Mornings are calmer because nobody hunts for a missing glove anymore, and I can see at a glance when a basket is overflowing. The downside is that baskets fill up fast with single gloves and stretched-out hats.
Pro Tip: Roll scarves instead of folding them in the basket; you fit more in, and you can see each colour without unrolling the lot.
Cost/Time/Difficulty: About $8 per basket; 15 minutes; Easy.
15. A Living-Room-Friendly Storage Bench

Not every home has a big closet, so I use a storage bench in our living room for bulky off-season items like thick blankets, spare winter jumpers, and swim gear in winter. It looks like ordinary furniture, it gives us extra seating, and it keeps seasonal clothes accessible without a trip to the garage.
Guests never guess it holds three winter jumpers and a stack of beach towels. The downside is capacity: a bench holds far less than a closet, so it works for overflow, not for a whole wardrobe.
Pro Tip: Choose a bench with a hinged lid that stays open on its own, so you can lift things out with both hands free.
Cost/Time/Difficulty: About $60–$90 for a sturdy bench; no ongoing time; Easy.
16. Photo Labels So Anyone Can Find Anything

Written labels fail when handwriting is rushed or a bin gets relabeled twice. I now stick a small photo on each bin showing its main contents, plus a short written label like “Mum – Summer – Dresses.”
My husband can now find his own winter thermals without asking me, which is a bigger win than it sounds. The downside is that photos go out of date when contents change, and printing them takes a few extra minutes at swap time.
Pro Tip: Photograph the bin’s contents laid out on a bed before packing, when everything is visible in one shot.
Cost/Time/Difficulty: Free if you print at home; 10 extra minutes per swap; Easy.
17. Wash, Mend, and Air Everything Before It Goes Away

This is the least glamorous step and the most important one. Before any seasonal clothes go into storage, I wash them, check for loose buttons and small holes, and let them air-dry completely.
I keep a small mending kit by the laundry basket during swap week: needle, thread in black, white, and navy, and spare buttons saved from old clothes. The downside is time: washing and mending adds a full laundry cycle or two to swap week, and it is tempting to skip it.
Pro Tip: Air clothes outdoors for an hour on a dry day before packing, even if they came straight from the dryer, to remove any lingering dampness.
Cost/Time/Difficulty: Cost of normal laundry; adds about an hour to swap week; Easy.
18. Keep a Small Capsule Out and Store the Rest

Instead of keeping everything “just in case,” I keep a small capsule of about twenty pieces per person in the main closet and store the rest. The capsule covers work, weekends, and one smarter outfit, in colours that mix easily.
Getting dressed got faster, and I finally wear the clothes I actually like instead of digging past forgotten ones. The downside is the fear of needing something you stored, which happened to me once before a surprise cold snap.
Pro Tip: Build your capsule around three neutral bottoms and add colour on top, so fewer pieces create more outfits.
Cost/Time/Difficulty: Free; about an hour to choose a first capsule; Moderate.
19. A Dry, Dark, Off-the-Floor Storage Spot

Where you store matters as much as how you store. I keep seasonal bins in a dry spare-room closet, off the floor on a low shelf, away from direct sunlight and outside walls that get damp.
When we stored bins in the garage one year, a heavy rainstorm left the bottom bin damp, and I lost two jumpers to mildew. The downside of an indoor spot is that it uses valuable house space, which is exactly why I keep bins slim and stacked neatly.
Pro Tip: Add a small moisture absorber to the storage shelf in humid months, and replace it at each seasonal swap.
Cost/Time/Difficulty: About $5 for a moisture absorber; 10 minutes to check; Easy.
20. An Always-Open Donate Box

The seasonal swap is the perfect moment to let go of clothes that no longer fit, suit, or get worn. I keep one donate box open all year in our spare room, and anything that fails the “did I wear this last season?” test goes straight in.
This stops storage from growing endlessly, because every swap removes as much as it stores. The downside is the emotional pull of “maybe one day” clothes, especially kids’ outfits with memories attached.
Pro Tip: Photograph sentimental kids’ outfits before donating them, so the memory stays without the storage bin.
Cost/Time/Difficulty: Free; 15 minutes at swap time; Easy.
Seasonal Clothing Storage Ideas at a Glance
| Idea | Best For | Cost | Effort |
|---|---|---|---|
| Vacuum-sealed bags | Bulky knits and coats | Low | Easy |
| Clear labeled bins | Whole-family swaps | Low | Easy |
| Under-bed boxes | Small homes | Low | Easy |
| Closet rotation | Every closet | Free | Easy |
| Garment bags | Coats and occasion wear | Low | Easy |
| Kids’ size bins | Growing children | Low | Easy |
| Storage bench | Overflow and small flats | Medium | Easy |
| Donate box | Keeping storage from growing | Free | Easy |
Mistakes I Made / What I Learned the Hard Way
Storing clothes dirty. I once packed away a cream jumper with a faint food mark I planned to treat later. Six months later the mark had set and the jumper was ruined. Now washing comes before packing, every single time, without exception.
Using one giant bin for everything. My first system was a single huge box labeled “winter.” Finding one scarf meant emptying the whole box onto the bed. Smaller bins by person and type take more space on paper, but they save far more time in real life.
Trusting a damp garage. I lost two jumpers to mildew after storing bins on a garage floor through a wet winter. Seasonal clothes now live indoors, off the floor, in a dry spot I actually check, and I never store wool anywhere I would not store books.
Buying storage before sorting. I used to buy beautiful matching bins first and then try to fit my clothes into them. Now I sort and count first, then buy exactly the sizes I need, which saves money and stops half-empty bins cluttering the spare room.
Frequently Asked Questions
How often should I do a seasonal clothing swap? Twice a year works for most families: once in spring and once in autumn. If your climate has a long, hot summer and a short winter, one main swap plus a small mid-season tidy is plenty.
Are vacuum-sealed bags safe for all clothes? No. They are great for bulky everyday knits, coats, and bedding, but I avoid them for cashmere, silk, leather, and anything heavily beaded or structured.
What if I have almost no storage space? Focus on rotation, not extra bins. Keep only the current season in the closet, use under-bed boxes, and keep a strict donate box going. A small capsule wardrobe also helps enormously,
Final Thoughts
A clutter-free closet is not about owning less for its own sake, or about buying a perfect matching set of bins. It is about knowing what you own, where it lives, and when you will need it next. These seasonal clothing storage ideas work in my home because they are simple enough to repeat twice a year, even in a busy week.
Start with just one idea from this list, perhaps the clear bins or the front-to-back rotation, and see how it feels for a full season. Then add the next system at your next swap.




One Comment