25 Garage Storage Ideas That Finally Tame the Clutter
Our garage used to be the room we apologized for. Every time I opened the door, something fell over, and finding a screwdriver took longer than the repair itself. These 25 garage storage ideas are the exact systems I tested in my own garage over two weekends of sorting, drilling, and re-sorting, and they are the ones that actually stayed tidy months later.
I picked these garage storage ideas by one rule: everything had to survive real life with kids, bikes, and a car that actually parks inside. If a system looked pretty but collapsed under a paint can, it did not make the list. Here is what works, what it costs, and what I would do differently.
Key Takeaways
- Start with the walls and ceiling before buying a single bin — vertical space is free.
- Group by activity (tools, sports, garden, car care) so every family member knows where things live.
- Label every bin, even the clear ones — future you will be grateful.
- Heavy items stay low, light seasonal items go high, and daily tools stay at arm’s reach.
1. Heavy-Duty Freestanding Shelving Units

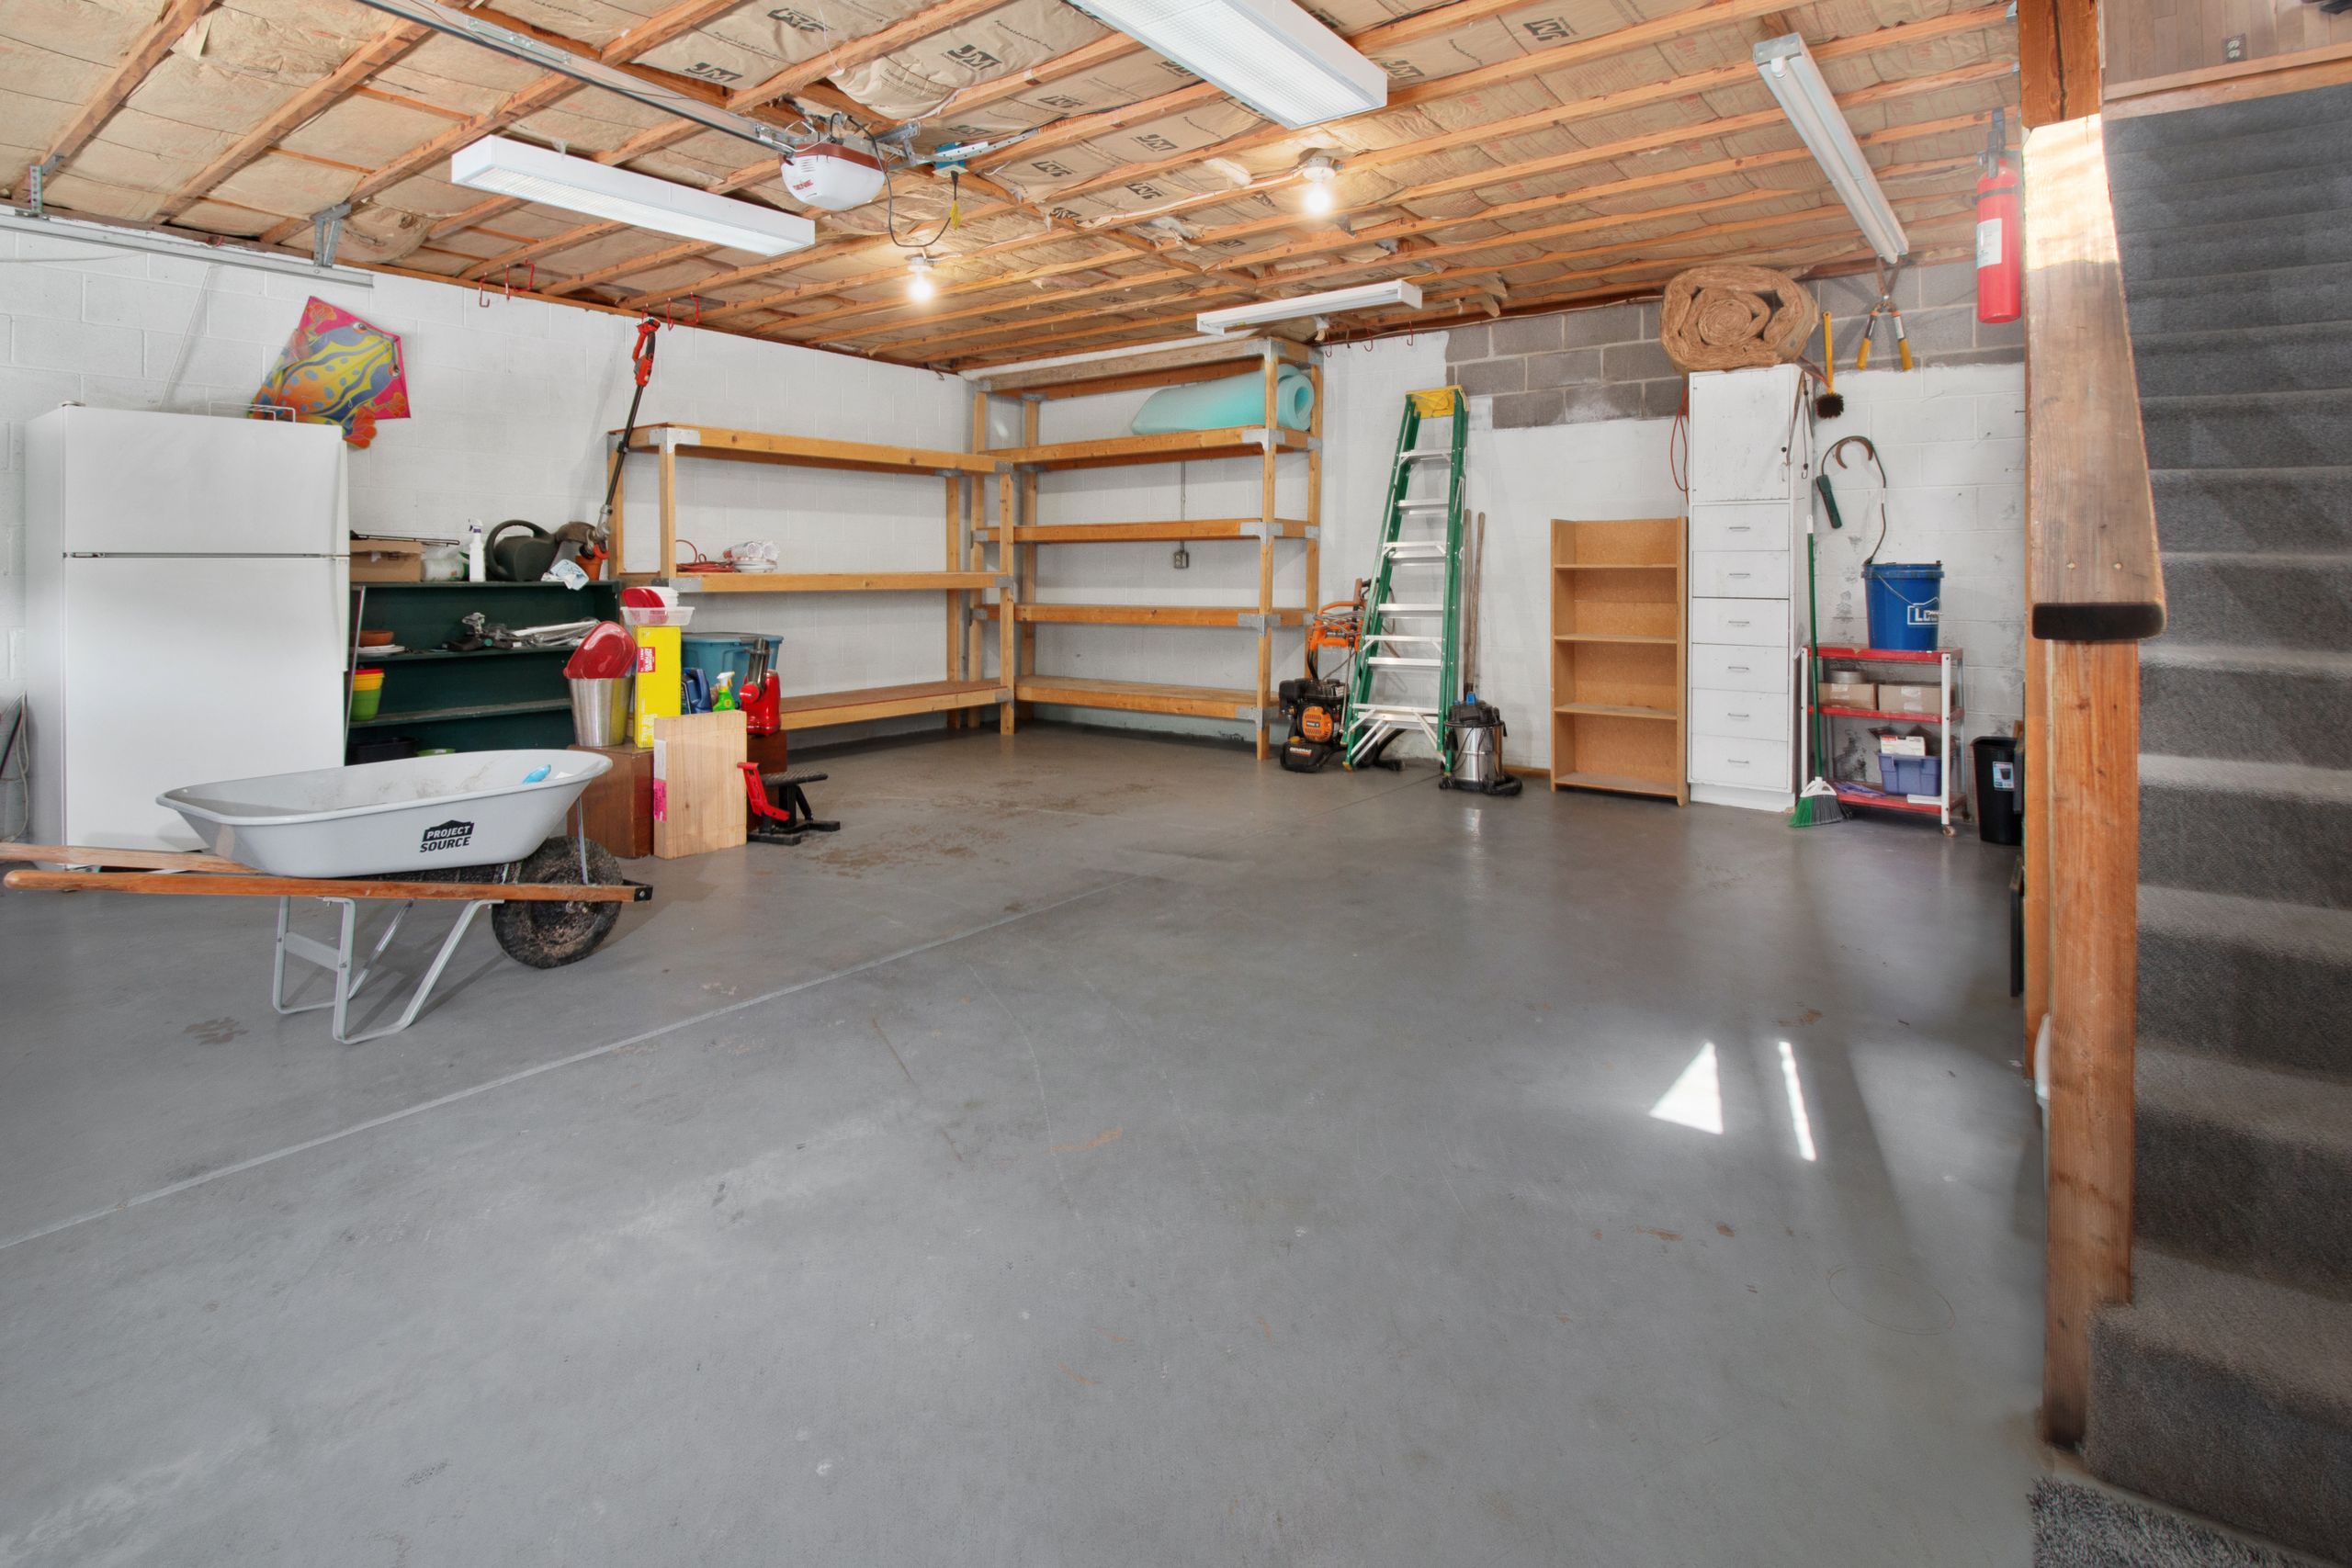
I started with two steel shelving units along the back wall, and honestly, they did half the job on their own. I measured the wall first, then chose 48-inch-wide units with adjustable shelves so paint cans could sit low and lighter bins up high. Assembly took one evening with a rubber mallet, and I anchored each unit to the wall with the included straps because a loaded shelf can tip.
The honest downside is that open shelves collect dust, so I keep anything fabric or dusty-prone inside bins on the shelves rather than loose. I grouped one unit for car care and tools and the second for household overflow and seasonal bins.
Pro Tip: Put the heaviest shelf at knee height, not the bottom, so you are not lifting paint cans off the floor.
Cost: $60–$150 per unit | Time: 1–2 hours | Difficulty: Easy
2. Overhead Ceiling Racks

The ceiling was the biggest wasted space in our garage, so I mounted a 4×8-foot overhead rack above where the car hood sits, never above where we walk. I found the ceiling joists with a stud finder, used lag bolts, and tested it by hanging my full weight from it before loading a single bin. It now holds holiday decor and camping gear I touch twice a year.
The catch is that you need a step stool every time, so nothing daily goes up there. I also learned to keep each bin under 30 pounds so I can lift it down safely without help.
Pro Tip: Label bins on the side facing the garage door, not the top, so you can read them from the ladder.
Cost: $80–$200 | Time: 2–3 hours | Difficulty: Moderate
3. Wall-Mounted Pegboard for Tools

I hung a full sheet of pegboard behind my workbench, and it ended the daily hunt for pliers. I traced each tool’s outline on the board with a marker, which sounds fussy but means anyone can see instantly what is missing. Hooks, small baskets, and a magnetic strip hold everything from hammers to rolls of tape.
Pegboard hooks do fall out when you grab a tool quickly, so I switched to locking hooks for the heavy items. I also painted the board white first, which made the whole corner feel brighter and cleaner.
Pro Tip: Hang your most-used tools between shoulder and eye height, and relegate specialty tools to the edges.
Cost: $25–$60 | Time: 1–2 hours | Difficulty: Easy
4. Slatwall Panel System

Slatwall was my upgrade where pegboard felt flimsy. The PVC panels screw into studs, and the accessories — hooks, baskets, shelves — slide along the grooves and lock in place. I used it for heavier items like my circular saw and loaded tool bags, which pegboard hooks used to drop. It looks like a proper workshop wall, which honestly makes me want to keep it tidy.
It costs more than pegboard, and the accessories add up, so I did one panel first and expanded later. Measure twice, because the panels are awkward to cut once mounted.
Pro Tip: Buy the accessories from the same brand as the panels — groove sizes are not universal.
Cost: $100–$300 per wall | Time: 2–4 hours | Difficulty: Moderate
5. Lockable Storage Cabinets

With kids in the house, I needed one place where chemicals, sharp blades, and spray paint could live behind a lock. I bought a tall steel cabinet, bolted it to the wall, and moved every hazardous item into it in one afternoon. The relief was immediate — no more worrying about what little hands might reach on a shelf.
Cabinets hide clutter, which is both the point and the risk: I added a small whiteboard on the door listing what is inside, or things vanish into it. Keep a key hook nearby but out of children’s reach.
Pro Tip: Store paint and chemicals on a middle shelf, never on the floor where a leak spreads unnoticed.
Cost: $120–$350 | Time: 1 hour | Difficulty: Easy
6. DIY Wood Shelving Built to Fit

Our garage has an awkward 27-inch gap beside the water heater that no store-bought shelf fit, so I built simple 2×4 and plywood shelves to fill it exactly. I cut the lumber at the hardware store, screwed the frames into studs, and made the shelves deep enough for standard bins. It cost less than one store unit and fits like it was built with the house.
Raw lumber looks rough, so I sanded the front edges and gave it a coat of leftover white paint. The honest downside is time — it took a full Saturday, where a store unit takes an hour.
Pro Tip: Build shelves 16 inches deep for bins and 12 inches deep for paint cans and small items.
Cost: $40–$100 | Time: 4–6 hours | Difficulty: Moderate
7. Magnetic Tool Strips

A magnetic strip above my workbench holds the screwdrivers, wrenches, and drill bits I reach for constantly, and it cost less than a pizza. I mounted two 18-inch strips into studs, and now I can grab and replace tools without opening a drawer. It also freed an entire drawer that used to be a tangled mess of metal.
Magnets only hold metal tools, obviously, and heavy items like a full hammer can slide off if the strip is weak — buy a strip rated for at least 10 pounds per foot. Keep it away from phones and credit cards out of habit, though modern strips are not strong enough to damage them.
Pro Tip: Mount the strip at eye level so you can see every tool at a glance while working.
Cost: $15–$40 | Time: 20 minutes | Difficulty: Easy
8. Vertical Bike Racks

Three bikes used to eat an entire wall of floor space. I installed vertical hooks that hold each bike by its front wheel, and suddenly we could walk past them without turning sideways. I spaced the hooks 24 inches apart so handlebars do not clash, and I put the kids’ smaller bikes lower so they can hang their own.
Lifting an adult bike onto a high hook takes some strength, so for my heavier bike I used a pivoting rack that swings flat to the wall. If your ceilings are low, measure the bike’s full length before buying.
Pro Tip: Hang a small basket beside the bikes for helmets, gloves, and lights so nothing gets lost.
Cost: $20–$80 per bike | Time: 30–60 minutes | Difficulty: Easy
9. Corner Shelving for Dead Space

Garage corners collect junk because nothing fits them properly, so I built L-shaped shelves into our darkest corner for automotive fluids, cleaning supplies, and small bins. It turned a dead zone into the most-used spot in the garage, because everything there is now visible instead of buried behind something else.
Corner shelves are hard to reach at the very back, so I keep only rarely-used items in the deepest part and daily items near the front edges. A small battery-powered light stuck under the top shelf made a surprising difference.
Pro Tip: Leave a 2-inch gap behind corner shelves so you can slide bins in without scraping the walls.
Cost: $30–$90 | Time: 2 hours | Difficulty: Easy
10. Rolling Tool Chest

My rolling tool chest is the single best money I spent on the garage. It holds every socket, wrench, and driver in labeled drawers, and I wheel it to the car instead of making ten trips to the bench. I lined the drawers with rubber mats so tools do not slide, and I keep a magnetic parts tray on top for screws during a job.
The downside is weight — once loaded, it stays where it is unless the floor is smooth, so I swept and sealed a clear path for it. Lock the casters when working, or it creeps away mid-project, which I learned the hard way.
Pro Tip: Dedicate one shallow top drawer to “most used” tools so you rarely open the deep drawers.
Cost: $150–$400 | Time: 1 hour to organize | Difficulty: Easy
11. Wall-Mounted Hose Reel

Our garden hose used to live in a tangled pile by the door, and I tripped over it more than once. A wall-mounted reel near the garage door fixed it in twenty minutes: the hose winds up neatly, stays off the floor, and I can pull out exactly what I need. I chose a manual crank model because the retractable ones jammed on my longer hose.
Mount it into a stud, not just drywall, because a full hose is heavy. Drain the hose before winter or the reel can crack in a freeze — I lost one that way.
Pro Tip: Mount the reel at hip height so winding is comfortable and kids can help without climbing.
Cost: $25–$70 | Time: 30 minutes | Difficulty: Easy
12. Labeled Storage Bins on Shelves

Bins alone did not organize my garage — labels did. I switched to one size of clear bin so they stack neatly, then labeled each one on two sides: “Holiday Lights,” “Camping,” “Paint Supplies.” Now anyone in the family can find things, and more importantly, put them back in the right place. I use a cheap label maker because masking tape labels fell off within a month.
Clear bins look great until they are overfilled, so I made a rule: if the lid does not close flat, something has to go. That rule alone kept the shelves tidy for a year.
Pro Tip: Label the narrow end too, so bins read correctly when shelved sideways.
Cost: $5–$12 per bin | Time: 1–2 hours to sort and label | Difficulty: Easy
13. Ladder Storage Hooks

Ladders are the most awkward thing in any garage, and ours leaned against the wall for years, sliding at the worst moments. Two heavy-duty hooks mounted horizontally on the wall now hold it flat and safe, high enough that we walk under it without ducking. I used hooks rated for twice the ladder’s weight, screwed into studs.
Measure your ladder’s width and the hook spacing before drilling — my first hooks were two inches too close and the ladder would not sit flat. If you have an extension ladder, ceiling hooks work even better and free the wall entirely.
Pro Tip: Hang the ladder near the garage door so you grab it on the way out, not after moving the car.
Cost: $15–$35 | Time: 30 minutes | Difficulty: Easy
14. Sports Equipment Organizer

Between soccer, basketball, and scooters, our sports gear had taken over the garage floor. I set up one dedicated organizer with ball baskets, bat slots, and helmet hooks, and made a house rule: gear lives there or it does not come inside. Within a week the kids were putting things away themselves because there was exactly one obvious place for each item.
The organizer only works if it is sized for your gear — count balls and bats before buying, because an undersized rack becomes a pile again. I also keep a small pump and a rag in a side pocket so flat balls get fixed instead of abandoned.
Pro Tip: Put the sports station near the garage door so kids grab gear on the way out and return it on the way in.
Cost: $40–$120 | Time: 45 minutes | Difficulty: Easy
15. Fishing Rod Rack

My husband’s fishing rods used to lean in a corner where they tangled and snapped tips, so I mounted a vertical rack with foam clips that holds each rod separately. It took one afternoon, and not a single rod has been damaged since. The rack sits on a wall away from the car doors, which matters more than I expected.
Ceiling-mounted racks work too, but wall racks are easier to reach and you can see which rod you are grabbing. If you have more than six rods, get a rack with expandable clips rather than buying a second unit later.
Pro Tip: Store rods vertically with reels up to keep lines from tangling and guides from bending.
Cost: $25–$60 | Time: 45 minutes | Difficulty: Easy
16. Ceiling-Mounted Kayak Hoist

Our kayak ate an entire parking space until I installed a pulley hoist that lifts it flat against the ceiling. It looks intimidating, but the system is just straps, pulleys, and a cleat on the wall, and one person can raise or lower it in two minutes. The kayak is safer up there too, away from bikes, balls, and car doors.
You must mount into joists, not drywall, and test the hoist with weight before trusting it overnight. I also tie a safety strap as backup after hearing about a friend’s kayak dropping onto a car roof.
Pro Tip: Hoist the kayak upside down so rainwater and dust do not pool inside the cockpit.
Cost: $30–$80 | Time: 1–2 hours | Difficulty: Moderate
17. Wall-Mounted Folding Workbench

I wanted a workbench but refused to give up a parking space, so I mounted a folding bench that drops down when I need it and folds flat when I do not. It is sturdy enough for sawing and gluing, and when folded, it sticks out less than six inches from the wall. A small shelf above it holds the tools I use at the bench.
Check the weight rating honestly — mine holds 200 pounds, which is plenty for most projects but not for standing on. I learned to fold it up after every project, or it slowly becomes another clutter surface.
Pro Tip: Add a fold-down leg support if your bench spans more than four feet, to stop it sagging in the middle.
Cost: $80–$250 | Time: 2 hours | Difficulty: Moderate
18. Garden Tool Rack

Long-handled garden tools are a safety hazard in a pile, so I mounted a wall rack with clips that grip each handle upright. Shovels, rakes, and hoes now hang in a neat row by the side door, and I can grab the right one without the whole pile collapsing. I keep a small brush nearby to knock soil off before hanging tools up.
Cheap spring clips wear out, so I replaced mine with rubber-grip holders after a year. Hang sharp edges facing the wall and keep the rack out of the main walkway.
Pro Tip: Group tools by job — digging, raking, cutting — so you grab a set, not a single tool.
Cost: $20–$50 | Time: 30 minutes | Difficulty: Easy
19. Clear Parts Boxes for Small Hardware

Screws, nails, and wall anchors lived in a coffee can for years, and every project started with ten minutes of digging. I switched to stackable clear parts boxes with adjustable compartments, sorted by type and size, and labeled each section. Now I can see exactly what I have before starting a job, and I stopped buying screws I already owned.
The boxes only help if you sort when you buy, not “later” — I keep one empty compartment labeled “unsorted” and clear it monthly. Buy boxes with latches, because open ones spill spectacularly when knocked off a shelf.
Pro Tip: Keep one parts box in the house too, for the screws and anchors you use indoors most.
Cost: $10–$30 | Time: 1 hour to sort | Difficulty: Easy
20. Recycling Bin Station

Our recycling used to be a pile of bags that attracted bugs, so I built a simple station with three labeled bins: paper, plastic and cans, and glass. It sits just inside the garage door, so sorting happens the moment we come in, and taking it to the curb is one trip instead of three. I rinse containers before they go in, which ended the smell problem completely.
Small bins fill fast for a family, so I sized up after the first month — measure your weekly recycling before choosing. A wipeable mat underneath catches drips and makes cleanup easy.
Pro Tip: Tape a small sorting guide above the bins so babysitters and guests sort correctly too.
Cost: $30–$80 | Time: 30 minutes | Difficulty: Easy
21. Wall-Mounted Tire Rack

Seasonal tires stacked on the floor were a mouse hotel and a tripping hazard, so I mounted a wall rack that holds four tires flat against the wall. It freed a surprising amount of floor space, and the tires stay clean and dry instead of collecting dust and damp. I bag each tire in a cheap tire tote before hanging it, which keeps brake dust off everything else.
Tires are heavy, so this rack must go into studs or concrete anchors — mine is rated for 300 pounds total. If your wall is concrete block, use sleeve anchors, not plastic plugs.
Pro Tip: Mark each tire’s position (front left, rear right) with chalk so rotation next season is obvious.
Cost: $40–$100 | Time: 1 hour | Difficulty: Moderate
22. Overhead Extension Cord Reel

Extension cords were my nemesis — always tangled, always underfoot. I mounted a retractable cord reel on the ceiling above my workbench, and now I pull down exactly the length I need and it rewinds itself when I am done. It changed how often I bother using power tools, because setup went from five minutes to five seconds.
Retractable reels have a fixed cord length, so measure your farthest outlet need before buying — mine is 30 feet and just reaches the driveway. Keep the reel’s lock engaged when not in use so it does not slowly unspool.
Pro Tip: Mount the reel near the center of your work area, not in a corner, to maximize its reach.
Cost: $40–$90 | Time: 45 minutes | Difficulty: Easy
23. Ball Claw Organizer

Balls roll everywhere, so a wall-mounted ball claw — basically bungee cords on a frame — was a small fix with a big payoff. Kids can toss balls in from a few feet away, which they treat as a game, and the balls stay visible and contained instead of migrating under the car. I mounted ours at kid height so they can reach every ball without help.
Cheap bungees stretch out, so I replaced them with thicker cords after six months. Count your balls first: a standard claw holds about six, and we needed two.
Pro Tip: Put the ball claw beside the sports organizer so all play gear lives in one zone.
Cost: $20–$45 | Time: 20 minutes | Difficulty: Easy
24. French Cleat System

A French cleat wall is my favorite “grown-up” garage project: angled wooden strips screwed to studs, with matching strips on holders, shelves, and tool mounts that hang on them. Everything is movable without new holes, so when my tool collection changed, I just lifted holders off and rearranged them. It holds far more weight than pegboard and looks genuinely good.
Cutting the 45-degree bevels takes a table saw or a careful circular saw setup, so this is the one project I would not rush. I made all my cleats from one sheet of plywood in an afternoon, then added holders over the following weeks.
Pro Tip: Standardize on one cleat thickness (I used 3/4-inch plywood) so every holder fits every strip.
Cost: $30–$80 | Time: 3–4 hours | Difficulty: Moderate
25. Mobile Storage Cart

A three-tier mobile cart is the garage’s junk drawer, in a good way: I keep car-cleaning supplies on it and roll it to the car when washing, then park it back in its corner. It also serves as a project cart — load it with what a job needs, wheel it over, and everything is within reach. When we host a garage sale, it becomes the checkout table.
Small casters struggle on rough concrete, so I chose large rubber wheels and it rolls smoothly. Lock two wheels when parked on a slope, because garage floors are rarely level.
Pro Tip: Give the cart one job at a time — a cart that tries to hold everything becomes clutter on wheels.
Cost: $35–$90 | Time: 20 minutes to assemble | Difficulty: Easy
Quick Comparison: Which Garage Storage Ideas Fit Your Garage?
If you are starting from chaos, begin with shelving and bins, then add one wall system. Also read this related guide on shoe storage ideas if your garage doubles as the family entry — the shoe-station tips pair perfectly with a garage mudroom zone.
| System | Best For | Typical Cost | Effort |
|---|---|---|---|
| Freestanding shelving + labeled bins | Every garage, first step | $60–$150 | Low |
| Overhead ceiling racks | Seasonal and bulky items | $80–$200 | Medium |
| Pegboard or slatwall | Tool walls | $25–$300 | Low–Medium |
| Lockable cabinets | Chemicals and valuables | $120–$350 | Low |
| Specialty racks (bike, tire, kayak) | Bulky gear | $20–$100 | Low–Medium |
Mistakes I Made (So You Don’t Have To)
I made every mistake on this list at least once while testing these garage storage ideas, and each one cost me a weekend. A related article on mudroom storage ideas helped me fix the entry-zone mess that kept spilling into the garage.
Mistake 1: Buying bins before measuring
I bought twenty matching bins, then discovered they were two inches too tall for my shelves. Now I measure shelf height, depth, and door clearance first, and I buy one test bin before committing.
Mistake 2: Storing heavy items up high
I put paint cans on the top shelf “to get them out of the way” and nearly dropped one on the car. Heavy always goes low, light always goes high — no exceptions.
Mistake 3: No labels, just memory
I was sure I would remember what was in each bin. I did not. Labeling took one evening and has saved me hours since.
Mistake 4: Anchoring into drywall alone
A loaded shelf pulled its drywall anchors out in the middle of the night. Everything heavy now goes into studs or concrete anchors, and I sleep better.
Frequently Asked Questions
How do I start organizing a very messy garage?
Empty one zone at a time, sort into keep, donate, and trash, then install storage for what remains before moving to the next zone. Trying to do the whole garage in one day leads to a bigger mess in the driveway.
What is the cheapest way to organize a garage?
Start with labeled bins on existing shelves and a pegboard for tools. You can transform a garage for under $100 if you already have shelves, and add ceiling racks later.
How do I keep the garage organized long-term?
Give every item a labeled home, do a ten-minute reset every Sunday, and enforce a one-in-one-out rule for big items. Systems fail when new things arrive without a place to live.
Are overhead racks safe for all garages?
They are safe when mounted into ceiling joists with proper hardware and kept within the weight rating. Skip them if your ceiling is finished drywall and you cannot locate joists, or if you cannot safely lift bins overhead.
Final Thoughts
My garage went from embarrassing to genuinely useful in about three weekends, and the biggest change was not any single product — it was deciding that everything gets a labeled home. Start with shelving and bins this weekend, add a wall system next, and enjoy walking into your garage without sighing. Read this next: toy storage ideas for small rooms if kids’ gear is half your garage problem — the same bin-and-label system works inside the house too.
If you try just one of these garage storage ideas, make it the labeled bins. It is the cheapest, fastest change, and it makes every other system work better.