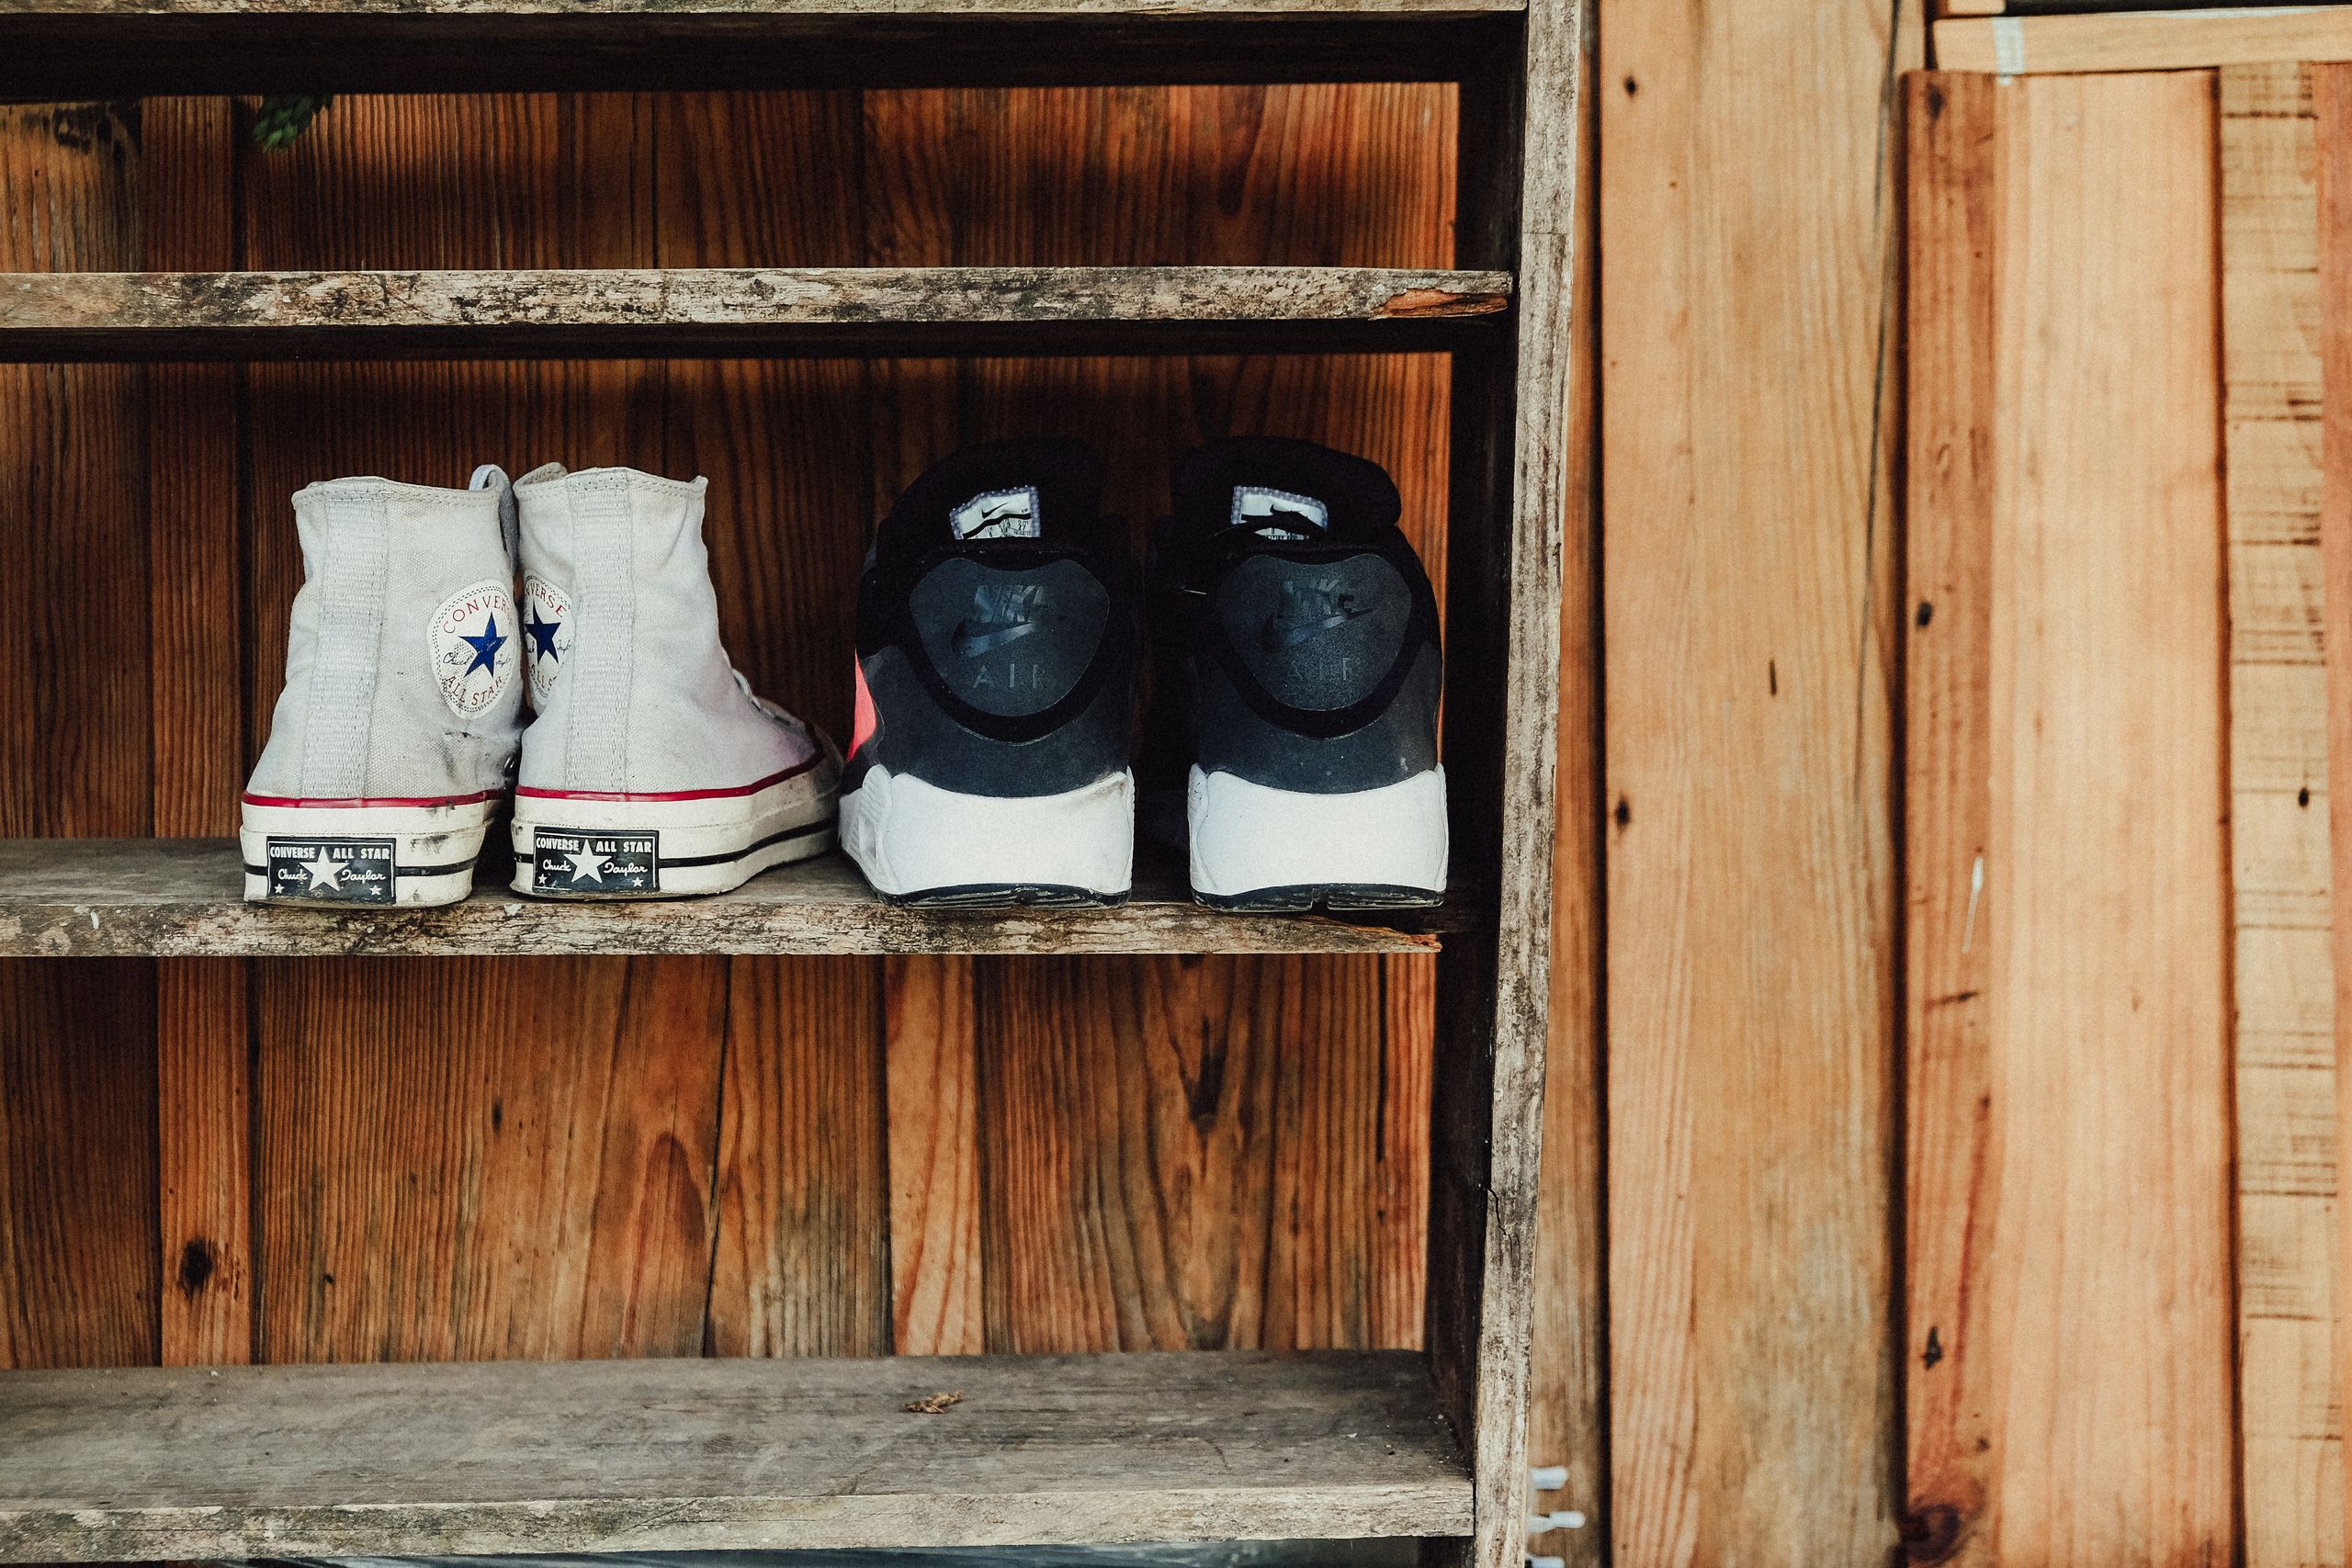
Shoe Storage Ideas for Small Spaces
Our hallway used to be a shoe obstacle course, and the best shoe storage ideas for small spaces are the ones that finally ended the daily trip-over-the-sneakers routine. I tested these ideas in our own narrow entryway and one small closet, and I kept only the ones that still worked after a month of real family life. Here is how I picked them: each idea had to fit a space less than three feet deep, hold at least four pairs, and survive school mornings without a reset. If it looked tidy in a photo but collapsed by Tuesday, it is not here.
I am Tabitha, and I live with more shoes than our entryway was designed for: everyday sneakers, work shoes, kids’ shoes, boots, and the dressy pairs that come out twice a year. Small spaces punish vague storage, so every idea below is specific about measurements and what it actually holds. No more shoes by the door is the goal, and these ideas got us most of the way there.

Key Takeaways
- Measure your entryway depth before buying anything; most small-space shoe storage fails because it sticks out too far.
- Give every person one defined spot, even if it is just one basket or one shelf row.
- Keep only current-season shoes by the door and move the rest to a swap box.
- Open storage works for daily shoes; closed storage works better for off-season and dressy pairs.
- A boot tray by the door saves more floor cleaning than any other single item on this list.
18 Shoe Storage Ideas for Small Spaces
1. A Slim Two-Tier Rack by the Door
I started with a two-tier rack just ten inches deep, pushed against the wall beside our front door. It holds four pairs on each tier, which covers the daily shoes for two adults, and because it is open, shoes actually go back on it instead of piling beside it. I measured twice before ordering, and that mattered: my first rack was twelve inches deep and blocked the door swing by an inch, which annoyed me every single day. The slim one has lived there for eighteen months now, and the only maintenance is a wipe when muddy shoes come in.
Pro Tip: Put the most-worn pairs on the top tier so you never have to bend down on a rushed morning.
Cost: $20–$40 | Time: 15 minutes | Difficulty: Easy
2. An Over-Door Shoe Organizer
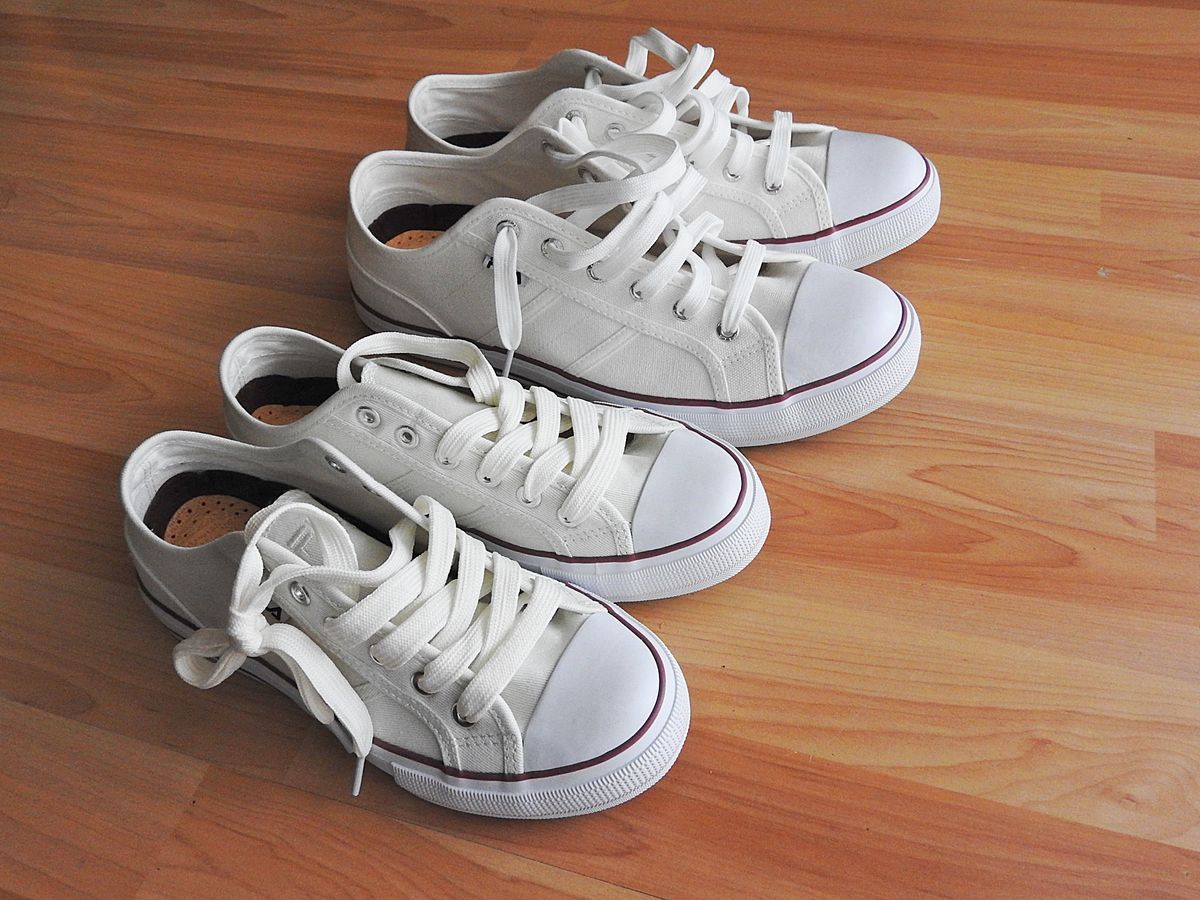
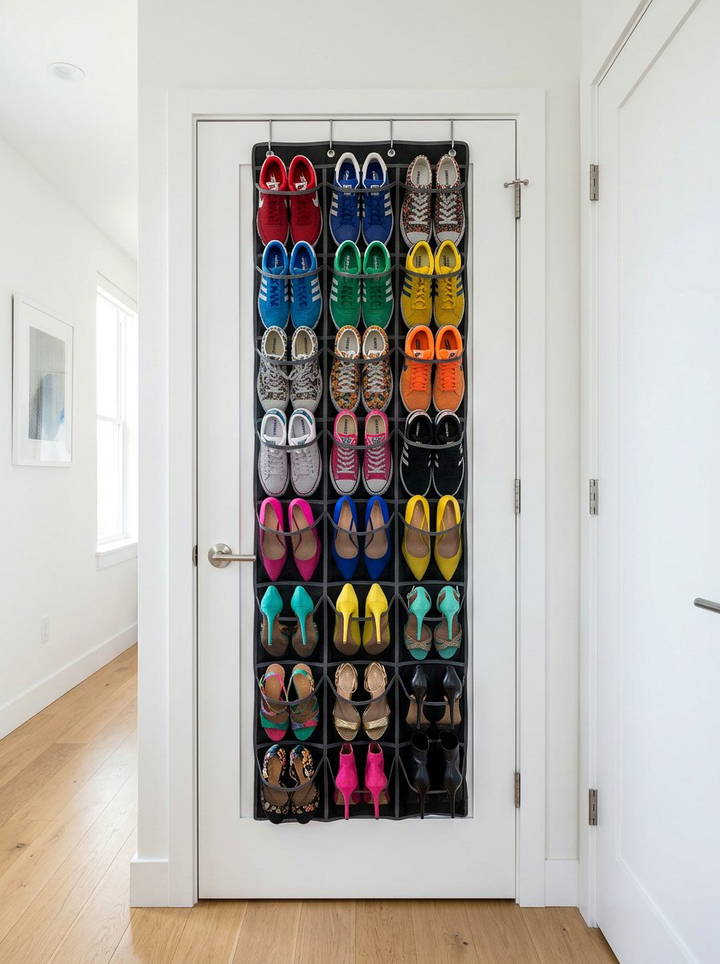
When floor space ran out, I went vertical with a clear-pocket organizer over the closet door. Each pocket holds one pair of flats, sandals, or kids’ shoes, and I can see everything without opening a box. It holds twelve pairs in our house and cost less than a family pizza. The downside is weight: I overloaded it once with boots and the hooks bent, so now boots stay on the floor and only light shoes go on the door. It has been up for two years and is the spot my kids actually use without being asked.
Pro Tip: Use the bottom pockets for kids’ shoes so little hands can reach them without a step stool.
Cost: $12–$25 | Time: 10 minutes | Difficulty: Easy
3. A Storage Bench With Cubbies
Our entryway bench does three jobs: a seat for putting shoes on, cubbies underneath for six pairs, and a top surface for keys and mail. I built the habit of sitting to change shoes, which sounds small, but it stopped the hop-on-one-foot shoe pile by the door. The bench is thirty-six inches wide and fits our hallway without blocking the walkway, though I did have to measure the door clearance carefully first. It cost more than a rack, but it replaced a separate bench and a shoe pile, so the hallway finally feels like a room instead of a corridor.
Pro Tip: Add a small basket inside one cubby for shoe care bits like insoles and laces.
Cost: $60–$120 | Time: 1 hour to assemble | Difficulty: Moderate

4. Stackable Clear Shoe Boxes
For dressy and off-season shoes, I use clear boxes that stack neatly on a closet shelf. Each box holds one pair, the label slot takes a photo of the shoes inside, and I can find the right pair without opening five boxes. I standardized on one size after a mixed collection wobbled dangerously, and the stack has stayed stable for a year. The honest downside is that boxes take more room than shoes alone, so I only box pairs I wear less than once a month. Daily shoes stay open on the rack where they belong.
Pro Tip: Photograph each pair and tape the photo to the box end facing out, so you can identify shoes from the side of the stack.
Cost: $3–$6 per box | Time: 1 hour | Difficulty: Easy

5. Under-Bed Boxes for Off-Season Shoes
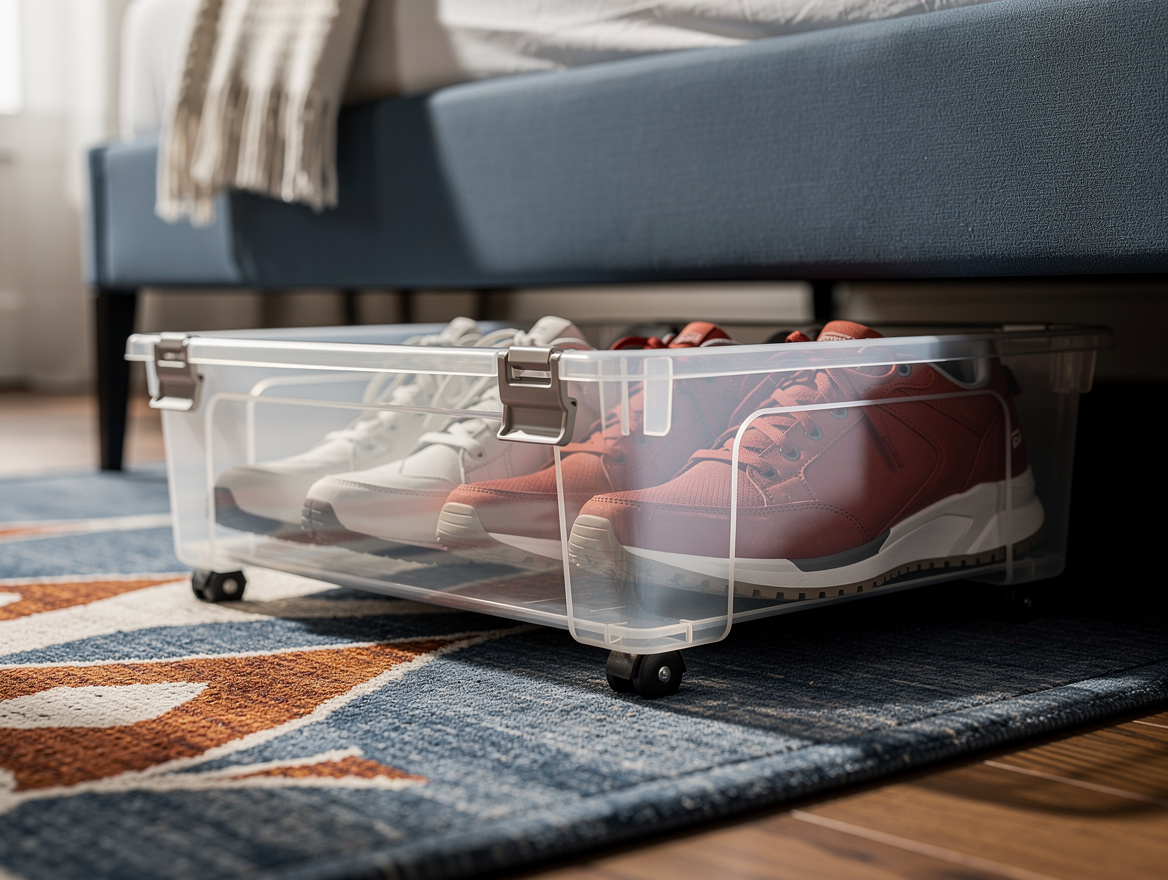
Winter boots in July are just clutter, so off-season shoes live in flat boxes under our bed. I use two boxes with lids, one per adult, and label them by season. The swap takes about twenty minutes twice a year, and it frees roughly half the entryway rack each time, which is the difference between tidy and chaos in a small hall. I learned to add a cedar sachet to each box after one winter when boots came out smelling like a closed closet. Flat boxes matter here: tall boxes do not slide under most beds.
Pro Tip: Clean shoes before they go into storage, or dried mud will stain the box and the shoes beside them.
Cost: $15–$30 for two boxes | Time: 30 minutes per swap | Difficulty: Easy
6. A Shoe Shelf Above the Closet Rod
The top of our closet was dead space until I added a shelf above the hanging rod for less-worn shoes in boxes. It holds eight pairs in clear boxes, and because it is high, it is perfect for dressy shoes I wear a few times a year. Installing it took an afternoon, including finding studs and cutting the board to fit, and I wish I had done it years earlier. The watch-out is weight and reach: keep the shelf to one row of boxes, and keep a small step stool in the closet, or you will avoid using it entirely.
Pro Tip: Store shoes heel-out on high shelves so you can grab a pair by the heel without pulling the whole row down.
Cost: $20–$40 | Time: 2 hours | Difficulty: Moderate
7. Wall-Mounted Slanted Shelves
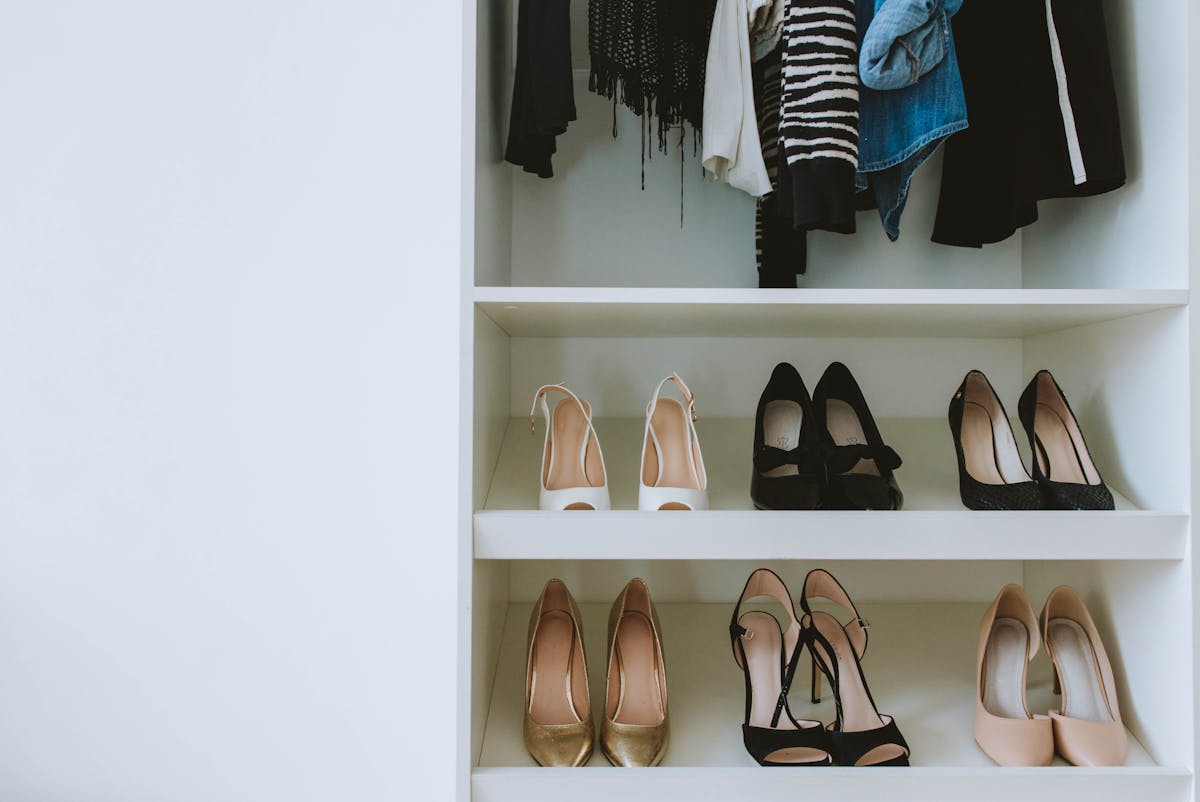
In a hallway too narrow for a rack, I mounted two slanted shelves on the wall, each holding three pairs with heels hooked over the front edge. They stick out only about eight inches, so the walkway stays clear, and shoes become a display instead of a pile. I put them at different heights so adult shoes sit higher and kids’ shoes sit lower, which the kids loved. Installation took an hour and a level, and I anchored them into studs after one shelf pulled out of drywall under the weight of boots. Boots do not go here; this is for lighter daily shoes only.
Pro Tip: Leave one empty slot on each shelf so there is always room for the pair you just walked in wearing.
Cost: $25–$50 | Time: 1 hour | Difficulty: Moderate
8. One Basket Per Person
This is the simplest system that actually worked for kids. Each person gets one basket by the door, and the rule is that everything they wear daily must fit in it. When the basket overflows, something has to move to the closet, which keeps the entryway honest without me policing it. I bought four matching baskets so the hallway looks intentional rather than chaotic, and labeled each with a name tag. It has lasted a full school year, and the morning shoe hunt has dropped from a daily event to a rare one. For more entryway ideas, related article: mudroom storage ideas.
Pro Tip: Choose baskets with handles so kids can carry the whole basket to their room for a sort instead of dumping it on the floor.
Cost: $8–$15 per basket | Time: 20 minutes | Difficulty: Easy

9. A Boot Tray for Wet and Muddy Shoes
The boot tray is the least glamorous and most useful item by our door. It is a shallow tray with a raised lip that catches mud, rain, and snowmelt, and it holds three pairs of wet shoes without the mess spreading across the floor. I empty it every few days in wet weather and wipe it weekly, which takes two minutes and saves me mopping the whole hallway. I bought one with a grid insert so shoes sit above the water instead of in it, and that detail matters: shoes left sitting in puddles smell fast. In summer it holds garden shoes and sandals just as well.
Pro Tip: Keep a small brush beside the tray so mud gets brushed off before shoes come inside at all.
Cost: $15–$30 | Time: 5 minutes | Difficulty: Easy

10. Heels Hung on a Tension Rod
Heels are awkward on flat shelves because they slide and scuff, so I mounted a tension rod inside a closet section and hang heels by their heel over the rod. It holds six pairs in about a foot of closet width, and I can see every pair at a glance when choosing an outfit. I tried this after my heels spent a year in a jumbled box where I could never find a matching pair quickly. The rod cost very little and took five minutes to install, but it only works for shoes with a real heel to hook, so flats and sneakers stay on shelves. Check the rod monthly, since it can slip if it is not tight.
Pro Tip: Hang heels in pairs facing the same direction so you can spot a missing shoe instantly.
Cost: $5–$12 | Time: 10 minutes | Difficulty: Easy

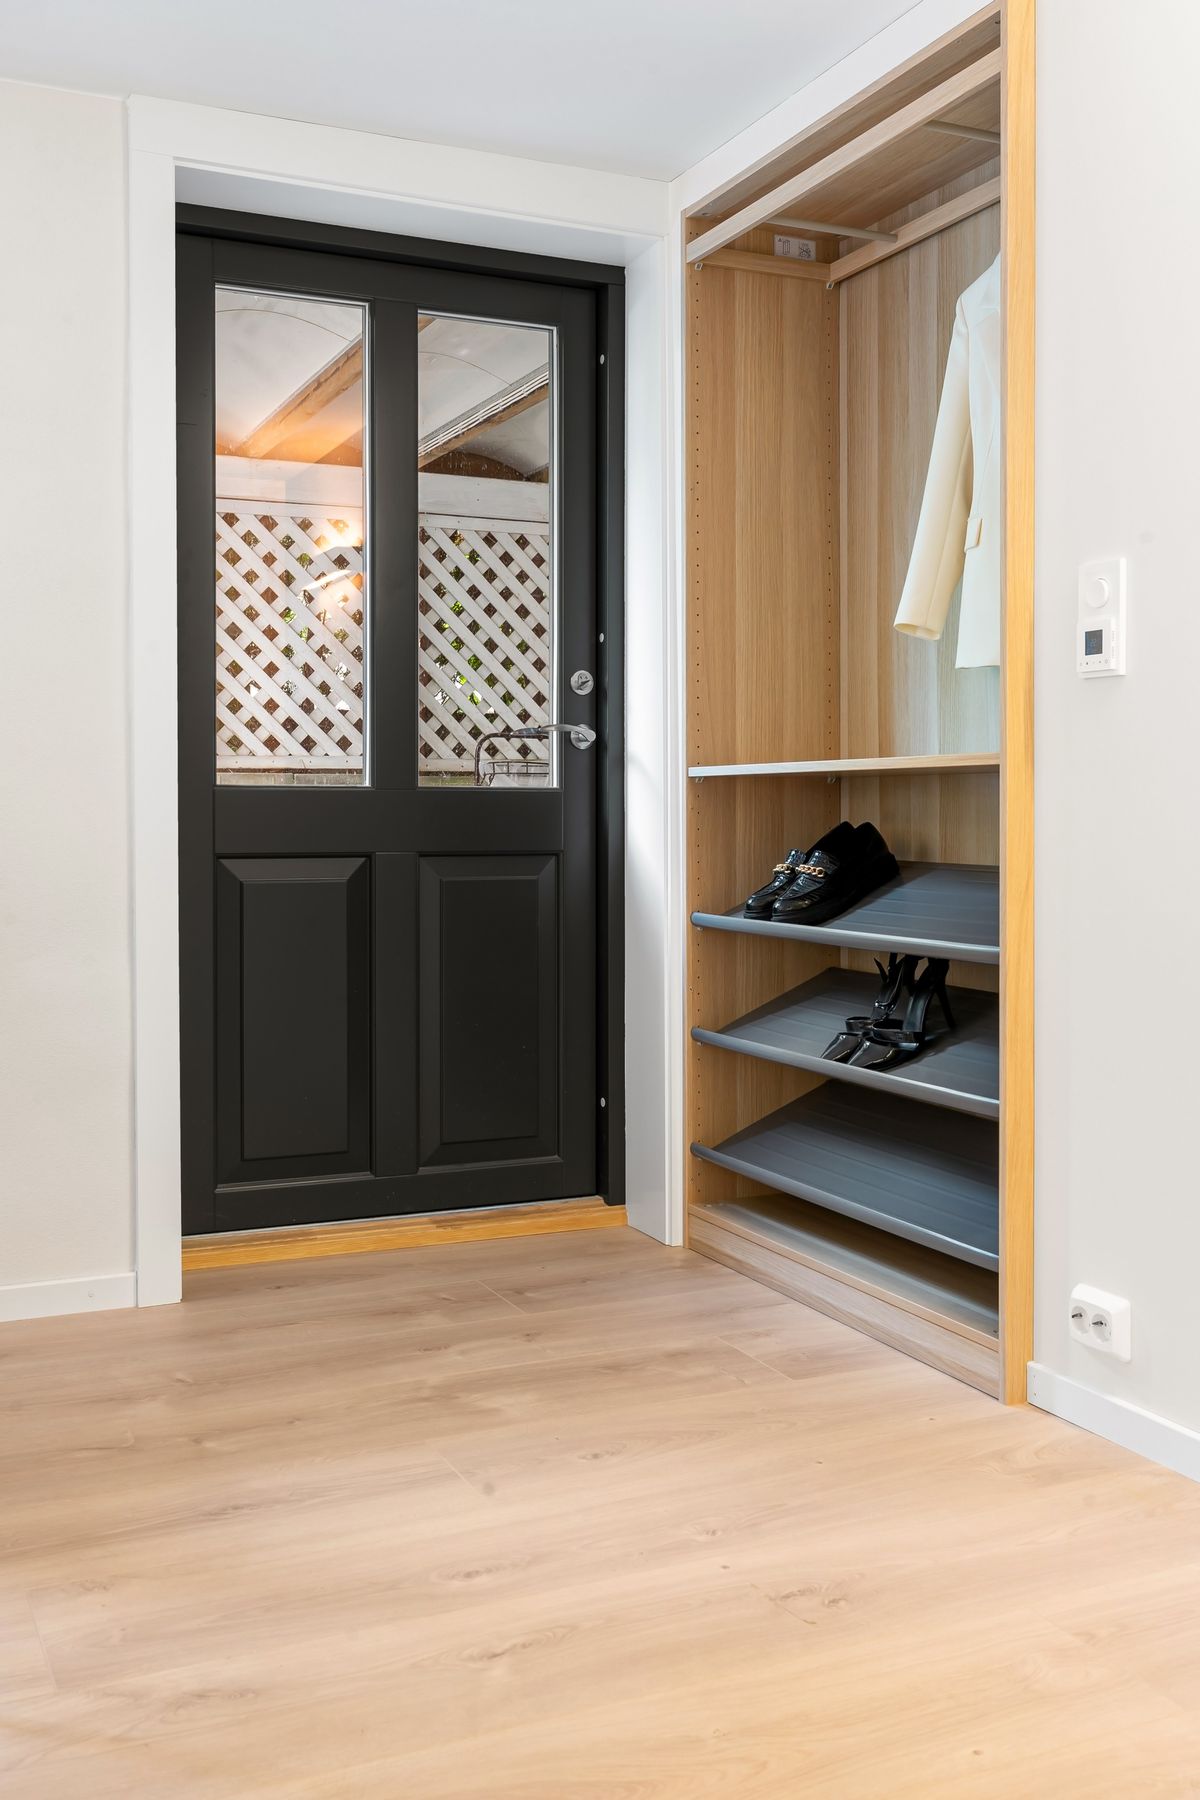
11. Closet Floor Risers for Double-Stacking
Closet floors waste vertical space, so I added a small two-tier riser that doubles the pairs I can fit on the same footprint. Everyday sneakers sit on top and less-worn pairs underneath, and the whole thing slides out like a drawer for cleaning. It holds six pairs where three sat before, and it cost less than a takeaway dinner. The riser works best for low shoes; tall boots do not fit under it, and I learned that the hard way when I tried to force a pair of ankle boots in and bent the frame. Measure your tallest shoe before you buy.
Pro Tip: Put the pairs you wear least on the bottom tier so you are not crouching for your daily shoes.
Cost: $18–$35 | Time: 15 minutes | Difficulty: Easy
12. Labeled Bins for Kids’ Shoes at Their Height
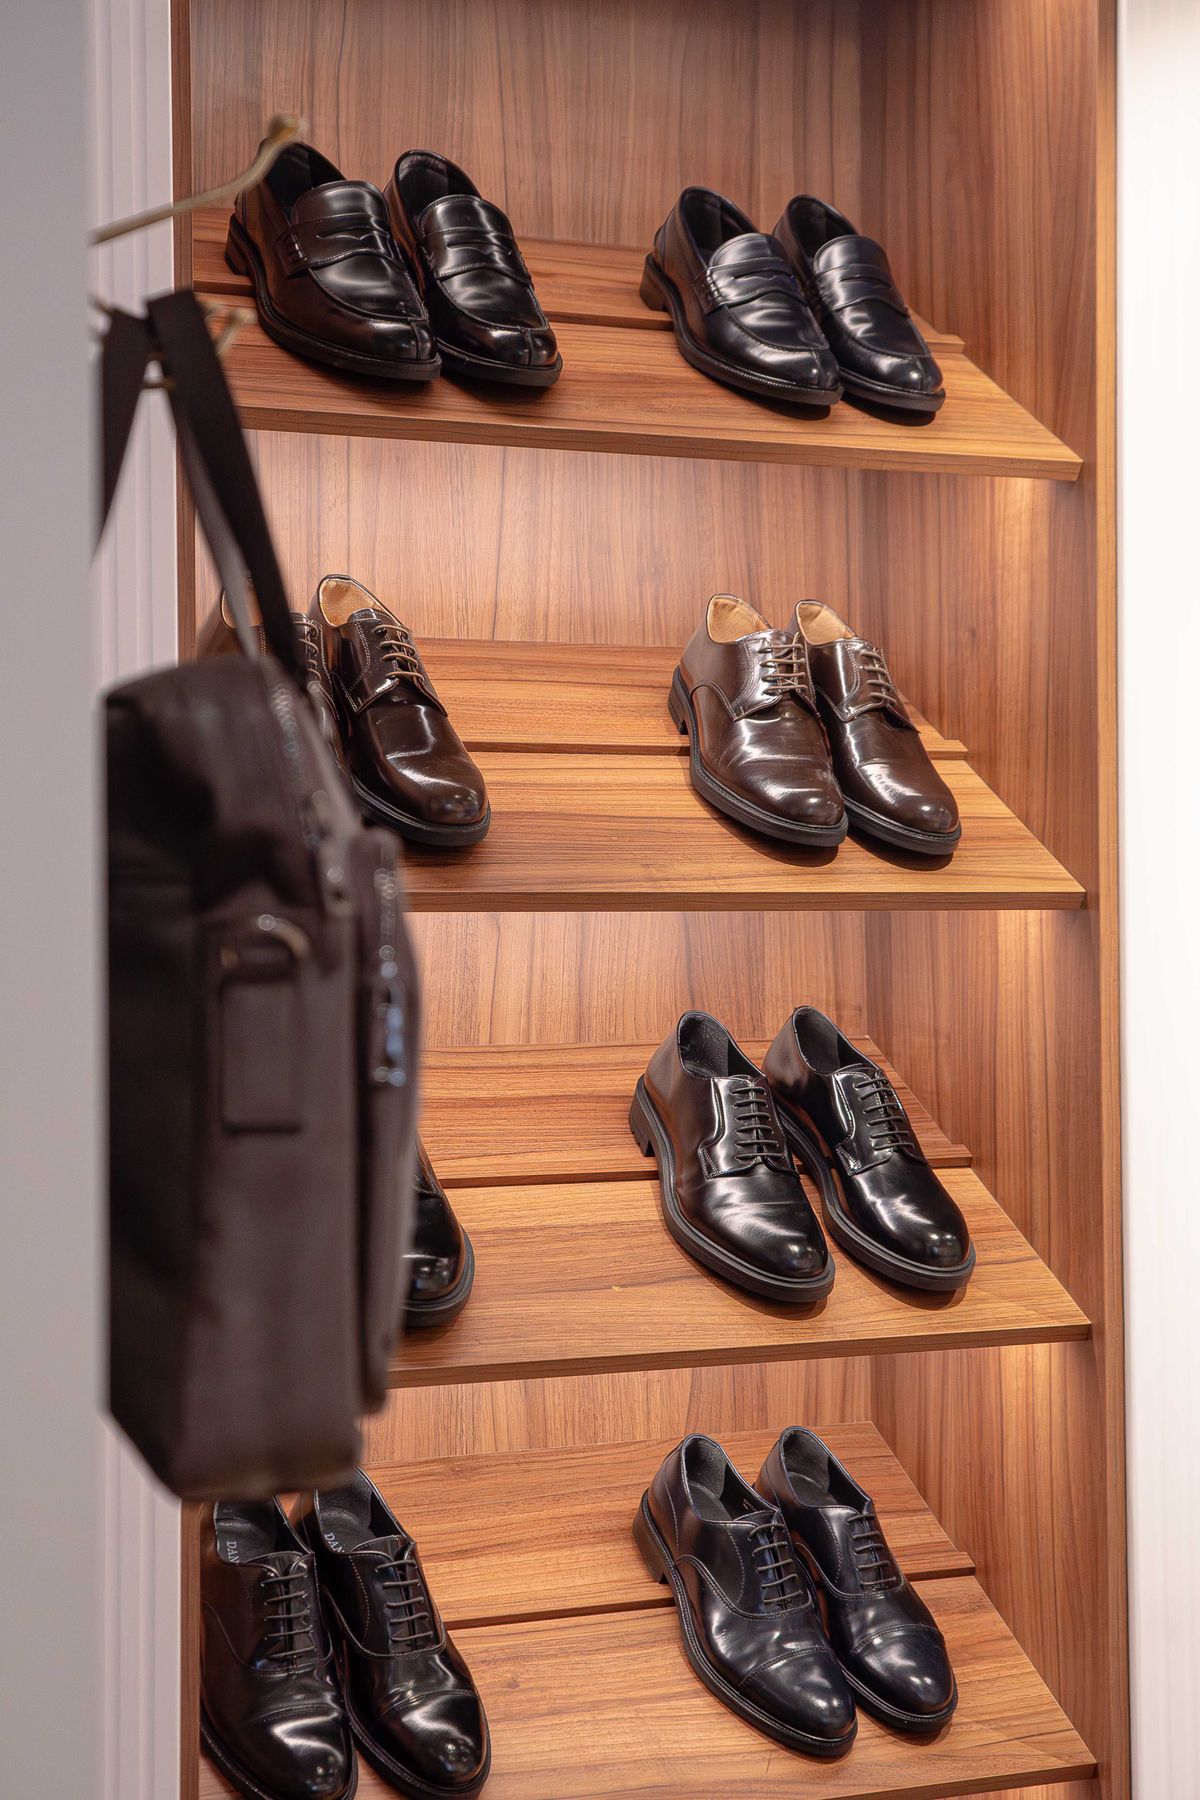
Kids will not use storage they cannot reach, so their shoes live in two low labeled bins: one for school shoes and one for play shoes. The bins sit on the floor of the entryway closet, and each child has a photo label on their bin because reading is still new for the youngest. This system has survived a year of school mornings, which is the highest praise I can give any storage idea. The downside is size: kids outgrow shoes fast, so I sort the bins every season and pass outgrown pairs on the same day, or the bins overflow within a month.
Pro Tip: Keep a small bag in each bin for single lost shoes, so a lone shoe never vanishes into the house.
Cost: $10–$20 for two bins | Time: 20 minutes | Difficulty: Easy
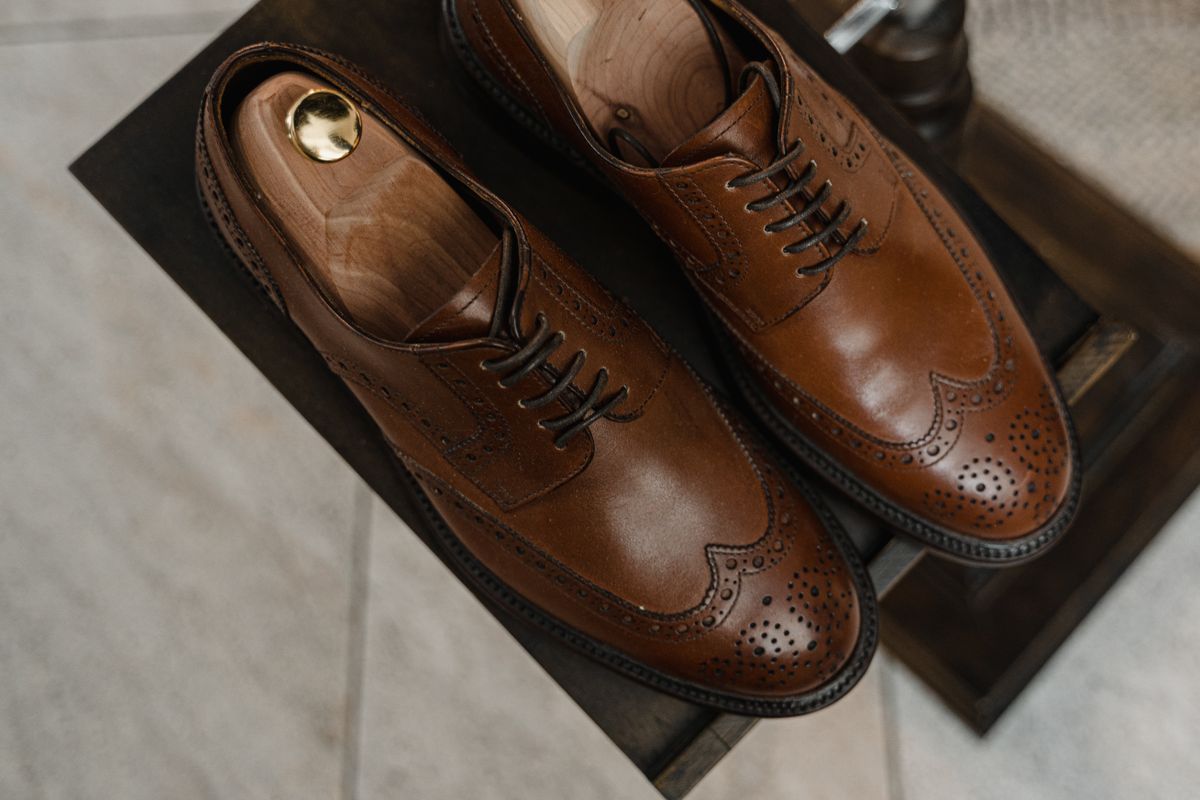
13. Dress Shoes on Shoe Trees in the Closet
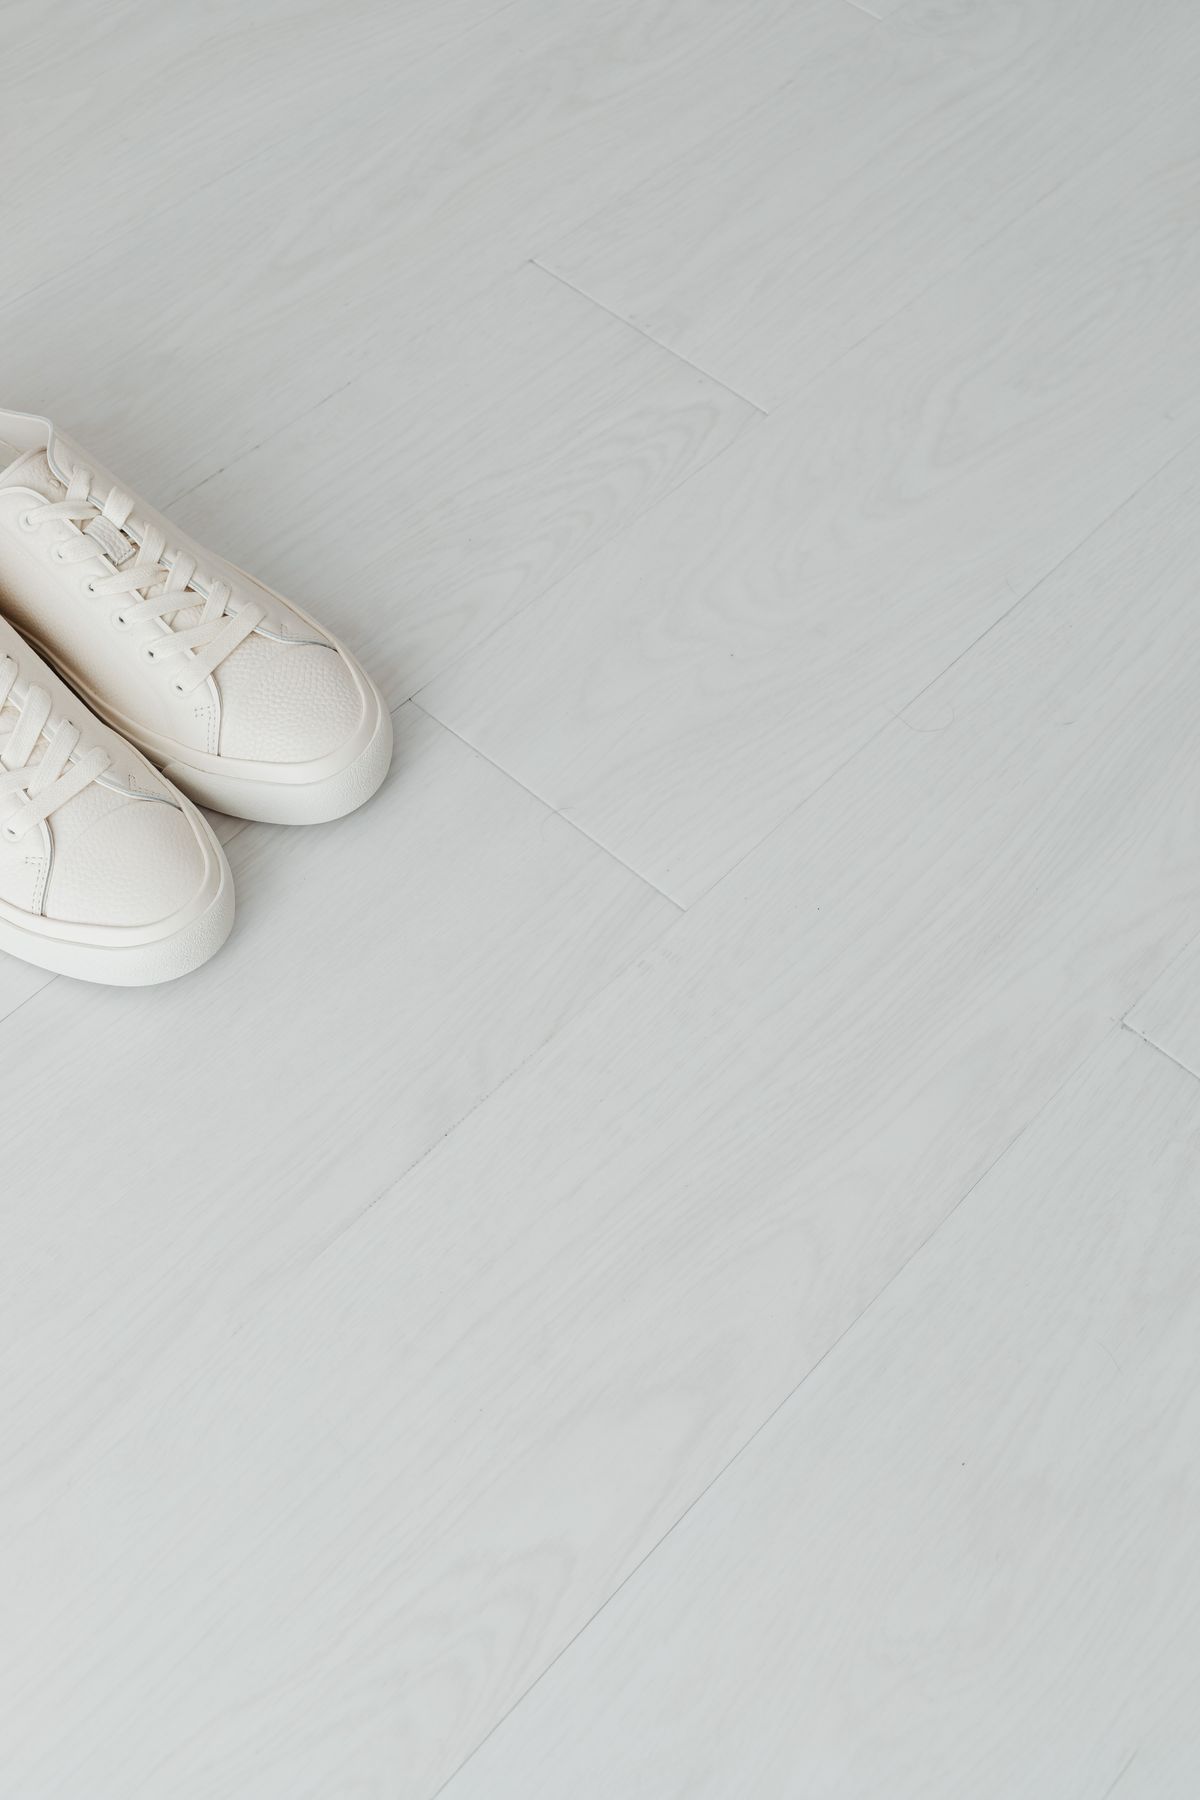
Dress shoes last far longer when they keep their shape, so my good leather pairs live on shoe trees on a dedicated closet shelf. The trees stop creasing, absorb moisture after wear, and make the shoes look cared for instead of crushed. I own three pairs of trees that rotate between my dress shoes, and I insert them the same evening I wear a pair, not the next morning when I have forgotten. This is not the cheapest idea, but one saved pair of leather shoes pays for the trees several times over. Cheap plastic trees work fine for most shoes; save cedar for the pairs you love most.
Pro Tip: Let leather shoes air for an hour before inserting trees, so trapped moisture does not stay inside the shoe.
Cost: $10–$25 per pair of trees | Time: 5 minutes per pair | Difficulty: Easy
14. A Narrow Rolling Cart for the Gap Beside the Door
Every small entryway has a wasted gap, and ours was the eight-inch space between the door frame and the wall. A narrow rolling cart with three tiers now fills it, holding slippers, dog-walking shoes, and shoe care supplies, and it pulls out for access. I measured the gap three times before ordering, and I am glad I did, because the first cart I liked was half an inch too wide. The cart has been in daily use for a year, and the wheels make cleaning behind it easy, which is a real bonus in a dusty hallway.
Pro Tip: Keep the cart’s top tier clear for the shoes you are wearing tomorrow, so mornings start without a search.
Cost: $25–$45 | Time: 20 minutes | Difficulty: Easy

15. Shoe Bags for Travel and Top-Shelf Storage
Pairs that travel or sit on the top shelf go into individual cloth shoe bags, which stop scuffs and keep dust off without the bulk of boxes. I use bags for dressy shoes and for the pairs I pack for trips, and each bag has a drawstring so it doubles as a packing cube. They weigh almost nothing and fold flat when empty, which boxes cannot do. The tradeoff is visibility: you cannot see what is inside a cloth bag, so I clip a small tag to each drawstring with the shoe name written on it.
Pro Tip: Stuff bags with tissue when shoes are stored long-term so they hold their shape inside the bag.
Cost: $1–$3 per bag | Time: 10 minutes | Difficulty: Easy

16. A Hallway Cabinet That Hides Everything
When open storage still looked messy to me, I switched to a slim cabinet with tilt-out compartments that hides shoes behind closed doors. It is twelve inches deep, holds eight pairs, and the hallway finally looks like a hallway instead of a shoe shop. Closing the doors takes one second, which is why this works better than boxes with lids: the barrier to tidying is tiny. It cost more than a rack and took an hour to assemble, but guests no longer see our shoe collection first thing. The downside is airflow, so I leave the doors ajar on wet days until shoes dry.
Pro Tip: Put a small sachet in each compartment to keep closed storage smelling fresh.
Cost: $70–$140 | Time: 1 hour | Difficulty: Moderate

17. A One-Pair-Out Rule for the Entryway
No furniture fixes a habit, so we made a rule: one pair of shoes per person may sit out by the door, and every other pair lives in the closet or a basket. It sounds strict, but it is the rule that makes all the other storage work, because the entryway can only hold so much no matter how clever the rack is. We started it after a weekend where I counted fourteen pairs by the door for a family of four. It took about two weeks for everyone to follow it without reminders, and now the rack holds what it was designed to hold. If you need a whole-house approach, also read these storage ideas for small spaces.
Pro Tip: Make the rule visible: a small note inside the door for the first month helps kids remember it.
Cost: $0 | Time: 0 minutes | Difficulty: Easy in theory, harder in practice
18. A Seasonal Swap Box in the Closet
The seasonal swap box is where off-season shoes wait their turn, and it is the single habit that keeps our small entryway from overflowing. One box per person, labeled by season, sits on the closet floor, and the swap happens when the weather genuinely changes, not on a calendar date. I do ours in about twenty minutes, trying on anything I am unsure about and passing on pairs that hurt or never get worn. The box has survived three years of swaps, and the entryway rack has never held more than current-season shoes since. For boots specifically, read this next: boot storage ideas.
Pro Tip: Photograph the contents of each swap box on your phone so you remember what is waiting without opening it.
Cost: $8–$15 per box | Time: 20 minutes per swap | Difficulty: Easy
Mistakes I Made (So You Don’t Have To)
First, I bought a rack without measuring, and it blocked the door swing by an inch, which annoyed me daily until I replaced it. Measure depth, width, and door clearance before you buy anything. Second, I put boots on an over-door organizer and bent the hooks, because heavy shoes do not belong on doors. Third, I stored shoes in closed boxes without labels and then bought a duplicate pair because I forgot what I owned. Fourth, I kept every pair by the door year-round, which meant no system could ever look tidy. The seasonal swap fixed that faster than any furniture.
Which Shoe Storage Idea Fits You?
| Idea | Best for | Cost | Effort |
|---|---|---|---|
| Slim rack | Daily shoes by the door | Low | Low |
| Storage bench | Hallways with sitting room | Medium | Medium |
| Over-door organizer | Renters and no-drill homes | Low | Low |
| Clear boxes | Dressy and off-season pairs | Low | Low |
| Hidden cabinet | People who hate visual clutter | Medium | Medium |
| Seasonal swap | Small entryways generally | Low | Low |
Frequently Asked Questions
How many pairs should live by the door in a small space?
In our house, the honest answer is one daily pair per person plus one spare pair for wet weather. Anything more belongs in the closet. When we tried two pairs per person, the rack overflowed within a week, and when we dropped to one, mornings actually got easier because there was no choosing to do.
How long did your shoe storage system actually last?
The rack, bench, and seasonal swap have lasted over a year with only small adjustments, and the over-door organizer is on its second year. What failed was anything I did not measure first or anything that asked kids to reach too high. Storage that fits the space and the person lasts; storage that fights either one does not.
What would you do differently if you started over?
I would measure everything first, start with the seasonal swap before buying furniture, and buy one size of clear box instead of a mix. I would also put the boot tray down on day one, because muddy floors were half the frustration all along.
How do I stop shoes from smelling in closed storage?
Let shoes dry fully before they go into any closed box or cabinet, and add a small sachet or a sprinkle of baking soda inside the shoe overnight before storing. In our house, shoes that went away damp always came back smelling worse, while shoes that dried first stayed fresh for months.
Final Thoughts
Small-space shoe storage is mostly about honesty: how many pairs you really wear, how deep your hallway really is, and whether your family will actually use the system. Start with the seasonal swap and a slim rack, add one closed option for dressy pairs, and give everyone a single defined spot. The hallway will not stay perfect, but it will stay passable, and on a school morning, that is a genuine win.