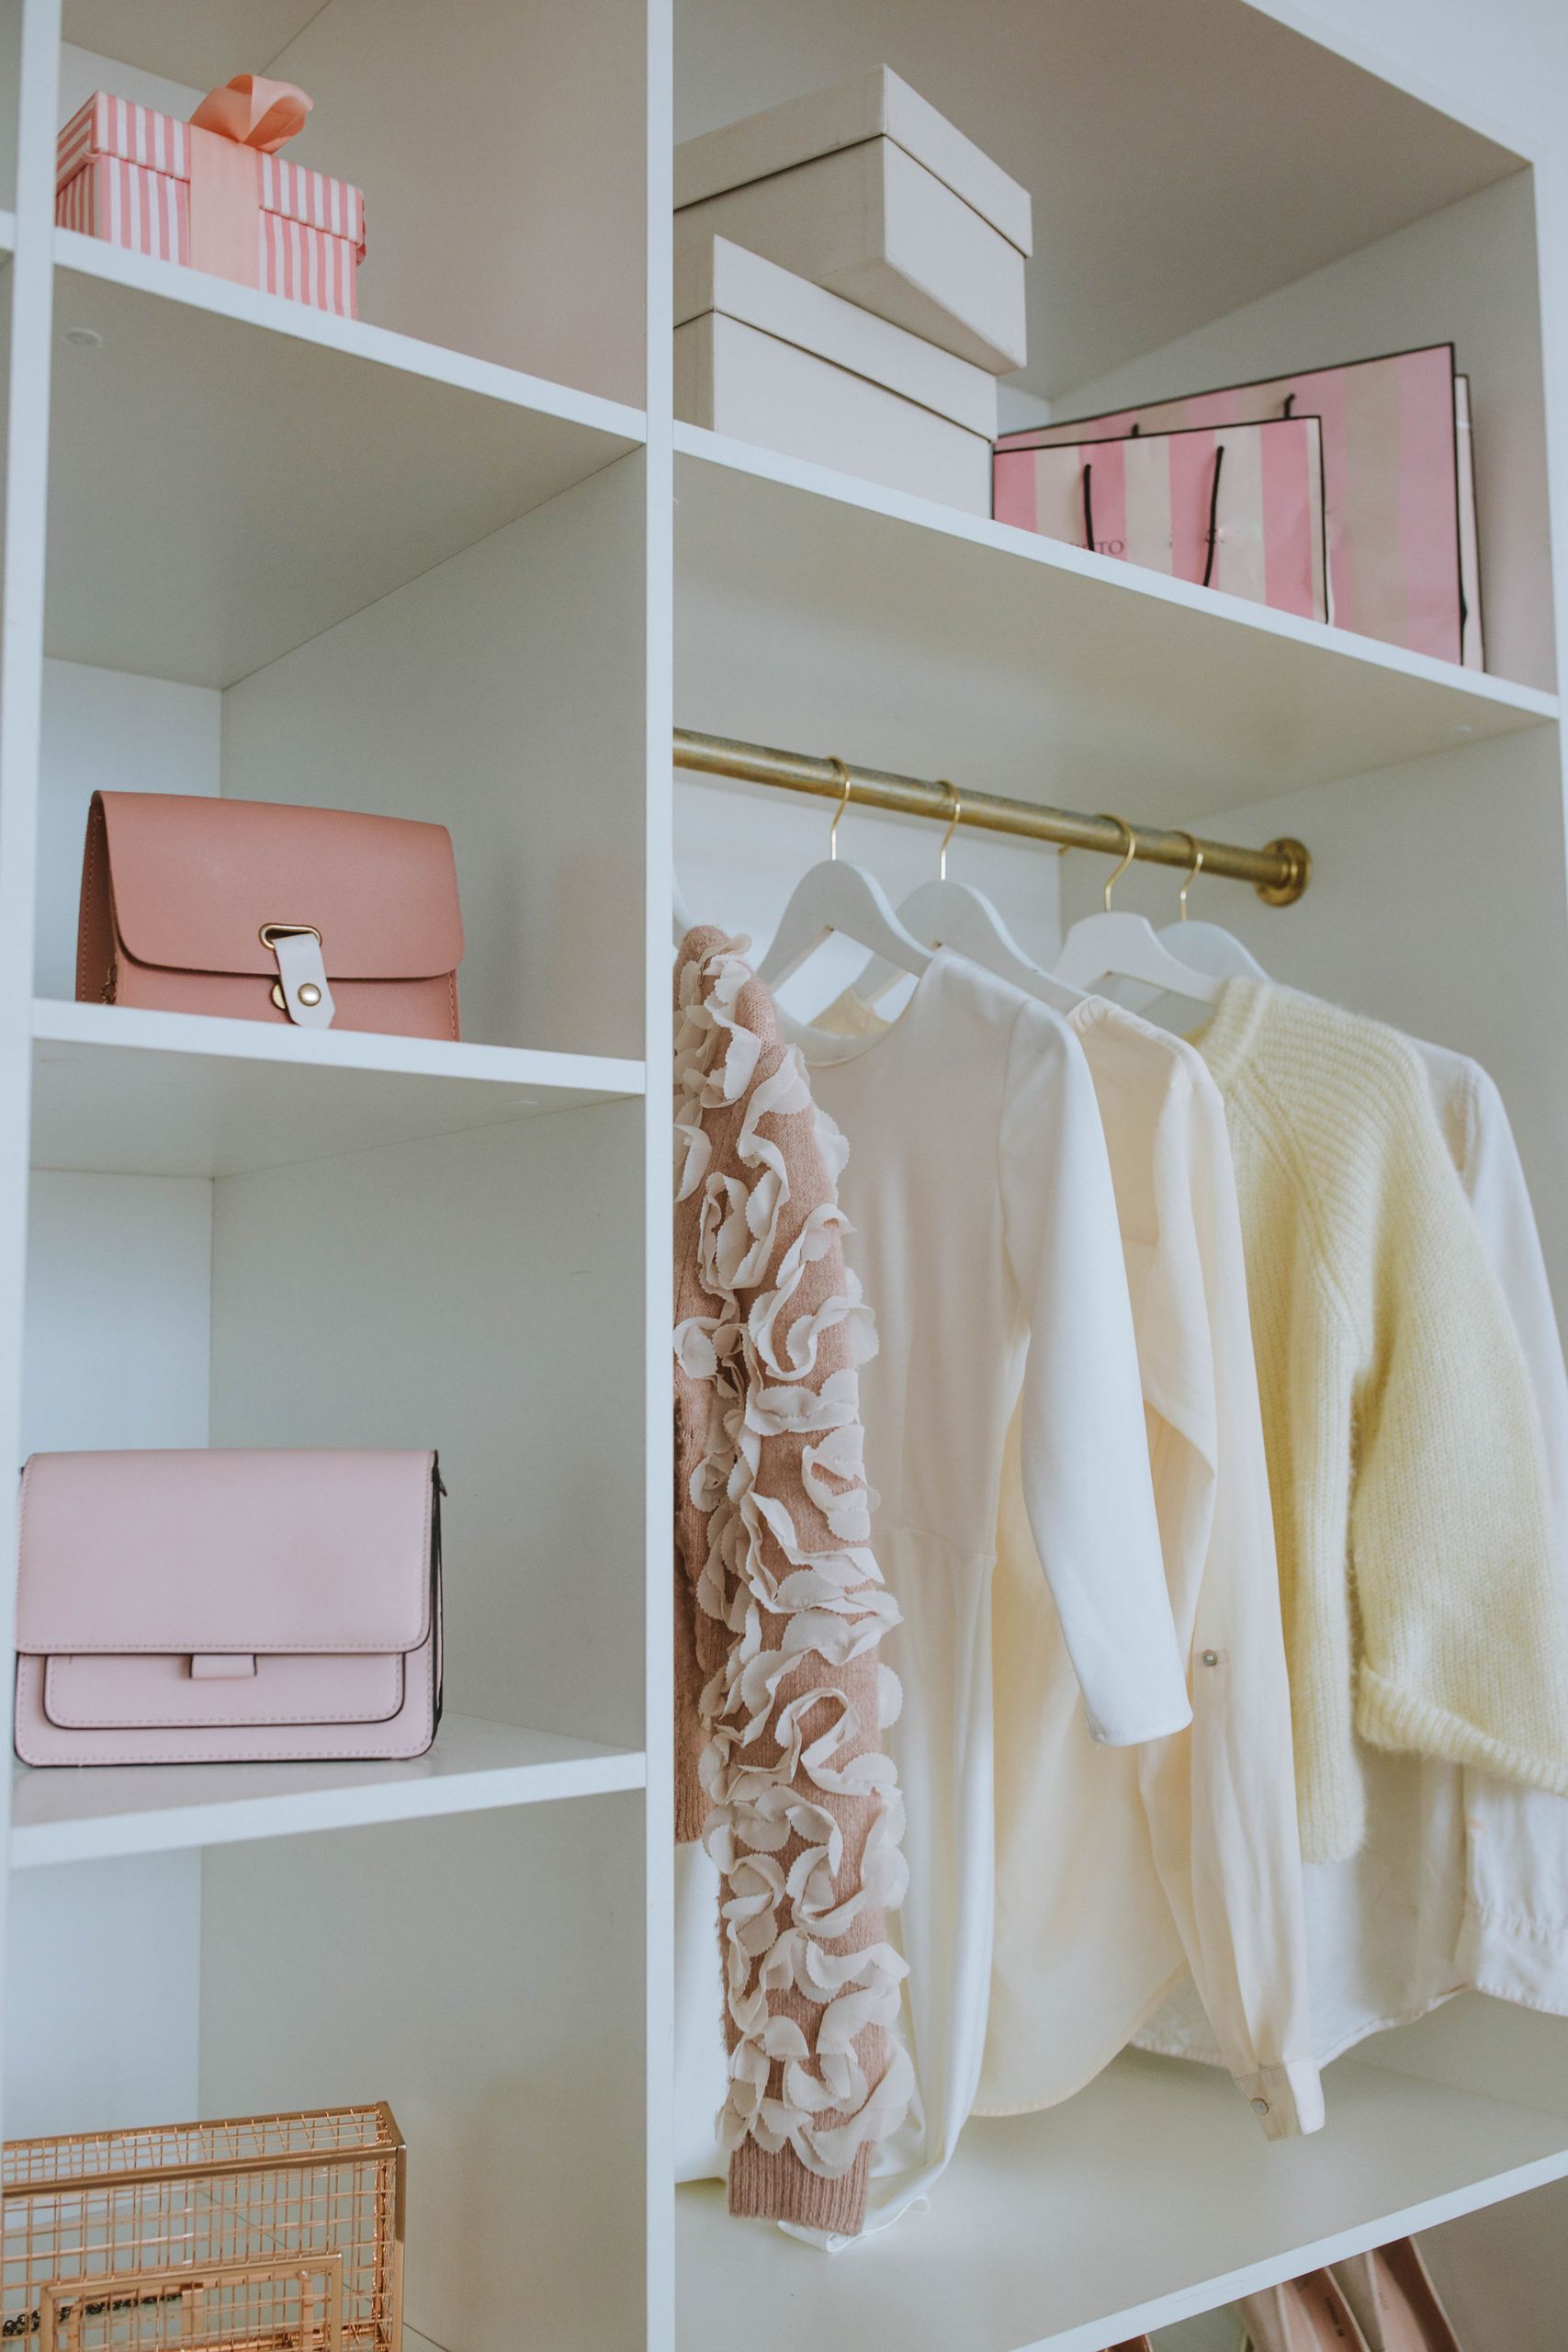
21 Closet Organization Ideas for Small Closets
My first apartment closet was barely three feet wide, and for years I blamed it for my morning chaos. These closet organization ideas are the ones that actually fixed it, tested in that tiny reach-in closet and later in two more small bedrooms. I picked them by one rule: every idea had to earn its space in a closet with no room to waste.
I tried each system for at least two weeks before keeping it, and I measured everything twice before buying a single bin. What follows is the honest version, including the ideas that flopped, the ones I still use daily, and the exact costs so you can start this weekend.
Key Takeaways
- Double your hanging space with a second rod before you buy anything else.
- Folded clothes stay put only with dividers, bins, or a file-fold system.
- The door, the floor, and the top shelf are your three most wasted zones.
- Labels and a weekly five-minute reset are what keep a small closet tidy long-term.
Related article: clothing organization ideas
1. Add a Second Hanging Rod

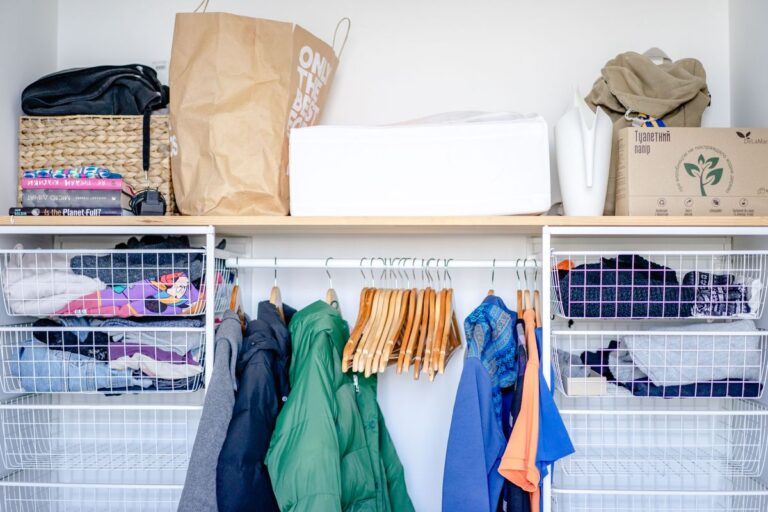
A second rod is the single biggest win I have ever had in a small closet. I hung an adjustable rod about 40 inches below the existing one, which instantly gave me two full rows for shirts, blouses, and folded-over pants. Long coats and dresses still live at one end where the rod stays single-height.
I measured from the floor first and left 42 inches of clearance for the top row so nothing brushed the lower clothes. My morning routine got noticeably faster, because I could finally see everything instead of digging through one crowded rail. The honest downside is that two packed rows can look busy, so I keep the lower row to my most-worn pieces only.
Pro Tip: Leave a 6-inch gap at one end of the lower rod for long items, and hang them there instead of squeezing them in.
Cost: $12–$25 | Time: 30 minutes | Difficulty: Easy
2. Divide Shelves So Folded Stacks Stay Put

My folded stacks used to topple every time I pulled out one sweater, and the whole shelf would slide into a sad pile. Clip-on shelf dividers changed that overnight. I spaced them about 10 inches apart and gave each stack its own lane for tees, jeans, and knitwear.
I learned to fold everything to roughly the same width so the stacks sit square, and I never stack higher than eight items. The first week felt fussy, but by week two I was reaching for things without thinking. The downside is that dividers eat about an inch of shelf width each, so on very narrow shelves I use just two per shelf.
Pro Tip: Fold knits to the width of the divider lane, not the full shelf, so nothing leans on its neighbor.
Cost: $10–$18 for a pack | Time: 20 minutes | Difficulty: Easy
3. Switch to Slim Velvet Hangers

I resisted slim hangers for years because my old plastic ones felt fine, until I counted and realized they were eating almost a third of my rod. Velvet hangers are barely a quarter-inch thick, and swapping them freed roughly eight inches of rail in my closet, which fit six more garments.
The velvet grip also stopped my silky blouses from sliding off, which had been a daily annoyance. I switched in stages, one section at a time, because doing the whole closet at once felt overwhelming. One warning: the hooks are thinner, so very heavy coats can bend them, and I still use sturdy wooden hangers for winter wool coats.
Pro Tip: Keep a small bag of spare velvet hangers on the top shelf so new clothes never end up on a bulky hanger.
Cost: $15–$25 for 50 | Time: 1 hour | Difficulty: Easy
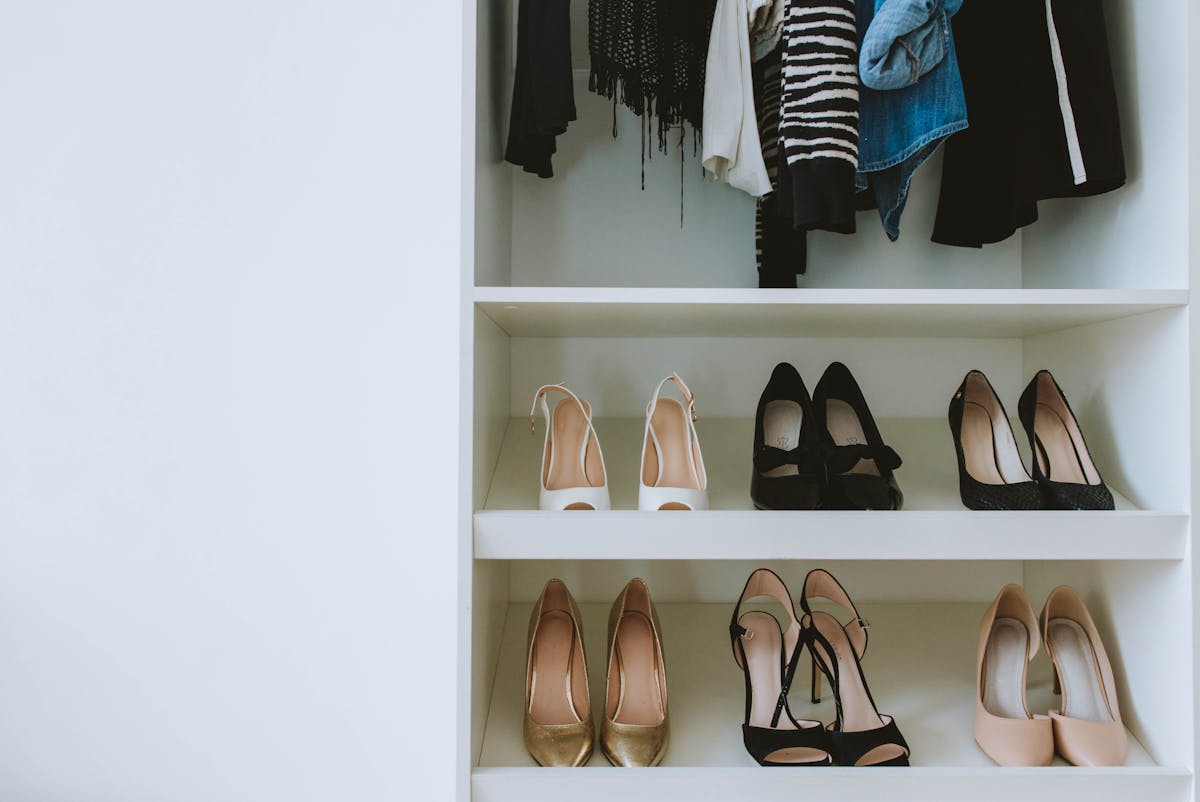
4. Give Shoes Their Own Low Shelf

Shoes were my closet’s floor monster, a jumbled pile I tripped over every morning. A simple two-tier shoe shelf along the closet floor fixed it, with everyday pairs on top and boots below. I measured my tallest boots first so the shelf height actually worked instead of guessing.
Now I can see every pair at a glance, and the floor stays clear enough to vacuum. I limit the shelf to the pairs I wear weekly, and the rest live in a bin elsewhere. The honest downside is that a shelf tempts you to keep shoes you never wear, so I do a ruthless pair-count every season and donate anything unworn for a year.
Pro Tip: Store shoes heel-out so you can grab a pair with one hand, and keep a small brush nearby for quick cleans.
Cost: $20–$40 | Time: 30 minutes | Difficulty: Easy
5. Use an Over-the-Door Organizer
The back of my closet door sat empty for years while my shelves overflowed, which now feels silly. A clear over-the-door organizer with tall pockets holds my flats, scarves, belts, and small bags, all visible without opening a single box. I hung it on two sturdy hooks and it has not slipped once.
Clear pockets matter more than I expected, because I actually use what I can see. I keep heavy items low so the door swings smoothly, and I never overload the bottom row. The downside is that a stuffed organizer makes the door hard to close, so I cap it at one item per pocket and move overflow elsewhere.
Pro Tip: Reserve the eye-level pockets for daily items and the bottom row for backups, so the weight stays balanced.
Cost: $12–$20 | Time: 15 minutes | Difficulty: Easy
6. Put Clear Labeled Bins on the Top Shelf

My top shelf was a graveyard of mystery bags until I switched to clear bins with big labels. Each bin holds one category, like swimwear, winter accessories, or formal pieces I rarely wear. Because I can see inside, I stopped buying duplicates of things I already owned.
I chose bins with handles so I can pull one down safely with both hands, and I keep a small step stool right beside the closet. The labels face outward, which sounds obvious but took me two tries to get right. The downside is that clear bins show every wrinkle and odd item, so if that bothers you, use frosted bins with bold labels instead.
Pro Tip: Label the short end of each bin, not the lid, so you can read it while the bin sits on the shelf.
Cost: $4–$8 per bin | Time: 45 minutes | Difficulty: Easy
7. Hang Fabric Shelves for Soft Items

When I rented a place where I could not drill a single hole, hanging fabric shelves saved me. They hook right onto the existing rod and create six soft cubbies for tees, leggings, and kids’ clothes. I rolled the edges of each cubby slightly so small items would not slide out.
They are cheap, renter-friendly, and take about two minutes to install, which is why I recommend them to every renter I know. The fabric sides do sag under heavy jeans, so I keep those on the rod instead. Mine lasted three years before the stitching gave out, which felt fair for the price, and I replaced it with a sturdier canvas version.
Pro Tip: Put the heaviest items in the bottom cubby so the whole unit hangs straight instead of leaning.
Cost: $12–$22 | Time: 5 minutes | Difficulty: Easy
8. Match Your Hangers and Sort by Color

Matching hangers sound like a purely cosmetic trick, but they genuinely changed how my closet feels. When every hanger is the same slim profile, clothes hang at one even height and I can spot gaps instantly. I sorted by category first, then by color from light to dark within each group.
Getting dressed is faster now because my eye goes straight to the right section, and the closet looks calmer, which honestly makes me want to keep it tidy. I did this on a rainy Sunday with a podcast on, and it took under an hour. The downside is that it is a little fussy to maintain, so I re-sort only when I do a seasonal swap, not weekly.
Pro Tip: Sort by sleeve length within each color group too, so outfits come together without shuffling hangers.
Cost: $0 if hangers already match | Time: 1 hour | Difficulty: Easy
9. Store Handbags Upright on a Shelf
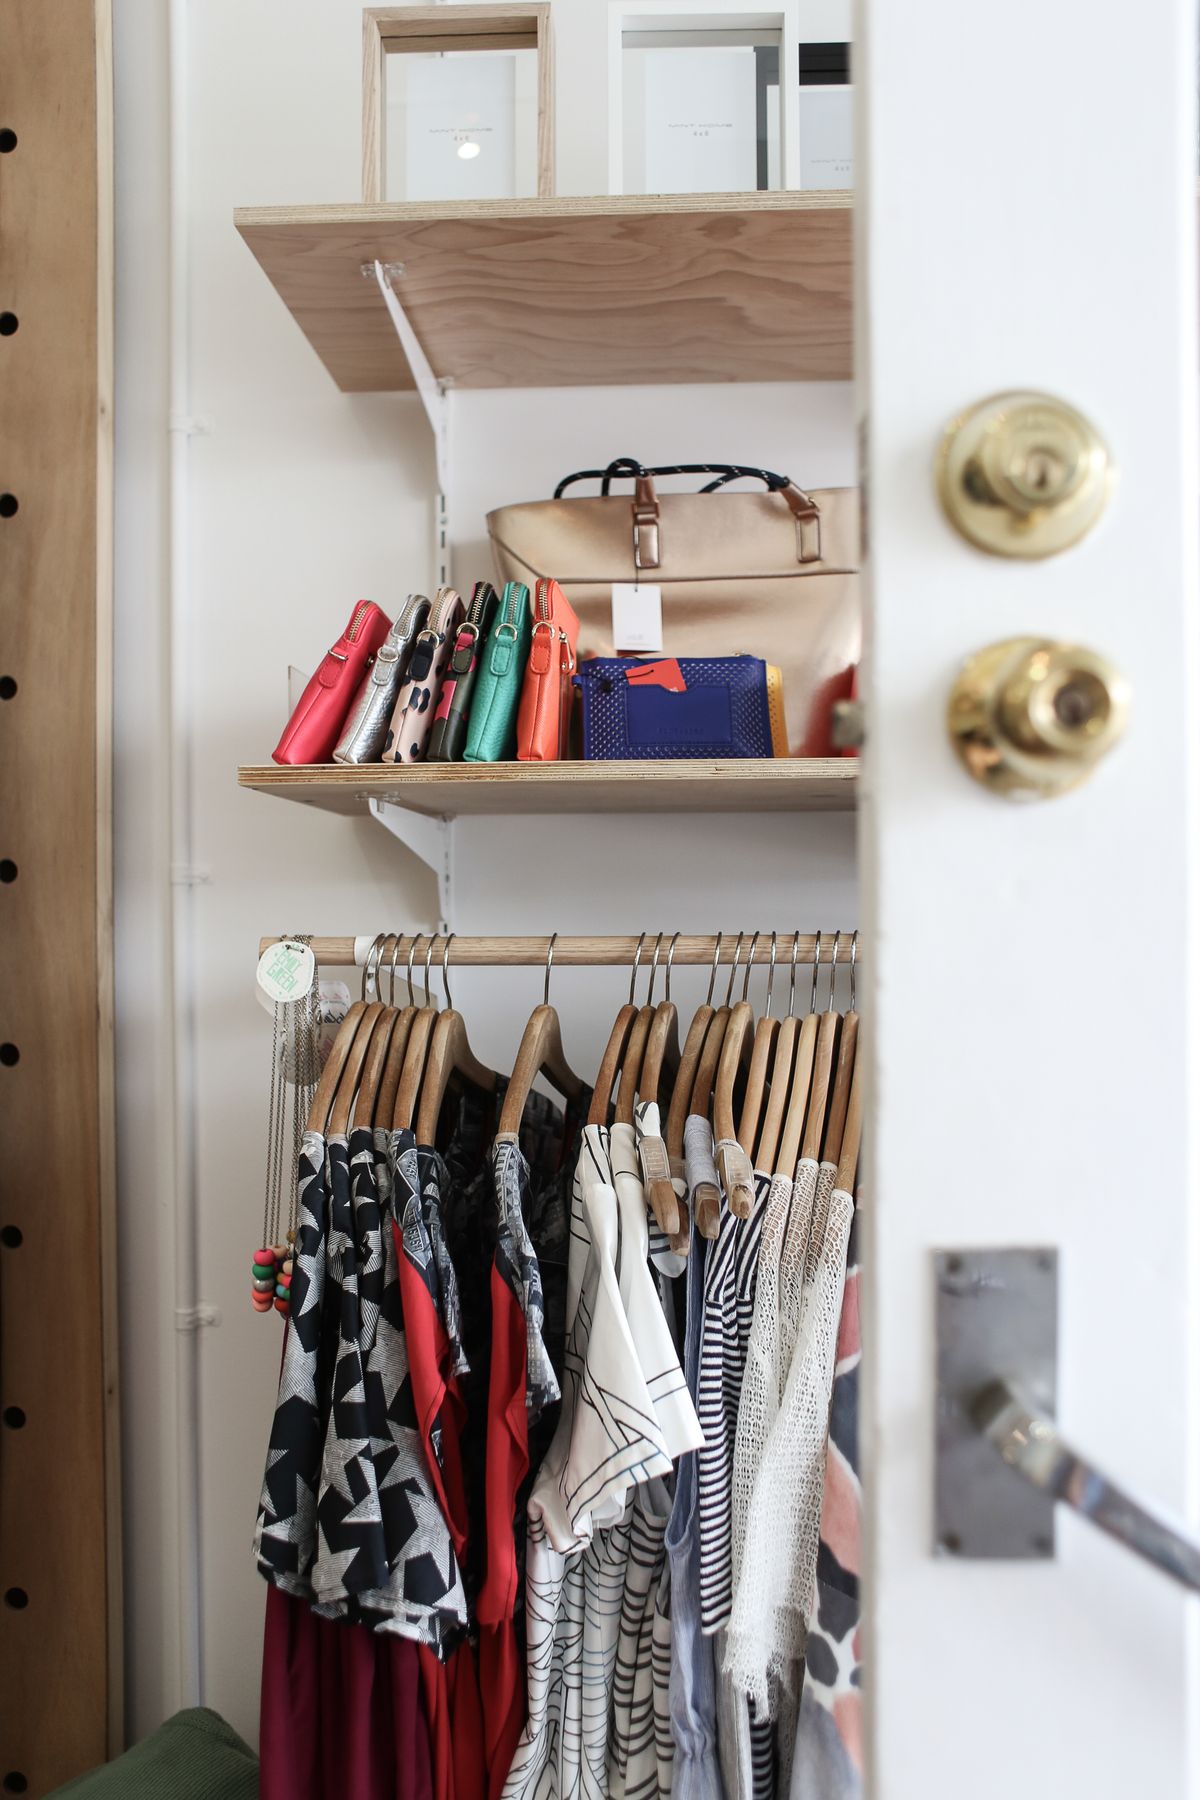
My handbags used to live in a heap on the closet floor, which creased the leather and made me forget half of them. Now each bag stands upright on a shelf, stuffed lightly with tissue so it holds its shape. I use small shelf dividers between bags so they do not lean on each other.
Seeing them all lined up means I actually rotate through my collection instead of grabbing the same tote daily. I keep the two I use most at eye level and the occasion bags higher up. The downside is that upright storage eats shelf space fast, so I cap my collection at what fits on one shelf and sell or donate the rest.
Pro Tip: Stuff bags with acid-free tissue, not newspaper, so ink never transfers onto light-colored linings.
Cost: $0–$15 for dividers | Time: 30 minutes | Difficulty: Easy
10. Hang Scarves and Belts on Rings and Hooks

Scarves and belts were my tangle champions, knotted together in a drawer I dreaded opening. A shower-curtain-ring trick fixed it: I thread each scarf through its own ring on a single hanger, and belts hang on adhesive hooks inside the closet wall. Everything is visible and nothing knots.
I grouped scarves by season so winter woolies sit together and summer silks live at the other end. The first time I tried this I overloaded one hanger and it bent, so now I cap it at eight scarves per hanger. The honest downside is that very chunky knit scarves still need a shelf, because rings make them bunch up.
Pro Tip: Use one ring per scarf, never two, or you will be back to untangling knots within a week.
Cost: $3–$10 | Time: 20 minutes | Difficulty: Easy
Also read: linen closet organization ideas
11. Rotate Seasonal Clothes Into Labeled Bags

Seasonal rotation gave me back nearly a third of my closet, which felt like moving into a bigger room. Twice a year I pack out-of-season clothes into labeled vacuum bags and store them on the top shelf or under the bed. The key is labeling by category, not just season, so I can find my winter sweaters without opening four bags.
I wash everything before packing, because body oil and perfume can stain fabric in storage. The first year I skipped labels and spent an afternoon hunting for one coat, a mistake I have not repeated. Vacuum bags do wrinkle clothes, so I only use them for sturdy items and keep delicates in breathable cotton bags.
Pro Tip: Tuck a cedar block or lavender sachet into each bag to keep stored clothes smelling fresh for months.
Cost: $10–$20 for bags | Time: 2 hours twice a year | Difficulty: Easy
12. File-Fold Your Drawers

File folding, where clothes stand upright like files, turned my deepest drawer from a black hole into a readable menu. I fold tees and leggings into rectangles about the height of the drawer, then line them up so I can see every single item at once. Nothing gets buried anymore.
I learned the fold from a video and practiced on ten shirts before committing, which took one evening. The system only works if you refold after laundry instead of tossing things in, and I will admit I skip it when I am tired. The upside is huge though: I stopped buying duplicate black tees because I could finally see the three I already owned.
Pro Tip: Use small drawer dividers as bookends so the file-folded rows do not collapse when the drawer is half empty.
Cost: $0–$12 for dividers | Time: 1 hour | Difficulty: Easy
13. Never Hang Heavy Knits

I ruined a favorite chunky sweater by hanging it all winter, and it came down with stretched-out shoulders I could never fix. Heavy knits belong folded on a shelf, never on a hanger, because gravity pulls the fibers out of shape over weeks. Now my sweaters live in two neat stacks on the middle shelf.
I fold them loosely rather than pressing them flat, which keeps them from creasing badly. Cashmere and wool get their own stack, separate from everyday cotton knits, so I am not digging through everything. The downside is that folded sweaters take more shelf space than hanging ones, so I keep only the knits I truly wear and store the rest seasonally.
Pro Tip: Fold sweaters with tissue paper between layers if you stack more than five high, to reduce creasing.
Cost: $0 | Time: 20 minutes | Difficulty: Easy
14. Keep Jewelry in a Lined Tray
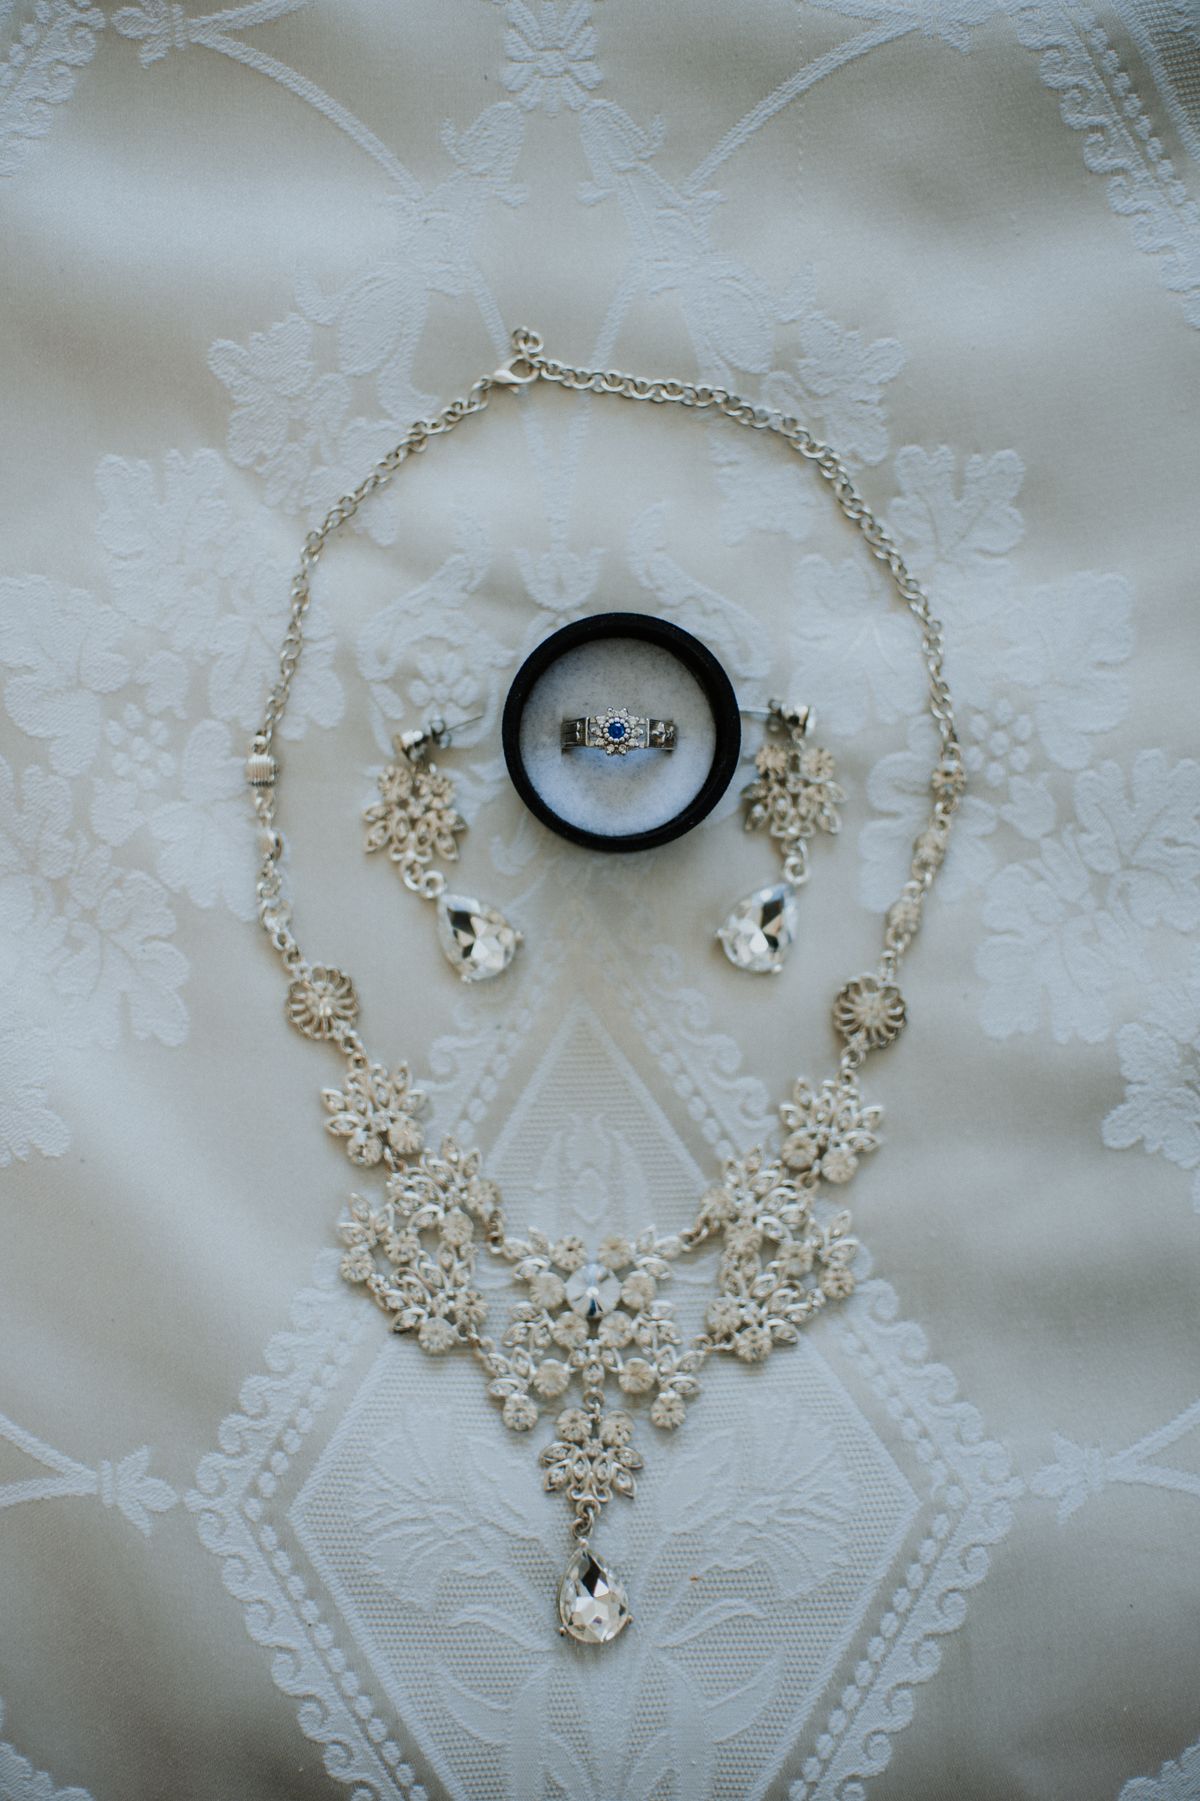
My necklaces used to live in a tangled ball in a drawer, and untangling them before work was a miserable ritual. A shallow lined tray with compartments now sits on my closet shelf, with necklaces draped over small hooks, earrings paired in slots, and rings in a row. I can see everything in one glance.
I chose a tray with a lid because closet dust settles fast, and the lid keeps silver from tarnishing as quickly. The habit that made it stick was putting jewelry away the moment I took it off, not later. The downside is that a tray fills up fast, so I keep only pieces I wear monthly and store sentimental extras in a separate box.
Pro Tip: Hang long necklaces on tiny adhesive hooks inside the closet door if your tray runs out of room.
Cost: $15–$30 | Time: 30 minutes | Difficulty: Easy
15. Hang Hats on Clips or Hooks

Hats are awkward closet citizens, too bulky for shelves and too crushable for piles. I hang mine on shower rings clipped to a hanger for baseball caps, and on individual wall hooks for structured hats. Each hat keeps its shape and I can grab one without disturbing the rest.
I learned this after crushing a favorite sun hat under a stack of sweaters, which still annoys me. Caps go on one hanger by the door for daily use, and dressier hats live higher up. The downside is that hooks take wall space, so in a very narrow closet I use the door instead. Either way, hats finally stopped migrating to random chairs around the house.
Pro Tip: Clip caps by the back strap, not the brim, so the brim never bends out of shape.
Cost: $5–$12 | Time: 20 minutes | Difficulty: Easy
16. Lower the Rod in a Kids’ Closet

My daughter’s closet stayed messy until I lowered her rod to her height, because she simply could not reach anything I had hung for her. A second rod at about 36 inches from the floor let her hang up her own clothes, and within a week she was doing it without being asked. That independence was worth more than the tidiness.
I used an adjustable tension rod so I can raise it as she grows, which means I will not need to re-drill anything next year. Her shoes sit in a low basket she can reach, and outfits for school go on the front five hangers. The downside is that kids still need a weekly check, because everything ends up on one hanger if you never look.
Pro Tip: Put five empty hangers at the front of a kids’ rod every Sunday so the week’s outfits have a visible home.
Cost: $10–$18 | Time: 20 minutes | Difficulty: Easy
17. Keep Sorting Bins on the Closet Floor

The best habit I built for my small closet is a trio of small bins on the floor: keep, mend, and donate. When I try something on and it does not work, it goes straight into a bin instead of back onto a hanger where it will sit unworn for another year. The bins are small on purpose, so they force decisions.
Every month I empty the donate bin into a bag by the door, and the mend bin goes to my sewing basket on the first Sunday. This stopped the slow creep of clothes I no longer loved. The downside is that bins on the floor eat floor space, so I use slim ones that slide under the hanging clothes and never let them overflow.
Pro Tip: Label the bins on the outside in big letters, or the system quietly becomes three junk bins.
Cost: $8–$15 | Time: 15 minutes | Difficulty: Easy
18. Slide Baskets Under Shelves

The dead space under each shelf was wasted for years until I slid shallow baskets underneath. They hold socks, underwear, and accessories that would otherwise pile up in drawers, and I can pull a basket out like a drawer. Wire baskets work best because I can see what is inside without lifting them down.
I measured the gap before buying, because one basket that was half an inch too tall taught me that lesson the hard way. Now each basket has one job, and I never mix categories. The downside is that under-shelf baskets can snag long sleeves hanging nearby, so I keep them on shelves above folded items only, never above hanging clothes.
Pro Tip: Choose baskets with a front handle and an open top so you can grab items one-handed in the morning.
Cost: $6–$12 each | Time: 20 minutes | Difficulty: Easy
19. Build a Color-Coded Capsule Section

A capsule section is my shortcut on busy mornings: about twenty pieces that all work together, hung at the front of the closet in color order. I built it by pulling my most-worn neutrals and two accent colors, then moving everything else to the back. Getting dressed now takes minutes because every combination already works.
I refresh the capsule each season, which doubles as my closet audit, and pieces that never make the cut get donated. The first time I tried this I made the capsule too big and it lost its point, so now I cap it at one rod section. The downside is that it takes discipline to keep it small, but the time saved every morning is real.
Pro Tip: Photograph your capsule once it is set, so you can rebuild it quickly after laundry day chaos.
Cost: $0 | Time: 1 hour per season | Difficulty: Easy
20. Keep a Next-Size Bin for Kids’ Clothes

Kids outgrow clothes so fast that my daughter’s closet was half full of things she could not wear. A single labeled bin on the top shelf now holds the next size up, washed and ready, so hand-me-downs and sale finds have a home instead of cluttering the rod. When she grows, I swap the bin’s contents in and start a new one.
I label the bin with the size, not the season, because sizes matter more than weather when kids grow mid-year. This saved me real money too, since I stopped buying duplicates of things already waiting in the bin. The downside is that you must check the bin before shopping, or you will still buy things you already own.
Pro Tip: Wash and fold next-size clothes before binning them, or they will sit dirty and unworn when growth spurts hit.
Cost: $4–$8 for one bin | Time: 30 minutes | Difficulty: Easy
21. Keep a Closet Inventory List

My closet inventory list sounds nerdy, but it stopped my duplicate buying cold. It is a simple phone note with categories and counts, like black tees: three, white shirts: two, updated every season. Before shopping I check the list, and I no longer come home with a fourth identical sweater.
I started the list after finding three unworn navy cardigans in one audit, which was embarrassing enough to change my habits. Photos help too: I snap one picture of each shelf after organizing, so I can restore order after a rushed week. The downside is that the list only works if you update it, so I tie it to my seasonal swap and never skip that step.
Pro Tip: Keep the list in your phone’s notes app, not on paper, so it is with you in every store.
Cost: $0 | Time: 30 minutes per season | Difficulty: Easy
Closet Organization Ideas at a Glance
| Idea | Best for | Cost | Effort |
|---|---|---|---|
| Double rod | Small reach-in closets | $12–$25 | Low |
| Shelf dividers | Folded stacks | $10–$18 | Low |
| Slim hangers | Crowded rods | $15–$25 | Low |
| Shoe shelf | Floor clutter | $20–$40 | Low |
| Over-door organizer | Renters, no drilling | $12–$20 | Low |
| Clear top-shelf bins | Seasonal and rarely worn | $4–$8 each | Low |
| Seasonal rotation | Tiny wardrobes | $10–$20 | Medium |
Mistakes I Made (So You Don’t Have To)
Mistake 1: I bought matching bins before sorting anything, and ended up with beautiful containers in the wrong sizes. Sort first, measure second, buy last.
Mistake 2: I hung heavy sweaters for a whole winter and stretched the shoulders beyond repair. Fold knits, always.
Mistake 3: I filled every inch of rod and shelf, and the closet looked messy again within a week. Leave one empty section on purpose for new clothes and daily outfits.
Mistake 4: I skipped labels for months because I was sure I would remember what was where. I did not, and neither will you.
Frequently Asked Questions
How do I organize a very small closet with no shelves?
Start with a double rod and a hanging fabric shelf unit, which need no drilling. Add an over-the-door organizer for small items and one shoe shelf on the floor. That combination doubled the usable space in my first apartment closet.
What is the cheapest way to organize a small closet?
A second tension rod, slim hangers, and two clear bins cost under $50 total. Declutter first, because no organizer fixes a closet holding twice what you wear.
How do I keep a small closet organized long-term?
Do a five-minute reset every Sunday, keep a donate bin on the floor, and follow one-in, one-out for new purchases.
Should I fold or hang most of my clothes?
Hang blouses, dresses, and jackets, which wrinkle or lose shape when folded. Fold knits, tees, jeans, and leggings, which stack neatly.
Final Thoughts
A small closet does not need a renovation, it needs a system that fits what you actually own. Start with the double rod, add dividers where stacks fall over, and give shoes and bags a real home instead of the floor.
Pick one idea from this list this weekend and live with it for two weeks before adding another. That slow pace is how my tiny closet finally stayed tidy, and it is how yours will too.
Read this next: storage ideas for small spaces

2 Comments