Winter Closet Organization Ideas
Winter mornings used to defeat me before I even left the house. Coats buried other coats, sweaters stretched on hangers, and one glove always went missing. These winter closet organization ideas are the fixes that finally made my closet work on cold, dark, busy mornings.
I picked these ideas by testing them in my own closet over two winters, keeping only the ones that survived real life: wet boots, laundry piles, and rushed mornings. I kept what saved time, and I dropped what only looked tidy in a photo.
Related article: closet organization ideas if you want the year-round basics first, because several winter ideas build on them.
Key Takeaways
- Audit the closet first, then give coats, sweaters, and boots each their own zone.
- Fold knits instead of hanging them, and sort by weight and colour so you actually wear what you own.
- An entryway station with hooks, a boot tray, and one accessory basket stops clutter at the door.
- Edit coats to one per job and keep a small capsule at the front for rushed mornings.
Winter Closet Organization Ideas That Survive Real Mornings
1. Start With a Full Closet Audit

Every winter, I start by taking everything out of the closet. It sounds dramatic, but it is the only way I have found to see what I actually own. Last year I found two identical black coats and a scarf I thought I had lost. The audit takes an afternoon, but it makes every other idea on this list work.
The honest downside is the mess in the middle: your bedroom looks like a clothing store exploded. I do it on a Saturday morning with coffee and music, and I refuse to start unless I have time to finish the same day.
Pro Tip: Make three piles as you audit: keep, repair, and donate, and bag the donations before you put anything back.
Cost: $0 | Time: 2-3 hours | Difficulty: Easy
2. Give Coats Their Own Zone

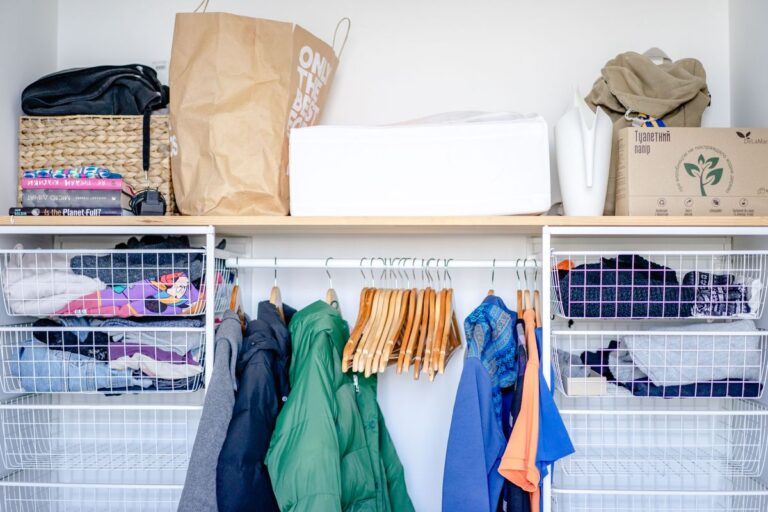
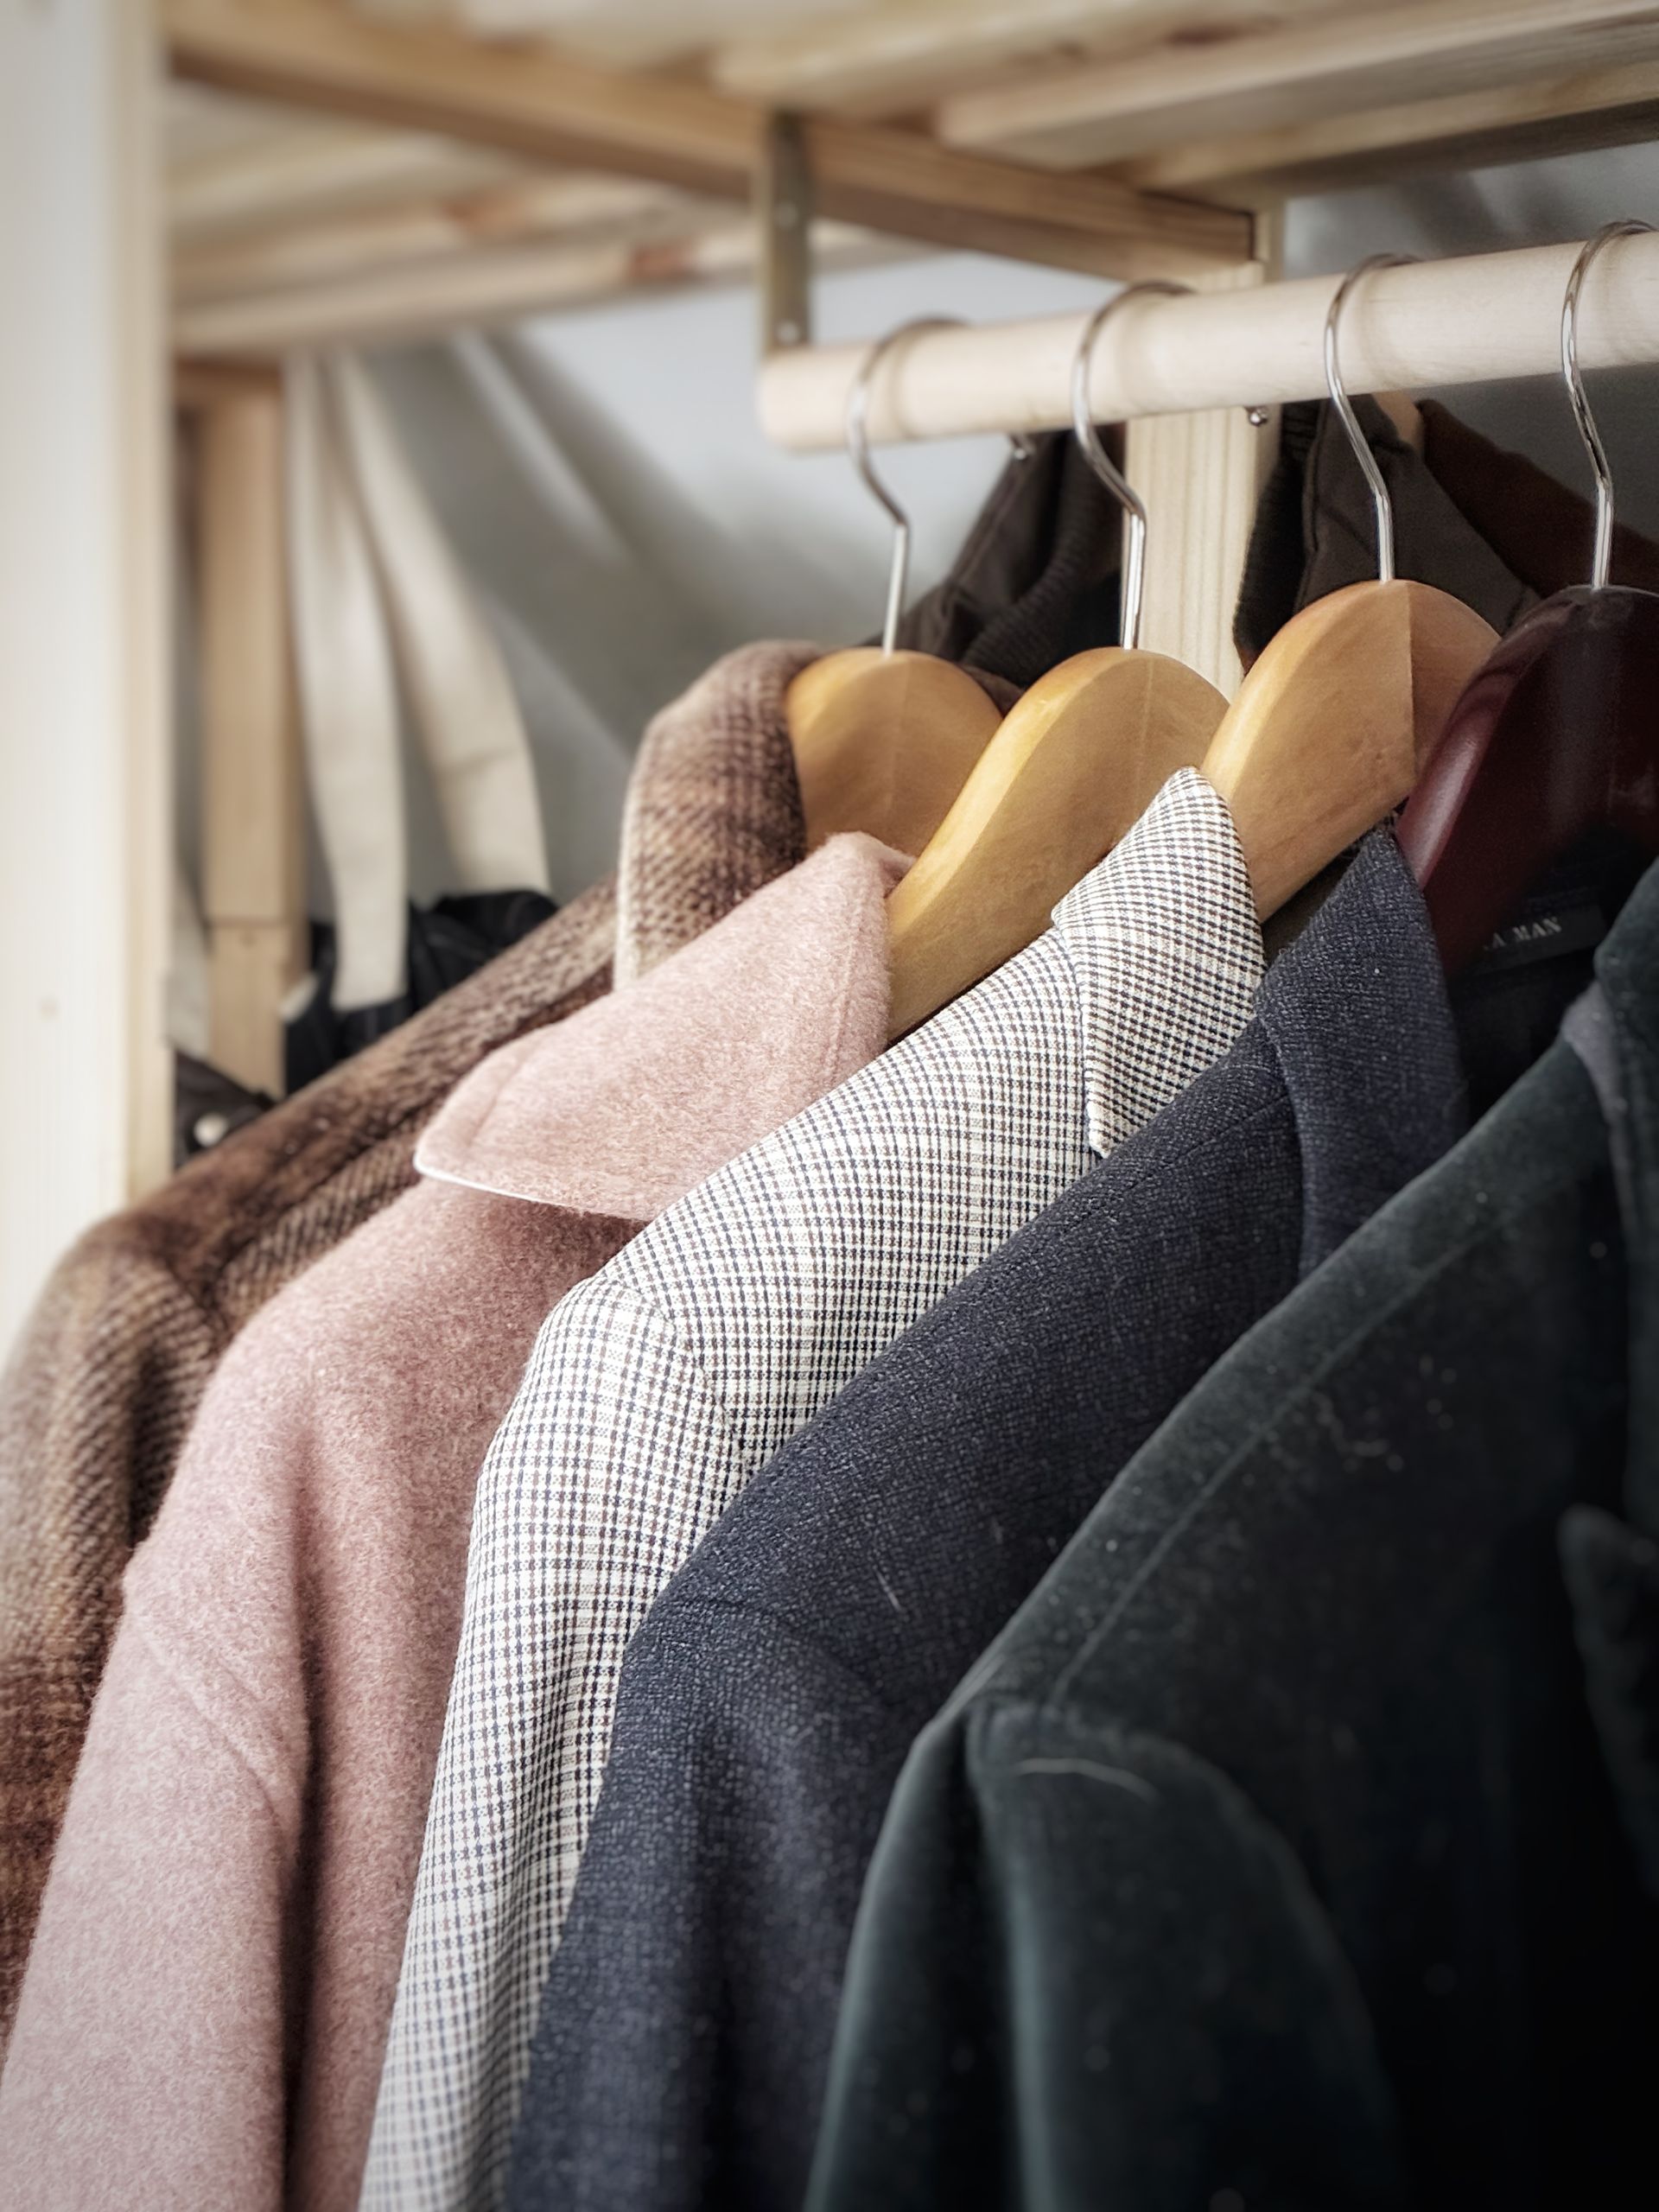
Coats used to swallow my whole closet, because they hung wherever there was space. Now they have their own zone at one end of the rail, and everything else hangs after them. Getting dressed is faster, because I am not pushing past jackets to find a sweater, and the coats stop wrinkling each other.
The zone only works if it has a limit. Mine holds five coats, and when a sixth arrives, one has to go. I broke this rule once, and within a month the coats had colonised the whole rail again.
Pro Tip: Hang coats with space between them so heavy wool can breathe and dry properly after wet days.
Cost: $0 | Time: 20 minutes | Difficulty: Easy
3. Fold Sweaters, Never Hang Them

I hung my sweaters for years, and every one of them developed stretched shoulders and little hanger bumps. Folding changed everything: my knits keep their shape, I can see them all at a glance, and the hanging rail has room for things that actually need hangers. It is the single best thing I did for my winter wardrobe.
Folding does take a few minutes longer than hanging, and a tall stack can topple if you pull from the bottom. I keep stacks low, no more than five sweaters high, and the problem disappeared.
Pro Tip: Fold sweaters the same way every time so stacks stay neat and you can pull one out without disturbing the rest.
Cost: $0 | Time: 30 minutes | Difficulty: Easy
4. Stack Sweaters by Weight

Once I started folding, I went one step further and stacked by weight: heavy knits at the bottom, light layers on top. It stops the heavy sweaters from crushing the delicate ones, and it matches how I actually dress, because I reach for light layers first and heavy knits when it truly turns cold.
The catch is that the bottom sweaters get ignored, because reaching for them means lifting the stack. I rotate the bottom sweater to the top once a month, and that keeps everything in circulation.
Pro Tip: Put your most-worn sweater in the middle of the stack, where it is easiest to grab without toppling anything.
Cost: $0 | Time: 15 minutes | Difficulty: Easy
5. Sort Knits by Colour

Sorting my folded knits by colour felt like a luxury until I tried it. Now I can find a cream sweater without unfolding four grey ones, and getting dressed takes half the time. It also shows me my real habits: I own far too much grey, and I stopped buying grey sweaters the moment I saw the stack.
Colour sorting does fall apart after laundry day if you are in a hurry. I keep it simple with broad groups, darks, neutrals, and brights, instead of a perfect rainbow that nobody maintains.
Pro Tip: Put brights at the front of the shelf so they get worn, not just admired, all winter long.
Cost: $0 | Time: 20 minutes | Difficulty: Easy
6. Build an Entryway Coat Station

The entryway coat station ended the daily pile of coats on the dining chairs. One row of hooks, a bench, and a tray for boots, and suddenly everyone hangs things up without being asked. It works because it is easier than the chair, and convenience always wins in my house.
Hooks do need to be strong, because winter coats are heavy. I learned that after a cheap hook pulled out of the wall with three coats on it. Now I use wall studs, and the station has survived two winters without a single collapse.
Pro Tip: Give each person one hook, not a shared row, so nobody’s coat ends up on the floor.
Cost: $15-$30 | Time: 45 minutes | Difficulty: Easy
7. Create a Boot Landing Zone

Winter boots used to leave a trail of snow and grit through my whole house. Now they live on a tray by the door, and the rule is simple: boots off at the door, house shoes on. The floors stay clean, the boots dry properly, and I stopped finding salt stains on the hallway rug.
The tray does need emptying and wiping, especially after slushy days, or it becomes a puddle with boots in it. I wipe it every evening while the kettle boils, and that tiny habit keeps the whole system working.
Pro Tip: Choose a tray with raised edges so melting snow stays in the tray and off your floor.
Cost: $8-$15 | Time: 10 minutes | Difficulty: Easy
8. Rotate Boots by Weather

I used to keep every pair of boots by the door all winter, which meant a crowded, muddy pile. Now I rotate: snow boots by the door on snowy days, lighter boots when it is just cold, and the rest stored in the closet. The entryway stays usable, and I actually wear the boots I own instead of defaulting to one pair.
Rotation does need a weather check, and I have been caught out by surprise snow more than once. I keep one pair of snow boots by the door all season as insurance, and the rest rotate freely.
Pro Tip: Keep a small brush by the boot tray for a quick clean before boots go back into storage.
Cost: $0 | Time: 10 minutes | Difficulty: Easy
9. Bin Scarves, Hats, and Gloves Together

Scarves, hats, and gloves are small, and small things vanish. I lost one glove three winters in a row before I gave them a single basket by the door. Now every scarf, hat, and glove pair lives in that basket, and I can grab a full set in seconds on the way out. It is the smallest change here, and one of the most satisfying.
The basket does overflow if you never sort it, so I empty it once a month and return strays to their owners. I also clip glove pairs together, because single gloves are a mystery I refuse to keep solving.
Pro Tip: Use a basket with a lid if your entryway is small, so the accessory pile never looks like clutter.
Cost: $5-$12 | Time: 15 minutes | Difficulty: Easy
10. Switch to Matching Hangers

Matching hangers sound like a detail, but they changed how my closet feels. Clothes hang at the same height, nothing slips off wire hangers anymore, and the rail looks calm instead of chaotic. I switched gradually as hangers broke, so it cost almost nothing over a season.
Good hangers cost more than wire ones, and the cheapest set is tempting. I bought cheap ones once, and they snapped under heavy coats within a month. Sturdy hangers are worth it for winter clothes.
Pro Tip: Use slim velvet hangers for shirts and sturdy wooden ones for coats, so each piece gets the support it needs.
Cost: $15-$25 | Time: 30 minutes | Difficulty: Easy
Also read: seasonal clothing storage ideas for the off-season swap that keeps winter from taking over your closet all year.
11. Colour-Code the Hanging Rail

Colour-coding the hanging rail felt fussy until I tried it on a quiet Sunday. Now I find things by colour first, and getting dressed is genuinely faster. It also makes gaps obvious: I can see at a glance that I have plenty of dark tops and almost no light ones, which stops impulse buying.
The system does slip after laundry, because clean clothes go back wherever they fit. I re-sort the rail once a month, and that five-minute tidy keeps the colours honest without becoming a chore.
Pro Tip: Start with broad colour groups instead of a perfect gradient, so the system survives real life.
Cost: $0 | Time: 30 minutes | Difficulty: Easy
12. Edit Coats to One Per Job

I used to own six coats that all did the same job, and they crowded out everything else. Now I keep one per job: one everyday coat, one dressy coat, one snow coat, and one rain coat. Anything that duplicates a job gets donated, and my closet finally has room to breathe.
Editing is hard, because every coat has a memory attached. I use a simple test: if I have not worn it in two winters, it goes. I have never once regretted a coat I donated, though I have regretted keeping the clutter.
Pro Tip: Try each coat on during the edit, because a coat that fits badly will never get worn no matter how lovely it looks on the hanger.
Cost: $0 | Time: 45 minutes | Difficulty: Easy
13. Build a Small Winter Capsule

My winter capsule is ten pieces that all work together, and it lives at the front of the closet. On busy mornings, I dress from the capsule and stop thinking about outfits entirely. It sounds limiting, but it is freeing: fewer choices, better outfits, and no more staring at a full closet feeling like I have nothing to wear.
The capsule does need updating when the weather shifts, because a capsule built for mild cold fails in a freeze. I swap one or two pieces as temperatures change, and the capsule stays useful all season.
Pro Tip: Build your capsule around your three most-worn bottoms, then add tops and layers that match all three.
Cost: $0 | Time: 1 hour | Difficulty: Easy
14. Keep a Daily Rotation Rail

I keep a small rail for the week’s outfits, planned on Sunday night. Each morning I just grab the next outfit, and the main closet stays untouched and tidy. It sounds like extra work, but it actually saves me fifteen minutes every morning, and my closet looks better because I am not pulling things out in a rush.
The rail does take floor space, and in a small room that matters. I use a narrow rolling rail that tucks into a corner, and I only plan five outfits, never seven, so the rail never overflows.
Pro Tip: Hang tomorrow’s outfit, including accessories, the night before so mornings run on autopilot.
Cost: $10-$20 | Time: 20 minutes weekly | Difficulty: Easy
15. Hang Coats Heaviest to Lightest

Hanging coats from heaviest to lightest sounds oddly specific, and it works beautifully. The heavy wool coats anchor one end of the rail, the light jackets sit at the other, and nothing gets crushed. It also makes choosing easier, because I can see the warmth level of each coat at a glance.
The order does drift when coats come back from the cleaners or the entryway, so I fix it during my monthly rail tidy. It takes two minutes, and the rail looks intentional again instead of random.
Pro Tip: Put your most-worn coat at the front of its weight group so you reach it without moving the others.
Cost: $0 | Time: 15 minutes | Difficulty: Easy
16. Reserve One Hook for Today’s Coat

One hook by the door, reserved for today’s coat, is the simplest idea on this list and the one I use most. I hang tomorrow’s coat there the night before, and in the morning I just grab it and go. No closet digging, no decision fatigue, and the rest of the closet stays perfectly tidy.
The hook only works if it stays reserved. The moment it becomes a dumping ground for bags and scarves, the system fails. I keep a strict rule: one coat, nothing else, and it has held all winter.
Pro Tip: Put the hook at eye level by the door you actually use, not the prettiest door in the house.
Cost: $3-$8 | Time: 10 minutes | Difficulty: Easy
17. Box Off-Season Clothes Up High

Off-season clothes used to take up prime closet space all year, which is absurd when you think about it. Now summer clothes live in labeled boxes on the top shelf, and winter gets the whole closet to itself. The swap takes an hour twice a year, and the closet feels twice as big all winter.
Top-shelf boxes do need to be light, because lifting a heavy box overhead is no fun. I use small boxes, never giant ones, and I label both the side and the top so I can read them from below.
Pro Tip: Add a cedar block or lavender sachet to each box so clothes come out smelling fresh, not musty.
Cost: $10-$20 | Time: 1 hour | Difficulty: Easy
18. Refold the Sweater Shelf Weekly

My sweater shelf looks perfect on Sunday and chaotic by Friday, because daily grabbing pulls stacks apart. Now I spend five minutes on Sunday refolding the shelf, and it stays presentable all week. It is a tiny ritual, and it stops the slow slide into a pile that nobody wants to open.
The honest truth is that some weeks I skip it, and the shelf shows it by Wednesday. I tied the habit to Sunday laundry, so it happens automatically now, and skipping it feels stranger than doing it.
Pro Tip: Refold only the top two sweaters of each stack if you are short on time, because those are the ones everyone sees.
Cost: $0 | Time: 5 minutes weekly | Difficulty: Easy
19. Keep Knitwear Visible, Not Buried

Knitwear buried in drawers gets forgotten, and I have found sweaters in spring that I meant to wear all winter. Now my knits live on open shelves where I can see every one of them. I wear more of what I own, and I stopped buying duplicates of sweaters I already had but could not see.
Open shelves do collect dust, especially in a bedroom, so I wipe them during my monthly tidy. It takes two minutes, and it is a small price for actually wearing the clothes I own.
Pro Tip: Put your favourite knit at eye level, because the sweaters you see are the sweaters you wear.
Cost: $0 | Time: 20 minutes | Difficulty: Easy
20. Keep One Going-Out Coat Ready

My going-out coat used to hide behind everyday coats, and I would find it wrinkled minutes before leaving for dinner. Now it hangs at the front of the coat zone, freshly brushed and ready, with a scarf draped over its hanger. When plans come up, I am out the door in minutes instead of digging through the closet.
The ready coat does attract lint and pet hair if it sits at the front, so I give it a quick brush once a week. It takes thirty seconds, and the coat always looks like I meant it.
Pro Tip: Keep a lint roller on the coat-zone shelf so the going-out coat is always presentable.
Cost: $0 | Time: 5 minutes | Difficulty: Easy
Winter Closet Organization Ideas at a Glance
| Idea | Best for | Cost | Time |
|---|---|---|---|
| Closet audit | Everyone | $0 | 2-3 hours |
| Coat zone | Coat collectors | $0 | 20 min |
| Folded sweaters | Knit lovers | $0 | 30 min |
| Entryway station | Families | $15-$30 | 45 min |
| Boot tray | Snowy climates | $8-$15 | 10 min |
| Coat edit | Overflowing closets | $0 | 45 min |
| Off-season boxes | Small closets | $10-$20 | 1 hour |
| Weekly refold | Tidy keepers | $0 | 5 min weekly |
Mistakes I Made / What I Learned the Hard Way
Hanging heavy knits. I hung sweaters for years and wondered why they all stretched out of shape. Folding them fixed the problem in one season, and I wish I had learned it a decade earlier.
Keeping coats I never wore. I held onto coats out of guilt and memory, and they crowded out the coats I actually reached for. The one-per-job edit was hard, but my closet has never worked better since.
Skipping the boot tray. One winter without a tray cost me a hallway rug and several hours of scrubbing salt stains. The tray costs a few dollars and saves the floor, and I will never skip it again.
Organising without a weekly reset. A perfectly organised closet lasts about a week without maintenance. The five-minute Sunday refold is what keeps the whole system alive, and skipping it is how chaos creeps back in.
Frequently Asked Questions
How do I organise a small closet for winter?
Start with the coat edit and the off-season boxes, because those two steps free the most space. In my small closet, they made room for everything else without buying a single new organiser.
Should I hang or fold winter sweaters?
Fold them, always. Hangers stretch knit shoulders out of shape, and folded stacks let you see everything you own. I learned this the expensive way, after ruining two favourite sweaters.
How do I stop winter boots from ruining my floors?
Use a boot tray with raised edges by the door, and make boots-off-at-the-door a house rule. Wipe the tray while the kettle boils, and the system takes care of itself.
How many winter coats do I really need?
One per job is my rule: everyday, dressy, snow, and rain. Most people need three or four, not eight, and editing down to that number transformed my closet.
When should I swap summer clothes out of the closet?
I swap when the temperature drops below freezing most days, usually late autumn, and I swap back when spring truly arrives. Labelled boxes on the top shelf make both swaps take about an hour.
Final Thoughts
These winter closet organization ideas are not about a showroom closet; they are about a closet that works at seven in the morning when it is dark, cold, and you are in a hurry. Start with the audit, fold the sweaters, and give the boots a tray.
Read this next: shoe storage ideas to finish the entryway, because tidy shoes make the whole closet system feel complete.
If you try just one idea this week, make it the coat edit. It is the hardest step here, and in my closet it made the biggest difference of all.